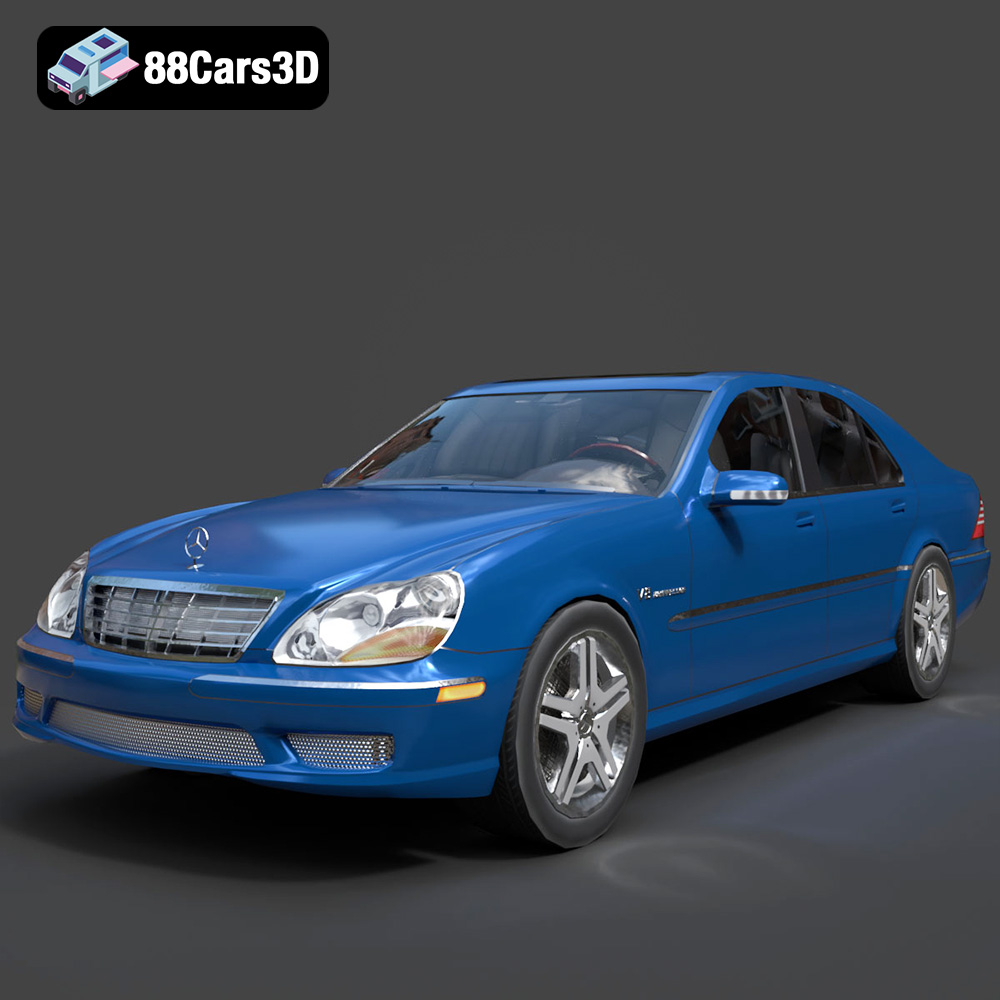
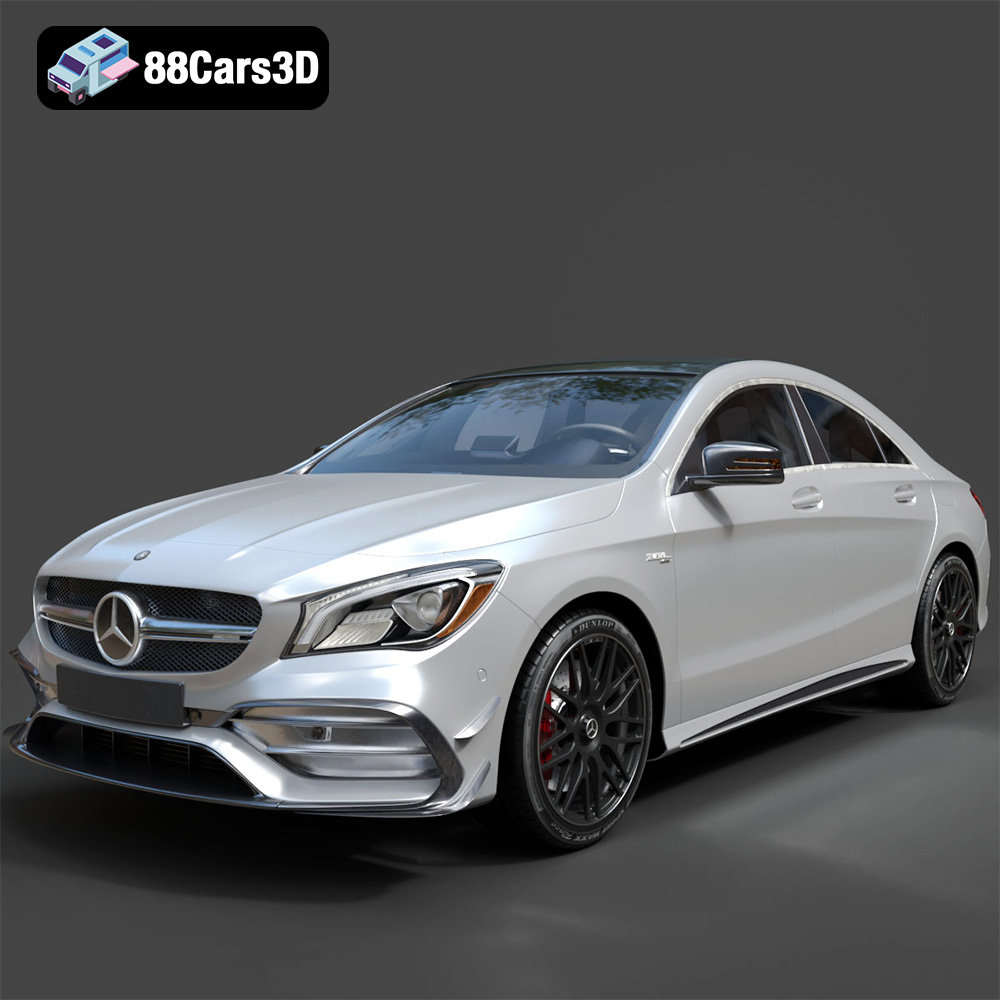
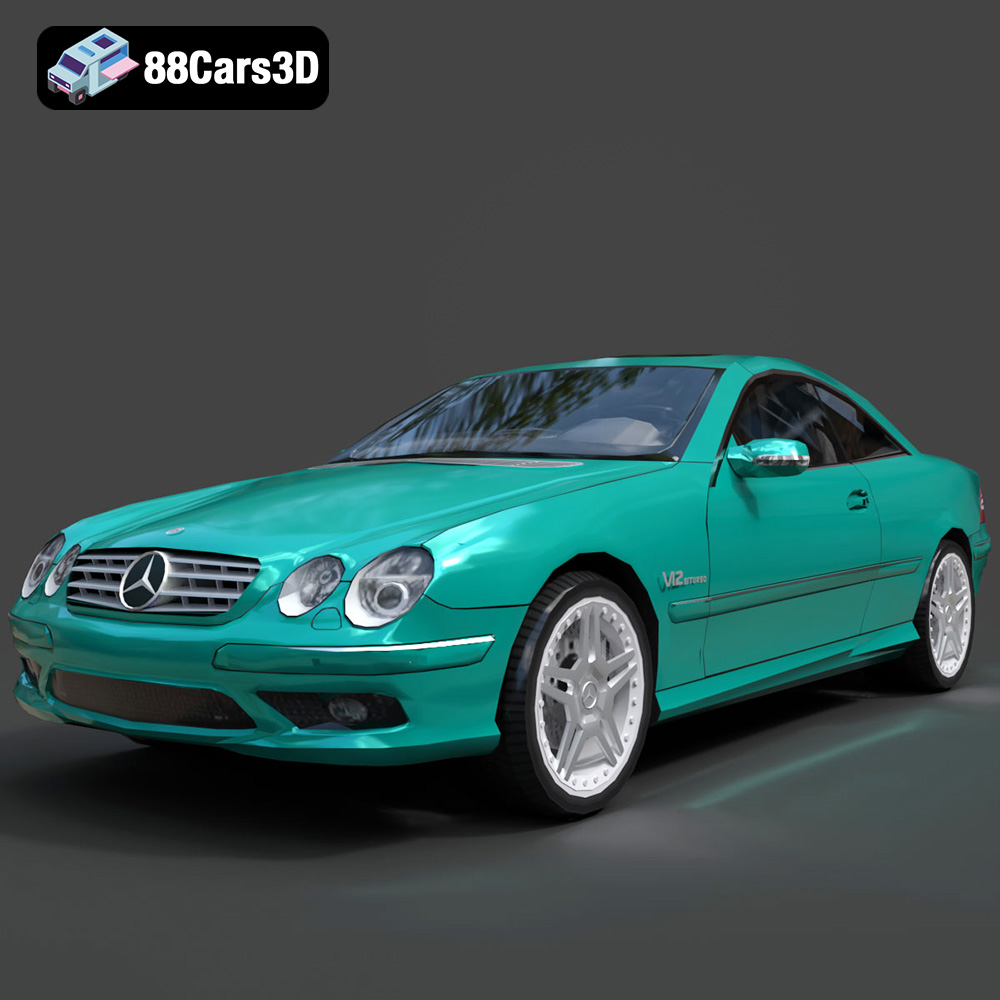
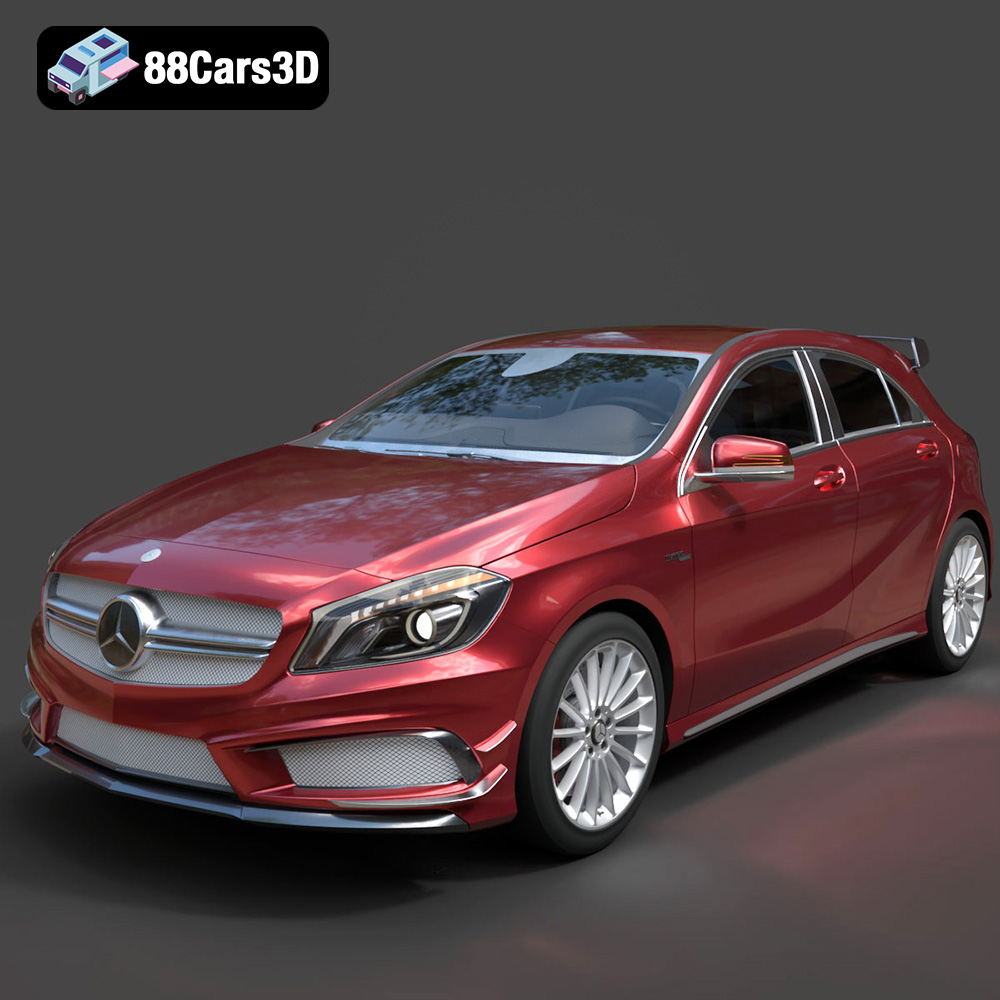
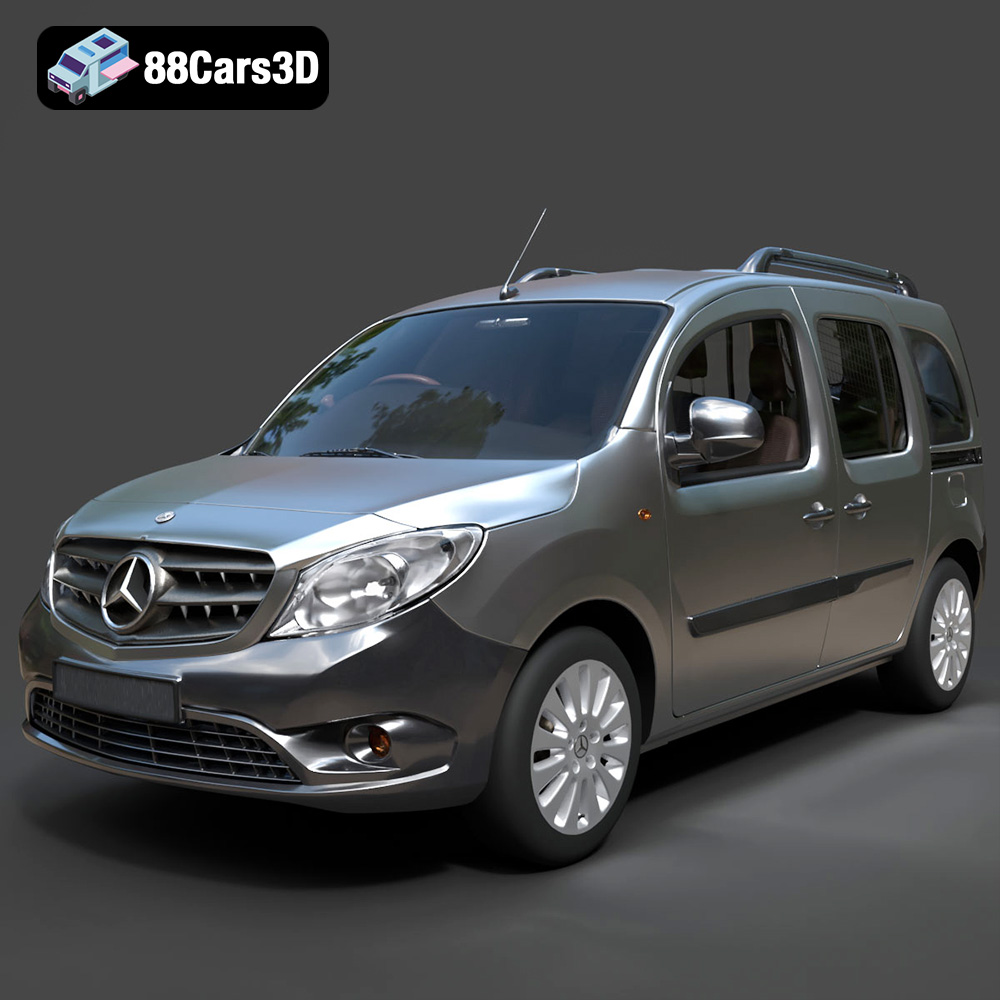
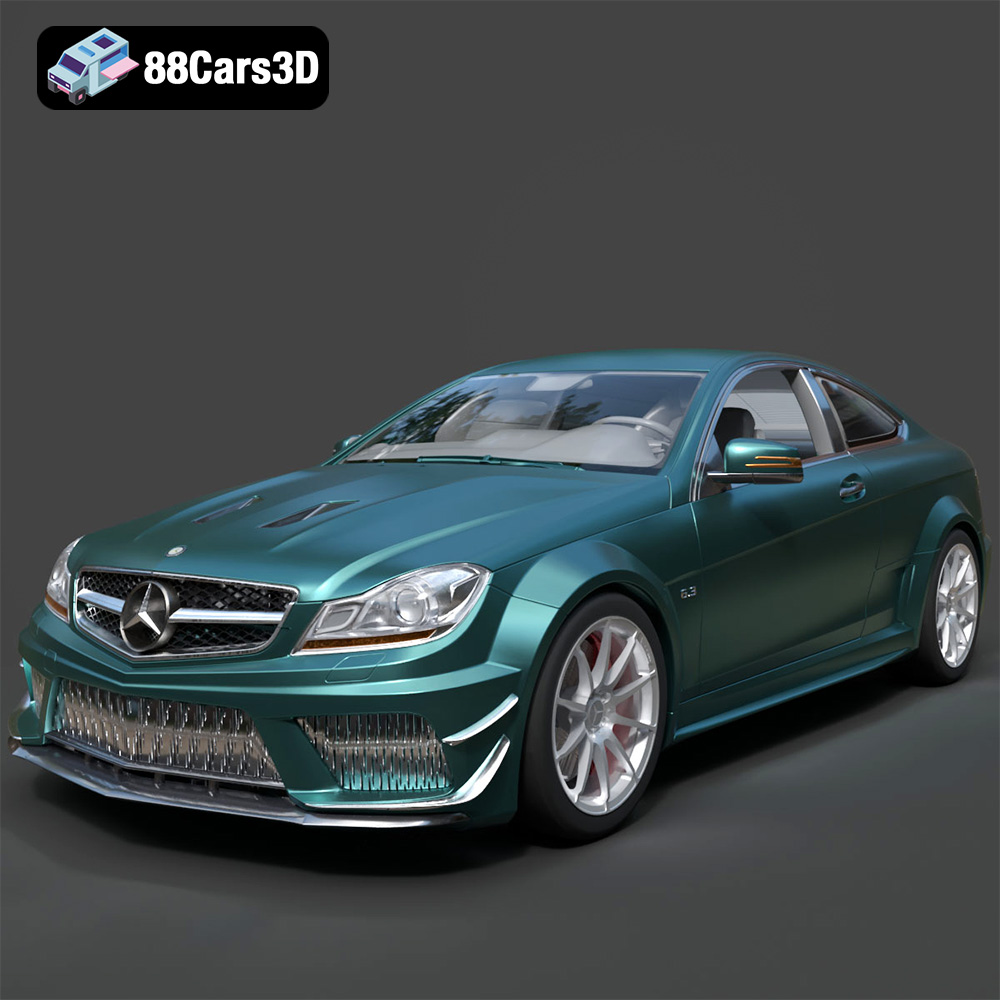
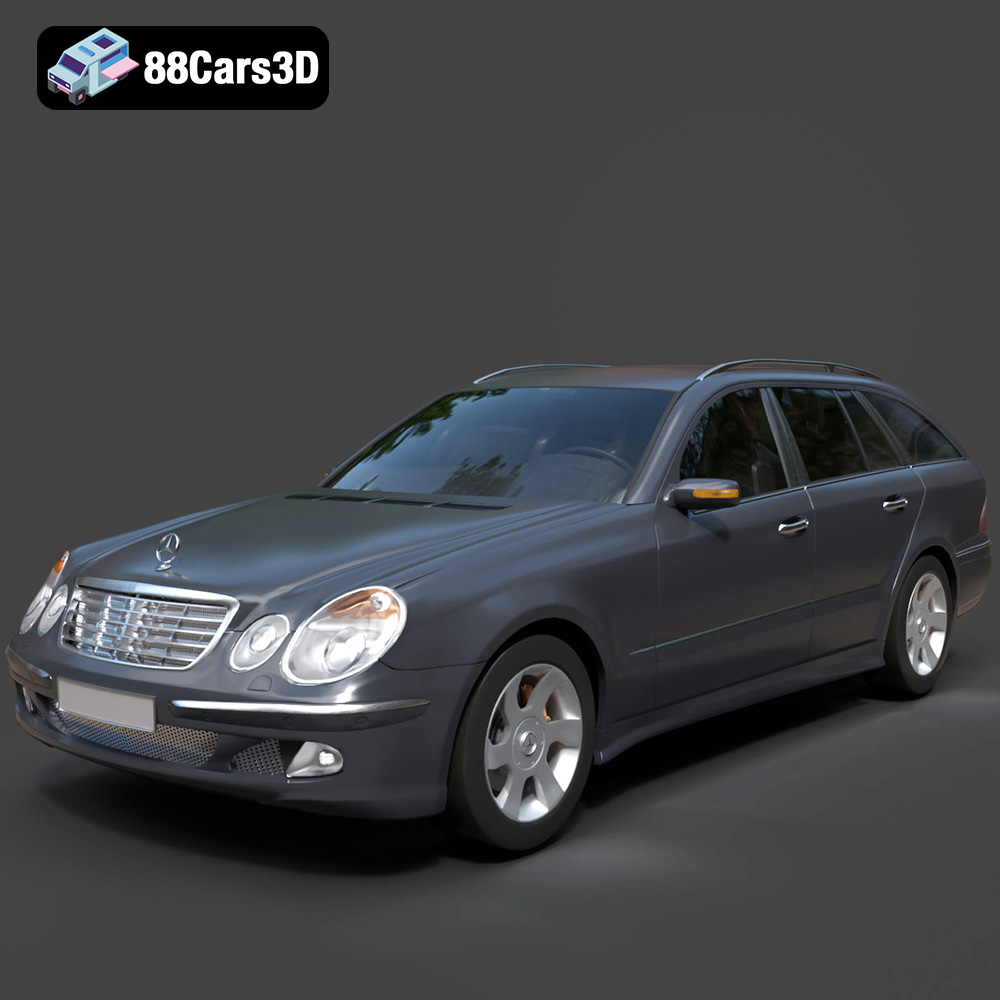
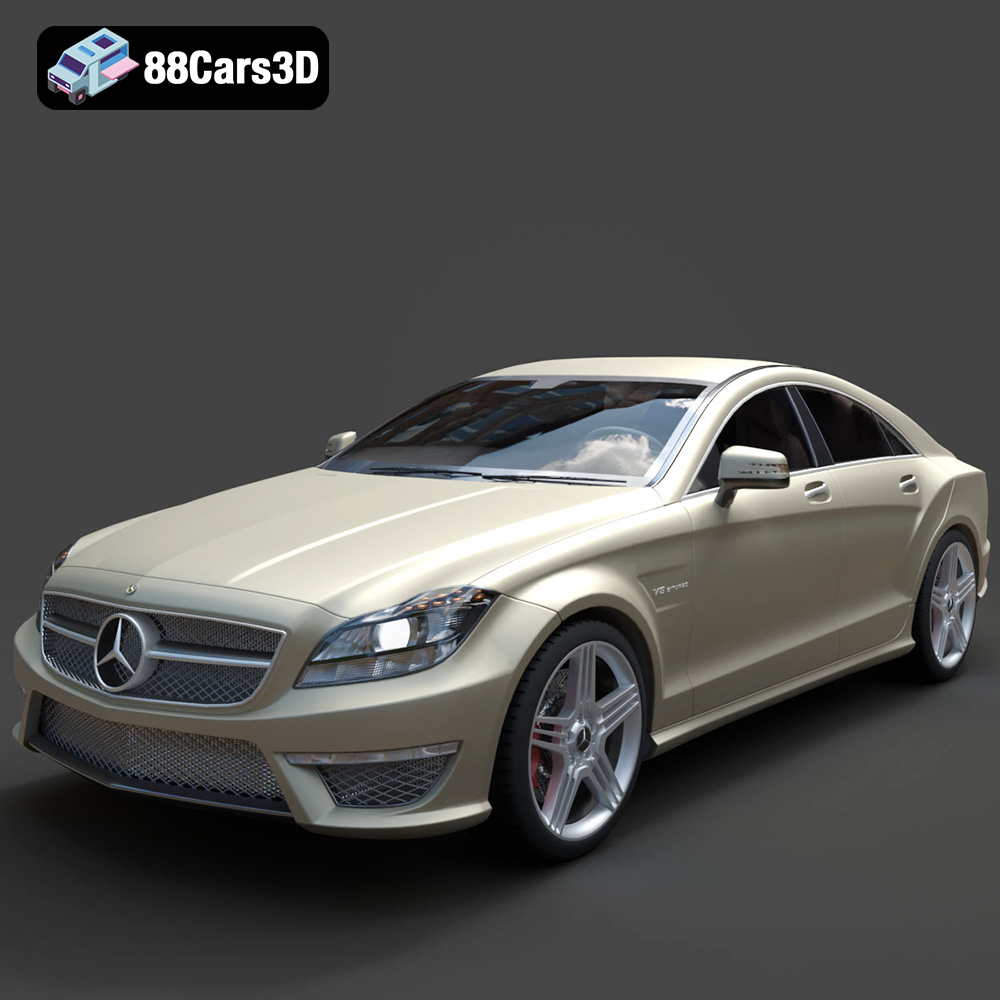
Get 20% OFF All Premium 3D & STL Models!

The demand for photorealistic digital vehicles has never been higher. From glossy automotive advertisements and high-octane video games to immersive virtual reality showrooms and blockbuster visual effects, the digital car is a cornerstone of modern media. Creating a convincing 3D vehicle from scratch, however, is a monumental task requiring hundreds, if not thousands, of hours of specialized modeling, texturing, and shading work. This is where high-quality, pre-made 3D car models become an indispensable asset for artists and studios. They provide a production-ready foundation, allowing you to focus on the creative aspects of your project: lighting, composition, and storytelling. This guide will delve into the technical nuances of selecting, preparing, and deploying professional 3D car models for both stunning offline renders and high-performance real-time applications.
Selecting a 3D car model isn’t just about finding the right make and model. The underlying technical construction of the asset will dictate its usability and final quality. A model perfect for a cinematic close-up might be entirely unsuitable for a mobile game. Understanding what to look for is the first step toward a successful project.
Polygon count is the most common metric, but it’s often misunderstood. A “high-poly” model for a cinematic render might exceed several million polygons after subdivision, while a “low-poly” hero game asset for a PC or console title could range from 150,000 to 300,000 polygons. More important than the raw number is the topology—the flow and structure of the polygons. Look for models with clean, quad-based topology. Quads (four-sided polygons) subdivide smoothly and predictably, which is essential for achieving the flawless, curved surfaces of modern vehicles. Poor topology with excessive triangles or complex poles (vertices with more than five connecting edges) can cause pinching, artifacts, and shading errors, especially on reflective surfaces like car paint.
UV mapping is the process of unwrapping a 3D model onto a 2D plane so textures can be applied correctly. For automotive rendering, this is paramount. A professional model should have clean, non-overlapping UVs. Check if the model utilizes UDIMs (U-Dimension), a workflow where UVs are spread across multiple texture tiles. This allows for incredibly high-resolution textures, essential for capturing fine details like brake caliper texturing or dashboard leather grain in 4K or 8K renders. For real-time applications, the UVs should be efficiently packed into a single texture space (or a few, for different material types) to minimize draw calls and optimize performance.
Ensure the model you purchase is available in a format compatible with your primary software. Common formats include:
Once you have a high-quality model, the next phase is preparing it for a photorealistic offline render. This process is all about nuance, precision, and an artistic eye for detail, pushing the boundaries of realism with powerful render engines like V-Ray, Corona, Arnold, or Blender’s Cycles.
A convincing car paint material is arguably the most complex shader in automotive visualization. It’s not a single color but a layered material designed to mimic its real-world counterpart. A typical setup involves:
The lighting environment is what brings your model to life. For automotive rendering, two primary approaches dominate. Studio lighting involves creating a virtual photo studio with area lights, spotlights, and reflectors to sculpt the light and highlight the car’s form—perfect for clean, catalogue-style shots. Image-Based Lighting (IBL) uses a High Dynamic Range Image (HDRI) to illuminate the entire scene. An HDRI of a desert road or a city street will cast realistic environmental light and, crucially, provide detailed, believable reflections across the car’s body, instantly grounding it in a real-world context.
Treat your virtual camera like a real DSLR. Avoid wide-angle lenses (below 35mm) for hero shots, as they can distort the car’s proportions. Instead, use longer focal lengths (50mm, 85mm, or even 135mm) and move the camera further back to compress the perspective for a more flattering, powerful look. Use a shallow depth of field (low f-stop number) to draw focus to a specific detail, like a headlight or badge, blurring the background and foreground to create a professional, photographic quality.
Preparing a car model for a game engine like Unreal Engine or Unity is a completely different challenge. The goal shifts from ultimate realism to a balance of visual quality and real-time performance. Every polygon and texture byte counts.
A 2-million-polygon model from a rendering scene will bring a game engine to its knees. The model must be optimized. The hero model, or LOD0 (Level of Detail 0), will be a carefully retopologized version of the original, preserving the silhouette while reducing the polygon count to a manageable target (e.g., 200k polys). Subsequently, you must create several lower-resolution versions (LOD1, LOD2, LOD3). As the car gets further from the camera, the engine automatically swaps to a lower LOD, saving massive performance. LOD3 might be as low as 5,000 polygons, serving as little more than a colored shape in the distance.
To retain the visual fidelity of the high-poly model on the low-poly game asset, we use a process called “baking.” Details from the high-poly mesh, like panel lines, vents, and small surface variations, are baked into a normal map. Ambient Occlusion (AO) maps are also baked to simulate soft, contact shadows. For maximum efficiency, multiple separate texture sets (e.g., for the body, interior, wheels) are often combined into a single “texture atlas.” This allows the GPU to render the entire car in fewer “draw calls,” which is a major performance optimization in any real-time application.
A typical workflow looks like this:
Let’s apply these principles to a real-world project: a real-time car configurator in Unreal Engine. The goal is to allow a user to change the car’s paint color, wheels, and interior trim in real time.
Starting with a meticulously crafted model from a marketplace like 88cars3d.com is a massive head start because the geometry is clean and the parts are properly separated and named. For a configurator, you need to organize the model logically. All wheel options should be separate objects, as should different spoiler or bumper options. The car body should have a material ID assigned specifically to the paintable areas. This separation is what allows for easy swapping and customization in the engine.
Instead of a static paint color, we create a dynamic Material Instance in Unreal. The base material has a “Vector Parameter” node plugged into the Base Color input. This parameter is then exposed in the Material Instance, allowing us to change the color on the fly using a simple color picker in the UI. We can do the same for roughness and metallic values to switch between gloss, satin, and matte finishes. This is far more efficient than having separate textures for every single paint color.
Unreal Engine’s Blueprint visual scripting system makes it easy to add interactivity without writing code. We can create a simple user interface (UI) with buttons for each wheel option. When a user clicks a button, a Blueprint script will hide the currently visible wheel mesh and unhide the selected one. Another UI element, like a color palette, can be linked to the material parameter we created earlier, allowing the user to update the car’s color in real time. This combination of well-prepared 3D car models and engine-side logic is the foundation of every professional car configurator.
A high-quality 3D car model is more than just a digital replica; it’s a versatile foundation upon which countless creative and technical projects are built. Understanding the key differences between assets destined for cinematic automotive rendering and those optimized for real-time game assets is crucial for a smooth and successful production pipeline.
Key takeaways:
Whether you’re crafting stunning marketing visuals, building the next great racing simulator, or designing an immersive AR experience, the quality of your foundational assets is paramount. Investing in professionally made models from dedicated marketplaces like 88cars3d.com empowers you to bypass the most time-consuming step of asset creation and jump directly into bringing your creative vision to life.