Get 20% OFF All Premium 3D & STL Models!

There’s an undeniable magic to a perfectly rendered automobile. The way light dances across the clear coat, the subtle imperfections in the tire rubber, the crisp reflections in the chrome trim—these details transform a collection of polygons into a photorealistic work of art. But achieving this level of quality is more than just clicking “render.” A high-fidelity 3D car model is a complex digital asset, meticulously crafted for a specific purpose, whether it’s a stunning marketing visual, an interactive game asset, or a physical 3D print. The journey from a raw mesh to a final, polished product involves a deep understanding of topology, texturing, lighting, and optimization. This guide is your roadmap through that entire pipeline. We will deconstruct the anatomy of a professional 3D car model, exploring the foundational principles that separate amateur work from studio-quality results. You will learn not just the “how,” but the “why” behind clean edge flow, efficient UV mapping, PBR material creation, and the critical optimization techniques required for today’s demanding real-time applications.
Before you ever think about materials or lighting, the core of any great 3D car model lies in its topology—the structure and flow of its polygons. Clean topology is not an aesthetic choice; it is a technical necessity that dictates how the model will subdivide, reflect light, and deform. For automotive models, where smooth, continuous surfaces and sharp, defined character lines are paramount, topology is king. A model with messy, disorganized geometry will fight you at every step, resulting in rendering artifacts, shading errors, and animation nightmares. Evaluating the mesh is the first and most critical step when working with any 3D car asset.
Edge flow refers to the direction and arrangement of polygon edges across a model’s surface. In automotive design, this flow should mirror the car’s real-world body panels and character lines. Good edge flow ensures that when a subdivision modifier (like TurboSmooth in 3ds Max or a Subdivision Surface in Blender) is applied, the surfaces remain smooth and predictable without creating unwanted pinching or distortion. It allows light to travel across the surface naturally, producing clean, unbroken highlights. Poor edge flow, on the other hand, creates visible seams, dents, and strange shading artifacts, especially on highly reflective materials like car paint.
The industry standard for professional modeling, especially for “hard surface” objects like cars, is to work with quadrilaterals (quads). Quads are four-sided polygons that are ideal for creating smooth, flowing surfaces. They are easy to loop-select, subdivide cleanly, and deform predictably. Triangles (tris), while the fundamental component of all geometry for the graphics card, are generally avoided during the modeling phase. They can terminate edge flow, cause pinching when subdivided, and make future edits difficult. However, it’s important to understand that all quads are ultimately converted to triangles by the GPU for rendering. The key is that the *source* model is quad-based. High-quality assets, like those found on marketplaces such as 88cars3d.com, are built with this quad-first philosophy, ensuring maximum flexibility for the end-user.
When you first open a 3D car model, there are several critical areas to inspect to gauge its topological quality. Pay close attention to the wheel arches (fenders), where a circular shape must cleanly integrate with flat body panels. The edge loops should be dense enough to hold the circular shape without faceting. Check the A, B, and C pillars, ensuring the edges flow seamlessly from the roof into the main body. Finally, examine the sharp character lines and creases. These should be defined by tight, parallel edge loops that hold the sharpness of the crease even after subdivision. Avoid “poles”—vertices with five or more edges converging—on flat, visible surfaces, as they can cause shading artifacts.
Once you have a model with solid topology, the next step is to give it a surface. This is achieved through UV mapping and the creation of realistic materials. UV mapping is the process of unwrapping the 3D model’s surface into a 2D space, allowing you to apply textures like decals, dirt maps, or carbon fiber patterns. For cars, this process must be done with surgical precision to avoid stretching and seams. Following this, the Physically Based Rendering (PBR) workflow is used to create materials that react to light in a physically accurate way, bringing the model to life.
Unwrapping a car is a game of strategic seam placement. The goal is to hide seams in places where they are least likely to be seen, such as the underside of panels, inside door jambs, or along existing panel gaps. For large, continuous surfaces like a hood or roof, a simple planar projection is often sufficient. However, for more complex curved panels, you will need to use more advanced techniques.
The PBR workflow has revolutionized 3D rendering, allowing artists to create incredibly realistic materials by defining their physical properties. For cars, this means mastering a few key material types.
The resolution of your textures dictates the sharpness of your final render. For hero assets intended for close-up shots, 4K (4096×4096) or even 8K textures are common. For game assets, resolutions are typically scaled down to 2K or 1K to save memory. For projects demanding the absolute highest level of detail, the UDIM (U-Dimension) workflow is employed. This allows you to spread a model’s UVs across multiple texture sets, or “tiles.” For example, the main car body could be on one 8K UDIM tile, while the wheels are on another, and the interior on a third. This provides massive texture resolution where needed without being constrained to a single UV square.
With a perfectly modeled and textured car, the final step in creating a stunning visual is the rendering process. This stage is all about light, shadow, and camera. The most realistic shaders in the world will look flat and uninteresting in poor lighting. A successful automotive render convincingly places the digital vehicle into a realistic environment, whether it’s a clean studio setup or a dynamic outdoor scene. Mastering lighting and post-processing is what separates a good render from a great one.
The fastest way to achieve realistic lighting and reflections is with High Dynamic Range Imaging (HDRI). An HDRI is a 360-degree panoramic image that contains a vast range of light intensity data. When used to light a 3D scene, it simulates a real-world environment with incredible accuracy. The HDRI provides not only the primary illumination but also the detailed reflections seen on the car’s surface. For the ultimate realism, this technique is often paired with a “backplate”—a high-resolution 2D photograph that serves as the background. The key is to match the 3D camera’s angle, focal length, and perspective to that of the backplate photo for a seamless composition.
While the principles of lighting are universal, each render engine has its own strengths and nuances.
A raw render is rarely the final image. Post-processing is where you add the final 10% of magic. This is typically done in software like Adobe Photoshop or DaVinci Resolve Fusion by rendering out different “passes” from your 3D application. Common passes for automotive rendering include:
By layering these passes, you can perform non-destructive adjustments to color grading, contrast, bloom, and lens effects, giving you complete artistic control over the final image.
Using a 3D car model in a game engine like Unity or Unreal Engine is a completely different challenge than creating a high-end render. In real-time applications, performance is everything. Every polygon, material, and texture comes with a computational cost that impacts the frame rate. The goal is to preserve as much visual fidelity as possible while adhering to a strict performance budget. This involves a process of careful simplification and clever technical tricks.
A 500,000-polygon model that looks fantastic in a V-Ray render would bring a game engine to its knees. This is where Levels of Detail (LODs) come in. An LOD system uses multiple versions of the same model at varying polygon counts. The highest detail version (LOD0) is shown when the player is close to the car. As the car moves further away, the game engine automatically swaps it for a lower-polygon version (LOD1, LOD2, etc.).
A “draw call” is a command from the CPU to the GPU to draw an object. Each material on an object typically requires a separate draw call. Having dozens of materials on a single car (one for chrome, one for glass, one for paint, etc.) can create a performance bottleneck. The solution is to consolidate materials.
Texture Atlasing is the practice of combining multiple smaller textures into a single, larger texture sheet. For example, textures for the dashboard, gauges, steering wheel, and seats could all be baked onto one “Interior” texture atlas. The 3D model’s UVs are then arranged to map to the correct parts of this atlas. This allows the entire interior to be rendered with a single material and just one draw call, drastically improving performance. Professionally prepared game-ready models often come with these atlases pre-made.
While the principles of optimization are the same, the implementation can differ between engines. Unreal Engine has a powerful and intuitive material editor, making it easy to create complex shaders for effects like iridescent paint or dynamic dirt and damage. It also has excellent built-in tools for automatically generating LODs. Unity, particularly with its Universal Render Pipeline (URP) and High Definition Render Pipeline (HDRP), offers scalable performance and dedicated shaders for automotive visualization. HDRP, for instance, includes advanced material options for creating realistic clear coats and anisotropic reflections, perfect for automotive assets.
A 3D model is useless if you can’t get it into your software of choice. Understanding the different 3D file formats is crucial for a smooth workflow, whether you’re moving a model between modeling packages, importing it into a game engine, or preparing it for the web. Each format has its own strengths, weaknesses, and intended use cases. Choosing the right one can save you hours of troubleshooting broken materials, incorrect scales, and missing data.
FBX (.fbx) is arguably the most versatile and widely supported format in the 3D industry. Developed by Autodesk, it’s the go-to choice for transferring models between applications like 3ds Max, Maya, Blender, and game engines. Its key advantage is its ability to package a wide range of data into a single file: mesh geometry, UV coordinates, materials, textures, rigging, skinning, and even complex animation data. For game development and complex visualization projects, FBX is almost always the preferred format.
OBJ (.obj) is one of the oldest and simplest formats, which is both a strength and a weakness. It reliably stores geometry, UVs, and basic material definitions in a human-readable text file. Its simplicity gives it near-universal compatibility—almost every 3D application can open an OBJ file. However, it does not support animation, complex shader networks, or scene hierarchy information. It’s an excellent choice for static models or for exporting to software where you only need the raw mesh data, like 3D printing slicers.
With the rise of augmented reality (AR) and web-based 3D viewers, new formats have emerged that are optimized for real-time performance and efficient delivery.
GLB (.glb) is the binary version of the glTF (GL Transmission Format), often described as the “JPEG of 3D.” It’s an open-source, royalty-free standard designed for the efficient transmission of 3D scenes and models. A single GLB file can contain the mesh, materials, PBR textures, and animations, making it incredibly easy to use on web platforms and in AR/VR applications. It’s the standard format for Facebook, Google, and many other web-based 3D platforms.
USDZ (.usdz) is a format developed by Apple in collaboration with Pixar, based on the Universal Scene Description (USD) technology. It is specifically designed for AR on iOS devices. Like GLB, it’s a self-contained package, but it’s optimized for Apple’s ARKit framework. If your goal is to create AR experiences for iPhones and iPads, USDZ is the required format.
Converting between formats is not always a seamless process. Common issues to watch out for include:
The utility of a 3D car model now extends far beyond traditional renders and games. Immersive technologies like Augmented and Virtual Reality (AR/VR) offer new ways to experience and interact with digital vehicles, while 3D printing can turn them into physical objects. Each of these applications has its own unique set of technical requirements and preparation steps. An asset that is perfect for a cinematic render will need significant modification before it is ready for these new mediums.
AR/VR applications are essentially games that have to run at a very high and stable frame rate (typically 90 FPS or higher) to prevent motion sickness. This creates an extremely tight performance budget. The optimization techniques are similar to game development but even more stringent.
Starting with a high-quality source model from a provider like 88cars3d.com gives you a clean foundation from which you can create these optimized versions more easily than trying to clean up a messy, non-standard mesh.
Preparing a model for 3D printing is a process of converting a visual asset into a solid, manufacturable object. The primary requirement is that the mesh must be “watertight” or “manifold.” This means it must be a single, continuous, closed surface with no holes. A typical 3D car model designed for rendering is often made of many separate, intersecting shells (e.g., the door panel is a separate object from the car body) and is not watertight.
We’ve traveled the entire digital assembly line, from inspecting the fundamental weld points of a model’s topology to applying the final coat of post-processing polish. The key takeaway is that a 3D car model is not a single entity, but a versatile asset whose potential is unlocked through a series of deliberate, technical processes tailored to a specific outcome. A clean, quad-based mesh is the universal starting point for greatness, enabling smooth subdivisions for rendering and providing a solid base for creating efficient game-ready LODs. Understanding the nuances of PBR texturing, HDRI lighting, and renderer-specific settings is what elevates a good model to a photorealistic showpiece. Meanwhile, a disciplined approach to optimization—managing polygons, draw calls, and file formats—is what makes real-time and immersive experiences possible. The journey from a raw file to a final product requires both artistic vision and technical expertise. The next time you begin a project, start by investing in a high-quality asset and then apply these principles. Analyze its edge flow, plan your texturing strategy, and choose your export settings with purpose. By mastering this complete workflow, you transform yourself from a user of 3D models into a true digital craftsman.
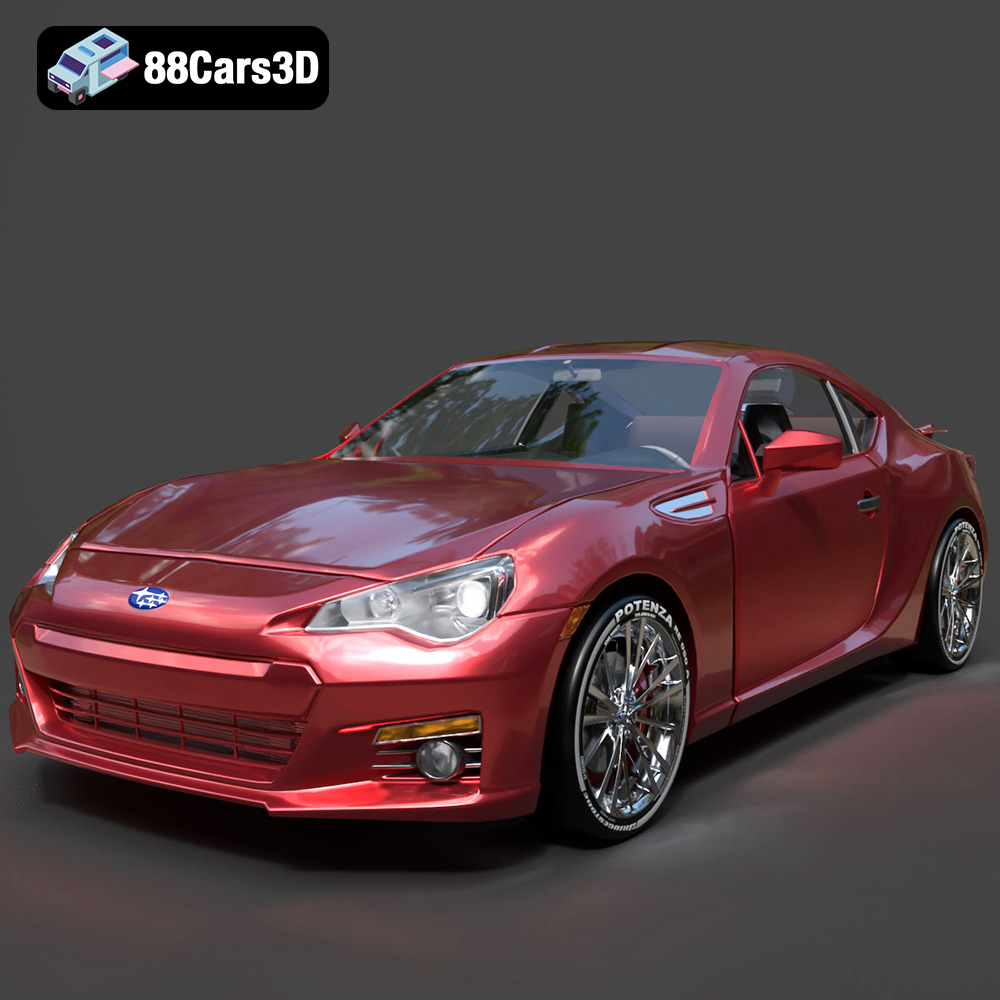
Texture: Yes
Material: Yes
Download the Subaru BRZ 2025 3D Model featuring clean geometry, realistic detailing, and a fully modeled interior. Includes .blend, .fbx, .obj, .glb, .stl, .ply, .unreal, and .max formats for rendering, simulation, and game development.
Price: $10

Texture: Yes
Material: Yes
Download the SsangYong Rodius 2007 3D Model featuring clean geometry, realistic detailing, and a fully modeled interior. Includes .blend, .fbx, .obj, .glb, .stl, .ply, .unreal, and .max formats for rendering, simulation, and game development.
Price: $10
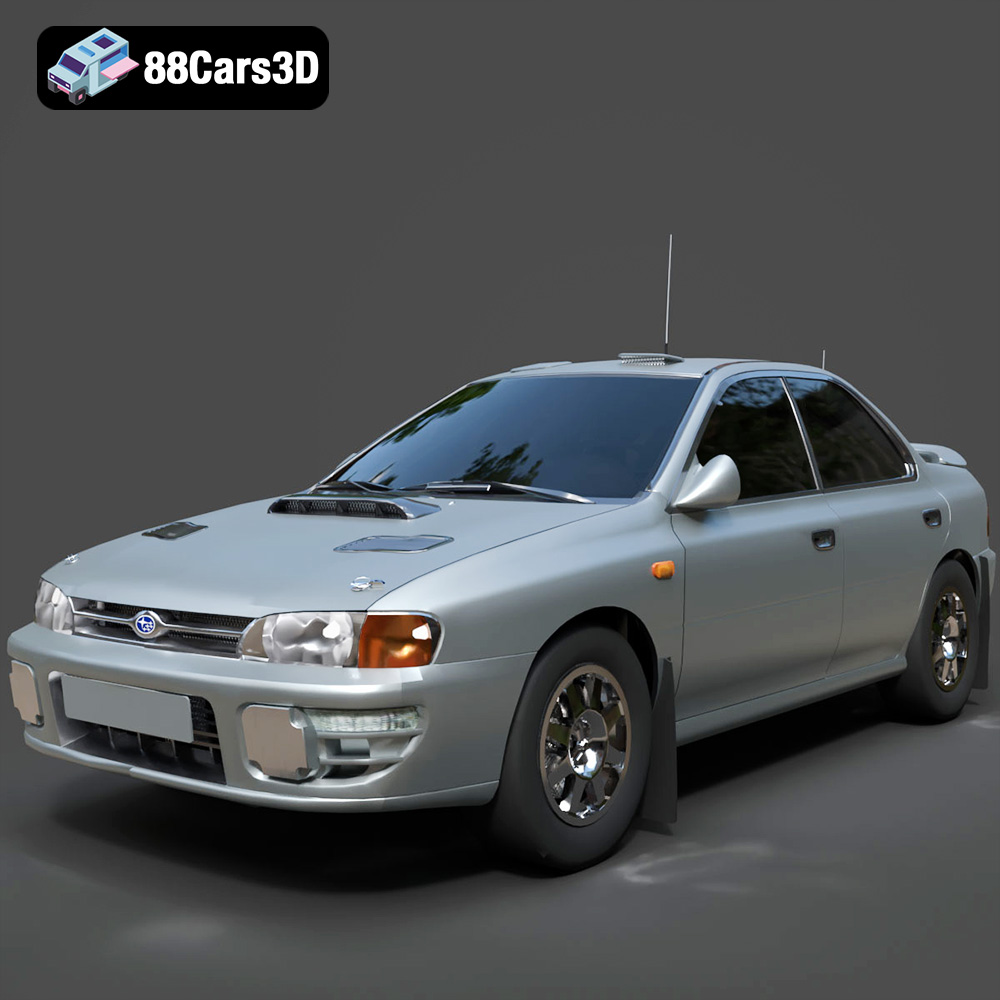
Texture: Yes
Material: Yes
Download the Subaru Impreza 1992 3D Model featuring clean geometry, realistic detailing, and a fully modeled interior. Includes .blend, .fbx, .obj, .glb, .stl, .ply, .unreal, and .max formats for rendering, simulation, and game development.
Price: $10

Texture: Yes
Material: Yes
Download the Subaru Impreza Sport Wagon 3D Model featuring clean geometry, realistic detailing, and a fully modeled interior. Includes .blend, .fbx, .obj, .glb, .stl, .ply, .unreal, and .max formats for rendering, simulation, and game development.
Price: $10

Texture: Yes
Material: Yes
Download the Skoda Octavia A7 2017 3D Model featuring clean geometry, realistic detailing, and a fully modeled interior. Includes .blend, .fbx, .obj, .glb, .stl, .ply, .unreal, and .max formats for rendering, simulation, and game development.
Price: $10

Texture: Yes
Material: Yes
Download the Suzuki SX4-002 3D Model featuring clean geometry, realistic detailing, and a fully modeled interior. Includes .blend, .fbx, .obj, .glb, .stl, .ply, .unreal, and .max formats for rendering, simulation, and game development.
Price: $10

Texture: Yes
Material: Yes
Download the Tesla Model S 2024 3D Model featuring clean geometry, realistic detailing, and a fully modeled interior. Includes .blend, .fbx, .obj, .glb, .stl, .ply, .unreal, and .max formats for rendering, simulation, and game development.
Price: $10

Texture: Yes
Material: Yes
Download the Subaru Impreza WRX STi-002 3D Model featuring clean geometry, realistic detailing, and a fully modeled interior. Includes .blend, .fbx, .obj, .glb, .stl, .ply, .unreal, and .max formats for rendering, simulation, and game development.
Price: $10

Texture: Yes
Material: Yes
Download the Subaru Impreza WRX STi Sedan 3D Model featuring clean geometry, realistic detailing, and a fully modeled interior. Includes .blend, .fbx, .obj, .glb, .stl, .ply, .unreal, and .max formats for rendering, simulation, and game development.
Price: $10

Texture: Yes
Material: Yes
Download the Subaru Legacy 2009 3D Model featuring clean geometry, realistic detailing, and a fully modeled interior. Includes .blend, .fbx, .obj, .glb, .stl, .ply, .unreal, and .max formats for rendering, simulation, and game development.
Price: $10

