Get 20% OFF All Premium 3D & STL Models!

A high-quality 3D car model is a masterpiece of digital craftsmanship, but its journey doesn’t end with the final polygon. The true power of a meticulously crafted asset lies in its versatility. Whether you’re creating a jaw-dropping automotive rendering for a marketing campaign, developing an immersive racing game, building an interactive AR showroom, or even 3D printing a physical prototype, the preparation process is critical. A model optimized for a V-Ray cinematic is fundamentally different from one destined for an Unreal Engine game or a mobile AR experience. This guide will serve as your comprehensive roadmap, navigating the technical workflows required to adapt and perfect 3D car models for any conceivable application. We will deconstruct the entire pipeline, from the foundational importance of clean topology and strategic UV mapping to the nuances of PBR material creation, rendering, real-time optimization, and file format management. By the end, you’ll have the expert knowledge to take any high-quality 3D car model and confidently prepare it for any professional pipeline, ensuring flawless performance and stunning visual fidelity every time.
Before any texturing, lighting, or rendering can begin, the structural integrity of the 3D model itself must be flawless. The topology—the flow and arrangement of polygons—is the DNA of your digital vehicle. It dictates how the model will catch light, how it will deform, and how efficiently it can be optimized for different platforms. Starting with a clean, professionally constructed mesh, like those found on marketplaces such as 88cars3d.com, provides an enormous advantage, saving you hours of cleanup and ensuring predictable, high-quality results. A poorly constructed mesh will cause problems at every subsequent stage of the pipeline, from UV unwrapping to final rendering.
The gold standard for hard-surface models like cars is quad-based topology. Quads (four-sided polygons) subdivide cleanly and predictably, which is essential for creating smooth, high-resolution surfaces. Triangles can cause pinching and artifacts when subdivided, while n-gons (polygons with more than four sides) can lead to rendering errors and shading issues. More importantly, the edge flow—the direction of the polygon loops—must follow the car’s natural curves and contours. Proper edge flow ensures that reflections glide seamlessly across the body panels without distortion. For example, the edge loops around a wheel arch should be concentric and evenly spaced, defining the curve perfectly. Holding edges, or support loops, are placed close to sharp creases to maintain definition after subdivision, preventing the model from looking soft or “blobby.”
There is no one-size-fits-all polygon count. The required density is entirely dependent on the final application.
Understanding these targets from the outset allows you to plan your optimization strategy effectively.
Even the best models can have hidden issues. Before proceeding, a thorough technical audit is essential. Use built-in tools in your 3D software (like the “STL Check” modifier in 3ds Max or “Mesh Analysis” in Blender) to look for common problems:
Fixing these issues at the start prevents major headaches down the line.
UV mapping is the process of flattening a 3D model’s surface into a 2D space so textures can be applied correctly. For a complex object like a car, with its mix of large, curved panels and tiny, intricate details, a strategic approach to UV mapping is non-negotiable. Poor UVs can result in stretched textures, visible seams, and inconsistent resolution, undermining the realism of your final asset. This is a meticulous process that requires both technical skill and artistic judgment.
The key to good UVs is placing seams intelligently. Seams are cuts made in the 3D mesh to allow it to unfold flat, but they can be visible if placed in prominent locations. For a car, the best practice is to hide seams along natural panel gaps or hard edges where they are less likely to be noticed. For instance, place seams along the edges of doors, the hood, and the trunk. For the main body, you can often hide a seam on the underside of the car. Avoid placing seams in the middle of a large, smooth panel like the roof or hood, as this will be impossible to hide and will break the flow of reflections and textures.
Texel density refers to the number of texture pixels per unit of 3D surface area (e.g., pixels per meter). Maintaining a consistent texel density across the entire model is crucial for a uniform appearance. You don’t want the door handle to be blurry while the door panel is razor-sharp. Use UV tools to measure and equalize the density across different UV shells. For hero assets requiring extreme detail, a single UV map isn’t enough. This is where UDIMs (U-Dimension) come in. The UDIM workflow allows you to use multiple UV tiles for a single object, enabling you to assign multi-4K or even 8K textures to different parts of the car. You might have one UDIM tile for the main body, another for the interior, and several for the chassis and engine, ensuring every part has enough resolution for close-up shots.
Once your UV shells are created, they must be efficiently packed into the 0-1 UV space (or across multiple UDIM tiles). The goal is to maximize texture space usage, as any empty space is wasted memory. Most 3D software has automated packing tools, but manual adjustments are often necessary for the best results.
Key principles include:
For an in-depth exploration of Blender’s powerful UV Editing workspace and tools, the official Blender 4.4 manual at https://docs.blender.org/manual/en/4.4/?utm_source=blender-4.4.0 is an invaluable and detailed resource.
Physically Based Rendering (PBR) is the industry-standard approach for creating materials that react to light in a realistic way. A PBR workflow uses a set of texture maps to define the physical properties of a surface, such as its color, roughness, and metallicity. For automotive visualization, mastering PBR is essential for creating believable car paint, chrome, glass, leather, and plastic. It’s a system that works consistently across different renderers and game engines, from Corona to Unreal Engine.
A standard PBR metal/roughness workflow relies on a few key texture maps:
A simple PBR material isn’t enough for something as complex as car paint. A realistic car paint shader needs multiple layers. In 3ds Max or Blender, this is often built using a layered material setup.
This same layered approach can be used for creating dusty windshields, worn leather seats, or muddy tires by blending different materials using masks.
For game assets and real-time models, it’s impossible to use a multi-million polygon model. Instead, we use a technique called texture baking. We start with a detailed high-poly model and a simplified low-poly version with clean UVs. The baking process projects the surface details from the high-poly model onto the texture maps of the low-poly model. The most common baked maps for automotive models are:
This process allows a 50,000 polygon model to look nearly as detailed as its 2-million polygon source.
When the goal is to create a stunning, photorealistic image for marketing, advertising, or a design portfolio, no compromises are made. Here, offline renderers like Corona, V-Ray, Arnold, or Blender’s Cycles are used. These path-tracing engines simulate the physical behavior of light with incredible accuracy, producing results that are often indistinguishable from reality. The process involves more than just hitting the render button; it’s a careful orchestration of lighting, camera work, and post-processing.
Lighting is arguably the most critical element for a convincing render. Bad lighting will make even the best model look fake. The industry standard is Image-Based Lighting (IBL) using a High Dynamic Range Image (HDRI). An HDRI is a 360-degree panoramic image that contains a massive range of light intensity data. When used as an environment map, it illuminates the scene and provides rich, detailed reflections on the car’s surface. For a studio look, you can supplement the HDRI with softbox area lights, mimicking a real-world photography setup. A classic three-point lighting system (Key, Fill, and Rim light) is a great starting point for accentuating the car’s form.
While all path-tracers work on similar principles, they have unique strengths.
Regardless of the engine, always render at a high resolution (4K or above) and use enough samples to eliminate noise for a clean final image.
The raw render is rarely the final image. Professional artists render out multiple passes (or Render Elements/AOVs) to have maximum control during post-processing. Common passes include:
In post-production, you can fine-tune colors, add lens flares, enhance contrast, and composite the car onto a photographic backplate for a truly integrated and polished final shot.
Preparing a car for a game engine like Unreal Engine or Unity is a discipline of its own. Here, the primary concern is performance. Every polygon, texture, and material must be ruthlessly optimized to ensure the game runs at a smooth frame rate (typically 60 FPS or higher). This process involves transforming a high-detail cinematic model into a lean, efficient game asset that still looks incredible in real-time.
The first step is creating a low-polygon game-ready mesh. If you start with a high-poly model, you’ll need to perform retopology—the process of building a new, clean, low-poly mesh over the top of the detailed one. This is often done manually for hero assets to ensure the best possible edge flow and silhouette. The details are then baked down using the process described earlier.
Furthermore, games use Levels of Detail (LODs). This system uses different versions of the model at varying polygon counts.
The engine automatically swaps these LODs based on the car’s distance from the camera, drastically improving performance.
A draw call is a command from the CPU to the GPU to draw an object. Each object with a unique material generates at least one draw call. Too many draw calls can create a CPU bottleneck and tank performance. To optimize this, we consolidate materials. Instead of having separate materials for every little piece of chrome, rubber, and plastic, we combine their textures into a single large texture sheet called a texture atlas. The entire car might be reduced to just a handful of materials: one for the exterior body, one for the interior, one for the wheels, and one for glass. This massively reduces the number of draw calls and is a critical optimization for any real-time application.
While the principles are the same, the implementation can differ.
In both engines, correctly setting up collision meshes is also a vital step to ensure the car interacts realistically with the game world.
The utility of a 3D car model extends far beyond traditional screens. Augmented Reality (AR), Virtual Reality (VR), and 3D Printing present unique sets of technical challenges and requirements that demand specialized preparation workflows. From real-time performance on a mobile device to ensuring a model is physically printable, these applications push the boundaries of model optimization and integrity.
AR and VR applications, especially on standalone headsets or mobile phones, are extremely performance-sensitive. The goal is to deliver a smooth, high-frame-rate experience, which means every aspect of the model must be optimized.
Preparing a model for 3D printing is a completely different challenge. Here, the focus shifts from visual appearance to physical plausibility. The model must be a single, solid, continuous mesh.
Choosing the right file format is crucial for compatibility and functionality.
A great starting point, such as a high-quality model from 88cars3d.com, often includes several of these key formats, giving you the flexibility to target multiple platforms from a single purchase.
Transforming a 3D car model from a raw asset into a production-ready component for a specific application is a journey that blends artistic vision with rigorous technical execution. We’ve seen that the path to a photorealistic render is paved with high-polygon detail and complex layered shaders, while the road to a real-time game asset is built on ruthless optimization, LODs, and texture atlasing. Meanwhile, AR and 3D printing demand a focus on file size efficiency and absolute mesh integrity. The common thread connecting all these disciplines is the principle of “fitness for purpose.” A model is only as good as its preparation for its final destination.
The key takeaway is that a high-quality base model is your most valuable asset. Starting with clean topology, proper scale, and meticulous detail makes adaptation for any pipeline infinitely easier. Your next step is to identify your target application and begin applying these principles. If you’re rendering, focus on your lighting and materials. If you’re a game developer, begin your retopology and optimization process. By understanding these distinct workflows, you can unlock the full potential of your 3D car models, ensuring they perform flawlessly and look spectacular, no matter the medium.
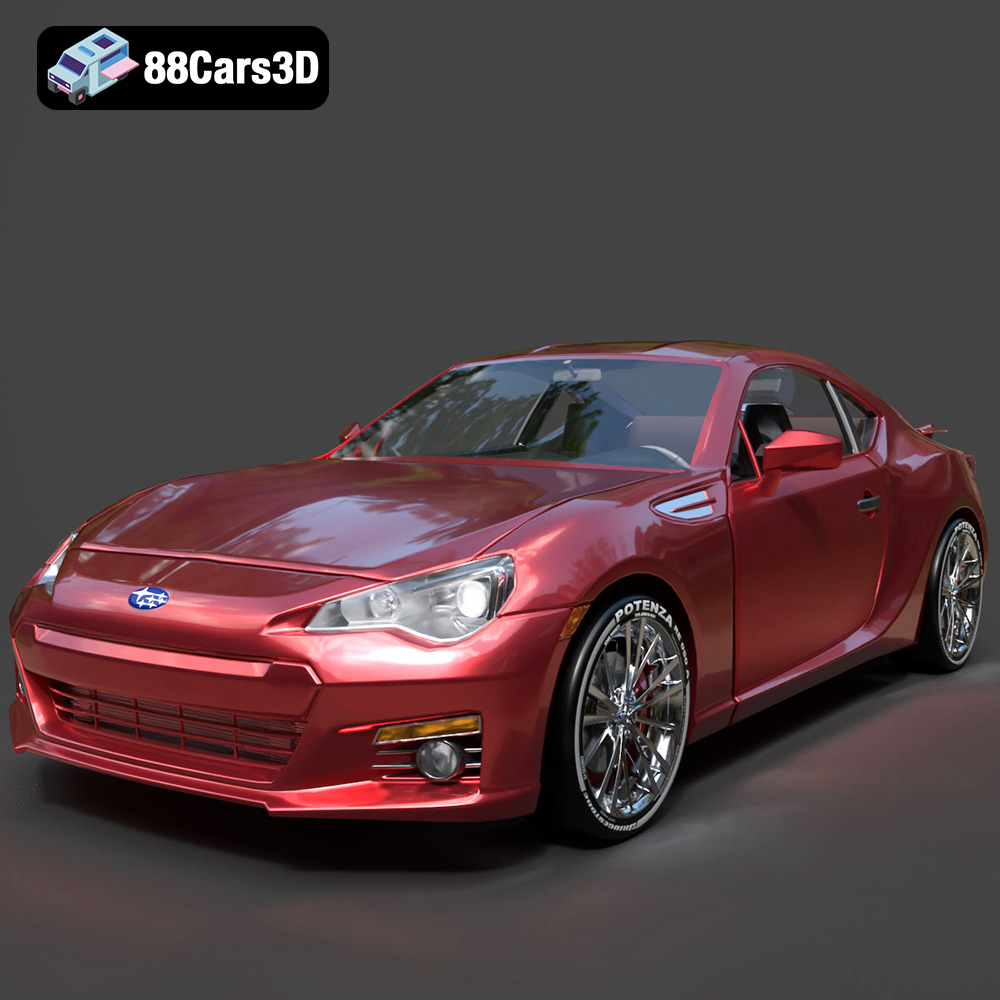
Texture: Yes
Material: Yes
Download the Subaru BRZ 2025 3D Model featuring clean geometry, realistic detailing, and a fully modeled interior. Includes .blend, .fbx, .obj, .glb, .stl, .ply, .unreal, and .max formats for rendering, simulation, and game development.
Price: $10

Texture: Yes
Material: Yes
Download the Subaru Impreza Sport Wagon 3D Model featuring clean geometry, realistic detailing, and a fully modeled interior. Includes .blend, .fbx, .obj, .glb, .stl, .ply, .unreal, and .max formats for rendering, simulation, and game development.
Price: $10

Texture: Yes
Material: Yes
Download the Skoda Octavia A7 2017 3D Model featuring clean geometry, realistic detailing, and a fully modeled interior. Includes .blend, .fbx, .obj, .glb, .stl, .ply, .unreal, and .max formats for rendering, simulation, and game development.
Price: $10

Texture: Yes
Material: Yes
Download the Suzuki SX4-002 3D Model featuring clean geometry, realistic detailing, and a fully modeled interior. Includes .blend, .fbx, .obj, .glb, .stl, .ply, .unreal, and .max formats for rendering, simulation, and game development.
Price: $10

Texture: Yes
Material: Yes
Download the Tesla Model S 2024 3D Model featuring clean geometry, realistic detailing, and a fully modeled interior. Includes .blend, .fbx, .obj, .glb, .stl, .ply, .unreal, and .max formats for rendering, simulation, and game development.
Price: $10

Texture: Yes
Material: Yes
Download the Subaru Impreza WRX STi-002 3D Model featuring clean geometry, realistic detailing, and a fully modeled interior. Includes .blend, .fbx, .obj, .glb, .stl, .ply, .unreal, and .max formats for rendering, simulation, and game development.
Price: $10

Texture: Yes
Material: Yes
Download the Subaru Impreza WRX STi Sedan 3D Model featuring clean geometry, realistic detailing, and a fully modeled interior. Includes .blend, .fbx, .obj, .glb, .stl, .ply, .unreal, and .max formats for rendering, simulation, and game development.
Price: $10

Texture: Yes
Material: Yes
Download the Subaru Legacy 2009 3D Model featuring clean geometry, realistic detailing, and a fully modeled interior. Includes .blend, .fbx, .obj, .glb, .stl, .ply, .unreal, and .max formats for rendering, simulation, and game development.
Price: $10

Texture: Yes
Material: Yes
Download the Suzuki Swift 2024 3D Model featuring clean geometry, realistic detailing, and a fully modeled interior. Includes .blend, .fbx, .obj, .glb, .stl, .ply, .unreal, and .max formats for rendering, simulation, and game development.
Price: $10

Texture: Yes
Material: Yes
Download the Suzuki Liana Sedan 2004 3D Model featuring clean geometry, realistic detailing, and a fully modeled interior. Includes .blend, .fbx, .obj, .glb, .stl, .ply, .unreal, and .max formats for rendering, simulation, and game development.
Price: $10

