Get 50% OFF All Premium 3D & STL Models!

From hyper-realistic automotive rendering that graces magazine covers to the high-octane vehicles in blockbuster video games, 3D car models are a cornerstone of modern digital content. Yet, the journey from a simple polygon mesh to a stunning final asset is fraught with technical challenges and requires a deep understanding of multiple disciplines. A high-quality 3D car model is more than just an accurate shape; it’s a carefully constructed digital asset built on a foundation of clean topology, meticulous UV mapping, and sophisticated material creation. Whether you are an automotive designer visualizing a new concept, a game developer building an immersive racing experience, or an archviz artist placing a vehicle in a scene, the quality of your car model will directly impact the final result.
This comprehensive guide will deconstruct the entire lifecycle of a professional 3D car model. We will dive deep into the fundamental principles of modeling for perfect surface reflections and explore advanced strategies for UV unwrapping complex automotive bodies. We’ll break down the science and art of PBR material creation for achieving photorealistic car paint, glass, and chrome. Furthermore, we’ll cover optimization workflows for real-time applications like game engines and AR/VR, as well as preparation techniques for tangible outputs like 3D printing. By the end of this article, you will have the expert knowledge needed to create, evaluate, and effectively utilize 3D car models across a wide spectrum of professional projects.
The topology of a 3D model is its underlying wireframe structure—the arrangement of vertices, edges, and polygons that define its shape. For automotive models, topology is not just about form; it’s about function and finish. Flawless, deliberate edge flow is the single most important factor in achieving the smooth, crisp, and controllable surface reflections that define modern vehicles. A poorly constructed mesh will result in visible pinching, lighting artifacts, and difficulties in subsequent stages like UV mapping and texturing. Starting with a meticulously crafted model, like those available from professional marketplaces such as 88cars3d.com, saves countless hours and ensures a solid foundation for any project.
In professional 3D modeling, the gold standard is an all-quad mesh. Quads (polygons with four sides) offer significant advantages over triangles and n-gons (polygons with more than four sides), especially for hard-surface models like cars.
Edge flow refers to the direction and density of polygon edges across a model’s surface. For cars, edge flow must follow the form and curvature of the body panels. The goal is to use the minimum number of polygons necessary to define the shape perfectly.
– Pole Management: A “pole” is a vertex where more or less than four edges meet. While an all-quad mesh minimizes complex poles (more than 5 edges connected), they are sometimes unavoidable. The key is to place them strategically on flat surfaces where they won’t disrupt curvature and cause pinching in the reflections. Avoid placing poles on highly curved areas of a car’s body.
The required polygon density depends entirely on the application. A “high-poly” model for automotive rendering might have anywhere from 500,000 to several million polygons after subdivision, ensuring perfectly smooth surfaces even in extreme close-ups. In contrast, a primary hero car for a PC or console game (LOD0) typically ranges from 100,000 to 300,000 polygons. This is a delicate balance between visual fidelity and real-time performance, which we will explore further in the optimization section.
If topology is the skeleton of a 3D car model, UV mapping is its skin. UV mapping is the process of unwrapping the 3D surface into a 2D space (the “UV map”) so that textures can be applied accurately. For a complex object like a car, with its mix of large, flowing panels and small, intricate details, a strategic approach to UV mapping is essential for achieving high-fidelity results. Haphazard unwrapping leads to stretched textures, visible seams, and inefficient use of texture space, severely compromising the model’s realism.
For high-end cinematic and rendering projects, a single texture map is often insufficient to capture the necessary detail across an entire vehicle. This is where the UDIM (U-Dimension) workflow comes in. UDIMs allow a single object to use multiple texture maps, each occupying a different tile in the UV space. For a car, this means you can dedicate an entire 4K or 8K texture set just for the main body, another for the interior, one for the wheels, and another for the chassis. This approach provides massive resolution and detail without being constrained to a single UV layout, making it the industry standard for photorealistic automotive rendering.
Not every part of a car needs a complex unwrap. For small, intricate mechanical parts, grilles, or emblems, projection mapping can be more efficient. Planar, cylindrical, or spherical projections can quickly create usable UVs for less critical or less visible components. The real art lies in efficient packing. For game assets, where every pixel of texture space counts, all UV shells must be tightly packed into a single UV tile (or a few, for atlases) to minimize memory usage. Key principles of packing include:
Modern DCC applications provide powerful tools for this process. Blender, for instance, has a robust UV editing toolset that is constantly improving. Features like its advanced unwrapping algorithms (Angle Based vs. Conformal), UV packing tools, and visualization overlays make the process more intuitive. For artists looking to master these features, the official Blender 4.4 documentation provides an excellent, in-depth resource, particularly on the nuances of its UV unwrapping tools available at: https://docs.blender.org/manual/en/4.4/modeling/meshes/uv/index.html. Mastering these tools is key to creating a professional-grade UV layout.
With a solid mesh and a clean UV map, the next step is to breathe life into the model through materials and textures. The modern standard for realistic materials is the Physically Based Rendering (PBR) workflow. PBR aims to simulate how light interacts with surfaces in the real world, resulting in materials that look accurate in all lighting conditions. For 3D car models, a deep understanding of PBR is essential for creating everything from multi-layered car paint to convincing rubber, chrome, and glass.
The most common PBR workflow is Metallic/Roughness. It relies on a set of texture maps to describe the physical properties of a surface:
Car paint is one of the most complex materials to replicate digitally. It’s not a single surface but a layered material. A typical car paint shader network involves:
Perfectly clean cars can look artificial. Adding subtle imperfections is key to realism. Using procedural masks and hand-painted details in software like Substance Painter or directly in Blender’s shader editor, you can add:
With a fully modeled and textured car, the final step for visualization artists is the rendering stage. This is where all the preceding work culminates in a final image or animation. The quality of the render is determined by three key factors: lighting, camera setup, and render engine settings. Creating a compelling automotive rendering is as much an art of digital photography as it is a technical process.
The fastest and most realistic way to light a vehicle is with Image-Based Lighting (IBL) using an HDRI. An HDRI is a 360-degree panoramic image that contains a massive range of light intensity data. When used to illuminate a 3D scene, it provides not only realistic lighting from all directions but also detailed reflections on the car’s surface.
Your 3D camera should be treated like a real-world camera. Pay attention to settings that professional automotive photographers use:
The choice of render engine depends on your software and desired outcome. Path tracing engines like Corona and V-Ray (for 3ds Max) or Cycles and Arnold (for Blender/Maya) are masters of photorealism, accurately simulating the physics of light. For final output, it’s best practice to render in a high-bit-depth format (like 32-bit EXR) and to separate the render into passes (e.g., direct lighting, reflections, ambient occlusion). This gives you maximum control in post-processing software like Adobe Photoshop or DaVinci Resolve, where you can fine-tune colors, contrast, and highlights to achieve the perfect final image.
Creating a 3D car model for a game engine like Unity or Unreal Engine introduces a new and critical constraint: performance. Game engines need to render the scene at a consistent 30, 60, or even 120+ frames per second. This requires a completely different approach to modeling, texturing, and material setup compared to offline rendering. The goal of real-time optimization is to maintain the highest possible visual quality while staying within a strict performance budget.
Level of Detail (LOD) is the most important optimization technique for complex assets like cars. It involves creating multiple versions of the model at decreasing levels of complexity. The game engine automatically swaps these versions based on the car’s distance from the camera.
A “draw call” is a command from the CPU to the GPU to draw an object on the screen. Each object with a unique material generates at least one draw call. Too many draw calls can create a CPU bottleneck and severely impact frame rates. For cars, which are made of many parts, this can be a major issue. The primary solution is to combine materials and textures.
Texture Atlasing is the process of combining multiple smaller textures into a single, larger texture sheet (an atlas). For example, textures for the dashboard, seats, and door panels could all be packed into one “Interior” texture set. This allows the entire interior to be rendered with a single material and thus a single draw call, drastically improving performance. This requires careful planning during the UV mapping stage to pack all related UV shells into the same 0-1 UV space.
Real-time shaders are less complex than their offline counterparts. A clear coat shader in Unreal Engine is highly optimized and may not have the same level of nuance as one in V-Ray. It’s crucial to use the shaders provided by the game engine and avoid overly complex custom shader graphs. Similarly, every polygon counts. Artists must be ruthless in removing unseen polygons (e.g., the bottom of the chassis, engine parts hidden by the hood) and simplifying geometry that doesn’t contribute to the model’s silhouette. Every vertex and triangle must justify its existence in a real-time game asset.
The utility of 3D car models extends far beyond traditional rendering and gaming. Emerging technologies like Augmented Reality (AR), Virtual Reality (VR), and 3D Printing have opened up new applications, from interactive car configurators on a smartphone to physical prototypes for design validation. However, each of these applications comes with its own unique set of technical requirements and optimization challenges.
AR and VR applications are essentially ultra-demanding real-time simulations. Performance is paramount, as even minor frame drops can induce motion sickness in users. The optimization principles are similar to game development but even more stringent.
Taking a digital model and making it a physical object via 3D printing is a process of translation. A model that looks perfect on screen may not be printable without significant preparation. The focus shifts from visual appearance to structural integrity.
Creating or utilizing a professional-grade 3D car model is a multi-faceted discipline that blends artistic vision with deep technical expertise. We’ve journeyed from the foundational importance of clean, quad-based topology that governs reflections, through the meticulous process of UV mapping for high-resolution texturing, and into the nuanced world of PBR material creation for ultimate realism. We’ve seen how lighting and cinematography can transform a great model into a breathtaking render, and how a completely different set of optimization rules governs the creation of high-performance assets for game engines, AR, and VR.
The key takeaway is that a successful project begins with a high-quality asset. Whether you are building from scratch or sourcing a model, understanding these core principles allows you to make informed decisions, troubleshoot problems, and push the boundaries of your creative work. The techniques discussed here—from LODs and UDIMs to shader networks and mesh preparation—are the essential vocabulary of the modern 3D artist. Whether you’re creating a portfolio piece or sourcing assets for a large-scale project, investing in high-quality 3D car models from platforms like 88cars3d.com provides the professional starting point you need to succeed and bring your automotive visions to life with stunning fidelity.
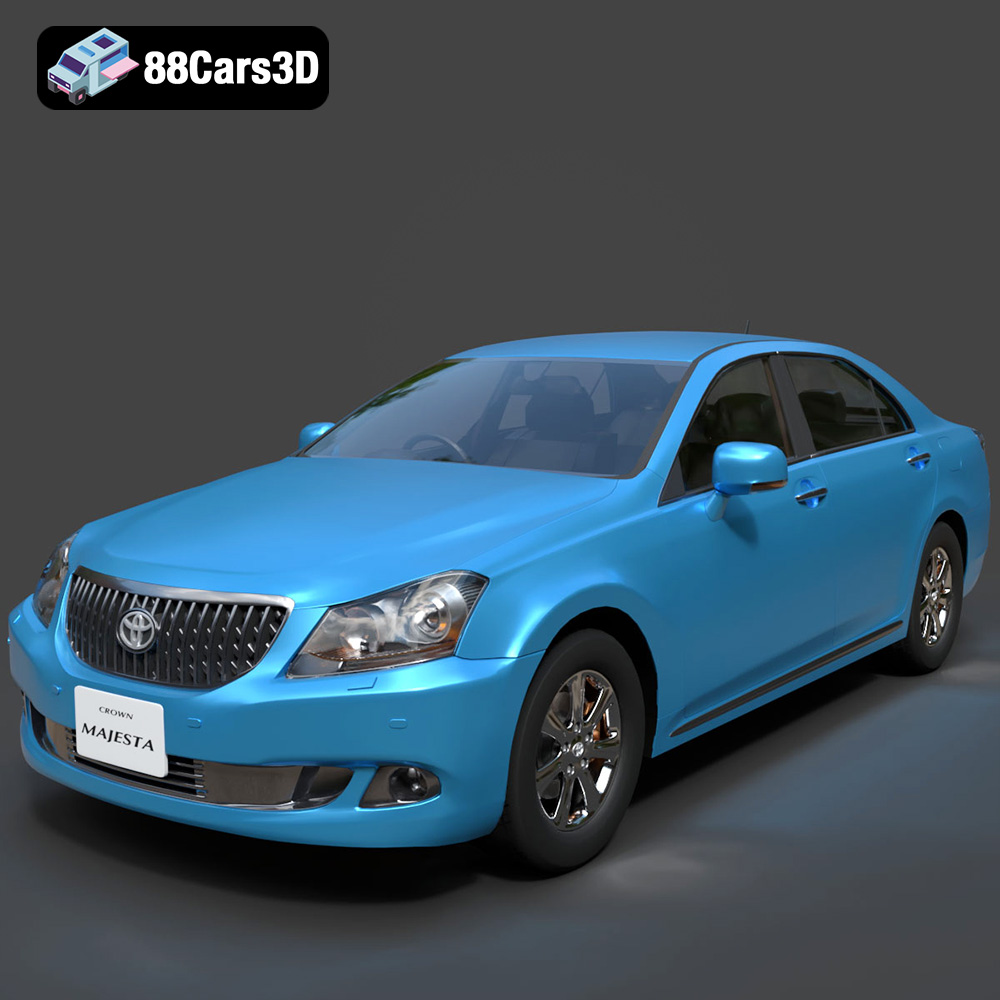
**Meta Description:**
Texture: Yes
Material: Yes
Download the Toyota Crown Majesta 2009 3D Model with luxury detailing, clean topology, and a fully modeled interior. Available in .blend, .fbx, .obj, .glb, .stl, .ply, .unreal, and .max formats for rendering, simulation, and game development.
Price: $13.9
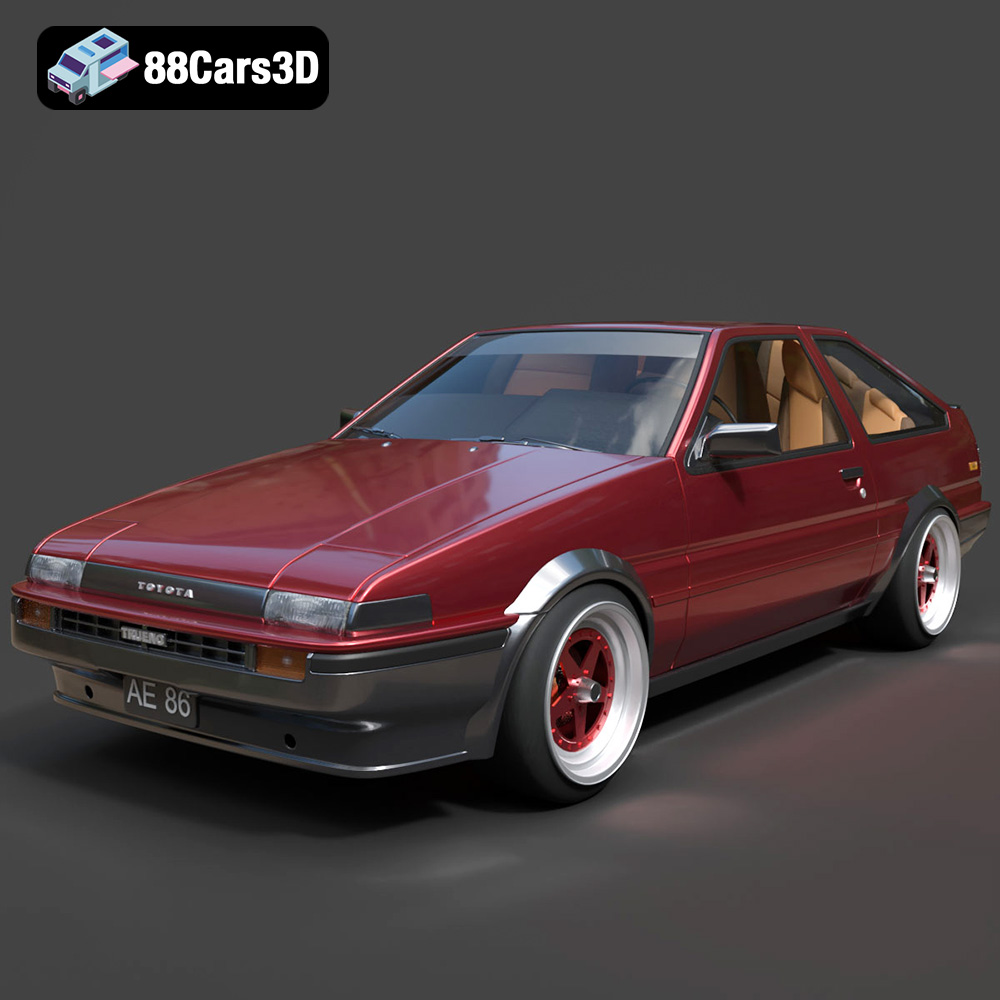
**Meta Description:**
Texture: Yes
Material: Yes
Download the Toyota AE86 Levin 1983 1987 3D Model featuring realistic exterior and interior detailing. Includes .blend, .fbx, .obj, .glb, .stl, .ply, .unreal, and .max formats for rendering, simulation, and game development.
Price: $29.99
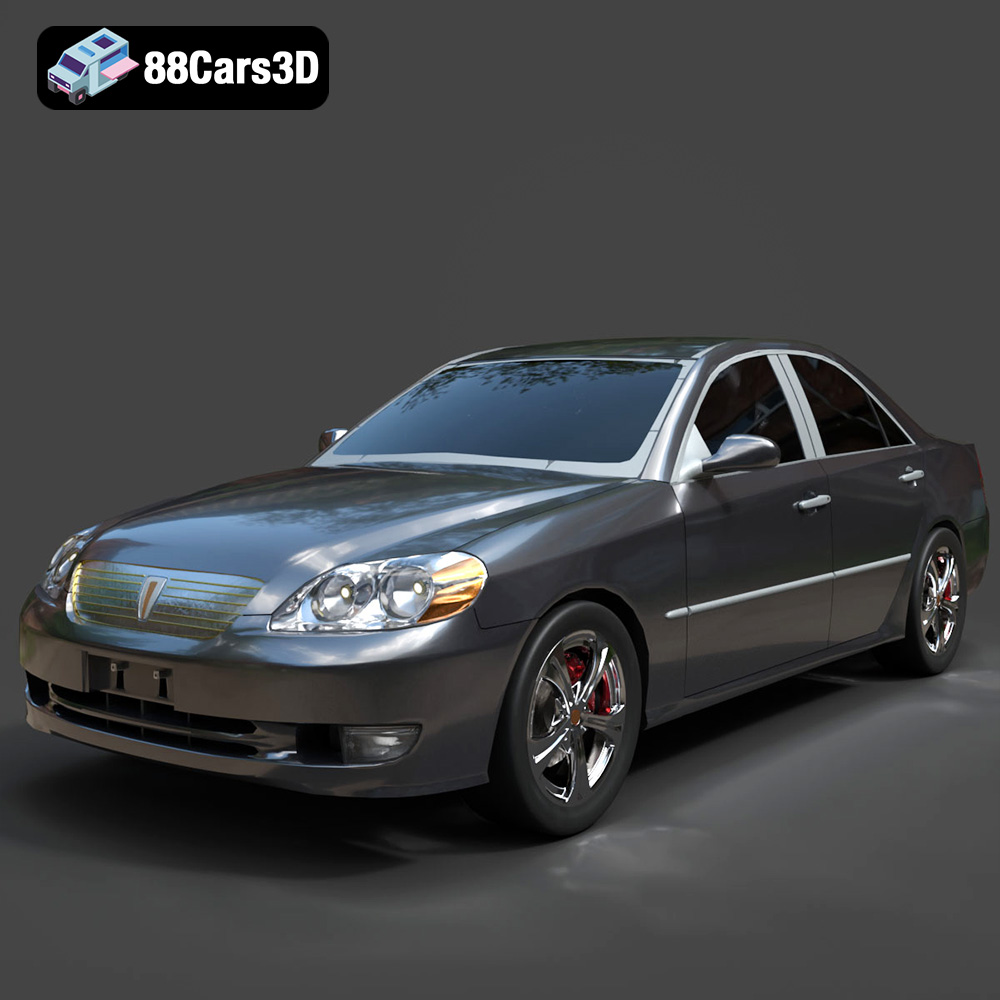
Texture: Yes
Material: Yes
Download the Toyota Mark 2 2001 3D Model featuring clean geometry, realistic detailing, and a fully modeled interior. Includes .blend, .fbx, .obj, .glb, .stl, .ply, .unreal, and .max formats for rendering, simulation, and game development.
Price: $10
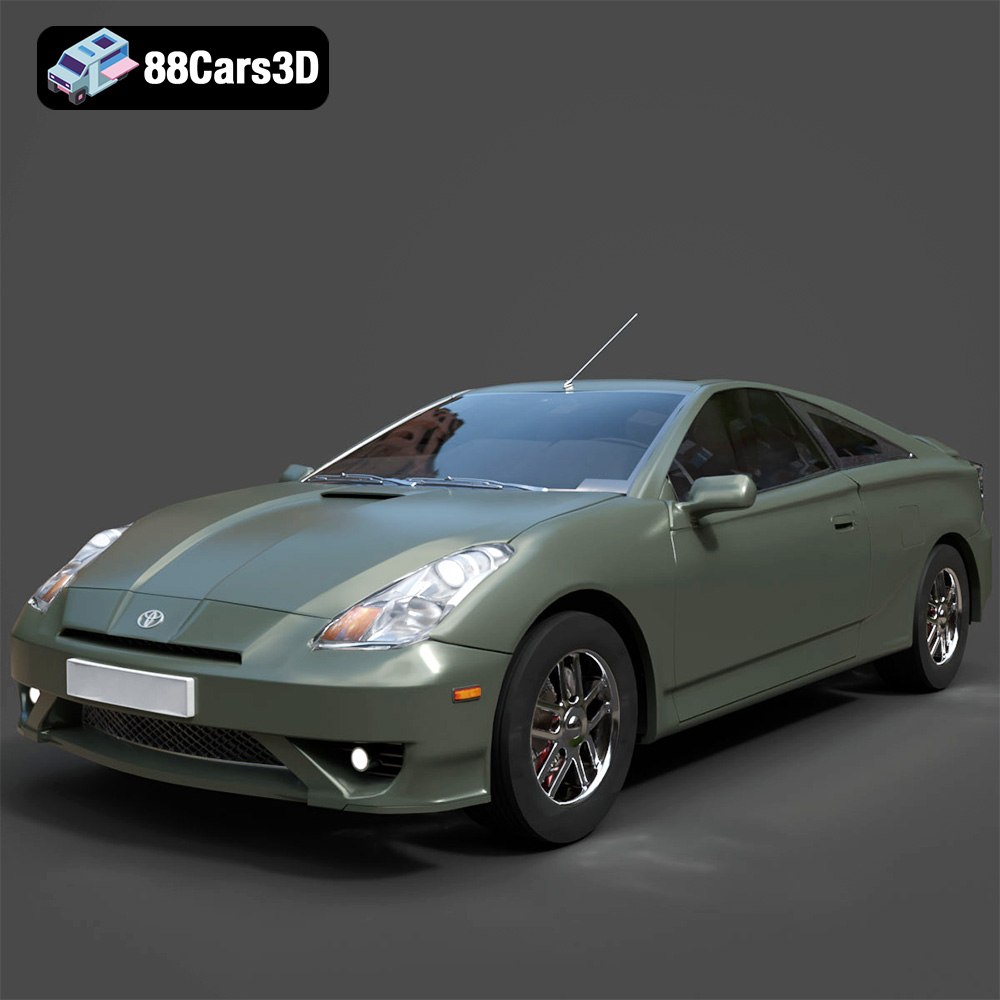
Texture: Yes
Material: Yes
Download the Toyota Celica 2000 3D Model featuring clean geometry, realistic detailing, and a fully modeled interior. Includes .blend, .fbx, .obj, .glb, .stl, .ply, .unreal, and .max formats for rendering, simulation, and game development.
Price: $10
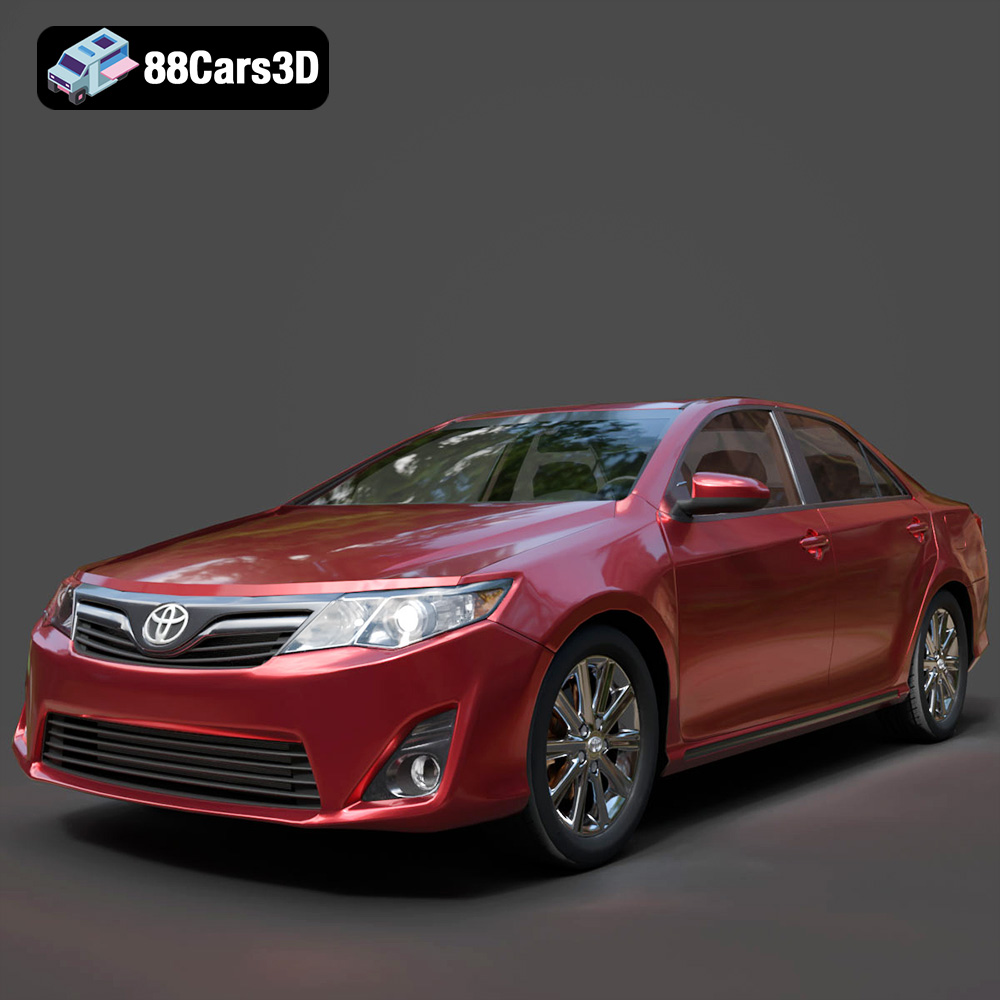
Download the Toyota Camry US 2012 3D Model featuring clean geometry, realistic detailing, and a fully modeled interior. Includes .blend, .fbx, .obj, .glb, .stl, .ply, .unreal, and .max formats for rendering, simulation, and game development.
Price: $10
Texture: Yes
Material: Yes
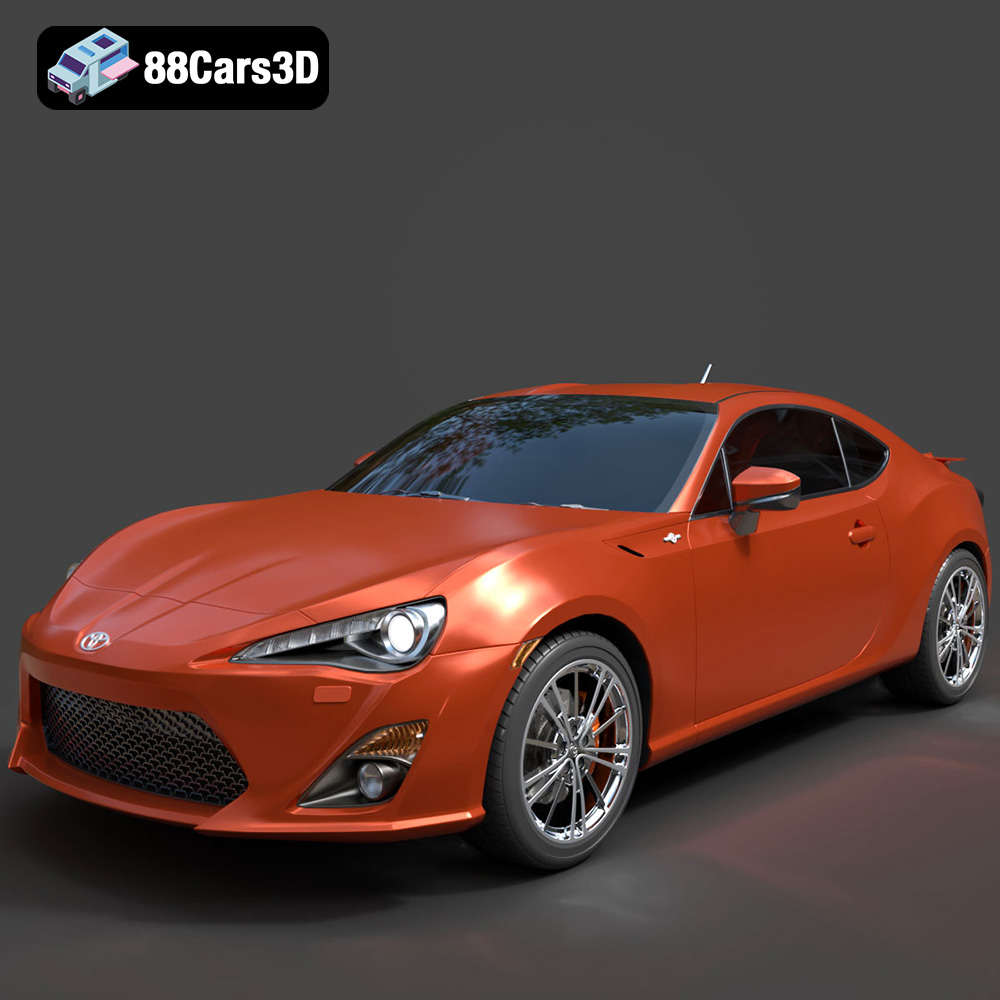
Download the Toyota GT 86 2013 3D Model featuring clean geometry, realistic detailing, and a fully modeled interior. Includes .blend, .fbx, .obj, .glb, .stl, .ply, .unreal, and .max formats for rendering, simulation, and game development.
Price: $10
Texture: Yes
Material: Yes
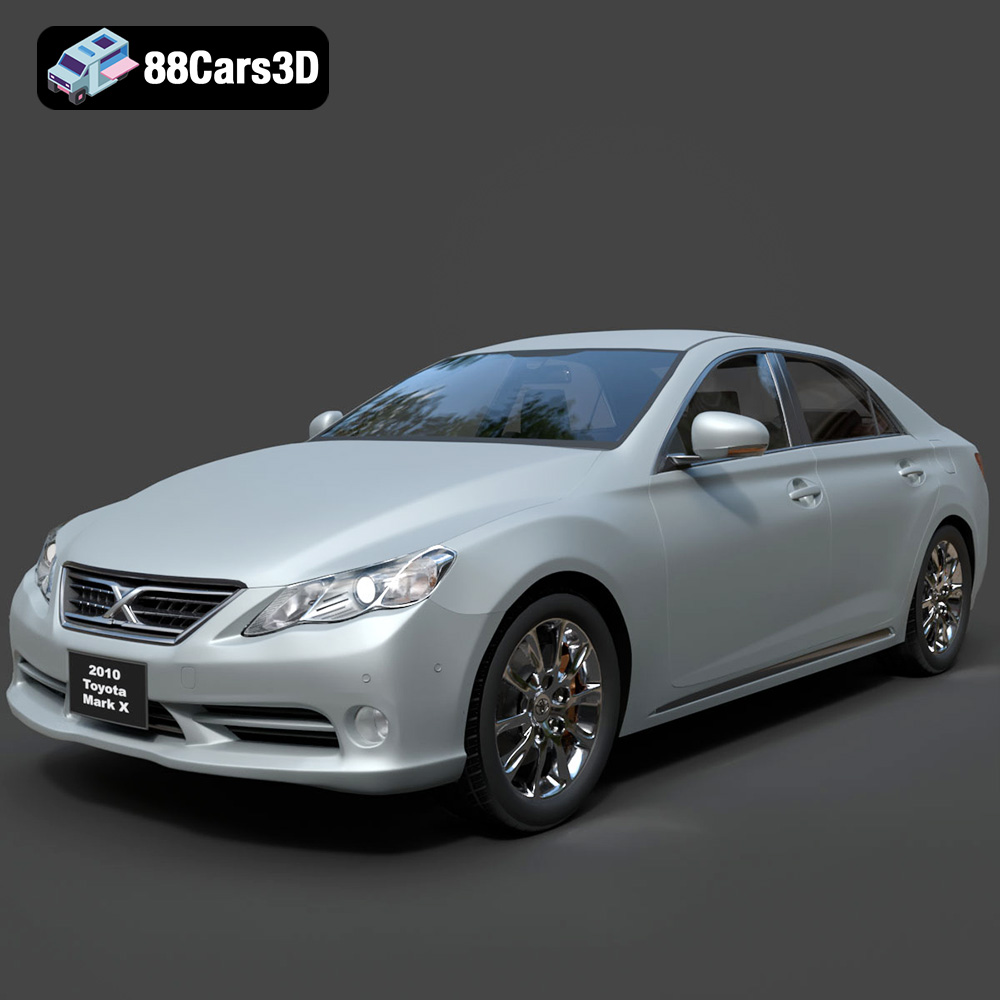
Download the Toyota Mark X 2010 3D Model featuring clean geometry, realistic detailing, and a fully modeled interior. Includes .blend, .fbx, .obj, .glb, .stl, .ply, .unreal, and .max formats for rendering, simulation, and game development.
Price: $10
Texture: Yes
Material: Yes
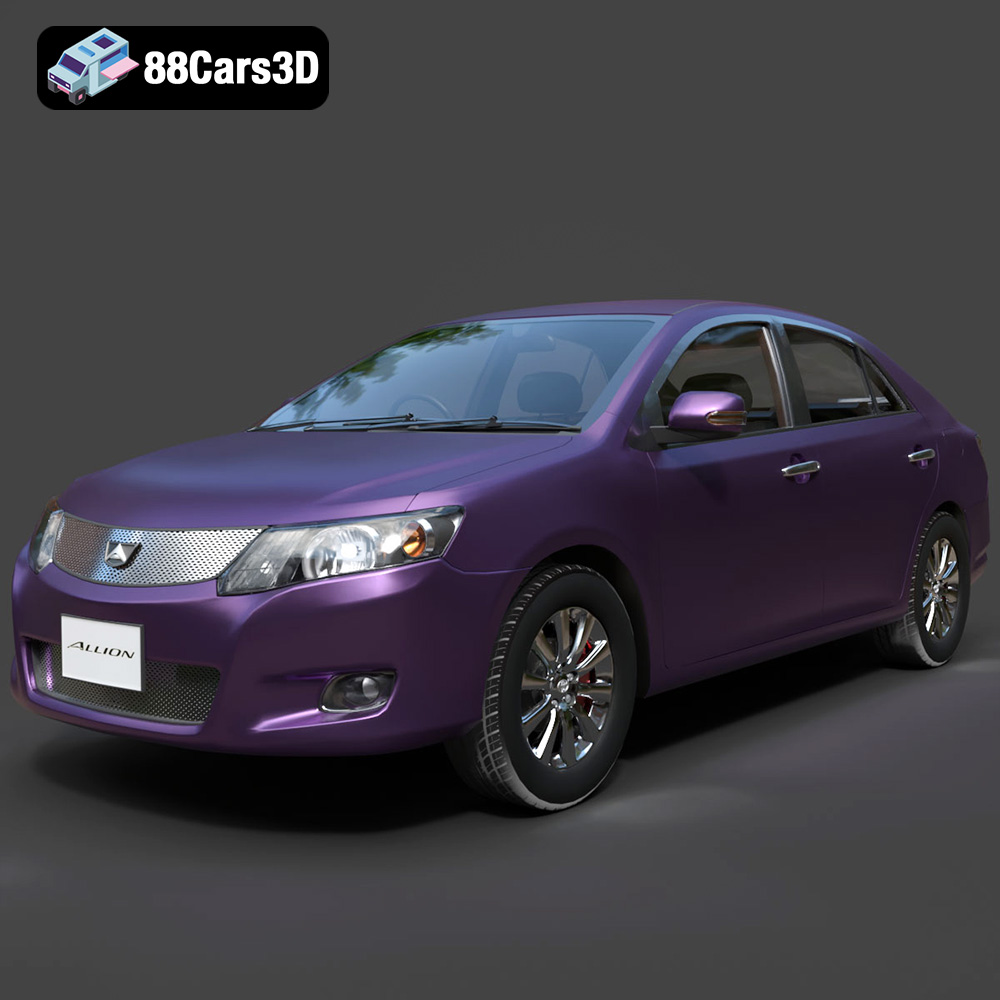
Download the Toyota Allion 2008 3D Model featuring clean geometry, realistic detailing, and a fully modeled interior. Includes .blend, .fbx, .obj, .glb, .stl, .ply, .unreal, and .max formats for rendering, simulation, and game development.
Price: $10
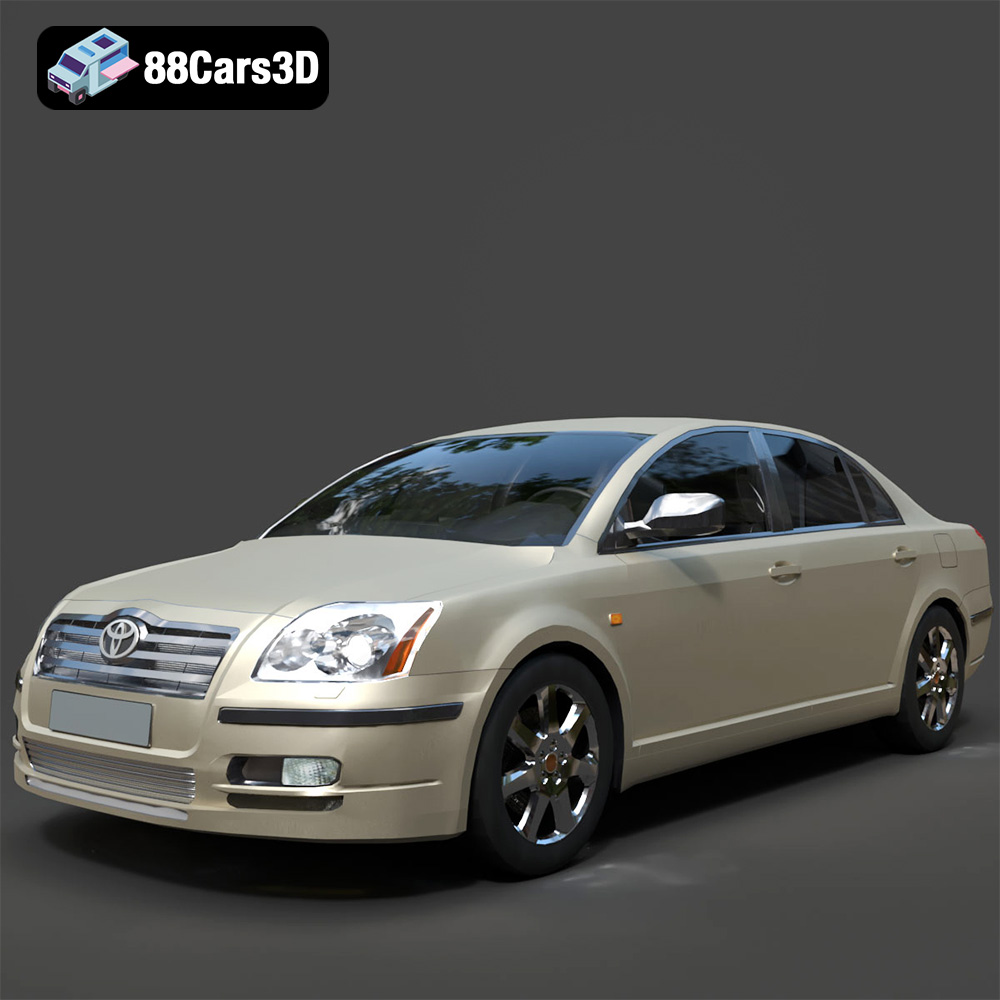
Texture: Yes
Material: Yes
Download the Toyota Avensis 2005 3D Model featuring clean geometry, realistic detailing, and a fully modeled interior. Includes .blend, .fbx, .obj, .glb, .stl, .ply, .unreal, and .max formats for rendering, simulation, and game development.
Price: $10
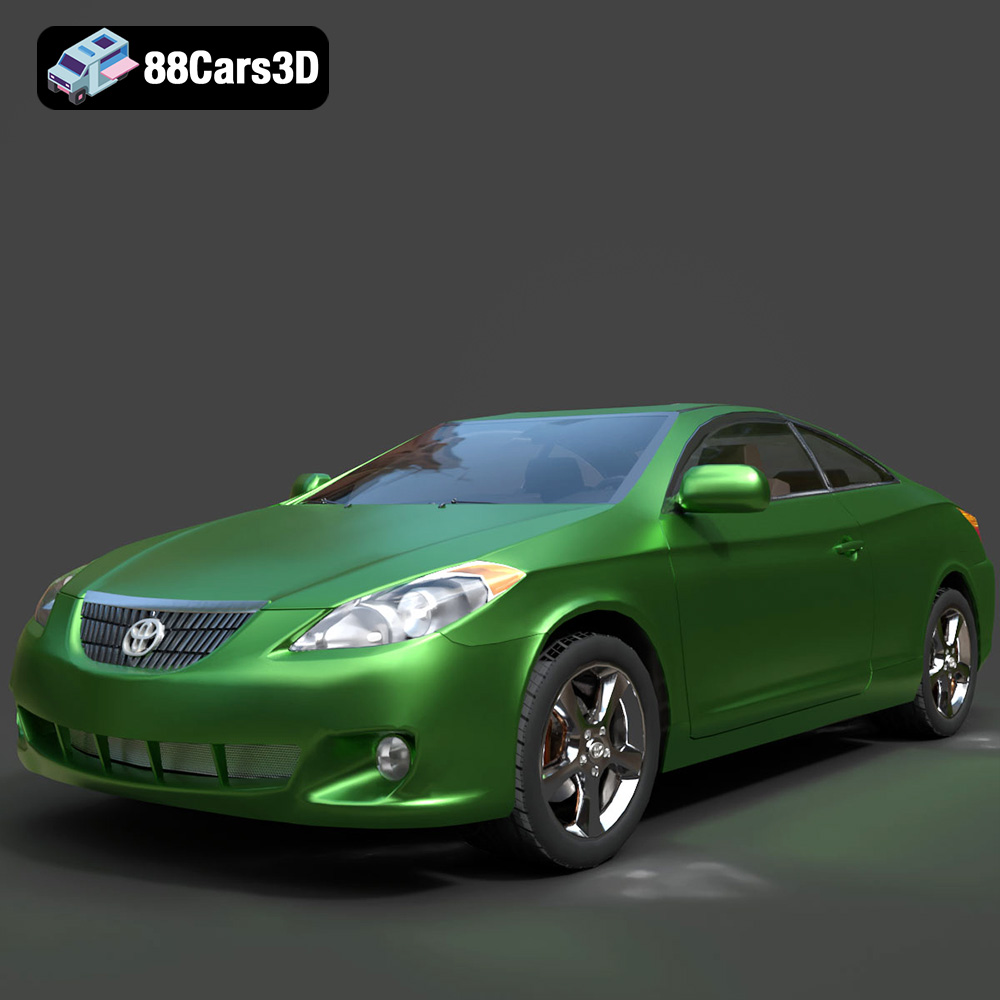
Texture: Yes
Material: Yes
Download the Toyota Camry Solara 2006 3D Model featuring clean geometry, realistic detailing, and a fully modeled interior. Includes .blend, .fbx, .obj, .glb, .stl, .ply, .unreal, and .max formats for rendering, simulation, and game development.
Price: $10

