Get 50% OFF All Premium 3D & STL Models!

A high-quality 3D car model is a masterpiece of digital craftsmanship, but its raw form is rarely a one-size-fits-all solution. A model destined for a cinematic automotive rendering has vastly different requirements than one designed to race around a track in a real-time game engine or be viewed on a smartphone in augmented reality. The art and science of optimization are what bridge these worlds, transforming a dense, detailed asset into a high-performance, versatile powerhouse. Understanding this process is the key to unlocking a model’s full potential, ensuring stunning visuals without sacrificing performance. Whether you are a visualization artist chasing photorealism, a game developer obsessed with frame rates, or an innovator building the next AR experience, mastering optimization is non-negotiable.
This comprehensive guide will take you deep into the technical workflows for preparing 3D car models for any application. We will dissect the fundamental principles of topology and edge flow, explore advanced UV mapping strategies for pristine texturing, and build complex PBR materials for lifelike surfaces. We’ll then dive into specific optimization pipelines for photorealistic rendering, real-time game engines, AR/VR platforms, and even 3D printing. Prepare to elevate your projects from good to exceptional.
Topology, the structure and flow of polygons that form a 3D mesh, is the bedrock upon which all other aspects of a 3D model are built. For automotive models, with their blend of sweeping curves and sharp, manufactured edges, pristine topology is paramount. It directly impacts how light reflects off surfaces, how the model deforms (if animated), and how smoothly it can be subdivided for higher detail. Poor topology leads to shading artifacts, texture distortion, and significant headaches during optimization.
The gold standard for automotive modeling is an all-quad mesh. Quads (four-sided polygons) deform predictably and are easily handled by subdivision algorithms like TurboSmooth or OpenSubdiv. This allows you to work with a lower-resolution base mesh and add detail non-destructively for high-end renders. Triangles (tris) and especially N-gons (polygons with more than four sides) can cause pinching, strange reflections, and unpredictable subdivision results. While game engines ultimately convert everything to tris, modeling in quads provides the cleanest source data to work from. When you acquire an asset from a professional marketplace like 88cars3d.com, you’ll notice the models are meticulously built with clean, quad-based topology, providing a perfect foundation for any use case.
Edge flow refers to the direction in which the edges of your polygons travel across the model’s surface. For cars, the rules are strict but effective:
The ideal polygon count is entirely dependent on the target platform. There is no single “correct” number.
If topology is the skeleton, UV mapping is the skin. A UV map is the 2D representation of your 3D model, dictating how textures are applied to its surface. A sloppy UV map will result in stretched textures, visible seams, and inconsistent detail, undermining even the best model and materials. For complex objects like cars, a strategic approach to UV unwrapping is essential.
A UV “seam” is where the 3D mesh is “cut” to be flattened into 2D. The goal is to place these seams where they are least visible. For 3D car models, ideal locations include:
Texel density is the measure of texture resolution on your model’s surface (e.g., pixels per meter). Maintaining a consistent texel density across the entire vehicle is crucial for a professional look. If the door has a much higher resolution than the fender next to it, the difference will be jarring. Use tools in Blender, 3ds Max, or specialized plugins like RizomUV to visualize and equalize texel density. For a hero car in a game, a target might be 1024 pixels/meter, while a cinematic render might push this to 4096 pixels/meter or higher.
For achieving extreme levels of detail in automotive rendering, a single texture map (e.g., 4K or 8K) may not be enough. This is where the UDIM (U-Dimension) workflow comes in. Instead of cramming all UV islands into one 0-1 UV space, UDIMs allow you to use multiple UV tiles, each with its own texture map. You could have one UDIM tile for the main body, another for the wheels, and another for the interior, each with a dedicated 4K texture. This is the standard for VFX and high-end visualization, providing immense texture resolution without managing dozens of separate materials.
Physically Based Rendering (PBR) is a methodology for shading and rendering that provides a more accurate representation of how light interacts with materials. This is the standard for modern game engines and renderers, and it’s essential for creating believable automotive surfaces. The most iconic and complex material on any car is its paint, which requires a multi-layered approach to replicate correctly.
A realistic car paint shader isn’t a single color; it’s a stack of different layers that work together. A typical setup in 3ds Max (using Corona/V-Ray) or Blender (using Cycles/Eevee) involves:
Modern renderers often have a dedicated “Clear Coat” parameter in their primary PBR shader, which simplifies this process significantly.
A perfectly clean car looks fake. Realism comes from the subtle imperfections. When texturing, focus on adding these details to your PBR maps (Albedo, Roughness, Metallic):
Creating a jaw-dropping automotive render requires more than just a great model; it’s about the interplay of light, shadow, and environment. The goal is to showcase the car’s design, form, and materials in the most compelling way possible. Whether you’re using Corona, V-Ray, or Blender’s Cycles, the principles of lighting and composition are universal.
There are two primary approaches to lighting a 3D car for rendering:
Often, the best results come from a hybrid approach: using an HDRI for realistic ambient light and reflections, then adding specific area lights to sculpt the shape and create dramatic highlights.
While the principles are similar, each renderer has its own strengths.
The raw render is rarely the final image. Professional artists render out multiple “passes” (e.g., reflections, ambient occlusion, z-depth) and composite them in software like Photoshop or Affinity Photo. This gives you granular control over the final look. Common post-processing steps include:
Optimizing a 3D car model for a game engine like Unreal Engine or Unity is a battle for performance. The goal is to maintain the highest visual fidelity possible while ensuring the game runs at a consistently high frame rate (e.g., 60 FPS or more). This requires a different set of techniques focused on reducing computational load.
A Level of Detail (LOD) system is the most critical optimization for game assets. It involves creating multiple versions of the car model, each with a progressively lower polygon count.
The game engine automatically swaps these models based on the car’s distance from the camera, drastically reducing the number of polygons that need to be rendered at any given time.
A “draw call” is a command from the CPU to the GPU to draw an object on the screen. Each separate material on a model typically results in a separate draw call. Too many draw calls can create a CPU bottleneck and lower frame rates. To combat this, we consolidate materials:
The demands of Augmented Reality (AR), Virtual Reality (VR), and 3D Printing push optimization into new territories. AR/VR applications are hyper-sensitive to performance, while 3D printing requires a model to be a perfect, solid object.
VR and AR applications must render two separate images (one for each eye) at a very high frame rate (typically 90 FPS) to avoid motion sickness. This leaves no room for unoptimized assets.
Preparing a car model for 3D printing is about transforming a set of virtual surfaces into a physically plausible, solid object. The key requirements are:
As we’ve seen, there is no single “optimized” version of a 3D car model. Optimization is a targeted process of adapting a high-quality source asset for a specific purpose. For the rendering artist, it’s about pushing detail to the limits of their hardware. For the game developer, it’s a strategic reduction of complexity to achieve fluid performance. For the AR/VR creator, it’s an exercise in extreme efficiency for immersive experiences. The common thread is the starting point: a meticulously crafted model with clean topology and well-planned UVs is the ultimate flexible asset.
By mastering these diverse workflows—from managing edge flow and texel density to building layered shaders and generating LODs—you can ensure your automotive models shine in any context. Your next step is to apply these principles to your current project. Analyze your target platform’s constraints and begin tailoring your model to meet them. Whether you’re building from scratch or starting with a production-ready asset from a library like 88cars3d.com, this technical knowledge will empower you to deliver spectacular results, every time.
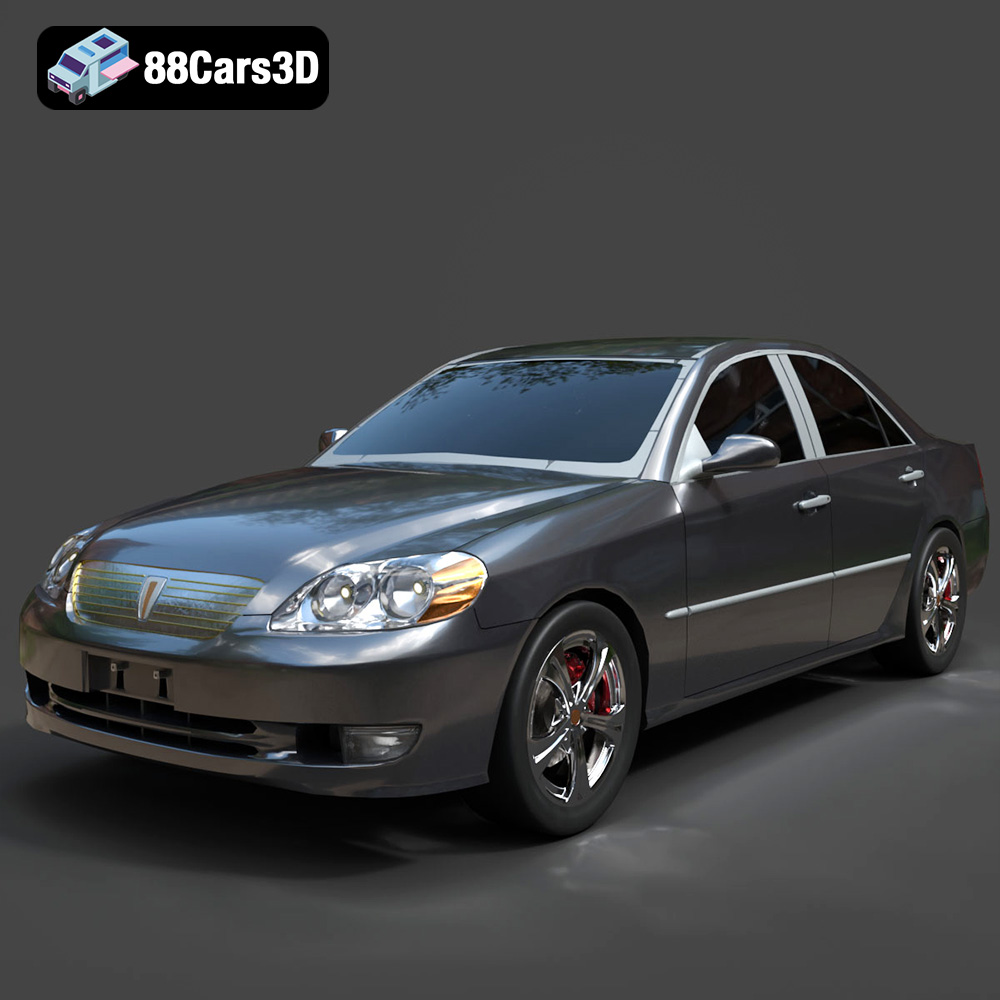
Texture: Yes
Material: Yes
Download the Toyota Mark 2 2001 3D Model featuring clean geometry, realistic detailing, and a fully modeled interior. Includes .blend, .fbx, .obj, .glb, .stl, .ply, .unreal, and .max formats for rendering, simulation, and game development.
Price: $10
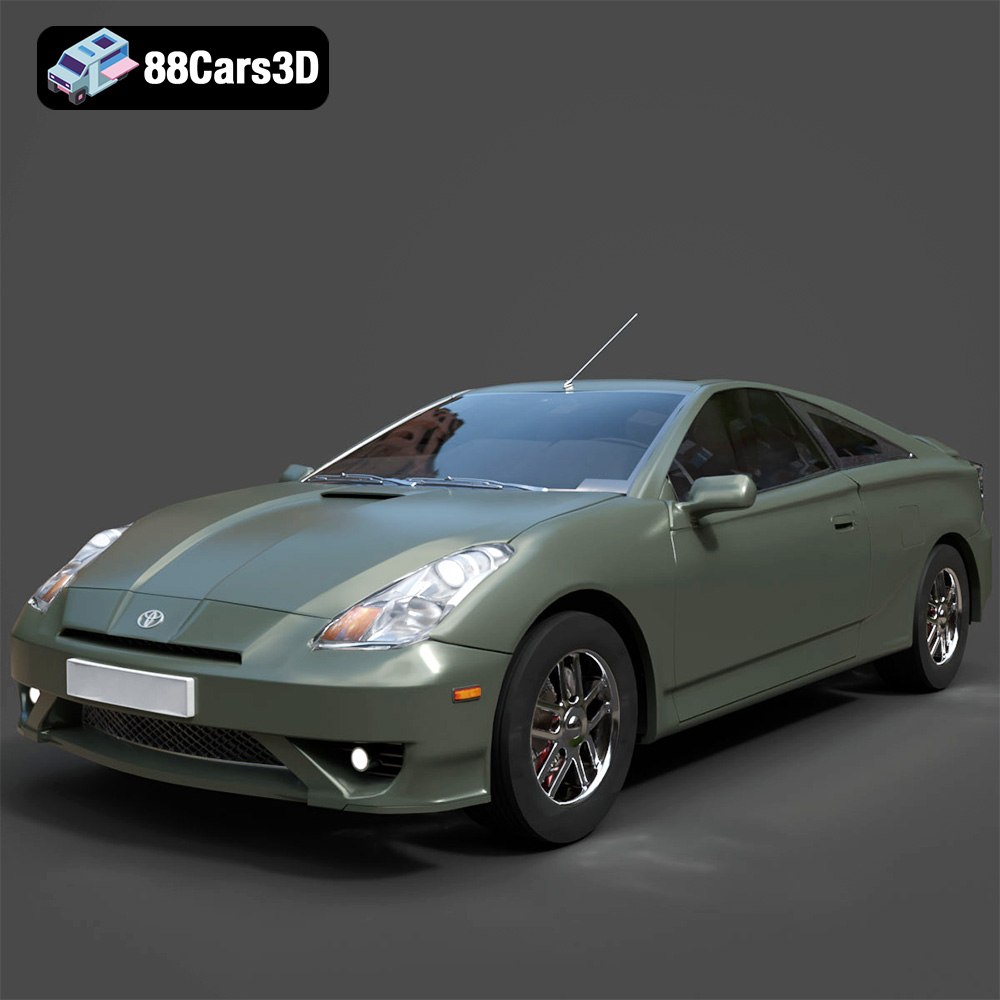
Texture: Yes
Material: Yes
Download the Toyota Celica 2000 3D Model featuring clean geometry, realistic detailing, and a fully modeled interior. Includes .blend, .fbx, .obj, .glb, .stl, .ply, .unreal, and .max formats for rendering, simulation, and game development.
Price: $10
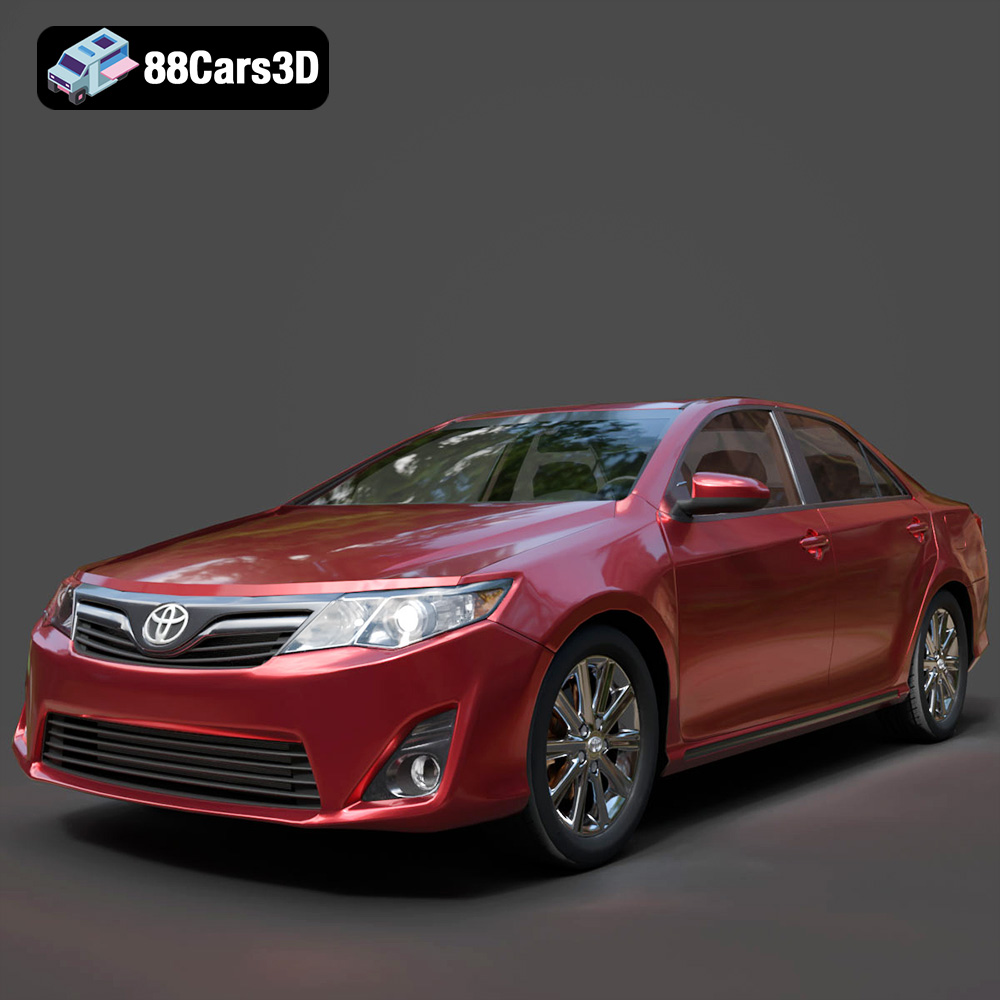
Download the Toyota Camry US 2012 3D Model featuring clean geometry, realistic detailing, and a fully modeled interior. Includes .blend, .fbx, .obj, .glb, .stl, .ply, .unreal, and .max formats for rendering, simulation, and game development.
Price: $10
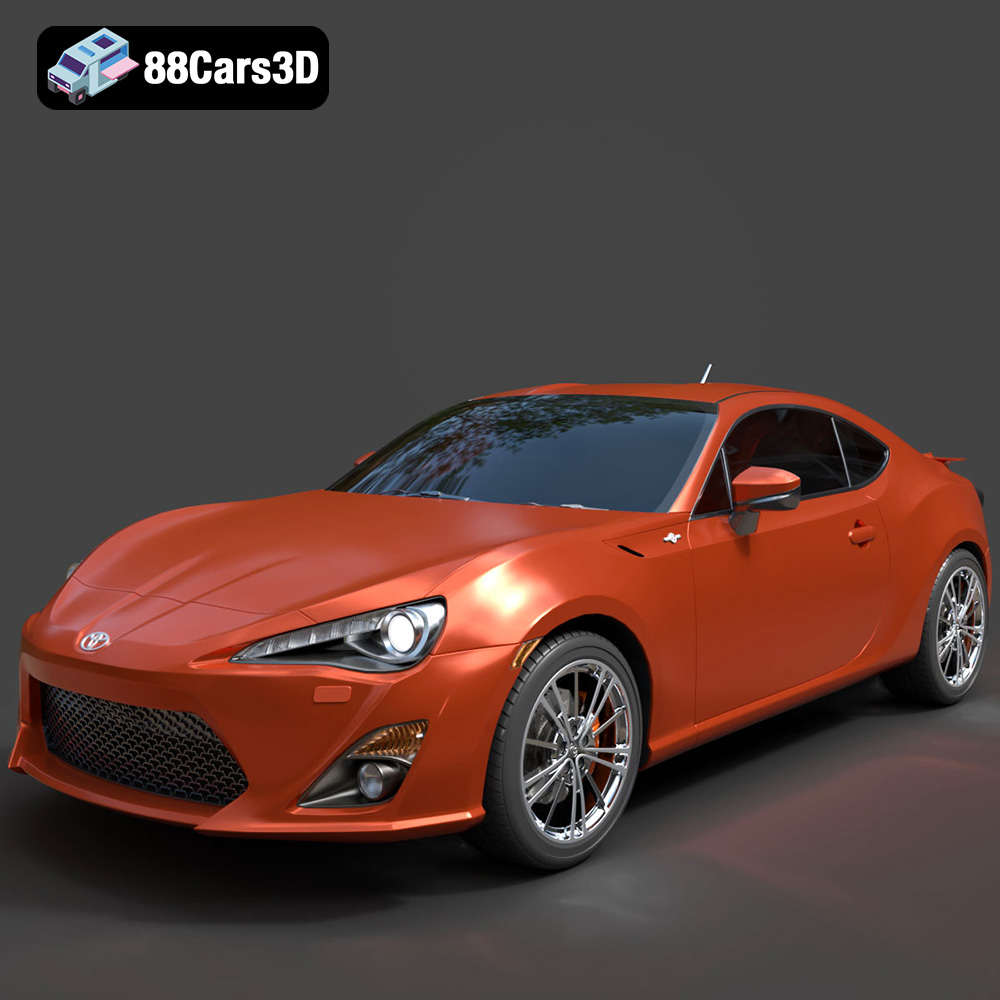
Texture: Yes
Material: Yes
Download the Toyota GT 86 2013 3D Model featuring clean geometry, realistic detailing, and a fully modeled interior. Includes .blend, .fbx, .obj, .glb, .stl, .ply, .unreal, and .max formats for rendering, simulation, and game development.
Price: $10
Texture: Yes
Material: Yes
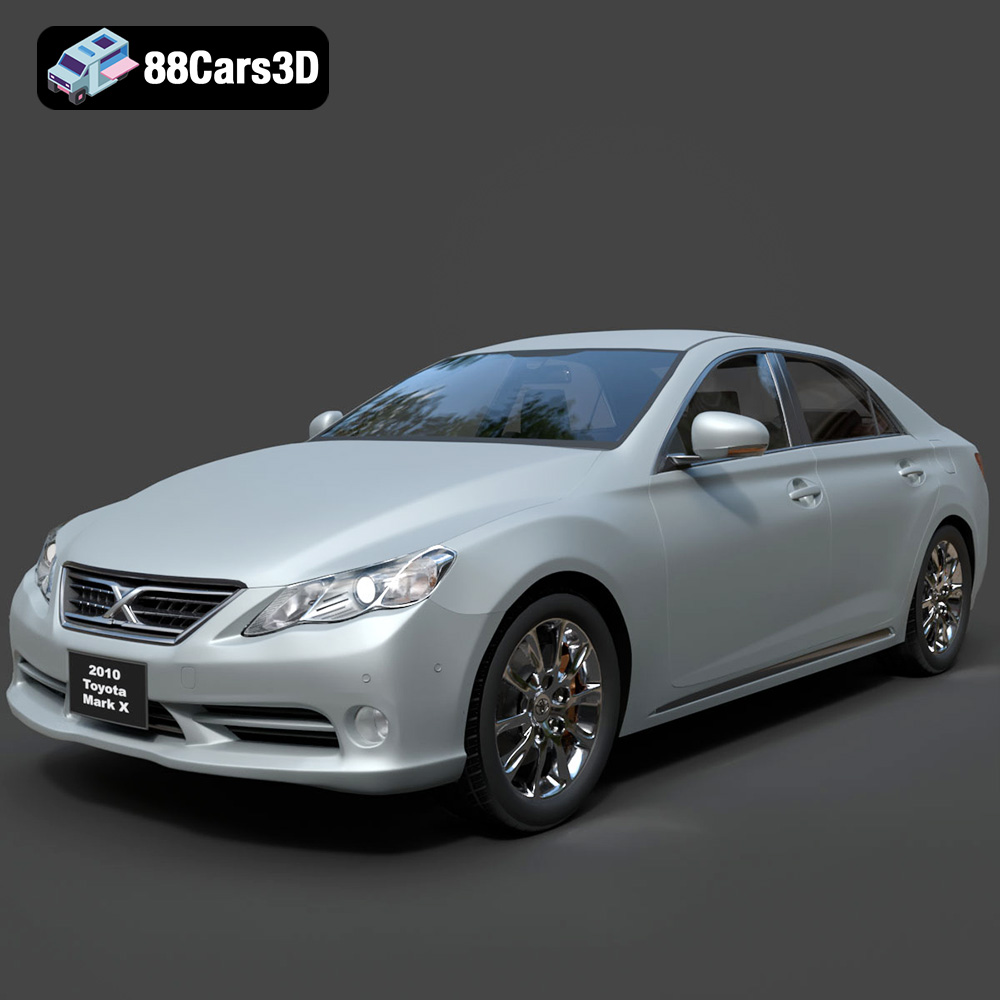
Download the Toyota Mark X 2010 3D Model featuring clean geometry, realistic detailing, and a fully modeled interior. Includes .blend, .fbx, .obj, .glb, .stl, .ply, .unreal, and .max formats for rendering, simulation, and game development.
Price: $10
Texture: Yes
Material: Yes
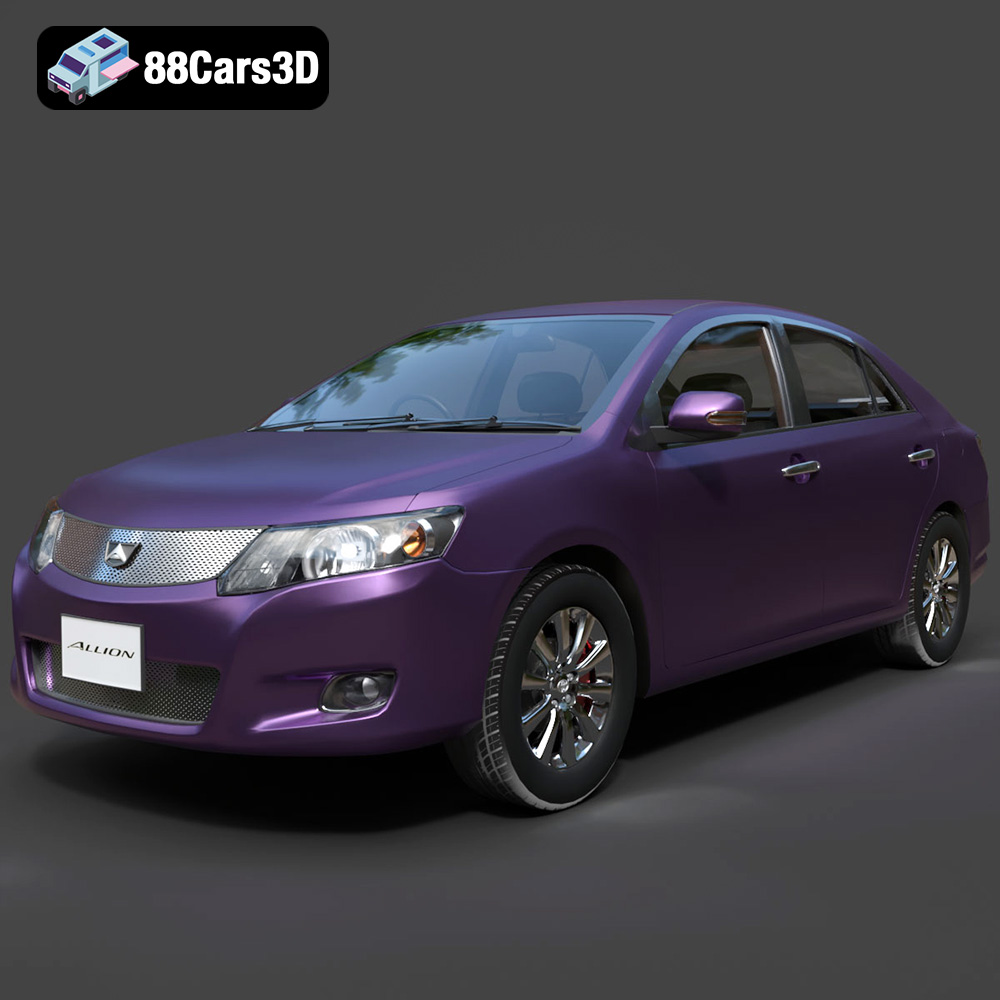
Download the Toyota Allion 2008 3D Model featuring clean geometry, realistic detailing, and a fully modeled interior. Includes .blend, .fbx, .obj, .glb, .stl, .ply, .unreal, and .max formats for rendering, simulation, and game development.
Price: $10
Texture: Yes
Material: Yes
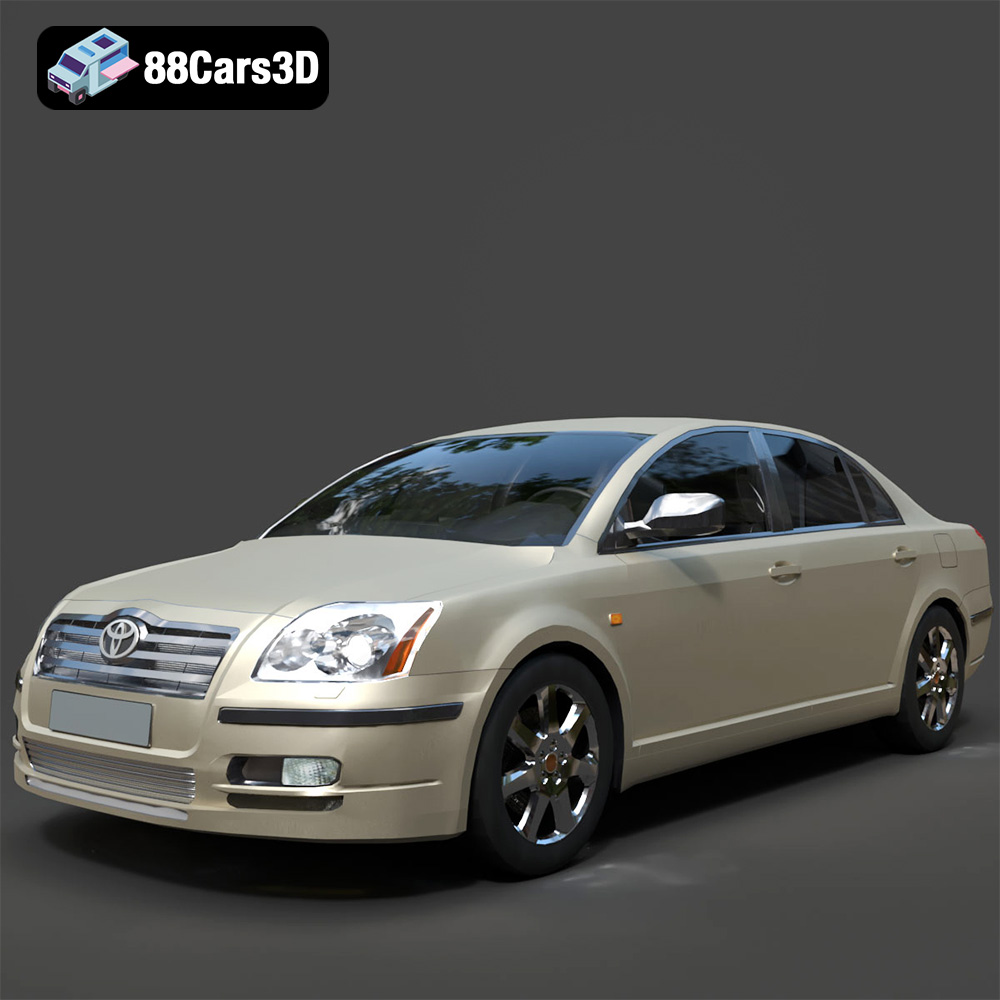
Download the Toyota Avensis 2005 3D Model featuring clean geometry, realistic detailing, and a fully modeled interior. Includes .blend, .fbx, .obj, .glb, .stl, .ply, .unreal, and .max formats for rendering, simulation, and game development.
Price: $10
Texture: Yes
Material: Yes
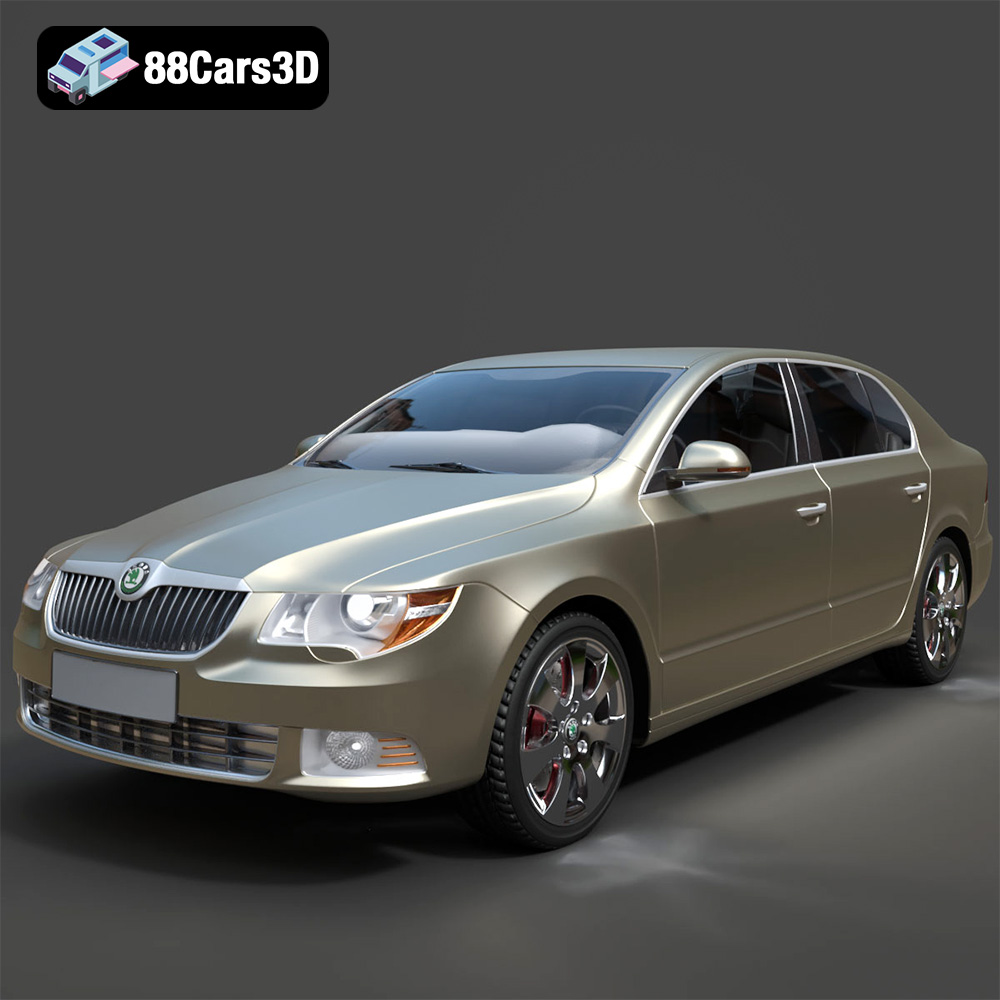
Download the Skoda Superb 2009 3D Model featuring clean geometry, realistic detailing, and a fully modeled interior. Includes .blend, .fbx, .obj, .glb, .stl, .ply, .unreal, and .max formats for rendering, simulation, and game development.
Price: $10
Texture: Yes
Material: Yes
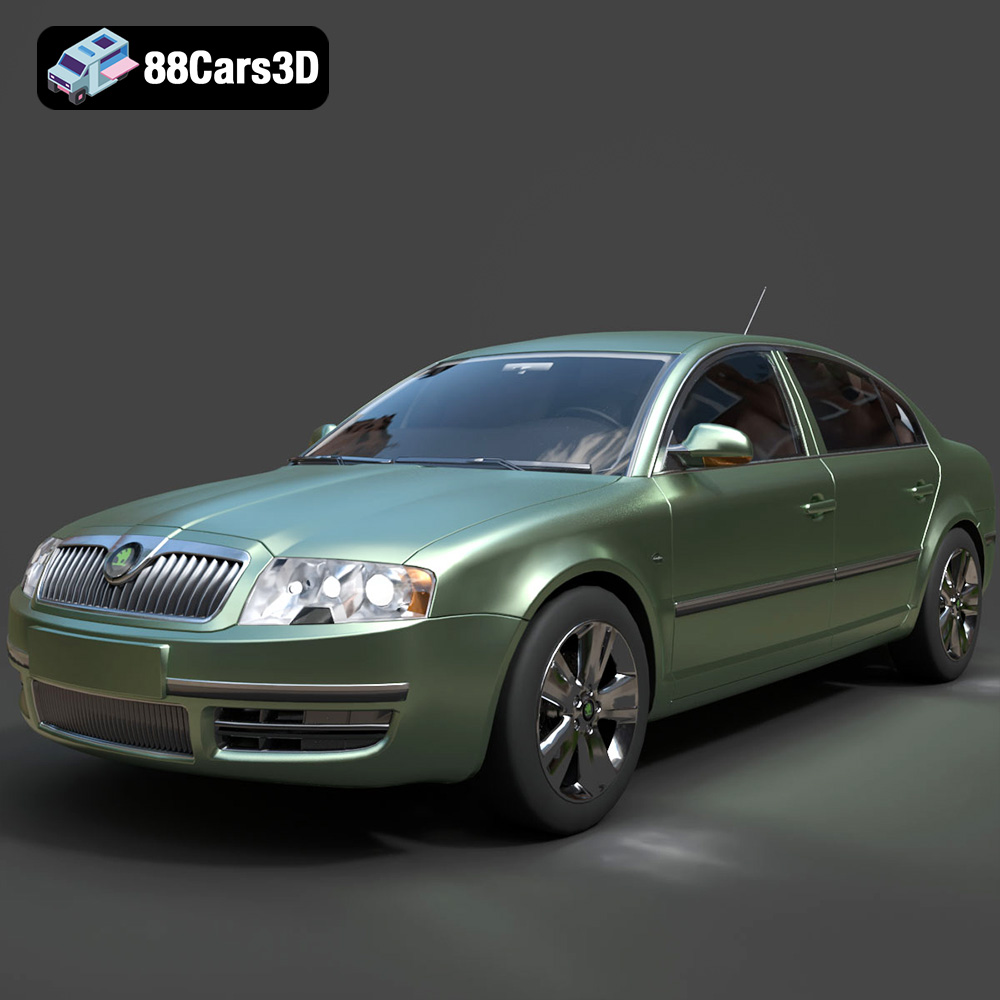
Download the Skoda Superb 2006 3D Model featuring clean geometry, realistic detailing, and a fully modeled interior. Includes .blend, .fbx, .obj, .glb, .stl, .ply, .unreal, and .max formats for rendering, simulation, and game development.
Price: $10
Texture: Yes
Material: Yes
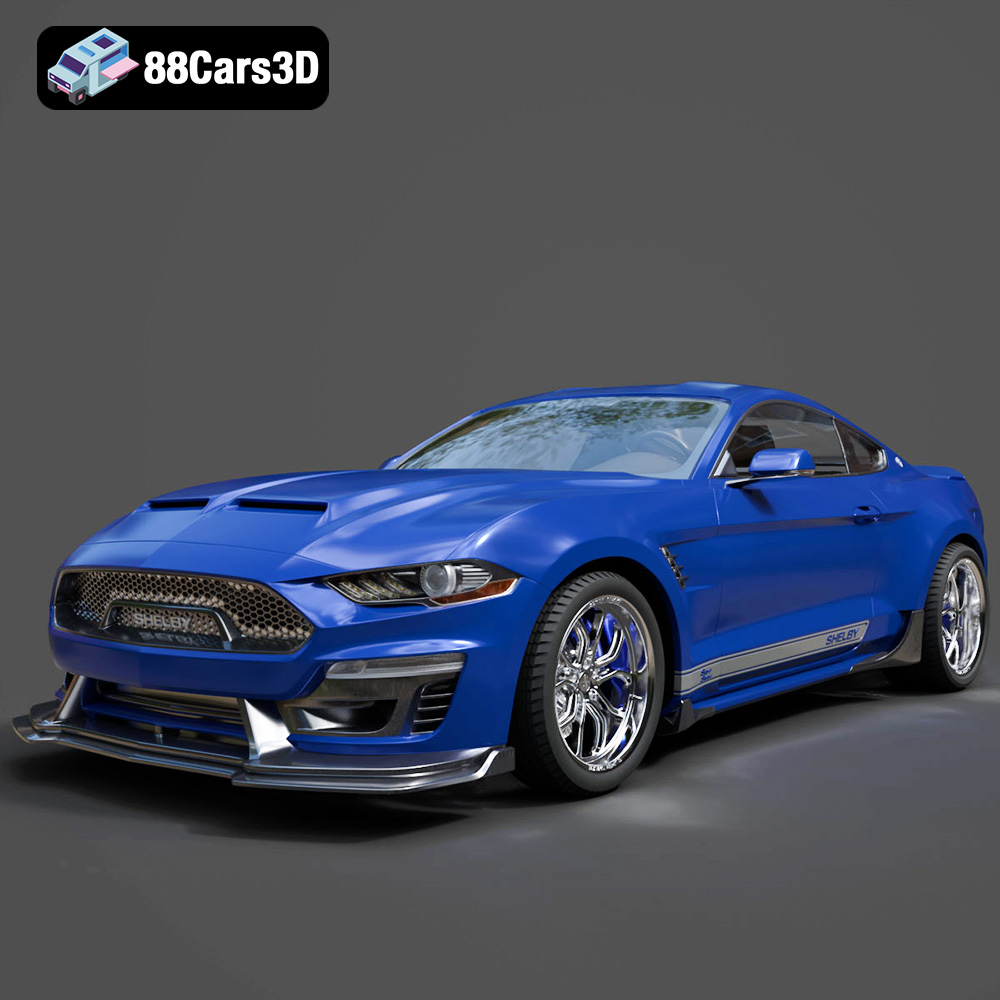
Download the Ford Mustang Shelby Super Snake Concept 2018 3D Model featuring clean geometry, realistic detailing, and a fully modeled interior. Includes .blend, .fbx, .obj, .glb, .stl, .ply, .unreal, and .max formats for rendering, simulation, and game development.
Price: $18.99

