Get 50% OFF All Premium 3D & STL Models!

In the world of digital creation, the 3D car model is a pinnacle of complexity and artistry. From the sweeping curves of a supercar’s body to the intricate details of a dashboard, these assets are used everywhere—from hyper-realistic automotive rendering and blockbuster films to immersive video games and augmented reality showrooms. However, a single, high-poly model is rarely a one-size-fits-all solution. The secret to unlocking a model’s true potential lies in optimization: the art and science of adapting a 3D asset for a specific purpose without sacrificing essential visual quality. Whether you are a visualization artist chasing photorealism, a game developer balancing performance and fidelity, or a designer exploring AR/VR, understanding optimization workflows is non-negotiable.
This comprehensive guide will take you deep into the technical workflows required to transform a high-quality 3D car model into a perfectly tailored asset for any application. We will deconstruct the entire process, starting with the foundational principles of topology and edge flow. We’ll then explore advanced UV mapping and PBR texturing strategies, dive into rendering setups for cinematic results, and finally, break down the critical optimization techniques for real-time game engines, AR/VR experiences, and even 3D printing. Get ready to master the skills that separate good 3D artists from great ones.
Before any texturing or rendering can begin, the structural integrity of your 3D car model must be flawless. This integrity is defined by its topology—the arrangement of vertices, edges, and polygons that form the mesh. For automotive models, with their blend of long, flowing surfaces and sharp, manufactured details, clean topology is the bedrock of a successful project. Poor topology can lead to shading errors, difficulty in UV unwrapping, and unpredictable deformations, making it a critical first step in any professional workflow.
The industry standard for hard-surface models like vehicles is a predominantly quad-based topology. This means the mesh is constructed almost entirely of four-sided polygons (quads). There are several technical reasons for this:
While a 100% quad mesh is the ideal, strategically placed triangles are acceptable in areas that are flat, non-deforming, or hidden from view. The key is to avoid them on curved surfaces where they can disrupt the shading.
Edge flow refers to the direction in which the edges of your polygons travel across the model’s surface. For a 3D car model, the edge flow should mirror the vehicle’s design language. It should follow the contours of the body, wrap around wheel arches, and define the sharp creases of character lines. Proper edge flow ensures that highlights travel smoothly and realistically across the surface, creating the illusion of real sheet metal. A common mistake is to have edges terminate randomly or run diagonally across a curved panel, which will immediately cause visible shading artifacts. To maintain control, artists use “holding edges” or “support loops”—additional edge loops placed close to a sharp crease to maintain its definition after subdivision.
The required polygon count varies drastically by application. A “hero” car for a cinematic automotive rendering might exceed several million polygons after subdivision, capturing every minute detail. In contrast, a real-time game asset needs to be far more conservative.
Starting with a well-constructed base mesh, like those available from marketplaces such as 88cars3d.com, gives you a perfect foundation that can be either subdivided for renders or optimized down for real-time applications.
Once your model’s topology is pristine, the next technical hurdle is UV unwrapping. This process is akin to creating a flat 2D pattern (a “UV map”) of your 3D model’s surface, which allows you to apply 2D textures correctly. For complex objects like cars, a strategic approach to UVs is essential for achieving realistic materials and efficient performance.
A UV “seam” is where the 3D mesh is “cut” to be flattened. The goal is to place these seams in inconspicuous locations, just as a tailor would hide seams on clothing. For cars, ideal seam locations are:
Once seams are defined, the mesh is unwrapped into “UV islands.” These islands should be laid out in the 0-1 UV space with minimal distortion or stretching. Tools in software like Blender or 3ds Max can visualize UV stretch, highlighting areas where the texture will appear warped. For a technical artist, straightening UVs for man-made objects like grilles, vents, or dashboard trim is a crucial step to ensure textures like carbon fiber or brushed aluminum apply without distortion.
For achieving maximum texture detail, artists often face a choice between two powerful workflows: UDIMs and Texture Atlasing.
UDIM (U-Dimension) is a workflow predominantly used in film and high-fidelity rendering. Instead of cramming all UV islands into a single 0-1 square, UDIMs allow you to use multiple UV tiles (1001, 1002, 1003, etc.). This means you can assign separate, high-resolution textures (e.g., multiple 4K or 8K maps) to different parts of the car. You might use one UDIM tile for the main body, another for the interior, and a third for the wheels and chassis. This approach provides incredible detail but is not typically supported in real-time game engines.
Texture Atlasing is the opposite approach, designed for game engine optimization. Here, the UVs for multiple different objects or material types are combined into a single 0-1 UV space, to be serviced by one texture set (Albedo, Normal, Roughness, etc.). For a car, you might atlas the UVs for all the dashboard buttons, dials, and trim pieces together. This dramatically reduces the number of materials and textures the game engine needs to load, which in turn reduces draw calls—a major performance bottleneck. The trade-off is that all atlassed objects must share the same texture resolution.
Texel density is a critical technical metric that measures the amount of texture resolution (in pixels) applied to a given surface area of your 3D model (in meters). Maintaining a consistent texel density across the entire car is key to a believable result. If the door has a high texel density and the fender has a low one, the difference in texture sharpness will be jarringly obvious.
Tools in modern 3D software can help you visualize and equalize texel density across all your UV islands, ensuring professional, consistent results.
Physically Based Rendering (PBR) is a methodology for creating materials that accurately reflect the behavior of light in the real world. For automotive models, PBR is the key to achieving everything from the deep, multi-layered shimmer of metallic paint to the subtle imperfections on a rubber tire. This involves creating a set of specific texture maps that control parameters like color, roughness, and metallicity.
A realistic car paint material is not just a simple color. It’s a complex multi-layered shader designed to replicate the real-world composition of primer, a base paint coat, metallic flakes, and a final clear coat. In render engines like Corona, V-Ray, or Cycles, this is often achieved with a layered material or by using a dedicated “Car Paint Shader.”
Beyond the paint, the other materials on a vehicle require just as much attention. The key is observing real-world references and translating them into PBR values.
Texture baking is the process of transferring mesh details from a high-poly model to a low-poly model’s texture maps. This is the cornerstone of game asset creation. Instead of having millions of polygons for tiny bolts and vents, you can model them in high detail and then “bake” that detail into a Normal Map for the low-poly, game-ready version. Other maps can be baked as well:
This process allows a 100,000-polygon model to display the apparent surface detail of a 2,000,000-polygon model, making it essential for real-time performance.
For marketing materials, configurators, and portfolio shots, the goal is pure photorealism. This is achieved in offline render engines like Corona, V-Ray, Arnold, or Blender’s Cycles, where render times can take several minutes or even hours per frame to calculate physically accurate light bounces. The workflow prioritizes quality over speed.
Lighting is arguably the most critical element in achieving a photorealistic render. Poor lighting will make even the best model look fake. The industry-standard method for lighting vehicles is Image-Based Lighting (IBL) using a High Dynamic Range Image (HDRI).
An HDRI is a 360-degree panoramic image that contains a massive range of light intensity data. When used as an environment map in a 3D scene, it simulates the lighting and reflections of that real-world location with incredible accuracy. A studio HDRI with softboxes will create clean, defined reflections perfect for showcasing a car’s form. An outdoor HDRI of a desert road at sunset will provide warm, dramatic lighting and realistic environmental reflections. Often, artists will supplement the HDRI with additional 3D area lights to act as “key,” “fill,” or “rim” lights to further sculpt the car and make it pop from the background.
While all modern path-tracing engines can produce stunning results, they have different strengths. For precise control over your rendering process, it’s beneficial to consult official documentation, such as the comprehensive guides available for Blender 4.4 at https://docs.blender.org/manual/en/4.4/, which cover the Cycles renderer in great detail.
Key render settings to manage are the Noise Threshold (which determines when the render stops) and Sample/Ray Depth limits (which control how many times a light ray can bounce, affecting the accuracy of reflections and global illumination).
A raw render is rarely the final image. Professional artists use a post-processing workflow, often by rendering out separate layers or “passes” from their 3D software. Common render passes include:
These passes are then composited in software like Adobe Photoshop or Foundry Nuke. Here, final adjustments like color grading, contrast, bloom, glare, and chromatic aberration are added to mimic the imperfections of a real camera lens, pushing the image from a clean CG render to a truly photorealistic photograph.
Optimizing a 3D car for a game engine like Unity or Unreal Engine is a completely different discipline. Here, every polygon, texture, and shader instruction counts against a strict performance budget. The goal is to maintain the highest possible visual fidelity while ensuring the game runs at a smooth, consistent frame rate (typically 30, 60, or even 120 FPS).
You cannot simply place a million-polygon film-quality model into a game. The first step is retopology: creating a new, clean, low-poly mesh that matches the silhouette and form of the original high-poly model. This new mesh is what will be used in-game. But optimization doesn’t stop there. Artists create multiple versions of this model at varying levels of detail, known as LODs (Level of Detail).
The game engine automatically switches between these LODs based on the car’s distance from the camera, drastically reducing the total number of polygons being rendered at any given time.
A “draw call” is a command from the CPU to the GPU to draw an object on the screen. Each separate object with its own material creates at least one draw call. A car model made of hundreds of separate parts (body, wheels, windows, screws) can generate hundreds of draw calls, which can quickly overwhelm the CPU. To combat this, artists use several techniques:
The models available on platforms like 88cars3d.com often come with logically separated components, making it easier for developers to decide which parts to merge for their specific game engine needs.
The complex, multi-layered car paint shaders used in offline rendering are too computationally expensive for most real-time applications. Game engine shaders must be lean and efficient. Both Unreal Engine and Unity have dedicated car paint shader types that offer a good balance of quality and performance. These shaders often simulate a clear coat layer with a more efficient, less physically-accurate algorithm. Furthermore, artists must be mindful of texture memory. While an 8K texture might be used for a cinematic render, game textures are typically capped at 2K or 4K resolution, and extensive use of compression (like DXT/BC) is standard practice to reduce VRAM usage.
The frontiers of AR/VR and 3D printing present their own unique sets of technical challenges for 3D car models. AR/VR shares the performance constraints of game engines but on much more limited hardware (mobile phones and standalone headsets), while 3D printing requires a shift in thinking from a visual asset to a physical, manufacturable object.
For augmented reality (AR) and virtual reality (VR) applications, maintaining a high and stable frame rate is paramount to prevent motion sickness and create a sense of presence. This means optimization is even more aggressive than for traditional PC/console games.
To deliver these experiences efficiently, specialized file formats are used that package the model, textures, and materials into a single, compact file.
Converting a standard FBX or OBJ file to these formats requires careful attention to material compatibility, ensuring that PBR texture maps are correctly assigned to the standardized material models used by glTF and USD.
Preparing a 3D car model for printing is a different challenge entirely. Visual tricks like normal maps have no effect; the geometry itself must be perfect and physically viable.
As we’ve seen, a 3D car model is not a static object but a versatile digital blueprint that can be adapted for a stunning array of applications. The journey from a high-polygon master model to a lightweight game asset or a printable sculpture is a testament to the technical skill of the 3D artist. The key takeaway is that optimization is not about mindlessly reducing polygons; it’s about making intelligent, purpose-driven decisions. It’s about understanding the specific technical constraints of your target platform—be it a powerful rendering farm, a nimble game console, or a physical 3D printer—and tailoring the asset to perform flawlessly within those constraints.
Mastering these workflows—from perfecting topology and strategically unwrapping UVs to balancing PBR material complexity and building efficient LODs—is what elevates your work to a professional standard. It’s the technical foundation that allows creativity to shine. Whether you start with a bespoke model or a high-quality asset from a marketplace like 88cars3d.com, applying these optimization principles will ensure your final project is not only visually stunning but also technically excellent and perfectly suited for its intended purpose.
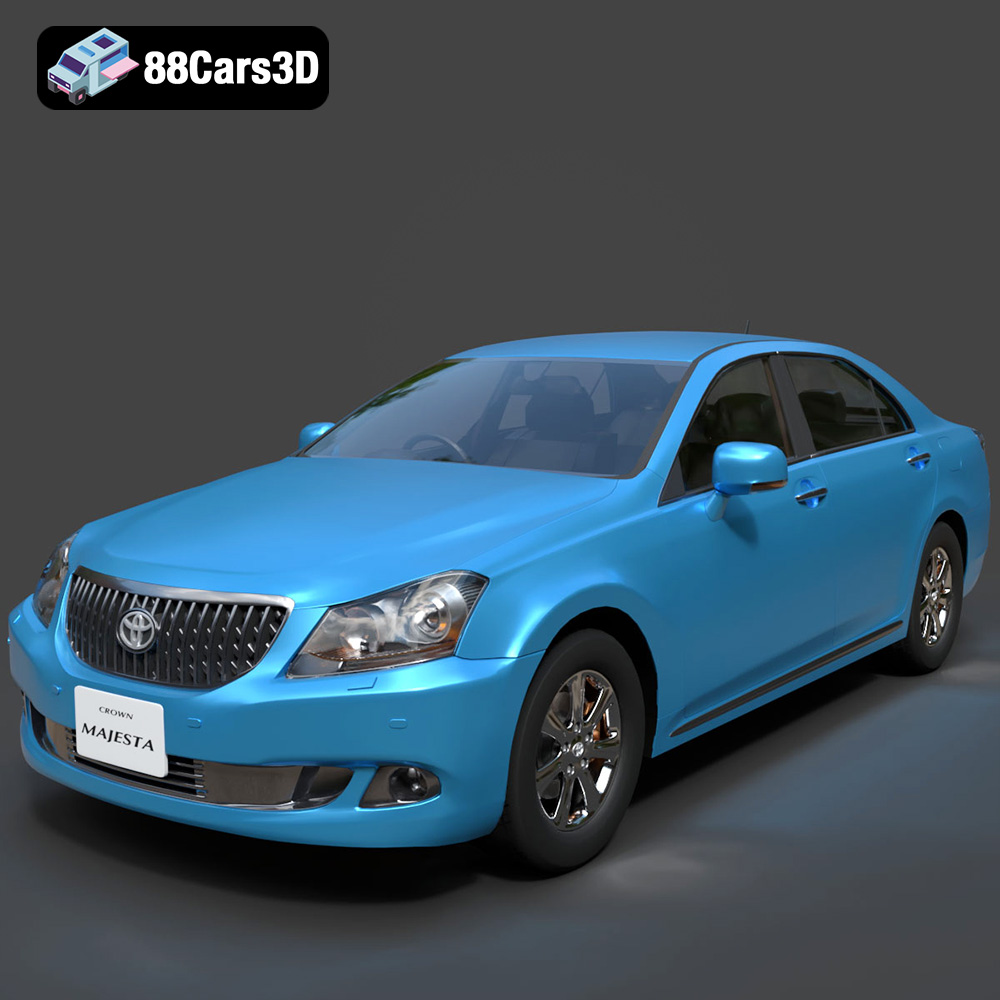
**Meta Description:**
Texture: Yes
Material: Yes
Download the Toyota Crown Majesta 2009 3D Model with luxury detailing, clean topology, and a fully modeled interior. Available in .blend, .fbx, .obj, .glb, .stl, .ply, .unreal, and .max formats for rendering, simulation, and game development.
Price: $13.9
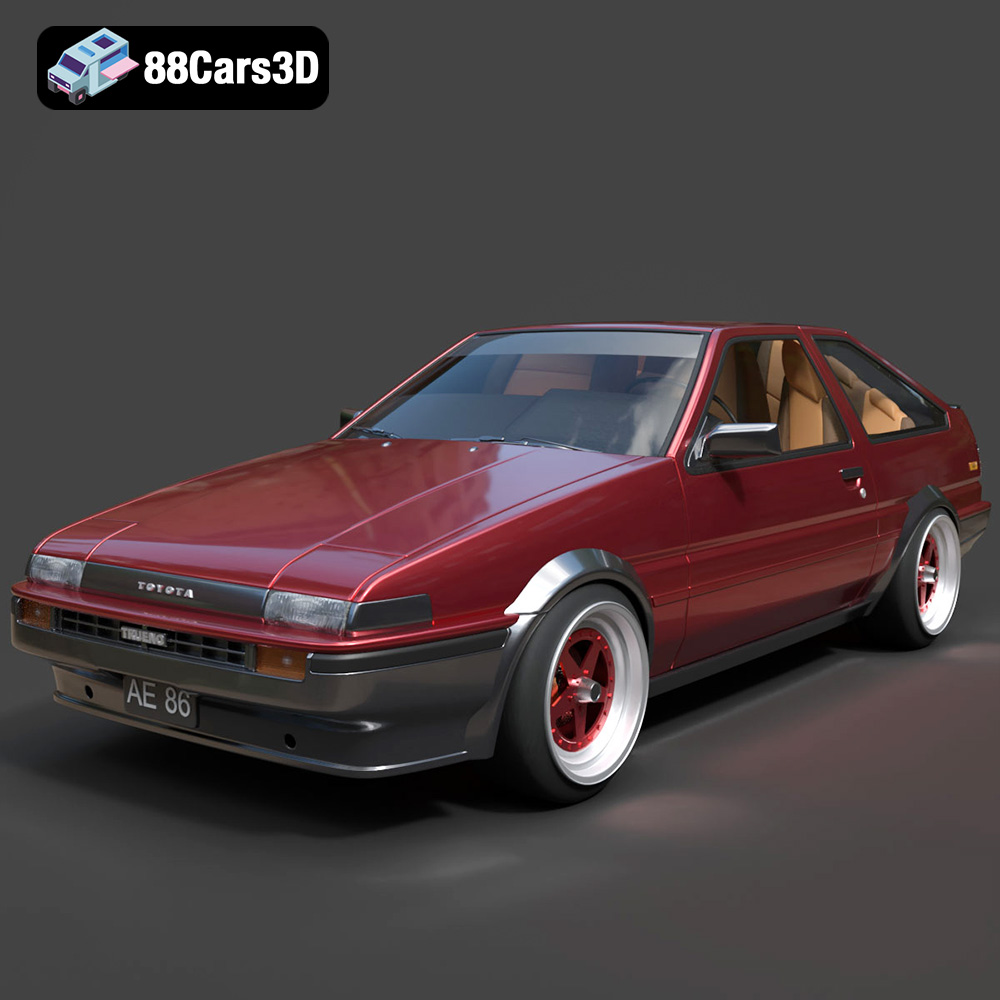
**Meta Description:**
Texture: Yes
Material: Yes
Download the Toyota AE86 Levin 1983 1987 3D Model featuring realistic exterior and interior detailing. Includes .blend, .fbx, .obj, .glb, .stl, .ply, .unreal, and .max formats for rendering, simulation, and game development.
Price: $29.99
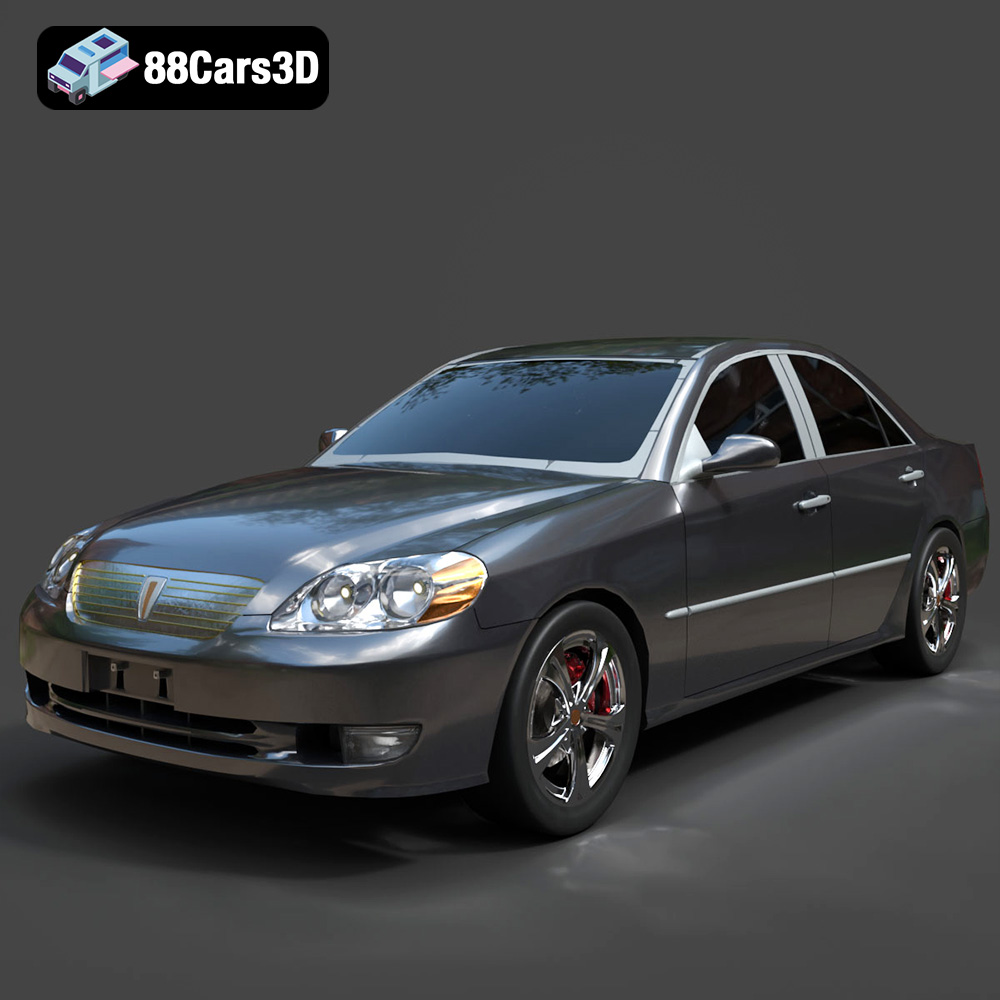
Texture: Yes
Material: Yes
Download the Toyota Mark 2 2001 3D Model featuring clean geometry, realistic detailing, and a fully modeled interior. Includes .blend, .fbx, .obj, .glb, .stl, .ply, .unreal, and .max formats for rendering, simulation, and game development.
Price: $10
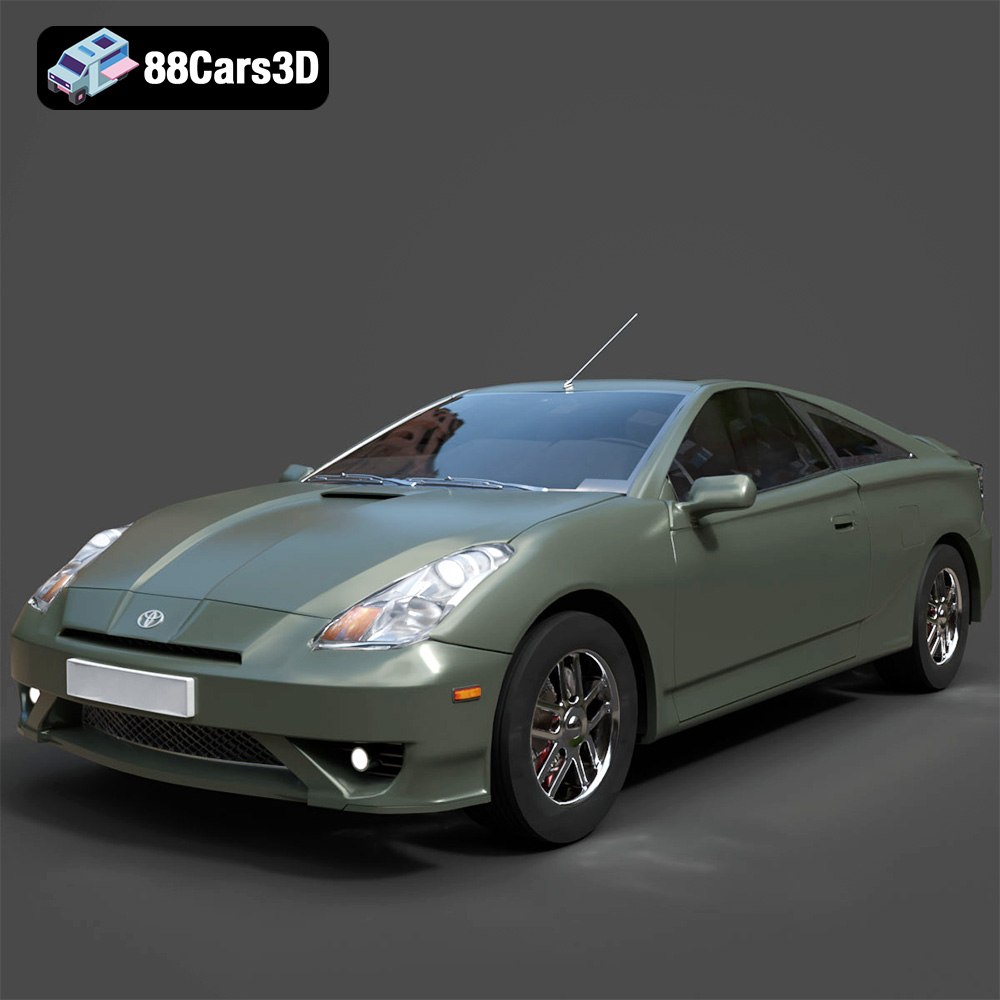
Texture: Yes
Material: Yes
Download the Toyota Celica 2000 3D Model featuring clean geometry, realistic detailing, and a fully modeled interior. Includes .blend, .fbx, .obj, .glb, .stl, .ply, .unreal, and .max formats for rendering, simulation, and game development.
Price: $10
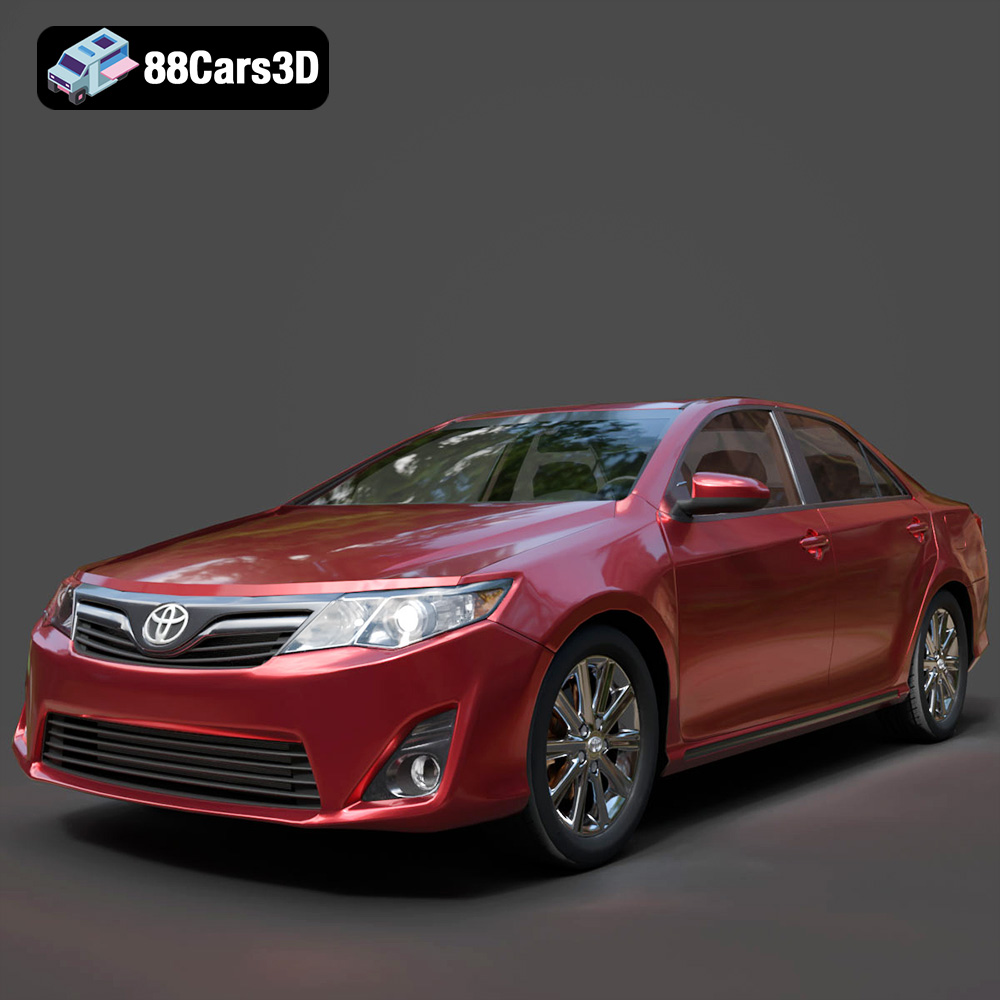
Download the Toyota Camry US 2012 3D Model featuring clean geometry, realistic detailing, and a fully modeled interior. Includes .blend, .fbx, .obj, .glb, .stl, .ply, .unreal, and .max formats for rendering, simulation, and game development.
Price: $10
Texture: Yes
Material: Yes
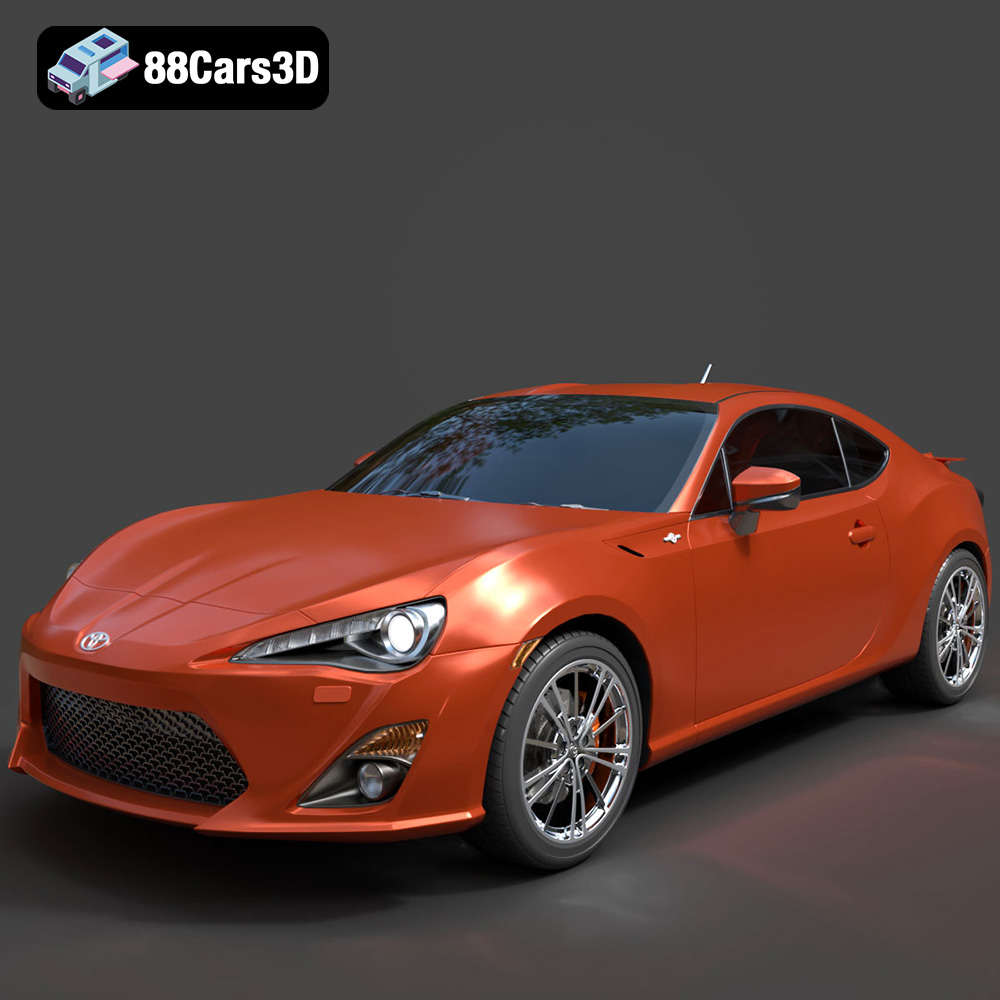
Download the Toyota GT 86 2013 3D Model featuring clean geometry, realistic detailing, and a fully modeled interior. Includes .blend, .fbx, .obj, .glb, .stl, .ply, .unreal, and .max formats for rendering, simulation, and game development.
Price: $10
Texture: Yes
Material: Yes
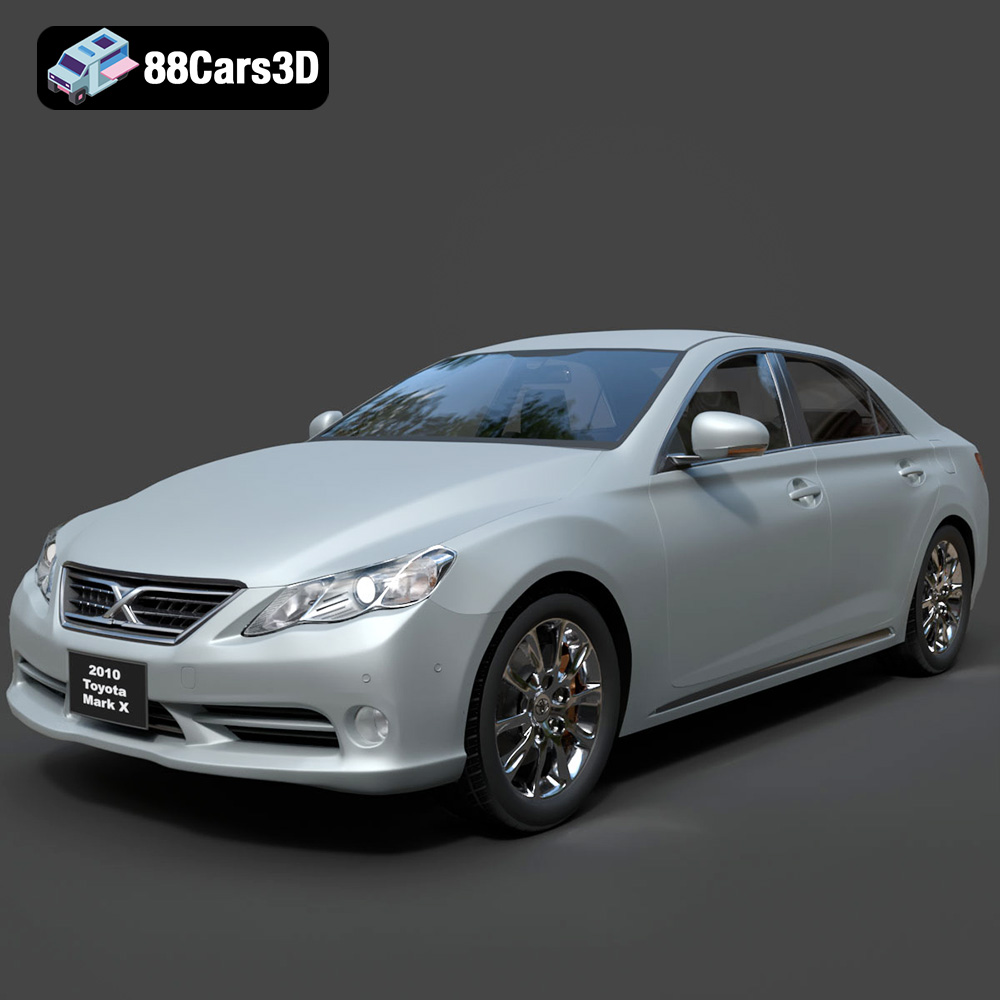
Download the Toyota Mark X 2010 3D Model featuring clean geometry, realistic detailing, and a fully modeled interior. Includes .blend, .fbx, .obj, .glb, .stl, .ply, .unreal, and .max formats for rendering, simulation, and game development.
Price: $10
Texture: Yes
Material: Yes
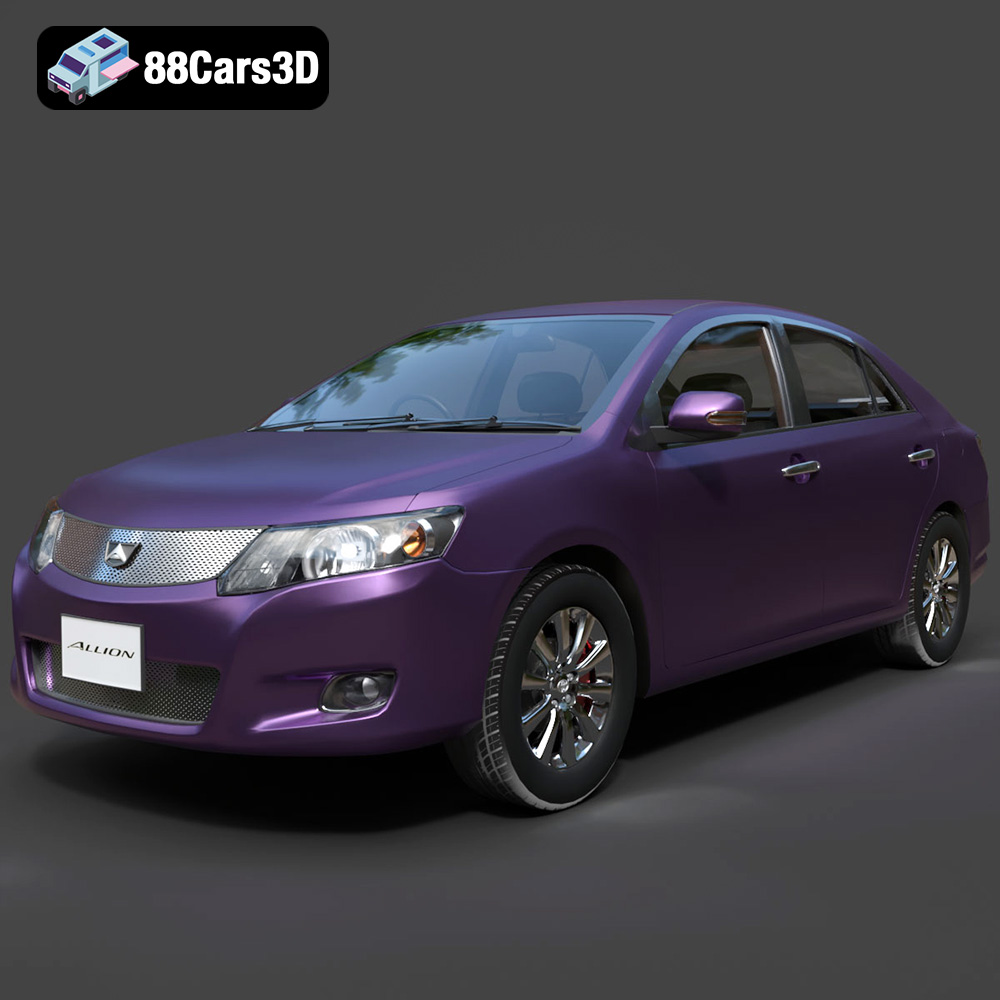
Download the Toyota Allion 2008 3D Model featuring clean geometry, realistic detailing, and a fully modeled interior. Includes .blend, .fbx, .obj, .glb, .stl, .ply, .unreal, and .max formats for rendering, simulation, and game development.
Price: $10
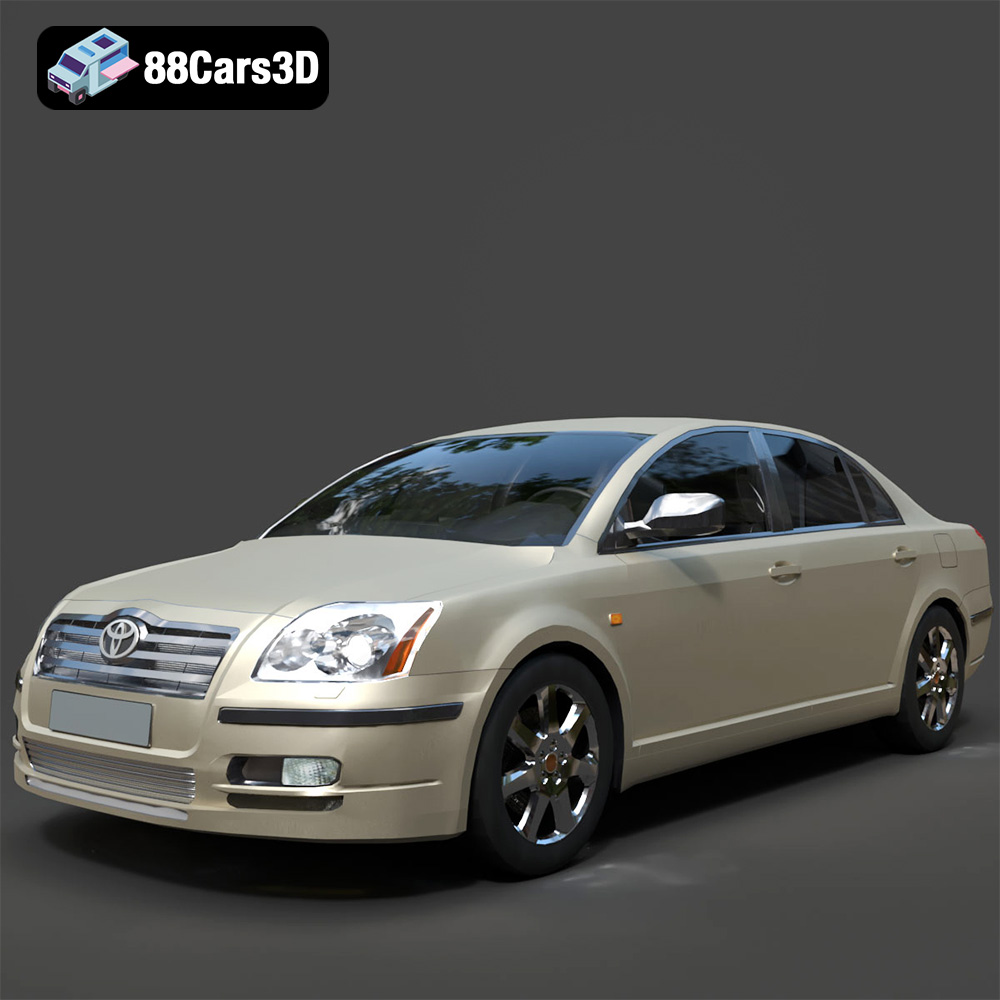
Texture: Yes
Material: Yes
Download the Toyota Avensis 2005 3D Model featuring clean geometry, realistic detailing, and a fully modeled interior. Includes .blend, .fbx, .obj, .glb, .stl, .ply, .unreal, and .max formats for rendering, simulation, and game development.
Price: $10
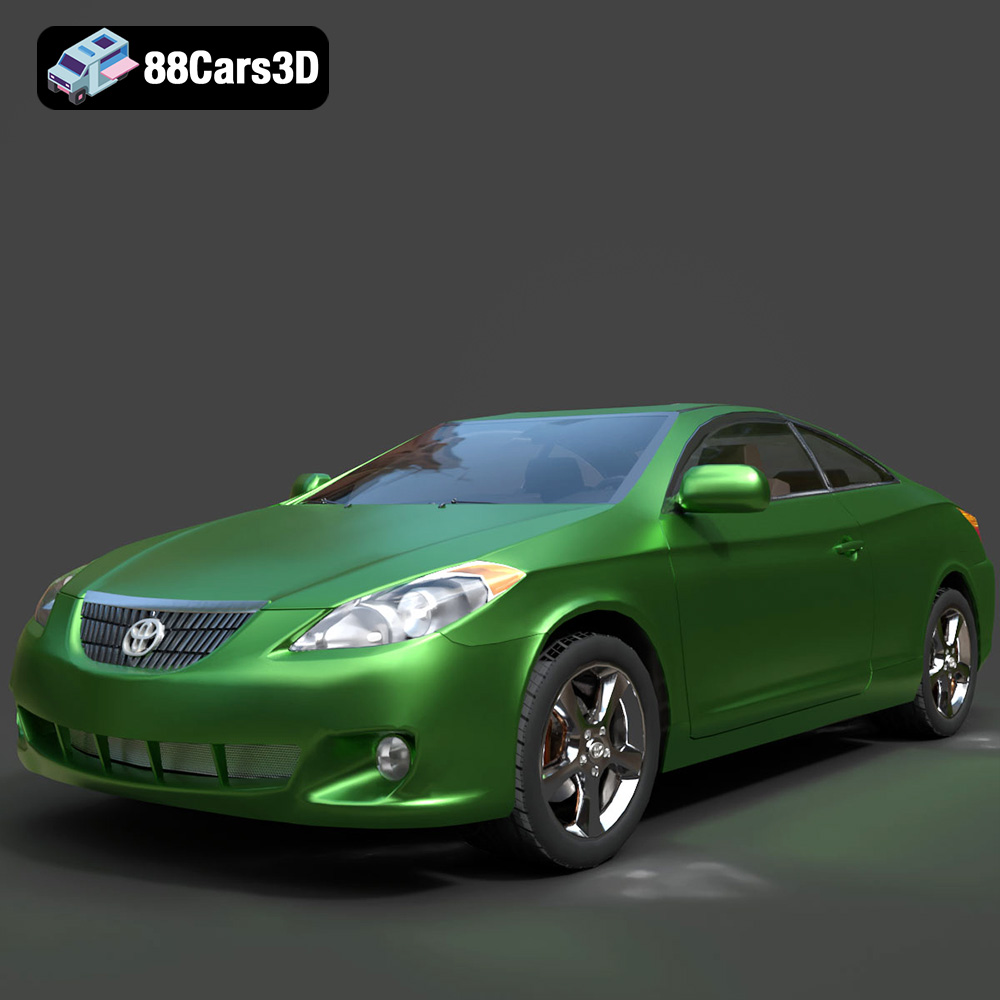
Texture: Yes
Material: Yes
Download the Toyota Camry Solara 2006 3D Model featuring clean geometry, realistic detailing, and a fully modeled interior. Includes .blend, .fbx, .obj, .glb, .stl, .ply, .unreal, and .max formats for rendering, simulation, and game development.
Price: $10

