Get 50% OFF All Premium 3D & STL Models!

“`html
The world of 3D printing has opened up incredible possibilities for automotive enthusiasts and model makers. From creating detailed replicas to prototyping custom parts, the technology offers unmatched precision and customization. However, achieving high-quality results requires a deep understanding of the 3D printing process, starting with the STL file format and extending to slicing parameters, support structures, and post-processing techniques. This comprehensive guide will walk you through the essential steps, providing technical insights and practical tips to help you master 3D printing for car models. Whether you’re a beginner or an experienced maker, this article will equip you with the knowledge to bring your automotive dreams to life. We will delve into file preparation, printer settings, material selection, and troubleshooting common issues, ensuring you achieve professional-grade prints every time.
The STL (Stereolithography) file format is the backbone of 3D printing. It represents the surface geometry of a 3D object using a mesh of triangles. Understanding its structure and limitations is crucial for successful printing. While other formats like OBJ and FBX exist, STL remains the most universally compatible format for 3D printers. When downloading models from marketplaces such as 88cars3d.com, you’ll primarily be working with STL files.
An STL file contains a list of triangles, each defined by three vertices (coordinates in 3D space) and a normal vector (indicating the triangle’s orientation). The density of these triangles directly impacts the model’s resolution; a higher triangle count results in a smoother surface but also increases file size and processing time. Ideally, the STL mesh should be “manifold,” meaning it forms a closed, watertight surface without any holes or self-intersections. Non-manifold meshes can cause slicing errors and print failures.
A proper topology refers to how the triangles connect and form the overall shape. Issues such as flipped normals (where the normal vector points inward), overlapping triangles, or gaps in the mesh need to be addressed before printing. Software like Meshmixer and Netfabb are essential for repairing and optimizing STL files.
Before sending an STL file to your slicer, it’s essential to inspect it for errors. Software like Meshmixer offers powerful tools for identifying and repairing mesh issues.
Here’s a common workflow:
For more complex repairs, Netfabb offers advanced features like boolean operations and mesh editing tools. Remember to always save a backup of your original file before making any modifications.
Slicing is the process of converting a 3D model into a series of layers that the 3D printer can understand. Slicing software, such as Cura, PrusaSlicer, or Simplify3D, takes the STL file and generates G-code, a set of instructions that control the printer’s movements, temperature, and material extrusion. The slicing parameters you choose significantly impact the final print quality, strength, and print time. Understanding these parameters is essential for achieving optimal results with your car model prints.
Layer height determines the thickness of each printed layer. A smaller layer height results in a smoother surface finish and finer details, but it also increases print time. Common layer heights for FDM printing range from 0.05mm to 0.3mm. For highly detailed car models, a layer height of 0.1mm or 0.15mm is recommended. Experimentation is key to finding the sweet spot between print quality and speed for your specific printer and material. For resin printing, layer heights are typically much smaller, ranging from 0.01mm to 0.05mm, allowing for even finer details. It is important to consider that decreasing layer height increases print time linearly. For instance, halving the layer height from 0.2mm to 0.1mm will approximately double the print time, assuming other settings remain constant.
Infill refers to the internal structure of the 3D printed object. It provides strength and support while reducing material consumption. Infill density is the percentage of the interior volume that is filled with material. A higher infill density results in a stronger but heavier and more material-intensive print. For car models, an infill density of 15-25% is generally sufficient for most parts. However, for parts that need to withstand stress or load, such as axles or chassis components, a higher infill density of 50% or more may be necessary.
The infill pattern also affects the print’s strength and appearance. Common infill patterns include:
Choose the infill pattern based on the specific requirements of your car model. For example, if you’re printing a display model, a honeycomb infill might be suitable, while a functional part might benefit from a gyroid infill.
Support structures are necessary for 3D printing objects with overhangs or complex geometries. They provide a base for the material to be deposited on, preventing it from collapsing during the printing process. Generating and removing supports effectively is crucial for achieving clean and accurate prints, especially for intricate car models. Different types of support structures exist, each with its own advantages and disadvantages. The choice of support type and settings depends on the specific model, material, and printer.
Several types of support structures are available in slicing software, each designed for different purposes:
For car models, tree supports are often the best choice for minimizing scarring and material waste, especially around curved surfaces like fenders and spoilers. However, linear supports may be more appropriate for supporting flat surfaces like the underside of a chassis.
Fine-tuning support settings is crucial for easy removal and minimal surface damage. Key parameters include:
Experiment with different support settings to find the optimal balance between support strength, ease of removal, and surface quality. A support Z distance (the gap between the support and the model) of 0.1-0.2mm is often recommended for FDM printing. For resin printing, smaller values like 0.05-0.1mm may be necessary to ensure adequate support.
The material you choose for your 3D printed car model significantly impacts its appearance, strength, and durability. Different materials have varying properties, print requirements, and post-processing options. The two primary 3D printing technologies, FDM (Fused Deposition Modeling) and resin printing (SLA/DLP), utilize different materials. FDM printers use filaments, while resin printers use liquid resins.
Common FDM filaments for 3D printing car models include:
For beginners, PLA is a good starting point due to its ease of printing. As you gain experience, you can experiment with PETG and ABS for stronger and more durable car models.
Resin printing offers superior detail resolution compared to FDM printing. Common resin types for car models include:
When selecting a resin, consider the specific requirements of your car model. For example, if you’re printing tires, a flexible resin would be the best choice. For small, highly detailed parts, standard or tough resins offer excellent resolution. Typical exposure times range from 6-12 seconds per layer, but this depends on the resin type and printer settings.
Print orientation and bed adhesion are critical factors that influence the success of your 3D prints. The orientation of the model on the build plate affects the strength, surface finish, and support requirements. Bed adhesion ensures that the print sticks firmly to the build plate, preventing warping and detachment during the printing process.
When orienting your car model, consider the following factors:
For car models, orienting the body shell at a 45-degree angle to the build plate often strikes a good balance between minimizing overhangs, maximizing strength, and reducing print time. Individual components like wheels and axles can often be printed vertically for optimal strength.
Poor bed adhesion is a common cause of print failures. Here are some techniques to improve bed adhesion:
For ABS printing, an enclosed chamber is essential to maintain a consistent temperature and prevent warping. A heated bed is also crucial for all materials to ensure proper adhesion.
Post-processing is the final stage in the 3D printing process, where you refine and enhance the printed object. It involves removing support structures, sanding surfaces, filling gaps, and painting or coating the model to achieve the desired appearance. Effective post-processing can transform a raw 3D print into a professional-looking car model.
The first step in post-processing is to remove the support structures. For FDM prints, you can use pliers, cutters, or a hobby knife to carefully remove the supports. For resin prints, supports are often more brittle and can be snapped off by hand. After removing the supports, you may need to sand the surface to remove any remaining support marks or imperfections. Start with a coarse grit sandpaper (e.g., 220 grit) and gradually move to finer grits (e.g., 400 grit, 600 grit, 800 grit) to achieve a smooth surface. Wet sanding can help to reduce dust and improve the surface finish.
If your car model has any gaps or imperfections, you can fill them with putty or filler. Apply the filler to the gaps and let it dry completely. Then, sand the filler smooth to match the surrounding surface. Before painting, prime the model with a primer to create a uniform surface for the paint to adhere to. Apply thin, even coats of paint using an airbrush or spray can. Multiple coats may be necessary to achieve the desired color and coverage. After painting, you can apply a clear coat to protect the paint and add a glossy finish. Assembly of the individual parts of your 3D-printed car model often requires glue. Super glue (cyanoacrylate) is generally suitable for most plastics used in 3D printing. Platforms like 88cars3d.com offer print-ready STL files, but the final finish is up to the user’s skill and effort.
Even with careful planning and execution, 3D printing can sometimes present challenges. Understanding common issues and their solutions is crucial for achieving consistent and reliable results. Here are some typical problems you may encounter when printing car models.
Warping occurs when the corners or edges of the print lift off the build plate due to uneven cooling and contraction. Delamination is the separation of layers during printing. To prevent warping and delamination:
Stringing is the formation of thin strands of material between different parts of the print. Blobs are small, unwanted deposits of material on the surface. To prevent stringing and blobs:
Under-extrusion occurs when the printer doesn’t extrude enough material, resulting in weak and incomplete layers. Over-extrusion is the opposite, where the printer extrudes too much material, resulting in blobs and rough surfaces. To correct under-extrusion and over-extrusion:
Mastering 3D printing for car models is a journey that combines technical knowledge, experimentation, and patience. By understanding the intricacies of STL files, slicing parameters, support structures, material selection, and post-processing techniques, you can unlock the full potential of this technology and create stunning automotive replicas. Remember to start with simple models and gradually increase the complexity as you gain experience. Don’t be afraid to experiment with different settings and materials to find what works best for your printer and your desired results. Regularly maintain and calibrate your printer to ensure optimal performance. With dedication and practice, you’ll be able to produce professional-quality 3D printed car models that capture the essence of automotive design. Now, take what you’ve learned and start creating your dream car in 3D!
“`
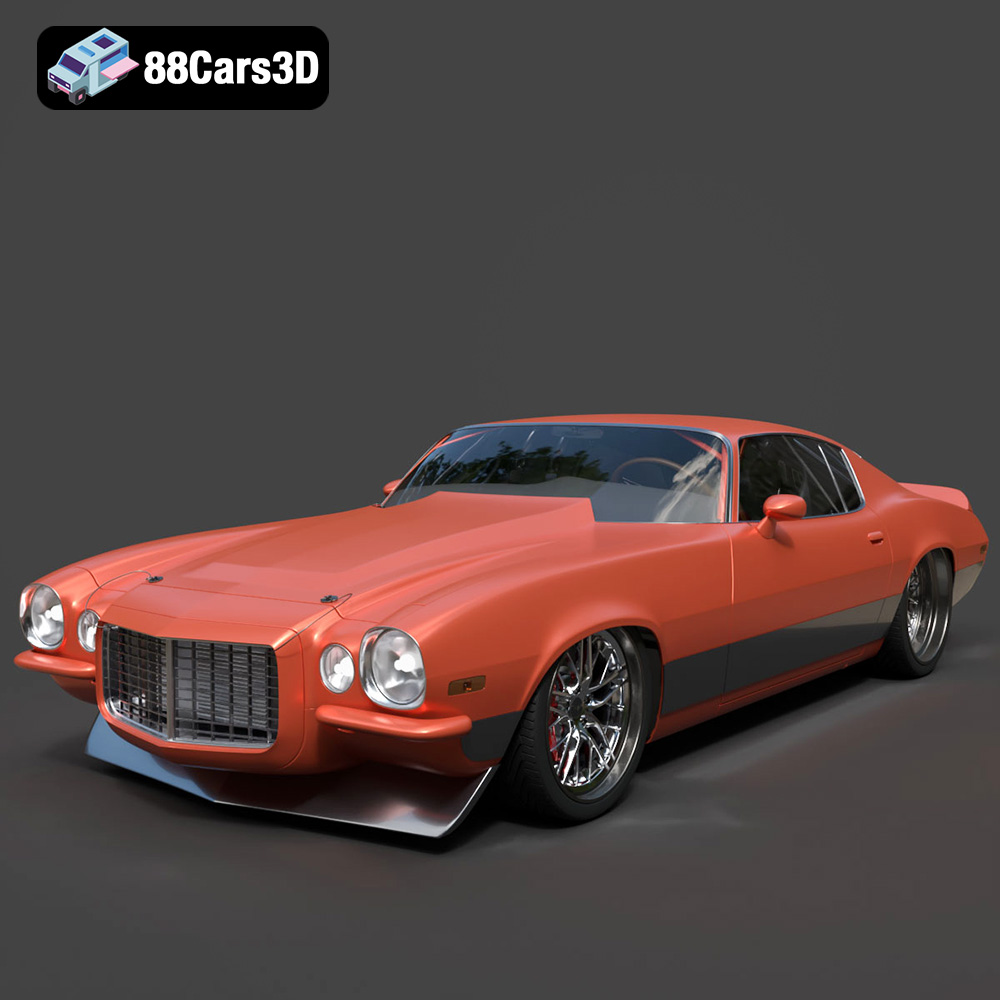
Texture: Yes
Material: Yes
Download the Chevrolet Camaro 1970 3D Model featuring clean geometry, realistic detailing, and a fully modeled interior. Includes .blend, .fbx, .obj, .glb, .stl, .ply, .unreal, and .max formats for rendering, simulation, and game development.
Price: $10
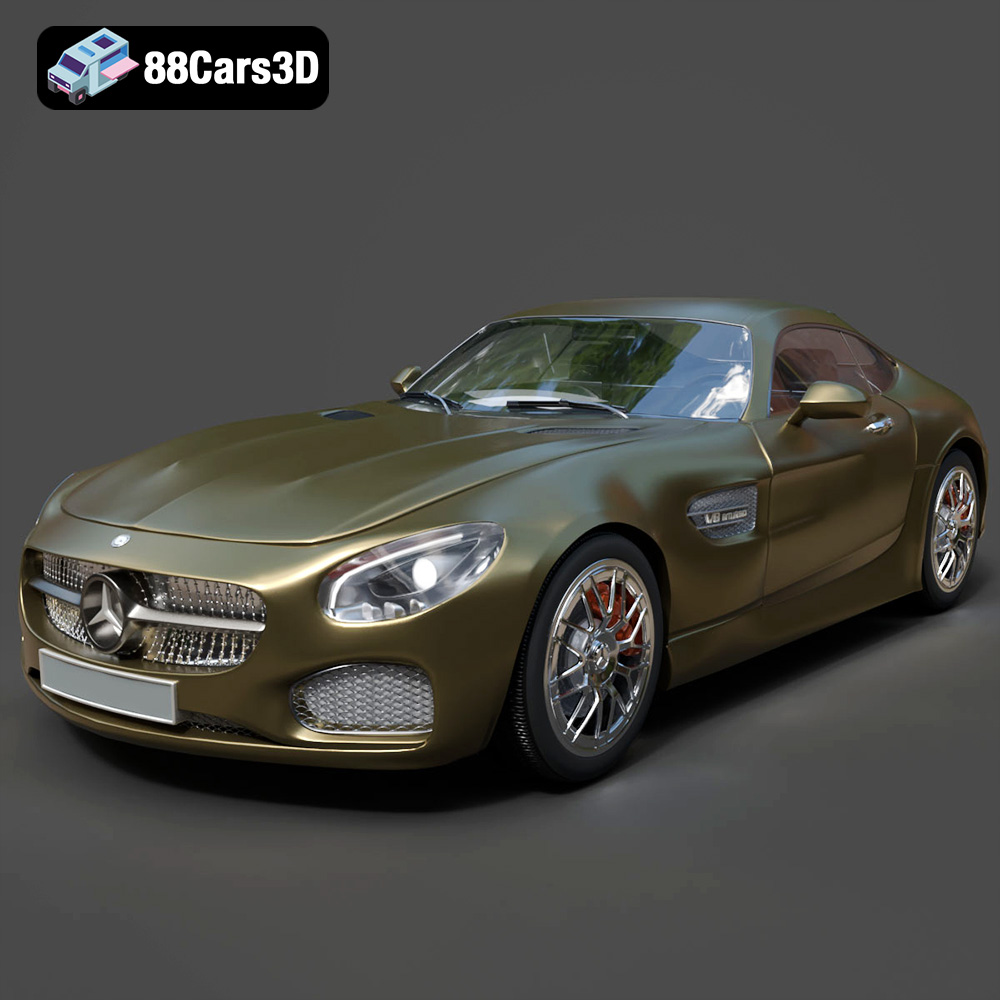
Texture: Yes
Material: Yes
Download the Mercedes-AMG GT 2015 3D Model featuring clean geometry, realistic detailing, and a fully modeled interior. Includes .blend, .fbx, .obj, .glb, .stl, .ply, .unreal, and .max formats for rendering, simulation, and game development.
Price: $88.99
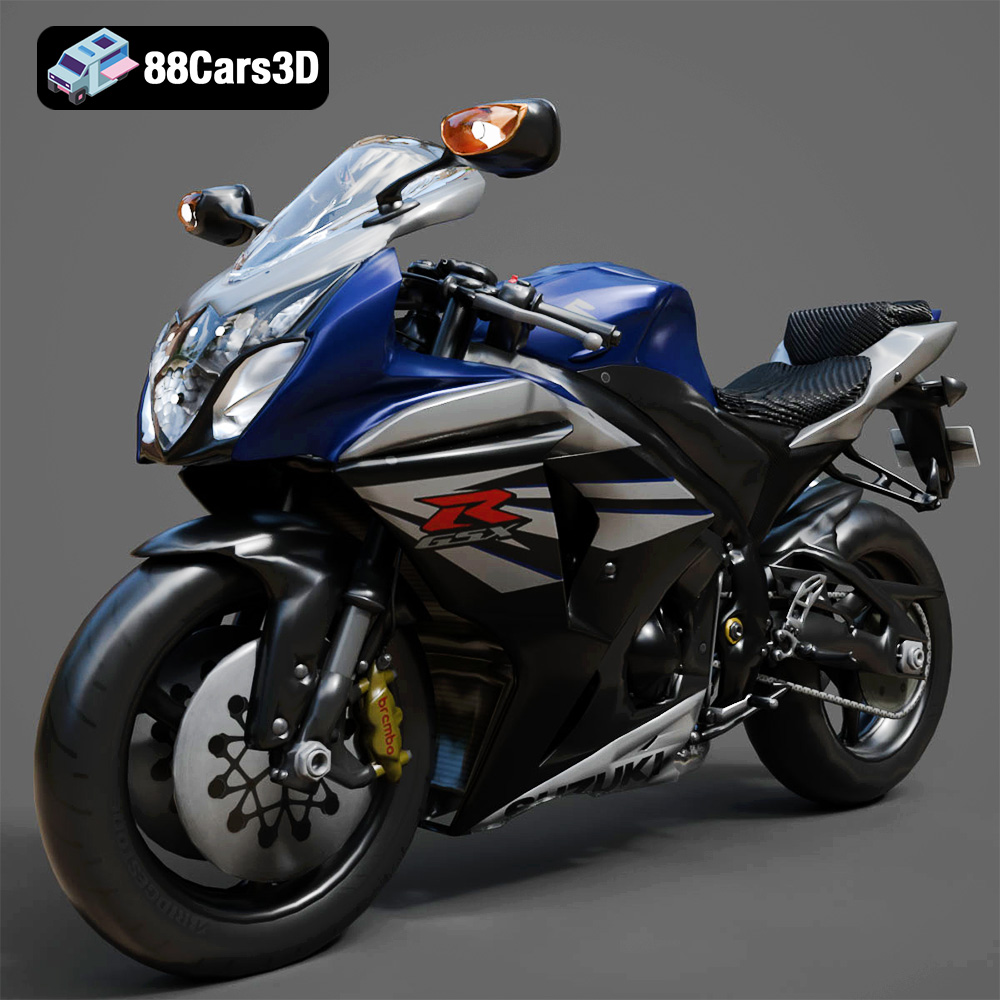
Texture: Yes
Material: Yes
Download the Suzuki GSX-R 1000 3D Model featuring clean geometry, realistic detailing, and a fully modeled interior. Includes .blend, .fbx, .obj, .glb, .stl, .ply, .unreal, and .max formats for rendering, simulation, and game development.
Price: $10
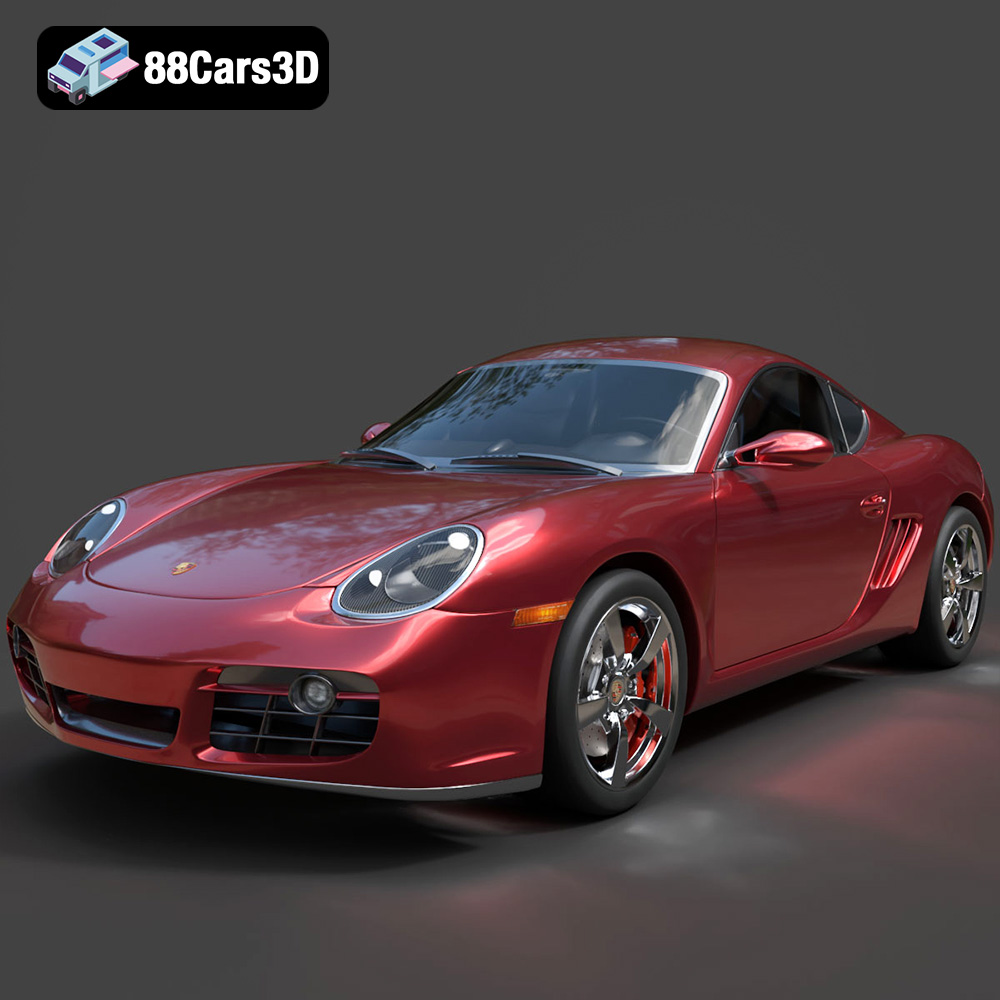
Texture: Yes
Material: Yes
Download the Porsche Cayman S 2024 3D Model featuring clean geometry, realistic detailing, and a fully modeled interior. Includes .blend, .fbx, .obj, .glb, .stl, .ply, .unreal, and .max formats for rendering, simulation, and game development.
Price: $10
**Meta Description:**
Texture: Yes
Material: Yes
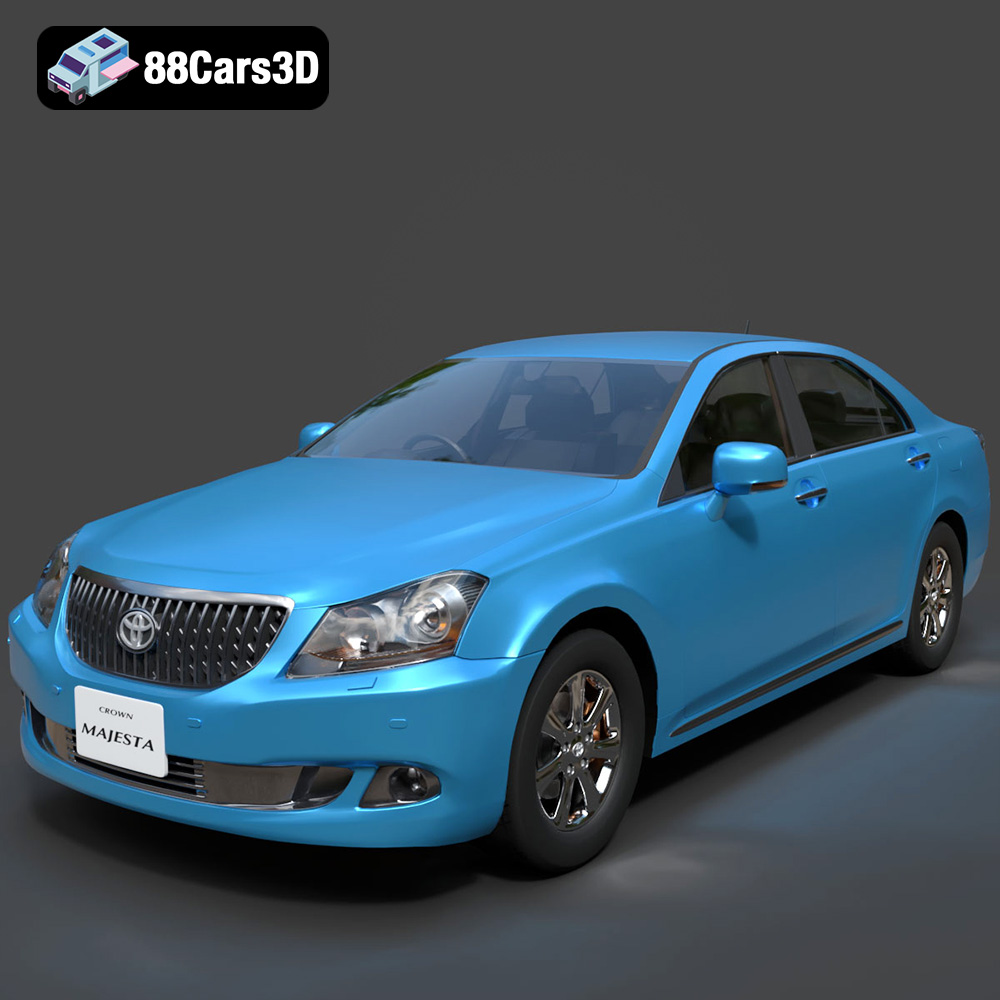
Download the Toyota Crown Majesta 2009 3D Model with luxury detailing, clean topology, and a fully modeled interior. Available in .blend, .fbx, .obj, .glb, .stl, .ply, .unreal, and .max formats for rendering, simulation, and game development.
Price: $4.99
**Meta Description:**
Texture: Yes
Material: Yes
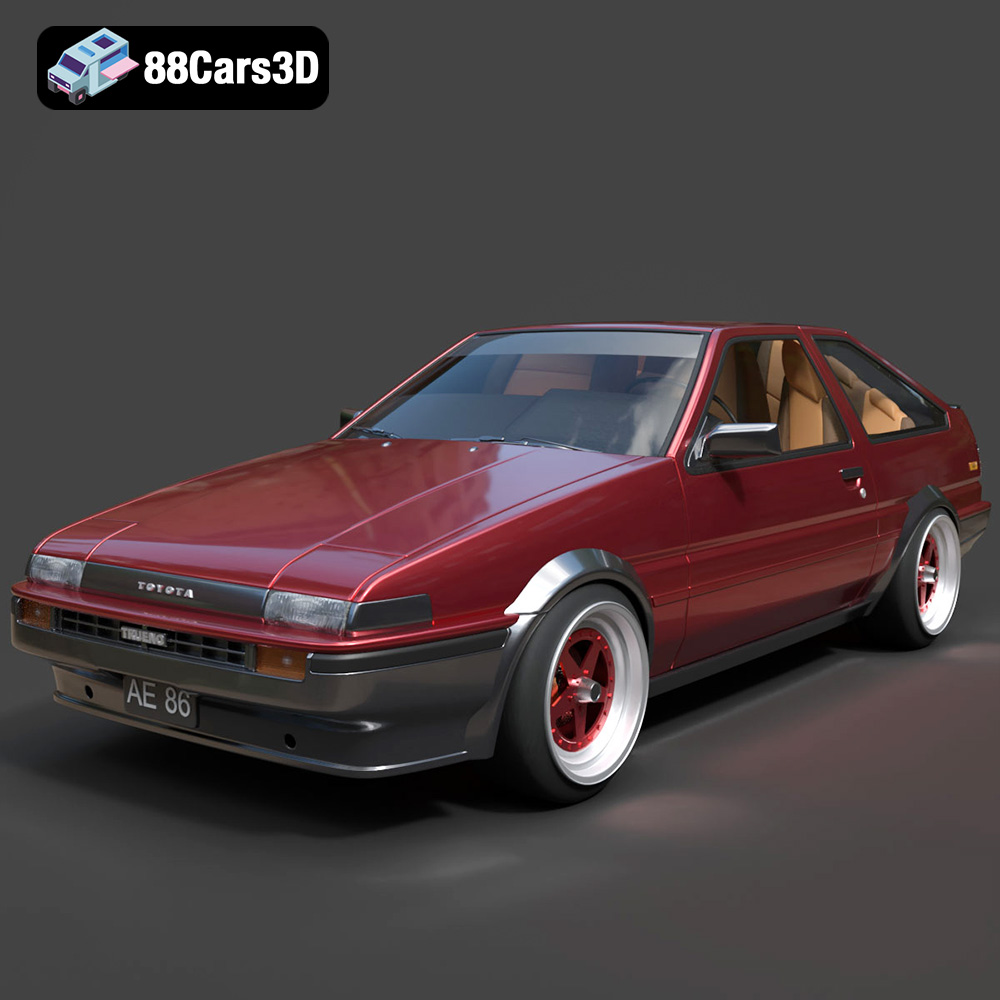
Download the Toyota AE86 Levin 1983 1987 3D Model featuring realistic exterior and interior detailing. Includes .blend, .fbx, .obj, .glb, .stl, .ply, .unreal, and .max formats for rendering, simulation, and game development.
Price: $9.99
Texture: Yes
Material: Yes
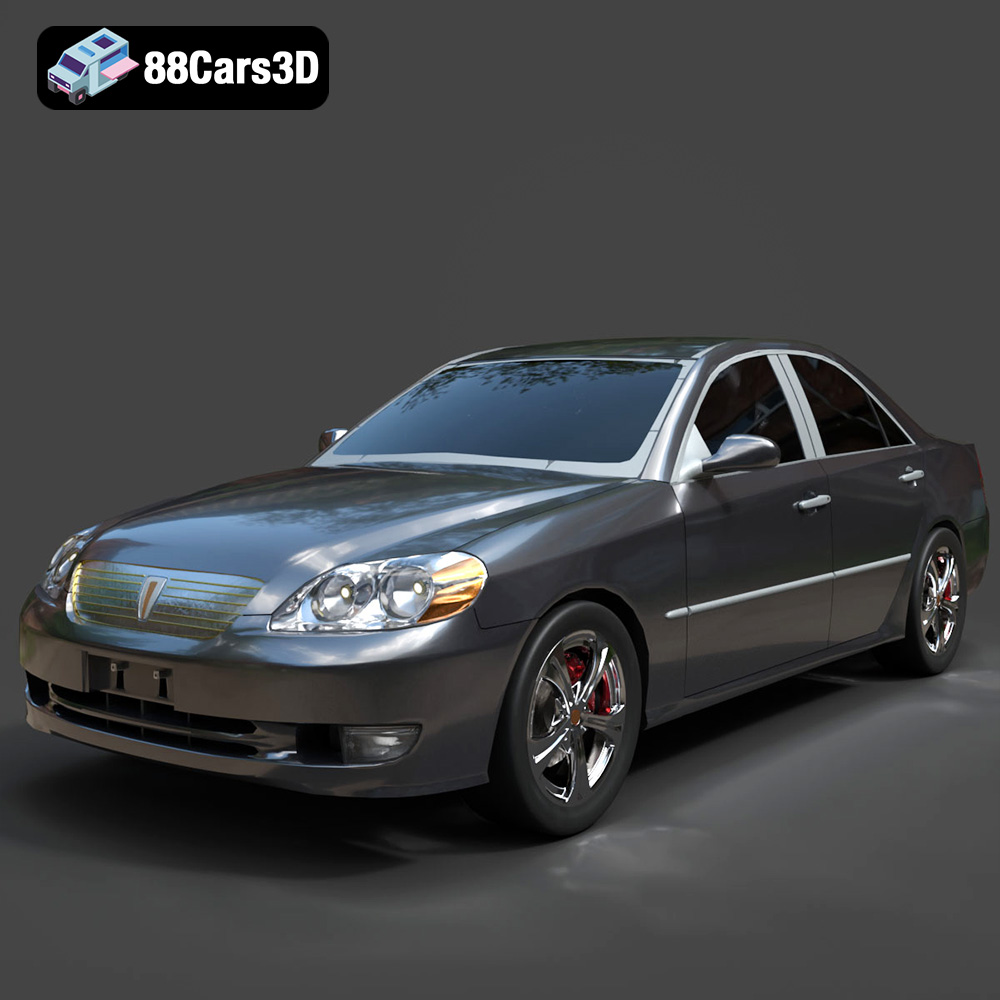
Download the Toyota Mark 2 2001 3D Model featuring clean geometry, realistic detailing, and a fully modeled interior. Includes .blend, .fbx, .obj, .glb, .stl, .ply, .unreal, and .max formats for rendering, simulation, and game development.
Price: $4.99
Texture: Yes
Material: Yes
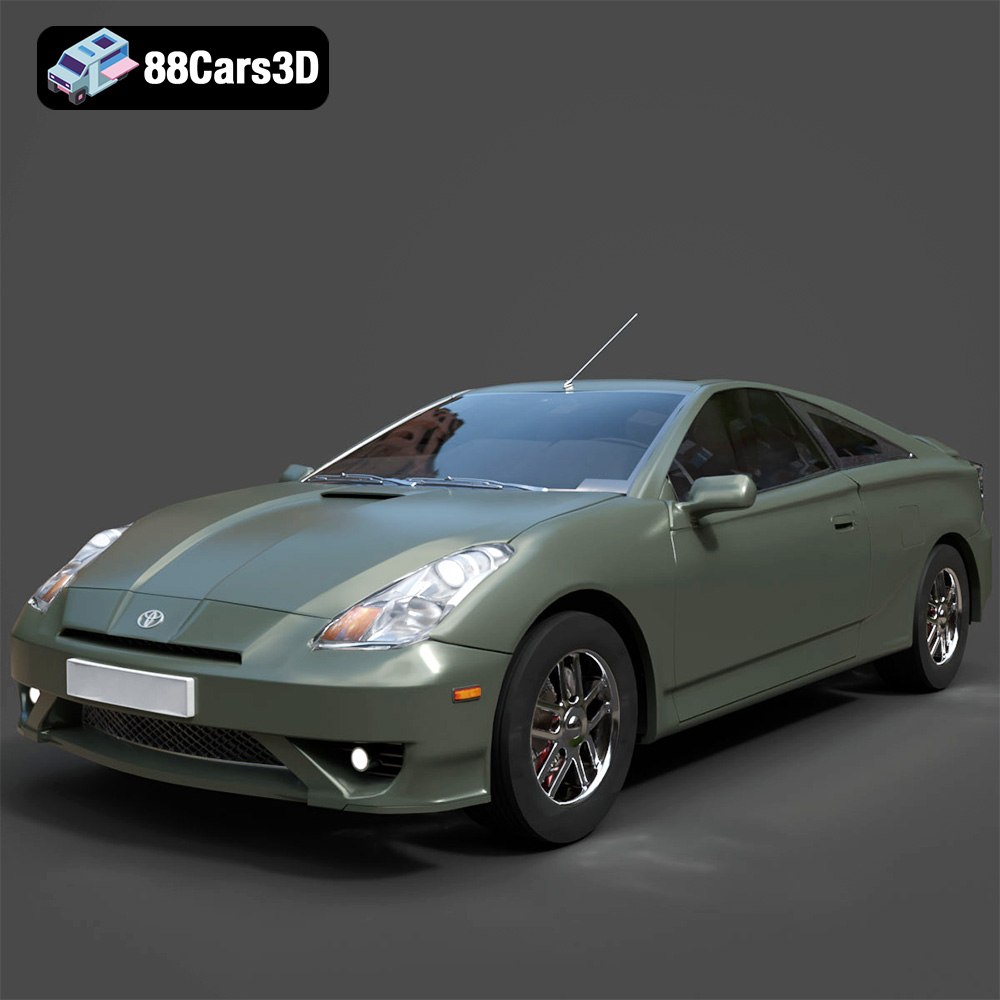
Download the Toyota Celica 2000 3D Model featuring clean geometry, realistic detailing, and a fully modeled interior. Includes .blend, .fbx, .obj, .glb, .stl, .ply, .unreal, and .max formats for rendering, simulation, and game development.
Price: $4.99
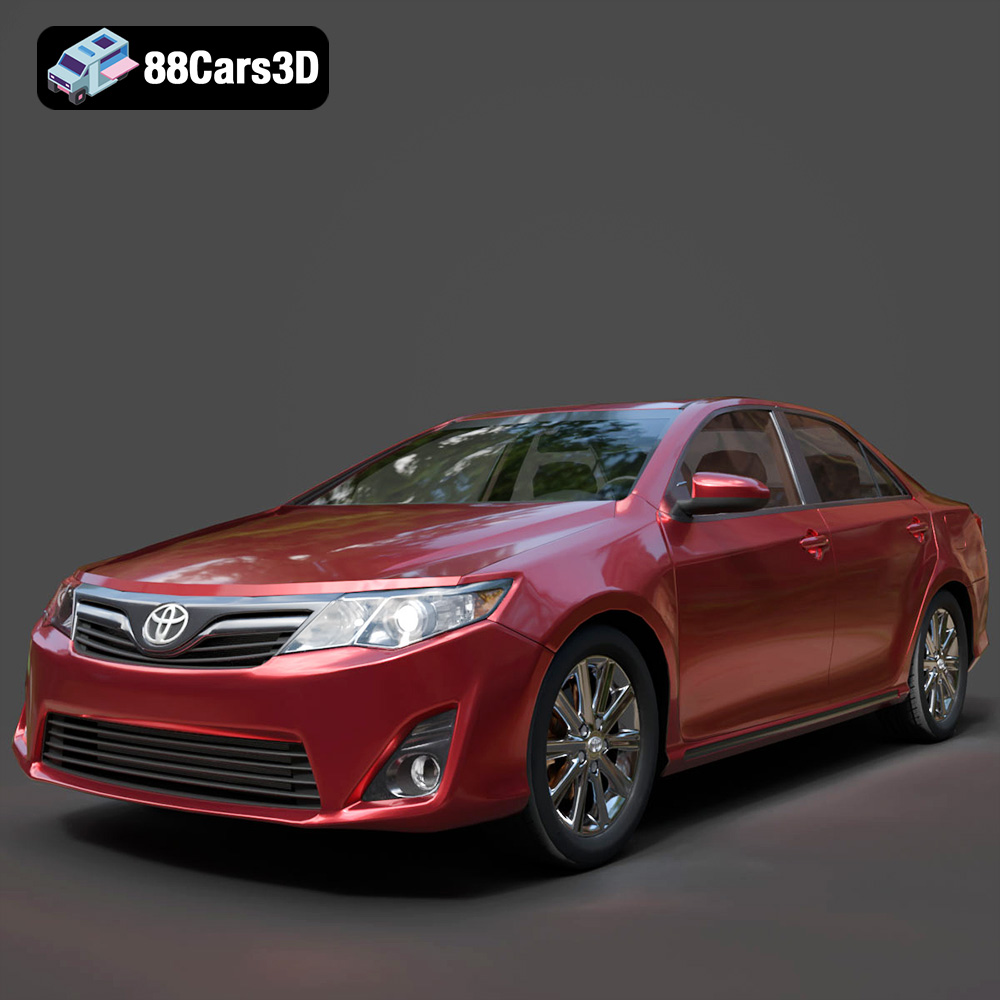
Download the Toyota Camry US 2012 3D Model featuring clean geometry, realistic detailing, and a fully modeled interior. Includes .blend, .fbx, .obj, .glb, .stl, .ply, .unreal, and .max formats for rendering, simulation, and game development.
Price: $4.99

Texture: Yes
Material: Yes
Download the Toyota GT 86 2013 3D Model featuring clean geometry, realistic detailing, and a fully modeled interior. Includes .blend, .fbx, .obj, .glb, .stl, .ply, .unreal, and .max formats for rendering, simulation, and game development.
Price: $4.99

