Get 50% OFF All Premium 3D & STL Models!

“`html
The world of automotive visualization has undergone a seismic shift. Gone are the days of waiting hours or even days for a single photorealistic render. Today, real-time rendering engines like Unreal Engine have democratized the creation of stunning, interactive, and dynamic automotive experiences. From high-fidelity marketing cinematics and virtual showrooms to advanced driving simulators and interactive car configurators, Unreal Engine is the driving force behind the industry’s most innovative projects. However, achieving true photorealism and seamless interactivity hinges on a crucial combination of technical expertise and high-quality assets. The complexity of a vehicle—with its intricate surfaces, diverse materials, and mechanical precision—presents a unique set of challenges for any 3D artist or developer.
This comprehensive guide is your roadmap to mastering automotive visualization in Unreal Engine 5. We will deconstruct the entire workflow, from initial project setup and asset preparation to advanced material creation, dynamic lighting, and interactive scripting. You will learn how to harness the groundbreaking power of technologies like Nanite and Lumen to render millions of polygons in real-time, create a flawless car paint shader, build interactive product configurators with Blueprint, and optimize your project for peak performance. Whether you’re an automotive designer, a game developer, a 3D artist, or a visualization specialist, this article will equip you with the professional techniques needed to transform high-poly 3D car models into breathtaking real-time experiences.
A successful automotive visualization project begins long before the first 3D model is imported. Laying a solid foundation through proper project configuration and meticulous asset preparation is non-negotiable. This initial phase ensures that Unreal Engine is primed for high-fidelity rendering and that your 3D assets are structured for maximum efficiency and quality.
Starting with the right settings can save you countless hours of troubleshooting later. When creating a new project, Unreal Engine offers several templates. The Automotive, Film & Video, or Architecture templates are excellent starting points as they come with useful plugins and project settings pre-configured for high-quality visuals.
Edit > Plugins and ensure essential plugins are enabled. The Datasmith Importer is crucial for bringing in complex models from DCC applications like 3ds Max or CAD software. For interactive configurators, the Variant Manager is invaluable.Edit > Project Settings > Engine > Rendering. To unlock the full potential of Unreal Engine 5, set the Default RHI to DirectX 12. Under the same section, ensure Dynamic Global Illumination Method is set to Lumen and Reflection Method is also set to Lumen. Finally, enable Support Hardware Ray Tracing if your hardware supports it and you plan to use it for specific high-end shots, though Lumen is the recommended default.The quality of your final render is directly proportional to the quality of your source model. A poorly optimized or constructed model will cause problems throughout the pipeline. When sourcing high-fidelity models from marketplaces like 88cars3d.com, you often get assets pre-optimized for real-time engines, featuring clean quad-based topology, PBR-ready textures, and logical part separation.
Before importing, perform these checks in a DCC tool like Blender, Maya, or 3ds Max:
M_CarPaint_Red, SM_Wheel_FL). This makes management inside Unreal Engine significantly easier, especially for Blueprint scripting.With your project configured and your model prepped, it’s time to bring your automotive asset into the engine. Unreal Engine provides powerful import options, but the introduction of Nanite virtualized geometry has fundamentally changed the game for high-poly models, making it the ideal choice for automotive visualization where every curve and detail matters.
While the traditional FBX import is a robust option, the Datasmith workflow is often superior for complex assemblies like vehicles.
Nanite is arguably the most transformative feature in Unreal Engine 5 for rendering high-detail assets. It’s a virtualized geometry system that intelligently streams and renders only the detail you can perceive, effectively eliminating the concepts of polygon budgets and traditional Level of Detail (LOD) management for static geometry.
For automotive models, this is a revolution. Car bodies, with their long, subtle curves, are notoriously difficult to represent with low-polygon models without visible faceting. With Nanite, you can use your source model directly—whether it’s 500,000 polygons or 50 million. The benefits are immediately obvious:
To enable Nanite, you can either check the “Build Nanite” box during the FBX import process or, for an existing Static Mesh, open the asset editor, and under Nanite Settings, simply check Enable Nanite Support and click “Apply Changes.” You can visualize the Nanite geometry using the “Nanite Visualization” view modes in the level editor.
A perfect model is nothing without believable materials. The Physically Based Rendering (PBR) workflow is the industry standard for creating materials that react realistically to light. Unreal Engine’s Material Editor is an incredibly powerful node-based tool that allows you to craft everything from multi-layered car paint to textured rubber and refractive glass.
PBR materials rely on a set of texture maps to define a surface’s properties. For automotive assets, the most common maps in a Metallic/Roughness workflow are:
Assets from platforms such as 88cars3d.com are designed with this workflow in mind, typically providing high-resolution PBR texture sets that you can plug directly into your Unreal materials.
Standard car paint is a complex, multi-layered surface. We can replicate this in the Material Editor using the Clear Coat shading model.
M_CarPaint_Master. Open it and in the Details panel, change the Shading Model to Clear Coat.Vector3 parameter for the Base Color. For the Metallic input, use a `Scalar` parameter set to 1.0. The Roughness for this layer should be a `Scalar` parameter with a value around 0.3-0.5 to simulate a slightly matte metallic base.Multiply node with a `Scalar` parameter, you can control the intensity of the flake effect.By parameterizing all these values, you can create a single master material and then generate Material Instances to create an entire library of paint colors and finishes without duplicating work.
Lighting is what breathes life into a scene. Unreal Engine 5’s Lumen system provides real-time, dynamic Global Illumination (GI) and Reflections, completely revolutionizing the lighting workflow. It eliminates the need for slow, static light baking and allows for instant feedback as you create beautiful, realistic lighting environments for your vehicle.
Lumen simulates the way light bounces off surfaces in the real world (GI) and provides high-quality, screen-space and ray-traced reflections. This means a red car parked on a white floor will realistically cast soft red light onto the floor beneath it, and the car’s chrome bumper will accurately reflect other objects in the scene—all in real-time.
Lumen works out-of-the-box once enabled in your project settings. Its quality and performance can be fine-tuned in a Post Process Volume under the “Global Illumination” and “Reflections” sections. For automotive visualization, the default settings are often a great starting point, offering a fantastic balance of quality and performance.
A common scenario for automotive visualization is a clean, professional studio environment. This can be easily achieved in Unreal Engine:
For more in-depth information on these systems, the official Unreal Engine documentation at https://dev.epicgames.com/community/unreal-engine/learning is an indispensable resource for both beginners and experts.
Real-time rendering’s greatest strength is interactivity. With Unreal Engine’s Blueprint Visual Scripting system, you can create compelling interactive experiences like car configurators or virtual tours without writing a single line of code. Blueprint is a node-based system that allows artists and designers to build gameplay logic and functionality visually.
To make a car interactive, you must first convert it into a self-contained, intelligent object. This is done by creating a Blueprint Actor.
SM_Body, SM_Wheel_FL, SM_Door_L).This Blueprint now encapsulates both the visual representation and the potential behavior of your car.
A car configurator is a classic automotive visualization project. Let’s create a simple version that changes the car’s paint color.
M_CarPaint_Master material, create several Material Instances (e.g., MI_CarPaint_Red, MI_CarPaint_Black). Open each one and change the Base Color parameter to the desired color.SM_Body component from the Components panel into the graph. Drag off its pin and find the Set Material node.Pressed output of the ‘1’ key event to the input of the Set Material node. In the Material slot of the node, select your MI_CarPaint_Red instance. Repeat this for the ‘2’ key and MI_CarPaint_Black.Now, when you play the level and press the ‘1’ or ‘2’ keys, the car’s paint color will change instantly. This same logic can be tied to a UI for a polished user experience.
You can also use Blueprints to drive simple animations, like opening a door. This is easily achieved with a Timeline node.
While modern tools like Nanite and Lumen are incredibly powerful, optimization is still a critical skill for delivering smooth, high-frame-rate experiences, especially for AR/VR or projects targeting a wide range of hardware. A deep understanding of Unreal Engine’s profiling tools and optimization techniques is the mark of a professional.
You cannot optimize what you cannot measure. Unreal Engine provides a suite of powerful profiling tools:
stat unit: This console command displays the time taken for the Frame, Game Thread, Draw Thread, and GPU. It’s the first step to identifying whether your project is CPU-bound or GPU-bound.stat gpu: This command gives a detailed breakdown of what the GPU is spending its time on, such as shadows, Lumen, post-processing, and translucency.While these systems handle much of the heavy lifting, they are not a “magic bullet.” You can still create performance-intensive scenes.
Nanite is not yet supported for all geometry types, most notably Skeletal Meshes (for physics-driven cars) and some transparent materials. For these cases, and especially for performance-critical applications like VR/AR, traditional Level of Detail (LOD) meshes are essential.
An LOD system uses versions of the model with progressively fewer polygons as the object gets further from the camera. While Unreal has an auto-LOD generation tool, for a hero asset like a car, it’s always best to use custom-made LODs that preserve the vehicle’s iconic silhouette at each level. Sourcing assets from a quality marketplace can be a huge time-saver here, as a provider like 88cars3d.com may offer models with pre-built, professionally crafted LODs included.
We’ve journeyed through the complete professional workflow for creating state-of-the-art automotive visualizations in Unreal Engine 5. By starting with a solid project foundation, leveraging the incredible power of Nanite to render high-poly 3D car models without compromise, and building photorealistic PBR materials, you can achieve a level of visual fidelity that was once exclusive to offline rendering. Adding dynamic lighting with Lumen and interactive functionality with Blueprint transforms your static model into an engaging, immersive experience. Finally, by applying smart optimization techniques, you ensure that your creation runs smoothly across a variety of platforms.
The synergy between high-quality automotive assets and the power of Unreal Engine has opened up a new frontier for designers, marketers, and developers. The ability to iterate on designs in real-time, create compelling marketing cinematics with Sequencer, or build fully interactive virtual showrooms is no longer a futuristic dream but a practical reality. The key is to combine a robust technical understanding with an artistic eye. We encourage you to take these techniques, experiment with them, and push the boundaries of what’s possible. Begin with a top-tier 3D car model, dive into the engine, and start building the future of automotive experiences today.
“`
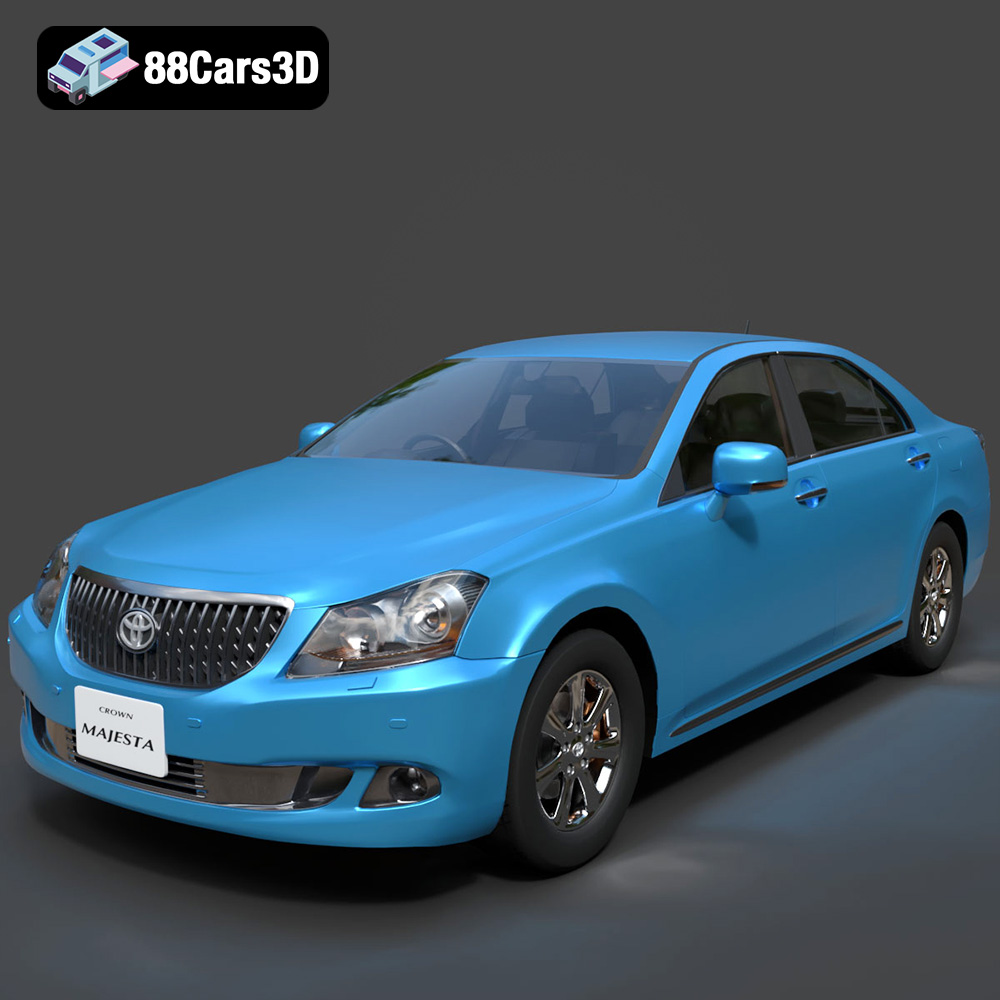
**Meta Description:**
Texture: Yes
Material: Yes
Download the Toyota Crown Majesta 2009 3D Model with luxury detailing, clean topology, and a fully modeled interior. Available in .blend, .fbx, .obj, .glb, .stl, .ply, .unreal, and .max formats for rendering, simulation, and game development.
Price: $13.9
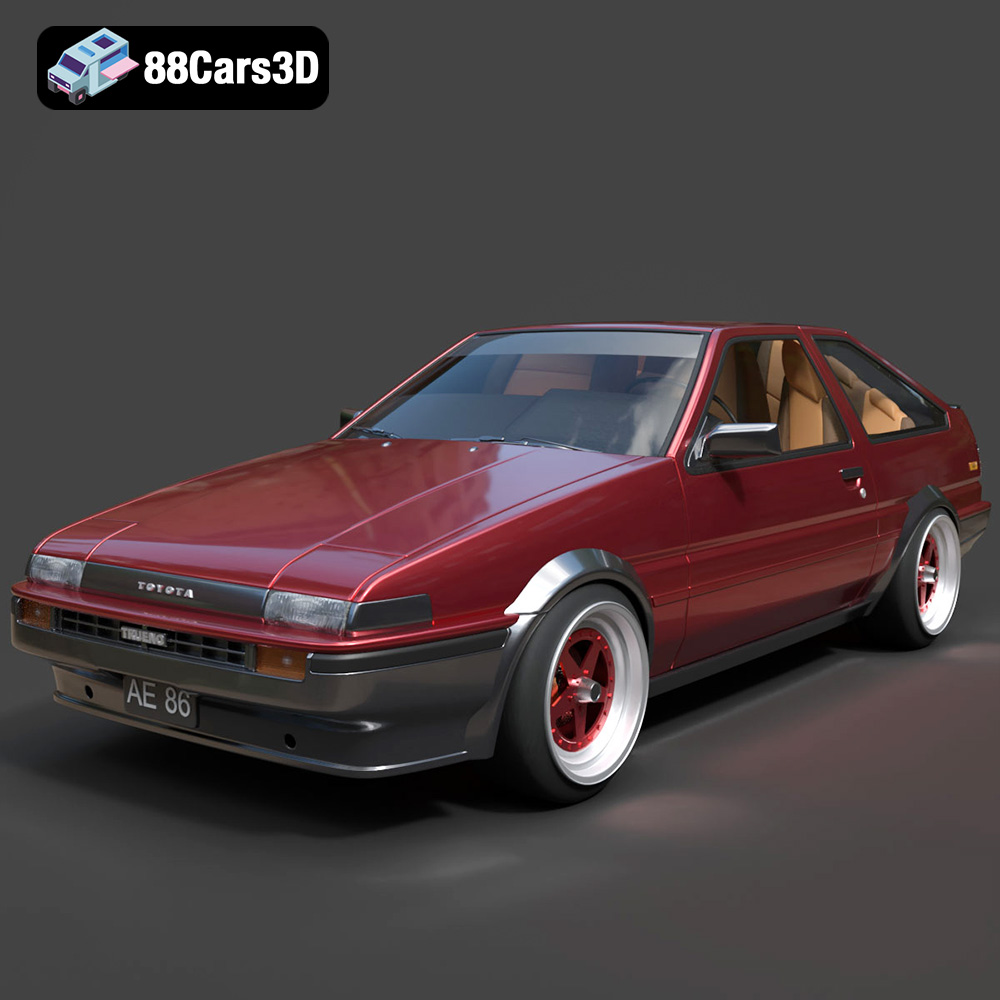
**Meta Description:**
Texture: Yes
Material: Yes
Download the Toyota AE86 Levin 1983 1987 3D Model featuring realistic exterior and interior detailing. Includes .blend, .fbx, .obj, .glb, .stl, .ply, .unreal, and .max formats for rendering, simulation, and game development.
Price: $29.99
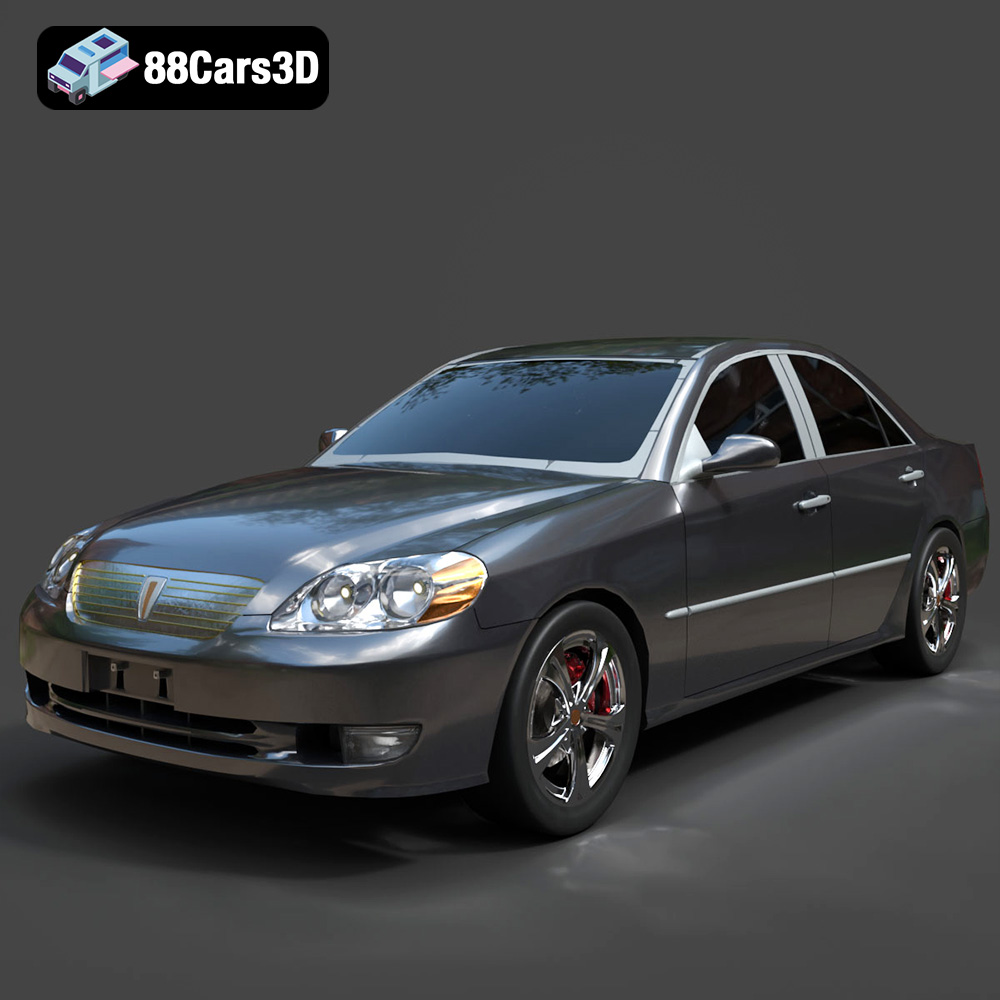
Texture: Yes
Material: Yes
Download the Toyota Mark 2 2001 3D Model featuring clean geometry, realistic detailing, and a fully modeled interior. Includes .blend, .fbx, .obj, .glb, .stl, .ply, .unreal, and .max formats for rendering, simulation, and game development.
Price: $10
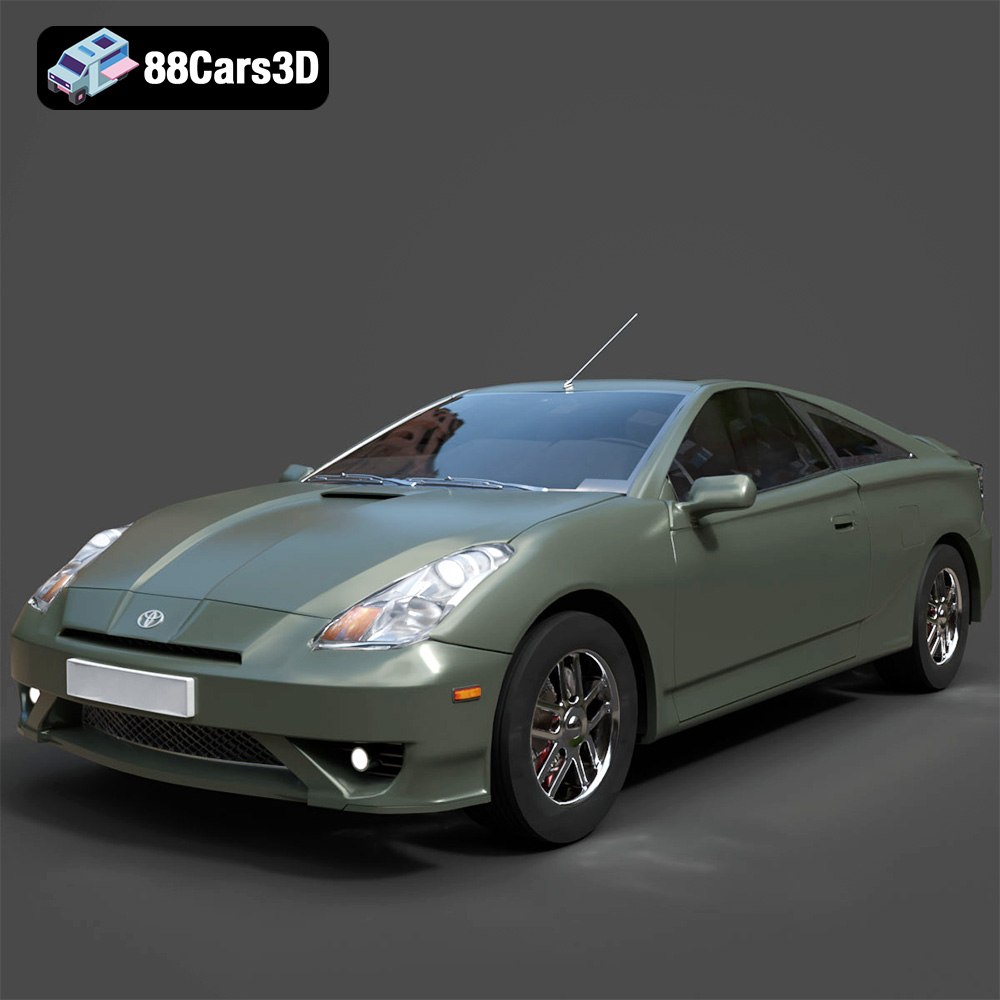
Texture: Yes
Material: Yes
Download the Toyota Celica 2000 3D Model featuring clean geometry, realistic detailing, and a fully modeled interior. Includes .blend, .fbx, .obj, .glb, .stl, .ply, .unreal, and .max formats for rendering, simulation, and game development.
Price: $10
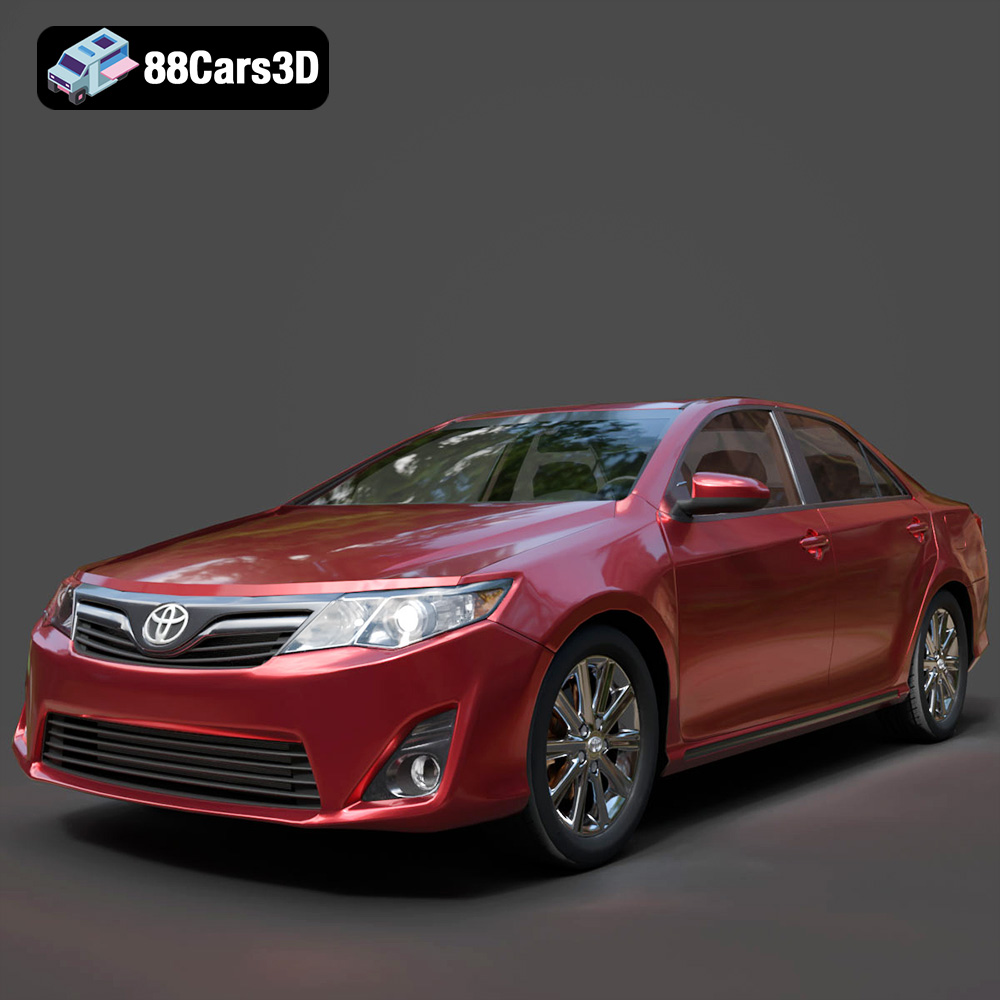
Download the Toyota Camry US 2012 3D Model featuring clean geometry, realistic detailing, and a fully modeled interior. Includes .blend, .fbx, .obj, .glb, .stl, .ply, .unreal, and .max formats for rendering, simulation, and game development.
Price: $10
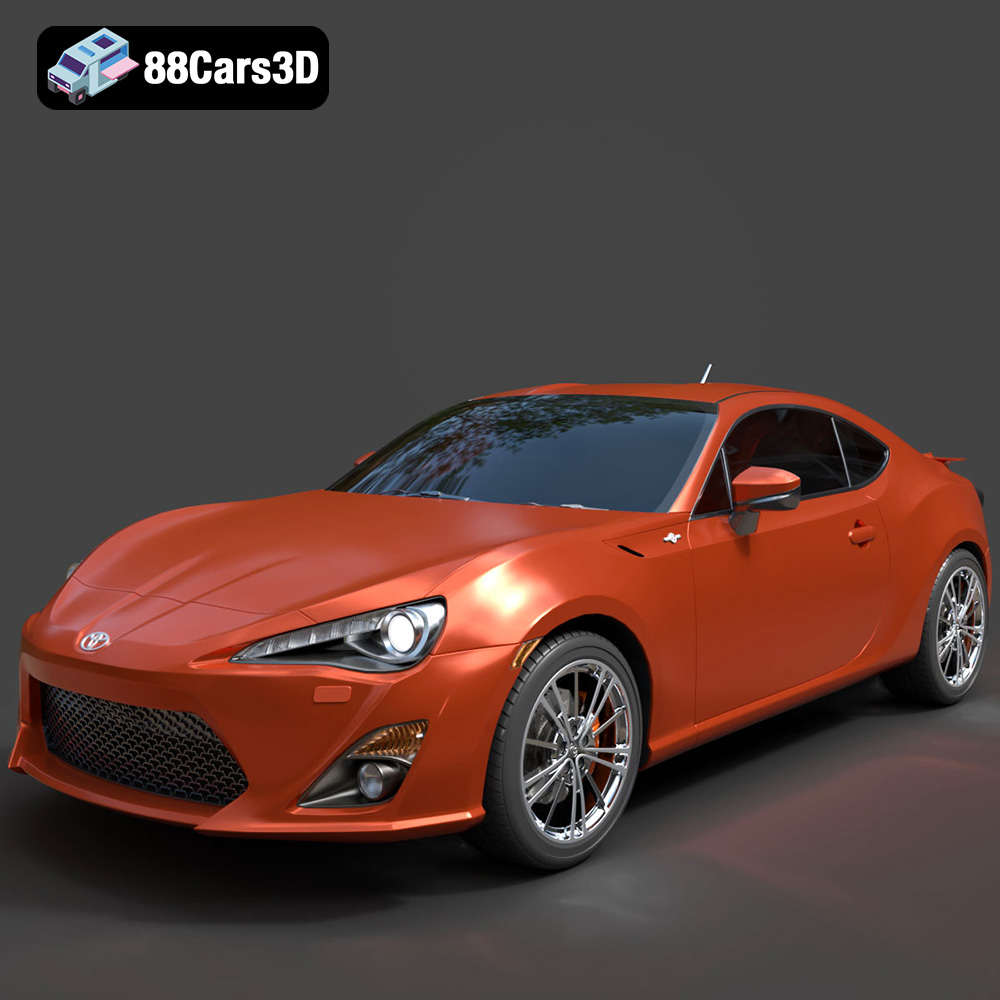
Texture: Yes
Material: Yes
Download the Toyota GT 86 2013 3D Model featuring clean geometry, realistic detailing, and a fully modeled interior. Includes .blend, .fbx, .obj, .glb, .stl, .ply, .unreal, and .max formats for rendering, simulation, and game development.
Price: $10
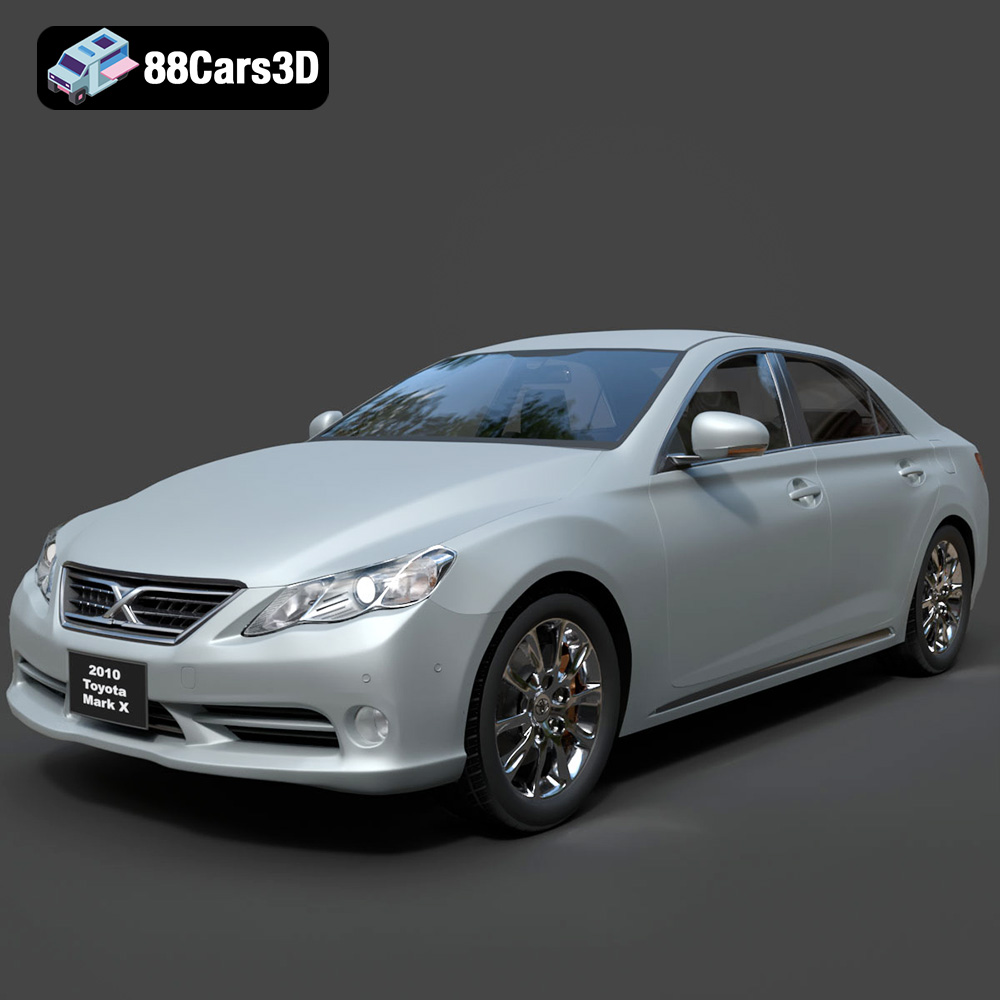
Texture: Yes
Material: Yes
Download the Toyota Mark X 2010 3D Model featuring clean geometry, realistic detailing, and a fully modeled interior. Includes .blend, .fbx, .obj, .glb, .stl, .ply, .unreal, and .max formats for rendering, simulation, and game development.
Price: $10
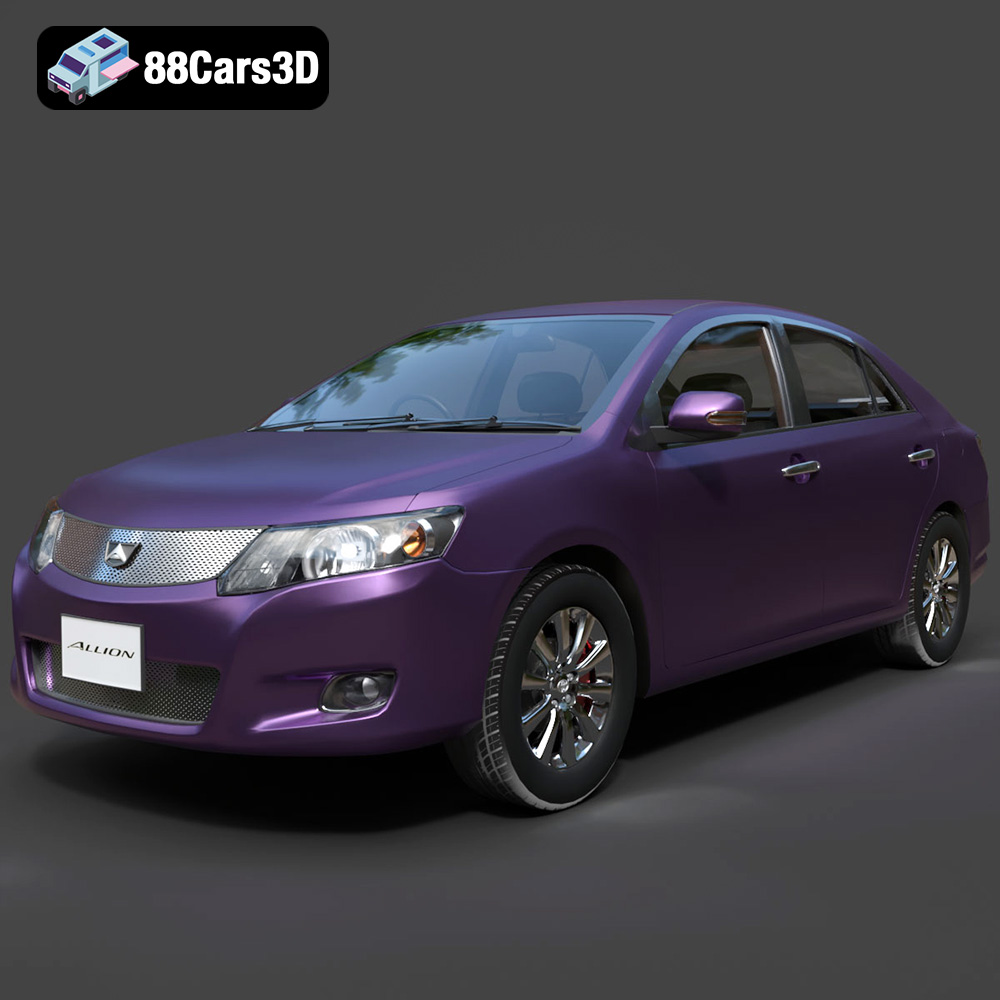
Texture: Yes
Material: Yes
Download the Toyota Allion 2008 3D Model featuring clean geometry, realistic detailing, and a fully modeled interior. Includes .blend, .fbx, .obj, .glb, .stl, .ply, .unreal, and .max formats for rendering, simulation, and game development.
Price: $10
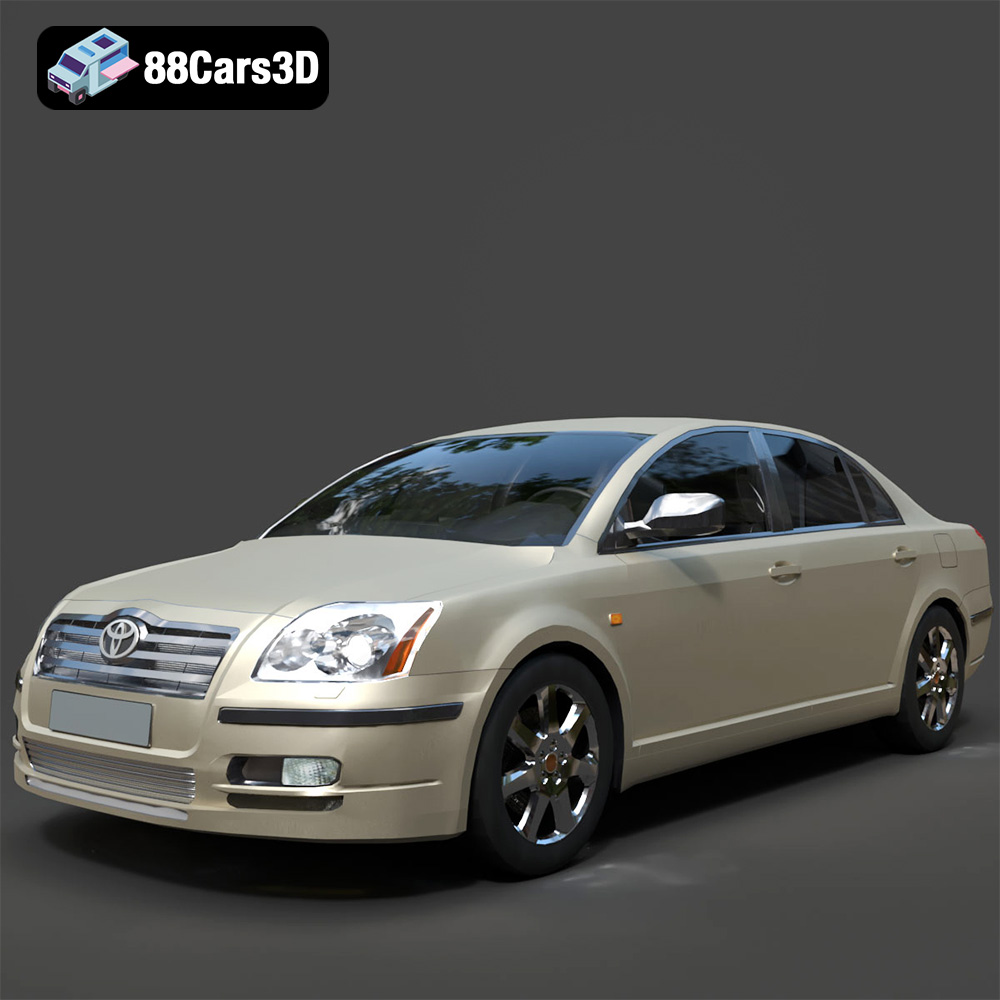
Texture: Yes
Material: Yes
Download the Toyota Avensis 2005 3D Model featuring clean geometry, realistic detailing, and a fully modeled interior. Includes .blend, .fbx, .obj, .glb, .stl, .ply, .unreal, and .max formats for rendering, simulation, and game development.
Price: $10
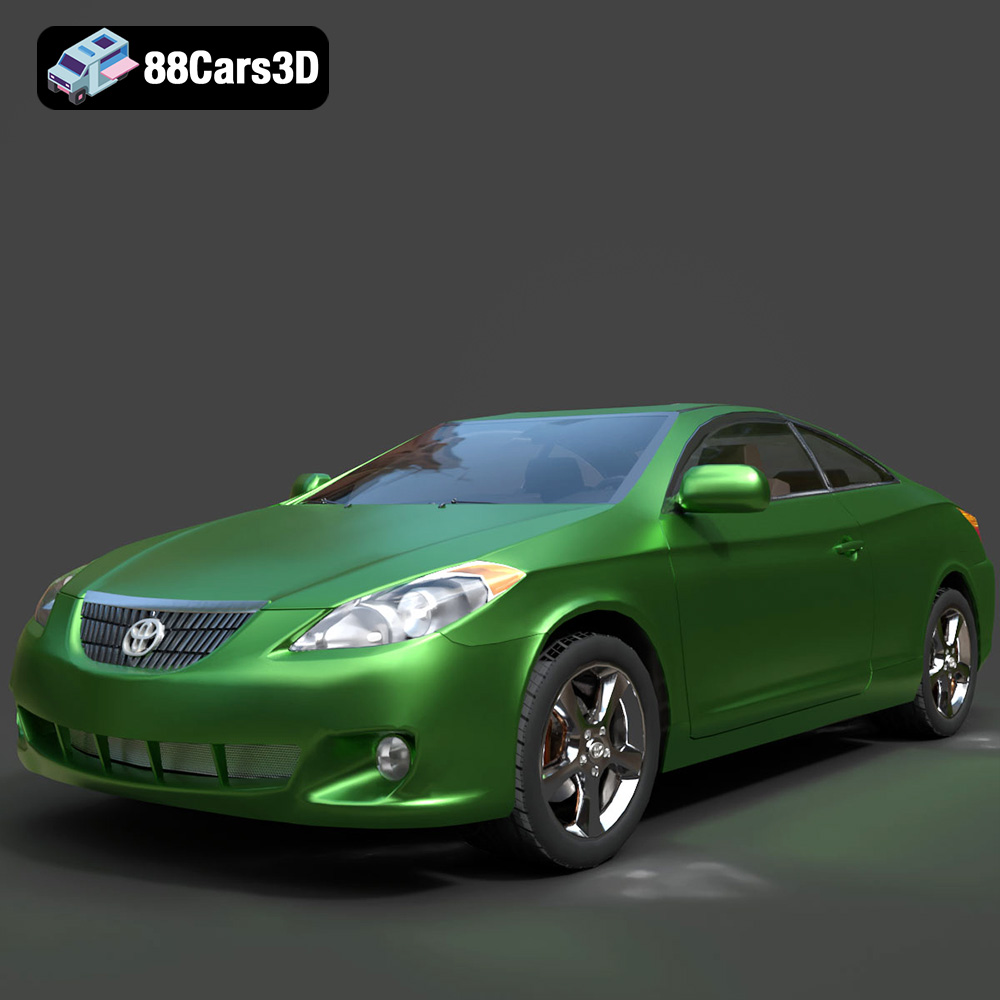
Texture: Yes
Material: Yes
Download the Toyota Camry Solara 2006 3D Model featuring clean geometry, realistic detailing, and a fully modeled interior. Includes .blend, .fbx, .obj, .glb, .stl, .ply, .unreal, and .max formats for rendering, simulation, and game development.
Price: $10

