Get 50% OFF All Premium 3D & STL Models!

The world of automotive visualization has been revolutionized by real-time rendering, and at the forefront of this transformation is Unreal Engine. What was once the exclusive domain of offline, time-consuming render farms is now accessible on the desktop, offering unprecedented speed, interactivity, and photorealism. For designers, engineers, marketers, and game developers, this means the ability to create stunning, interactive car configurators, cinematic marketing materials, and immersive virtual test drives with incredible efficiency. However, harnessing the full power of Unreal Engine requires a deep understanding of its core systems, from asset preparation and material creation to lighting and performance optimization.
This comprehensive guide will walk you through the entire process of bringing a high-fidelity 3D car model into Unreal Engine 5 and transforming it into a photorealistic, interactive experience. We will explore cutting-edge features like Nanite and Lumen, dive deep into the intricacies of creating a perfect car paint material, and cover the essential workflows for building interactive elements with Blueprint. Whether you’re a seasoned 3D artist new to Unreal or a developer looking to push the boundaries of automotive visualization, you will learn the technical steps and industry best practices needed to achieve breathtaking results. Let’s start the engine and begin our journey.
Before you can import a single polygon, laying the proper groundwork in your Unreal Engine project is critical. A robust foundation ensures that advanced features will function correctly and that your project remains performant and scalable. This initial phase involves selecting the right project template, configuring essential rendering settings, and meticulously preparing your 3D car model for a seamless transition into the engine. Getting these steps right will save you countless hours of troubleshooting later and set the stage for a truly cinematic final product. It all starts with a clean, well-organized asset.
Unreal Engine offers several templates to kickstart your project. While a Blank template provides a clean slate, for automotive visualization, the Automotive, Film & TV, and Virtual Events template (or simply the “Automotive” preset in older versions) is often the best choice. This template comes pre-configured with several essential plugins and settings:
Starting with this template ensures that key tools are enabled from the outset, streamlining your workflow significantly.
Once your project is created, a few settings in Project Settings (Edit > Project Settings) must be enabled for maximum visual quality:
The quality of your source model dictates the quality of your final render. A poorly optimized or badly structured model will cause endless headaches. Starting with a high-quality, engine-ready asset from a specialized marketplace like 88cars3d.com can save you immense amounts of cleanup. Key preparation steps include:
–Logical Hierarchy and Naming: Group objects logically (e.g., `Wheel_FL`, `Door_Driver`, `BrakeCaliper_RR`). This is vital for rigging, animation, and Blueprint scripting later.
–File Format: While FBX is a standard, USD (Universal Scene Description) is increasingly favored for its ability to carry complex scene data, including hierarchy, materials, and animations, in a non-destructive way.
Getting your meticulously prepared 3D car model into Unreal Engine is the next critical step. Modern automotive assets can contain millions of polygons, and traditional import methods often require painful manual optimization and LOD (Level of Detail) creation. Fortunately, Unreal Engine 5 provides two game-changing technologies—Nanite and DataSmith—that revolutionize this process, allowing you to work with cinematic-quality assets directly in real-time without the traditional performance trade-offs.
Nanite is Unreal Engine’s virtualized micropolygon geometry system. In simple terms, it allows you to import and render 3D models with millions or even billions of polygons in real time, with performance costs based on screen pixels rather than polygon count. For automotive visualization, this is revolutionary. You no longer need to bake normal maps from a high-poly model to a low-poly one to capture fine details. You can import the high-poly model directly.
When importing an FBX, simply check the “Build Nanite” box in the import options. The engine will process the mesh into its highly efficient Nanite format. This means the intricate details of your car’s grille, badge lettering, and brake calipers will be rendered with perfect clarity, even in close-up shots, without the need to manage multiple LODs manually.
For more complex scenes, especially those coming from CAD software like 3ds Max, VRED, or CATIA, DataSmith is the superior workflow. DataSmith is more than just a file importer; it’s a scene translation pipeline. It intelligently converts entire scenes—including geometry, material assignments, hierarchy, and lighting—into their Unreal Engine equivalents.
The key benefits of using DataSmith for automotive projects are:
Even with these powerful tools, you may encounter issues. Here are a few common problems and their solutions:
A perfect 3D model is only as good as the materials applied to it. In automotive visualization, materials are paramount for achieving photorealism. The subtle interplay of light on a multi-layered car paint, the precise reflections on chrome, and the rough texture of a tire tread all contribute to the final image. Unreal Engine’s node-based Material Editor is an incredibly powerful tool that gives you granular control over every aspect of a surface’s appearance, allowing you to build physically accurate and visually stunning materials from scratch.
The Material Editor is where you define how a surface interacts with light. Instead of just plugging in textures, you build a shader network using nodes. Key concepts include:
A realistic car paint is one of the most complex materials to create. It’s not a single layer but a composite of a base coat, metallic flakes, and a glossy clear coat. Unreal Engine has a dedicated shading model for this: Clear Coat.
Here’s a basic setup for a metallic car paint material:
For an even deeper dive into the possibilities, the official Unreal Engine documentation at https://dev.epicgames.com/community/unreal-engine/learning is an invaluable resource for mastering these tools and more.
Beyond the paint, other materials complete the look:
Lighting is the element that breathes life into a 3D scene, transforming a sterile model into a dynamic, evocative image. In the past, achieving realistic global illumination—the way light bounces off surfaces and illuminates other objects—required a time-consuming process called “light baking.” Unreal Engine 5’s Lumen Global Illumination and Reflections system changes everything. Lumen provides fully dynamic global illumination and reflections in real-time, allowing for instant feedback and incredible realism without baking.
Lumen works by tracing rays against a simplified representation of the scene, calculating indirect lighting and reflections on the fly. For automotive visualization, this means:
It’s important to note that while Lumen is powerful, it does have a performance cost. For lower-end hardware or mobile AR/VR applications, you might still consider traditional baked lighting or the more limited Screen Space Global Illumination (SSGI).
A classic automotive studio setup is a perfect way to showcase a car model. Here is a typical workflow in Unreal Engine:
Lumen’s quality can be fine-tuned in the Post Process Volume settings. Key parameters to adjust include:
The true power of a real-time engine like Unreal is the ability to move beyond static images and create interactive experiences. For automotive visualization, this opens the door to virtual car configurators, explorable interiors, and animated presentations that engage users on a whole new level. Unreal Engine’s Blueprint Visual Scripting system makes this possible without writing a single line of code, allowing artists and designers to build complex logic using a simple, node-based interface.
Blueprint is a visual scripting system built on top of C++. Instead of writing code, you connect nodes that represent functions, events, and variables. For an automotive project, you might create a single “Car_Blueprint” Actor that contains all the car’s components (body, wheels, doors) and all the logic for controlling it. Key concepts include:
A car configurator is a classic interactive application. Here is a simplified workflow for creating a paint-swapping feature using Blueprint and UI Widgets:
This same principle can be applied to swap wheel meshes, toggle lights on and off (using a `Set Visibility` node), or change interior leather colors.
For cinematic presentations, Unreal Engine’s Sequencer is the go-to tool. It’s a non-linear, cinematic editing tool that lets you create complex animated sequences. You can add your `Car_Blueprint` to a Sequencer timeline and directly animate its components.
A common use case is animating the doors opening. Simply add the door mesh component to the Sequencer track, add a “Transform” track to it, and keyframe its rotation over time. You can also keyframe camera positions to create dynamic camera sweeps, control post-process effects over time, and even trigger Blueprint events, creating a fully orchestrated and compelling automotive cinematic.
Achieving stunning visual fidelity is only half the battle; ensuring the application runs smoothly is equally important, especially for interactive configurators or AR/VR experiences. Performance optimization is a deep and complex topic, but by understanding Unreal Engine’s profiling tools and core optimization strategies, you can deliver high-quality visuals at a consistent, high frame rate. The goal is to strike the perfect balance between visual quality and real-time performance, ensuring a seamless user experience across a range of hardware.
You can’t optimize what you can’t measure. Unreal Engine provides powerful built-in tools for identifying performance bottlenecks:
Traditionally, performance for complex meshes was managed using Levels of Detail (LODs)—a series of lower-polygon versions of a model that switch in as the camera moves further away. With the introduction of Nanite, this has changed, but LODs still have their place.
High-resolution textures are a major consumer of video memory (VRAM). Two key systems help manage this:
We’ve journeyed through the entire pipeline of creating state-of-the-art automotive visualizations in Unreal Engine 5. From the initial project setup and meticulous asset preparation to the final stages of interactive scripting and performance optimization, it’s clear that Unreal Engine offers an unparalleled suite of tools for achieving photorealism in real-time. By embracing technologies like Nanite for unprecedented geometric detail and Lumen for dynamic, lifelike lighting, creators can produce results that were once unimaginable outside of pre-rendered cinematics.
The key takeaways are clear: a successful project is built upon a high-quality foundation, which means starting with a clean, well-structured 3D car model. Mastering the Material Editor to create physically accurate shaders for paint, glass, and chrome is what sells the realism. Finally, layering in interactivity with Blueprint and ensuring smooth performance through diligent profiling and optimization is what elevates a beautiful render into a truly engaging experience. The techniques outlined here are not just theoretical; they are the practical, actionable steps used by professionals in the automotive and entertainment industries today. Now it’s your turn to apply this knowledge, experiment with these powerful tools, and start creating your own breathtaking real-time automotive projects.
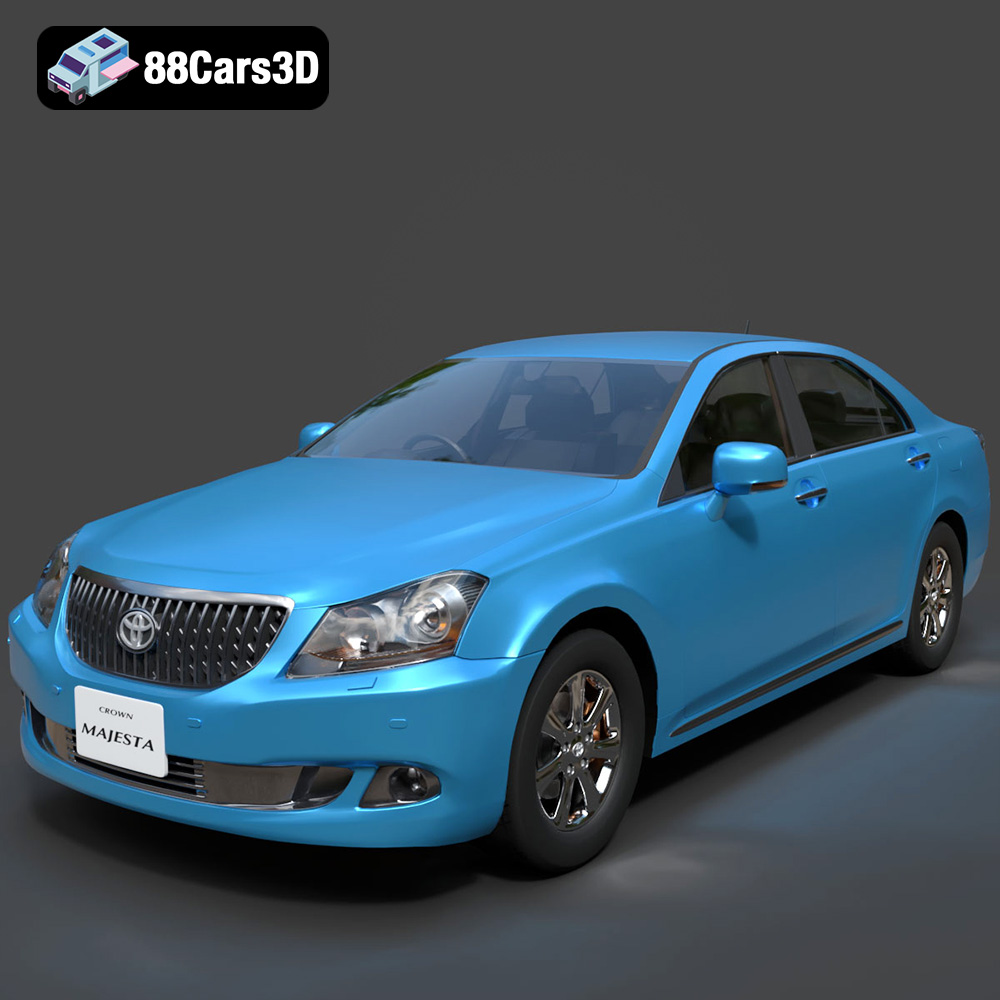
**Meta Description:**
Texture: Yes
Material: Yes
Download the Toyota Crown Majesta 2009 3D Model with luxury detailing, clean topology, and a fully modeled interior. Available in .blend, .fbx, .obj, .glb, .stl, .ply, .unreal, and .max formats for rendering, simulation, and game development.
Price: $13.9
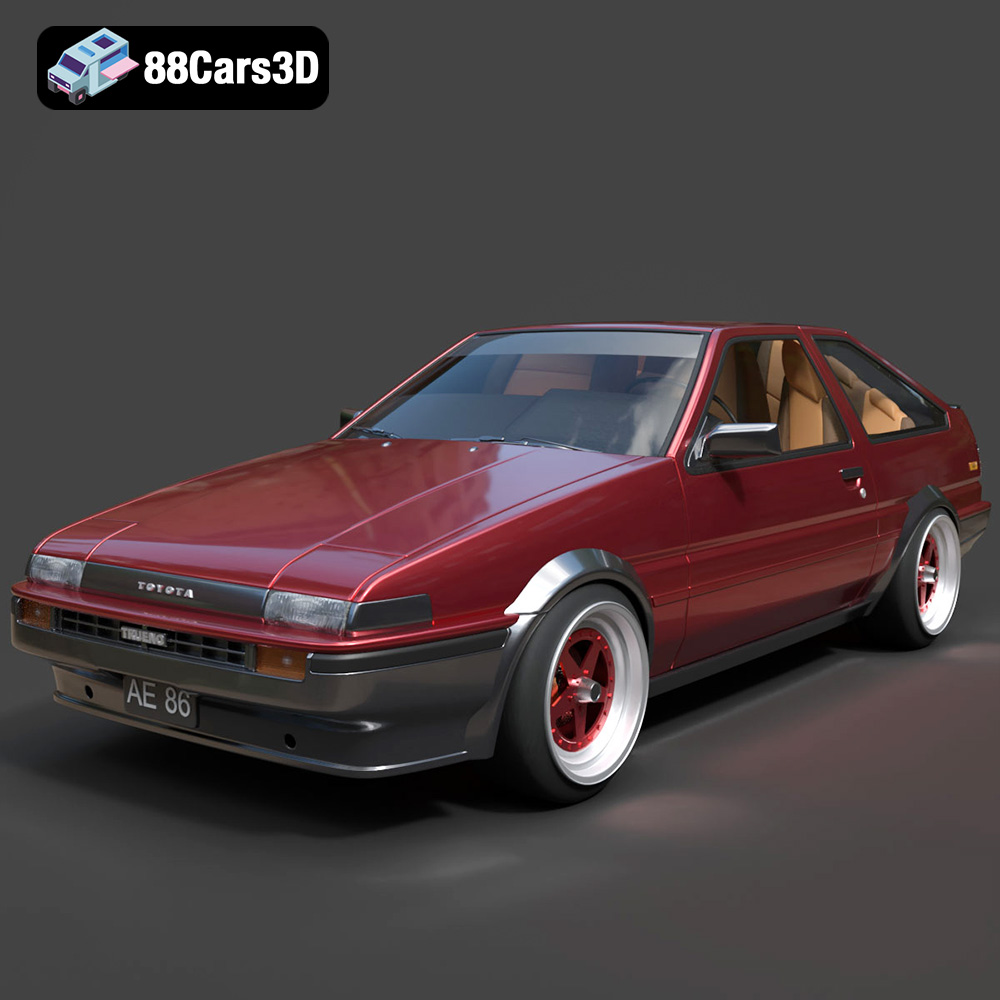
**Meta Description:**
Texture: Yes
Material: Yes
Download the Toyota AE86 Levin 1983 1987 3D Model featuring realistic exterior and interior detailing. Includes .blend, .fbx, .obj, .glb, .stl, .ply, .unreal, and .max formats for rendering, simulation, and game development.
Price: $29.99
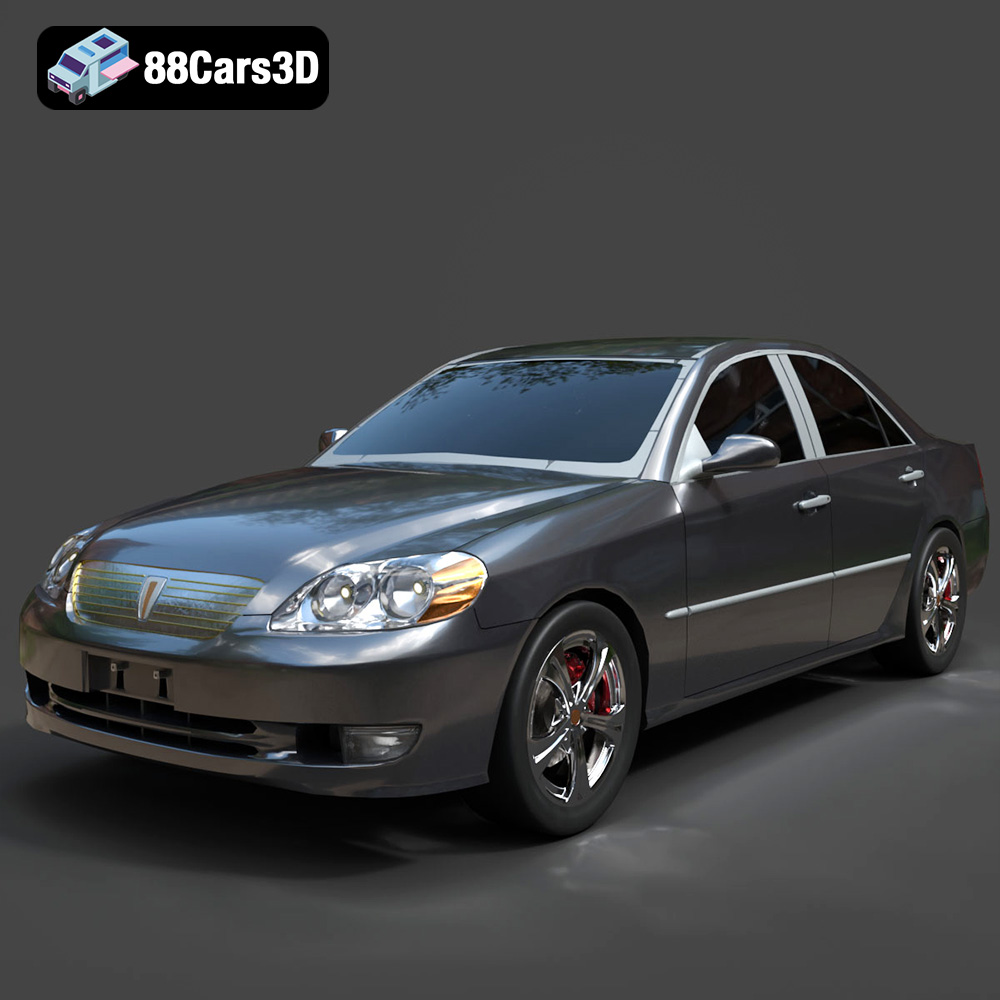
Texture: Yes
Material: Yes
Download the Toyota Mark 2 2001 3D Model featuring clean geometry, realistic detailing, and a fully modeled interior. Includes .blend, .fbx, .obj, .glb, .stl, .ply, .unreal, and .max formats for rendering, simulation, and game development.
Price: $10
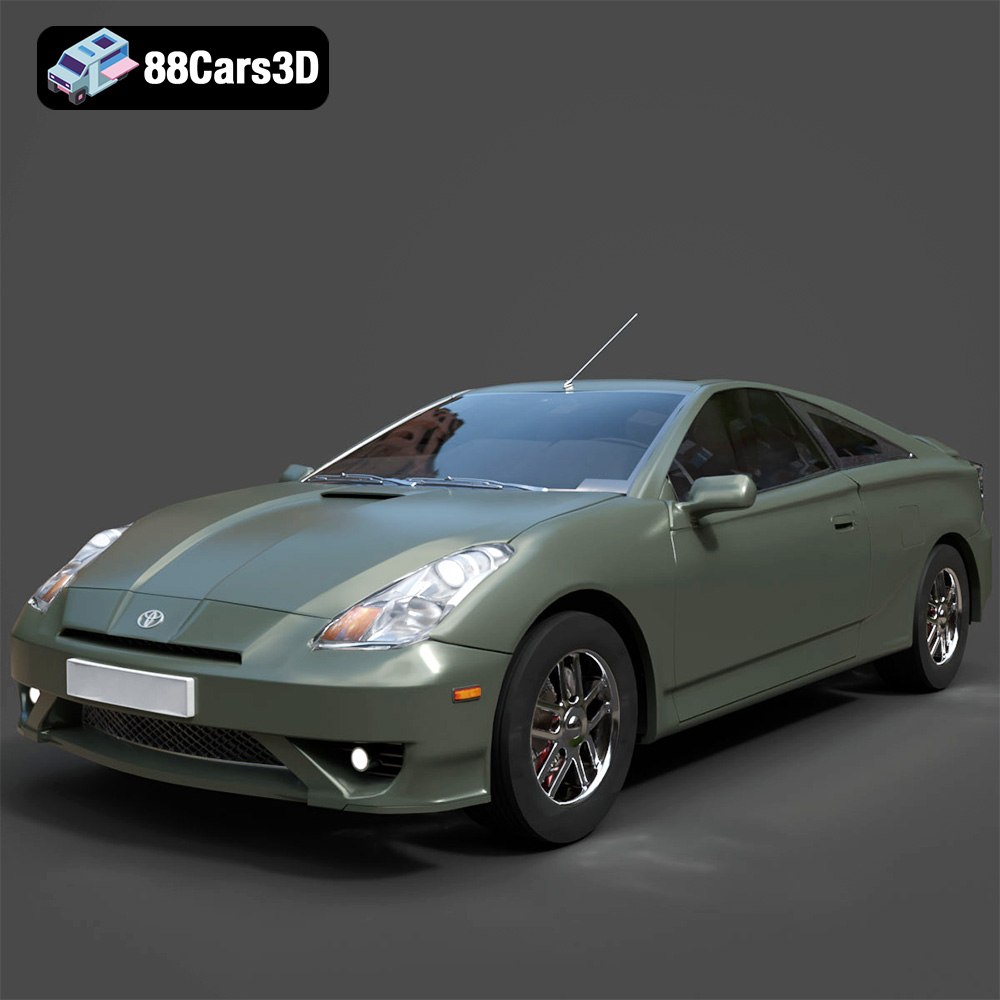
Texture: Yes
Material: Yes
Download the Toyota Celica 2000 3D Model featuring clean geometry, realistic detailing, and a fully modeled interior. Includes .blend, .fbx, .obj, .glb, .stl, .ply, .unreal, and .max formats for rendering, simulation, and game development.
Price: $10
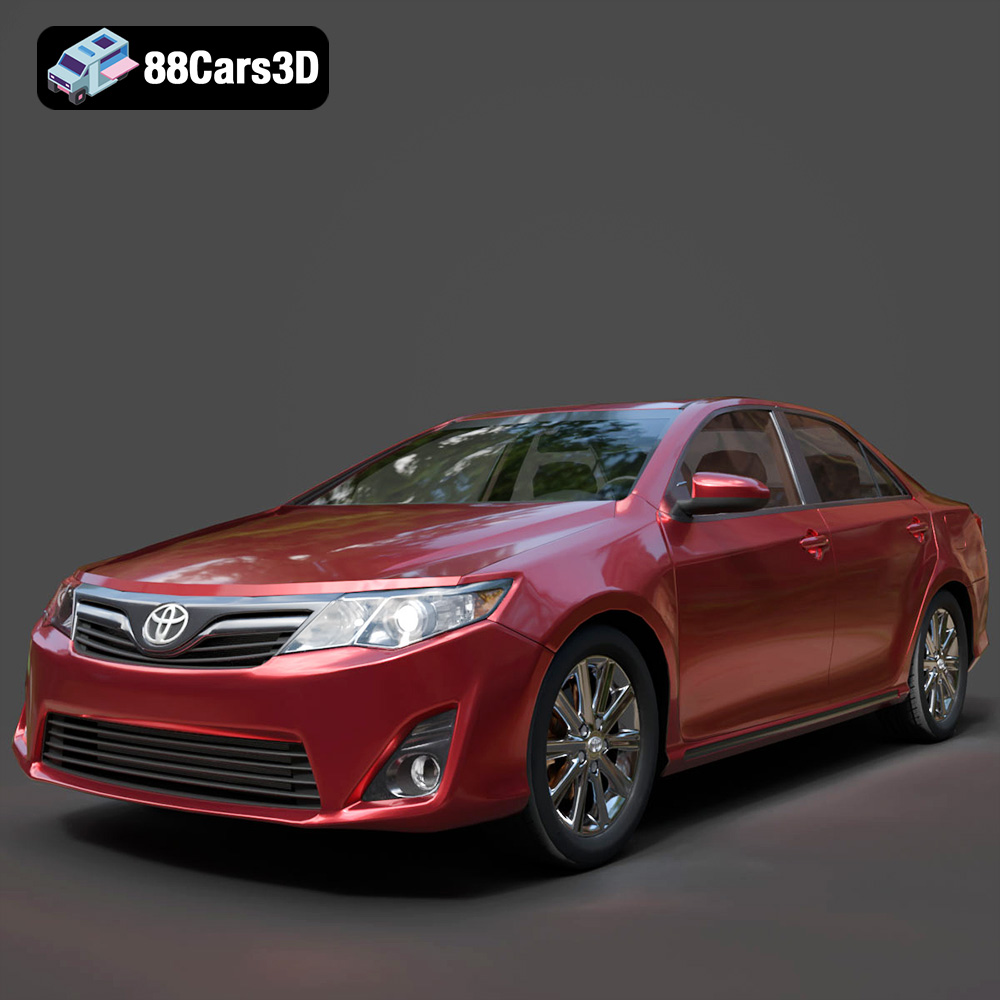
Download the Toyota Camry US 2012 3D Model featuring clean geometry, realistic detailing, and a fully modeled interior. Includes .blend, .fbx, .obj, .glb, .stl, .ply, .unreal, and .max formats for rendering, simulation, and game development.
Price: $10
Texture: Yes
Material: Yes
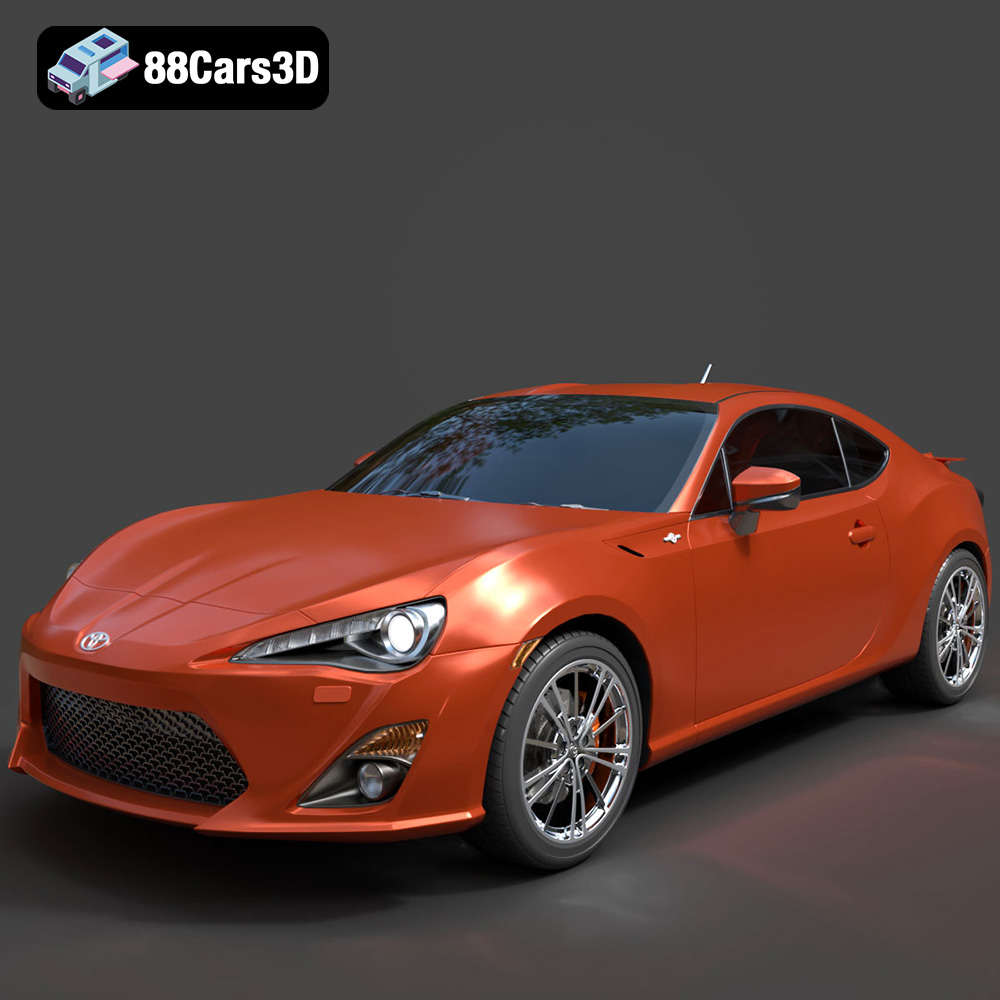
Download the Toyota GT 86 2013 3D Model featuring clean geometry, realistic detailing, and a fully modeled interior. Includes .blend, .fbx, .obj, .glb, .stl, .ply, .unreal, and .max formats for rendering, simulation, and game development.
Price: $10
Texture: Yes
Material: Yes
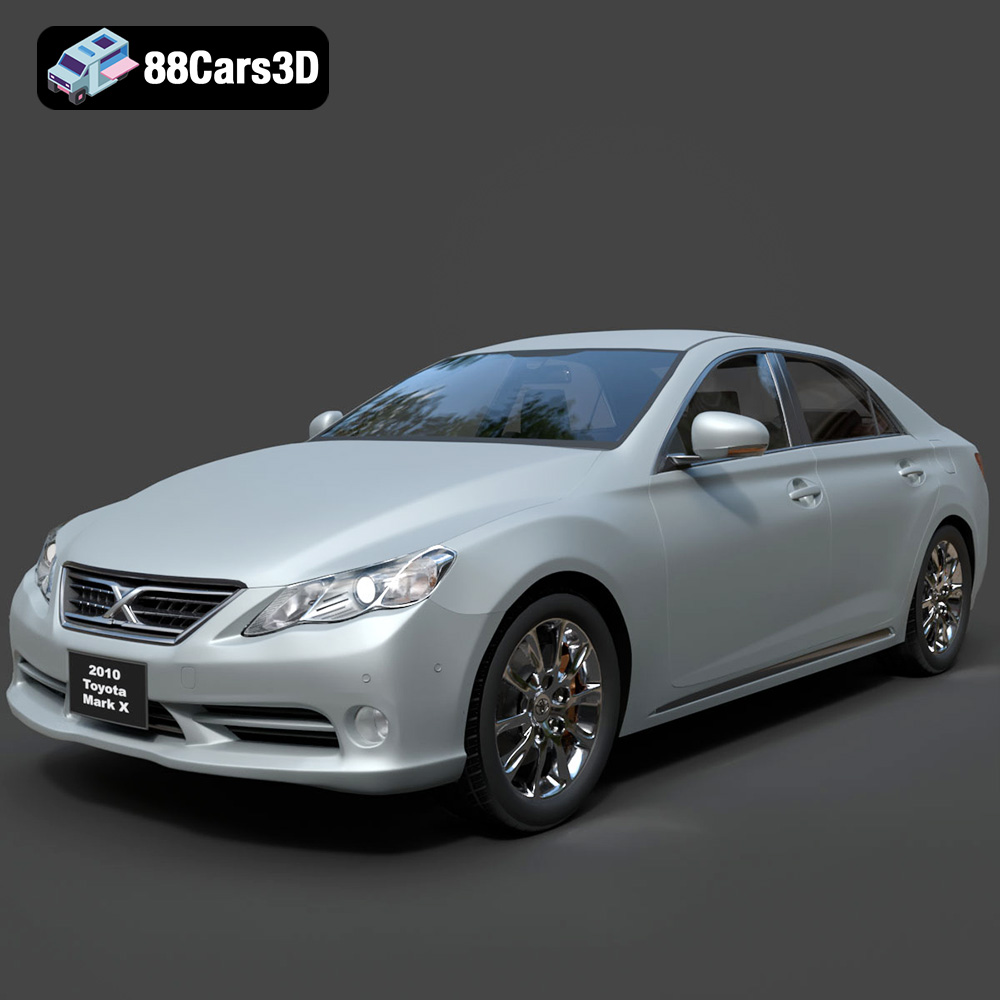
Download the Toyota Mark X 2010 3D Model featuring clean geometry, realistic detailing, and a fully modeled interior. Includes .blend, .fbx, .obj, .glb, .stl, .ply, .unreal, and .max formats for rendering, simulation, and game development.
Price: $10
Texture: Yes
Material: Yes
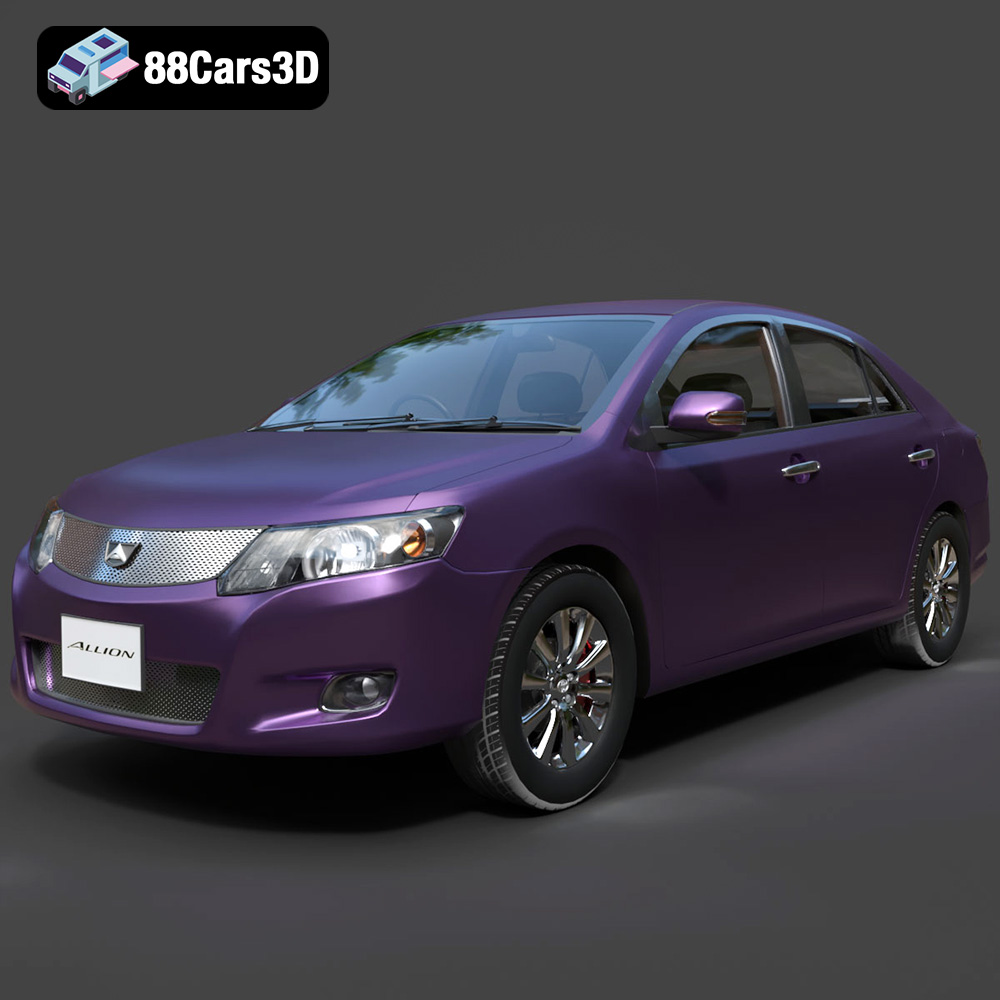
Download the Toyota Allion 2008 3D Model featuring clean geometry, realistic detailing, and a fully modeled interior. Includes .blend, .fbx, .obj, .glb, .stl, .ply, .unreal, and .max formats for rendering, simulation, and game development.
Price: $10
Texture: Yes
Material: Yes
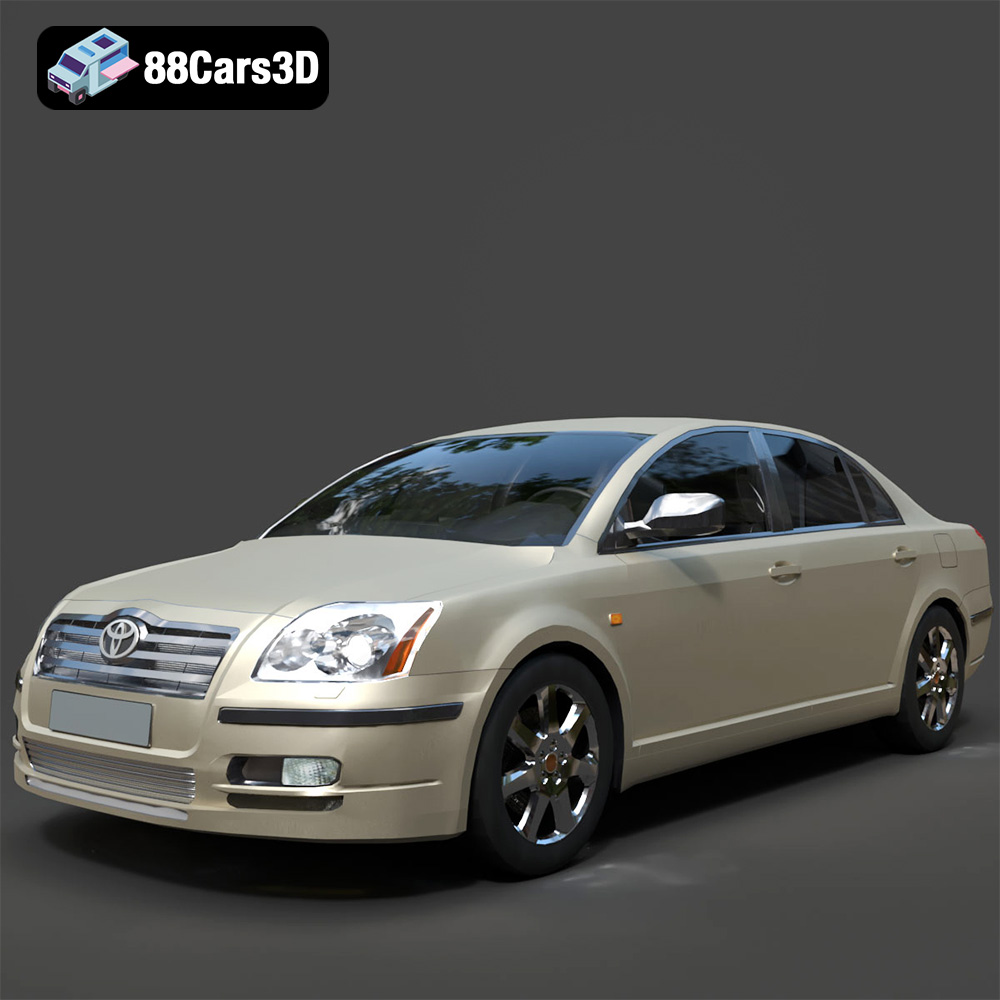
Download the Toyota Avensis 2005 3D Model featuring clean geometry, realistic detailing, and a fully modeled interior. Includes .blend, .fbx, .obj, .glb, .stl, .ply, .unreal, and .max formats for rendering, simulation, and game development.
Price: $10
Texture: Yes
Material: Yes
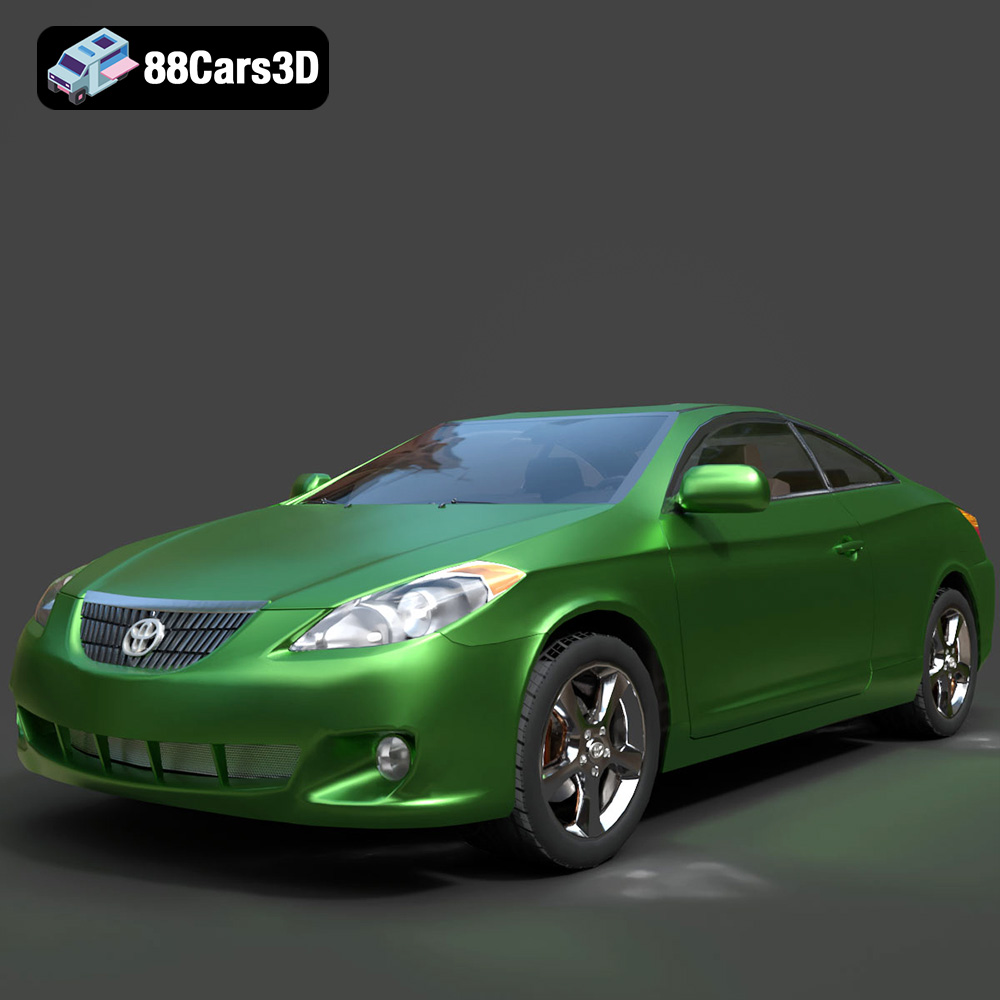
Download the Toyota Camry Solara 2006 3D Model featuring clean geometry, realistic detailing, and a fully modeled interior. Includes .blend, .fbx, .obj, .glb, .stl, .ply, .unreal, and .max formats for rendering, simulation, and game development.
Price: $10

