Get 50% OFF All Premium 3D & STL Models!

“`html
3D printing has revolutionized how we prototype, manufacture, and even collect models. For automotive enthusiasts, the ability to 3D print detailed car models from STL files is incredibly appealing. However, printing complex geometries, especially those found in intricate car designs, presents unique challenges. Achieving successful prints requires a deep understanding of STL file structure, printer settings, slicing techniques, and post-processing methods. This comprehensive guide will equip you with the knowledge to overcome common pitfalls and consistently produce high-quality 3D printed car models. We’ll delve into everything from preparing your STL files to optimizing your printer settings, ensuring that even the most intricate designs come to life without failures.
Whether you’re using FDM or resin printing, this guide provides practical tips and techniques to navigate the complexities of 3D printing. Learn how to optimize support structures, fine-tune slicing parameters, and master post-processing techniques for stunning results. This guide will empower you to confidently tackle even the most challenging 3D printing projects, transforming your digital designs into tangible masterpieces.
The foundation of any successful 3D print lies in the quality of the STL file. STL (Stereolithography) is a file format that represents 3D surface geometry as a collection of triangles. A well-structured STL file is crucial for accurate and reliable printing. Problems like non-manifold geometry or excessive triangulation can lead to print failures, artifacts, or even prevent the slicing software from processing the file correctly. Before even thinking about printer settings, verify the integrity of your STL files.
An STL file essentially contains a list of triangular facets, each defined by three vertices and a normal vector. The normal vector indicates the outward-facing direction of the triangle. The resolution of the mesh, determined by the number of triangles, affects the smoothness and detail of the printed model. A higher triangle count results in a smoother surface but also increases file size and processing time. Platforms like 88cars3d.com offer print-ready STL files with optimized mesh density to balance detail and performance.
Common STL errors include:
Software like Meshmixer, Netfabb, and Blender offer tools to identify and repair these errors. Meshmixer’s “Make Solid” tool is particularly useful for fixing non-manifold geometry. Netfabb provides automated repair features for fixing a wide range of STL issues. Blender allows for manual mesh editing, giving you fine-grained control over the repair process. Aim for a fully “watertight” mesh before proceeding.
Slicing is the process of converting the 3D model into a series of 2D layers that the 3D printer can understand. The slicing software (Cura, PrusaSlicer, Simplify3D) generates instructions (G-code) that dictate the printer’s movements, temperature, and material extrusion. Proper slicing is essential to achieve optimal print quality, strength, and speed. Incorrect parameters can lead to warping, delamination, poor surface finish, and other issues. Let’s break down some key slicing parameters and how they affect your prints.
Layer height determines the thickness of each printed layer. Lower layer heights (e.g., 0.1mm) result in smoother surfaces and finer details but increase print time significantly. Higher layer heights (e.g., 0.3mm) are faster but produce more visible layer lines. For car models, a layer height between 0.1mm and 0.2mm often provides a good balance between detail and speed. Remember that your nozzle size also dictates the lowest possible layer height; you typically don’t want to go below 25% of your nozzle diameter.
Infill is the internal structure of the printed object. Infill density, expressed as a percentage, determines how much material is used to fill the interior. Higher infill densities increase strength and weight but also consume more material and increase print time. Common infill patterns include grid, honeycomb, and gyroid. Gyroid infill is known for its strength-to-weight ratio. For car models, an infill density of 15-25% is often sufficient for structural integrity. Consider using different infill densities for different parts of the model; for instance, a solid infill (100%) may be useful for wheels and axles, whereas a lower density is suitable for body panels.
Support structures are temporary scaffolding used to support overhanging features during printing. They are essential for printing complex geometries, especially those with steep overhangs or bridges. However, poorly designed support structures can be difficult to remove and can leave unsightly marks on the finished print. The key is to optimize support placement, density, and interface layers to minimize their impact on the final product. Choosing the correct support style (tree vs. linear) also depends on your model geometry.
Two main types of support structures are commonly used: linear supports and tree supports. Linear supports are straightforward and efficient for simple overhangs. Tree supports, on the other hand, are more adaptable and minimize material usage by branching out to support overhanging features. Tree supports are generally preferred for car models with complex curves and intricate details.
Key support settings include:
Careful adjustment of these parameters is crucial for successful printing of complex car models. When downloading models from marketplaces such as 88cars3d.com, it’s good practice to examine any provided support suggestions.
The choice of printing material significantly impacts the final product’s appearance, strength, and durability. Common FDM materials include PLA, PETG, and ABS, each with unique properties and applications. Resin printing offers even finer detail but requires different considerations. Equally crucial is proper printer calibration, ensuring accurate extrusion, bed adhesion, and temperature control. A well-calibrated printer is essential for achieving consistent and reliable results.
PLA (Polylactic Acid): PLA is biodegradable, easy to print, and produces excellent surface finish. It’s a good choice for aesthetic models but is not ideal for high-temperature or high-stress applications. Recommended print temperature: 200-220°C. Bed temperature: 60°C.
PETG (Polyethylene Terephthalate Glycol): PETG is stronger and more durable than PLA, with better heat resistance and chemical resistance. It’s a versatile material suitable for functional parts and models requiring more robustness. Recommended print temperature: 230-250°C. Bed temperature: 70-80°C.
ABS (Acrylonitrile Butadiene Styrene): ABS is known for its high strength, impact resistance, and temperature resistance. It’s often used for automotive parts and engineering prototypes. However, ABS is more challenging to print than PLA and PETG due to its tendency to warp. An enclosure is often required. Recommended print temperature: 230-260°C. Bed temperature: 90-110°C.
Resin printing (SLA/DLP/LCD) uses liquid photopolymer resins that are cured by UV light. Resin printing offers significantly higher resolution and detail than FDM printing, making it ideal for intricate car models. However, resin prints are often more brittle and require thorough post-processing, including washing and curing. Important resin printing parameters include:
Post-processing is the finishing touch that transforms a raw 3D print into a polished masterpiece. This includes removing support structures, sanding, filling imperfections, and painting. The goal is to achieve a smooth, realistic, and visually appealing final product. Post-processing can be time-consuming, but the results are well worth the effort. Choosing the right tools and techniques is crucial for achieving professional-looking results.
Carefully remove support structures using pliers, cutters, or specialized tools. Be gentle to avoid damaging the model. After removing supports, sand the surface with progressively finer grits of sandpaper (e.g., 220, 400, 600, 800, 1000) to smooth out any imperfections. Wet sanding can help to minimize dust and improve surface finish. For larger gaps or imperfections, use a filler primer or putty to fill the voids and then sand smooth.
Painting is essential for achieving a realistic and visually appealing finish. Start with a primer coat to provide a uniform surface for the paint to adhere to. Use multiple thin coats of paint instead of one thick coat to avoid drips and runs. Airbrushing provides the best control and finish, but spray cans can also be used effectively. After painting, apply a clear coat to protect the paint and add gloss or matte finish. Decals can be added for additional details, such as logos and racing stripes.
Even with meticulous planning and preparation, 3D printing failures can occur. Understanding the common causes and solutions is crucial for minimizing downtime and maximizing success. Common failures include warping, delamination, stringing, elephant’s foot, and layer shifting. Identifying the root cause and implementing appropriate corrective actions can save time and frustration.
Warping occurs when the printed part lifts from the build plate, often due to uneven cooling or poor bed adhesion. To prevent warping:
Delamination, or layer separation, occurs when layers fail to adhere to each other. To prevent delamination:
Stringing occurs when the printer extrudes material while moving between parts, leaving thin strands of plastic. To prevent stringing:
Elephant’s foot occurs when the bottom layers of the print are squashed outwards, creating a flared base. To prevent elephant’s foot:
Successfully printing complex geometries in STL files requires a multifaceted approach. From understanding STL file structure and mesh topology to optimizing slicing parameters, mastering support structures, and selecting appropriate materials, each step plays a crucial role in achieving flawless prints. By carefully calibrating your printer, employing effective post-processing techniques, and troubleshooting common failures, you can consistently produce high-quality 3D printed car models that meet your expectations. The ability to bring intricate designs to life is not just about technology, but also about understanding the nuances of the process and applying best practices.
Take the knowledge gained from this guide and apply it to your next 3D printing project. Experiment with different settings, materials, and techniques to find what works best for your printer and your desired results. Remember to always start with a well-prepared STL file and a properly calibrated printer. With practice and patience, you’ll be able to tackle even the most challenging 3D printing projects with confidence. Explore the wide selection of printable car models available on platforms like 88cars3d.com and start your journey towards creating stunning 3D printed automotive masterpieces today!
“`
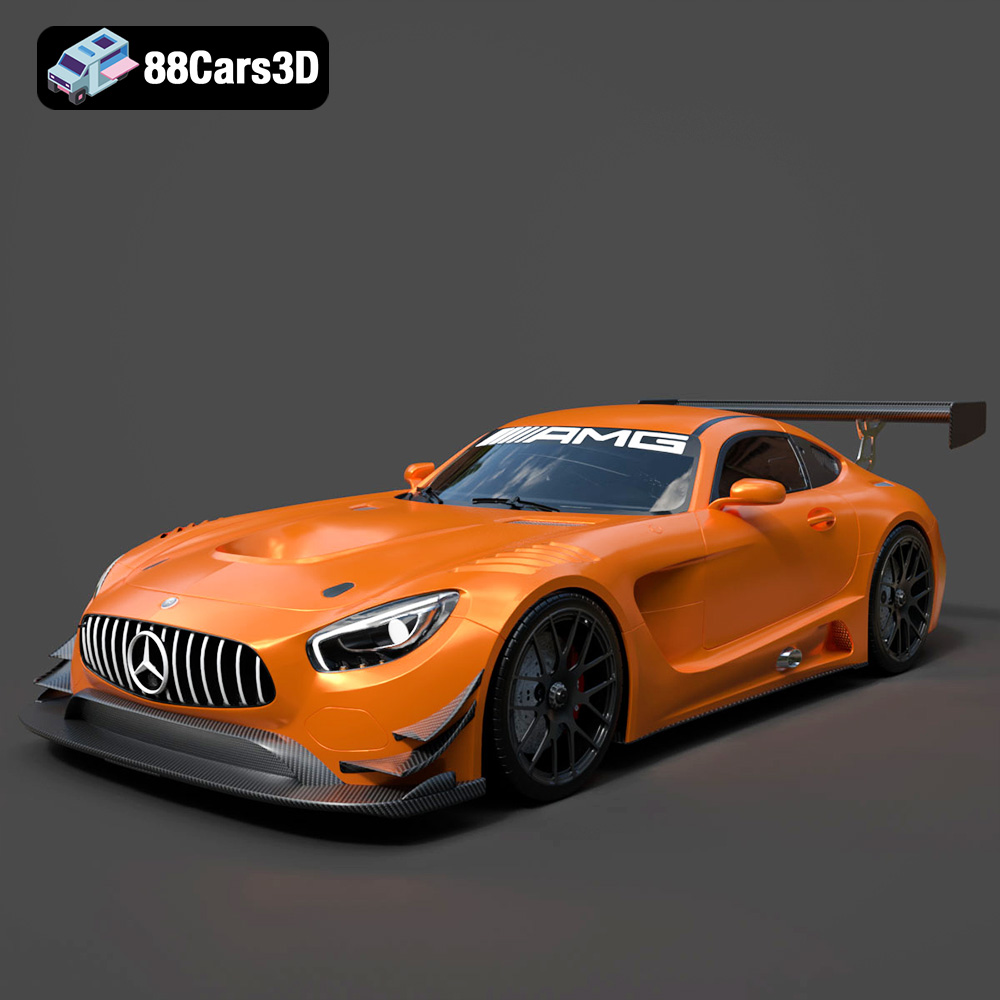
Texture: Yes
Material: Yes
Download the Mercedes-AMG GT S 3D Model featuring clean geometry, realistic detailing, and a fully modeled interior. Includes .blend, .fbx, .obj, .glb, .stl, .ply, .unreal, and .max formats for rendering, simulation, and game development.
Price: $25
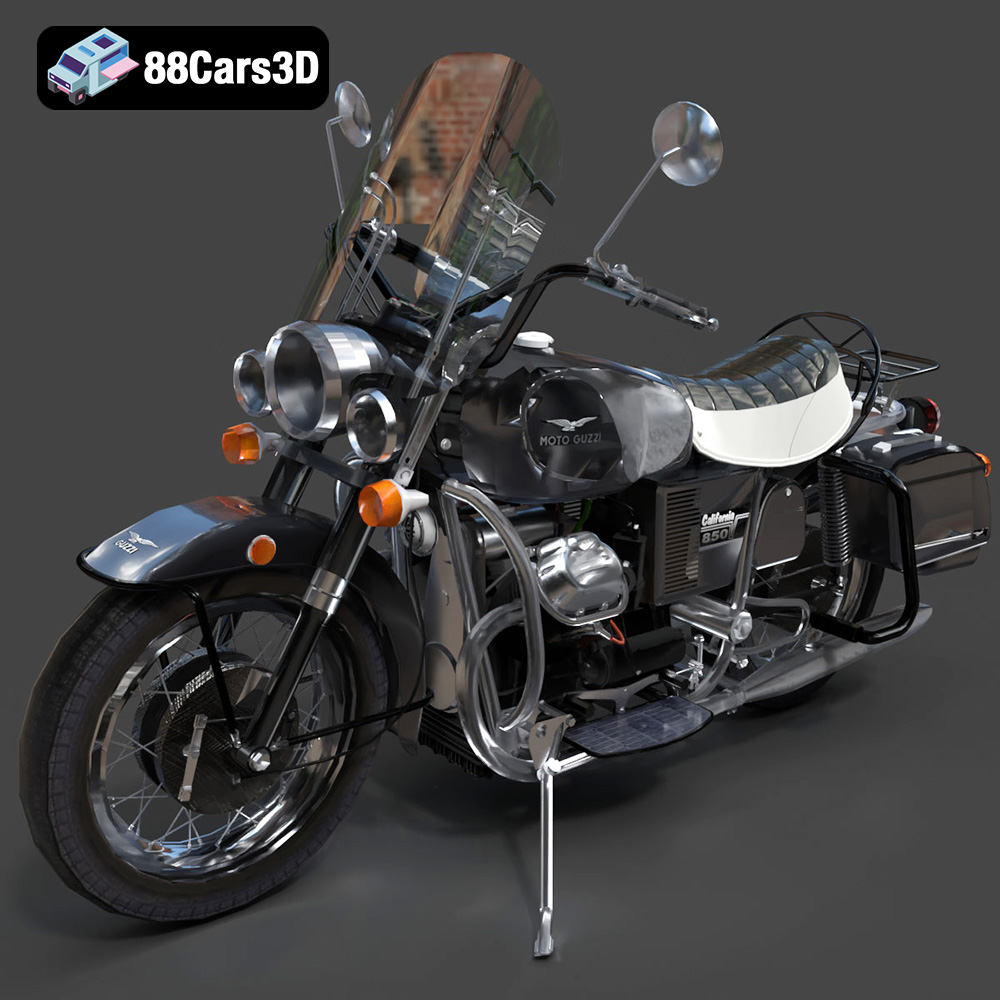
Texture: Yes
Material: Yes
Download the Moto Guzzi Classic Motorcycle 2024 3D Model featuring clean geometry, realistic detailing, and a fully modeled interior. Includes .blend, .fbx, .obj, .glb, .stl, .ply, .unreal, and .max formats for rendering, simulation, and game development.
Price: $10

Texture: Yes
Material: Yes
Download the Horch 853 Sport Cabriolet 1937 3D Model featuring clean geometry, realistic detailing, and a fully modeled interior. Includes .blend, .fbx, .obj, .glb, .stl, .ply, .unreal, and .max formats for rendering, simulation, and game development.
Price: $10
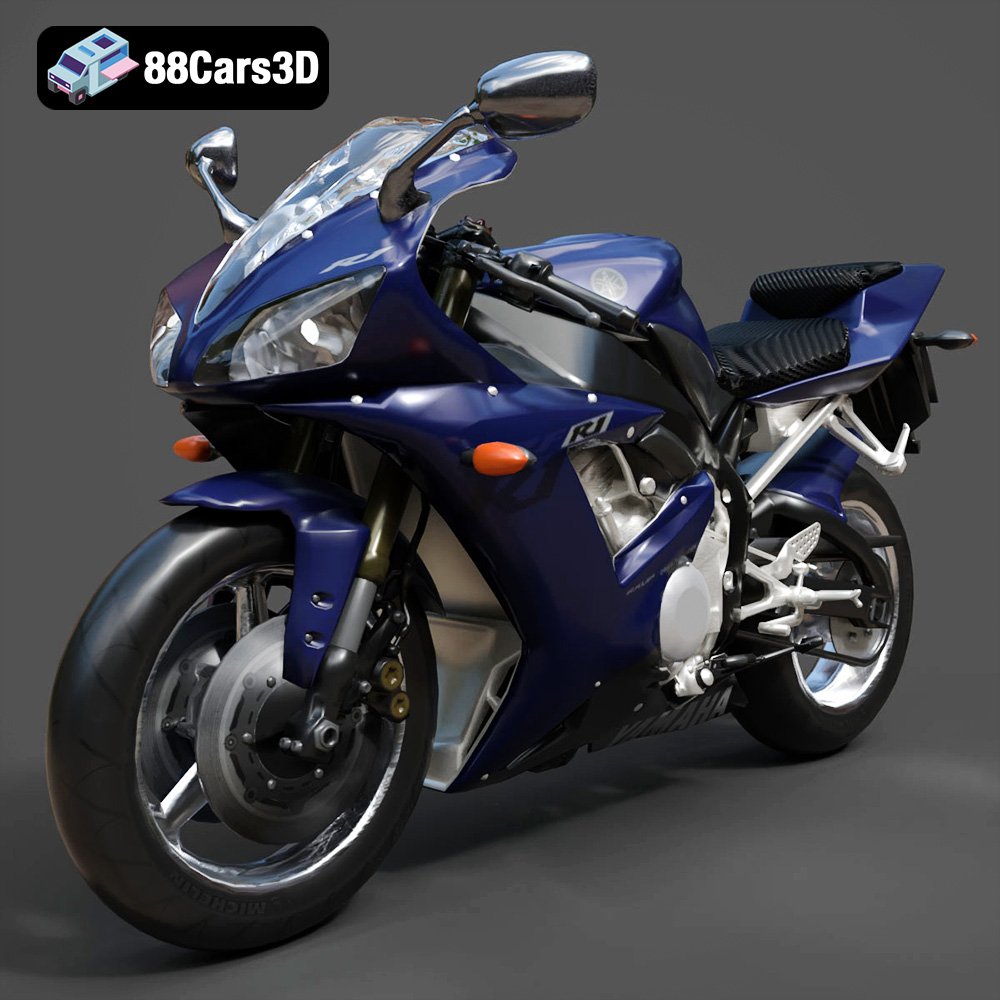
Texture: Yes
Material: Yes
Download the Yamaha YZF-R1 Motorcycle 3D Model featuring clean geometry, realistic detailing, and a fully modeled interior. Includes .blend, .fbx, .obj, .glb, .stl, .ply, .unreal, and .max formats for rendering, simulation, and game development.
Price: $10
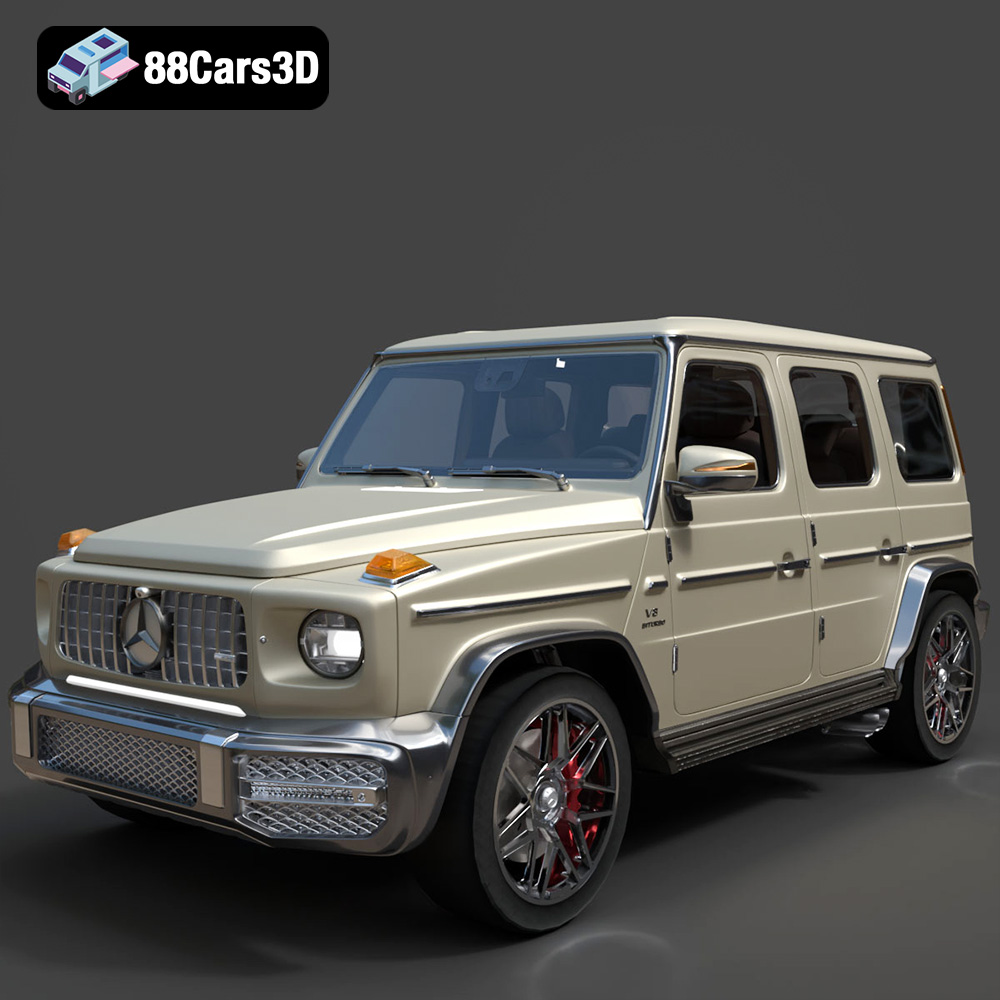
Texture: Yes
Material: Yes
Download the Mercedes Benz G63 AMG 2019 3D Model featuring clean geometry, realistic detailing, and a fully modeled interior. Includes .blend, .fbx, .obj, .glb, .stl, .ply, .unreal, and .max formats for rendering, simulation, and game development.
Price: $90
Texture: Yes
Material: Yes
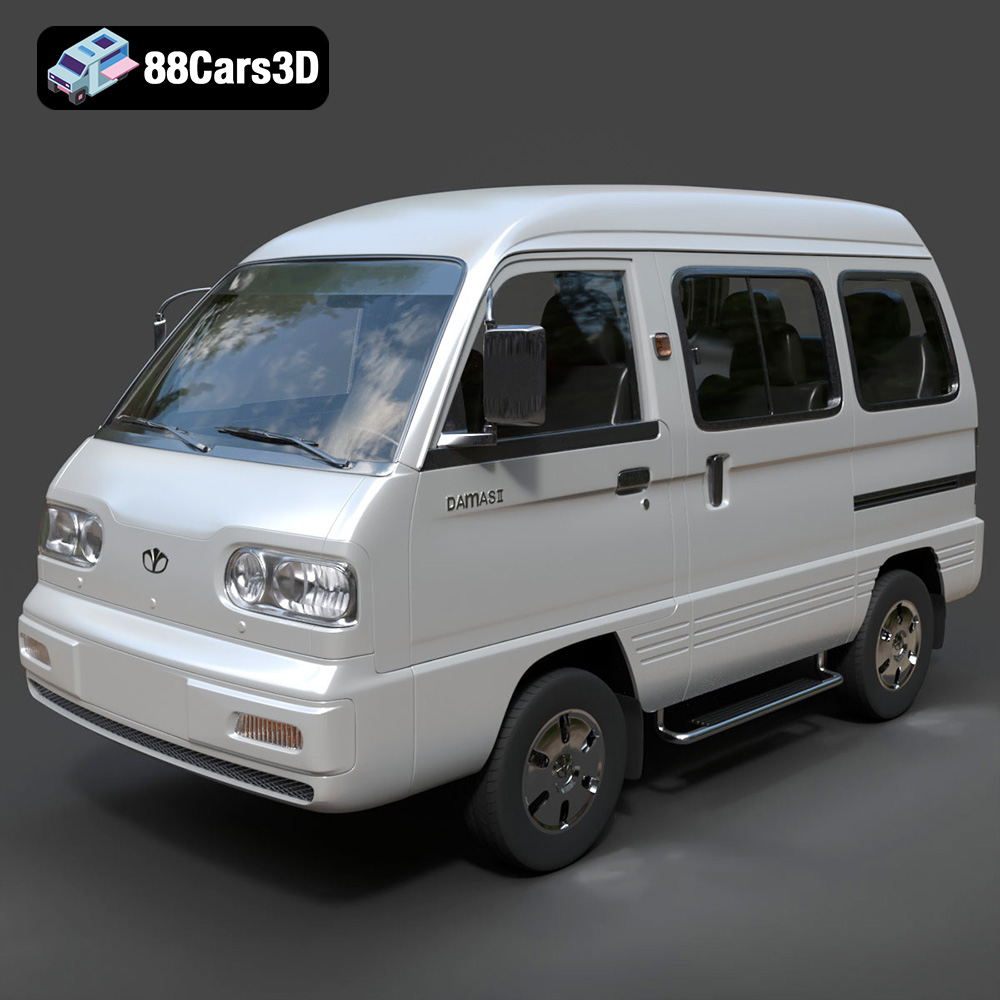
Download the Daewoo Damas Mk2 2012 3D Model featuring clean geometry, realistic detailing, and a fully modeled interior. Includes .blend, .fbx, .obj, .glb, .stl, .ply, .unreal, and .max formats for rendering, simulation, and game development.
Price: $10
Texture: Yes
Material: Yes
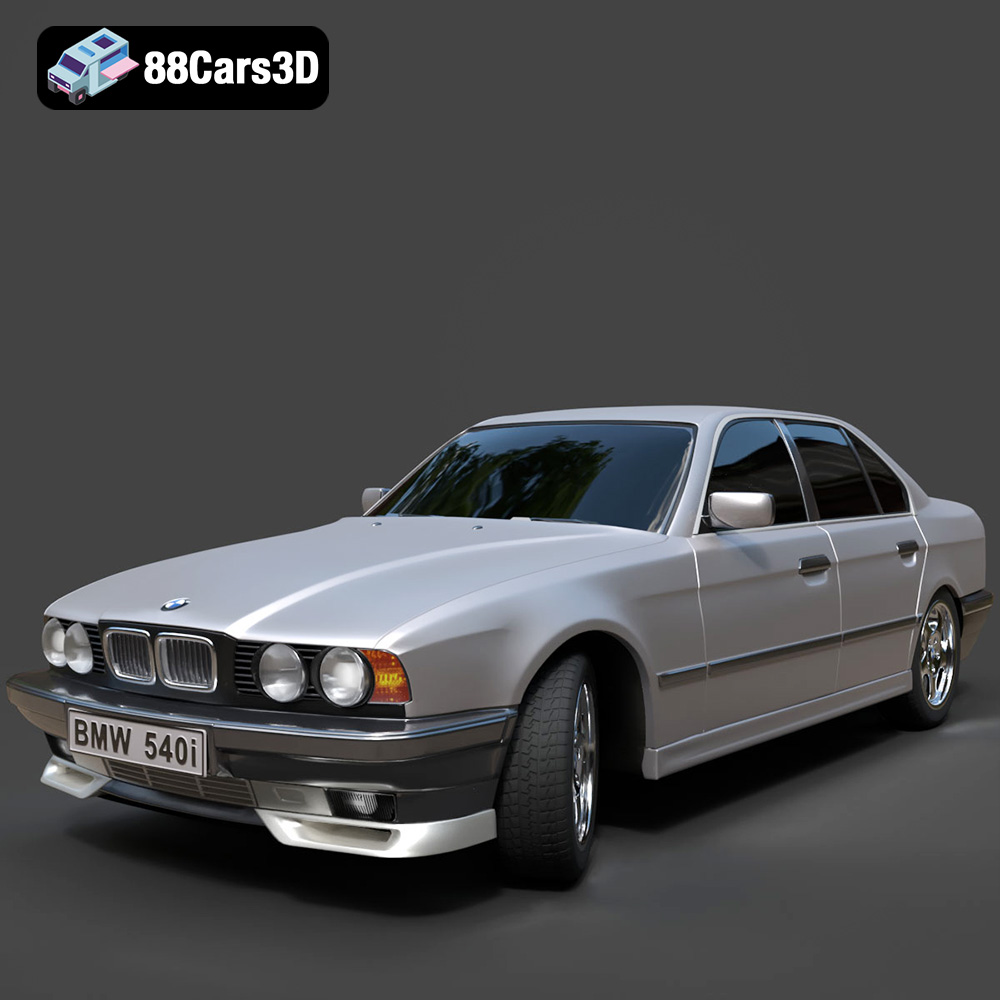
Download the BMW 540 E34 3D Model featuring clean geometry, realistic detailing, and a fully modeled interior. Includes .blend, .fbx, .obj, .glb, .stl, .ply, .unreal, and .max formats for rendering, simulation, and game development.
Price: $10

Texture: Yes
Material: Yes
Download the BMW 8 Series Coupe 2020 3D Model featuring clean geometry, realistic detailing, and a fully modeled interior. Includes .blend, .fbx, .obj, .glb, .stl, .ply, .unreal, and .max formats for rendering, simulation, and game development.
Price: $10
Texture: Yes
Material: Yes
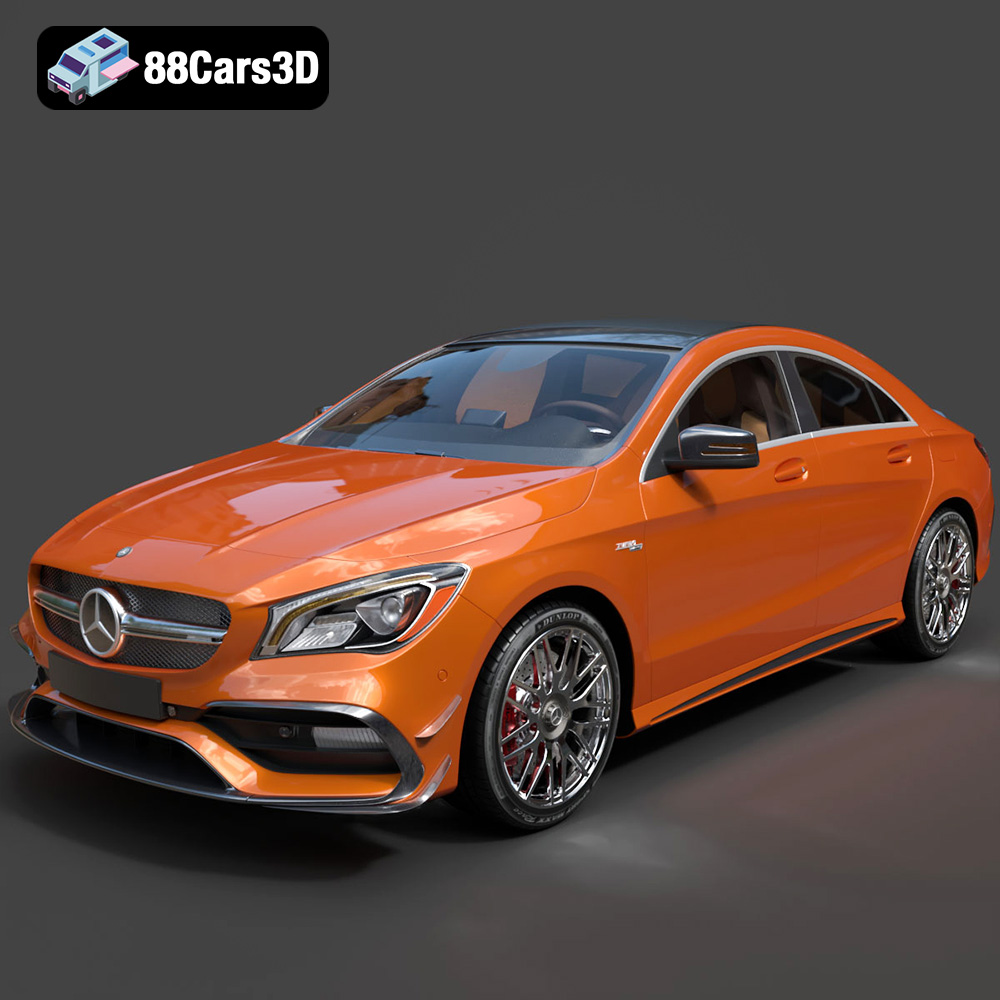
Download the Mercedes-Benz CLA45 AMG 2017 3D Model featuring clean geometry, realistic detailing, and a fully modeled interior. Includes .blend, .fbx, .obj, .glb, .stl, .ply, .unreal, and .max formats for rendering, simulation, and game development.
Price: $21.99
Texture: Yes
Material: Yes
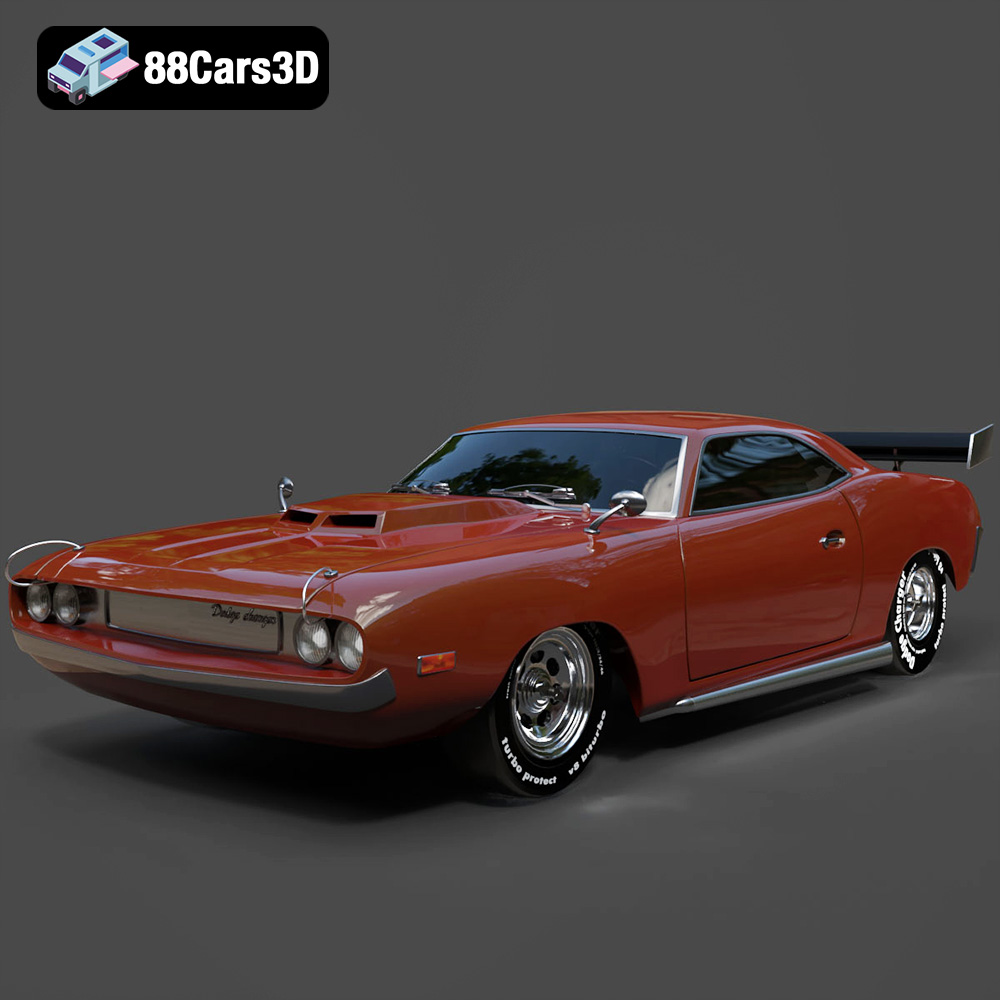
Download the Dodge Charger Car-004 3D Model featuring clean geometry, realistic detailing, and a fully modeled interior. Includes .blend, .fbx, .obj, .glb, .stl, .ply, .unreal, and .max formats for rendering, simulation, and game development.
Price: $10

