Get 50% OFF All Premium 3D & STL Models!

“`html
Welcome, fellow makers and automotive enthusiasts! If you’re diving into the exciting world of 3D printing detailed car models, you’ve likely encountered the ubiquitous STL file format. While it’s the industry standard, STL files, especially those intended for 3D printing, can sometimes come with hidden imperfections that can lead to failed prints. These issues range from non-manifold edges and holes to inverted normals and intersecting faces. Fortunately, powerful and accessible tools like Blender can transform these potentially problematic files into perfectly printable assets. At 88cars3d.com, we pride ourselves on providing high-quality, print-ready STL files for your collection, but understanding how to perform your own cleanup is an invaluable skill for any serious 3D printing hobbyist. This guide will walk you through the essential techniques for cleaning up STL files using Blender, ensuring your next 3D printed automotive masterpiece is a resounding success. We’ll cover everything from basic mesh inspection and repair to advanced techniques for optimizing geometry for printability, setting you up for flawless FDM and resin prints alike.
Before we dive into Blender, let’s demystify the STL (STereoLithography) file format. Unlike more complex formats like OBJ or FBX that can store color, texture, and material information, an STL file is fundamentally a tessellation of a 3D surface into a collection of triangles. Each triangle is defined by three vertices and a normal vector, which indicates the outward-facing direction of the surface. This simplicity makes it ideal for communicating 3D geometry to 3D printers, but it also means that errors in this triangular mesh can cause significant problems.
The core issue with STL files for 3D printing is their representation of a solid object. A printable 3D model must be “watertight” or “manifold,” meaning it has no holes, no internal faces, and no self-intersections. Imagine trying to fill a bucket with water that has holes in the bottom and sides – it simply won’t hold liquid. Similarly, a 3D printer’s slicer software needs a perfectly sealed surface to determine where to deposit material and where to create empty space. Even subtle issues like duplicated vertices or edges that are shared by more than two triangles can break this watertight seal.
Common problems include:
Fortunately, Blender, a free and open-source 3D creation suite, offers a robust set of tools for identifying and repairing these mesh anomalies, making it an indispensable part of a 3D printing workflow, especially when working with files from any source, including those you download for your collection.
Getting Blender ready for your STL cleanup task is straightforward. Once you have Blender installed, the initial setup involves importing your STL file and preparing the workspace for efficient mesh editing. For 3D printable car models, especially intricate ones found on platforms like 88cars3d.com, a clean workspace can significantly speed up the process.
When you first open Blender, you’ll see a default scene with a cube, a light, and a camera. For STL cleanup, we can remove these default objects. Select them by right-clicking (or left-clicking, depending on your Blender setup) and press the ‘X’ key, then confirm deletion. Next, you’ll want to import your STL file. Go to File > Import > Stl (.stl). Navigate to your file and select it. If your STL file is particularly large or complex, Blender might take a moment to load.
Once imported, the model will appear in the 3D viewport. It’s crucial to switch to Edit Mode to interact with the mesh data. You can do this by selecting the imported object and pressing the Tab key, or by using the dropdown menu in the top-left corner of the 3D viewport. In Edit Mode, you can manipulate vertices, edges, and faces. For mesh cleanup, you’ll primarily be working with vertices and edges.
For a better view of your mesh, consider changing the viewport shading. In the top-right corner of the 3D viewport, you’ll find several icons. Clicking the third icon (a wireframe sphere) will cycle through shading options. Solid mode is useful for seeing the overall form, but Inverted Solid or X-Ray (activated by pressing Alt+Z or via the viewport overlays menu) can be invaluable for seeing internal geometry or mesh issues.
To enhance your workflow, consider adjusting a few Blender preferences. Go to Edit > Preferences. Under the Interface tab, you can adjust the Scale Factor for the UI if things appear too small or too large. More importantly, under the Add-ons tab, search for and enable the “3D-Print Toolbox” add-on. This built-in add-on provides a dedicated panel with tools specifically designed for checking and preparing models for 3D printing, which we’ll use extensively.
Mastering Blender’s navigation is key.
Familiarizing yourself with these controls will make navigating your imported car model much easier, allowing you to inspect every detail for potential printing issues.
Once your STL file is imported and you’re in Edit Mode, the real work begins: finding and fixing errors. Blender offers both manual and automated tools for this. The 3D-Print Toolbox add-on is your best friend here, providing a one-stop shop for diagnostics.
After enabling the 3D-Print Toolbox, press ‘N’ to open the sidebar in the 3D viewport. You should see a tab labeled “3D-Print.” Click this to reveal the toolbox. The most crucial functions are under the “Check All” button. Clicking this will highlight various mesh issues directly in the viewport with distinct colors:
Let’s break down how to address common errors highlighted by the 3D-Print Toolbox:
Holes and non-manifold edges are often the primary culprits of print failures. The 3D-Print Toolbox has an excellent automated function for this: “Make Manifold.” However, it’s often best to inspect the highlighted areas manually first. To do this, you can:
For models from sources like 88cars3d.com, the geometry is generally well-prepared, but minor issues can still arise during export or conversion. The “Make Manifold” tool is a powerful first pass.
Inverted normals cause slicers to think the surface is inside-out. The 3D-Print Toolbox flags these in blue. The process to fix them is:
Degenerate faces (faces with zero area) can be tricky. They often appear as thin lines or points. The “Mesh > Clean Up > Delete Loose” function in Edit Mode can sometimes remove them. Intersecting faces are more complex. While Blender’s “3D-Print Toolbox” has a “Self-Intersections” check, fixing these often requires manual intervention. You might need to manually move vertices or faces to resolve the intersection. Sometimes, dissolving edges or vertices (X > Dissolve Edges/Vertices) can help simplify the geometry around the intersection, making it easier to fix.
While the basic tools in the 3D-Print Toolbox are often sufficient, more complex STL files might require advanced techniques. Blender’s native modeling tools, combined with specialized add-ons, can tackle even the most stubborn mesh problems. Remember, the goal is to create a clean, watertight mesh that accurately represents your desired car model.
Even models from professional marketplaces like 88cars3d.com can sometimes benefit from minor adjustments for specific printer types or desired print qualities. For instance, you might want to thicken thin walls or simplify complex areas for faster printing.
Highly detailed STL files can sometimes be excessively large, leading to slow loading times in slicers and increased processing demands. The “Decimate” modifier in Blender can reduce the polygon count of a mesh without significantly altering its overall shape. This is particularly useful for very high-resolution scans or models with intricate details that might not be visible at typical print scales.
Be cautious not to decimate too aggressively, as this can lead to a loss of fine detail crucial for car models.
For complex car models, you might want to print certain parts separately (e.g., the body, wheels, interior components) and then assemble them. Blender makes this easy:
For fine-tuning or adding specific details, Blender’s Sculpt Mode can be incredibly powerful. You can use brushes to smooth surfaces, add panel lines, or enhance features. While this is a more advanced technique, it allows for unparalleled control over the final appearance of your printed model. For instance, you could use the “Draw Sharp” brush to accentuate trim lines or the “Smooth” brush to refine curved surfaces before printing.
After any manual adjustments or repairs, it’s always a good practice to run the “Check All” function in the 3D-Print Toolbox again to ensure you haven’t inadvertently introduced new errors.
Once your STL file is cleaned and optimized in Blender, the next critical step is preparing it for your 3D printer using slicing software. Slicers like Cura, PrusaSlicer, or Simplify3D convert your 3D model into layer-by-layer instructions (G-code) that the printer understands. The settings you choose here have a profound impact on print quality, strength, and the success of your automotive models.
The goal of slicing is to translate the clean geometry from your STL into a printable reality. For detailed car models, achieving sharp edges, smooth curves, and accurate dimensions is paramount. Even the best STL file can result in a poor print if the slicer settings are not dialed in.
Layer height is arguably the most significant factor influencing print quality and time. It dictates the thickness of each layer deposited by the printer.
Tradeoff: Lower layer heights result in smoother surfaces and more detail but significantly increase print time. A layer height of 0.1mm might take twice as long as 0.2mm for the same model height.
Infill refers to the internal structure printed within the model’s outer walls. For display models, high structural integrity isn’t always necessary, allowing for material savings and faster prints.
A well-repaired STL file ensures that infill density is applied correctly within a watertight volume.
Car models often feature significant overhangs (e.g., wheel arches, spoilers, undercarriage details). Supports are necessary to prevent these areas from drooping or failing during printing.
Careful support generation is crucial for automotive models to preserve delicate details like spoilers or intricate wheel spokes.
The way you orient your model on the print bed affects print quality, support needs, and adhesion. For car models:
Proper bed adhesion prevents the model from detaching mid-print, saving you time and frustration.
The journey doesn’t end when the print is finished. Post-processing is where a good 3D print truly transforms into a show-worthy model. This stage involves removing supports, sanding, filling imperfections, and painting to achieve a professional finish. Even models downloaded from premium sources like 88cars3d.com benefit immensely from careful post-processing.
The type and extent of post-processing depend heavily on the printing technology (FDM vs. resin) and the desired final look. FDM prints often show layer lines more prominently, requiring more sanding and filling than resin prints, which typically have a smoother surface finish straight off the printer.
This is often the most delicate part. Use sharp hobby knives, pliers, and flush cutters to carefully remove support material. For resin prints, washing in isopropyl alcohol (IPA) and curing under UV light are essential first steps before support removal.
Layer lines and small imperfections are common, especially with FDM printing. Sanding is key to achieving a smooth surface.
For resin prints, sanding is usually less intensive, focusing more on smoothing any marks left by supports.
A primer coat is essential before painting any 3D printed model. It helps reveal any remaining imperfections, provides a uniform surface for paint adhesion, and ensures consistent color coverage.
The final painted finish can elevate a simple 3D print into a highly realistic automotive collectible.
Mastering the art of preparing and printing STL files is a rewarding journey for any 3D printing enthusiast, especially when working with detailed automotive subjects. From understanding the intricacies of the STL format and its potential pitfalls to leveraging powerful tools like Blender for meticulous mesh repair, each step contributes to a successful print. We’ve explored how to identify and fix common issues like holes and inverted normals using Blender’s built-in diagnostics and advanced modifiers, ensuring your models are watertight and print-ready. Furthermore, we’ve delved into the critical slicer settings – layer height, infill, supports, and orientation – that translate your digital model into a physical object with stunning fidelity.
Remember that platforms like 88cars3d.com offer a fantastic selection of expertly crafted STL files, providing a solid foundation for your projects. However, the ability to perform your own cleanup and optimization using software like Blender is an indispensable skill that empowers you to tackle any model, customize it further, or troubleshoot any unexpected printing challenges. The post-processing stages, from careful support removal to meticulous sanding and painting, are where your patience and attention to detail truly bring your 3D printed car models to life. Embrace these techniques, experiment with your settings, and enjoy the process of creating your own collection of stunning, high-quality 3D printed vehicles.
“`
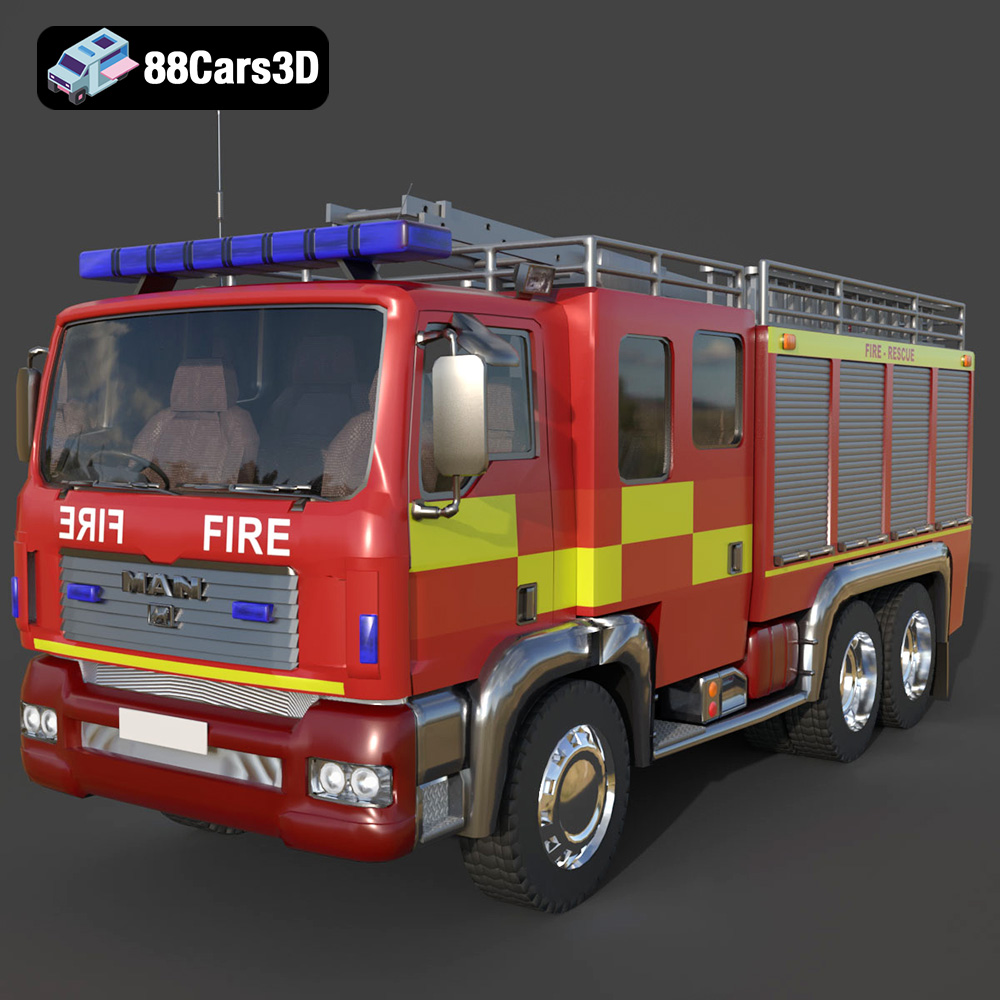
Texture: Yes
Material: Yes
Download the POJARNIY 004 3D Model featuring a robust exterior with detailed emergency equipment and a functional interior. Includes .blend, .fbx, .obj, .glb, .stl, .ply, .unreal, and .max formats for rendering, simulation, and game development.
Price: $10.79
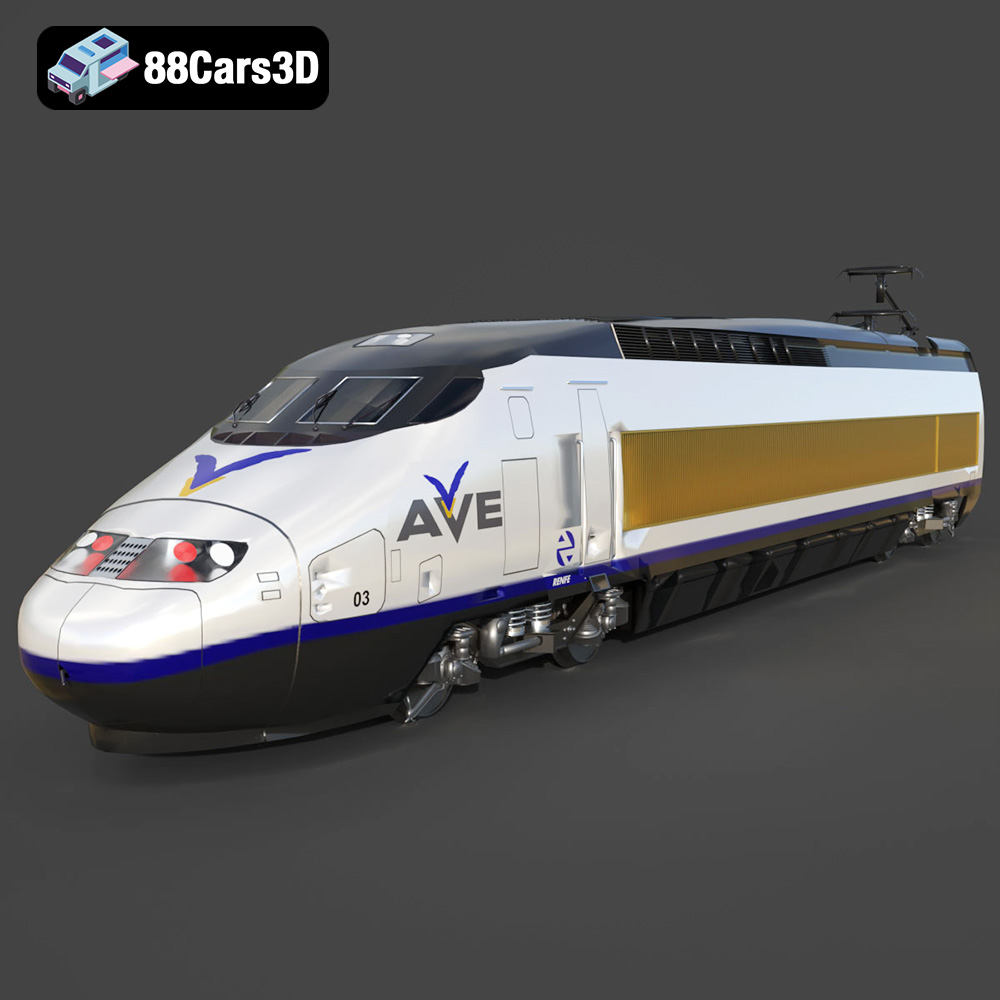
Texture: Yes
Material: Yes
Download the Poezd AVE 147-102-002 3D Model featuring a detailed high-speed train design. Includes .blend, .fbx, .obj, .glb, .stl, .ply, .unreal, and .max formats for rendering, simulation, and game development.
Price: $10.79
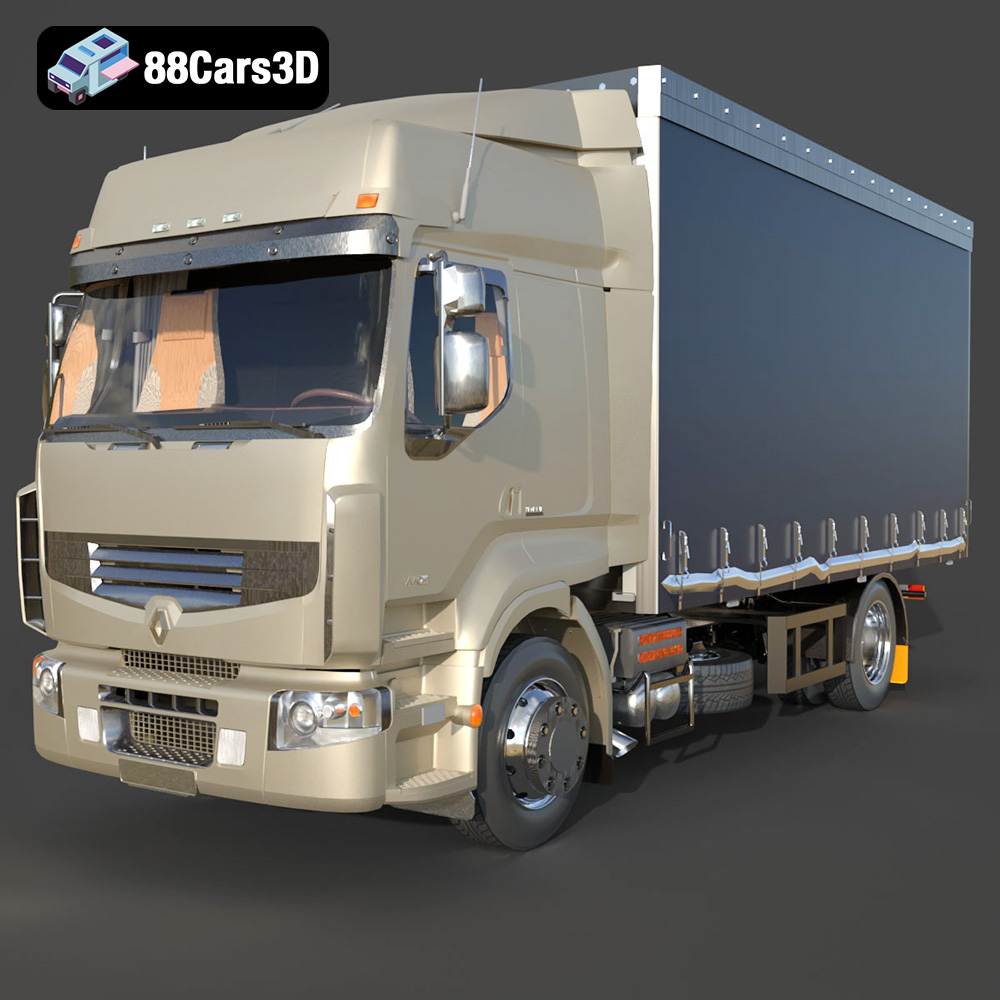
Texture: Yes
Material: Yes
Download the Renault Premium 440-002 3D Model featuring a detailed exterior, an optimized interior, and accurate real-world scale. Includes .blend, .fbx, .obj, .glb, .stl, .ply, .unreal, and .max formats for rendering, simulation, and game development.
Price: $10.79
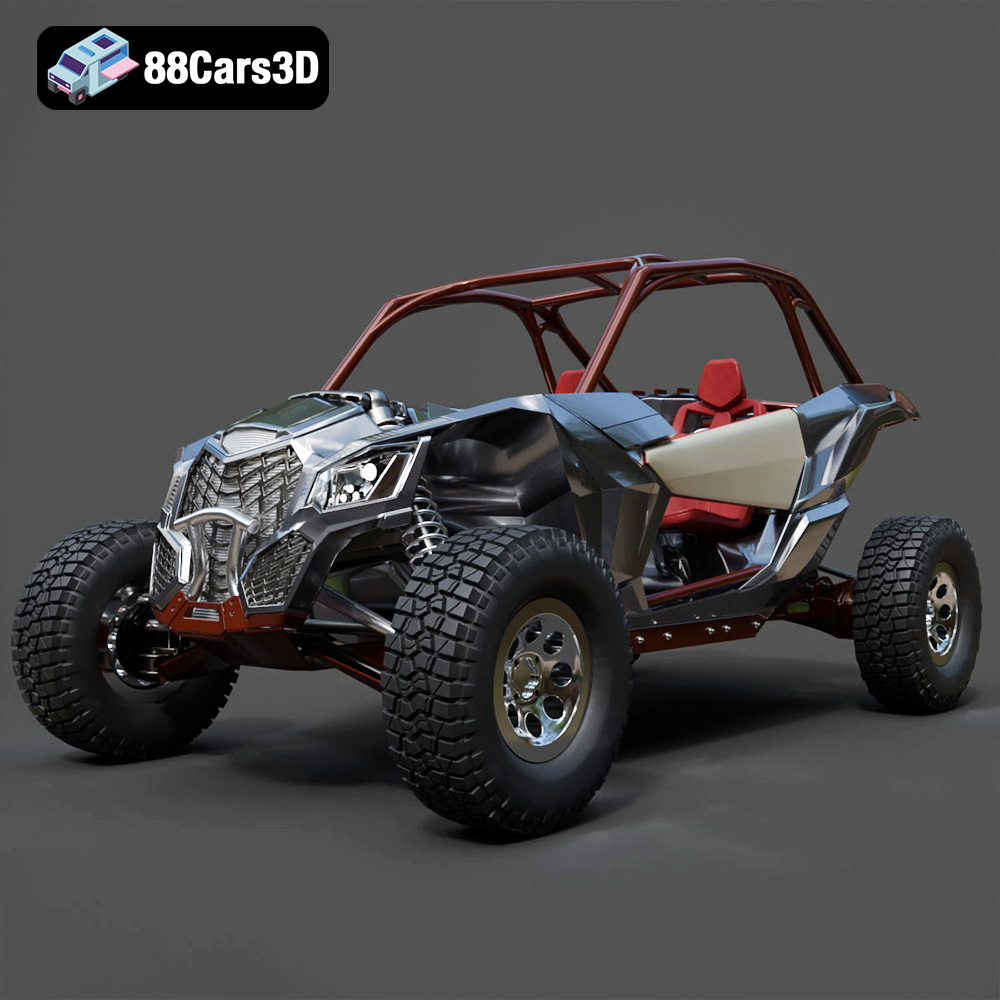
Texture: Yes
Material: Yes
Download the Can-Am Maverick 2019 3D Model featuring an aggressive off-road design, detailed chassis, and rugged tires. Includes .blend, .fbx, .obj, .glb, .stl, .ply, .unreal, and .max formats for rendering, simulation, and game development.
Price: $90.79

Texture: Yes
Material: Yes
Download the BMW M8 Competition 3D Model featuring aggressive styling, a luxurious interior, and high-performance detailing. Includes .blend, .fbx, .obj, .glb, .stl, .ply, .unreal, and .max formats for rendering, simulation, and game development.
Price: $110.79

Texture: Yes
Material: Yes
Download the Ferrari SF90 Spider 3D Model featuring a meticulously detailed exterior, intricate interior, and realistic PBR materials. Includes .blend, .fbx, .obj, .glb, .stl, .ply, .unreal, and .max formats for rendering, simulation, and game development.
Price: $110.79

Texture: Yes
Material: Yes
Download the Ferrari Portofino 3D Model featuring accurate body contours, detailed interior, and high-resolution textures. Includes .blend, .fbx, .obj, .glb, .stl, .ply, .unreal, and .max formats for rendering, simulation, and game development.
Price: $110.79
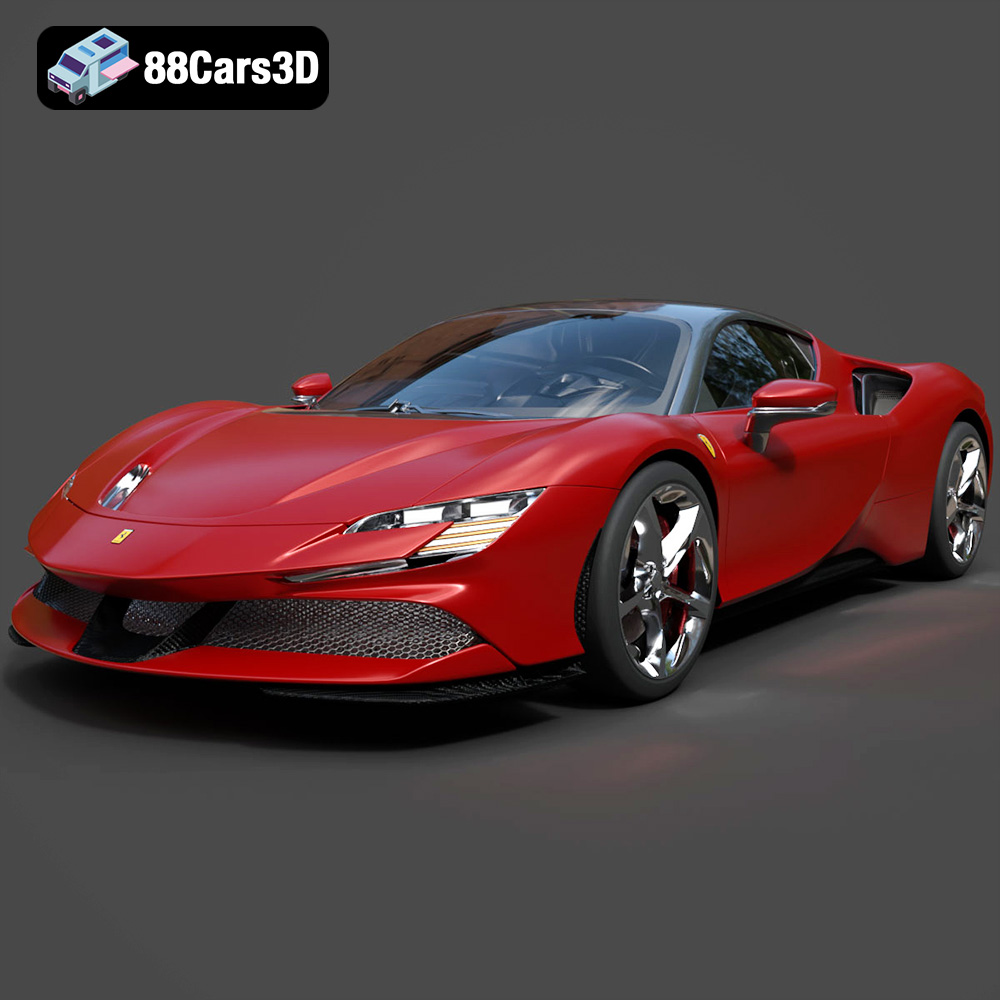
Texture: Yes
Material: Yes
Download the Ferrari SF90 Stradale 3D Model featuring aggressive lines and sophisticated aesthetics. Includes .blend, .fbx, .obj, .glb, .stl, .ply, .unreal, and .max formats for rendering, simulation, and game development.
Price: $110.79
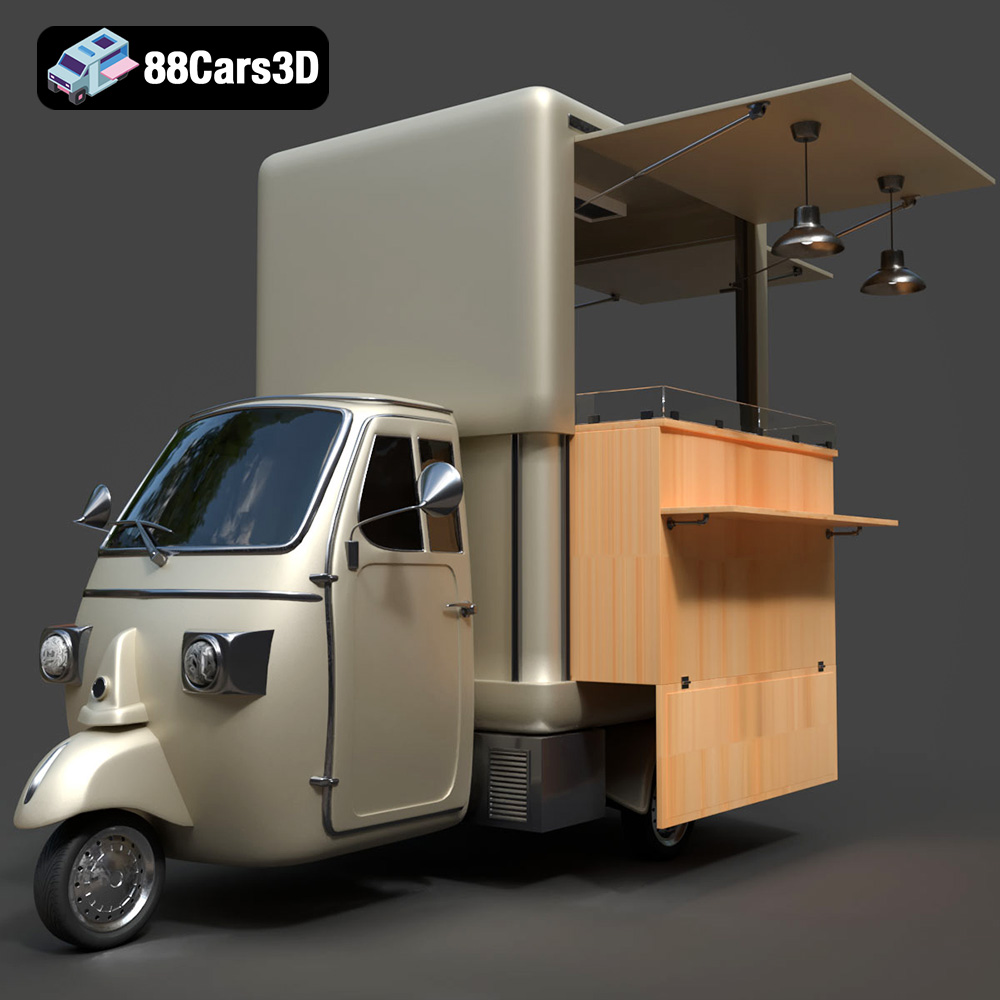
Texture: Yes
Material: Yes
Download the Foodtruck Set 3-006 3D Model featuring a detailed exterior and interior, optimized for various uses. Includes .blend, .fbx, .obj, .glb, .stl, .ply, .unreal, and .max formats for rendering, simulation, and game development.
Price: $23.79
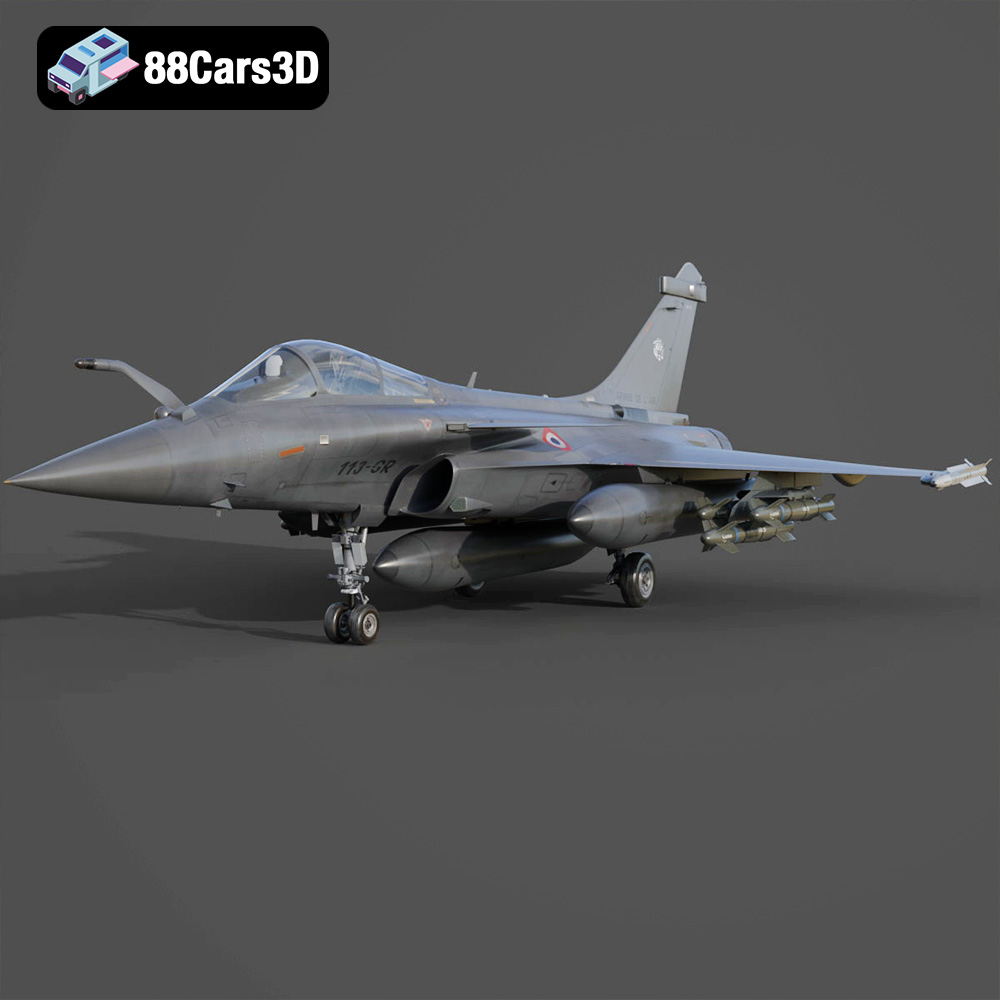
Texture: Yes
Material: Yes
Download the Dassault Rafale Fighter Jet 3D Model featuring a detailed exterior, cockpit, and propulsion system. Includes .blend, .fbx, .obj, .glb, .stl, .ply, .unreal, and .max formats for rendering, simulation, and game development.
Price: $22.79

