Get 50% OFF All Premium 3D & STL Models!

“`html
Welcome, automotive enthusiasts and 3D printing aficionados! At 88cars3d.com, we’re passionate about bringing your favorite vehicles to life through high-quality, 3D printable STL files. Whether you’re building a miniature replica for your desk, creating a prototype for a custom design, or exploring the intricacies of automotive engineering, the journey from a digital STL file to a tangible, detailed model is incredibly rewarding. However, achieving that perfect print often hinges on the capabilities of your 3D printer. Selecting the right machine can feel daunting with the vast array of options available. This guide will demystify the process, focusing on the essential features that truly matter for model makers, especially when printing intricate automotive designs. We’ll delve into print resolution, build volume, material compatibility, ease of use, and crucial post-processing considerations, empowering you to make an informed decision that transforms your 3D printing experience and elevates your model-making projects. Get ready to discover what makes a 3D printer your ultimate partner in creating stunningly accurate car models.
For model makers, particularly those recreating the nuanced curves and intricate details of automobiles, print resolution is paramount. This refers to the printer’s ability to reproduce fine features accurately. The most critical factors contributing to resolution are layer height and XY resolution. Layer height dictates the vertical detail, with smaller layer heights (e.g., 0.05mm to 0.1mm) producing smoother surfaces and more defined details on curved or angled surfaces, mimicking the smooth finish of a real car body. Conversely, larger layer heights (0.2mm or more) result in visible layer lines, which can detract from the aesthetic quality of a model. For highly detailed automotive models, especially those with delicate components like spoilers, grilles, or interior elements, a printer capable of consistently printing at low layer heights is indispensable.
XY resolution, determined by factors like stepper motor precision, nozzle diameter (for FDM), and the accuracy of the light source or laser (for resin printers), defines the smallest detail that can be rendered horizontally. For FDM printers, a smaller nozzle diameter (e.g., 0.2mm or 0.3mm instead of the standard 0.4mm) can improve XY resolution, allowing for finer lines and sharper edges. Resin printers, using technologies like SLA or DLP, typically offer superior XY resolution, often measured in micrometers (µm), making them ideal for capturing incredibly fine details such as badges, emblems, or even tiny interior dashboards. When evaluating printers, look beyond advertised specifications and seek reviews or sample prints that demonstrate the machine’s actual ability to reproduce small, intricate features. This level of precision directly impacts how well a printed car model captures the essence of its real-world counterpart, from the subtle crease lines on a fender to the sharp edges of a headlight housing.
Layer height is arguably the most significant setting affecting vertical detail in 3D prints. For FDM printers, this is directly controlled by the Z-axis movement and filament extrusion. A standard 0.2mm layer height is excellent for functional parts but can result in noticeable stair-stepping on curves. For models, reducing this to 0.1mm or even 0.08mm significantly enhances surface smoothness. Resin printers achieve much finer layer heights, often down to 25µm (0.025mm), which is why they excel at producing highly detailed miniatures. The tradeoff for lower layer heights is increased print time. A model printed at 0.1mm will take roughly twice as long as the same model printed at 0.2mm. It’s a balance between desired detail and acceptable printing duration.
XY resolution dictates how accurately the printer can draw each layer’s outline. In FDM, this is influenced by the nozzle diameter and the stepper motor’s microstepping. A smaller nozzle (e.g., 0.25mm) can produce finer lines than a standard 0.4mm nozzle, leading to sharper details and less “blobbing” on small features. In resin printing, XY resolution is determined by the pixel size of the LCD screen (for MSLA printers) or the spot size of the laser (for SLA printers). Higher resolution screens with smaller pixel sizes result in more defined edges and smoother curves. When choosing a printer for detailed car models, prioritize machines known for their consistent XY accuracy.
The build volume of a 3D printer defines the maximum dimensions of an object it can create. For model makers, this dictates whether you can print a full-scale car model, a larger display piece, or if you’ll need to split your model into multiple parts for printing. While massive build volumes are appealing, for most automotive model enthusiasts, a medium-sized build volume (around 200x200x200mm) is often sufficient, allowing for a wide range of model sizes. If your ambition includes larger scale models or printing multiple components simultaneously, a larger build volume becomes a significant advantage. However, it’s crucial to remember that larger prints require more time, material, and potentially more complex support structures. Consider your typical project size and future aspirations when evaluating this feature.
Beyond size, material versatility is key to achieving the desired finish and properties for your car models. FDM printers offer a broad spectrum of filament options. PLA is excellent for beginners due to its ease of printing and wide color availability, providing a good base for painted models. PETG offers increased durability and heat resistance, useful if your models might be exposed to warmer environments. ABS provides even higher strength and a smoother finish after acetone smoothing, mimicking automotive plastics, though it requires more careful temperature control and ventilation. For specialized applications, materials like flexible TPU can be used for tires, or even composite filaments with carbon fiber for added strength and a unique aesthetic. Resin printers, while typically offering superior detail, are generally more limited in material variety, with standard resins, tough resins, flexible resins, and castable resins being common. The choice between FDM and resin often comes down to the desired balance of detail, material properties, and cost.
The build volume is the maximum physical space your printer can create parts within. For most desktop model printing, a build volume of 150x150x150mm to 250x250x250mm is more than adequate. If you plan on printing larger scale models (e.g., 1:18 scale or larger) or multiple components at once, a printer with a 300mm+ build volume would be beneficial. Keep in mind that larger prints require significantly more time and filament, and may necessitate advanced slicing techniques like part splitting and alignment.
FDM Materials:
Resin Materials:
When downloading models from marketplaces such as 88cars3d.com, consider the intended material for printing when selecting your model and printer. Some models might be optimized for specific material properties.
The slicer software is the crucial intermediary between your STL file and your 3D printer. It translates the 3D model into a series of layer-by-layer instructions (G-code) that the printer can understand and execute. The capabilities and user-friendliness of your chosen slicer can significantly impact the quality and success rate of your prints. Popular slicers like Cura, PrusaSlicer, and Simplify3D offer a vast array of settings that allow for fine-tuning print quality. For automotive models, critical slicing parameters include:
Beyond standard slicing, advanced preparation in software like Meshmixer, Blender, or Netfabb might be necessary to repair non-manifold meshes, hollow out models for resin printing, or split complex models into smaller, printable sections. Platforms like 88cars3d.com often provide models that are already well-optimized, but understanding these preparation steps empowers you to tackle any model.
Fine-tuning your slicer settings is essential for capturing the smooth curves and sharp edges of car models. Start with a baseline profile for your printer and material, then adjust the following:
Experimentation is key; test prints of small sections can save significant time and material on larger, complex models.
STL files, while ubiquitous, can sometimes contain errors that prevent successful slicing or printing. These are often referred to as “non-manifold” errors, where the mesh is not watertight or has intersecting faces. Common repair tools include:
For resin printing, hollowing models and adding drainage holes is critical to reduce print time, save resin, and prevent suction forces from damaging the print or FEP film. Platforms like 88cars3d.com often provide pre-hollowed or optimized files, but understanding the process is valuable.
Print orientation and effective support structures are critical for achieving clean, accurate automotive models, especially those with overhangs, bridges, and delicate details. The orientation of your model on the build plate dictates how layers are printed, influencing surface quality, print time, and the necessity and placement of supports. For car bodies, orienting them such that the most aesthetically important surfaces have minimal overhangs can drastically improve the final look. For instance, printing a car body upright often requires extensive supports on the underside, potentially marring the detail. Printing it on its side or even upside down might require fewer, more strategically placed supports, leading to a cleaner finish on the visible surfaces.
Support structures are essentially temporary scaffolding printed alongside your model to hold up overhanging sections. Generating effective supports involves a balance: they need to be dense enough to prevent sagging or failure, but not so dense or difficult to remove that they damage the model. Slicers offer various support types (normal, tree/branching), densities, and interface settings. Tree supports, for example, are often preferred for intricate models as they touch the model at fewer points, simplifying removal. Bed adhesion is the first crucial step in any print. Without it, your model risks detaching mid-print, leading to failure. Common methods include using a heated bed, applying adhesives like glue stick or specialized sprays, textured build plates (e.g., PEI), or ensuring your bed is perfectly leveled. For FDM printers, materials like PLA and PETG typically adhere well to common surfaces, while ABS may require higher bed temperatures and enclosures. Resin printers rely on the build plate being clean and level, with proper “exposure time” for the initial base layers.
The orientation of your model on the print bed dramatically affects the outcome. Consider these points:
For car models, printing them upside down or on their side can often yield superior results for the visible body panels compared to printing upright.
Effective support generation is an art. Most slicers offer automated support generation, but manual tweaking is often necessary for complex models:
When removing supports, use flush cutters, pliers, and hobby knives carefully. For resin prints, supports are also crucial and are often removed after washing and curing, requiring precision to avoid damaging delicate features.
Good bed adhesion is non-negotiable. Without it, prints fail. Key strategies include:
Cleanliness is paramount; oils from fingerprints can prevent adhesion. Wipe down your build plate regularly.
The journey doesn’t end when the print is finished. Post-processing is where raw 3D prints are transformed into polished, show-worthy models. For FDM prints, common steps include support removal, sanding, filling gaps, priming, and painting. Support removal requires patience and the right tools: flush cutters, hobby knives, and needle-nose pliers are essential. For smoother surfaces, sanding is crucial. Start with coarser grits (e.g., 120-220) to remove layer lines and imperfections, then progressively move to finer grits (e.g., 400, 800, 1000+) for a glassy finish. If layer lines are still visible after extensive sanding, or if there are minor gaps, applying a filler primer or a body filler designed for plastics can create a perfectly smooth surface ready for paint. For ABS prints, acetone vapor smoothing can achieve an incredibly smooth, almost injection-molded finish, but requires significant safety precautions.
Painting is where the car model truly comes alive. Using automotive-grade spray paints or an airbrush allows for professional finishes. Multiple thin coats are always better than one thick coat. Decals and clear coats add the final touches. For resin prints, post-processing involves washing away uncured resin (typically with isopropyl alcohol or specialized cleaners), followed by curing under UV light to achieve full strength. Sanding and painting techniques are similar to FDM, but the inherent smoothness of resin prints often requires less aggressive sanding. The level of detail achievable with resin printers, combined with meticulous post-processing, allows for breathtakingly accurate miniature replicas.
Careful support removal is key to preserving model detail:
A well-painted model elevates its realism:
Resin printing requires specific post-processing steps:
Consistent print quality relies heavily on a well-calibrated and maintained 3D printer. Regular calibration ensures that your printer operates within its optimal parameters, leading to accurate dimensions, smooth surfaces, and reliable prints. Key calibration steps for FDM printers include:
For resin printers, calibration often involves testing exposure times for new resins and ensuring the build plate is perfectly aligned with the screen. Regular maintenance is also vital. This includes cleaning the build plate, lubricating Z-axis rods or lead screws, cleaning the nozzle (for FDM), checking and tightening belts, and updating firmware when available. A clean printer is a happy printer, producing better results with fewer failures. Investing time in understanding and performing these calibration and maintenance tasks will pay dividends in the quality and reliability of your 3D printed car models.
Regular calibration is not optional for high-quality prints:
These steps ensure your printer accurately translates the digital model’s dimensions and features into physical reality.
Resin printers require specific calibration focus:
Proper calibration is key to achieving the incredible detail resin printers are known for.
Keep your printer in top condition:
“`
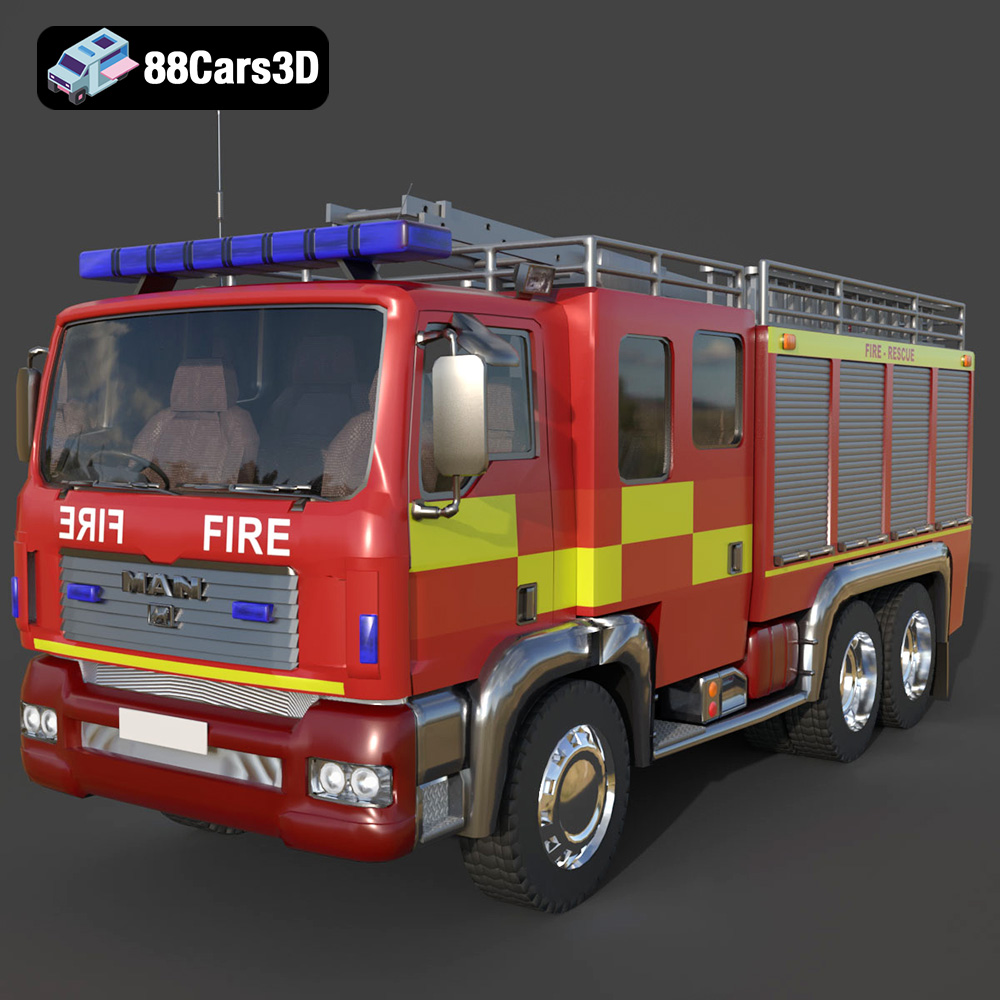
Texture: Yes
Material: Yes
Download the POJARNIY 004 3D Model featuring a robust exterior with detailed emergency equipment and a functional interior. Includes .blend, .fbx, .obj, .glb, .stl, .ply, .unreal, and .max formats for rendering, simulation, and game development.
Price: $10.79
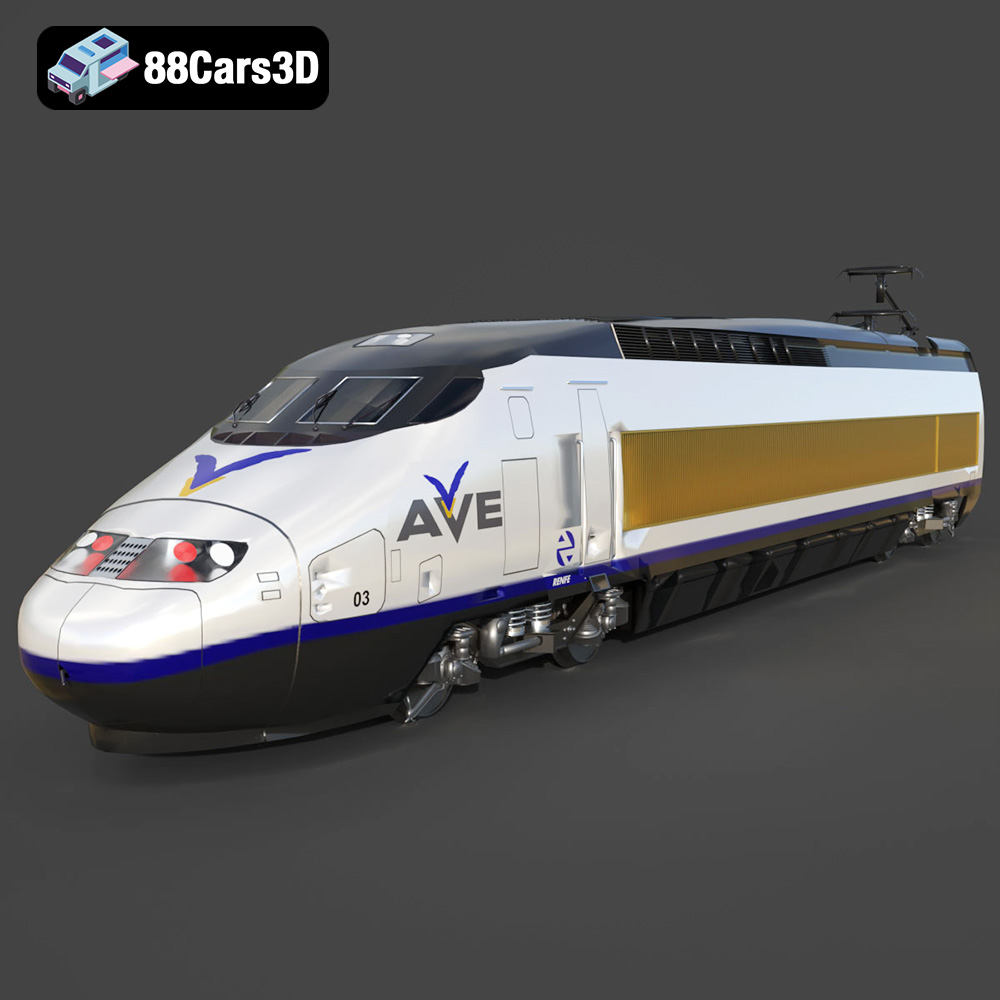
Texture: Yes
Material: Yes
Download the Poezd AVE 147-102-002 3D Model featuring a detailed high-speed train design. Includes .blend, .fbx, .obj, .glb, .stl, .ply, .unreal, and .max formats for rendering, simulation, and game development.
Price: $10.79
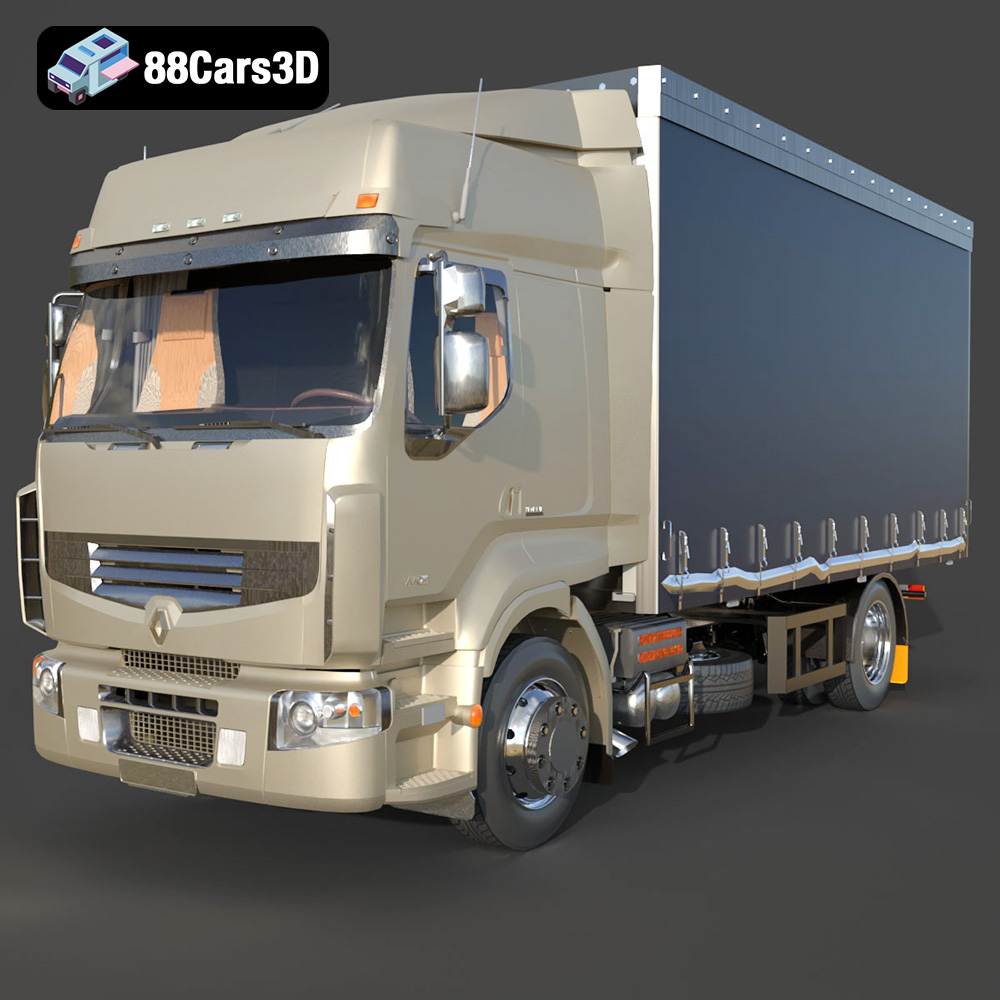
Texture: Yes
Material: Yes
Download the Renault Premium 440-002 3D Model featuring a detailed exterior, an optimized interior, and accurate real-world scale. Includes .blend, .fbx, .obj, .glb, .stl, .ply, .unreal, and .max formats for rendering, simulation, and game development.
Price: $10.79
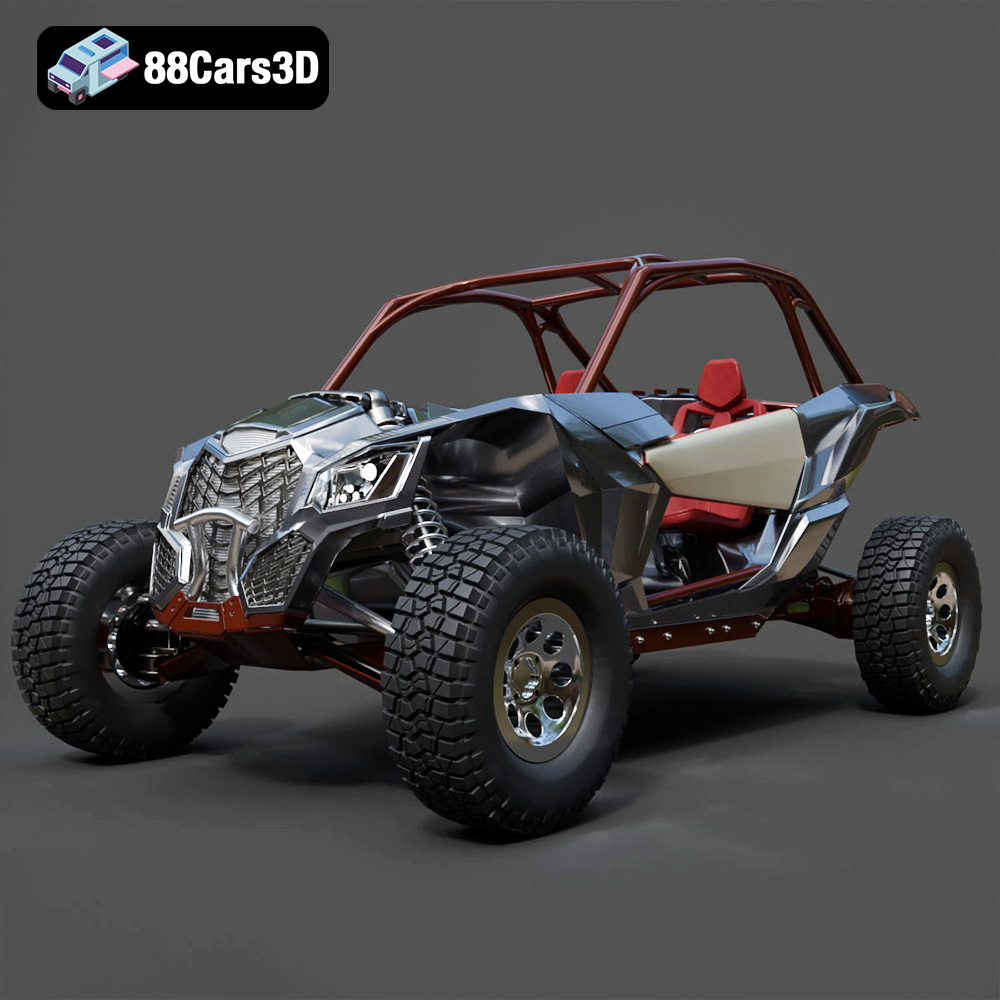
Texture: Yes
Material: Yes
Download the Can-Am Maverick 2019 3D Model featuring an aggressive off-road design, detailed chassis, and rugged tires. Includes .blend, .fbx, .obj, .glb, .stl, .ply, .unreal, and .max formats for rendering, simulation, and game development.
Price: $90.79
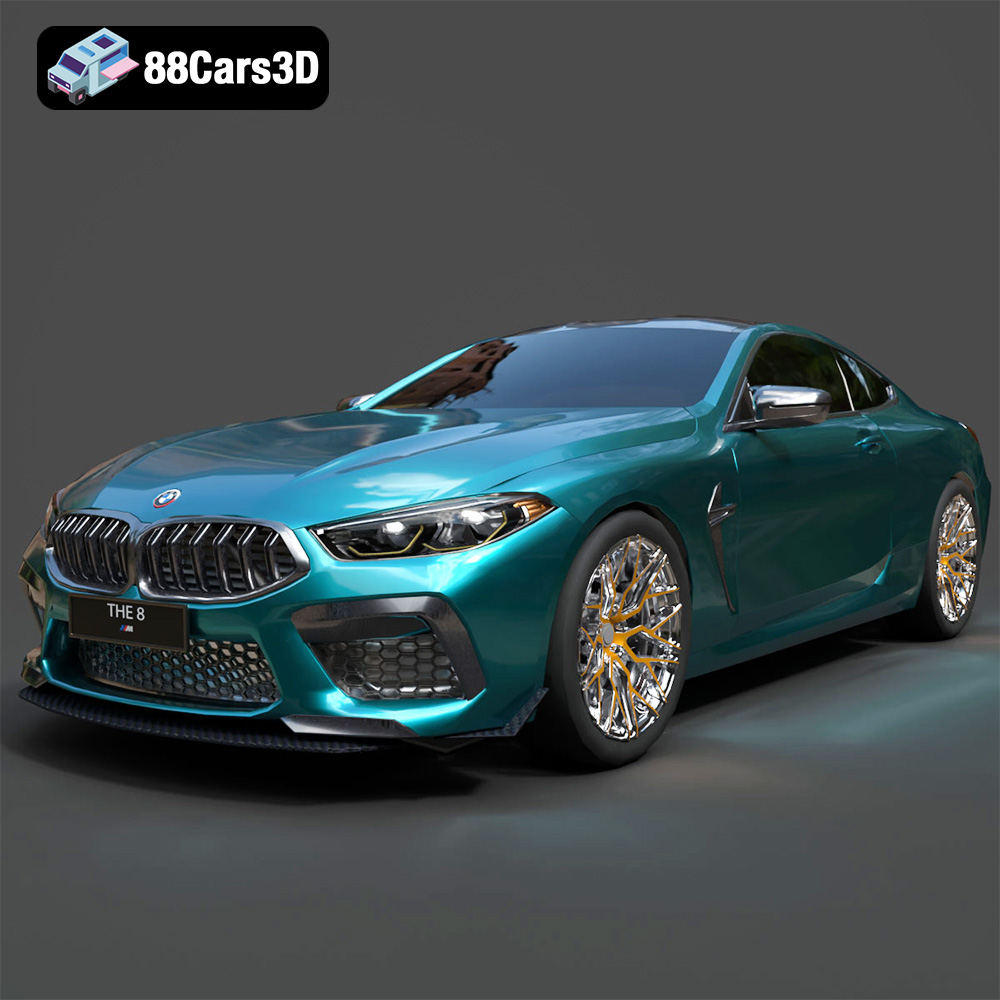
Texture: Yes
Material: Yes
Download the BMW M8 Competition 3D Model featuring aggressive styling, a luxurious interior, and high-performance detailing. Includes .blend, .fbx, .obj, .glb, .stl, .ply, .unreal, and .max formats for rendering, simulation, and game development.
Price: $110.79
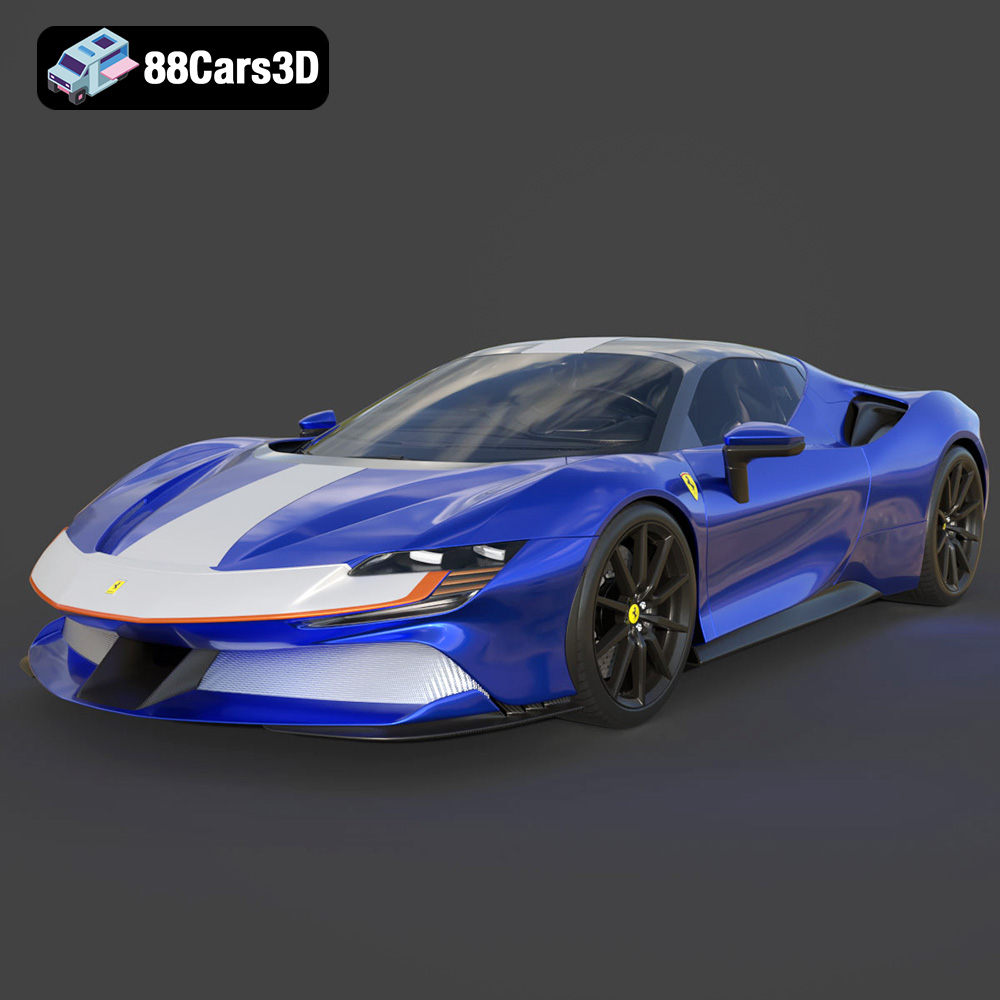
Texture: Yes
Material: Yes
Download the Ferrari SF90 Spider 3D Model featuring a meticulously detailed exterior, intricate interior, and realistic PBR materials. Includes .blend, .fbx, .obj, .glb, .stl, .ply, .unreal, and .max formats for rendering, simulation, and game development.
Price: $110.79
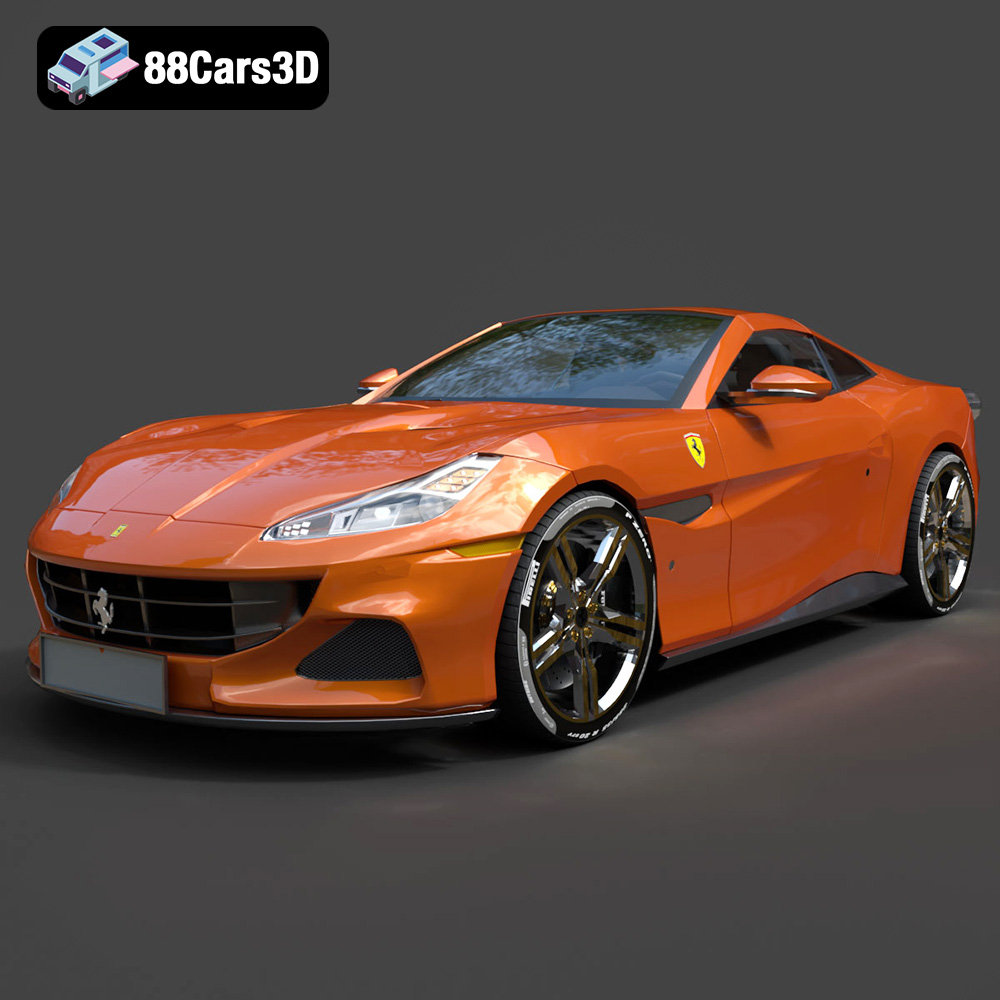
Texture: Yes
Material: Yes
Download the Ferrari Portofino 3D Model featuring accurate body contours, detailed interior, and high-resolution textures. Includes .blend, .fbx, .obj, .glb, .stl, .ply, .unreal, and .max formats for rendering, simulation, and game development.
Price: $110.79
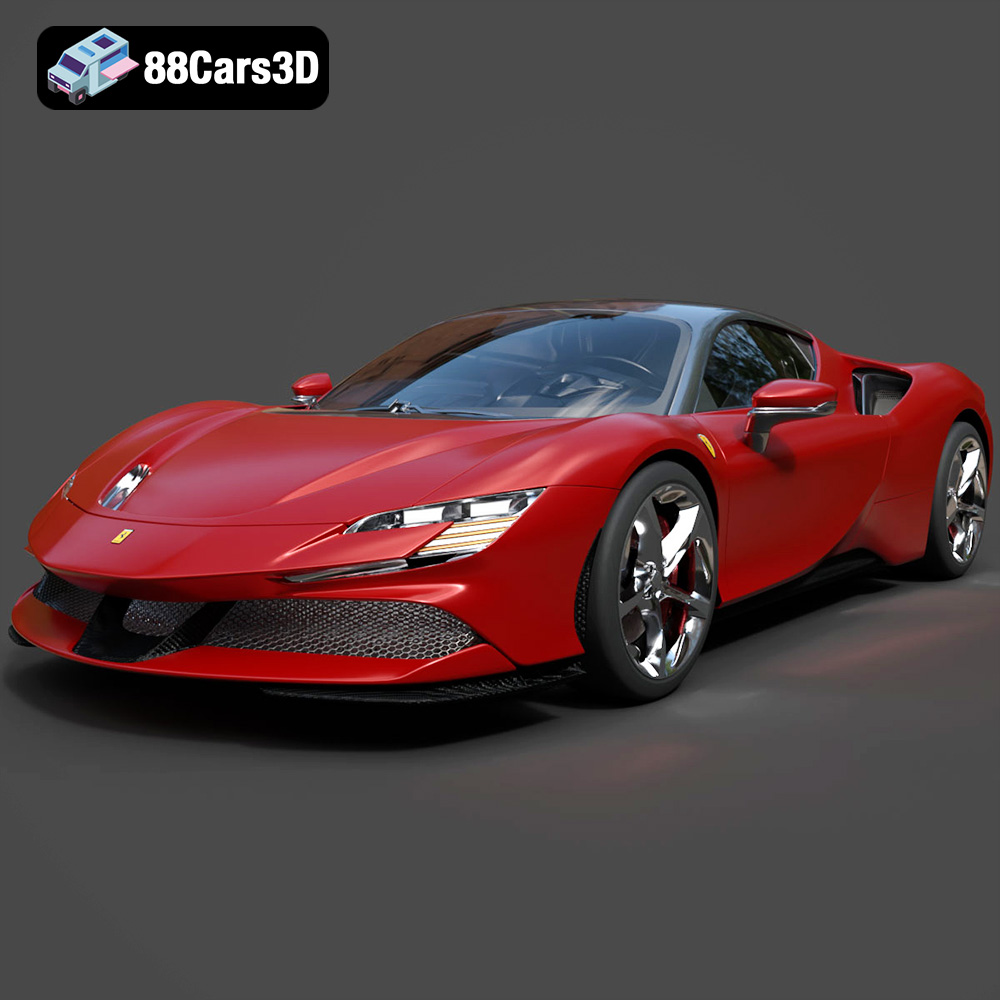
Texture: Yes
Material: Yes
Download the Ferrari SF90 Stradale 3D Model featuring aggressive lines and sophisticated aesthetics. Includes .blend, .fbx, .obj, .glb, .stl, .ply, .unreal, and .max formats for rendering, simulation, and game development.
Price: $110.79
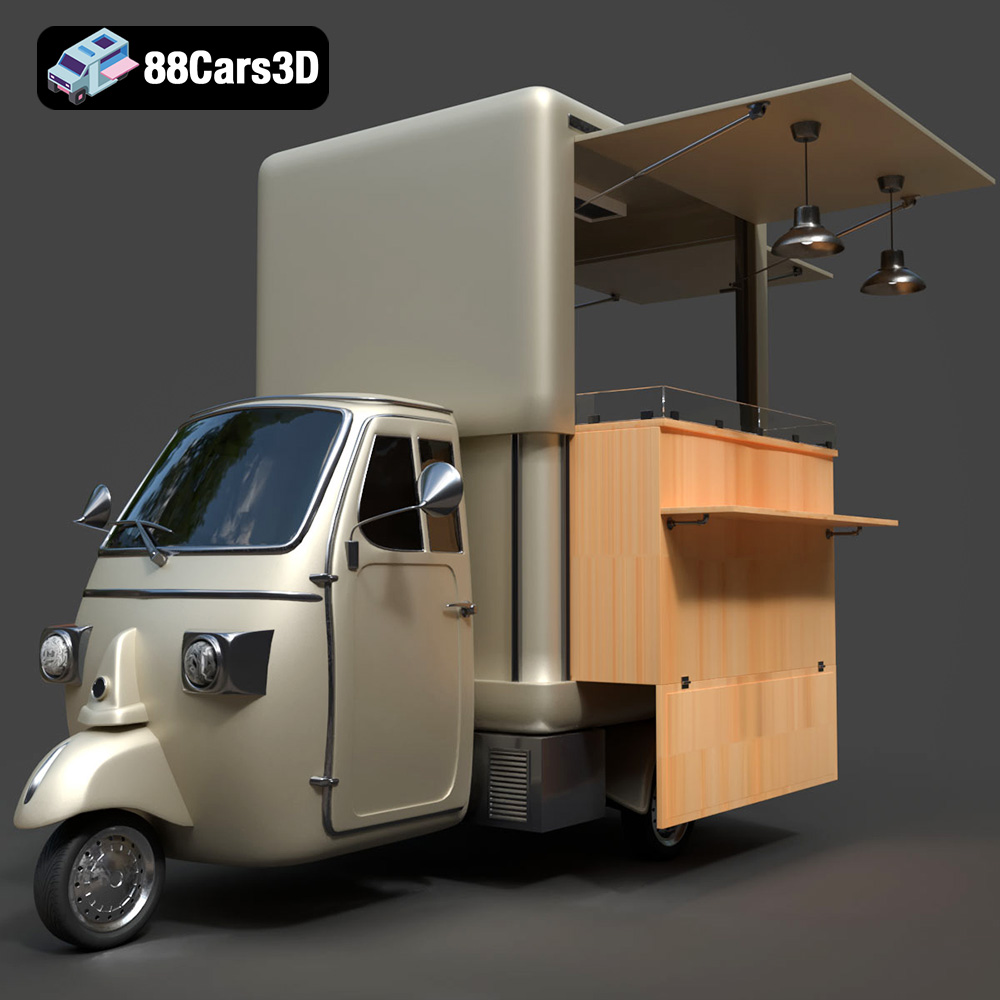
Texture: Yes
Material: Yes
Download the Foodtruck Set 3-006 3D Model featuring a detailed exterior and interior, optimized for various uses. Includes .blend, .fbx, .obj, .glb, .stl, .ply, .unreal, and .max formats for rendering, simulation, and game development.
Price: $23.79
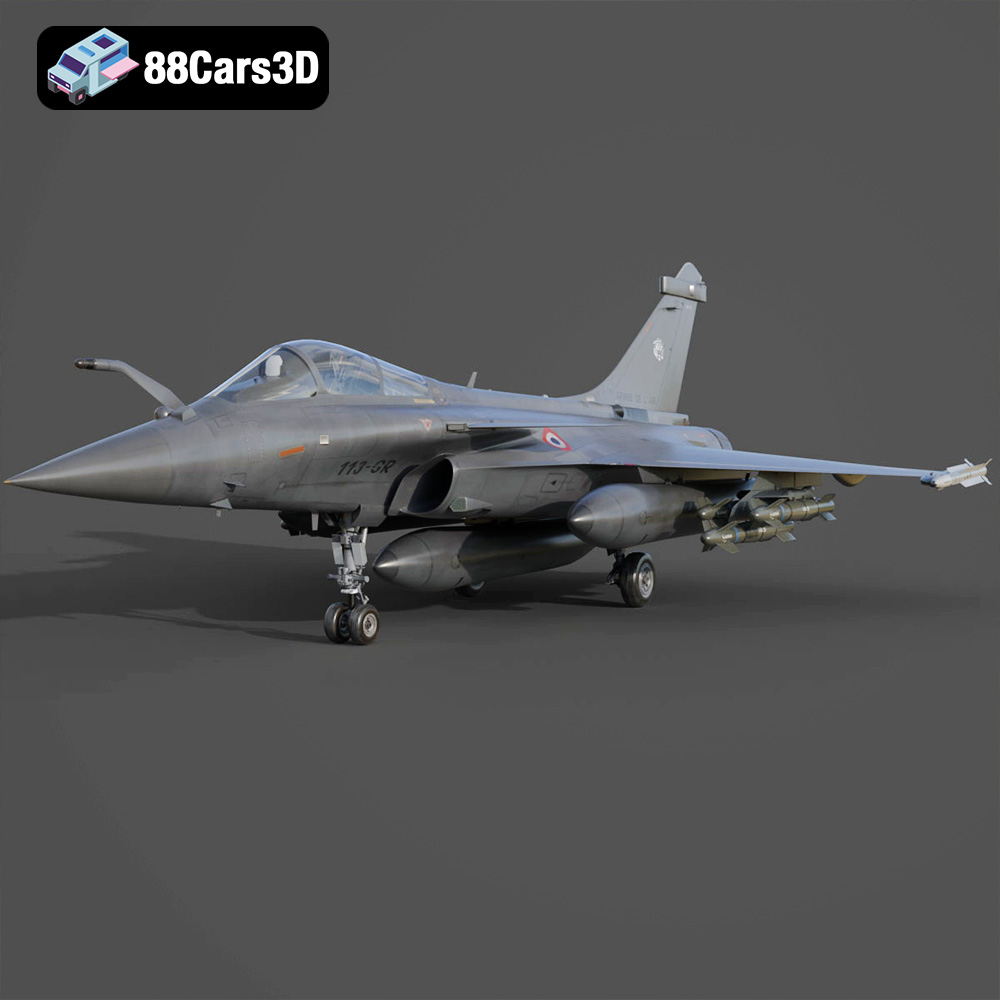
Texture: Yes
Material: Yes
Download the Dassault Rafale Fighter Jet 3D Model featuring a detailed exterior, cockpit, and propulsion system. Includes .blend, .fbx, .obj, .glb, .stl, .ply, .unreal, and .max formats for rendering, simulation, and game development.
Price: $22.79

