Get 50% OFF All Premium 3D & STL Models!

The automotive industry is in a perpetual state of innovation, not just in vehicle design and engineering, but also in how these marvels are conceptualized, showcased, and sold. Real-time rendering, powered by robust engines like Unreal Engine, has revolutionized automotive visualization, moving beyond static renders to deliver immersive, interactive, and truly dynamic experiences. From design reviews and marketing campaigns to interactive configurators and virtual showrooms, Unreal Engine offers an unparalleled toolkit for bringing 3D car models to life with breathtaking realism.
For professionals and enthusiasts alike, understanding the comprehensive workflow within Unreal Engine is crucial for achieving top-tier automotive visualizations. This deep dive will guide you through every essential step, from initial project setup and efficient asset management to crafting photorealistic materials, dynamic lighting, and engaging interactive experiences. We’ll explore advanced Unreal Engine features like Nanite and Lumen, discuss performance optimization strategies, and provide actionable tips to elevate your automotive projects. Whether you’re a seasoned 3D artist, a game developer venturing into visualization, or an automotive designer pushing the boundaries of presentation, this guide will equip you with the knowledge to harness Unreal Engine’s full potential for stunning real-time car visualizations.
Beginning any significant project requires a solid foundation, and automotive visualization in Unreal Engine is no exception. Proper project setup ensures a streamlined workflow, optimal performance, and the flexibility needed for future iterations. Understanding the initial configuration steps is paramount for success.
When starting a new project in Unreal Engine, you’re presented with several templates. For automotive visualization, the “Blank” or “Architectural Visualization” templates often provide the best starting point. While the “Games” templates offer pre-configured game logic, they might include unnecessary assets or configurations that can clutter your project and slightly increase its initial footprint. A “Blank” project gives you complete control, allowing you to add only the necessary components. Alternatively, the “Architectural Visualization” template comes with useful lighting setups and post-processing profiles that can be adapted for automotive scenes, along with Datasmith integration, which is excellent for importing CAD data.
Once your project is created, several critical configurations and plugins should be addressed immediately. Navigate to Edit > Project Settings to access these. For automotive visualization, performance and visual fidelity are key. Ensure the following are set up:
After enabling or disabling plugins, Unreal Engine will prompt you to restart the editor for changes to take effect. Always consult the official Unreal Engine documentation at https://dev.epicgames.com/community/unreal-engine/learning for the latest recommendations on specific plugin usages and configurations.
A well-organized project is a maintainable project. Establish a clear, logical folder structure from the outset. This helps immensely when collaborating, debugging, or revisiting older projects. A common structure might look like this:
When sourcing high-quality 3D car models from marketplaces such as 88cars3d.com, you’ll often receive well-organized asset packages. Integrate these into your established structure. Naming conventions are equally important: use clear, descriptive names for all assets (e.g., SM_CarBody, M_CarPaint_Red, T_CarPaint_Normal, BP_CarConfigurator). Consistency in naming and folder organization will save countless hours down the line, preventing the dreaded “where is that texture?” moment.
The quality of your 3D car models is the bedrock of any successful visualization. Platforms like 88cars3d.com offer meticulously crafted, production-ready assets designed to integrate seamlessly with Unreal Engine. However, even the best models benefit from proper import and optimization techniques to ensure peak performance and visual fidelity.
Most 3D car models are provided in universal formats like FBX, USD, or USDZ. Each has its strengths:
SM_CarBody, SM_Wheel_FL) to maintain organization in Unreal.When importing into Unreal, use the “Import” button in the Content Browser. For FBX, pay attention to the import options: ensure “Combine Meshes” is unchecked if you want individual control over car parts, enable “Generate Missing Collision” if needed (though often custom collision is better), and check “Import Materials” and “Import Textures” if the FBX includes them.
Nanite virtualized geometry is a monumental innovation in Unreal Engine, allowing artists to import and render incredibly detailed 3D assets without the traditional polygon budget constraints. For automotive visualization, this means:
To enable Nanite on an imported static mesh: double-click the mesh in the Content Browser, scroll down to the “Nanite Settings” section, and simply check “Enable Nanite Support.” You can adjust the “Preserve Area” setting to control the aggressiveness of Nanite’s simplification, though the default is usually excellent. Nanite is a game-changer for car models, allowing for close-up shots with impeccable detail without compromising real-time performance, particularly when working with assets sourced from platforms like 88cars3d.com that often provide models with rich geometric detail.
While Nanite handles LODs for static meshes, some assets (e.g., animated components, certain physics objects, or non-Nanite compatible meshes like translucent materials) might still require traditional LODs. Furthermore, even with Nanite, overall data reduction strategies are crucial for maintaining project efficiency and manageable build sizes.
By judiciously applying these optimization techniques, you ensure that your detailed 3D car models run smoothly in real-time, regardless of the complexity of your scene or the target platform.
Materials and textures are the soul of visual fidelity in automotive visualization. A perfectly modeled car can look flat without expertly crafted shaders that accurately represent car paint, leather, glass, and metals. Unreal Engine’s powerful Material Editor provides the tools to achieve stunning realism.
Physically Based Rendering (PBR) is the cornerstone of modern real-time graphics. It’s a set of rendering and authoring techniques that aim to simulate how light interacts with surfaces in the real world, producing consistent and realistic results under any lighting condition. In Unreal Engine, this workflow typically involves several key texture maps plugged into a material graph:
Within the Unreal Material Editor, you connect these texture maps to the corresponding inputs of your Material graph. Creating a “Master Material” and then generating “Material Instances” for variations (e.g., different car paint colors, interior trim options) is a highly efficient workflow, reducing draw calls and simplifying iteration.
Realistic car paint is notoriously complex due to its multi-layered nature. A standard car paint shader in Unreal Engine will typically involve:
Building these sophisticated shaders requires a strong understanding of material functions and blending modes. Leverage nodes like Lerp, Power, Dot Product, and custom Fresnel calculations to achieve nuanced effects. For instance, a complex car paint might use a combination of two normal maps: one for the primary surface detail and another for clear coat micro-scratches, blended together with a Blend_Overlay or Blend_SoftLight node. The goal is to simulate how light interacts with each layer of the paint, reflecting, refracting, and scattering.
Beyond the primary material, adding smaller details like decals, wear, and subtle imperfections significantly boosts realism:
Remember that every texture and material node contributes to shader complexity and performance. Optimize your textures (as discussed in the previous section) and encapsulate complex material logic into Material Functions to promote reusability and maintainability. When downloading detailed car models from platforms like 88cars3d.com, you’ll often find they come with a comprehensive set of PBR textures, providing an excellent starting point for these advanced material workflows.
Lighting is arguably the most critical component in achieving photorealism. It dictates how surfaces appear, defines the mood, and highlights the intricate details of a 3D car model. Unreal Engine offers a sophisticated lighting pipeline, with Lumen and Virtual Shadow Maps at its core, enabling dynamic and physically accurate illumination.
Lumen is Unreal Engine’s cutting-edge global illumination and reflections system, providing highly dynamic and interactive lighting that reacts to changes in light sources or geometry in real-time. For automotive visualization, Lumen is transformative:
To enable Lumen, go to Project Settings > Rendering and set “Global Illumination” and “Reflections” to Lumen. Ensure your meshes are appropriately set up (Static or Movable depending on your needs, though Lumen excels with Movable). Adjust settings like “Lumen Scene Lighting Quality” and “Lumen Reflection Quality” in your Post Process Volume for fine-tuning. For automotive scenes, ensuring excellent Lumen coverage means having reflective surfaces (like a floor plane in a studio) to bounce light effectively. Pair Lumen with Virtual Shadow Maps for crisp, detailed shadows that complement the global illumination.
Combining High Dynamic Range Image (HDRI) skyboxes with physical light sources provides a robust and flexible lighting solution for any automotive scene:
When using physical lights, leverage their real-world parameters: “Temperature” (Kelvin) for color, “Intensity Units” (Lumens, Candela) for brightness, and “Source Radius” for softer shadows. For a studio setup, combine an HDRI (e.g., a studio panorama) with several Rect Lights strategically placed to highlight car contours and reflections. In an outdoor scene, a strong Directional Light (representing the sun) combined with a matching HDRI (for ambient light and reflections) forms the backbone of your illumination. Remember to check “Cast Shadows” for all relevant lights, and for dynamic objects, ensure they are set to “Movable” to interact with Lumen and VSMs.
Post-processing is the final layer of polish, adding cinematic quality and enhancing realism. A Post Process Volume allows you to apply a wide range of visual effects globally or to specific areas of your scene.
Place a Post Process Volume in your scene, ensure “Infinite Extent (Unbound)” is enabled if you want it to affect the entire scene, and then adjust the settings. Experiment with subtle effects; often, less is more. For a highly polished look, consider referencing real-world photography and cinematics, trying to replicate those visual characteristics using Unreal’s post-processing tools.
Static renders are a thing of the past. Modern automotive visualization demands interaction and dynamic storytelling. Unreal Engine provides powerful tools for creating interactive configurators, realistic vehicle physics, and stunning cinematic sequences that truly showcase a vehicle’s appeal.
Blueprint Visual Scripting is Unreal Engine’s robust node-based scripting system, allowing artists and designers to create complex gameplay and interactive logic without writing a single line of code. For automotive configurators, Blueprint is indispensable:
A typical Blueprint for a car configurator might involve a main Car Blueprint (inheriting from Actor or Pawn) that contains all the car’s mesh components. Functions within this Blueprint would take inputs (e.g., color choice, wheel type) and apply them to the appropriate parts. Event Dispatchers can be used to communicate between UI widgets and the Car Blueprint. This modular approach allows for easy expansion and modification of your configurator features. For complex interactions, integrating assets from 88cars3d.com, which often provide separated mesh components, simplifies the process of creating such configurators.
For simulations, interactive driving experiences, or virtual test drives, realistic vehicle physics are crucial. Unreal Engine’s Chaos Physics system offers a robust framework:
ChaosWheeledVehicleMovementComponent), suspension, steering, and engine properties. You’ll typically create a Blueprint class inheriting from WheeledVehiclePawn.While setting up advanced vehicle physics can be complex, Unreal Engine provides templates and extensive documentation to guide the process. For basic interactive demonstrations, a simple physics asset on the car body might suffice, but for truly immersive driving experiences, investing time in Chaos Vehicles pays off immensely.
Sequencer is Unreal Engine’s powerful multi-track editor for creating cinematic sequences, animations, and complex event choreography. It’s essential for high-quality marketing materials, virtual production, and storytelling:
For virtual production workflows, Sequencer is integrated with nDisplay, allowing you to output real-time renders to LED walls for in-camera visual effects. This enables filmmakers to shoot live actors within a virtual environment, leveraging Unreal Engine’s real-time capabilities to blend physical and digital elements seamlessly. By mastering Sequencer, you can produce compelling narratives and showcase your 3D car models in a truly professional, broadcast-quality manner.
Even with powerful hardware, maximizing performance in Unreal Engine is crucial, especially for interactive automotive experiences, AR/VR applications, or large-scale virtual production. Efficient optimization ensures smooth frame rates and a polished user experience, while advanced rendering features push visual fidelity even further.
Unreal Engine provides a robust set of scalability settings that allow you to adapt your project’s performance to different hardware configurations. These are accessible via Settings > Engine Scalability Settings in the editor, and can be adjusted at runtime via Blueprint or console commands (e.g., sg.PostProcessQuality 1).
Beyond these, profile your scene using the console commands like stat fps, stat unit, and stat gpu to identify bottlenecks. The “GPU Visualizer” (ctrl+shift+, or Window > Developer Tools > GPU Visualizer) is invaluable for understanding where your GPU time is being spent, allowing you to target specific optimizations, such as reducing shader complexity, draw calls, or overdraw. Ensure that you are not running unnecessary background processes on your development machine.
For automotive visualization projects that involve vast open worlds or extremely detailed environments (e.g., a city for a car chase simulation, a sprawling dealership), managing scene complexity becomes a significant challenge. Unreal Engine’s World Partition and Data Layers provide solutions:
These features are essential for creating rich, expansive backdrops for your automotive visualizations without compromising editor performance or runtime efficiency. They allow for intricate detail in localized areas while managing overall scene complexity effectively.
Augmented Reality (AR) and Virtual Reality (VR) offer incredibly immersive ways to experience car models, from interactive showrooms to design reviews. However, these platforms have strict performance requirements (often 90+ FPS per eye) that demand aggressive optimization:
Optimizing for AR/VR is often a balance between visual fidelity and performance. Rigorous testing on target devices is essential. Leveraging the highly optimized 3D car models available on platforms like 88cars3d.com can provide a significant head start, as these assets are often created with performance in mind while maintaining high visual quality, making them ideal for these demanding applications.
Unreal Engine has firmly established itself as the premier platform for real-time automotive visualization, offering an unparalleled suite of tools to create stunning, interactive, and truly immersive experiences. From the initial project setup and efficient asset importation using Nanite to the nuanced creation of photorealistic PBR materials and dynamic lighting with Lumen, every step in the workflow contributes to the final masterpiece. We’ve explored how Blueprint scripting can transform a static model into an interactive configurator, how Sequencer delivers cinematic storytelling, and the critical importance of optimization for diverse applications, including AR/VR.
The journey of automotive visualization in Unreal Engine is one of continuous learning and artistic refinement. By embracing these workflows, understanding the technical intricacies, and leveraging high-quality resources like the meticulously crafted 3D car models found on 88cars3d.com, you are empowered to push the boundaries of what’s possible. Whether you’re aiming for a breathtaking marketing render, an engaging virtual showroom, or an advanced design review tool, Unreal Engine provides the canvas and the brushes. Now, it’s your turn to unleash your creativity and drive the future of automotive experiences.
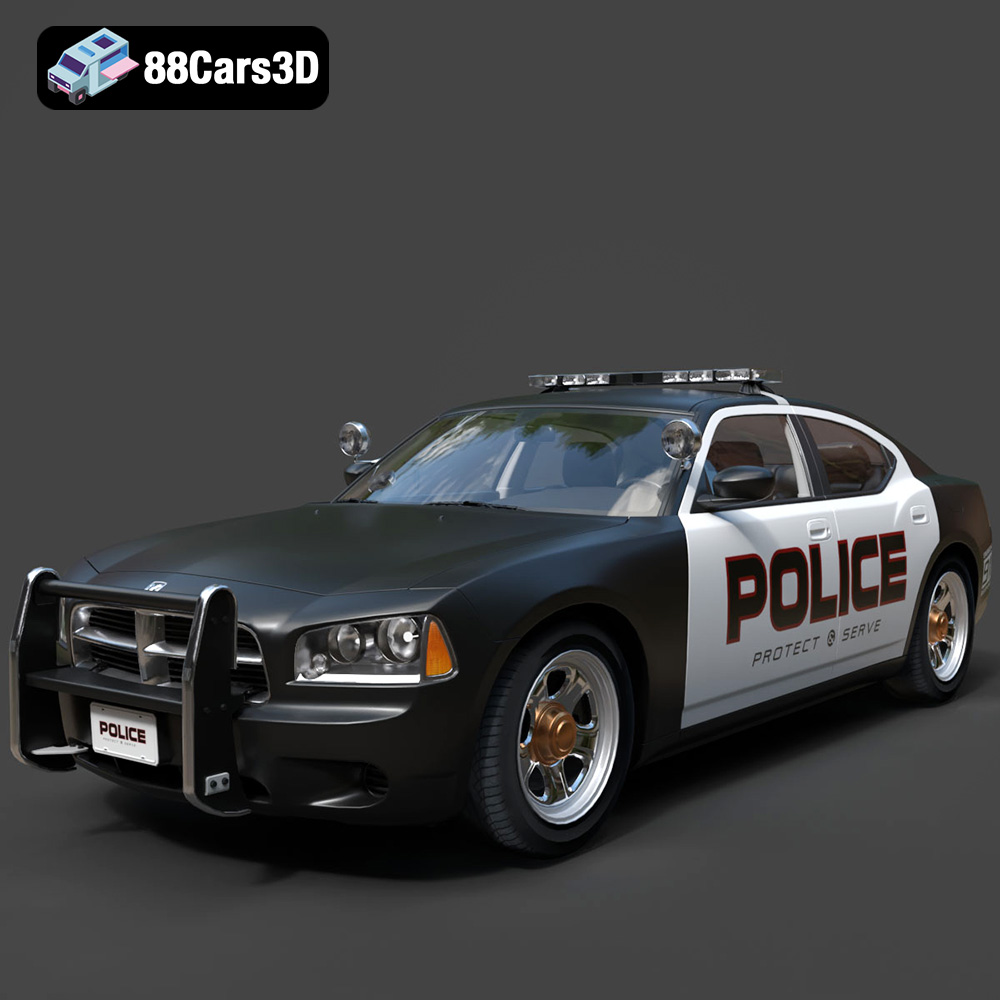
Texture: Yes
Material: Yes
Download the Aston Martin Police US 911 -005 3D Model featuring a high-fidelity exterior with police livery, detailed interior, and accurate proportions. Includes .blend, .fbx, .obj, .glb, .stl, .ply, .unreal, and .max formats for rendering, simulation, and game development.
Price: $10.79

Texture: Yes
Material: Yes
Download the Toyota MRS-007 3D Model featuring clean geometry, realistic detailing, and a fully modeled interior. Includes .blend, .fbx, .obj, .glb, .stl, .ply, .unreal, and .max formats for rendering, simulation, and game development.
Price: $10

Texture: Yes
Material: Yes
Download the Porsche 911 Turbo S 2024 3D Model featuring clean geometry, realistic detailing, and a fully modeled interior. Includes .blend, .fbx, .obj, .glb, .stl, .ply, .unreal, and .max formats for rendering, simulation, and game development.
Price: $20

Texture: Yes
Material: Yes
Download the Pontiac Solstice 2009 3D Model featuring clean geometry, realistic detailing, and a fully modeled interior. Includes .blend, .fbx, .obj, .glb, .stl, .ply, .unreal, and .max formats for rendering, simulation, and game development.
Price: $10

Texture: Yes
Material: Yes
Download the Mini Cooper Countryman 2025 3D Model featuring clean geometry, realistic detailing, and a fully modeled interior. Includes .blend, .fbx, .obj, .glb, .stl, .ply, .unreal, and .max formats for rendering, simulation, and game development.
Price: $29.9

Texture: Yes
Material: Yes
Download the Mercedes C Classe 2012 3D Model featuring clean geometry, realistic detailing, and a fully modeled interior. Includes .blend, .fbx, .obj, .glb, .stl, .ply, .unreal, and .max formats for rendering, simulation, and game development.
Price: $19.9

Texture: Yes
Material: Yes
Download the Mercedes-Benz S65 AMG 2018 3D Model featuring clean geometry, realistic detailing, and a fully modeled interior. Includes .blend, .fbx, .obj, .glb, .stl, .ply, .unreal, and .max formats for rendering, simulation, and game development.
Price: $19.9

Texture: Yes
Material: Yes
Download the Mazda 3 Sedan 2004 3D Model featuring clean geometry, realistic detailing, and a fully modeled interior. Includes .blend, .fbx, .obj, .glb, .stl, .ply, .unreal, and .max formats for rendering, simulation, and game development.
Price: $10

Texture: Yes
Material: Yes
Download the Martin Rapide 2011 3D Model featuring clean geometry, realistic detailing, and a fully modeled interior. Includes .blend, .fbx, .obj, .glb, .stl, .ply, .unreal, and .max formats for rendering, simulation, and game development.
Price: $20.9

Texture: Yes
Material: Yes
Download the Car Tasergal 005 3D Model featuring clean geometry, realistic detailing, and a fully modeled interior. Includes .blend, .fbx, .obj, .glb, .stl, .ply, .unreal, and .max formats for rendering, simulation, and game development.
Price: $10

