Get 50% OFF All Premium 3D & STL Models!

“`html
Welcome, fellow makers and automotive enthusiasts! You’ve found the perfect printable car models in STL format, ready to bring your passion to life with your 3D printer. But downloading a high-quality STL file is just the first step. The real magic, and often the source of frustration, lies in the slicing process. Slicing is the crucial bridge between your digital 3D model and the physical object your printer will create. It’s where you translate the intricate geometry of an STL file into a layer-by-layer blueprint that your machine understands. Without proper slicing, even the most meticulously designed models can result in print failures, weak structures, or unsightly artifacts. This comprehensive guide will equip you with the knowledge and techniques to navigate your slicer software like a seasoned professional, ensuring your 3D printer settings are optimized for stunning, high-fidelity prints. We’ll cover everything from understanding mesh topology to fine-tuning support structures and selecting the right materials, empowering you to achieve consistently excellent results with every print.
Before we dive into the intricacies of slicing, it’s essential to understand what an STL file actually is and how it represents your 3D model. STL (STereoLithography) is the de facto standard file format for 3D printing. It describes the surface geometry of a 3D object using a collection of triangular facets. Each triangle is defined by the coordinates of its three vertices and a normal vector, which indicates the outward-facing direction of the surface. While simple, this representation can sometimes lead to issues if not handled correctly.
A ‘watertight’ or ‘manifold’ mesh is paramount for successful slicing. This means the mesh has no holes, no internal faces, no overlapping triangles, and every edge is shared by exactly two triangles. Think of it like a balloon – it needs to be completely sealed to hold air. Slicers rely on this continuous surface to determine where the solid material should be, where the infill goes, and where supports are needed. Holes or non-manifold geometry can confuse the slicer, leading to missing sections in your print, incorrect infill, or failed prints altogether. Software like Meshmixer, Blender, or Netfabb are invaluable tools for inspecting and repairing STL files, ensuring they are print-ready before you even open your slicer.
Your slicer software, such as Cura, PrusaSlicer, or Simplify3D, takes your STL file and ‘slices’ it into hundreds or thousands of thin horizontal layers. For each layer, it then generates toolpaths – the precise movements your 3D printer’s nozzle will follow to deposit material. This output is typically in the form of G-code, a machine language that controls every aspect of the printing process, including extruder speed, temperature, and axis movements. The quality of the G-code generated is directly dependent on the quality of the STL and the meticulousness of your slicing 3D printer settings. For models downloaded from marketplaces like 88cars3d.com, the STLs are generally optimized, but understanding the slicing process ensures you can leverage this quality to its fullest potential.
Optimizing your slicer settings is a balancing act between print quality, print time, and structural integrity. For detailed printable car models, where fine lines, sharp edges, and smooth curves are crucial, certain settings deserve special attention. Getting these right will dramatically improve the final appearance and accuracy of your printed creations.
Layer height is arguably the most significant factor influencing print quality and time. It defines the thickness of each individual layer. For highly detailed models, such as the intricate designs found on 88cars3d.com, a smaller layer height is generally preferred. Common settings range from 0.05mm to 0.2mm.
For a typical 1:24 scale model car, printing at 0.1mm layer height might take 10-15 hours, whereas at 0.2mm, it could be reduced to 5-7 hours. The trade-off is clear: more time for more detail.
Infill refers to the internal support structure within your print. For display models, the primary goal is often to provide a stable base for outer walls and potentially support internal features, rather than extreme structural strength.
Consider the specific areas of the model. For instance, thin spoilers or mirrors might benefit from slightly higher infill density or strategically placed internal supports, which can be achieved through manual adjustments in some slicers or by selecting specific infill patterns.
Aggressive print speeds can lead to ringing artifacts, poor layer adhesion, and decreased detail. For high-quality prints, especially on complex geometries like car models, it’s wise to err on the side of caution.
Always perform calibration prints (like a Benchy or a retraction test tower) to determine the optimal speed for your specific printer and filament combination.
Printable car models often feature overhangs, bridges, and delicate details like spoilers, mirrors, and wings that would otherwise fail to print without support. Generating and managing these supports effectively is a critical skill for any 3D printer operator. The goal is to provide just enough support to allow successful printing, while making removal as clean and easy as possible.
Most slicers offer various support types:
For intricate car models, tree supports are often the best choice due to their minimal contact points and ease of removal. Experiment with different types to see which works best for specific models and your printer.
Beyond the type of support, several settings influence their performance:
When printing models from 88cars3d.com, previewing the sliced model with supports is essential. Look for areas where supports might be difficult to reach or remove, and consider manually adjusting settings or even orienting the model differently to minimize support needs.
Patience is vital. Start by gently wiggling the support structure. Pliers, hobby knives, and dental picks are invaluable tools for carefully breaking away and cleaning up residual support material. For resin prints, supports are typically removed after washing and curing, often with flush cutters or a sharp blade. Always wear safety glasses during support removal.
The way you orient your 3D model on the print bed and ensuring it sticks well are fundamental to preventing print failures. Incorrect orientation can lead to excessive supports, weak layers, and unsightly print lines, while poor bed adhesion is one of the most common causes of failed prints, especially for larger or complex objects like car models.
Placing your printable car model on the build plate is more than just finding a flat spot. Consider these points:
For instance, printing a car body with the wheels on the build plate might seem intuitive, but it can lead to significant supports under the wheel wells and chassis. Printing it upside down, resting on the roof (with supports for the roof edges), might result in a cleaner exterior finish.
Good adhesion ensures your print stays put throughout the entire printing process.
When downloading models from marketplaces such as 88cars3d.com, inspect the model’s base. If it has delicate edges or a small contact area, plan to use a brim or carefully adjust your bed adhesion settings.
The choice of filament or resin, coupled with a well-calibrated printer, forms the bedrock of consistent, high-quality 3D printing. Different materials have unique properties that impact printability, durability, and final appearance, while printer calibration ensures your machine performs precisely as expected.
For printable car models, the goal is often aesthetic appeal and durability for handling.
For most FDM users printing car models from platforms like 88cars3d.com, PLA or PETG offer the best combination of ease of use and quality. Resin printing excels for extreme detail on smaller scales.
A well-calibrated printer behaves predictably, leading to reliable prints. Key calibration steps include:
Regularly inspect and maintain your printer: clean the nozzle, check belt tension, lubricate rods, and ensure your cooling fan is functioning correctly. These simple maintenance tasks prevent many common printing problems.
Once your STL file has been successfully sliced and printed, the journey isn’t over. Post-processing can elevate a good print to a professional-looking model.
This final stage is where your patience and attention to detail truly shine, transforming a raw 3D print into a showpiece.
Slicing is not just a technical step; it’s an art form that bridges the gap between digital imagination and tangible reality. By understanding the nuances of STL file preparation, mastering your 3D printer settings within your slicer, strategically generating support structures, ensuring robust bed adhesion, and selecting the right materials, you are well on your way to producing breathtaking printable car models. Remember that every printer, filament, and model is unique, so embrace experimentation. Utilize the preview function in your slicer extensively to anticipate potential issues. Platforms like 88cars3d.com provide excellent, print-ready models, but your slicing expertise is what will ultimately unlock their full potential. Don’t be discouraged by initial challenges; treat each print as a learning opportunity. With practice and by applying the principles outlined in this guide, you’ll consistently achieve the high-quality, detailed prints you desire, transforming your passion for cars into stunning physical creations.
“`
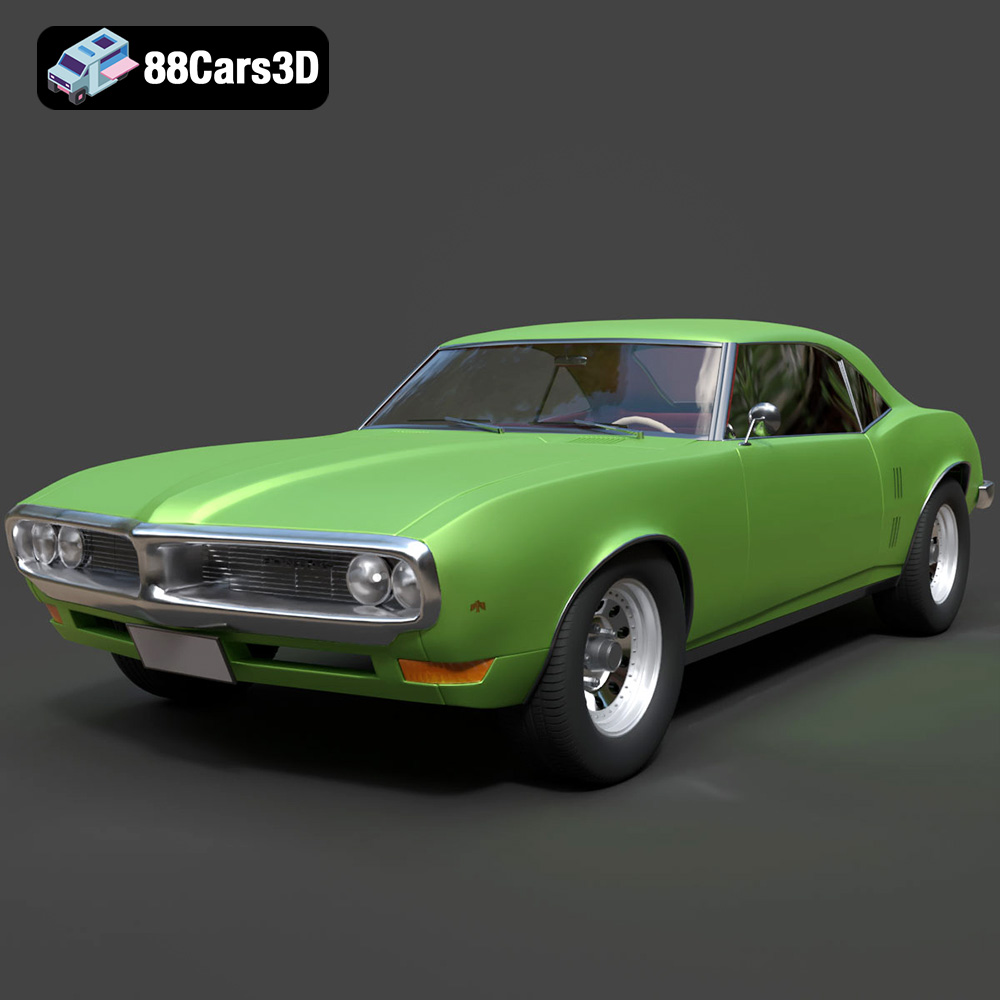
Texture: Yes
Material: Yes
Download the Pontiac Firebird 1998 3D Model featuring clean geometry, realistic detailing, and a fully modeled interior. Includes .blend, .fbx, .obj, .glb, .stl, .ply, .unreal, and .max formats for rendering, simulation, and game development.
Price: $10

Texture: Yes
Material: Yes
Download the Opel Astra 2008 3D Model featuring clean geometry, realistic detailing, and a fully modeled interior. Includes .blend, .fbx, .obj, .glb, .stl, .ply, .unreal, and .max formats for rendering, simulation, and game development.
Price: $10

Texture: Yes
Material: Yes
Download the Mercedes Benz Joaquin-007 3D Model featuring clean geometry, realistic detailing, and a fully modeled interior. Includes .blend, .fbx, .obj, .glb, .stl, .ply, .unreal, and .max formats for rendering, simulation, and game development.
Price: $19.99
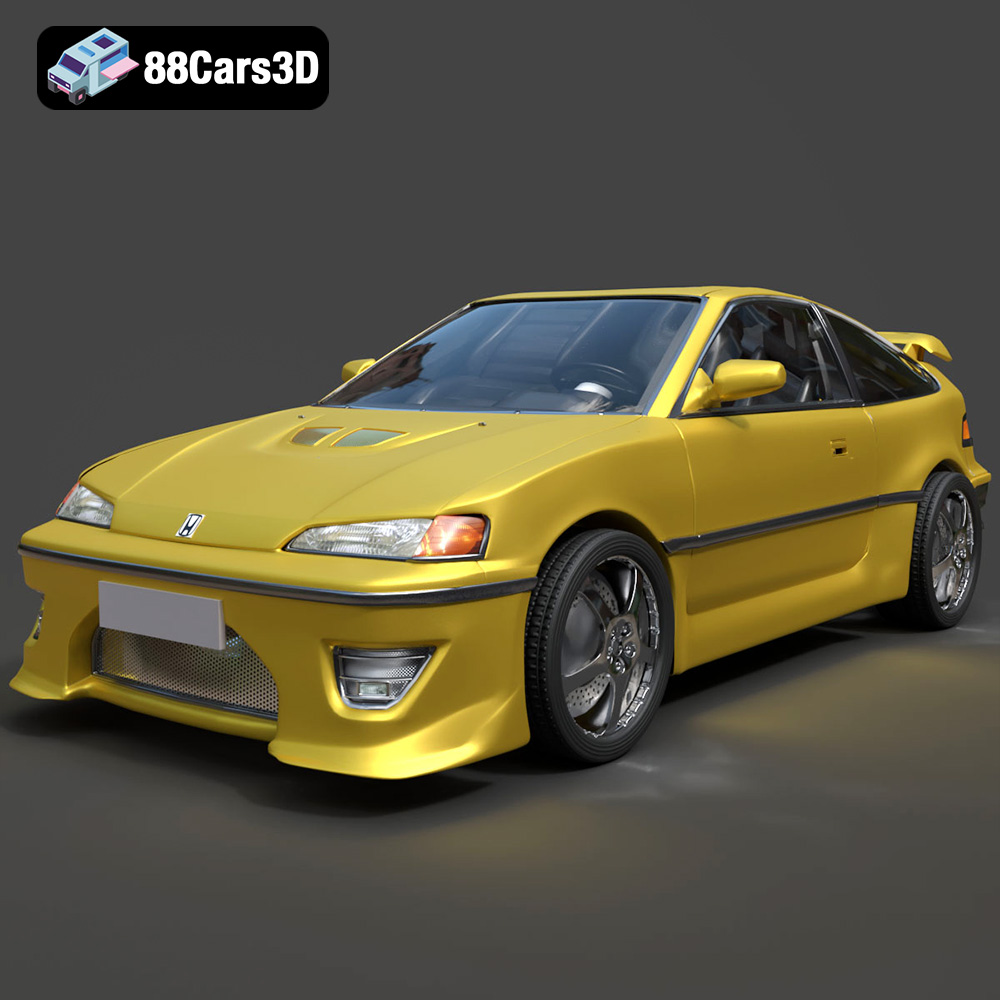
Texture: Yes
Material: Yes
Download the Honda CRX 1980 3D Model featuring clean geometry, realistic detailing, and a fully modeled interior. Includes .blend, .fbx, .obj, .glb, .stl, .ply, .unreal, and .max formats for rendering, simulation, and game development.
Price: $11.99
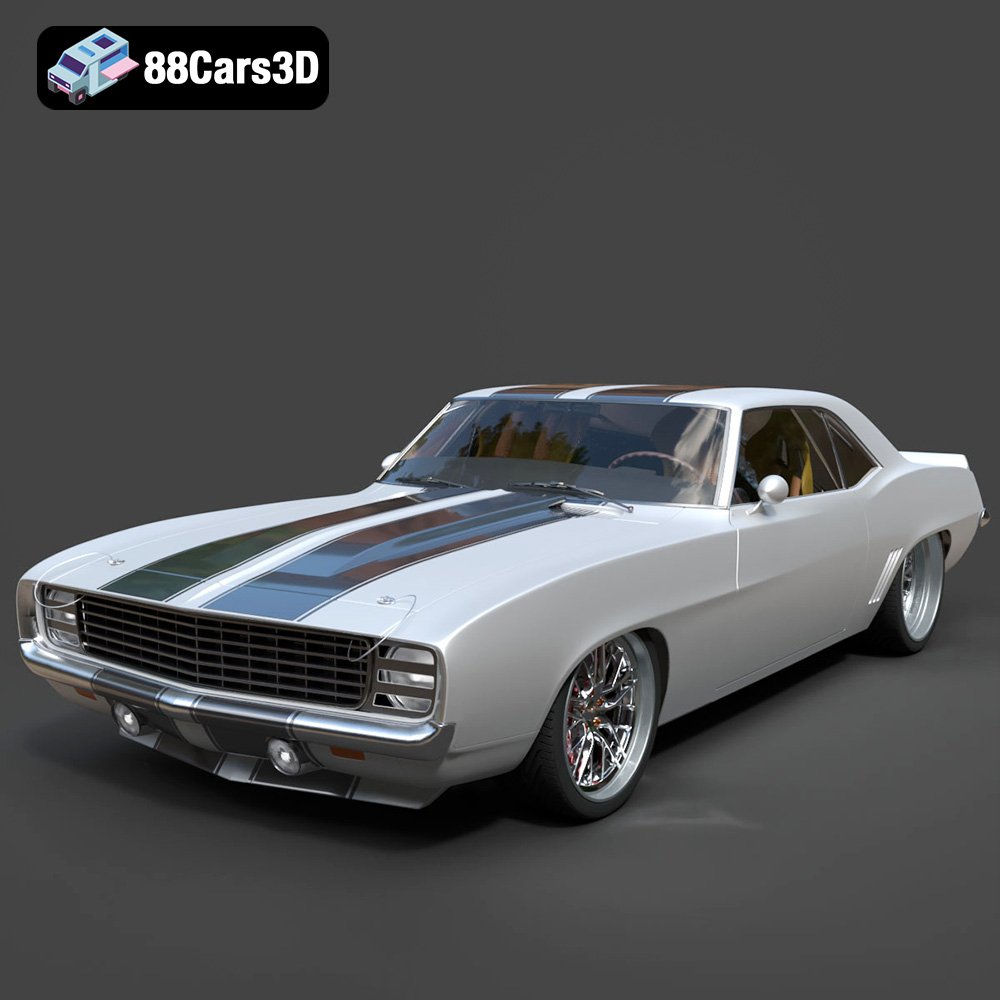
Texture: Yes
Material: Yes
Download the Chevrolet Camaro 69 Pro-007 3D Model featuring classic muscle car design and custom performance aesthetics. Includes .blend, .fbx, .obj, .glb, .stl, .ply, .unreal, and .max formats for rendering, simulation, and game development.
Price: $20.79

Texture: Yes
Material: Yes
Download the Honda Fit 2008 3D Model featuring a compact, versatile design with detailed exterior and interior components. Includes .blend, .fbx, .obj, .glb, .stl, .ply, .unreal, and .max formats for rendering, simulation, and game development.
Price: $10.79
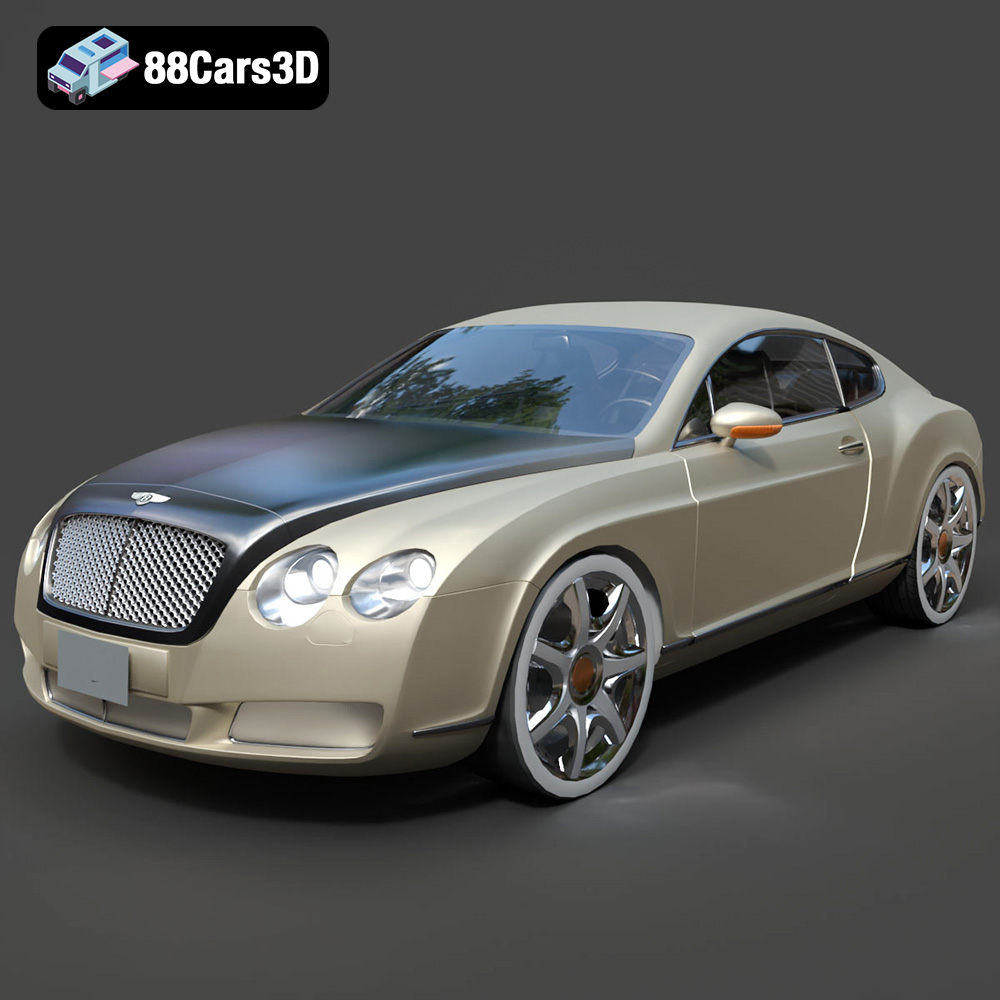
Texture: Yes
Material: Yes
Download the Bentley Continental GT-002 3D Model featuring a luxurious grand touring design and high-quality details. Includes .blend, .fbx, .obj, .glb, .stl, .ply, .unreal, and .max formats for rendering, simulation, and game development.
Price: $20.79

Texture: Yes
Material: Yes
Download the Audi R8 2006 3D Model featuring a sleek sports car design with detailed exterior and interior. Includes .blend, .fbx, .obj, .glb, .stl, .ply, .unreal, and .max formats for rendering, simulation, and game development.
Price: $20.79
Texture: Yes
Material: Yes
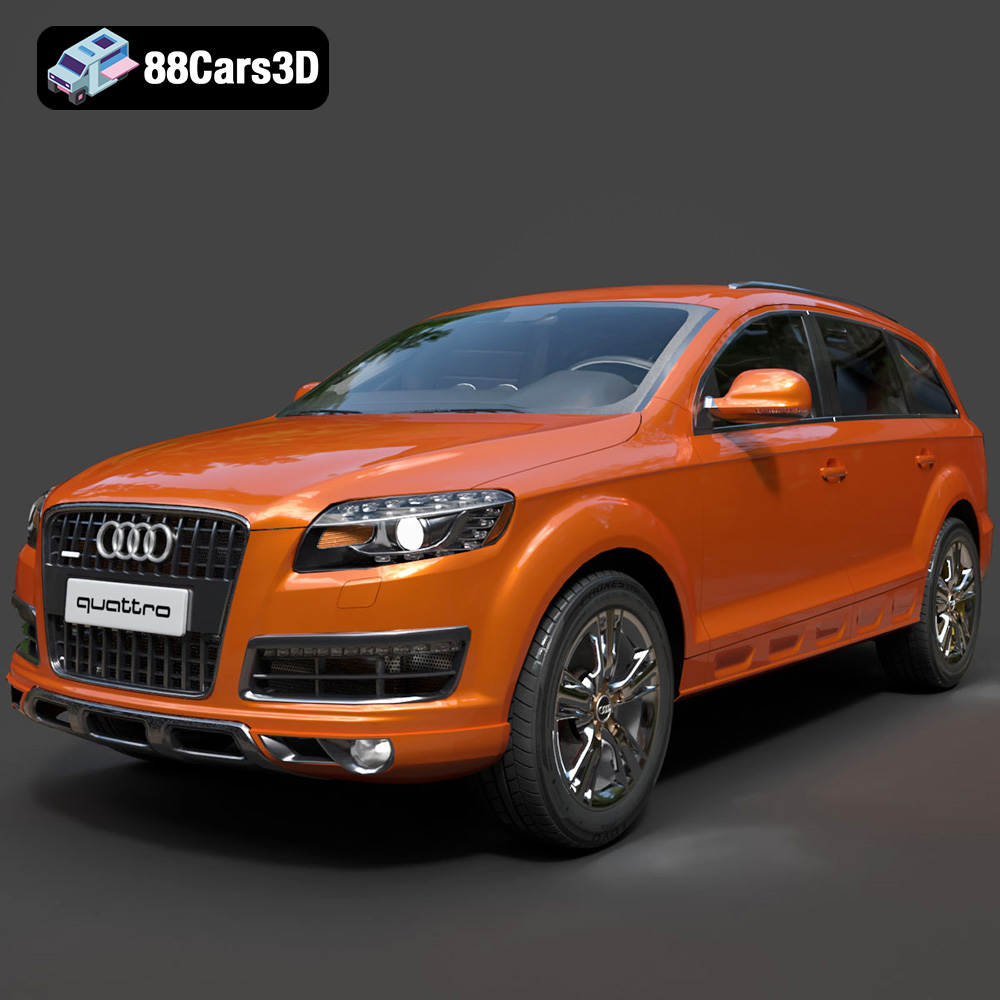
Download the Audi Q7 3D Model featuring a detailed exterior and a refined interior. Includes .blend, .fbx, .obj, .glb, .stl, .ply, .unreal, and .max formats for rendering, simulation, and game development.
Price: $20.79
Texture: Yes
Material: Yes
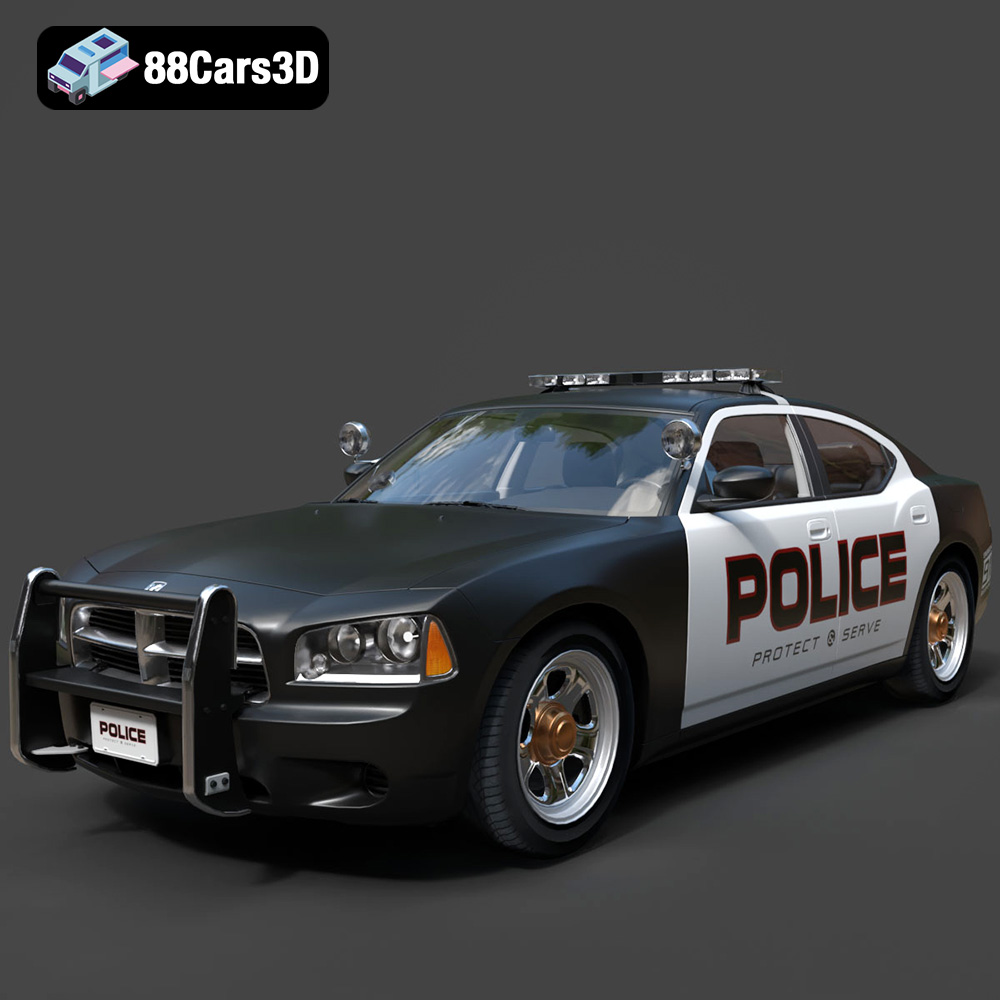
Download the Aston Martin Police US 911 -005 3D Model featuring a high-fidelity exterior with police livery, detailed interior, and accurate proportions. Includes .blend, .fbx, .obj, .glb, .stl, .ply, .unreal, and .max formats for rendering, simulation, and game development.
Price: $10.79

