Get 50% OFF All Premium 3D & STL Models!

In the dynamic world of automotive design, visualization, and game development, realism and interactivity are paramount. Unreal Engine stands as a titan, offering an unparalleled suite of tools for creating breathtaking, real-time automotive experiences. From photorealistic renders for marketing to fully interactive vehicle configurators and immersive AR/VR applications, Unreal Engine empowers artists and developers to push the boundaries of what’s possible. For anyone looking to elevate their automotive projects, understanding the intricate workflows within Unreal Engine is crucial.
This comprehensive guide dives deep into leveraging Unreal Engine for high-fidelity automotive visualization and interactive applications. We’ll explore everything from importing and optimizing high-quality 3D car models—like those found on platforms such as 88cars3d.com—to crafting stunning PBR materials, mastering real-time lighting with Lumen, and building engaging interactive experiences with Blueprint. Whether you’re an experienced Unreal Engine developer, a 3D artist, or an automotive visualization professional, you’ll gain actionable insights and best practices to transform your automotive visions into interactive realities.
The foundation of any successful Unreal Engine project lies in proper setup and efficient asset integration. For automotive projects, this is particularly critical due to the complex geometry and material requirements of vehicles. A well-configured project ensures optimal performance and a smooth development workflow, setting the stage for stunning visual fidelity and seamless interactivity. Starting with high-quality, pre-optimized 3D car models, such as those available on marketplaces like 88cars3d.com, significantly streamlines this initial phase, as these assets typically feature clean topology, proper UVs, and PBR-ready textures.
Beginning with the right project template and settings is crucial. For automotive visualization, consider starting with the “Blank” or “Film, Television, and Live Events” template, as they offer minimal overhead, allowing you to add necessary plugins as required. Key plugins to enable for automotive work include “HDRI Backdrop,” “Datasmith Importer” (essential for CAD data), “Alembic Importer,” and potentially “Variant Manager” for configurators. For advanced rendering, “Ray Tracing” and “Lumen” should be enabled in your Project Settings under Engine > Rendering. Ensure your default RHI (Render Hardware Interface) is set to DirectX 12 for the latest features and performance. Consistency in unit scale is also vital; typically, Unreal Engine uses centimeters, so ensure your exported models adhere to this scale to avoid scaling issues.
Importing 3D car models into Unreal Engine requires attention to detail. The FBX format is widely used, offering excellent compatibility for meshes, materials, and animations. When exporting from your DCC application (e.g., Maya, 3ds Max, Blender), ensure that meshes are triangulated, normals are consistent, and UV channels are correctly set up (usually UV channel 0 for albedo/normal maps and UV channel 1 for lightmaps, if not using Lumen or virtual texturing). For complex CAD data, Datasmith is the preferred solution, allowing direct import of formats like STEP, IGES, or native CAD files while preserving hierarchies, metadata, and UVs. This non-destructive workflow is invaluable for iterating on designs. After importing, verify mesh integrity, check for flipped normals, and ensure that material slots are correctly assigned. More detailed information on importing assets can be found in the official Unreal Engine documentation at https://dev.epicgames.com/community/unreal-engine/learning.
Once imported, each static mesh representing a component of your car model needs optimization. Open the Static Mesh Editor and inspect settings like “Build Scale,” “Min LOD,” and “Distance Field Resolution Scale.” For performance-critical elements, enable “Nanite Supports” (if using Nanite). Collision setups are crucial for interactivity and physics. For complex car shapes, “Use Complex as Simple” can be a quick solution, but it’s performance-intensive. Ideally, create custom collision meshes (convex hulls) or use simplified primitive shapes for better optimization. For a full vehicle, a single complex collision mesh or multiple simplified meshes can represent the body, wheels, and interior, allowing for accurate physics and interaction without unnecessary overhead.
The visual fidelity of a 3D car model is largely determined by its materials. Unreal Engine’s Physically Based Rendering (PBR) system allows for incredibly realistic surfaces that react accurately to light, mirroring how they would in the real world. Mastering the Material Editor is essential for achieving the stunning detail required for high-end automotive visualization. This section will guide you through creating sophisticated materials, from dynamic car paint to intricate interior surfaces, ensuring your assets stand out.
PBR is a workflow that defines materials based on real-world physics, making them behave consistently under various lighting conditions. Key PBR channels include Base Color (Albedo), Metallic, Specular, Roughness, Normal, and Ambient Occlusion. For automotive surfaces, understanding how these maps interact is vital. For instance, car paint often utilizes a blend of metallic and non-metallic properties, while glass requires specific settings for transparency, refraction, and reflectivity. By correctly setting up these parameters in Unreal Engine’s Material Editor, you can ensure your game assets or visualization models react realistically to Lumen’s global illumination or traditional ray tracing.
Achieving realistic car paint is one of the most challenging but rewarding aspects. A basic car paint material typically involves a Base Color (often a solid color or gradient), a high Metallic value (e.g., 0.9-1.0), and a low Roughness value (e.g., 0.1-0.2) for a glossy finish. For true realism, however, you’ll want to implement clear coat effects. Unreal Engine’s material system supports a “Clear Coat” input, allowing you to simulate the reflective layer over base paint. This requires setting a Clear Coat value (typically 1.0) and a Clear Coat Roughness (e.g., 0.05-0.1). Further enhancements can include “Flake” effects using a normal map or a procedural noise texture, and “Anisotropy” to simulate brushed metal effects on certain components. For dynamic customization in an automotive configurator, expose color parameters via Material Instances and Scalar/Vector Parameters.
Beyond the primary paint, attention to secondary details significantly boosts realism. Decals, such as logos, license plates, or racing stripes, can be applied using Deferred Decal materials, projecting textures onto surfaces without modifying the underlying mesh. For adding grit and history, implement procedural wear and tear using masks or vertex paint to blend between clean and dirty/scratched material layers. For interior materials, focus on a variety of surfaces: leathers, fabrics, plastics, and metals. Each will require distinct PBR setups. Leather might use a normal map for texture and a higher roughness; plastics might vary in roughness and subtly metallic properties depending on their finish. Leveraging Material Functions can help manage complexity and promote reusability across multiple components, ensuring consistency and efficiency in your material pipeline.
Lighting is the soul of any compelling visual. In Unreal Engine, the advent of real-time global illumination systems like Lumen has revolutionized how we illuminate complex scenes, particularly for intricate subjects like 3D car models. Combining Lumen with traditional lighting techniques and careful post-processing can achieve cinematic realism and evoke specific moods, critical for high-impact automotive visualization and virtual photography.
Lumen is Unreal Engine 5’s default global illumination and reflections system, providing dynamic, real-time indirect lighting and reflections without needing to bake lightmaps. For automotive scenes, Lumen is a game-changer, allowing car models to interact realistically with their environment and vice versa. It accurately simulates light bouncing off surfaces, creating soft, natural illumination and intricate color bleeding. To leverage Lumen effectively, ensure your scene geometry is suitable (small meshes or complex intersections can cause issues, though Nanite helps mitigate this). Experiment with Lumen’s various settings in the Project Settings (Engine > Rendering > Global Illumination & Reflections) and Post Process Volume, particularly “Lumen Scene Lighting Quality” and “Lumen Reflection Quality,” to balance visual fidelity with performance. Utilize Lumen-compatible light sources like Directional Lights, Sky Lights, and Rect Lights for optimal results.
While Lumen handles indirect lighting, direct lighting sources are equally important. High Dynamic Range Image (HDRI) backdrops are indispensable for automotive scenes, providing realistic environment lighting and reflections. A high-resolution HDRI placed within a Sky Sphere or using the HDRI Backdrop plugin can instantly immerse your car model in a believable setting. Supplement this with traditional light sources: Directional Lights for sun/moon, Sky Lights for ambient light (crucial for Lumen’s outdoor scenes), and Spot Lights or Rect Lights to highlight specific details of the vehicle, such as body lines, chrome accents, or interior features. For precise control, particularly in studio setups, consider using IES profiles with Rect Lights to simulate real-world light fixtures. By combining these, you can craft diverse lighting scenarios, from sunny outdoor showrooms to dramatic indoor unveilings.
Post-processing is the final layer of polish that can elevate a good render to an exceptional one. In Unreal Engine, a Post Process Volume is your creative canvas. Key settings for automotive visualization include: Exposure (for brightness control), White Balance (for color temperature), Global Saturation/Contrast, Bloom (for realistic light flares and reflections), Vignette (to draw attention to the center), and Lens Flares. Color Grading, often applied using a Look-Up Table (LUT), allows for cinematic color palettes and mood setting. Furthermore, enabling effects like Screen Space Ambient Occlusion (SSAO) or Ray Traced Ambient Occlusion adds subtle contact shadows, enhancing depth. Carefully tune these settings to achieve a professional, visually stunning result that highlights the exquisite details of your 3D car models.
Achieving stunning visual fidelity in Unreal Engine, especially with highly detailed 3D car models, often comes at a performance cost. The challenge lies in balancing breathtaking realism with smooth real-time performance. Unreal Engine 5’s revolutionary Nanite virtualized geometry system, combined with traditional Level of Detail (LOD) management and other optimization techniques, provides powerful solutions to render incredibly complex automotive scenes without sacrificing frame rates. This section explores strategies to maximize both visual quality and performance.
Nanite is a game-changer for rendering complex, high-polygon geometry in Unreal Engine 5. It intelligently processes and streams only the necessary detail, allowing artists to import film-quality assets directly, eliminating the need for traditional LODs on Nanite-enabled meshes. For 3D car models, this means you can import incredibly detailed CAD data or sculpted meshes with millions of polygons directly, and Nanite will handle the scaling and streaming efficiently. To enable Nanite, simply right-click on your Static Mesh in the Content Browser, go to Asset Actions > Enable Nanite. Ensure that your project settings have Nanite enabled. While most static meshes can benefit from Nanite, it’s particularly impactful for the main car body, intricate engine components, and detailed interiors. Be mindful that Nanite currently has limitations with certain features like World Position Offset and specific material types, so always test thoroughly. The performance benefits are profound, allowing for previously unachievable geometric detail in real-time. For comprehensive details on Nanite’s capabilities and limitations, consult the official Unreal Engine documentation at https://dev.epicgames.com/community/unreal-engine/learning.
While Nanite handles many high-poly scenarios, traditional Level of Detail (LOD) management remains crucial for meshes that don’t support Nanite (e.g., skinned meshes, certain animated objects, or simpler props). LODs are simplified versions of a mesh that are swapped in at varying distances from the camera, reducing polygon count and draw calls for objects that are far away. For automotive visualization, elements like wheels (if animated without Nanite), minor interior components, or environmental props will still benefit from carefully crafted LODs. Unreal Engine provides an automatic LOD generation tool within the Static Mesh Editor, or you can import custom LOD meshes created in your DCC application. Aim for a sensible reduction in polygon count at each LOD level (e.g., LOD1: 50%, LOD2: 25%, LOD3: 10% of the base mesh). Properly managed LODs ensure that your scene renders efficiently across different viewing distances, crucial for maintaining high frame rates in large environments or complex configurators.
Beyond geometry, texture streaming and draw call reduction are vital for real-time rendering optimization. Ensure textures are set to “Streaming” in their asset properties to only load necessary mips, saving memory. Use texture atlases where possible to reduce draw calls, especially for groups of small objects sharing materials. The “Stat GPU” and “Stat RHI” commands in the Unreal Engine console are invaluable profiling tools. They provide insights into GPU usage, draw calls, and frame times, helping identify performance bottlenecks. For automotive scenes, common culprits include excessive unique materials, high-resolution textures on distant objects, and unoptimized collision meshes. Regularly profile your scene, especially during development, to catch and address performance issues early. Grouping meshes where appropriate, instancing repeated objects, and minimizing transparency overdraw are general best practices that significantly contribute to a smoother, more optimized automotive experience.
Static renders are powerful, but the true magic of Unreal Engine for automotive visualization lies in its capacity for interactivity. Creating dynamic vehicle configurators, realistic driving simulations, or engaging virtual showrooms transforms passive viewing into an immersive experience. Blueprint visual scripting offers an accessible yet powerful way to build complex logic without writing a single line of code, while Unreal Engine’s physics system can bring vehicle dynamics to life with astonishing realism. This section explores how to harness these tools to craft compelling interactive automotive applications.
Automotive configurators are a cornerstone of modern vehicle marketing and design. Blueprint visual scripting makes it possible to build sophisticated configurators that allow users to change paint colors, wheel designs, interior trims, and add optional features in real-time. The core of a configurator involves using Material Instances (for color and material swaps), swapping Static Mesh Components (for wheels, body kits), and enabling/disabling visibility of various parts. Begin by creating a Master Material with exposed parameters (e.g., Base Color, Roughness, Metallic) that can be controlled via a Material Instance. Then, use Blueprint to create UI widgets (UMG) with buttons or sliders. When a UI element is interacted with, use Blueprint nodes to set the scalar or vector parameters of your Material Instance, or to swap out entire Static Mesh components. For example, a “Change Color” button would trigger a Blueprint event that iterates through the car’s paint material instances and sets their Base Color parameter to a new value. This modular approach allows for complex customization options with elegant backend logic, creating dynamic automotive configurators that enhance the user experience.
For simulations, driving games, or interactive demonstrations, realistic vehicle physics are indispensable. Unreal Engine’s Chaos physics engine, combined with its Vehicle Blueprint system, provides robust tools for this. The “Vehicle Advanced” Blueprint template is an excellent starting point, offering pre-configured components like a Skeletal Mesh for the car body, Wheel Handlers, and a “Chaos Wheeled Vehicle Movement Component.” You’ll need a properly rigged skeletal mesh for your 3D car model, with bones for each wheel and the main chassis. Within the Vehicle Movement Component, you can adjust parameters such as engine torque curve, gear ratios, differential type, suspension stiffness, tire friction, and center of mass to fine-tune the vehicle’s handling characteristics. Blueprint can then be used to capture player input (throttle, steering, brake) and feed it into the vehicle component. For more complex behaviors like aerodynamics or damaged parts, further Blueprint scripting or custom C++ might be required, but the base system offers a solid foundation for highly believable vehicle dynamics, crucial for any immersive driving experience.
The user interface (UI) and user experience (UX) are critical for the success of any interactive automotive application. A well-designed UI should be intuitive, aesthetically pleasing, and non-intrusive. For automotive configurators, consider a clean, minimalist design that complements the vehicle’s aesthetics. Use clear iconography and labels for options like color palettes, wheel selections, and feature toggles. Implement smooth transitions and visual feedback when options are changed to enhance responsiveness. For driving simulations, an uncluttered HUD (Heads-Up Display) with essential information like speed, gear, and minimap is preferred. Performance feedback is also part of UX: ensure your interactive demos run smoothly at target frame rates. Optimize UMG widgets for performance by minimizing complex animations and unnecessary binds. A seamless and enjoyable user experience will significantly enhance the impact of your automotive visualization, driving engagement and leaving a lasting impression on your audience.
The capabilities of Unreal Engine extend far beyond traditional visualization, venturing into cutting-edge fields like virtual production and immersive AR/VR experiences. For the automotive industry, these technologies open doors to new paradigms in marketing, design, and entertainment, allowing vehicles to be showcased in dynamic, real-time environments or experienced directly within augmented and virtual realities. This section explores how 3D car models can be integrated into these advanced workflows, creating truly next-generation automotive content.
Sequencer is Unreal Engine’s powerful multi-track non-linear editor, designed for creating cinematic sequences, animations, and virtual production scenes. For automotive visualization, Sequencer is invaluable for crafting marketing videos, revealing vehicle features, or animating driving scenarios. You can animate camera movements (using Cine Cameras), keyframe vehicle transformations (e.g., doors opening, suspension compression), control material parameters (like dynamic paint shifts), and trigger particle effects (e.g., exhaust smoke using Niagara). Sequencer also integrates seamlessly with Blueprint, allowing you to trigger complex interactive events or cinematic moments. For a detailed car reveal, you could animate a camera orbiting the vehicle, then zoom in to highlight intricate details, all while controlling environmental lighting changes. Combining high-quality Unreal Engine game assets from platforms like 88cars3d.com with Sequencer enables the creation of stunning, broadcast-quality automotive cinematics that captivate audiences.
Virtual Production (VP) revolutionizes filmmaking by merging physical and virtual worlds in real-time. For the automotive sector, this means showcasing vehicles within dynamic LED wall environments or using them as real-time assets in mixed reality sets. High-fidelity 3D car models are crucial for these workflows. By placing your vehicle asset into an Unreal Engine scene projected onto an LED volume, you can capture live footage of actors interacting with the virtual car against a realistic backdrop, often with real-time reflections and shadows. Key considerations include maintaining consistent scale between the physical and virtual elements, calibrating camera tracking systems, and ensuring optimal performance to avoid lag on the LED wall. Features like nDisplay facilitate multi-screen rendering for LED volumes. Virtual production streamlines the creation of advertising campaigns, product launches, and even film scenes involving vehicles, offering unparalleled flexibility and creative control without the expense of physical locations or complex CGI post-production.
Augmented Reality (AR) and Virtual Reality (VR) offer deeply immersive experiences for automotive applications, from virtual test drives to interactive showrooms. However, AR/VR comes with strict performance demands, especially for mobile AR or standalone VR headsets. Optimization is key. For AR/VR, prioritize reducing polygon counts (even with Nanite, simpler geometry for distant objects helps with pixel shader performance), draw calls, and texture memory. Aggressive LODs (if not using Nanite for all meshes), texture atlasing, and baked lighting (where Lumen might be too performance-heavy for mobile VR) become critical. For mobile AR, leverage features like ARCore/ARKit plugins to anchor your 3D car models realistically in the real world. Ensure your materials are simplified for mobile shaders, avoiding complex instructions that can bottleneck performance. For VR, maintain a consistent 90+ FPS to prevent motion sickness. This often means sacrificing some visual fidelity for a smooth experience. Carefully manage post-processing effects and ensure collision meshes are optimized for accurate interaction. The goal is to create a seamless, believable presence that fully immerses the user in the automotive experience, making the virtual car feel tangible and responsive.
Unreal Engine has undeniably transformed the landscape of automotive visualization and interactive experiences. From creating stunning, photorealistic renders to building fully immersive configurators and pioneering virtual production workflows, its comprehensive toolset empowers artists and developers to bring their automotive visions to life with unprecedented fidelity and interactivity. Mastering PBR materials, leveraging cutting-edge rendering features like Nanite and Lumen, and employing intelligent optimization strategies are key to unlocking the engine’s full potential.
The journey from a raw 3D car model to a polished, interactive experience is intricate, but the rewards are immense. By applying the techniques discussed—from meticulous project setup and material creation to advanced lighting and performance optimization—you can craft compelling narratives and engaging interactions that redefine how vehicles are perceived and experienced. Whether you’re a game developer, an automotive designer, or a visualization professional, the power of Unreal Engine provides an unparalleled platform for innovation.
To kickstart your next automotive project with confidence, remember that high-quality assets are fundamental. Explore marketplaces like 88cars3d.com for expertly crafted and optimized 3D car models designed specifically for Unreal Engine, featuring clean topology, realistic materials, and multiple file formats. By combining these premium assets with your growing expertise in Unreal Engine, you’re well-equipped to drive the future of automotive digital experiences.

Meta Description:
Texture: Yes
Material: Yes
Download the Cadillac CTS-V Coupe 3D Model featuring detailed exterior styling and realistic interior structure. Includes .blend, .fbx, .obj, .glb, .stl, .ply, .unreal, and .max formats for rendering, simulation, AR VR, and game development.
Price: $13.9

Texture: Yes
Material: Yes
Download the Cadillac DTS-005 3D Model featuring its iconic luxury design, detailed interior, and realistic exterior. Includes .blend, .fbx, .obj, .glb, .stl, .ply, .unreal, and .max formats for rendering, simulation, and game development.
Price: $10.79

Texture: Yes
Material: Yes
Download the Buick LeSabre 1998 3D Model featuring a classic American full-size sedan design. Includes .blend, .fbx, .obj, .glb, .stl, .ply, .unreal, and .max formats for rendering, simulation, and game development.
Price: $10.79
Texture: Yes
Material: Yes
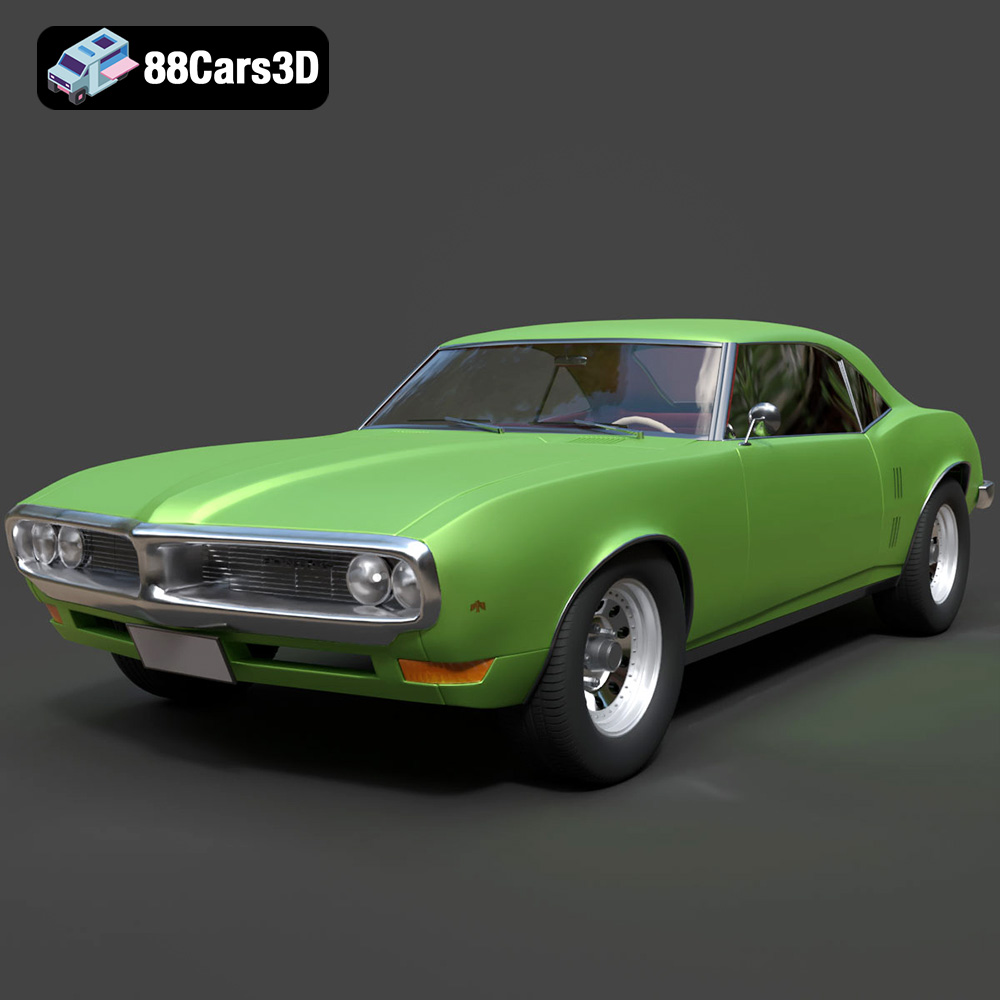
Download the Pontiac Firebird 1998 3D Model featuring clean geometry, realistic detailing, and a fully modeled interior. Includes .blend, .fbx, .obj, .glb, .stl, .ply, .unreal, and .max formats for rendering, simulation, and game development.
Price: $10

Texture: Yes
Material: Yes
Download the Opel Astra 2008 3D Model featuring clean geometry, realistic detailing, and a fully modeled interior. Includes .blend, .fbx, .obj, .glb, .stl, .ply, .unreal, and .max formats for rendering, simulation, and game development.
Price: $10

Texture: Yes
Material: Yes
Download the Mercedes Benz Joaquin-007 3D Model featuring clean geometry, realistic detailing, and a fully modeled interior. Includes .blend, .fbx, .obj, .glb, .stl, .ply, .unreal, and .max formats for rendering, simulation, and game development.
Price: $19.99
Texture: Yes
Material: Yes
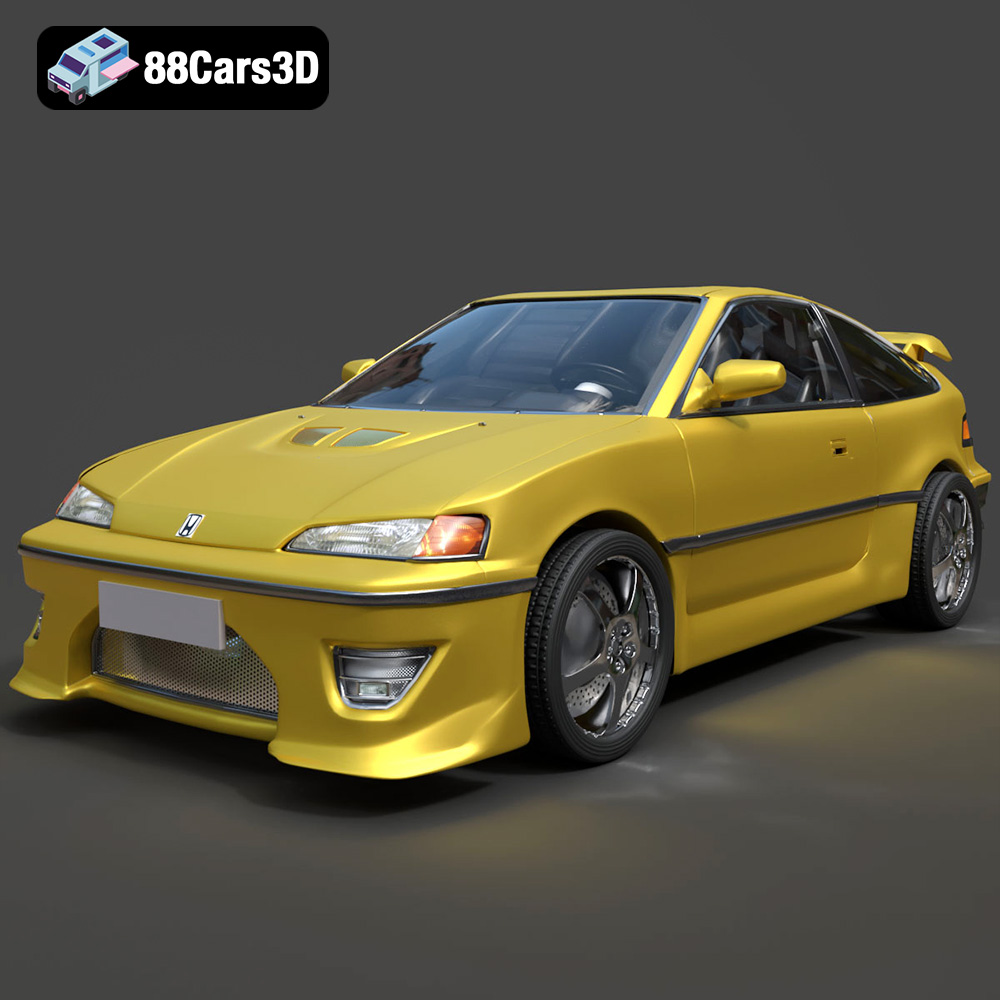
Download the Honda CRX 1980 3D Model featuring clean geometry, realistic detailing, and a fully modeled interior. Includes .blend, .fbx, .obj, .glb, .stl, .ply, .unreal, and .max formats for rendering, simulation, and game development.
Price: $11.99
Texture: Yes
Material: Yes
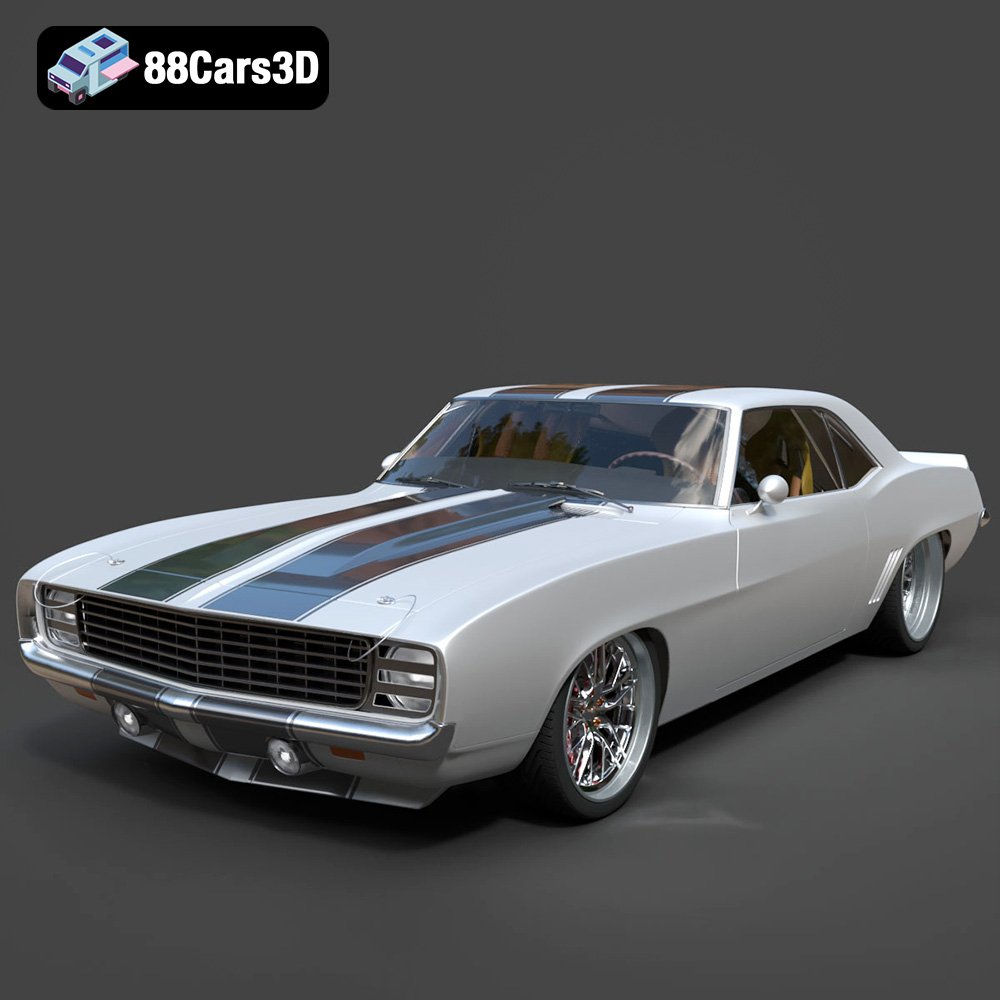
Download the Chevrolet Camaro 69 Pro-007 3D Model featuring classic muscle car design and custom performance aesthetics. Includes .blend, .fbx, .obj, .glb, .stl, .ply, .unreal, and .max formats for rendering, simulation, and game development.
Price: $20.79

Texture: Yes
Material: Yes
Download the Honda Fit 2008 3D Model featuring a compact, versatile design with detailed exterior and interior components. Includes .blend, .fbx, .obj, .glb, .stl, .ply, .unreal, and .max formats for rendering, simulation, and game development.
Price: $10.79
Texture: Yes
Material: Yes
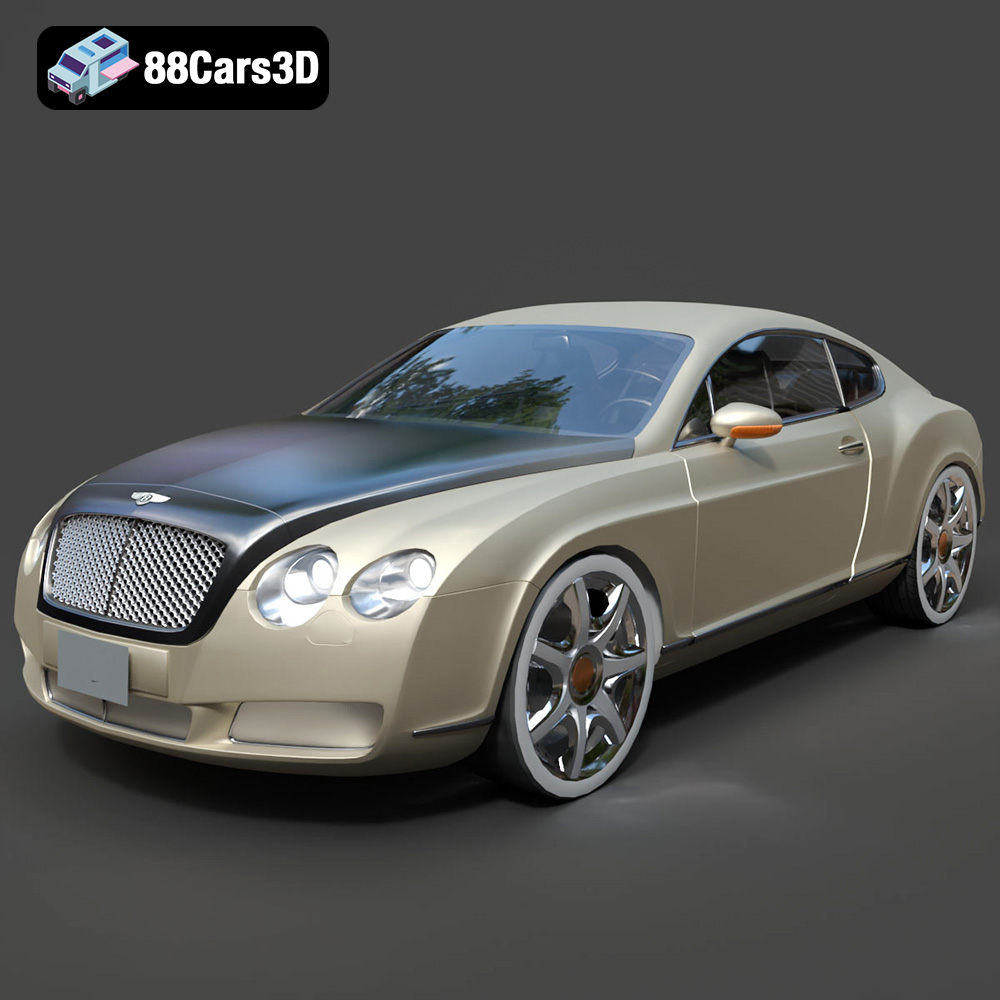
Download the Bentley Continental GT-002 3D Model featuring a luxurious grand touring design and high-quality details. Includes .blend, .fbx, .obj, .glb, .stl, .ply, .unreal, and .max formats for rendering, simulation, and game development.
Price: $20.79

