Get 50% OFF All Premium 3D & STL Models!

“`html
The roar of an engine, the gleam of polished chrome, the intricate dance of gears – for many, the allure of the automobile is more than just transportation; it’s a passion. For 3D printing enthusiasts and collectors, this passion can now be brought to life on your desktop. High-quality, printable car STL files offer a gateway into creating detailed scale models, functional prototypes, or even unique display pieces. But what separates a good printable car model from a frustrating print failure? It all comes down to understanding the technical nuances of STL file preparation, slicing, and the printing process itself. This comprehensive guide will walk you through everything you need to know, from dissecting STL file structure and optimizing slicer settings for intricate details, to mastering support structures and achieving flawless surface finishes. Whether you’re a seasoned maker or just starting your 3D printing journey, by the end of this article, you’ll be equipped with the knowledge to transform digital car models into stunning physical replicas.
The STL (STereoLithography) file format is the cornerstone of 3D printing. It describes the surface geometry of a 3D object using a collection of interconnected triangles. For automotive models, where details like panel lines, grilles, and interior components are crucial, the quality of the STL file is paramount. A well-formed STL file ensures that your slicer software can accurately interpret the model’s shape, leading to a faithful representation in your 3D print. Conversely, issues like non-manifold geometry, inverted normals, or gaps in the mesh can cause significant printing problems, often resulting in failed prints or models with missing sections.
At its core, an STL file is a list of triangular facets. Each facet is defined by three vertices (points in 3D space) and a normal vector. The normal vector points outward from the surface of the model and is critical for defining the “inside” and “outside” of the object. Your slicer uses this information to determine how to fill the object with layers. For complex car models, the sheer number of triangles can impact file size and processing time. However, a higher triangle count generally allows for smoother curves and finer details. It’s a balance: too few triangles can lead to a blocky, low-resolution model, while an excessively high count, especially in areas that don’t require it, can overwhelm your slicer.
A “watertight” or “manifold” mesh is essential for successful 3D printing. This means the model is a closed, solid object with no holes or internal surfaces. Common issues include:
Tools like Meshmixer, Blender, or Netfabb are invaluable for repairing these issues. For instance, in Meshmixer, you can use the “Analysis” tools to detect errors and the “Make Manifold” function to automatically attempt repairs. When downloading models from marketplaces such as 88cars3d.com, reputable sellers often provide files that have already undergone this crucial preparation, saving you significant time and effort.
The slicer is the software that converts your STL file into G-code, the instructions your 3D printer understands. Choosing the right slicing parameters is a delicate art, especially for detailed automotive models. It’s about balancing print quality, speed, and structural integrity. The goal is to capture the fine details of the car model – the sharp edges of spoilers, the subtle curves of the bodywork, the delicate spokes of the wheels – without sacrificing printability.
Layer height is arguably the most significant setting influencing print quality. It determines the thickness of each individual layer deposited by the printer.
For a premium collectible car model from a platform like 88cars3d.com, aiming for a layer height of 0.1mm or 0.12mm is recommended to showcase the model’s fidelity.
Infill refers to the internal structure printed within the outer walls of your model. For display car models, the primary concern is not structural strength but ensuring the outer walls have sufficient support. Therefore, lower infill percentages are typically sufficient.
Infill Patterns: While ‘Grid’ or ‘Lines’ are common, patterns like ‘Cubic’ or ‘Gyroid’ can offer better support in multiple directions for complex geometries found in car models.
Printing too fast can lead to artifacts like ringing, ghosting, and poor layer adhesion, especially on curved surfaces. Printing too slow can unnecessarily extend print times.
For FDM printing, dialling in these speeds, especially for the outer perimeter, is crucial for achieving the smooth, flowing lines characteristic of automotive designs.
Automotive models are often characterized by complex geometries: overhanging spoilers, undercuts on wheel arches, inverted fins, and intricate interiors. These features often require support structures to prevent them from collapsing during printing. However, supports can leave marks on the model’s surface, and their removal can be challenging. Mastering support generation and removal is key to achieving a clean, professional-looking print.
Most slicers offer several support types:
Fine-tuning support settings is crucial for minimizing post-processing:
When working with detailed car models downloaded from sources like 88cars3d.com, consider printing critical overhangs (like spoilers or mirrors) with tree supports and ensure the Z-distance is optimized for clean detachment. Sometimes, splitting a model into multiple parts and printing them separately can drastically reduce the need for complex supports.
How you orient your car model on the print bed and ensure it adheres firmly are fundamental steps that dictate the success or failure of your print. Incorrect orientation can exacerbate overhang issues and require excessive supports, while poor bed adhesion leads to prints detaching mid-print, warping, or even damaging your printer.
The orientation of a car model impacts several factors:
For a sleek sports car model, you might orient it slightly tilted to minimize supports on the roofline and ensure the sides, which are most visible, have a clean print.
A solid foundation is crucial, especially for larger car models that take many hours to print.
If your car model has delicate wheels or mirrors, ensuring they have a solid connection to the bed via a brim is vital.
The choice between FDM (Fused Deposition Modeling) and resin (SLA/DLP) printing significantly impacts the outcome, particularly for the intricate details expected in collectible car models. Each technology has its strengths and weaknesses.
FDM printers are more common, affordable, and versatile in terms of material choice. They are excellent for producing larger models, prototypes, or parts that require some durability.
Resin printers use UV light to cure liquid photopolymer resin layer by layer, offering significantly higher resolution and smoother surface finishes than FDM printers.
For highly detailed collectible car models where smooth finishes and sharp details are paramount, a resin printer is often the superior choice. Platforms like 88cars3d.com offer models optimized for both FDM and resin printing, specifying recommended settings for each.
The journey doesn’t end when the print is finished. Post-processing is essential for transforming a raw 3D print into a polished, display-worthy model. The techniques employed depend on the printing technology and the desired final look.
Regardless of the printing method, patience and attention to detail during post-processing are what elevate a 3D print from a hobbyist project to a professional-quality collectible.
Bringing the world of automobiles to life through 3D printing is an incredibly rewarding endeavor. From understanding the fundamental structure of STL files and meticulously preparing them for print, to strategically setting up your slicer for optimal detail and employing precise support strategies, every step plays a vital role. Whether you choose the accessible versatility of FDM printing or the unparalleled detail of resin technology, the key lies in mastering the technical settings – layer height, print speed, infill, and bed adhesion – tailored to the specific demands of complex automotive geometries. Furthermore, the often-underestimated post-processing phase is where your printed car model truly transforms. By carefully removing supports, sanding, priming, and painting, you can achieve finishes that rival traditional model kits.
The journey of 3D printing detailed car models is an ongoing learning process, filled with experimentation and refinement. Embrace the challenges, learn from each print, and don’t hesitate to explore the vast resources available, including the expertly prepared files found on platforms like 88cars3d.com. With the knowledge gained from this guide, you are now well-equipped to select the right tools, settings, and techniques to build your own stunning collection of 3D printed automotive masterpieces, showcasing your passion for cars and your skill as a maker.
“`
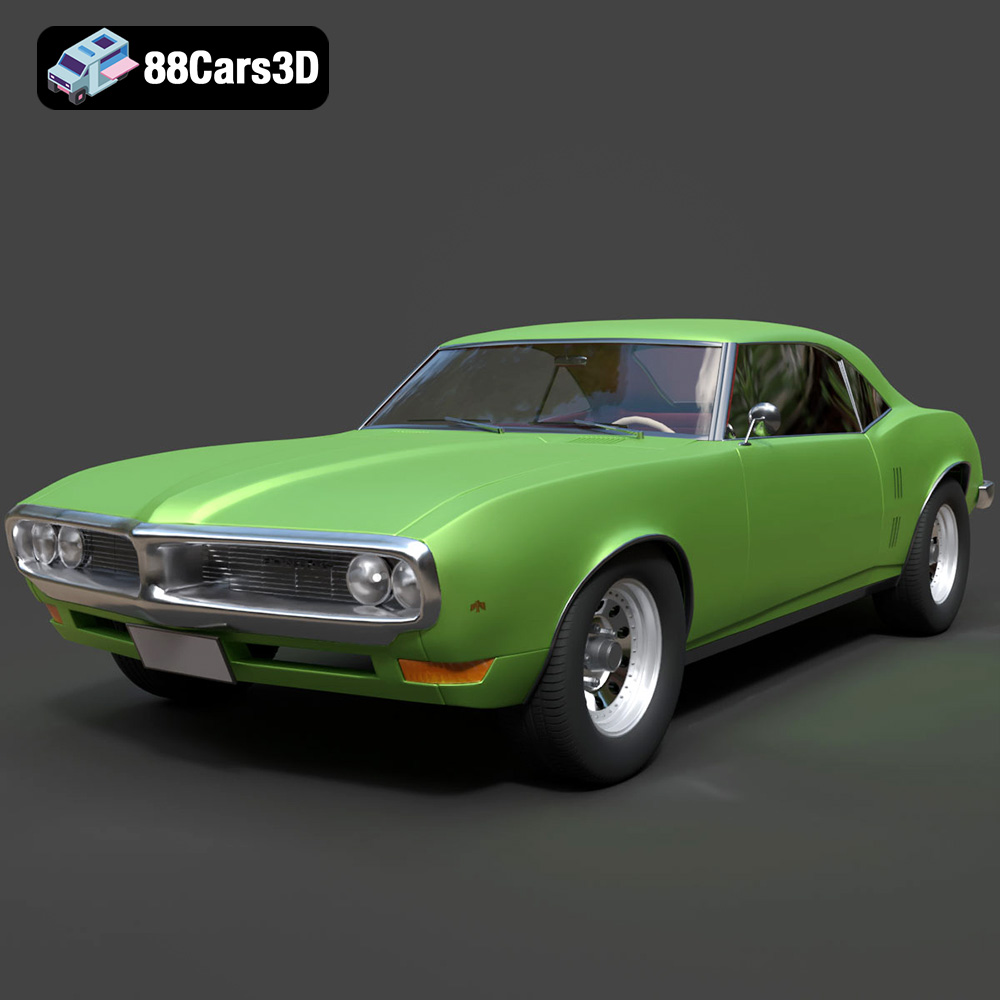
Texture: Yes
Material: Yes
Download the Pontiac Firebird 1998 3D Model featuring clean geometry, realistic detailing, and a fully modeled interior. Includes .blend, .fbx, .obj, .glb, .stl, .ply, .unreal, and .max formats for rendering, simulation, and game development.
Price: $10

Texture: Yes
Material: Yes
Download the Opel Astra 2008 3D Model featuring clean geometry, realistic detailing, and a fully modeled interior. Includes .blend, .fbx, .obj, .glb, .stl, .ply, .unreal, and .max formats for rendering, simulation, and game development.
Price: $10

Texture: Yes
Material: Yes
Download the Mercedes Benz Joaquin-007 3D Model featuring clean geometry, realistic detailing, and a fully modeled interior. Includes .blend, .fbx, .obj, .glb, .stl, .ply, .unreal, and .max formats for rendering, simulation, and game development.
Price: $19.99
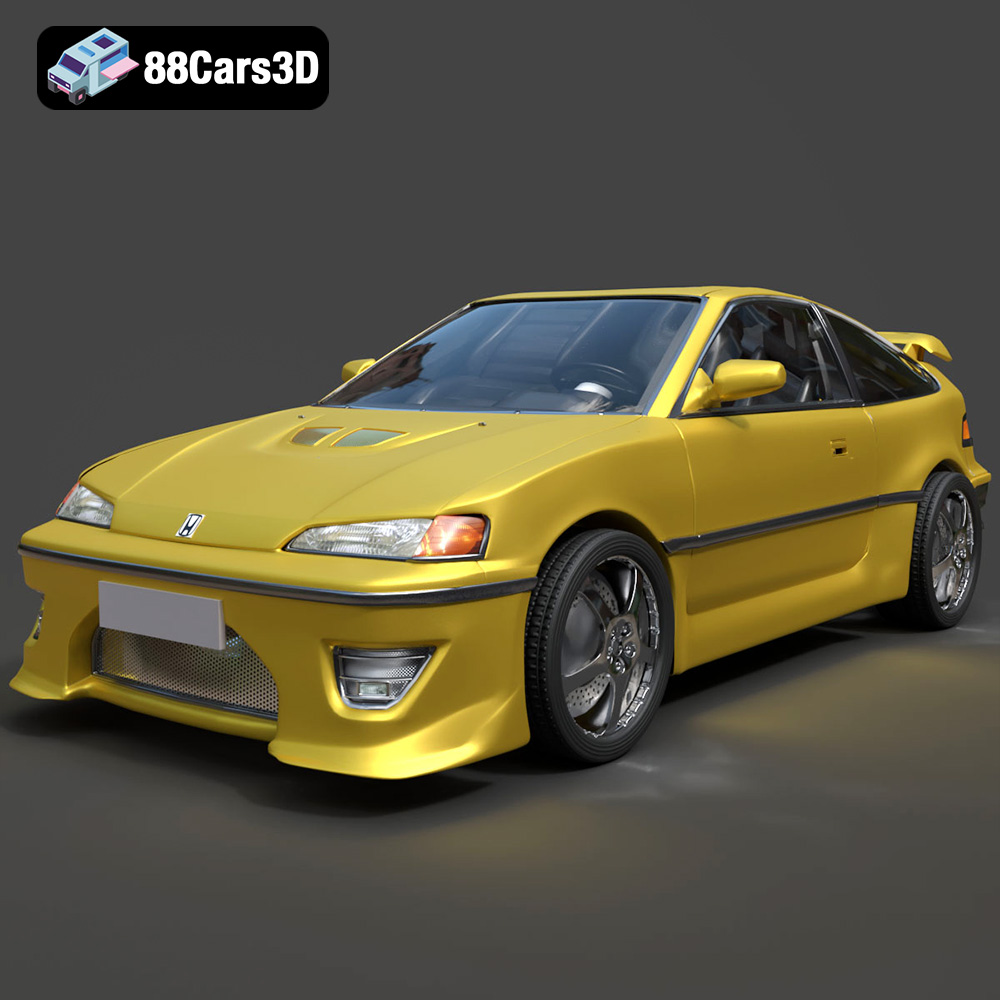
Texture: Yes
Material: Yes
Download the Honda CRX 1980 3D Model featuring clean geometry, realistic detailing, and a fully modeled interior. Includes .blend, .fbx, .obj, .glb, .stl, .ply, .unreal, and .max formats for rendering, simulation, and game development.
Price: $11.99
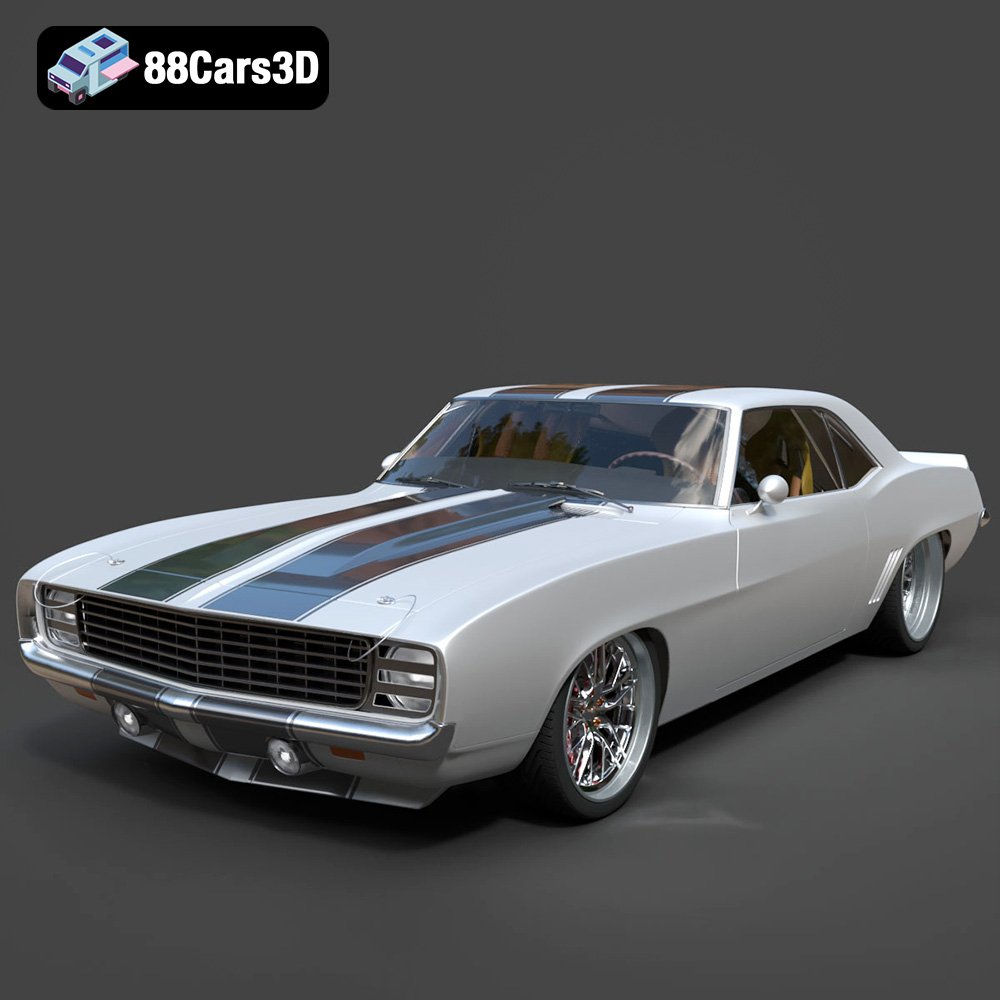
Texture: Yes
Material: Yes
Download the Chevrolet Camaro 69 Pro-007 3D Model featuring classic muscle car design and custom performance aesthetics. Includes .blend, .fbx, .obj, .glb, .stl, .ply, .unreal, and .max formats for rendering, simulation, and game development.
Price: $20.79

Texture: Yes
Material: Yes
Download the Honda Fit 2008 3D Model featuring a compact, versatile design with detailed exterior and interior components. Includes .blend, .fbx, .obj, .glb, .stl, .ply, .unreal, and .max formats for rendering, simulation, and game development.
Price: $10.79
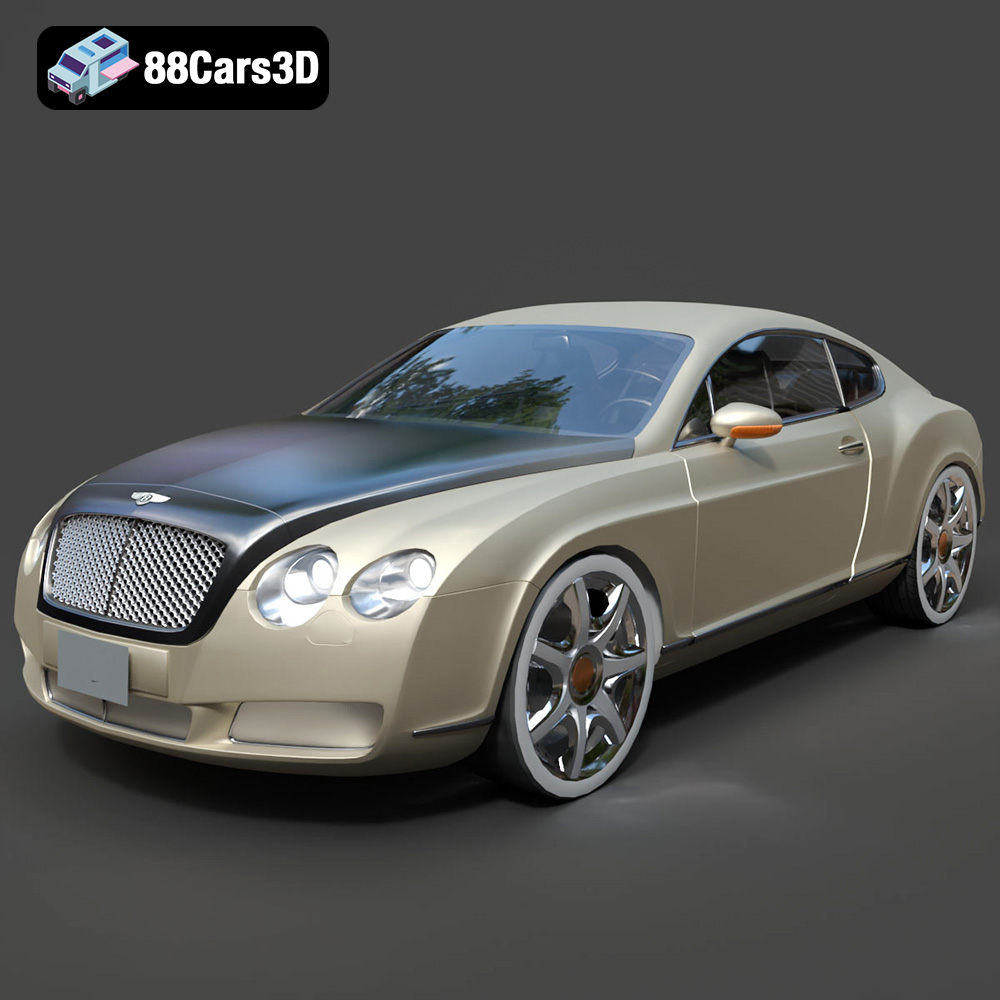
Texture: Yes
Material: Yes
Download the Bentley Continental GT-002 3D Model featuring a luxurious grand touring design and high-quality details. Includes .blend, .fbx, .obj, .glb, .stl, .ply, .unreal, and .max formats for rendering, simulation, and game development.
Price: $20.79

Texture: Yes
Material: Yes
Download the Audi R8 2006 3D Model featuring a sleek sports car design with detailed exterior and interior. Includes .blend, .fbx, .obj, .glb, .stl, .ply, .unreal, and .max formats for rendering, simulation, and game development.
Price: $20.79
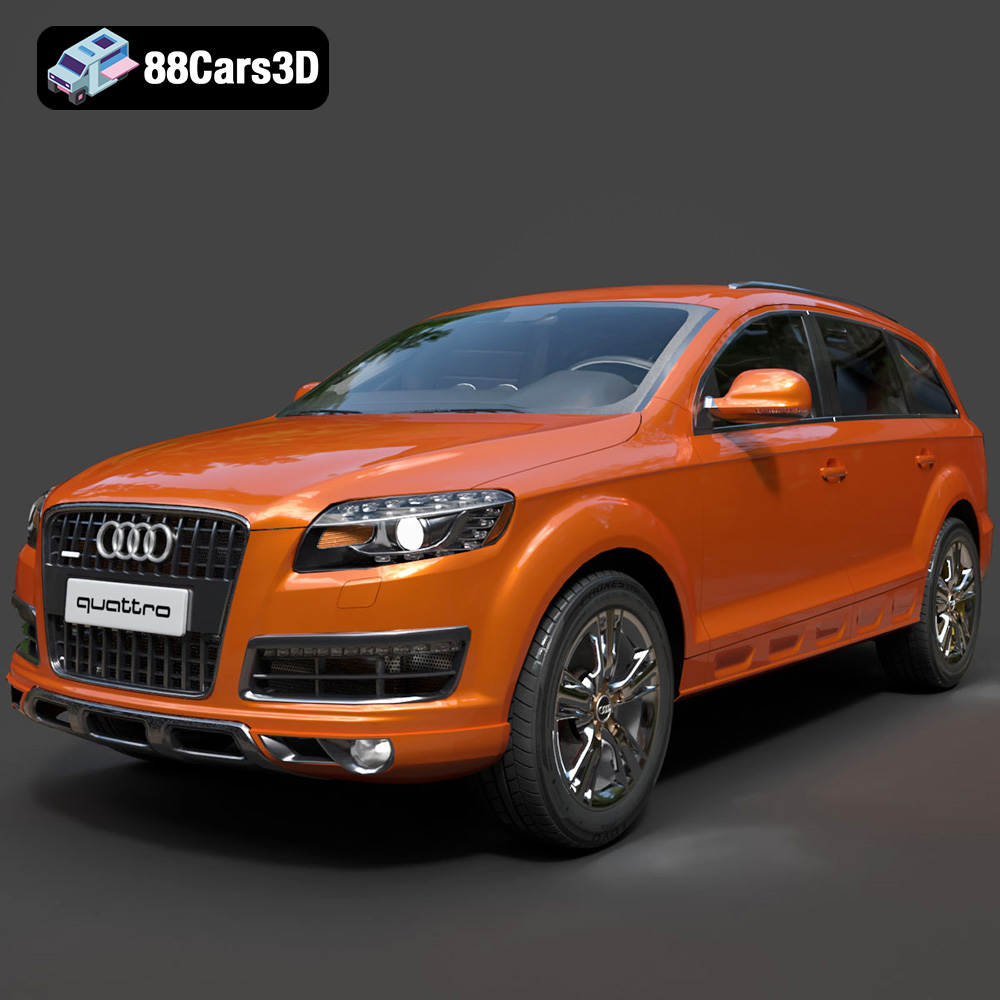
Texture: Yes
Material: Yes
Download the Audi Q7 3D Model featuring a detailed exterior and a refined interior. Includes .blend, .fbx, .obj, .glb, .stl, .ply, .unreal, and .max formats for rendering, simulation, and game development.
Price: $20.79
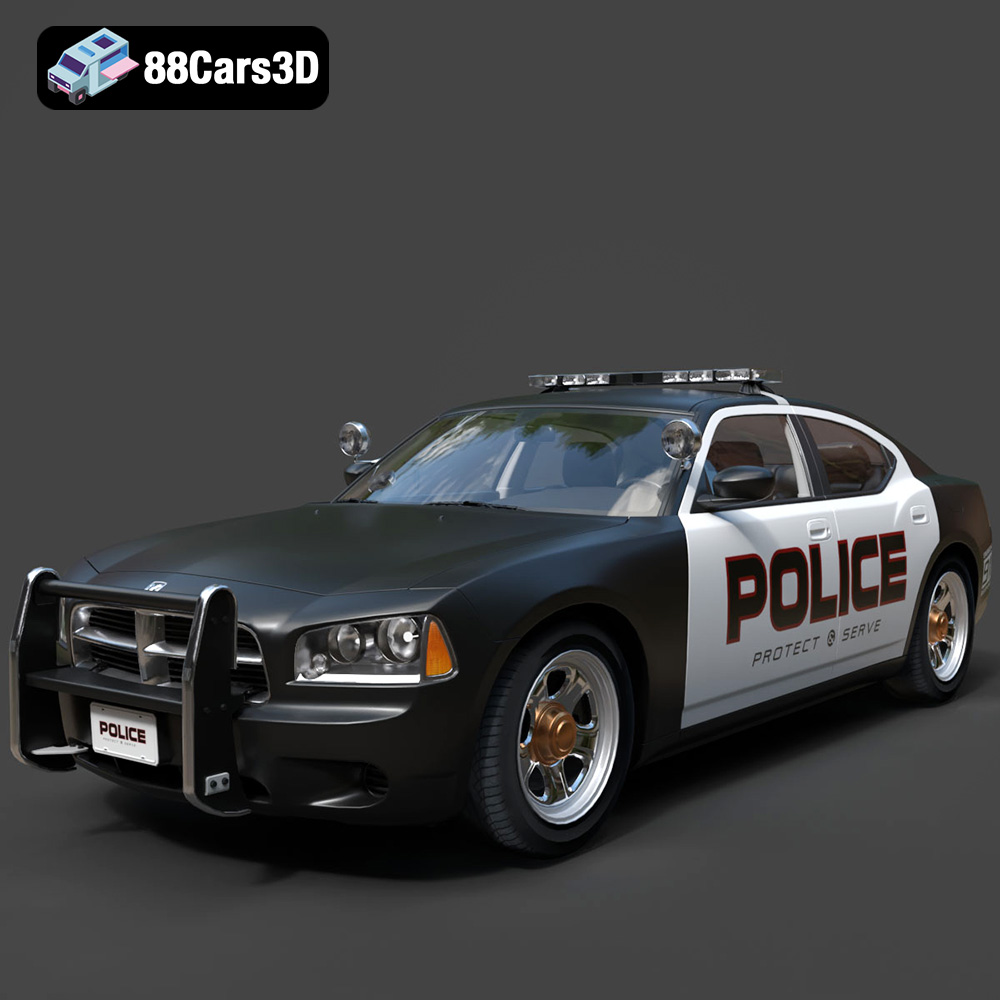
Texture: Yes
Material: Yes
Download the Aston Martin Police US 911 -005 3D Model featuring a high-fidelity exterior with police livery, detailed interior, and accurate proportions. Includes .blend, .fbx, .obj, .glb, .stl, .ply, .unreal, and .max formats for rendering, simulation, and game development.
Price: $10.79

