

“`html
Mastering 3D Printing: Navigating File Formats for Perfect Car Models
Welcome, fellow makers and automotive enthusiasts, to a deep dive into the crucial world of 3D file formats! If you’re passionate about bringing intricately detailed car models to life through 3D printing, then understanding the nuances of file formats like STL, OBJ, and FBX is not just helpful – it’s essential. These digital blueprints dictate how your 3D printer interprets the shape, complexity, and printability of the models you choose. Incorrect format selection or preparation can lead to frustrating print failures, wasted materials, and subpar results, especially when dealing with complex geometries like those found in automotive designs.
In this comprehensive guide, we’ll demystify the commonly used 3D file formats: STL, OBJ, and FBX. We’ll explore their structures, strengths, weaknesses, and, most importantly, how they impact your 3D printing workflow. Whether you’re downloading pre-made models from platforms like 88cars3d.com or preparing your own designs, this article will equip you with the knowledge to select the right format, troubleshoot potential issues, and achieve flawless prints every time. Get ready to elevate your 3D printing game and transform digital car models into tangible masterpieces!
Understanding the Foundation: What is a 3D File Format?
At its core, a 3D file format is a standardized way of representing three-dimensional digital objects. Think of it as a language that 3D modeling software and 3D printers use to communicate. This language describes the shape, surface, and sometimes color and texture of an object. The most fundamental aspect of a 3D model’s geometry is how it’s defined. Most formats represent objects as a collection of interconnected polygons, typically triangles. These triangles form a “mesh” that approximates the curves and surfaces of the 3D object. The density and arrangement of these triangles significantly influence the model’s detail and file size.
Different file formats store this geometric data in distinct ways, influencing their suitability for various applications. Some formats are designed for pure geometry, while others include additional information like color, material properties, and animation data. For 3D printing, the primary concern is accurately translating the model’s physical shape into instructions the printer can follow. This involves ensuring the geometry is “watertight” (no holes or gaps) and that the polygons accurately define the intended form. Understanding this foundational concept is the first step towards choosing the right format for your specific printing needs.
The Role of Polygons and Meshes in 3D Modeling
The vast majority of 3D printable models are constructed using polygon meshes. A mesh is a collection of vertices (points in 3D space), edges (lines connecting vertices), and faces (typically triangles or quadrilaterals formed by edges). These elements work together to define the surface of a 3D object. When we talk about the “resolution” or “detail” of a 3D model, we’re often referring to the density of this mesh – how many polygons are used to represent its shape. A denser mesh (more polygons) can capture finer details and smoother curves but results in a larger file size and can be more computationally intensive to process.
For 3D printing, the mesh needs to be manifold, meaning it represents a solid, closed volume with no holes, internal faces, or overlapping polygons. Imagine trying to 3D print a balloon with a puncture; it wouldn’t hold air. Similarly, a non-manifold mesh can confuse slicing software and lead to printing errors. The quality of the mesh – its cleanliness, topology, and absence of errors – is paramount for successful printing, especially for intricate models like those found on 88cars3d.com, where sharp details and smooth surfaces are critical.
Why File Format Matters for Your 3D Printer
Your 3D printer doesn’t directly “understand” complex 3D models. It reads instructions, typically in the form of G-code, which tells it exactly where to move, how fast, and how much material to extrude or cure. Slicing software bridges the gap between your 3D model file (like STL, OBJ, or FBX) and the G-code your printer needs. The slicer analyzes the geometry within the file and “slices” it into thin horizontal layers, generating the path commands for the printer. The chosen file format influences how effectively the slicer can interpret the model’s geometry.
For instance, a format that efficiently represents geometric data without extraneous information will generally lead to faster slicing times and potentially cleaner interpretations of the model. Conversely, a format that includes complex data like textures or animations, which are irrelevant for basic 3D printing, might require more processing by the slicer or could introduce compatibility issues if not handled correctly. The goal is always to ensure the 3D model is accurately and efficiently translated into a printable form, and the file format plays a significant role in this process.
STL: The Ubiquitous Standard for 3D Printing
When it comes to 3D printing, the Stereolithography (STL) file format reigns supreme. Developed by 3D Systems in the 1980s, STL was one of the earliest file formats designed for rapid prototyping. Its simplicity and widespread adoption have made it the de facto standard for exchanging 3D printable models. An STL file represents the surface geometry of a 3D object using a collection of triangular facets. Each triangle is defined by the 3D coordinates of its three vertices and a normal vector, which indicates the outward-facing direction of the surface. This straightforward approach makes it easy for CAD software and slicing programs to process.
There are two main types of STL files: ASCII and binary. ASCII STL files are human-readable text files, making them easy to inspect but larger in size. Binary STL files are more compact and efficient, storing the same geometric information in a binary format. For most practical 3D printing purposes, binary STL is preferred due to its smaller file size, which speeds up loading and processing times in slicing software. While STL is excellent for defining geometry, it has limitations; it does not store information about color, texture, or material properties, focusing solely on the surface shape.
STL File Structure: Triangles and Normals
The core of an STL file is its representation of the model’s surface as a tessellation of triangles. In a binary STL file, this data is stored efficiently. Each triangle is typically described by:
- Normal Vector: A 3D vector indicating the orientation of the triangle’s surface. This is crucial for determining which side of the triangle is “outside” the object.
- Vertex Coordinates: The X, Y, and Z coordinates for each of the three vertices that define the triangle.
These triangles are often organized in a way that ensures they form a closed, “watertight” mesh. When you download a print-ready STL file from a source like 88cars3d.com, the creator has typically ensured that these triangles form a continuous surface without holes or self-intersections. The slicer then uses the position and orientation of these triangles to build up layers and generate toolpaths for the 3D printer. The sheer number of triangles directly impacts the level of detail and the smoothness of the printed object.
Pros and Cons of Using STL for Printing
The dominance of STL in 3D printing is due to several key advantages:
- Ubiquity: Virtually all 3D modeling software and slicing programs support STL files.
- Simplicity: Its straightforward structure makes it easy to parse and process by software.
- Focus on Geometry: It’s designed specifically for representing the surface shape, which is the primary concern for 3D printing.
However, STL is not without its drawbacks:
- No Color or Texture Information: You cannot store color or material data within an STL file.
- Potential for Errors: Because it’s a simple format, STL files can sometimes contain geometric errors like holes, inverted normals, or non-manifold geometry, which can cause slicing issues. Repairing these errors often requires additional software.
- Large File Sizes for High Detail: To represent very smooth curves or intricate details, a large number of triangles are needed, which can lead to substantial file sizes and longer processing times.
Despite these limitations, STL remains the go-to format for most 3D printing applications, especially when dealing with purely geometric models like car bodies and chassis.
OBJ: More Than Just Geometry
The Wavefront OBJ (Object) file format is another popular choice in the 3D modeling world, and it offers several advantages over STL, particularly when color or more complex material definitions are involved. Unlike STL, which is exclusively focused on geometry defined by triangles, OBJ can store a wider range of data. It represents 3D geometry using polygons, but these can be triangles, quadrilaterals, or even N-gons (polygons with more than three sides). This flexibility can sometimes lead to cleaner meshes and more efficient data representation compared to a purely triangulated STL.
The key differentiator for OBJ is its ability to reference external material definition files (MTL files). These associated MTL files can define surface properties such as color, texture maps (images applied to the surface), shininess, and transparency. While most 3D printers cannot directly reproduce these color and texture details (especially FDM printers), this information can be invaluable during the design and preparation phases. For example, if you’re using a color 3D printer or plan to paint your model after printing, the color data in an OBJ can serve as a guide. For standard FDM or resin printing, the geometric information within the OBJ is what the slicer primarily uses.
OBJ’s Support for Color and Materials
The ability of OBJ to link to MTL files is a significant advantage for workflows that require visual fidelity beyond raw geometry. An MTL file contains definitions for materials, including:
- Diffuse Color: The base color of the material.
- Ambient Color: The color of the material under ambient light.
- Specular Color: The color of highlights when light reflects off the surface.
- Texture Maps: References to image files (like JPEGs or PNGs) that are “wrapped” around the 3D model to provide detailed surface appearance (e.g., a carbon fiber texture or a paint scheme).
- Shininess: Controls the intensity and spread of specular highlights.
- Transparency: Defines how opaque or translucent the material is.
While a standard FDM printer will only print the shape defined by the OBJ, this data can be incredibly useful for digital visualization, animation, or if you intend to use multi-color printing technologies or detailed post-processing painting. For slicing purposes, the slicer will typically ignore the color and texture data and focus on the geometric mesh defined in the OBJ file.
When to Choose OBJ Over STL
OBJ becomes a compelling choice in several scenarios:
- Models with Intended Color: If you plan to paint the model accurately based on a digital reference or are using a multi-color 3D printer, the OBJ/MTL combination provides this information.
- Complex Surface Details Requiring Textures: While the textures won’t be printed directly on most printers, they can inform painting guides or be used in digital renders.
- Models with Non-Triangular Polygons: OBJ’s flexibility in using quads or N-gons can sometimes result in cleaner geometry that may be easier to edit in modeling software before slicing.
- Interoperability with Other 3D Software: OBJ is widely supported in applications like Blender, Maya, and 3ds Max, making it a good format for transferring models between different software packages.
However, remember that for simple, single-color FDM or resin prints, the additional data in an OBJ file is often unnecessary overhead. You might need to ensure your slicer correctly interprets the geometry and ignores the material definitions if they cause any processing hiccups.
FBX: The Versatile Format for Complex Workflows
Filmbox (FBX) is a proprietary file format developed by Autodesk, widely used in the game development, animation, and visual effects industries. It’s designed to be a highly versatile exchange format, capable of storing a vast amount of data beyond just static geometry. FBX files can contain mesh data, skeletal animation, camera information, lighting setups, material definitions (often more complex than OBJ’s MTL), and even embedded textures.
For 3D printing, FBX often represents overkill. Its strength lies in its ability to preserve complex scene information and animations, none of which are directly applicable to the physical printing process of a static object. However, FBX files can be converted to other formats like STL or OBJ for 3D printing. The challenge with FBX for printing often lies in its complexity. Slicing software may struggle to interpret certain FBX data, or the conversion process might introduce errors if not handled carefully. If you download an FBX file intended for printing, it’s generally advisable to convert it to STL or OBJ first using reliable 3D modeling software to ensure compatibility and avoid potential issues.
FBX Data Types and Printing Relevance
An FBX file can contain:
- Meshes: Similar to OBJ and STL, but often with more advanced data structures.
- Skeletal Animation: Information about rigged characters and their movements. This is completely irrelevant for printing a static car model.
- Cameras and Lights: Scene setup data that doesn’t translate to a physical print.
- Materials and Textures: Can include complex shader networks and embedded textures, often more advanced than what OBJ supports.
- Scene Hierarchy: The organization of objects within a scene.
For 3D printing, only the mesh geometry is relevant. The presence of animation, complex lighting, or specialized shaders means that FBX files can be significantly larger than equivalent STL or OBJ files, even if they represent the same geometric shape. When preparing an FBX for printing, the crucial step is to export or convert *only* the mesh data into a format your slicer understands, stripping away all other irrelevant information.
Converting FBX for 3D Printing
If you have an FBX file that you need to 3D print, conversion is almost always necessary. Reputable 3D modeling software like Blender (free and open-source) or Autodesk Maya/3ds Max can import FBX files and export them as STL or OBJ. The process typically involves:
- Importing the FBX: Open the FBX file in your chosen modeling software.
- Cleaning the Scene: Delete any unnecessary elements like cameras, lights, animations, or non-mesh objects. Ensure only the desired car model geometry remains.
- Checking Mesh Integrity: Use the software’s tools to check for and repair any non-manifold geometry, holes, or intersecting faces. This is a critical step for printability.
- Exporting to STL or OBJ: Export the cleaned mesh data as either an STL (preferably binary) or an OBJ file. During export, pay attention to settings like polygon resolution; a very high resolution might create unnecessarily large files.
This conversion process ensures that you’re providing your slicing software with clean, geometrically sound data in a format it can readily interpret, maximizing the chances of a successful print.
Choosing the Right Format for Your Car Models
When you’re browsing for detailed printable car models on marketplaces like 88cars3d.com, you’ll often find them offered in various formats. Understanding which format is best suited for your needs depends on your specific goals and 3D printing setup. For the vast majority of 3D printing applications, especially with standard FDM or resin printers, the choice often boils down to STL versus OBJ. FBX is generally less common and often requires conversion.
If your primary goal is to print a high-quality, single-color replica of a car, a well-prepared STL file is usually your best bet. Its simplicity ensures broad compatibility and straightforward processing by slicers. However, if the model you’re interested in comes with detailed color schemes or textures that you plan to replicate through painting, or if you’re using advanced multi-color printing, an OBJ file might offer a better starting point, as it can contain this additional visual information. Always prioritize files that are explicitly labeled as “print-ready” or “optimized for 3D printing,” regardless of the format.
STL vs. OBJ: The Practical Decision for Printers
Let’s break down the practical decision-making process:
- Choose STL if:
- You need a simple, geometry-focused file for standard FDM or resin printing.
- Compatibility is your highest priority; STL is universally supported.
- The model is intended to be printed in a single color and painted later.
- You want the most straightforward workflow with minimal potential for compatibility issues.
- Choose OBJ if:
- The model includes color information that you want to use as a painting guide.
- You are using a multi-color 3D printer.
- The model was originally created using quads or N-gons, and you prefer to maintain that structure before slicing (though most slicers will triangulate it anyway).
- You need to preserve texture map references for digital use or advanced post-processing.
In most cases, a high-quality STL file will yield excellent results for printing static models. The key is the quality of the mesh itself, not just the format. A poorly constructed STL will print poorly, just as a poorly constructed OBJ will. Always look for well-authored files.
The Role of File Repair and Preparation Software
Regardless of the chosen format (STL, OBJ, or even FBX after conversion), mesh integrity is paramount. Sometimes, even files downloaded from reputable sources might contain minor errors that can cause problems during slicing or printing. This is where mesh repair software comes in. Tools like:
- Meshmixer (Free): Excellent for automatic mesh repair, smoothing, and making minor edits.
- Blender (Free): A full-featured 3D modeling suite that includes robust tools for mesh analysis and repair (e.g., the “3D-Print Toolbox” add-on).
- Autodesk Netfabb (Commercial): Industry-standard software for advanced mesh analysis, repair, and preparation for additive manufacturing.
These tools can automatically detect and fix issues like non-manifold edges, holes, inverted faces, and self-intersections. Running a quick check and repair on your downloaded STL or OBJ file before slicing is a best practice that can save you significant printing headaches. Ensuring your model is “watertight” is the most critical aspect of file preparation for successful 3D printing.
Optimizing Your Slicer Settings for Different File Formats
While the file format dictates the geometry, your slicing software translates that geometry into printable layers. Understanding how slicers like Cura, PrusaSlicer, or Simplify3D handle different file formats can help optimize your prints. Generally, slicers are optimized to work seamlessly with STL files. When you load an STL, the slicer directly processes the triangle data to build its internal representation of the model.
With OBJ files, most modern slicers will correctly interpret the vertex and face data. They will typically triangulate any quads or N-gons internally and ignore the associated MTL file unless specific plugins or settings are enabled for color previews. FBX files usually require explicit conversion before they can be reliably sliced. The key takeaway is that regardless of the input format, the slicer’s goal is to produce a watertight, layer-by-layer representation. Ensuring the source geometry is clean is more important than the specific format, though STL and OBJ are the most direct paths to the slicer.
Layer Height, Infill, and Supports: Universal Considerations
Once your model is in a slicer-friendly format (STL or OBJ), the subsequent settings are crucial for print quality, regardless of the original file type. These settings are universal across most file formats:
- Layer Height: A lower layer height (e.g., 0.1mm for fine detail) results in smoother curves and finer features but significantly increases print time. A higher layer height (e.g., 0.2mm or 0.3mm) prints faster but shows more visible layer lines. For detailed car models, starting with 0.1mm to 0.15mm is often recommended.
- Infill: This determines the internal structure of the print. For display models, 10-20% infill with a simple pattern like grid or gyroid is usually sufficient for strength and saves material and time. Higher infill percentages (e.g., 50%+) are for functional parts requiring maximum strength.
- Support Structures: Essential for overhangs and bridges (parts of the model that extend horizontally without anything underneath). Carefully consider support placement and type (normal, tree/organic). Settings like support density, angle threshold, and interface layers significantly affect ease of removal and surface finish where supports touch the model.
These parameters are adjusted within the slicer based on the model’s geometry, your printer’s capabilities, and your desired outcome. The file format primarily influences how easily the slicer can “see” and process that geometry.
Print Orientation and Bed Adhesion: Maximizing Success
The orientation of your model on the print bed, and ensuring it adheres well, are critical factors influenced by the model’s geometry (regardless of file format) and your printer setup. When you load an STL or OBJ file into your slicer, it will default to a certain orientation. However, rotating and orienting the model correctly can:
- Reduce the Need for Supports: By strategically angling the model, you can minimize overhangs, leading to cleaner prints and less cleanup.
- Improve Surface Quality: Placing critical surfaces (like the car body panels) facing upwards or on a flat plane can result in a smoother finish.
- Enhance Strength: Layer adhesion is typically strongest along the Z-axis. Orienting parts to distribute stress appropriately can be important for structural integrity.
Bed adhesion is also crucial, especially for larger models or those with small contact points. Options include using a brim (a single-layer flat area around the base of the model) or a raft (a thicker base structure) in your slicer settings. For detailed car models, a brim is often sufficient to prevent warping or detachment during the print. Ensuring your print bed is clean and level, and using the correct build surface material (e.g., PEI, glass) and temperature for your filament (e.g., PLA typically around 50-60°C) are fundamental steps.
Conclusion: Making the Right File Choice for Your Prints
Navigating the world of 3D file formats – STL, OBJ, and FBX – can seem daunting, but understanding their roles is key to successful 3D printing, especially for intricate subjects like car models. STL remains the workhorse for 3D printing due to its universal compatibility and focus on geometry. It’s the most direct route from a digital model to your slicer. OBJ offers a step up by including color and material data, which can be useful for painting guides or multi-color printing, though its geometric data is processed similarly to STL by most slicers.
FBX, while powerful for animation and VFX, is generally not ideal for direct 3D printing and often requires conversion to STL or OBJ. Regardless of the format you choose, the most critical factor is the **quality and integrity of the mesh data**. Always look for print-ready files, perform mesh checks and repairs using software like Meshmixer or Blender, and ensure your slicer settings (layer height, supports, orientation, adhesion) are optimized for the specific model and your printer. By mastering these file format fundamentals and preparation techniques, you’ll be well-equipped to bring stunningly detailed 3D printable car models from platforms like 88cars3d.com to life with confidence and precision.
“`
Featured 3D Car Models

Cadillac CTS-V Coupe 3D Model
Meta Description:
Texture: Yes
Material: Yes
Download the Cadillac CTS-V Coupe 3D Model featuring detailed exterior styling and realistic interior structure. Includes .blend, .fbx, .obj, .glb, .stl, .ply, .unreal, and .max formats for rendering, simulation, AR VR, and game development.
Price: $13.9

Cadillac CTS SW 2010 3D Model
Texture: Yes
Material: Yes
Download the Cadillac CTS SW 2010 3D Model featuring a detailed exterior, functional interior elements, and realistic materials. Includes .blend, .fbx, .obj, .glb, .stl, .ply, .unreal, and .max formats for rendering, simulation, and game development.
Price: $10.79
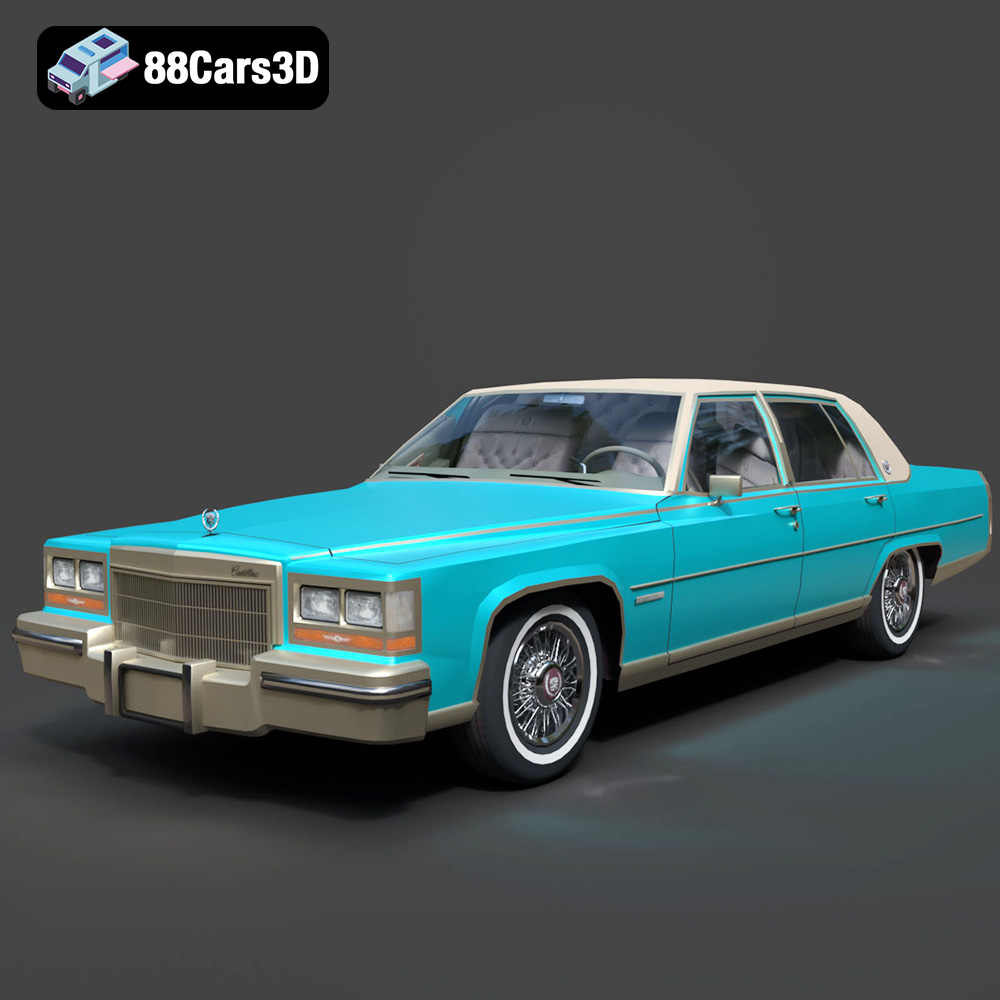
Cadillac Fleetwood Brougham 1985 3D Model
Texture: Yes
Material: Yes
Download the Cadillac Fleetwood Brougham 1985 3D Model featuring its iconic classic luxury design and detailed craftsmanship. Includes .blend, .fbx, .obj, .glb, .stl, .ply, .unreal, and .max formats for rendering, simulation, and game development.
Price: $10.79
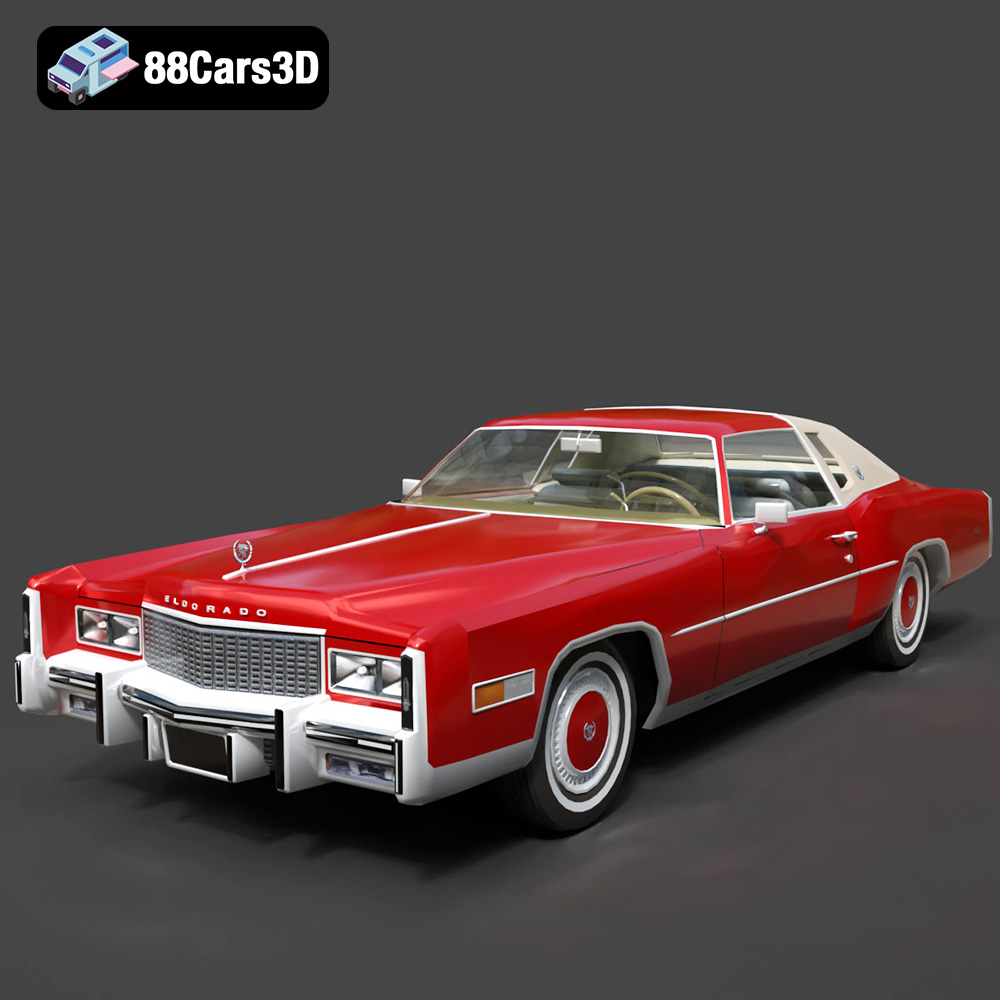
Cadillac Eldorado 1978 3D Model
Texture: Yes
Material: Yes
Download the Cadillac Eldorado 1978 3D Model featuring accurately modeled exterior, detailed interior, and period-correct aesthetics. Includes .blend, .fbx, .obj, .glb, .stl, .ply, .unreal, and .max formats for rendering, simulation, and game development.
Price: $10.79
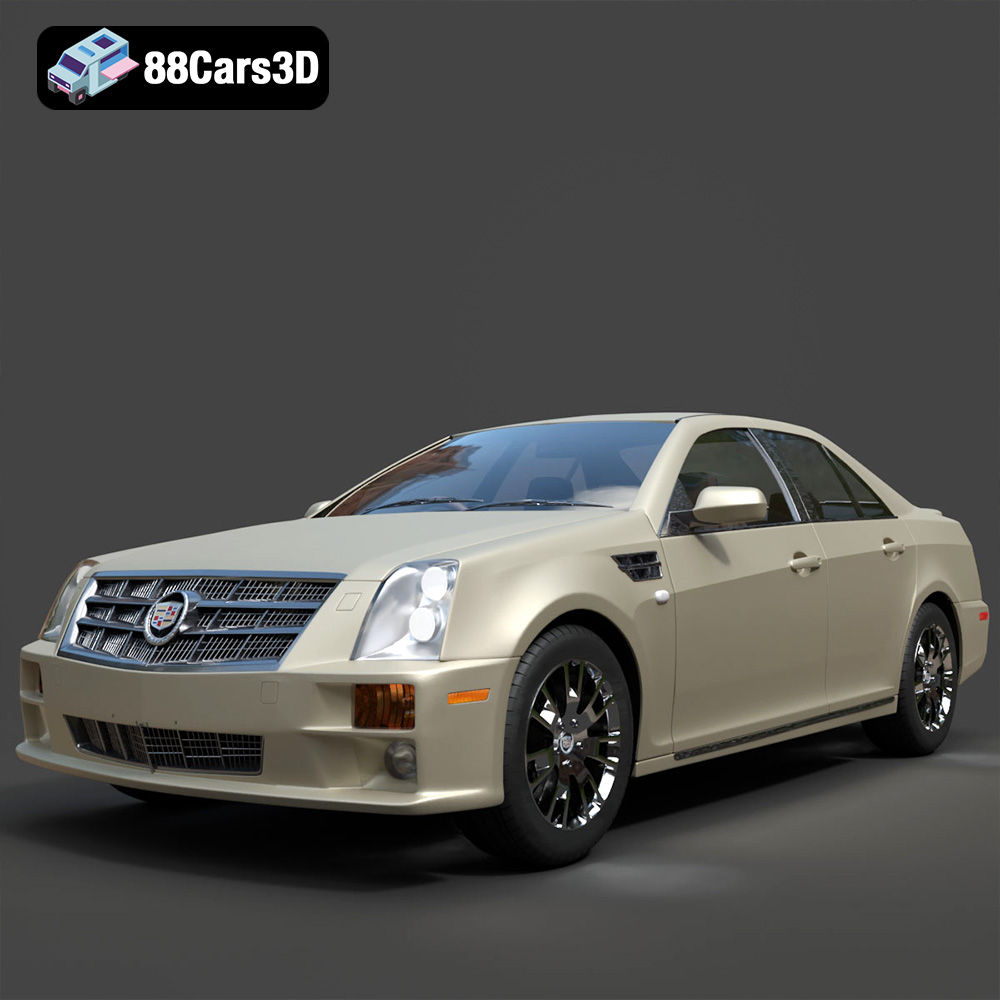
Cadillac STS-005 3D Model
Texture: Yes
Material: Yes
Download the Cadillac STS-005 3D Model featuring a detailed exterior and interior. Includes .blend, .fbx, .obj, .glb, .stl, .ply, .unreal, and .max formats for rendering, simulation, and game development.
Price: $22.79
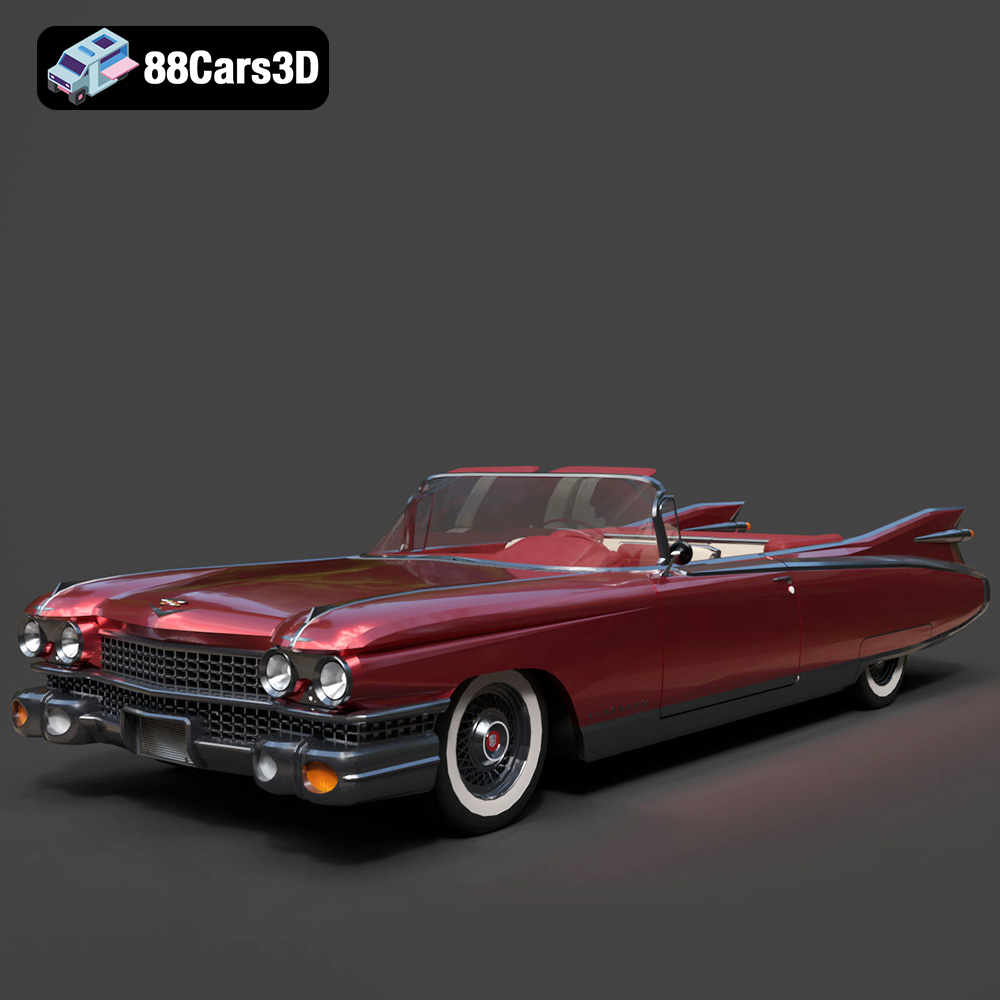
Cadillac Eldorado Convertible (1959) 3D Model
Texture: Yes
Material: Yes
Download the Cadillac Eldorado Convertible (1959) 3D Model featuring iconic fins, luxurious chrome details, and a classic vintage design. Includes .blend, .fbx, .obj, .glb, .stl, .ply, .unreal, and .max formats for rendering, simulation, and game development.
Price: $20.79

Cadillac DTS-005 3D Model
Texture: Yes
Material: Yes
Download the Cadillac DTS-005 3D Model featuring its iconic luxury design, detailed interior, and realistic exterior. Includes .blend, .fbx, .obj, .glb, .stl, .ply, .unreal, and .max formats for rendering, simulation, and game development.
Price: $10.79

Buick LeSabre 1998 3D Model
Texture: Yes
Material: Yes
Download the Buick LeSabre 1998 3D Model featuring a classic American full-size sedan design. Includes .blend, .fbx, .obj, .glb, .stl, .ply, .unreal, and .max formats for rendering, simulation, and game development.
Price: $10.79
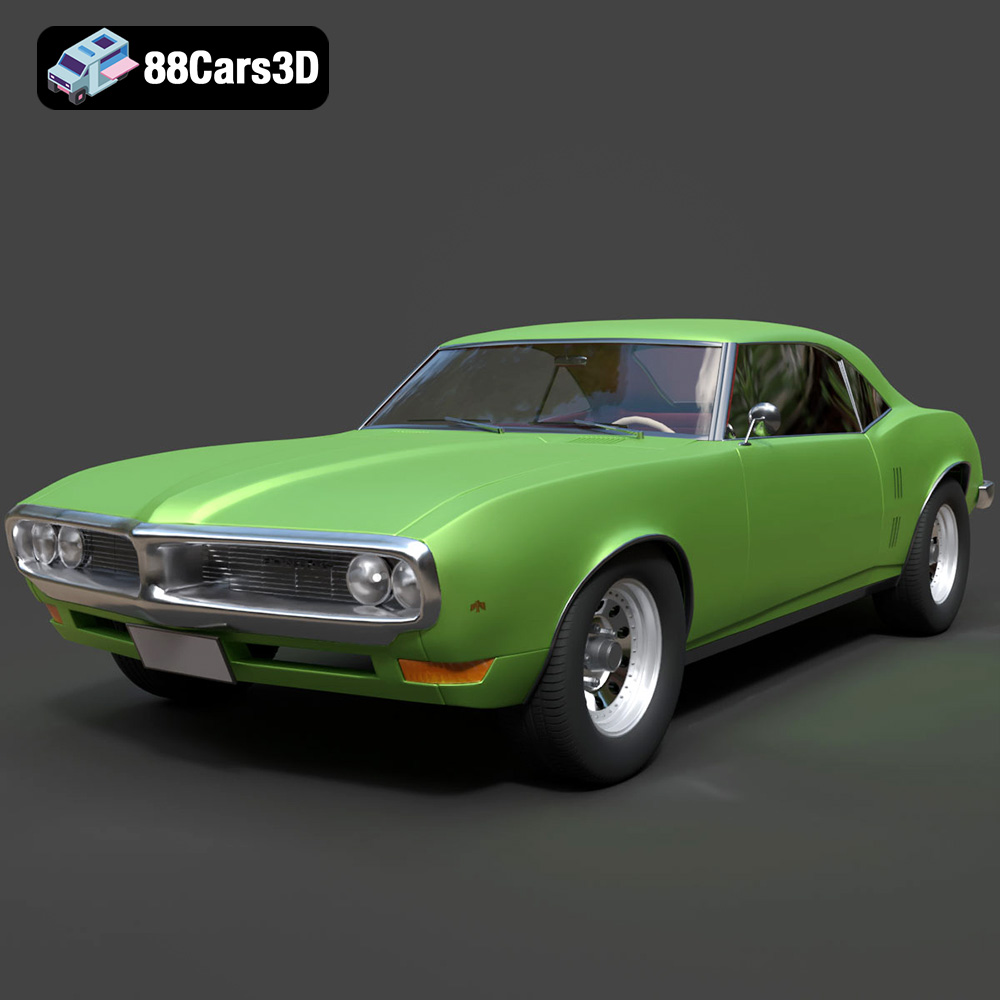
Pontiac Firebird 1998 3D Model
Texture: Yes
Material: Yes
Download the Pontiac Firebird 1998 3D Model featuring clean geometry, realistic detailing, and a fully modeled interior. Includes .blend, .fbx, .obj, .glb, .stl, .ply, .unreal, and .max formats for rendering, simulation, and game development.
Price: $10

Opel Astra 2008 3D Model
Texture: Yes
Material: Yes
Download the Opel Astra 2008 3D Model featuring clean geometry, realistic detailing, and a fully modeled interior. Includes .blend, .fbx, .obj, .glb, .stl, .ply, .unreal, and .max formats for rendering, simulation, and game development.
Price: $10
