

“`html
Mastering Your 3D Printer: Choosing the Right Nozzle and Bed Size for Perfect Prints
Embarking on the journey of 3D printing, especially with intricate models like those found on 88cars3d.com, presents a fascinating blend of artistry and engineering. Whether you’re crafting a detailed 1:18 scale replica of a classic supercar or prototyping a custom automotive part, the foundation of a successful print lies in understanding and optimizing your hardware. Two of the most fundamental yet impactful hardware choices are your 3D printer’s nozzle size and its build volume (bed size). These seemingly simple specifications dictate everything from the level of detail you can achieve to the size of the objects you can print and even the speed at which you can print them. This comprehensive guide will delve deep into the technical intricacies of selecting the appropriate nozzle and bed size for your specific 3D printing needs, ensuring you can tackle any project with confidence. We’ll explore how these choices influence print quality, print time, material compatibility, and the types of models you can successfully bring to life, from the smallest engine component to a full-sized dashboard prototype.
This article will equip you with the knowledge to make informed decisions regarding your printer’s hardware. We will dissect the impact of nozzle diameter on resolution and print speed, explore the nuances of different bed sizes and their implications for project scope, and provide practical advice on optimizing your slicer settings to leverage your chosen hardware effectively. By the end, you’ll understand the critical interplay between your nozzle, bed, the 3D models you download (like those from 88cars3d.com), and your slicer software, empowering you to achieve superior results on every print.
The Critical Role of Nozzle Diameter: Detail vs. Speed
The nozzle is arguably the most crucial component dictating the resolution and speed of your FDM 3D prints. It’s the point where molten filament is extruded onto the build plate, laying down the foundational layers that form your object. The diameter of the nozzle’s opening directly influences the width of the extruded line, commonly referred to as the “line width” or “extrusion width” in slicing software. This seemingly small variable has a profound impact on the final print’s quality, strength, and print duration.
Standard FDM 3D printers typically come equipped with a 0.4mm nozzle. This size offers a balanced compromise between print detail and speed, making it an excellent all-rounder for many applications. For highly detailed automotive models, such as intricate scale replicas of classic cars available on marketplaces like 88cars3d.com, a smaller nozzle might be considered. Conversely, for larger, less detailed prints or when speed is paramount, a larger nozzle can be advantageous.
Smaller Nozzles: Precision and Finer Details
Using a nozzle smaller than the standard 0.4mm, such as 0.2mm or 0.3mm, allows for the extrusion of much finer lines. This translates directly into a higher level of detail in your 3D prints. For hobbyists printing highly detailed car models, smaller nozzles can capture intricate features like panel lines, emblems, and small vents with greater fidelity. The reduced line width allows for thinner walls, sharper corners, and smoother curves, resulting in a more realistic and aesthetically pleasing final product. When printing at a layer height of 0.1mm or even 0.05mm with a 0.2mm nozzle, the layer lines become significantly less perceptible, creating a surface finish that approaches that of resin prints.
However, this increased detail comes at a cost: significantly longer print times. Extruding a smaller volume of material per unit of travel requires the printer to make more passes, and the print head often needs to move slower to maintain consistent extrusion and prevent issues like under-extrusion. Furthermore, smaller nozzles are more prone to clogging, especially if filament quality is inconsistent or if proper printer maintenance is neglected. They also require meticulous calibration of retraction settings to minimize stringing and blobs, which can easily mar delicate details.
Larger Nozzles: Speed and Strength
Conversely, larger nozzles, such as 0.6mm, 0.8mm, or even 1.0mm, are designed for speed and strength. They extrude a wider line of filament, allowing the printer to deposit material much faster. This is ideal for larger prints where fine detail is less critical, or for functional parts that require increased layer adhesion and overall strength. For example, if you were printing a large-scale automotive concept model for a presentation, a 0.6mm or 0.8mm nozzle could drastically reduce print time while still producing a visually acceptable result.
The wider extrusion width also leads to stronger parts. The increased surface area of contact between adjacent extruded lines enhances layer adhesion, making the final object more robust. This is particularly important for functional prototypes or parts that will be subjected to mechanical stress. However, the trade-off is a significant loss of fine detail. Layer lines will be much more pronounced, and sharp corners can become rounded. The minimum feature size that can be reliably printed is also larger, making it unsuitable for intricate designs.
Choosing the Right Nozzle for 88cars3d.com Models
When selecting printable car models from 88cars3d.com, consider the intended application. For display models where aesthetic appeal and intricate detail are paramount, a 0.4mm nozzle is often the best starting point, perhaps even down to a 0.3mm or 0.2mm for extreme detail on smaller scales. If you find yourself sacrificing too much detail with your current setup, consider investing in a set of smaller nozzles and experimenting with print settings like layer height (aiming for 0.1mm or lower) and print speed (keeping it conservative, perhaps 40-50 mm/s).
For functional automotive components, or if you’re printing larger, less detailed models, a 0.6mm nozzle can offer a significant speed advantage without sacrificing too much in terms of visual fidelity for many applications. Always remember to update your slicer software with the correct nozzle diameter setting after changing it on your printer; failure to do so will result in significant extrusion issues.
Understanding Your Printer’s Build Volume: The Canvas for Your Creations
The build volume, often referred to as bed size, is the maximum physical dimensions (X, Y, and Z axes) within which your 3D printer can operate. It dictates the largest single object you can print or the number of smaller objects you can arrange on the print bed simultaneously. This specification is crucial, especially when dealing with diverse printing projects, from miniature collectibles to larger functional prototypes.
For enthusiasts downloading detailed 3D printable car models from 88cars3d.com, understanding your build volume is key to planning your prints. A larger build volume offers greater flexibility, but it’s important to note that larger printers often come with their own set of challenges, such as longer print times for full-bed prints and potential issues with bed leveling over a larger surface area.
Standard Build Volumes and Their Capabilities
Many entry-level and mid-range FDM printers offer build volumes ranging from 200x200x200mm to 250x250x250mm. This size is perfectly adequate for printing most 1:24 or 1:18 scale car models, even when oriented for optimal print quality. You can also comfortably print multiple smaller components or accessories alongside a main model. For example, you could print a detailed engine bay accessory set for a car model on a 220x220mm bed without needing to split the files.
When printing at these standard sizes, it’s often possible to print many models in a single batch, saving time and material. However, if you encounter a particularly large model or wish to print a larger scale replica (e.g., a 1:10 scale model), you might find yourself limited by the X and Y dimensions. In such cases, slicing the model into multiple parts becomes necessary, requiring careful planning for assembly later.
Large Format Printing: Unlocking New Possibilities
Large format 3D printers, with build volumes exceeding 300x300x300mm, open up a world of possibilities. These machines are ideal for printing full-scale automotive components, large display models, or simply printing multiple smaller models at once. For automotive engineers and designers, a large format printer can be invaluable for creating full-size prototypes of dashboards, interior trim pieces, or even body panels for concept vehicles. The ability to print a single, large object without assembly significantly reduces post-processing time and the risk of misaligned parts.
However, large format printing comes with its own set of considerations. Print times for a full bed can be exceptionally long, sometimes spanning several days. Maintaining consistent bed adhesion and temperature across a large print surface can be challenging, increasing the risk of print failures like warping. Furthermore, the cost of large format printers and the materials they consume is generally higher. If your primary interest is in collecting and printing highly detailed scale car models, a large build volume might be overkill unless you specifically intend to scale them up significantly.
Scaling Models to Fit Your Build Volume
One of the most significant advantages of digital 3D models, especially those available in STL format from sources like 88cars3d.com, is their scalability. If a particular car model is too large for your printer’s build volume, you can almost always scale it down in your slicing software (e.g., Cura, PrusaSlicer, Simplify3D). Conversely, if you have a large build volume and want to print a smaller model at a larger scale, you can do that too.
When scaling, it’s crucial to maintain the aspect ratio to avoid distorting the model. Most slicers offer an option to lock the aspect ratio during scaling. Pay close attention to the printer’s nozzle size and layer height settings when scaling. If you scale a model up significantly, you might need to adjust your layer height or line width to maintain a similar level of detail relative to the new size. Conversely, scaling down too much with a large nozzle can lead to features disappearing or becoming impossibly thin. It’s often better to use a smaller nozzle for highly detailed models that you intend to print at a larger scale.
Slicing Strategies: Optimizing for Nozzle and Bed Size
The slicing software is your bridge between a 3D model (like an STL file) and the instructions your 3D printer needs to execute. Properly configuring your slicer based on your chosen nozzle size and your printer’s build volume is paramount for achieving optimal print quality, speed, and success rates. This involves adjusting not just basic settings but also understanding how they interact with your hardware limitations.
For example, if you’ve swapped to a 0.2mm nozzle for extreme detail on a classic car model, you’ll need to inform your slicer. Likewise, if you’re printing a large object that necessitates splitting it into multiple parts due to bed size limitations, your slicer settings will need to account for how these parts will be assembled.
Configuring Slicer Settings for Different Nozzle Sizes
The most critical step when changing your nozzle size is to update the corresponding setting in your slicer’s printer profile. Most slicers have a “Machine Settings” or “Printer Properties” section where you can input the nozzle diameter. Failing to do this will lead to incorrect extrusion calculations, resulting in either severe under-extrusion (if the slicer thinks you have a larger nozzle) or over-extrusion (if it thinks you have a smaller nozzle).
Beyond the nozzle diameter setting, other parameters need adjustment:
- Line Width (Extrusion Width): While the slicer often automatically sets this based on the nozzle diameter, it’s good practice to verify. For a 0.4mm nozzle, a line width of 0.4mm is standard. For a 0.2mm nozzle, you might use a line width of 0.2mm. For a 0.8mm nozzle, 0.8mm is common, but you might even go slightly wider (e.g., 0.9-1.0mm) for maximum speed and strength.
- Wall Thickness (Shell Thickness): If you’re using a smaller nozzle for detail, you can often achieve thinner walls (e.g., 0.8mm or 1.2mm) with good integrity, as they will be printed with multiple passes of the fine extrusion line. For larger nozzles, ensure your wall thickness is at least twice the line width to guarantee solid walls.
- Print Speed: Smaller nozzles generally require slower print speeds (e.g., 30-50 mm/s) to ensure proper filament melting and extrusion. Larger nozzles can often handle much higher speeds (e.g., 60-100 mm/s or more) for faster prints.
- Retraction Settings: Fine-tuning retraction distance and speed is crucial, especially with smaller nozzles, to prevent stringing and oozing, which can ruin delicate details.
Managing Large Prints and Bed Size Limitations
When a model exceeds your printer’s build volume, the solution is to split it into smaller, manageable parts. This process can be done in several ways:
- Slicer’s Built-in Tools: Many slicers (like Cura’s “Cut” tool or PrusaSlicer’s “Cut Object” feature) allow you to slice models directly within the software. You can choose an axis or a plane to cut the model and then place the resulting parts on the build plate.
- External 3D Modeling Software: For more complex cuts or to strategically hide seams (e.g., along panel lines of a car model), using software like Blender, Meshmixer, or Fusion 360 offers greater control. You can split the model, add registration keys or interlocking features, and ensure the cut surfaces are manifold (watertight).
When splitting models, consider these factors:
- Orientation of Parts: Orient each part on the build plate to optimize strength, minimize supports, and ensure the best surface finish for visible areas.
- Assembly: Design or utilize features like pins, sockets, or flat surfaces for gluing. Adding alignment keys or notches can make assembly much easier and more accurate.
- Tolerances: When designing interlocking parts, ensure there’s a slight tolerance (e.g., 0.2-0.4mm clearance) to account for printing inaccuracies and allow parts to fit together snugly without excessive force.
Layer Height and Infill: Balancing Detail, Strength, and Time
Layer height is a direct determinant of vertical resolution. A smaller layer height (e.g., 0.08mm or 0.1mm) results in smoother curves and more visible detail, ideal for highly detailed car models. However, it significantly increases print time. A larger layer height (e.g., 0.2mm or 0.3mm) drastically reduces print time but makes layer lines more apparent.
The choice of layer height is also influenced by your nozzle size. You cannot print a layer height significantly larger than your nozzle diameter without causing extrusion issues. A common rule of thumb is that the layer height should be between 25% and 75% of the nozzle diameter. For a 0.4mm nozzle, this means layer heights of 0.1mm to 0.3mm are generally safe. For a 0.2mm nozzle, you’d stick to 0.05mm to 0.15mm.
Infill density and pattern play a role in both strength and print time, and can be adjusted based on the model’s purpose:
- Display Models: Low infill (5-15%) with patterns like grid or gyroid is usually sufficient. Focus on strong outer walls for surface quality.
- Functional Parts: Higher infill (30-70% or more) with strong patterns like cubic, gyroid, or honeycomb provides better structural integrity. Consider increasing wall count as well.
When printing large objects that have been split, you may choose different infill settings for different parts depending on their structural importance.
Material Considerations: Choosing the Right Filament for Your Project
The vast array of filament materials available for 3D printing means that material selection is as crucial as nozzle and bed size. Each material possesses unique properties that make it suitable for specific applications, influencing printability, strength, temperature resistance, and aesthetic finish. Understanding these differences is key to successful prints, especially when working with detailed models.
For automotive models, whether for display or functional prototyping, material choice significantly impacts the final outcome. Factors like ease of printing, post-processing capabilities (sanding, painting), and durability all come into play.
Common Filament Types and Their Suitability
- PLA (Polylactic Acid): The most common and beginner-friendly filament. It’s easy to print, comes in a vast array of colors, and has low warping tendencies. PLA is excellent for display models due to its fine detail capabilities and ease of finishing. However, it has low heat resistance (softens around 60°C) and can be brittle. Ideal for detailed 88cars3d.com models intended for indoor display.
- PETG (Polyethylene Terephthalate Glycol): Offers a good balance of strength, durability, and ease of printing, bridging the gap between PLA and ABS. It’s more temperature resistant than PLA and less prone to warping than ABS. PETG is a great choice for functional automotive parts or models that might experience some stress. It can be more prone to stringing than PLA.
- ABS (Acrylonitrile Butadiene Styrene): Known for its high strength, temperature resistance, and impact resistance. It’s the material used in many injection-molded plastic parts, including LEGO bricks. However, ABS is notoriously difficult to print due to significant warping and the need for a heated enclosure and high bed temperatures. It also emits fumes that require good ventilation. Best suited for functional parts that require high durability and temperature resistance where advanced printing setups are available.
- TPU/TPE (Thermoplastic Polyurethane/Elastomer): Flexible filaments. While not typically used for the main body of car models, they can be useful for printing tires, flexible hoses, or vibration-dampening components. Printing flexibles requires slower speeds and often specific extruder setups.
Resin vs. FDM for Automotive Models
While this guide focuses primarily on FDM printing, it’s worth noting the existence of resin printing (SLA/DLP/MSLA) for highly detailed applications. Resin printers use a UV-curable liquid resin that is selectively cured by a light source. They excel at producing exceptionally smooth surfaces and incredibly fine details, making them ideal for small-scale, intricate models where layer lines are completely unacceptable.
FDM Pros: Larger build volumes are more common and affordable, wider material selection, generally faster for larger prints, stronger parts possible, lower cost per print. Ideal for larger scale models, functional prototypes, and when budget is a concern.
FDM Cons: Visible layer lines, less fine detail than resin, potential for warping with certain materials.
Resin Pros: Exceptional detail and surface finish, very smooth surfaces, minimal visible layer lines. Ideal for highly detailed small-scale collectibles.
Resin Cons: Smaller build volumes are typical, materials can be brittle and degrade over time with UV exposure, post-processing involves washing and curing with potentially hazardous chemicals, higher cost per print.
For many users of 88cars3d.com, FDM printing provides the best balance of cost, flexibility, and quality for detailed car models. However, for those seeking the absolute highest level of detail on small scales, resin printing is the superior choice.
Print Settings Tailored to Materials
Each filament requires specific print settings:
- Temperature: Nozzle and bed temperatures are critical. PLA typically prints at 190-220°C nozzle and 50-60°C bed. PETG requires higher temperatures (230-250°C nozzle, 70-85°C bed). ABS needs even higher temperatures (230-260°C nozzle, 90-110°C bed) and an enclosure. Always refer to the filament manufacturer’s recommendations.
- Cooling Fan Speed: PLA benefits from strong cooling to solidify quickly and maintain detail. PETG and ABS generally require less cooling to improve layer adhesion and reduce warping.
- Print Speed: As mentioned earlier, this is influenced by nozzle size, but also material. Flexible filaments like TPU require very slow speeds (20-30 mm/s).
- Bed Adhesion: Different materials adhere better to different surfaces. PLA often sticks well to glass or PEI with a bit of glue stick. PETG can adhere strongly to PEI, sometimes too strongly, requiring a release agent. ABS benefits from a heated bed and sometimes specialized surfaces like ABS slurry.
Experimentation is key. Start with recommended settings and make small adjustments based on your observations of the print quality, layer adhesion, and surface finish.
Printer Calibration and Maintenance: The Unsung Heroes of Quality Prints
Even with the perfect nozzle size, build volume, and slicing strategy, poor printer calibration and inadequate maintenance can derail even the simplest print. These fundamental aspects are the unsung heroes of reliable and high-quality 3D printing, ensuring your printer performs at its best, whether you’re printing a miniature classic car or a functional automotive component.
A well-calibrated printer is predictable. Its movements are accurate, its extrusion is consistent, and its layers adhere properly. Neglecting these steps is akin to trying to paint a masterpiece with a blunt brush and smudged canvas.
Ensuring Accurate Extrusion: E-steps and Flow Rate
E-steps Calibration: This process calibrates the extruder motor to ensure that when your printer is instructed to extrude a certain length of filament (e.g., 100mm), it actually extrudes that amount. Incorrect E-steps lead to over-extrusion (blobs, poor detail, dimensional inaccuracy) or under-extrusion (gaps, weak layers, poor adhesion).
- Heat your nozzle to printing temperature.
- Mark 120mm of filament from the extruder entry point.
- Manually command the extruder to extrude 100mm of filament via your printer’s control interface.
- Measure the distance from the extruder entry point to your mark.
- Calculate the new E-steps value:
New E-steps = (Old E-steps * 100) / (Actual Extruded Amount) - Save the new value to your printer’s firmware (e.g., using M92 E[new value] followed by M500 to save).
Flow Rate (Extrusion Multiplier): Once E-steps are calibrated, flow rate allows for fine-tuning material output, especially useful when switching filaments or if you notice slight over/under-extrusion. This is typically adjusted as a percentage in your slicer settings. Printing a single-wall cube and measuring the wall thickness can help dial this in. If the wall is thicker than expected (e.g., your slicer set it to 0.4mm, but it measures 0.45mm), reduce the flow rate slightly.
Bed Leveling and Z-Offset: The Foundation of Your Print
A level bed is crucial for the first layer to adhere uniformly across the entire print surface. A Z-offset is the precise distance between the nozzle tip and the bed when the printer reports “zero” height. An incorrect Z-offset can lead to:
- Too High: Filament doesn’t stick, prints slide around, first layer is squished and uneven.
- Too Low: No filament can extrude, nozzle scrapes the bed, can damage the bed surface or nozzle.
Most modern printers have auto bed leveling (ABL) systems, but they still require a proper Z-offset to be set. Perform ABL, then print a first-layer calibration test (often a large square or circle). Adjust the Z-offset in small increments (e.g., -0.02mm to -0.05mm) while the first layer is printing until you achieve a smooth, consistent extrusion with good adhesion and no gaps between lines.
Nozzle and Hotend Maintenance
Nozzle Cleaning: Filament residue, burnt plastic, or clogs can impair print quality. Regularly inspect your nozzle. A “cold pull” is an effective method for cleaning a partially clogged nozzle: heat the nozzle, push filament through, let it cool slightly (around 90-100°C for PLA), then quickly pull the filament out, bringing trapped debris with it. Repeat as necessary.
Hotend Assembly: Ensure the heat break is properly seated and the heater block is tight. Loose components can lead to heat creep and inconsistent extrusion. Inspect the PTFE tube inside the hotend (if applicable) for degradation, especially when printing at higher temperatures.
Mechanical Checks
Periodically check the tension of your printer’s belts (X and Y axes). Loose belts can cause ringing artifacts (ghosting) on the print surface and dimensional inaccuracies. Ensure all screws and bolts on the printer’s frame and motion system are secure. Lubricate linear rails or rods according to your printer manufacturer’s recommendations.
By dedicating time to calibration and maintenance, you ensure your printer is a reliable tool, capable of producing the high-quality results expected from detailed models found on platforms like 88cars3d.com.
Conclusion: Elevating Your 3D Printing with Informed Hardware Choices
The journey to mastering 3D printing, particularly for intricate subjects like automotive models, is deeply intertwined with understanding your hardware’s capabilities and limitations. The choice between nozzle sizes—from the ultra-fine 0.2mm for capturing every subtle curve of a vintage sports car to the robust 0.8mm for rapidly producing larger functional parts—fundamentally dictates the balance between detail, print time, and material efficiency. Similarly, your printer’s build volume acts as the canvas for your creations, determining whether you can print a complete model in one go or must skillfully divide it into smaller components for assembly.
This guide has navigated the technical landscape, highlighting how nozzle diameter influences extrusion width, layer resolution, and printing speed. We’ve explored the spectrum of build volumes, from compact standard beds to expansive large-format platforms, and discussed strategies for managing prints that exceed these physical boundaries. Furthermore, we’ve emphasized the critical role of slicing software in translating these hardware choices into successful prints, adjusting parameters like line width, wall thickness, and print speed to match your chosen nozzle and material. Material selection and consistent printer calibration, often overlooked, have also been presented as essential pillars supporting the entire process.
By internalizing these principles—understanding the trade-offs of nozzle size, leveraging your build volume effectively, optimizing slicer settings, selecting appropriate materials, and committing to regular calibration—you are empowered to tackle increasingly complex and rewarding projects. Whether you’re sourcing premium STL files from 88cars3d.com or embarking on your own design journey, these technical insights will serve as your guide to achieving superior print quality, enhanced durability, and ultimately, a more fulfilling 3D printing experience. Embrace the learning process, experiment with settings, and watch as your 3D printed automotive masterpieces come to life with unprecedented fidelity and success.
“`
Featured 3D Car Models

Cadillac CTS-V Coupe 3D Model
Meta Description:
Texture: Yes
Material: Yes
Download the Cadillac CTS-V Coupe 3D Model featuring detailed exterior styling and realistic interior structure. Includes .blend, .fbx, .obj, .glb, .stl, .ply, .unreal, and .max formats for rendering, simulation, AR VR, and game development.
Price: $13.9
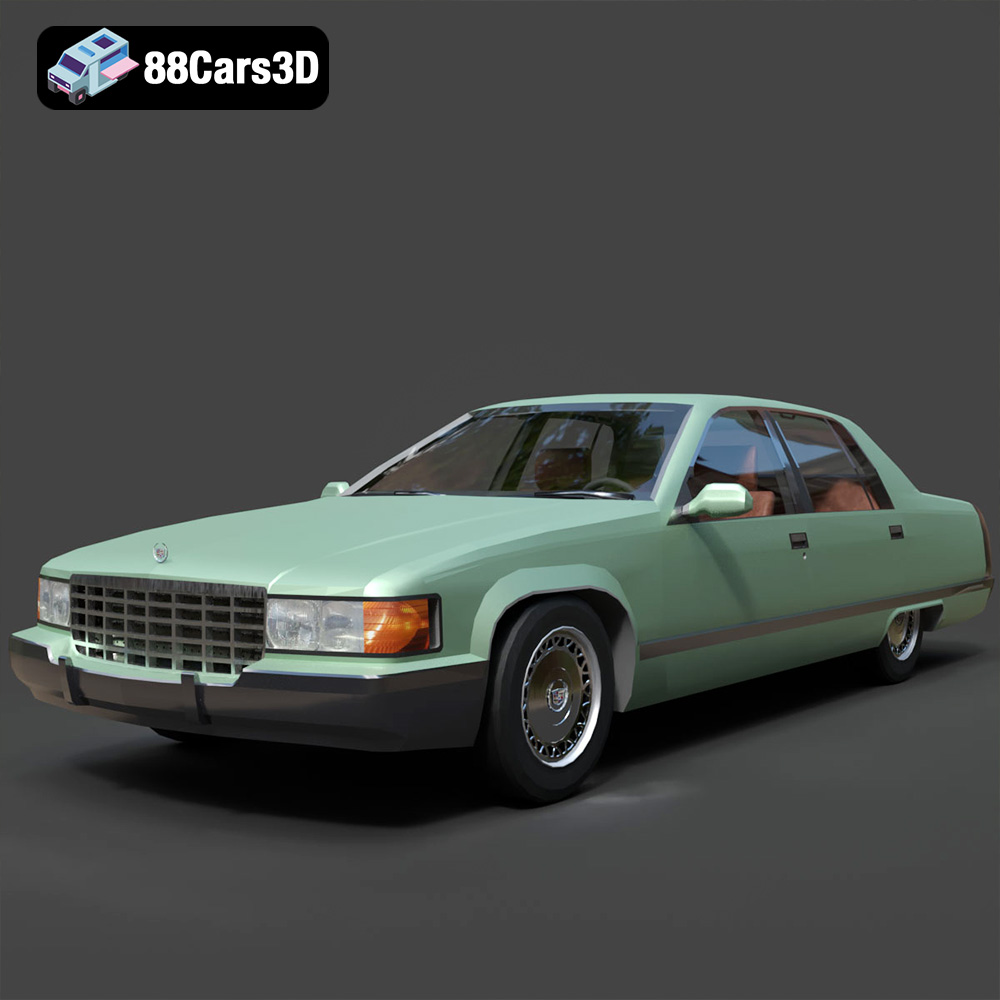
Cadillac Fleetwood Brougham 3D Model
Texture: Yes
Material: Yes
Download the Cadillac Fleetwood Brougham 3D Model featuring its iconic classic luxury design and detailed exterior and interior. Includes .blend, .fbx, .obj, .glb, .stl, .ply, .unreal, and .max formats for rendering, simulation, and game development.
Price: $10.79
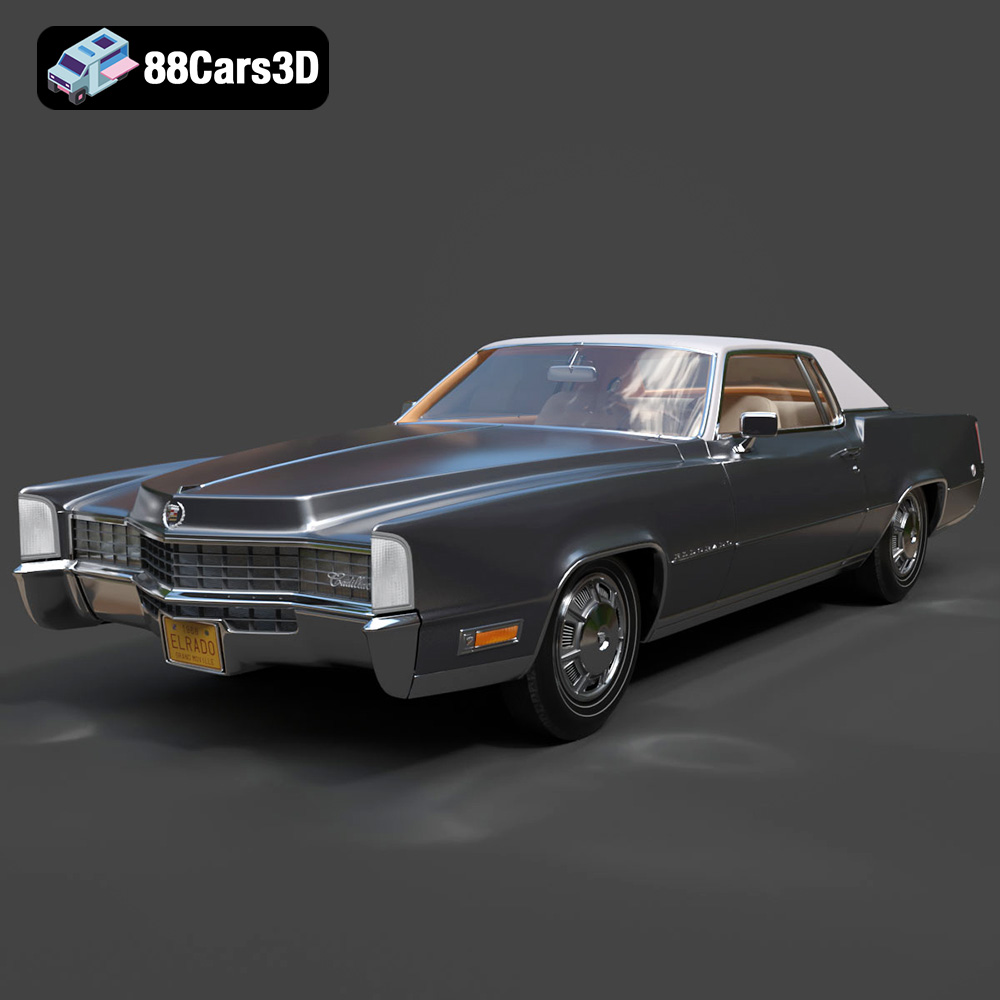
Cadillac Eldorado 1968 3D Model
Texture: Yes
Material: Yes
Download the Cadillac Eldorado 1968 3D Model featuring its iconic elongated body, distinctive chrome accents, and luxurious interior. Includes .blend, .fbx, .obj, .glb, .stl, .ply, .unreal, and .max formats for rendering, simulation, and game development.
Price: $20.79

Cadillac CTS SW 2010 3D Model
Texture: Yes
Material: Yes
Download the Cadillac CTS SW 2010 3D Model featuring a detailed exterior, functional interior elements, and realistic materials. Includes .blend, .fbx, .obj, .glb, .stl, .ply, .unreal, and .max formats for rendering, simulation, and game development.
Price: $10.79
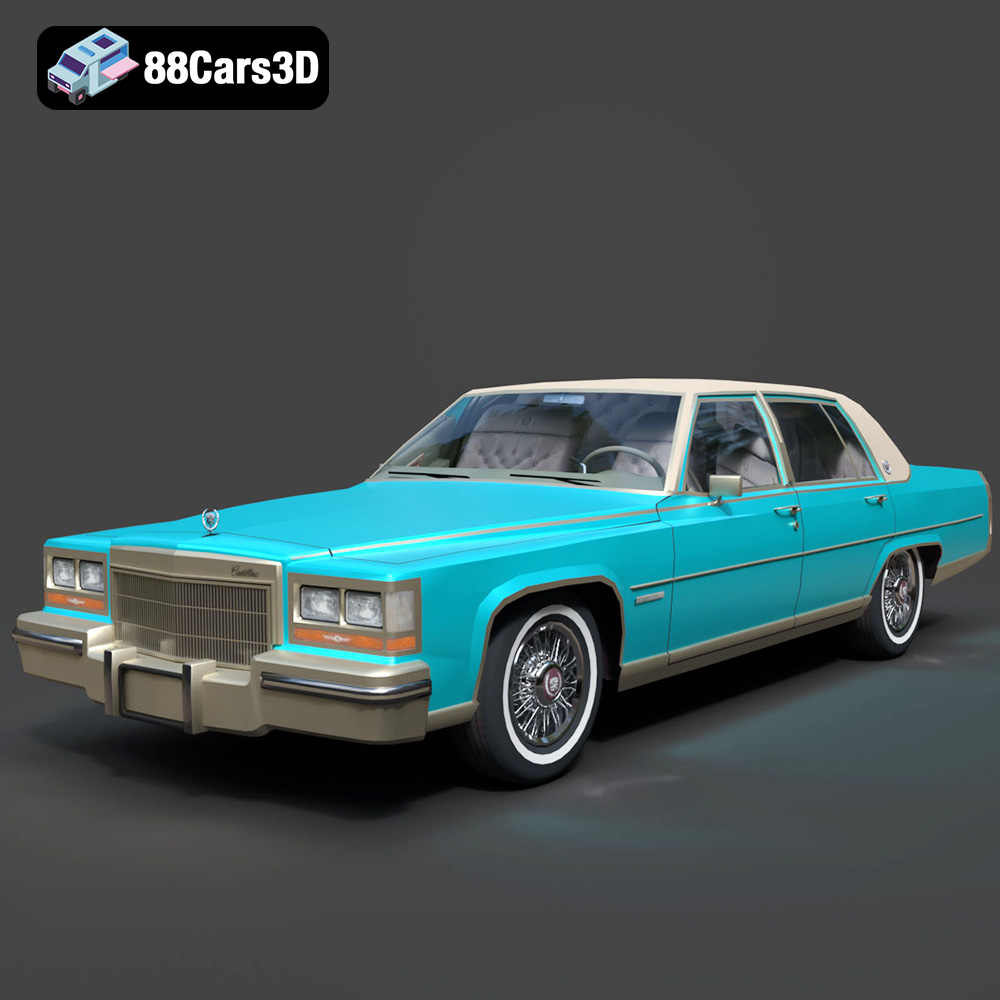
Cadillac Fleetwood Brougham 1985 3D Model
Texture: Yes
Material: Yes
Download the Cadillac Fleetwood Brougham 1985 3D Model featuring its iconic classic luxury design and detailed craftsmanship. Includes .blend, .fbx, .obj, .glb, .stl, .ply, .unreal, and .max formats for rendering, simulation, and game development.
Price: $10.79
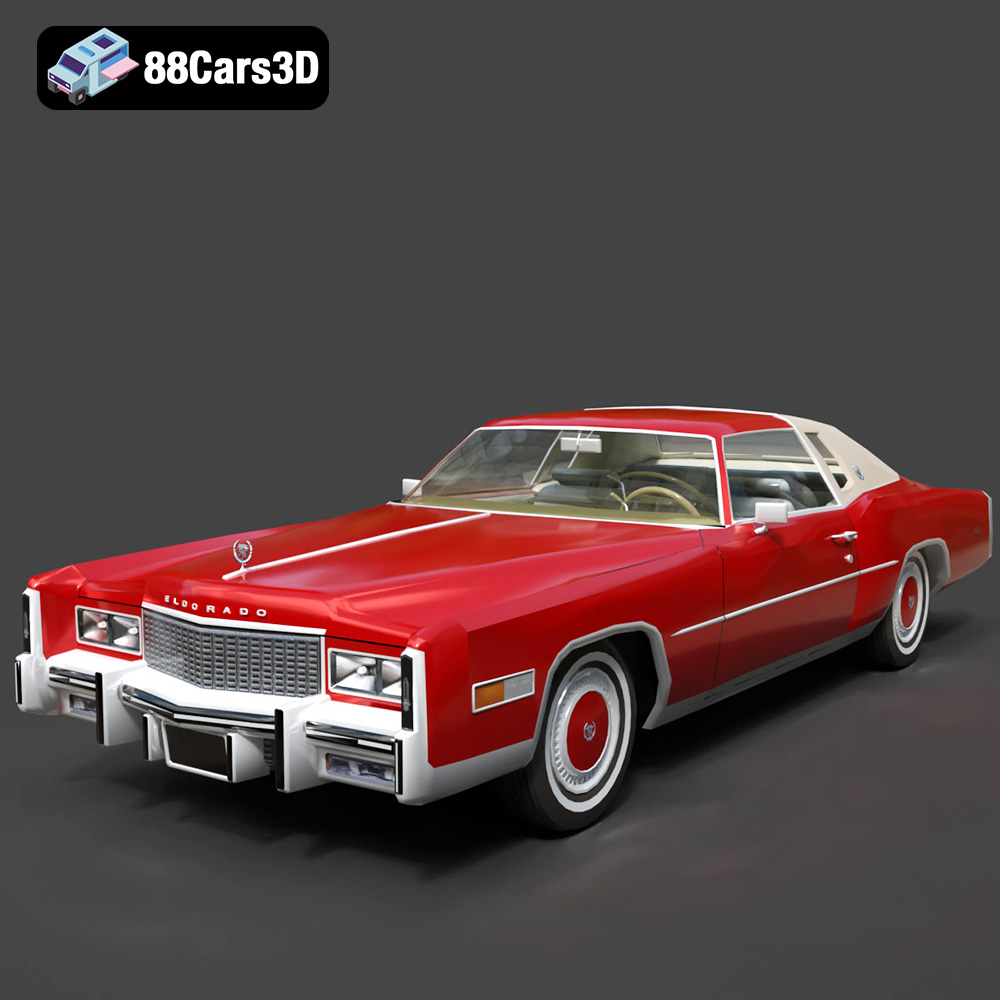
Cadillac Eldorado 1978 3D Model
Texture: Yes
Material: Yes
Download the Cadillac Eldorado 1978 3D Model featuring accurately modeled exterior, detailed interior, and period-correct aesthetics. Includes .blend, .fbx, .obj, .glb, .stl, .ply, .unreal, and .max formats for rendering, simulation, and game development.
Price: $10.79
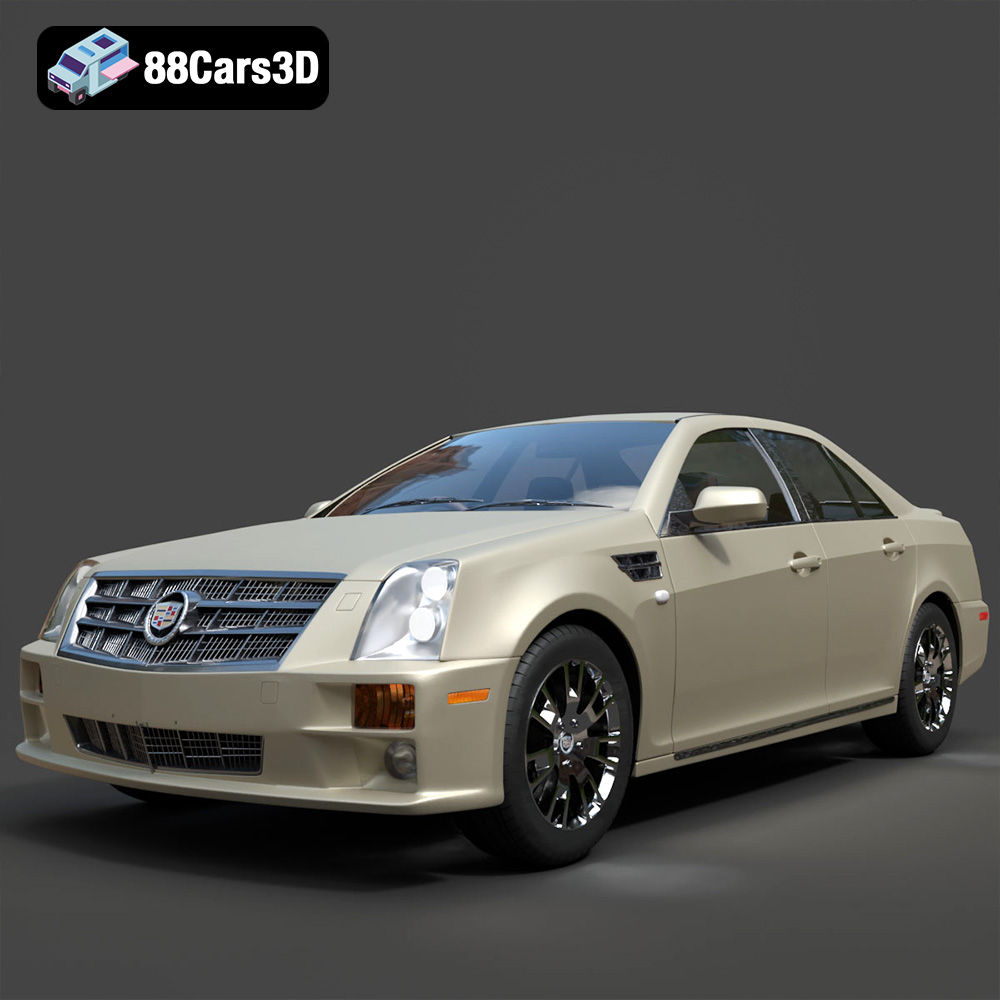
Cadillac STS-005 3D Model
Texture: Yes
Material: Yes
Download the Cadillac STS-005 3D Model featuring a detailed exterior and interior. Includes .blend, .fbx, .obj, .glb, .stl, .ply, .unreal, and .max formats for rendering, simulation, and game development.
Price: $22.79
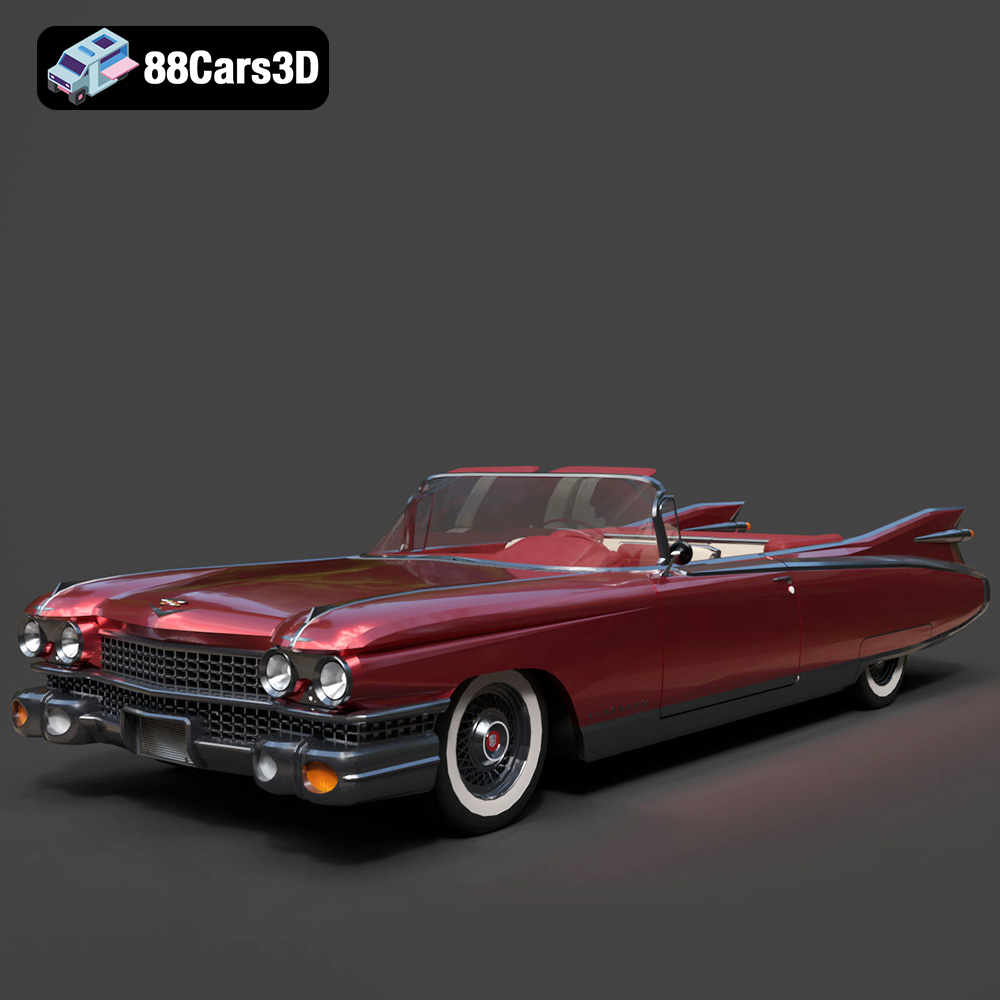
Cadillac Eldorado Convertible (1959) 3D Model
Texture: Yes
Material: Yes
Download the Cadillac Eldorado Convertible (1959) 3D Model featuring iconic fins, luxurious chrome details, and a classic vintage design. Includes .blend, .fbx, .obj, .glb, .stl, .ply, .unreal, and .max formats for rendering, simulation, and game development.
Price: $20.79

Cadillac DTS-005 3D Model
Texture: Yes
Material: Yes
Download the Cadillac DTS-005 3D Model featuring its iconic luxury design, detailed interior, and realistic exterior. Includes .blend, .fbx, .obj, .glb, .stl, .ply, .unreal, and .max formats for rendering, simulation, and game development.
Price: $10.79

Buick LeSabre 1998 3D Model
Texture: Yes
Material: Yes
Download the Buick LeSabre 1998 3D Model featuring a classic American full-size sedan design. Includes .blend, .fbx, .obj, .glb, .stl, .ply, .unreal, and .max formats for rendering, simulation, and game development.
Price: $10.79
