Get 20% OFF All Premium 3D & STL Models!

“`html
The allure of iconic vehicles, from classic muscle cars to sleek supercars, has captivated enthusiasts for generations. Today, with the advent of accessible 3D printing technology, bringing these automotive dreams to life in miniature form is more attainable than ever. While the prospect of creating your own 3D printed car models is exciting, achieving realistic and high-quality results requires a blend of technical understanding and practical execution. This guide dives deep into the essential aspects of transforming 3D printable car models in STL format into stunning physical objects. We’ll cover everything from understanding the intricacies of STL files and preparing your models for printing, to optimizing your 3D printer settings, mastering support structures, and executing flawless post-processing. Whether you’re a seasoned maker or just starting your 3D printing journey, this comprehensive guide will equip you with the knowledge to produce breathtakingly realistic car models.
The journey to a perfect 3D printed car model begins with the digital file itself. The STL (Stereolithography) file format is the de facto standard in 3D printing, representing a 3D object’s surface geometry as a collection of triangular facets. While seemingly simple, the underlying structure of these triangles—the mesh topology—is crucial for successful printing.
An STL file describes a 3D model using a series of interconnected triangles. Each triangle is defined by the coordinates of its three vertices and a normal vector, which indicates the outward-facing direction of the surface. For successful 3D printing, it’s imperative that the mesh is manifold, meaning it forms a watertight, closed surface with no holes, gaps, or self-intersections. Imagine a 3D object needing to be a solid container; any breaches in the surface would cause the slicer software to interpret it incorrectly, leading to printing errors like missing sections or corrupted layers. Many complex models, especially those downloaded from various sources, may contain non-manifold geometry. Fortunately, powerful tools exist to diagnose and repair these issues.
Before sending an STL file to your slicer, a thorough inspection and potential repair are often necessary. Software like Meshmixer (free), Autodesk Netfabb (professional), or even features within some slicers like PrusaSlicer and Cura can analyze your mesh for errors. Common issues include:
Automated repair functions in these programs can often fix most common errors. For more intricate issues, manual editing in 3D modeling software like Blender might be required. When downloading high-quality printable car models from platforms like 88cars3d.com, you’ll often find that files are already expertly prepared, minimizing the need for extensive mesh repair. However, understanding these principles is vital for any model you encounter.
The STL file is just the blueprint; the slicer software is the architect that translates this digital model into a series of instructions—G-code—that your 3D printer can understand. This process involves meticulously setting various parameters to dictate how the printer builds the model layer by layer. Choosing the right settings is paramount for achieving intricate details and smooth surfaces characteristic of realistic car models.
One of the most significant factors influencing print quality and time is layer height. This setting determines the thickness of each individual layer the printer deposits.
For most realistic car models from marketplaces like 88cars3d.com, a layer height between 0.1mm and 0.15mm offers a good balance between detail and reasonable print times, especially for FDM printers. Resin printers, by their nature, can achieve much finer layer heights, leading to exceptional detail.
The infill dictates the internal structure of your print. For car models, which are often displayed rather than subjected to significant stress, infill density can be kept relatively low.
Ensure your slicer is configured to calculate infill correctly, especially on enclosed sections of the model.
Striking the right balance between speed and quality is critical. Printing too fast can lead to poor layer adhesion, reduced detail, and increased ringing artifacts. Printing too slow can lead to over-extrusion and sluggish print times.
Experimenting with temperature towers and speed calibration prints is highly recommended for dialing in optimal settings for your specific printer and filament combination.
Realistic car models often feature complex geometries: undercuts, overhangs, spoilers, and delicate trim. Without proper support structures, these features can sag, droop, or fail entirely during printing. Generating and removing supports effectively is an art form in itself, crucial for achieving a clean, professional finish.
An overhang occurs when a part of the model is printed with no material directly beneath it. Most FDM printers can handle shallow overhangs (typically up to 45-60 degrees) printed in thin air. Anything beyond that threshold will likely require support. Features like car roofs, spoilers, and wheel arches often necessitate supports. The goal is to provide just enough temporary scaffolding for these features to form correctly, without making them impossible to remove cleanly.
Modern slicers offer sophisticated support generation options:
Support Interface settings are also vital. Enabling a solid “interface” layer at the top of the supports, directly touching the model, can significantly improve the surface finish of the overhang, creating a smoother surface that is easier to sand later.
Careful removal is as important as generation.
Many highly detailed car models are designed with minimal or easily removable supports in mind, a hallmark of quality files from sources like 88cars3d.com.
How you position your car model on the print bed and ensure it sticks firmly can dramatically impact the success of your entire print. The initial layers are the foundation upon which everything else is built, and any issues here can cascade into significant problems.
The orientation of your model on the build plate affects:
For car bodies, printing them upright or slightly angled (e.g., tilted back 10-15 degrees) often provides a good balance, minimizing supports on critical exterior surfaces while keeping the bottom relatively clean.
Poor bed adhesion is one of the most common causes of print failure. It can lead to the model detaching mid-print, resulting in spaghetti-like messes or complete print failure.
Proper first layer calibration and adhesion techniques are foundational for printing any 3D model successfully, especially intricate ones.
The choice of printing material significantly influences the final look, feel, and durability of your 3D printed car model. Different filaments offer unique properties, and understanding these is key to selecting the best option for your project.
For most hobbyist applications and detailed models, several filament types stand out:
While FDM printing is accessible and versatile, resin printing (using SLA or DLP technologies) excels when absolute fidelity and microscopic detail are paramount.
For the absolute highest level of realism in 3D printed car models, particularly for scale model enthusiasts, resin printing is often the preferred method, despite the increased complexity and cost.
Consider how you intend to finish your model.
Many collectors prefer to print in a neutral color like grey or white and then meticulously paint the model to achieve a show-quality finish.
The journey doesn’t end when the print is finished. Post-processing is where a good 3D print transforms into a truly realistic scale model. This stage involves cleaning, refining surfaces, and bringing the model to life with color and detail.
Even with optimal print settings, some layer lines or minor imperfections may be visible.
Achieving a realistic paint job requires patience and technique.
Many complex car models are designed to be printed in multiple parts for easier printing and assembly.
The meticulous attention to detail in the post-processing stage is what truly separates a good 3D print from a stunning, museum-quality replica.
3D printing realistic car models from STL files is a rewarding endeavor that combines digital design, precise fabrication, and artistic finishing. By understanding the nuances of STL files, mastering slicer settings, correctly utilizing support structures, ensuring robust bed adhesion, choosing the right materials, and dedicating time to post-processing, you can transform digital designs into tangible masterpieces. Platforms like 88cars3d.com provide access to expertly crafted, print-ready car models, setting you up for success from the very start. Whether you’re printing for display, a hobby collection, or educational purposes, the principles outlined in this guide will serve as your roadmap to achieving unparalleled realism and quality in your 3D printed automotive creations. Embrace the process, experiment with settings, and enjoy bringing the world’s most iconic vehicles to life on your print bed!
“`
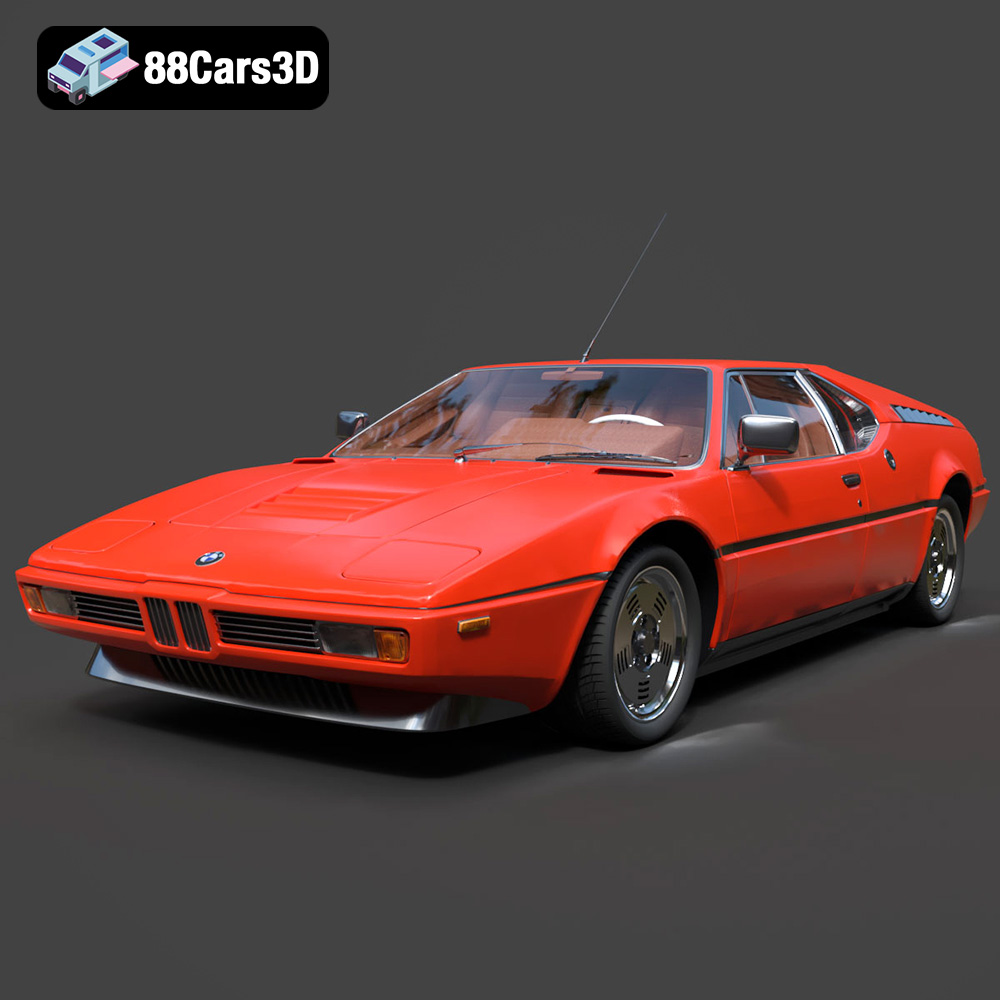
Texture: Yes
Material: Yes
Download the BMW Motorsport M1 E26 1981 3D Model featuring its iconic design, race-bred aerodynamics, and meticulously crafted details. Includes .blend, .fbx, .obj, .glb, .stl, .ply, .unreal, and .max formats for rendering, simulation, and game development.
Price: $20.79

Meta Description:
Texture: Yes
Material: Yes
Download the Cadillac CTS-V Coupe 3D Model featuring detailed exterior styling and realistic interior structure. Includes .blend, .fbx, .obj, .glb, .stl, .ply, .unreal, and .max formats for rendering, simulation, AR VR, and game development.
Price: $13.9
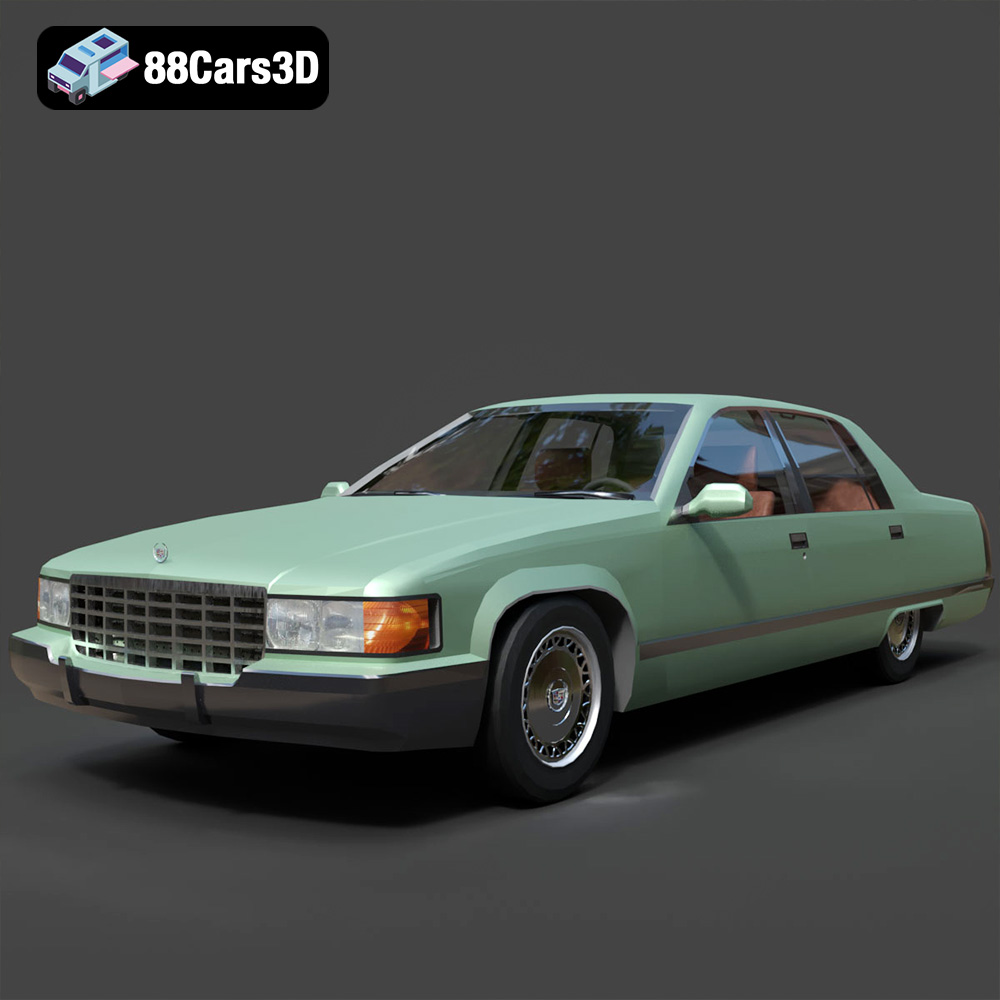
Texture: Yes
Material: Yes
Download the Cadillac Fleetwood Brougham 3D Model featuring its iconic classic luxury design and detailed exterior and interior. Includes .blend, .fbx, .obj, .glb, .stl, .ply, .unreal, and .max formats for rendering, simulation, and game development.
Price: $10.79
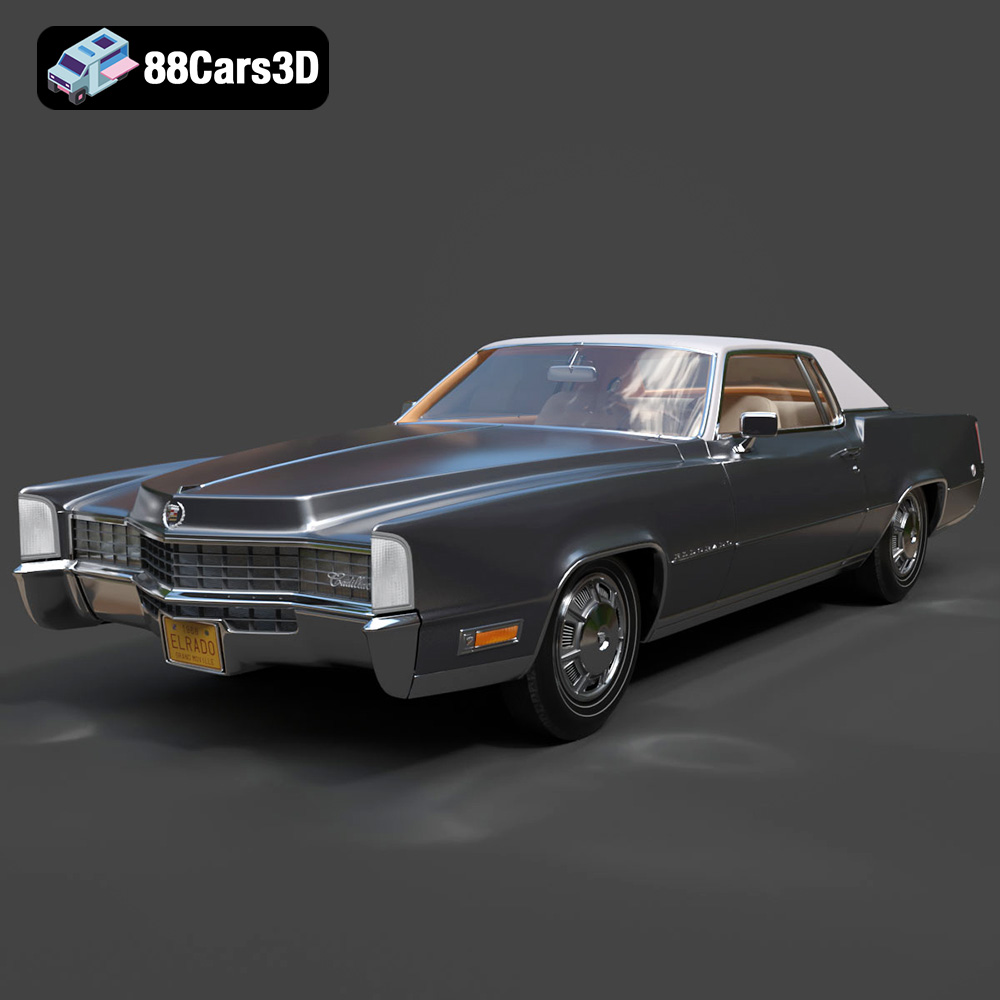
Texture: Yes
Material: Yes
Download the Cadillac Eldorado 1968 3D Model featuring its iconic elongated body, distinctive chrome accents, and luxurious interior. Includes .blend, .fbx, .obj, .glb, .stl, .ply, .unreal, and .max formats for rendering, simulation, and game development.
Price: $20.79

Texture: Yes
Material: Yes
Download the Cadillac CTS SW 2010 3D Model featuring a detailed exterior, functional interior elements, and realistic materials. Includes .blend, .fbx, .obj, .glb, .stl, .ply, .unreal, and .max formats for rendering, simulation, and game development.
Price: $10.79
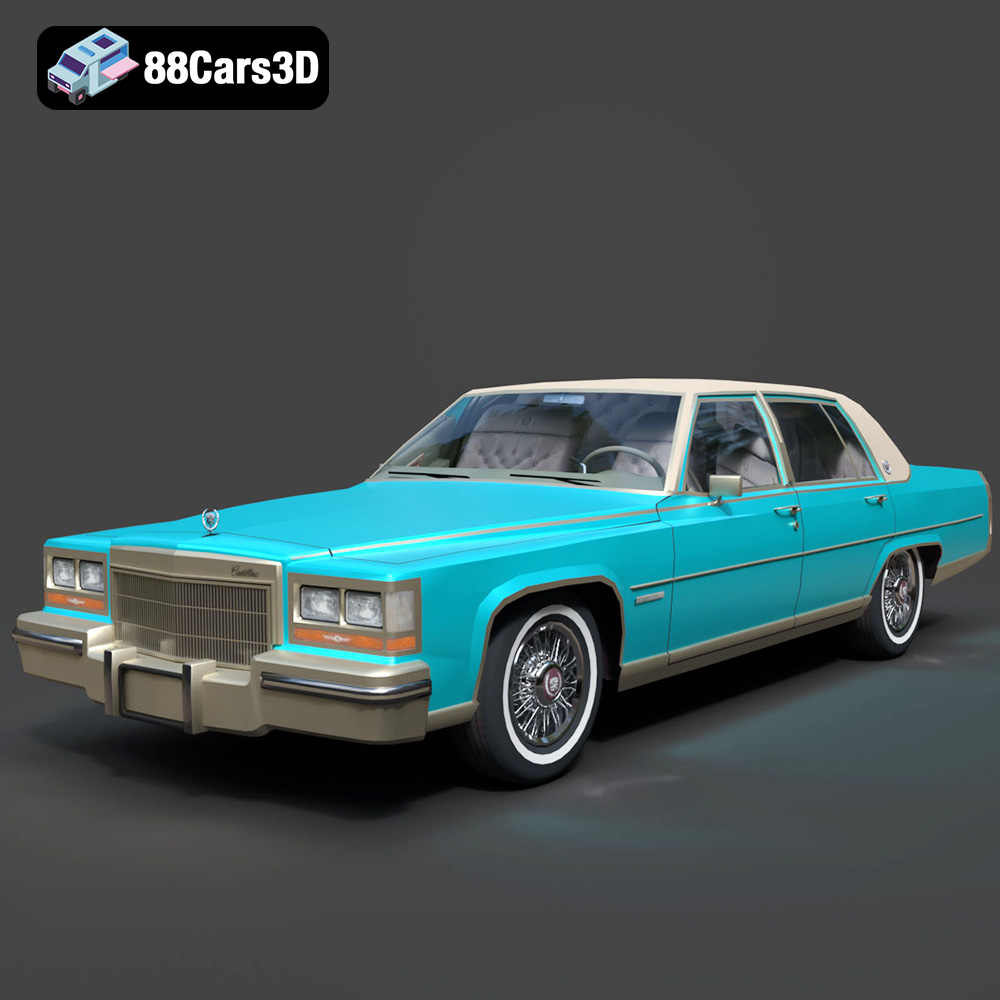
Texture: Yes
Material: Yes
Download the Cadillac Fleetwood Brougham 1985 3D Model featuring its iconic classic luxury design and detailed craftsmanship. Includes .blend, .fbx, .obj, .glb, .stl, .ply, .unreal, and .max formats for rendering, simulation, and game development.
Price: $10.79
Texture: Yes
Material: Yes
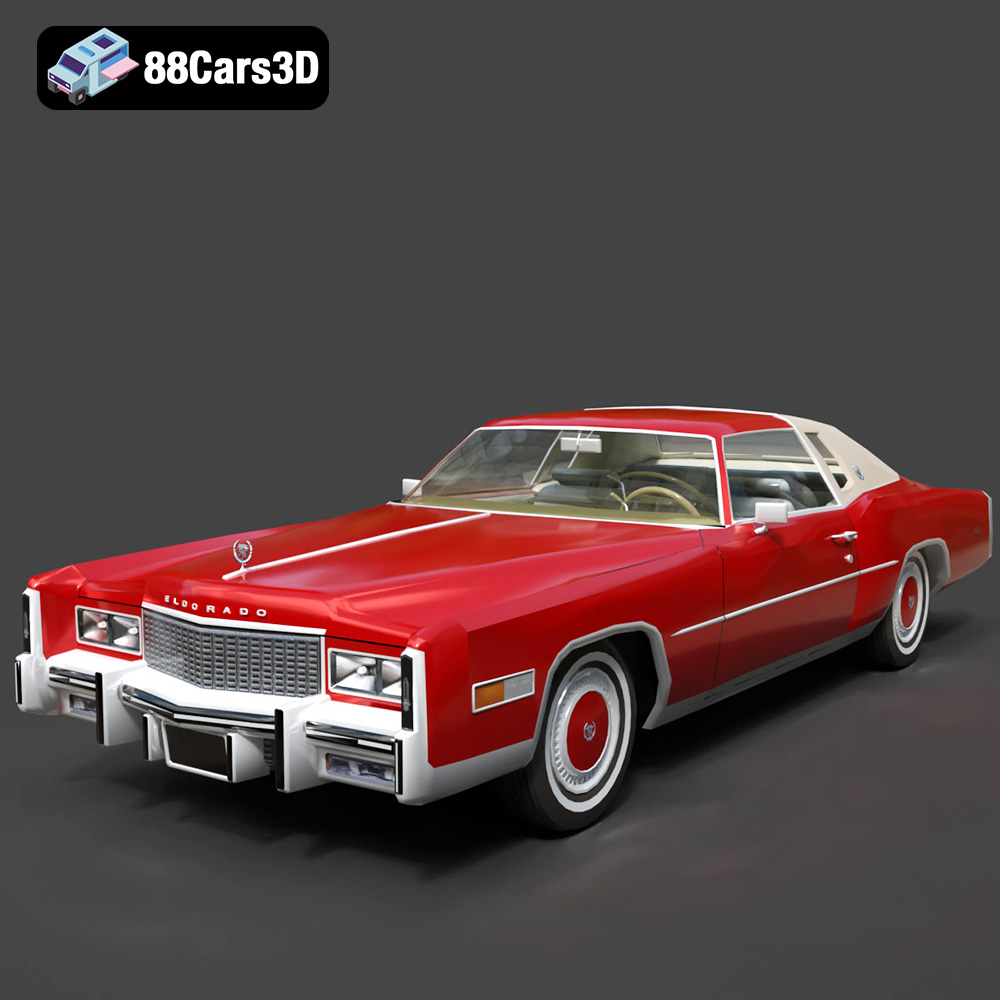
Download the Cadillac Eldorado 1978 3D Model featuring accurately modeled exterior, detailed interior, and period-correct aesthetics. Includes .blend, .fbx, .obj, .glb, .stl, .ply, .unreal, and .max formats for rendering, simulation, and game development.
Price: $10.79
Texture: Yes
Material: Yes
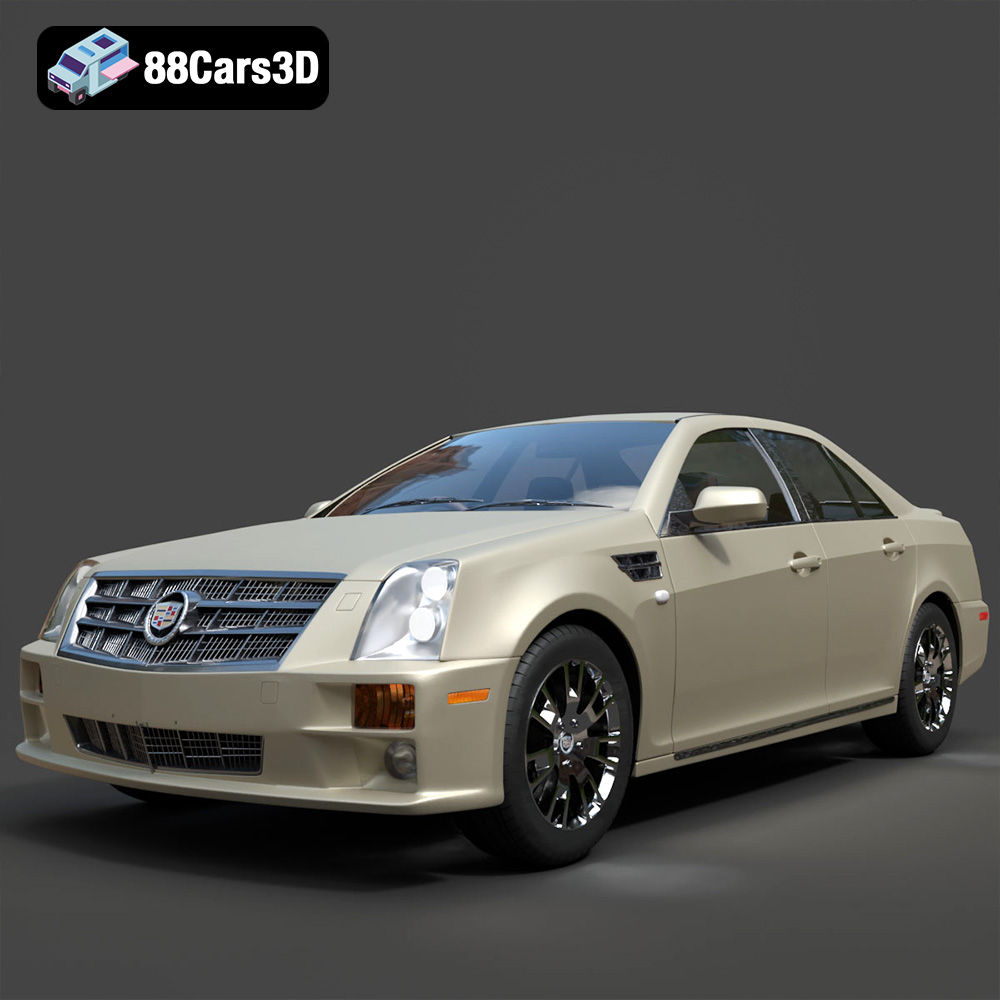
Download the Cadillac STS-005 3D Model featuring a detailed exterior and interior. Includes .blend, .fbx, .obj, .glb, .stl, .ply, .unreal, and .max formats for rendering, simulation, and game development.
Price: $22.79
Texture: Yes
Material: Yes
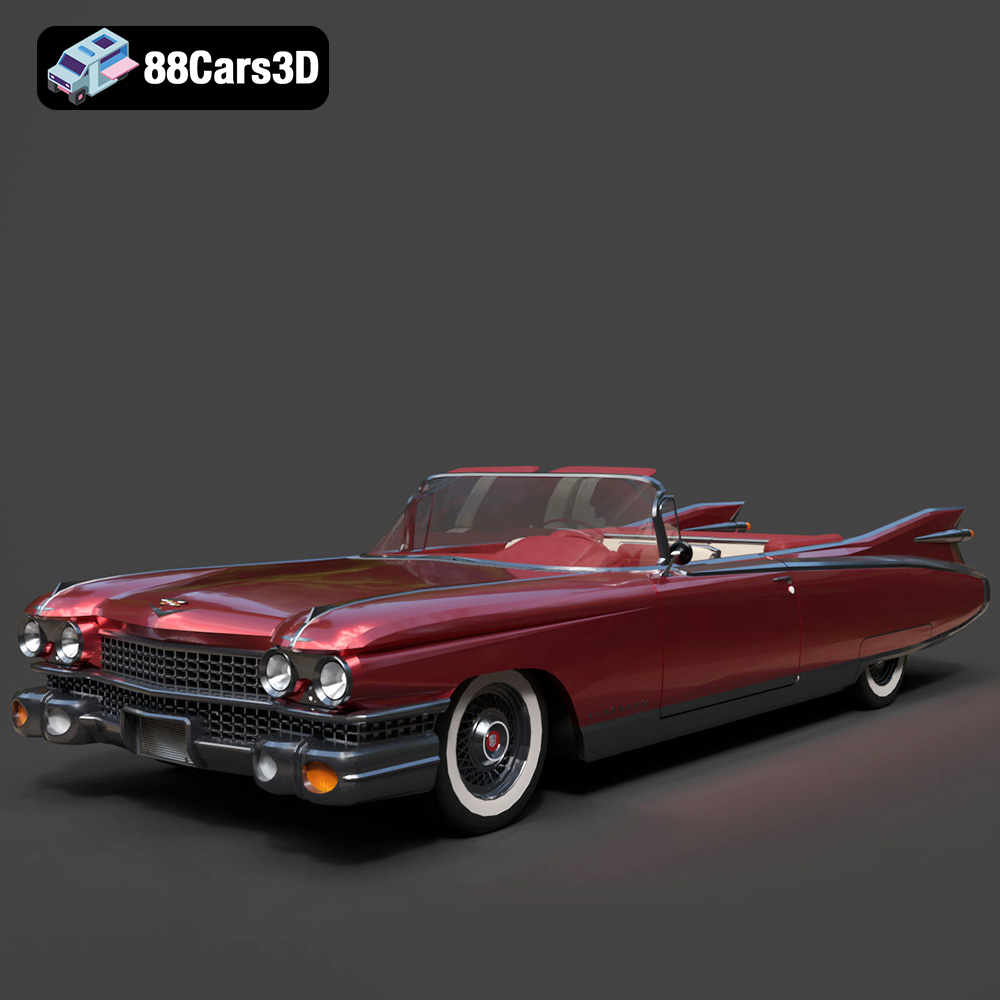
Download the Cadillac Eldorado Convertible (1959) 3D Model featuring iconic fins, luxurious chrome details, and a classic vintage design. Includes .blend, .fbx, .obj, .glb, .stl, .ply, .unreal, and .max formats for rendering, simulation, and game development.
Price: $20.79

Texture: Yes
Material: Yes
Download the Cadillac DTS-005 3D Model featuring its iconic luxury design, detailed interior, and realistic exterior. Includes .blend, .fbx, .obj, .glb, .stl, .ply, .unreal, and .max formats for rendering, simulation, and game development.
Price: $10.79

