

Crafting Automotive Excellence: A Deep Dive into Realistic 3D Tire and Wheel Modeling
The wheels and tires of a vehicle are far more than mere functional components; they are critical elements that define its character, performance, and visual appeal. In the world of 3D automotive visualization, game development, and high-fidelity rendering, the difference between an average car model and an exceptional one often hinges on the meticulous detail and realism achieved in these often-overlooked parts. From the intricate tread patterns that grip the virtual asphalt to the subtle reflections on a polished rim, every element contributes to the overall authenticity.
This comprehensive guide will take you on an in-depth journey through the advanced techniques and industry best practices for creating stunningly realistic 3D tire and wheel models. Whether you’re a seasoned 3D artist, an aspiring game developer, or an automotive designer striving for unparalleled accuracy, understanding these methodologies is paramount. We’ll explore everything from pristine topology and advanced UV mapping to physically-based rendering (PBR) materials and critical optimization strategies for various applications. By the end of this article, you’ll possess the knowledge to elevate your automotive 3D models to a professional standard, ready for any demanding project.
The Foundation: Precision Modeling of Wheel Rims
Creating a convincing wheel rim begins with a solid understanding of its real-world counterpart. Rims are complex assemblies of spokes, barrels, and mounting hubs, often featuring intricate designs that require careful attention to detail and clean topology. The goal is to produce a mesh that is both visually accurate and structurally sound, allowing for smooth subdivision and realistic material application. Ignoring proper edge flow and polygon distribution at this stage will lead to rendering artifacts, jagged edges, and difficulty in UV mapping and texturing later on.
Blueprint Analysis and Reference Setup
Before touching any polygons, meticulous preparation is key. Gather high-resolution blueprints, technical drawings, and multiple photographic references of your chosen wheel. These references should include front, side, top, and perspective views, along with close-ups of specific details like lug nuts, valve stems, and manufacturer logos. Import these images into your 3D software (e.g., 3ds Max, Blender, Maya) and set them up as background planes or reference images, ensuring they are accurately scaled and aligned. This foundational step acts as your guide, preventing guesswork and ensuring precise proportions from the outset. Pay close attention to the rim’s diameter, width, offset, and the specific design language of the spokes and hub, as these details are unique to each wheel.
Core Geometry and Sub-D Modeling Principles
Start by blocking out the fundamental shapes of the rim using simple primitives – cylinders for the main barrel and discs for the face. The majority of high-quality wheel modeling employs a subdivision surface (Sub-D) workflow. This means you model a low-polygon cage that, when subdivided, produces a smooth, high-resolution surface. Focus on maintaining quad-based topology (four-sided polygons) as much as possible, as these deform predictably and subdivide cleanly. Use edge loops to define sharp creases and maintain control over the curvature. For spokes, consider starting with a single spoke and instancing/mirroring it around the center axis once perfected. Techniques like “cut and fill” or “extrude along path” can be invaluable for creating the intricate curves and recesses often found in complex wheel designs. Avoid triangles and N-gons where possible in critical areas, as they can cause pinching and unpredictable surface behavior during subdivision.
Detailing and Bolt Patterns
Once the main structure is established, move on to the finer details. Model the lug nut wells, the center cap, and the valve stem hole with precision. Each lug nut should be a separate, accurately modeled component, as these elements cast subtle shadows and reflections that enhance realism. For the bolt pattern, ensure the spacing and size of the lug nuts match the real-world specifications (e.g., 5×114.3mm). Consider adding small bevels to all hard edges; even microscopic bevels catch light and prevent unnaturally sharp transitions in renders. These seemingly minor details significantly contribute to the overall fidelity and believability of your 3D wheel model, transforming it from a basic shape into a convincing piece of automotive engineering.
Mastering Tire Topography: Tread and Sidewall Realism
Tires are perhaps the most challenging components of a vehicle to model convincingly. Their organic, yet highly structured forms, combined with intricate tread patterns and detailed sidewall text, demand a meticulous approach. The key to realism lies not just in capturing the overall shape, but in accurately reproducing the complex interplay of rubber, air, and ground contact. A poorly modeled tire can instantly detract from an otherwise perfect car model.
High-Poly Tread Pattern Creation
The tire tread is where the rubber meets the road, both literally and figuratively. Creating a high-fidelity tread pattern is often the most time-consuming part of tire modeling. One effective method involves modeling a single segment of the tread (e.g., 1/8th or 1/16th of the full circumference) as a flat mesh, ensuring clean topology. This segment is then duplicated and arrayed around a circular path or along a deformation curve to form the complete tread. Alternatively, some artists prefer to model the tread directly onto a pre-existing cylindrical base, using extrusions, insets, and boolean operations, though this can be more challenging to manage topology. Pay close attention to the depth, angle, and specific design of the sipes and blocks, as these vary wildly between different tire types (e.g., performance, all-season, off-road). For ultimate realism, consider using displacement maps generated from highly detailed sculpts or carefully crafted geometry to add subtle variations and wear to the tread surface, enhancing the sense of grip and functionality.
Sidewall Lettering and Displacement Techniques
The sidewall of a tire is a canvas for crucial information: manufacturer logos, tire size, speed ratings, and other technical data. There are several ways to achieve realistic sidewall lettering. For hero assets and extreme close-ups, modeling the lettering directly into the mesh offers the highest fidelity, allowing for subtle bevels and clean anti-aliasing. This can be achieved by using spline-based tools to create the text outline, then extruding and beveling the resulting geometry onto the tire’s surface. However, this is very polygon-intensive.
A more common and efficient approach for most applications is to use a combination of normal maps and displacement maps. The lettering is created as a 2D texture (ideally vector-based for crispness), then baked into a normal map to simulate depth without additional geometry. For a more pronounced effect, a displacement map can be used in conjunction with a normal map, allowing the lettering to physically push out or indent the tire surface during rendering. This method strikes a good balance between visual realism and polygon budget. Ensure your text is readable and correctly oriented, matching real-world tire brands for authenticity.
Topology for Deformation and Animation
Beyond static renders, tires often need to deform realistically for animations or game physics. This requires a thoughtful approach to topology. The tire mesh should have evenly distributed quad polygons, especially around the contact patch and sidewall areas, to allow for smooth deformation without pinching or stretching. Avoid long, thin polygons. Radial edge loops and concentric loops around the circumference are crucial for maintaining shape integrity during compression or steering. For game assets, where performance is key, a well-constructed low-poly mesh that can be influenced by deformation bones or physics simulations is essential. Even for high-poly models, maintaining a clean, logical edge flow facilitates rigging and animation, ensuring that the tire behaves as expected when interacting with the ground or other forces.
Advanced UV Mapping for Tires and Wheels
UV mapping, the process of flattening a 3D mesh into a 2D space for texture application, is a critical step often underestimated in its complexity, particularly for challenging objects like tires and wheels. Flawless UVs are the foundation for crisp textures, realistic PBR materials, and efficient texture usage. Poor UVs lead to stretched, distorted, or blurry textures, significantly degrading the visual quality of your automotive models.
Planar vs. Cylindrical Mapping Strategies
For wheels, a combination of mapping strategies is usually employed. The main barrel and inner rim sections often benefit from cylindrical mapping, as their shape naturally lends itself to this projection, minimizing seams. Flat faces of spokes or hub caps can be mapped using planar projection. The goal is to orient UV shells (the individual flattened pieces of your mesh) in a way that aligns with the texture and reduces distortion. For complex, organic shapes like spokes, a “peel and unfold” method, often found in tools like Blender’s UV Editor or 3ds Max’s Unwrap UVW modifier, allows you to meticulously cut seams and then relax the UVs into a flat, undistorted state. When working in Blender, for instance, understanding how to use the ‘Mark Seam’ and ‘Unwrap’ features effectively is paramount for clean UV layouts. For detailed guidance on these tools, referring to the official Blender 4.4 documentation at https://docs.blender.org/manual/en/4.4/ can provide invaluable step-by-step instructions.
Optimizing UV Space for Texture Fidelity
Efficient UV packing is about maximizing the use of your 0-1 UV space (the square texture canvas) while minimizing wasted pixels. This ensures that your textures are as sharp and detailed as possible. Arrange your UV shells logically, grouping similar parts together. Scale shells appropriately: larger, more visible parts (like the main face of the wheel or the tire sidewall) should occupy more UV space than smaller, less prominent details (like the inner rim or the back of a spoke). Avoid overlapping UVs unless absolutely necessary for specific texturing techniques (e.g., symmetry on an object where a mirrored texture is desired). Use dedicated UV packing tools within your 3D software or external applications like RizomUV to automatically or semi-automatically arrange your shells for optimal density, reducing the need for excessively high-resolution textures.
Avoiding Seams and Distortion
Strategic seam placement is crucial. Ideally, seams should be hidden in less visible areas, such as the back of the wheel barrel or along the edges of the tire where they meet the rim. For tires, a single seam running down the center of the tread and another along the inner circumference are common, though skilled artists can often hide them better. Always check for texture distortion using a checker map; if the squares appear stretched or squashed, your UVs need adjustment. Tools like “UV Relax” or “Smooth UVs” can help even out distorted areas. The aim is to achieve a consistent texel density across the entire model, ensuring that all parts receive an equal amount of texture detail without obvious blurring or pixellation in some areas and razor-sharpness in others.
PBR Texturing: Bringing Surfaces to Life
Physically Based Rendering (PBR) has revolutionized how materials are created in 3D, providing a more intuitive and realistic approach to defining surface properties. For tires and wheels, PBR texturing is essential for capturing the distinct characteristics of rubber, various metals, and painted surfaces under different lighting conditions. Understanding the core PBR channels – Albedo, Metallic, Roughness, Normal, and Ambient Occlusion – is fundamental to achieving photorealistic results.
Material Creation for Rubber and Metals (Albedo, Roughness, Metallic, Normal, AO)
* Albedo (Base Color): This map defines the pure color of the surface, stripped of any lighting information. For tire rubber, this will be a dark grey, often with subtle variations for dirt or wear. For metals, it represents the diffuse color of painted surfaces or the intrinsic color of non-metallic parts.
* Metallic: This binary map (black for non-metal, white for metal) tells the renderer whether a surface behaves like a metal or a dielectric (non-metal). Wheel rims will typically have metallic values of 1 for their polished or brushed metal parts and 0 for painted or plastic sections. Tire rubber is always non-metallic (0).
* Roughness: This grayscale map dictates how rough or smooth a surface is, directly influencing how light scatters and reflects. A value of 0 is perfectly smooth (like a mirror), and 1 is completely rough (like matte rubber). Tire sidewalls will have high roughness values (0.8-0.9), while polished chrome rims will have very low values (0.05-0.1). Small variations in roughness are crucial for realism, simulating micro-scratches or dust.
* Normal: This map fakes surface detail by manipulating how light reflects off the surface, without adding actual geometry. It’s indispensable for adding fine details like rubber textures, casting marks on rims, or subtle imperfections that would be too costly to model.
* Ambient Occlusion (AO): This map simulates subtle self-shadowing in crevices and corners, enhancing depth and contact between surfaces. While often baked from the high-poly model, it can also be generated procedurally in shaders for real-time applications.
Weathering and Wear Details
No real-world wheel or tire is perfectly pristine. Adding subtle weathering, dirt, brake dust, and wear greatly enhances realism. This is where procedural texturing tools like Substance Painter or Quixel Mixer truly shine. Use generators and smart masks to layer on effects:
* Dirt and Grime: Accumulate in crevices, along tread patterns, and around the lug nuts.
* Brake Dust: Concentrated on the inside of the wheel barrel and spokes, often with a reddish-brown or dark grey hue.
* Scratches and Chips: Particularly on the outer edges of rims or spokes, simulating curb rash or impact damage.
* Tire Wear: Subtle scuffing and discoloration on the tread and sidewalls, especially in the contact patch area.
* Water Stains/Streaks: Can be added for a wet or recently washed look, often affecting roughness and albedo.
These details, applied subtly and strategically, tell a story about the vehicle and its environment, making the 3D model far more believable.
Software Workflows (Substance Painter, Quixel Mixer)
Dedicated texturing software like Adobe Substance Painter and Quixel Mixer are industry standards for PBR material creation. They offer layer-based workflows, smart masks, procedural generators, and powerful baking tools. You typically export your low-poly model with clean UVs, import it into the texturing software, bake essential maps (normal, ambient occlusion, curvature, thickness) from a high-poly sculpt (if available) onto the low-poly mesh, and then begin painting. These tools allow for iterative design, real-time previewing, and easy export of all necessary PBR texture maps compatible with various renderers and game engines. The ability to create complex material stacks and paint directly on the 3D model accelerates the texturing process and yields superior results.
Rendering Realistic Rims and Tires
The final stage in bringing your 3D wheels and tires to life is the rendering process. This involves thoughtful lighting, sophisticated material setup within your chosen renderer, and careful post-processing. A perfectly modeled and textured asset can still look flat without the right rendering environment. The goal is to simulate how light interacts with the materials, revealing their unique properties and enhancing the overall visual narrative.
Lighting Setups for Automotive Renders (HDRI, Area Lights)
Effective lighting is paramount. For automotive renders, High Dynamic Range Images (HDRIs) are often the cornerstone of the lighting setup. An HDRI provides realistic ambient lighting, reflections, and subtle shadows from a real-world environment. Combine HDRIs with targeted area lights or photometric lights to accentuate specific details on the rims and tires.
* Key Light: The primary light source, typically off-camera and above, defining the main shape and reflections.
* Fill Light: Softens shadows and reveals details in darker areas.
* Rim Lights: Positioned behind and to the sides of the object, they create highlights along the edges, separating the wheel and tire from the background and enhancing their silhouette.
* Reflector Cards/Planes: Strategically placed white or grey planes can be used to bounce light back onto the model, creating subtle, soft reflections without introducing additional direct light sources.
Experiment with different HDRI environments – studios, outdoor scenes, garages – as each will produce unique reflections and overall mood.
Shader Networks and Material Layering (Corona, V-Ray, Cycles, Arnold)
Within your renderer (e.g., Corona Renderer, V-Ray, Blender Cycles, Arnold), you’ll construct complex shader networks to define how each material responds to light.
* Rubber Shader: Typically a diffuse base with specific roughness and normal maps. Consider adding subtle subsurface scattering for very thin rubber or a slightly translucent quality if light passes through the tire. Adding a faint “car paint” or “clear coat” layer with very low metallic and high roughness can simulate the subtle sheen of new rubber or a tire dressing.
* Metal Shader: For rims, use a metallic shader, plugging in your albedo, metallic, and roughness maps. Layering is key: a base metal layer can be combined with a clear coat for painted rims, or different layers for brushed metal and polished sections. Introduce variations in roughness to simulate micro-scratches or areas of light wear. Anisotropic reflections can add a sophisticated touch to brushed metals, where the reflections stretch along the grain of the material.
* Displacement: For tire sidewall lettering or very deep tread patterns, connect your displacement map to the appropriate shader input. Ensure your renderer’s displacement settings are optimized for quality and avoid overly aggressive values that can lead to artifacts.
Post-Processing for Polish
The render straight out of your 3D software is rarely the final product. Post-processing in tools like Photoshop or Affinity Photo adds that crucial layer of polish.
* Color Correction: Adjust exposure, contrast, white balance, and saturation to enhance the overall image.
* Vignette: A subtle darkening around the edges can draw attention to the center.
* Chromatic Aberration: A very subtle effect can add a photographic realism, mimicking lens imperfections.
* Depth of Field (DOF): If not rendered in 3D, adding a shallow DOF can focus attention on the wheels/tires while softly blurring the foreground and background.
* Lens Flares/Glows: Can be added subtly to bright highlights for dramatic effect.
* Sharpening: A final pass of sharpening can make details pop, but avoid overdoing it, which can introduce artifacts.
Optimization for Games and Real-time Applications
While high-fidelity models are essential for cinematic renders, game development and real-time visualization environments demand strict adherence to performance budgets. Unoptimized 3D car models, especially their wheels and tires, can quickly bring a game engine to its knees. Efficiently designed assets ensure smooth framerates and a responsive user experience in interactive applications like AR/VR simulations or video games. Platforms like 88cars3d.com often cater to game developers by providing models that are already optimized or designed with optimization in mind.
LODs (Level of Detail) Strategies
Level of Detail (LOD) is a crucial optimization technique. It involves creating multiple versions of an asset, each with a progressively lower polygon count. The game engine then swaps between these versions based on the object’s distance from the camera.
* LOD0 (Hero Mesh): Full detail, highest poly count, used when the wheel/tire is very close to the camera. This might be 50,000-100,000+ polygons for a high-quality wheel and tire combined.
* LOD1: Reduced polygon count (e.g., 50% of LOD0), minor details simplified.
* LOD2: Further reduction (e.g., 20-30% of LOD0), major shapes retained, small details baked into normal maps.
* LOD3 (Shadow/Distance Mesh): Very low poly count (e.g., 5-10% of LOD0), sometimes just a simple cylinder, used for distant views or shadow casting.
Creating effective LODs manually or using automated tools in your 3D software or game engine (Unity, Unreal Engine) is vital for performance across diverse hardware.
Normal Map Baking from High-Poly to Low-Poly
Normal map baking is the cornerstone of game asset optimization. It allows you to transfer the detailed surface information (like tire tread, sidewall lettering, or small rim imperfections) from a high-polygon model to a low-polygon model. The low-poly mesh retains the visual fidelity of the high-poly counterpart without the massive polygon overhead.
The process typically involves:
1. Creating a high-poly sculpt of the desired details.
2. Creating a much lower-poly version of the same object, ensuring clean UVs.
3. Positioning the high-poly and low-poly meshes correctly (often with a “cage” mesh).
4. Using baking tools (e.g., in Blender, Substance Painter, XNormal) to project the surface normals from the high-poly onto the low-poly’s UVs, generating a normal map texture.
5. Applying this normal map to the low-poly mesh in the game engine.
This technique is especially effective for the intricate tread patterns and sidewall details of tires, significantly reducing the polygon count while maintaining visual richness.
Draw Call Reduction and Texture Atlasing
Beyond polygon count, draw calls are a major performance bottleneck in game engines. Each time the engine has to prepare and render an object with a unique material or texture, it incurs a draw call. Reducing these is crucial.
* Combine Meshes: If separate parts of the wheel (rim, tire, lug nuts) share the same material and are permanently attached, combine them into a single mesh to reduce draw calls.
* Texture Atlasing: Instead of using multiple small textures for different parts of the wheel assembly, combine them into a single, larger texture atlas. This allows the engine to render the entire wheel using fewer material calls, thus reducing draw calls. For example, a single atlas could contain the albedo, metallic, roughness, and normal maps for the rim, tire, and lug nuts, all within one large texture set. This approach is highly efficient for game assets and common practice when sourcing models from marketplaces such as 88cars3d.com, which often provide optimized assets.
Conclusion
Crafting truly realistic 3D tire and wheel models is a complex yet immensely rewarding endeavor. It demands a blend of technical precision, artistic sensibility, and an understanding of how these components behave in the real world. From the initial blueprint analysis and meticulous subdivision modeling of rims to the intricate PBR texturing of rubber and metals, and finally to the strategic optimization for real-time applications, each step is crucial in achieving unparalleled visual fidelity.
By embracing clean topology, mastering advanced UV mapping techniques, leveraging the power of PBR materials, and optimizing assets with LODs and normal maps, you can transform your automotive 3D models from good to exceptional. Remember that the details matter: the subtle nuances of weathering, the precise reflections on a polished surface, and the careful placement of every lug nut collectively contribute to a believable and immersive experience. Continuously refine your skills, study real-world references, and experiment with new software and techniques. With dedication and the insights gained from this guide, you are well-equipped to create stunning automotive 3D assets that will captivate audiences and stand out in any project, whether for high-end cinematic renders or demanding real-time game environments.
Featured 3D Car Models
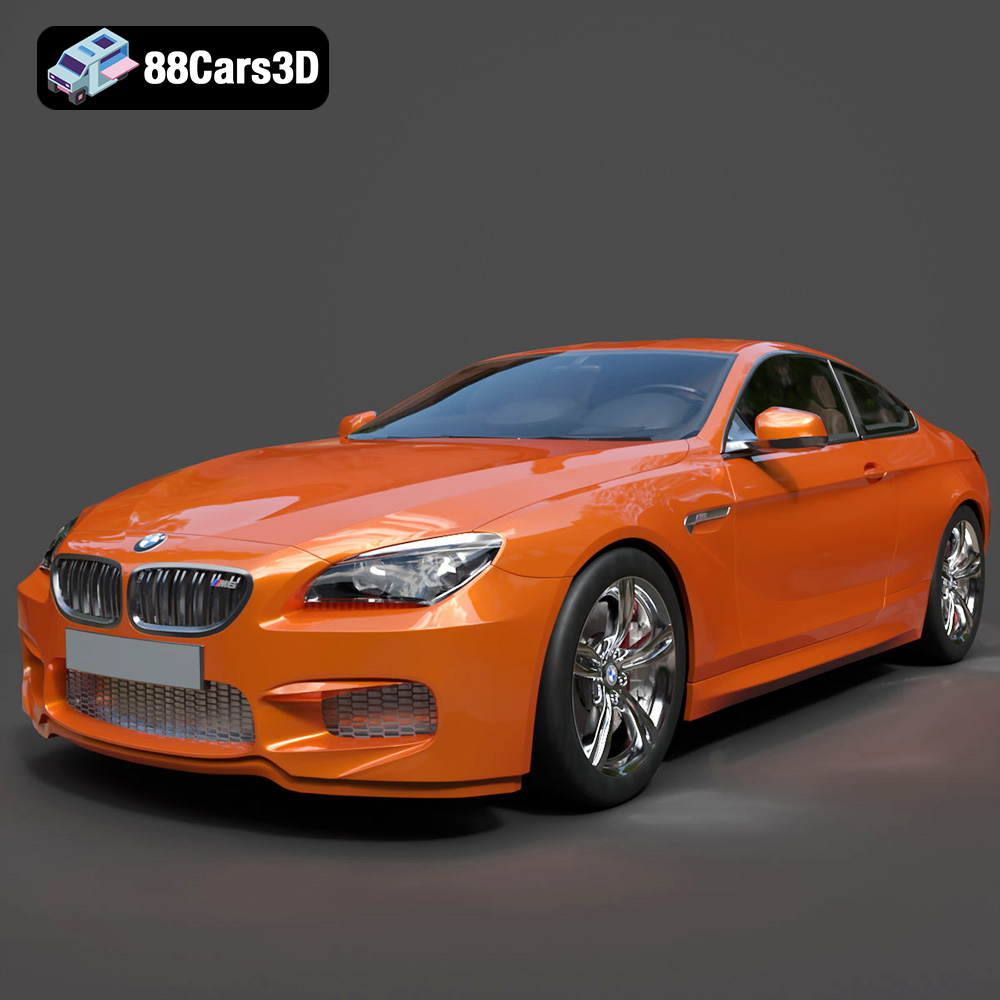
BMW M6 Coupe (F12) 3D Model
Texture: Yes
Material: Yes
Download the BMW M6 Coupe (F12) 3D Model featuring its iconic sporty design and luxurious details. Includes .blend, .fbx, .obj, .glb, .stl, .ply, .unreal, and .max formats for rendering, simulation, and game development.
Price: $10.79
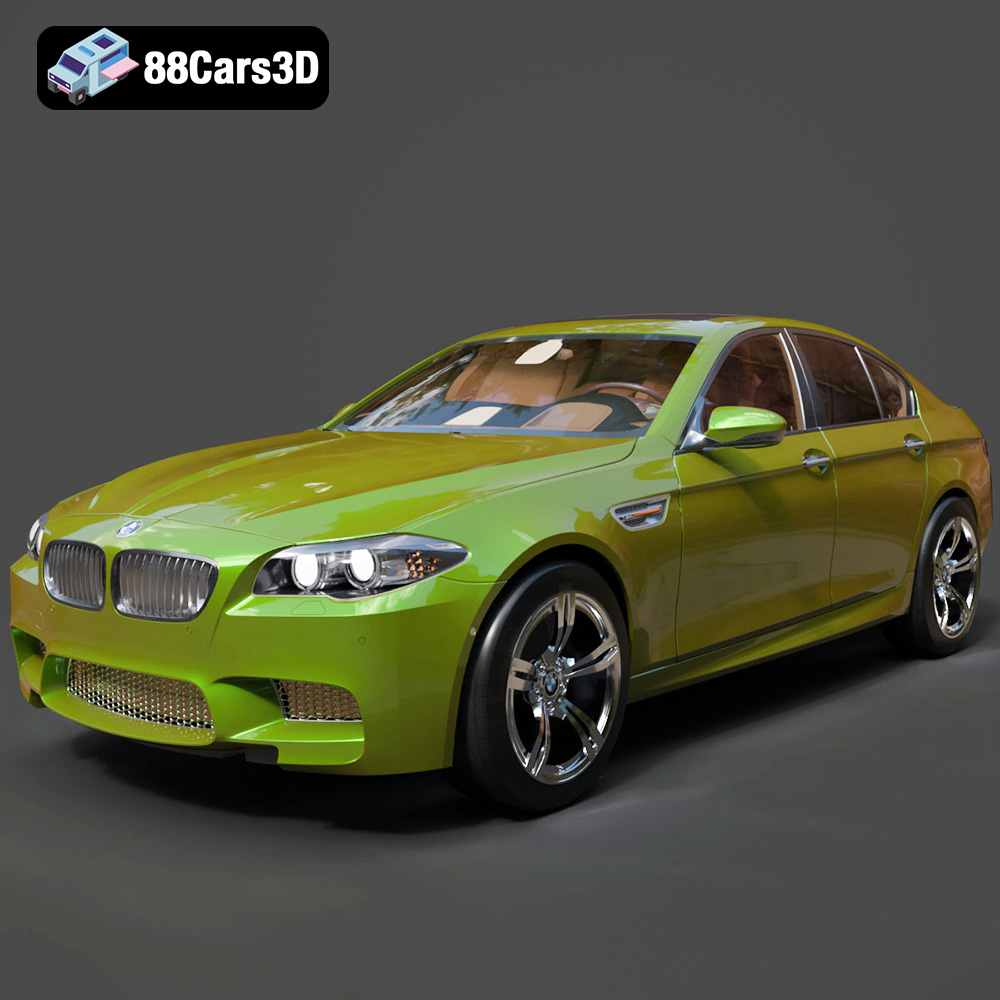
BMW M5 F10 3D Model
Texture: Yes
Material: Yes
Download the BMW M5 F10 3D Model featuring high-performance luxury sedan design, detailed interior, and realistic PBR textures. Includes .blend, .fbx, .obj, .glb, .stl, .ply, .unreal, and .max formats for rendering, simulation, and game development.
Price: $10.79
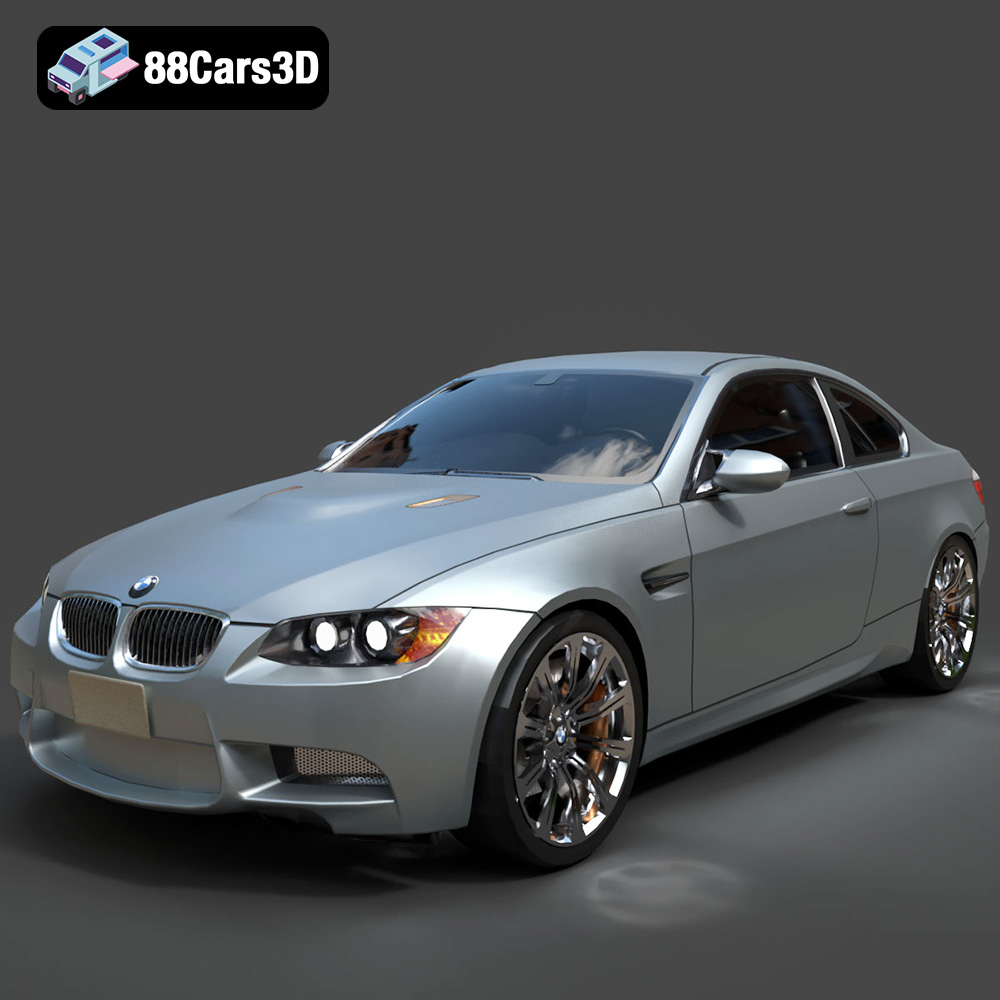
BMW M3 Coupe E92-002 3D Model
Texture: Yes
Material: Yes
Download the BMW M3 Coupe E92-002 3D Model featuring authentic styling, detailed exterior, and a faithful interior. Includes .blend, .fbx, .obj, .glb, .stl, .ply, .unreal, and .max formats for rendering, simulation, and game development.
Price: $10.79
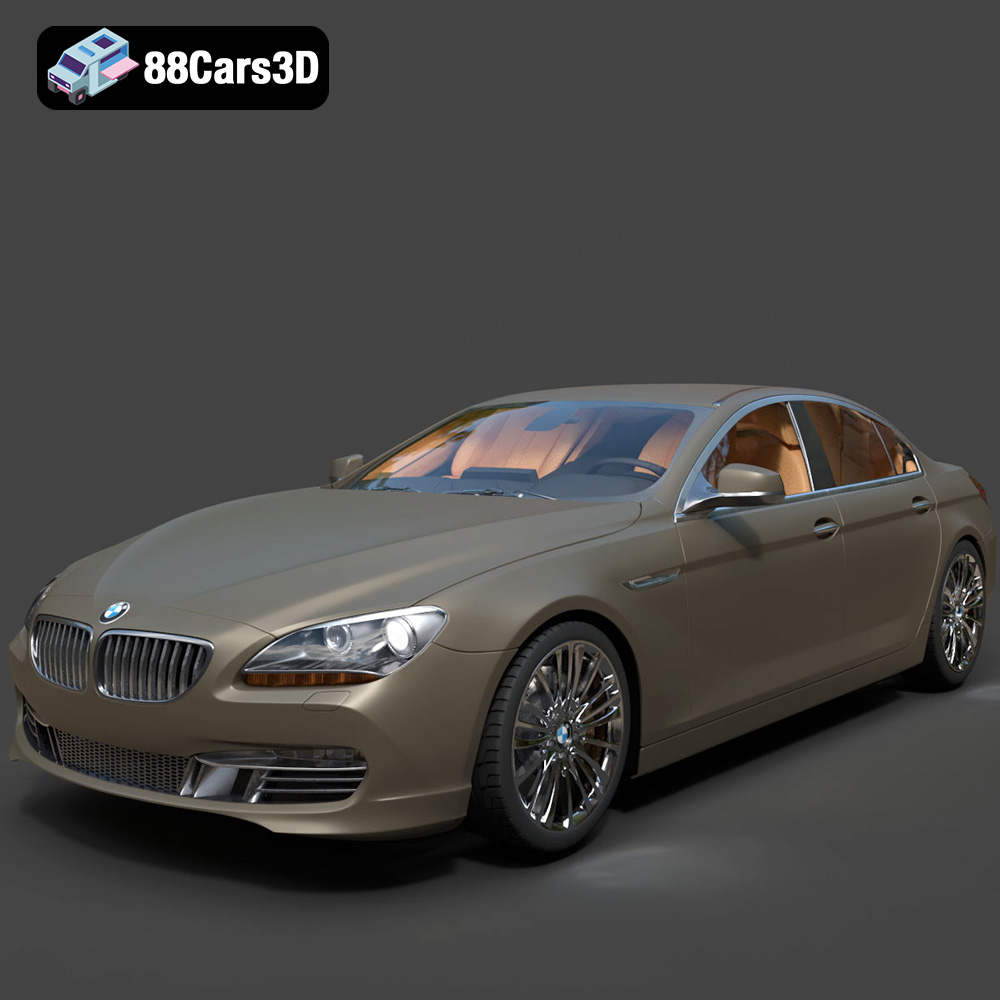
BMW 6 Series Gran Coupe 2013 3D Model
Texture: Yes
Material: Yes
Download the BMW 6 Series Gran Coupe 2013 3D Model featuring a sophisticated design, detailed exterior, and well-appointed interior. Includes .blend, .fbx, .obj, .glb, .stl, .ply, .unreal, and .max formats for rendering, simulation, and game development.
Price: $20.79
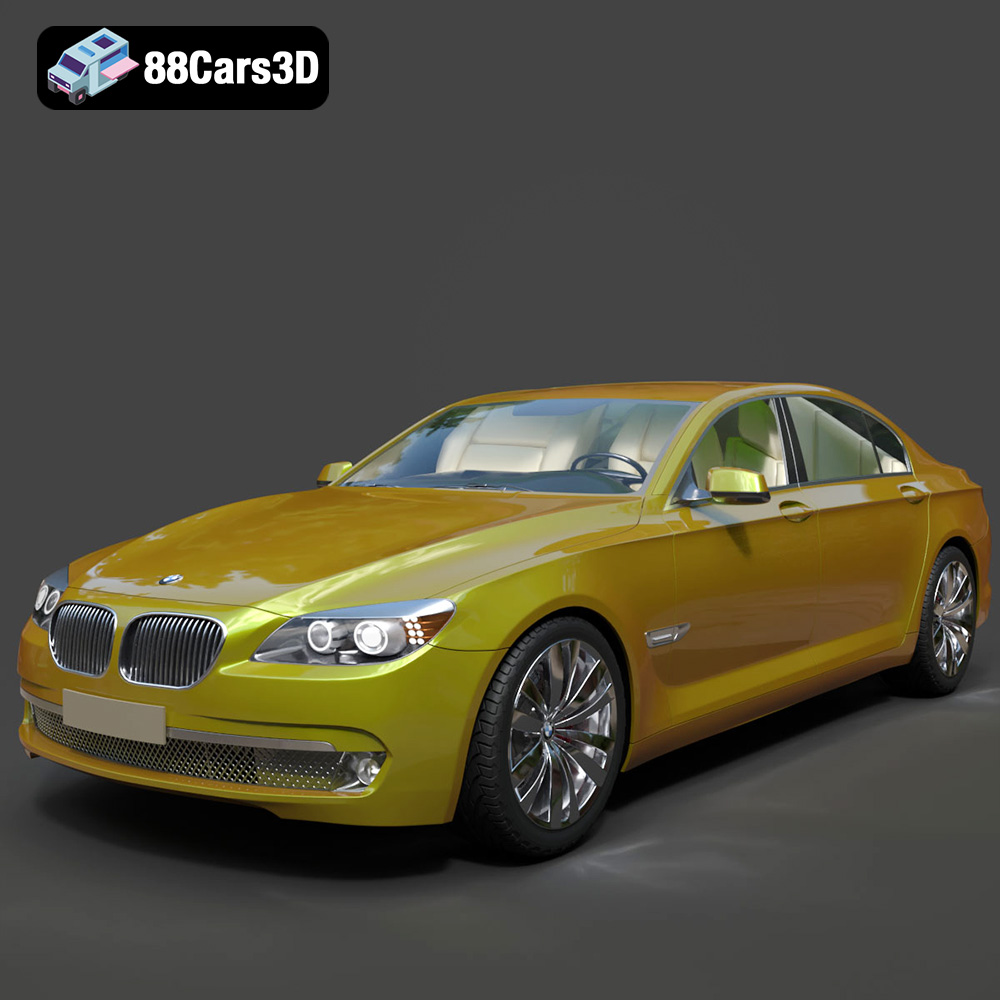
BMW 7 Series 750 F01 3D Model
Texture: Yes
Material: Yes
Download the BMW 7 Series 750 F01 3D Model featuring a detailed exterior and a luxurious interior. Includes .blend, .fbx, .obj, .glb, .stl, .ply, .unreal, and .max formats for rendering, simulation, and game development.
Price: $10.79
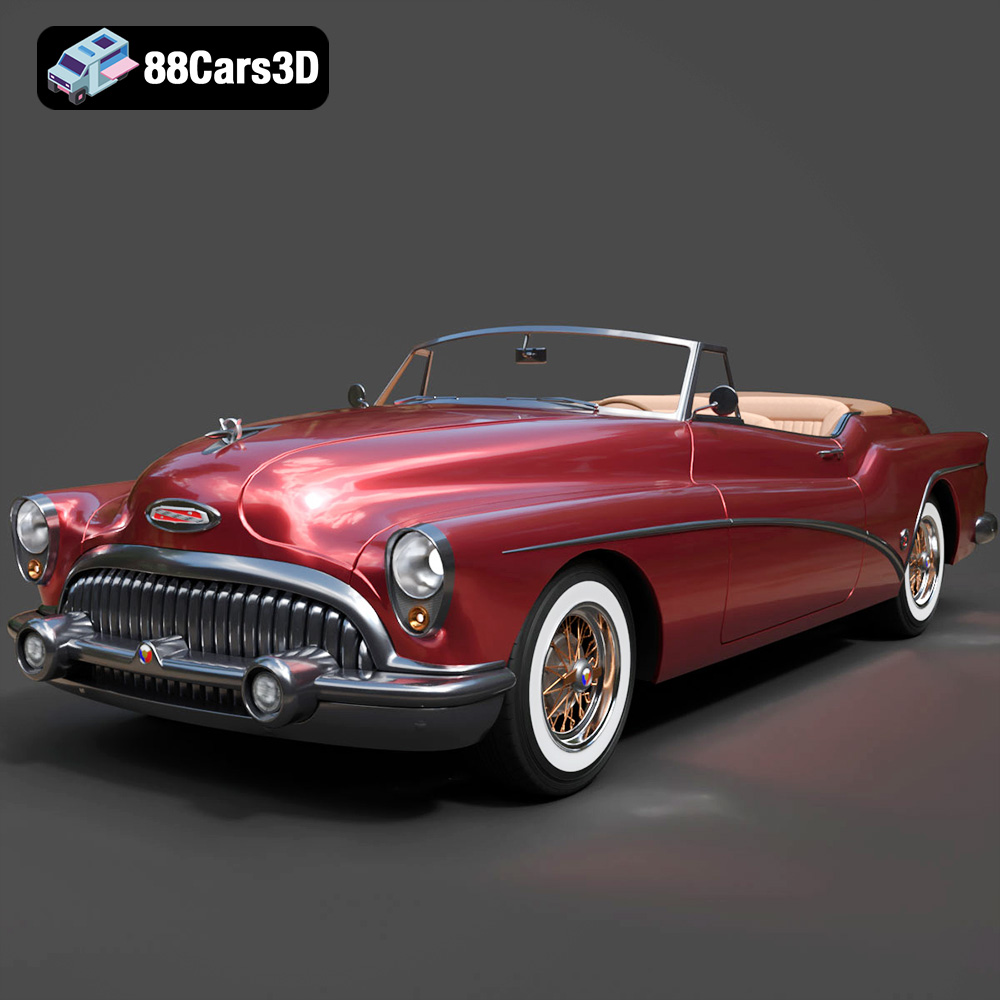
Buick Skylark Convertible 1953 3D Model
Texture: Yes
Material: Yes
Download the Buick Skylark Convertible 1953 3D Model featuring iconic 1950s styling, a detailed exterior with chrome accents, and an accurately modeled interior. Includes .blend, .fbx, .obj, .glb, .stl, .ply, .unreal, and .max formats for rendering, simulation, and game development.
Price: $10.79

Buick Roadmaster Hardtop Coupe 1957 3D Model
Texture: Yes
Material: Yes
Download the Buick Roadmaster Hardtop Coupe 1957 3D Model featuring a classic American design with detailed exterior and interior. Includes .blend, .fbx, .obj, .glb, .stl, .ply, .unreal, and .max formats for rendering, simulation, and game development.
Price: $10.79
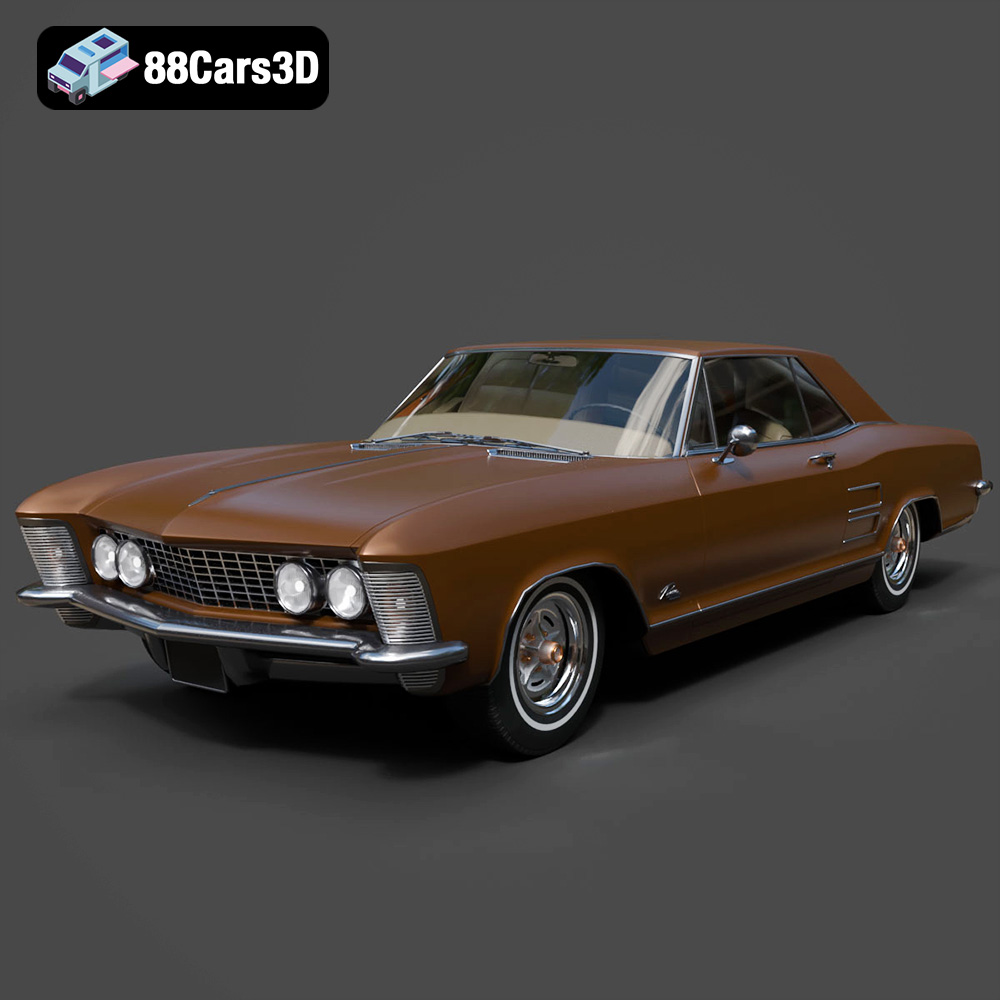
Buick Riviera 1963 3D Model
Texture: Yes
Material: Yes
Download the Buick Riviera 1963 3D Model featuring classic American muscle car design and iconic styling. Includes .blend, .fbx, .obj, .glb, .stl, .ply, .unreal, and .max formats for rendering, simulation, and game development.
Price: $10.79
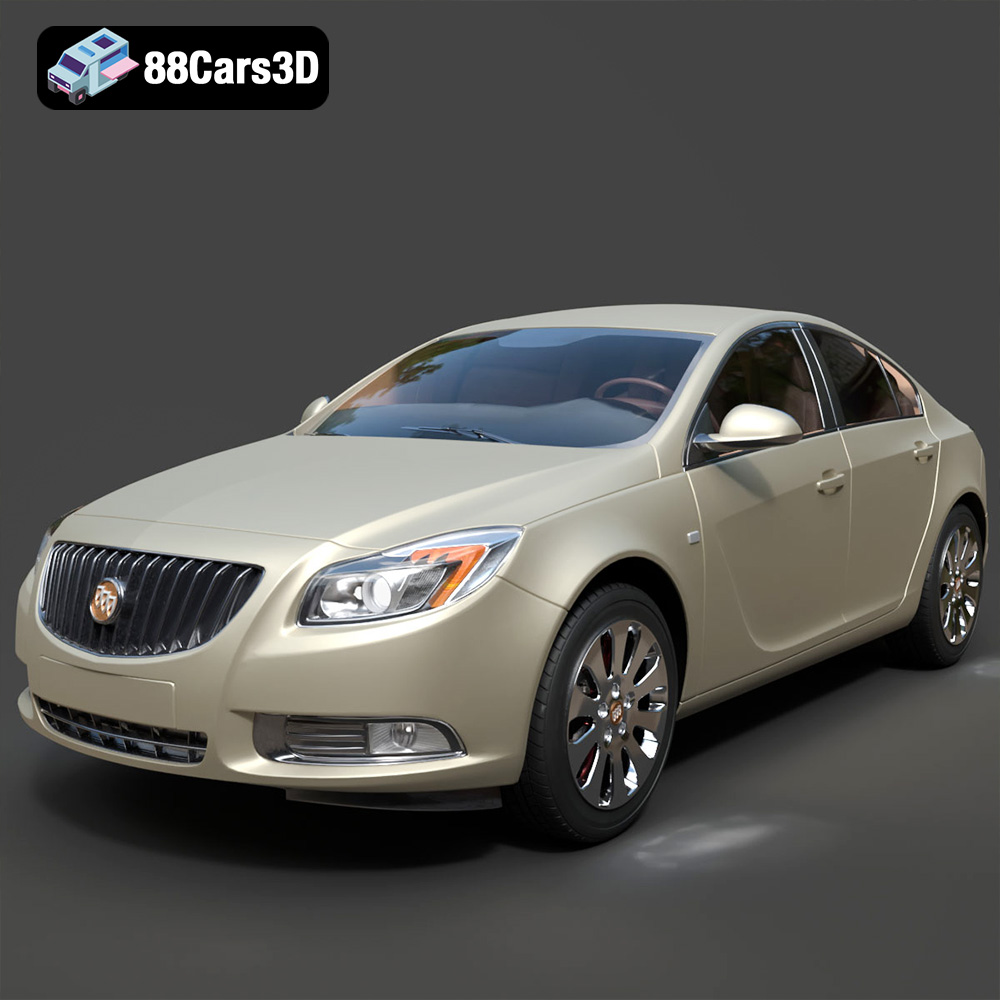
Buick Regal 3D Model
Texture: Yes
Material: Yes
Download the Buick Regal 3D Model featuring a classic American sedan design, detailed exterior, and optimized interior. Includes .blend, .fbx, .obj, .glb, .stl, .ply, .unreal, and .max formats for rendering, simulation, and game development.
Price: $10.79
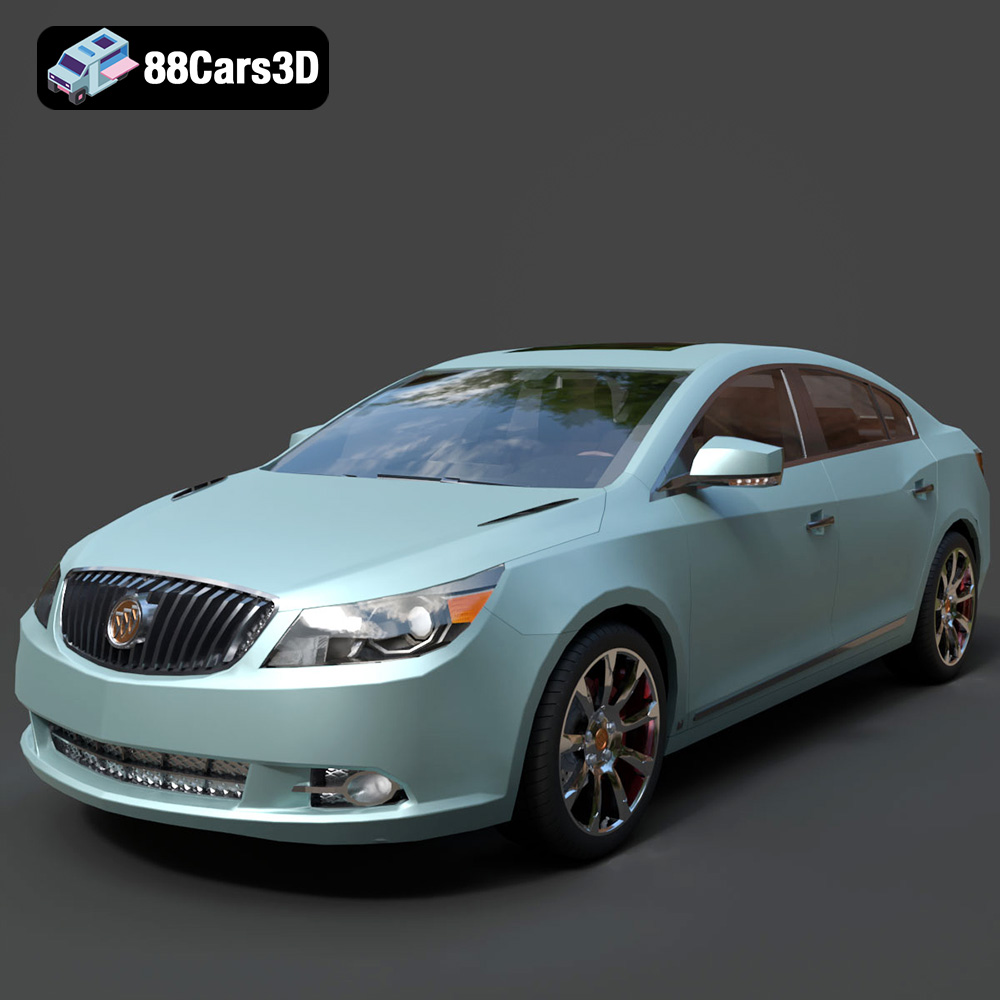
Buick LaCrosse 2008 3D Model
Texture: Yes
Material: Yes
Download the Buick LaCrosse 3D Model featuring professional modeling and texture work. Includes .blend, .fbx, .obj, .glb, .stl, .ply, .unreal, and .max formats for rendering, simulation, and game development.
Price: $10.79
