

In today’s competitive market, simply showcasing static images or pre-rendered videos of your automotive designs or products isn’t enough. Consumers and industry professionals alike demand dynamic, immersive experiences that allow them to explore every facet of a vehicle, interact with its features, and truly understand its appeal before it even leaves the concept stage or hits the showroom floor. This is where the power of interactive product demos built with Unreal Engine comes into play.
Unreal Engine, renowned for its cutting-edge real-time rendering capabilities, sophisticated visual scripting, and robust toolset, offers an unparalleled platform for creating breathtakingly realistic and fully interactive automotive experiences. From configurable car showrooms to engaging virtual training simulations, the possibilities are virtually limitless. By leveraging high-quality 3D car models, such as those available on marketplaces like 88cars3d.com, developers and artists can significantly accelerate their workflow, focusing more on interactivity and less on foundational modeling.
This comprehensive guide will walk you through the essential steps and advanced techniques for creating stunning interactive product demos using Unreal Engine. We’ll delve into project setup, material creation, real-time lighting, Blueprint scripting for interactivity, critical performance optimization strategies, and cinematic storytelling. Whether you’re a seasoned Unreal Engine developer or a 3D artist looking to bring your automotive visions to life, prepare to unlock the full potential of real-time visualization.
Foundations: Setting Up Your Unreal Engine Project for Automotive Demos
The journey to an impressive interactive automotive demo begins with a solid foundation in Unreal Engine. Proper project setup and the efficient import of your 3D car models are crucial for both visual fidelity and optimal performance. This initial phase sets the stage for all subsequent development, ensuring your assets are ready for the demanding real-time environment.
Project Creation and Configuration
When starting a new project in Unreal Engine, selecting the correct template and configuring initial settings is vital. For high-fidelity automotive visualization, it’s generally best to start with a “Games” template, specifically the “Blank” or “Third Person” template, and then configure it for high-end rendering. Choose “Blueprint” as your project type to take full advantage of visual scripting, and target “Desktop” with “Maximum Quality” and “Ray Tracing” enabled by default. Ray Tracing offers superior reflections, shadows, and ambient occlusion, which are indispensable for realistic vehicle renders. Remember to ensure that the Unreal Engine documentation is your go-to resource for detailed setup instructions and best practices.
After creation, navigate to Project Settings > Engine > Rendering. Here, enable key features such as “Lumen Global Illumination” and “Lumen Reflections” for dynamic, believable lighting. If you have an RTX-capable GPU, ensure “Hardware Ray Tracing” is enabled. For cutting-edge geometry handling, enable “Nanite” in the Experimental section. These settings provide the graphical backbone for a visually stunning automotive experience, allowing for dynamic lighting changes, realistic reflections on car surfaces, and the handling of extremely high-polygon models.
Importing High-Quality 3D Car Models
The quality of your 3D car model directly impacts the final visual outcome. Platforms like 88cars3d.com offer meticulously crafted 3D car models that are optimized for real-time applications, featuring clean topology, PBR materials, and proper UV mapping. When importing these models into Unreal Engine, the most common format is FBX, though USD (Universal Scene Description) is gaining traction for its robust scene description capabilities. For a typical static mesh car model, use the “Import” button in the Content Browser and select your FBX or USD file.
In the Import Options dialog, pay close attention to settings:
- Skeletal Mesh: Only enable if your car has a complex animated rig (e.g., suspension, interior mechanics). For most interactive demos, a static mesh is sufficient, with individual parts (doors, wheels) imported separately or as separate Static Meshes within the main car Actor.
- Combine Meshes: Often disabled if you want to control individual parts like doors, wheels, and interior components separately for interactivity or material variations.
- Generate Missing Collision: Enable for basic collision, but for accurate vehicle physics, you’ll often create custom collision geometry or use the Chaos Vehicle physics system.
- Import Materials: Enable this to bring in your PBR textures and create basic Material assets in Unreal Engine, which you’ll then refine.
Upon import, Unreal Engine will create Static Mesh assets, Material assets, and Texture assets. Organize these immediately into dedicated folders (e.g., ‘CarName/Meshes’, ‘CarName/Materials’, ‘CarName/Textures’) to maintain a clean project structure.
Initial Optimization Strategies
Even with high-quality assets, early optimization is critical. Begin by checking the scale of your imported model. Unreal Engine works best with a scale of 1 unit = 1 centimeter. If your car is too large or too small, adjust its scale uniformly in the Static Mesh Editor to match real-world dimensions. This impacts physics, lighting, and general scene coherence. For models sourced from 88cars3d.com, scale is usually consistent, but it’s always good practice to verify.
Review the generated Materials. Often, imported materials provide a good starting point but require refinement. Create Material Instances from the base Materials for easy modification of colors, roughness, or other parameters without recompiling shaders. This is especially useful for offering paint color options in an interactive demo. Also, ensure your texture resolutions are appropriate. While high-resolution textures (4K, 8K) look great, they consume significant memory. For non-critical surfaces, consider reducing resolutions or implementing texture streaming judiciously to balance visual quality with performance. Finally, ensure mesh normals are consistent and correctly oriented for proper lighting interaction.
Crafting Realistic Visuals: Materials, Lighting, and Rendering
The visual fidelity of an interactive automotive demo hinges on the realistic interplay of materials, lighting, and advanced rendering techniques. Unreal Engine provides a robust suite of tools to achieve photorealism, allowing your 3D car models to shine in any virtual environment. Mastering these elements transforms a simple model into a believable digital twin.
PBR Materials and the Material Editor
Physically Based Rendering (PBR) is the cornerstone of realism in modern real-time graphics. PBR materials simulate how light interacts with surfaces in the real world, producing consistent and accurate results under varying lighting conditions. For a car model, this means meticulously crafted material properties for paint, glass, rubber, chrome, and interior fabrics. When working with assets from 88cars3d.com, you’ll typically receive texture sets for Base Color (Albedo), Normal, Roughness, Metallic, and Ambient Occlusion.
In the Unreal Engine Material Editor, these textures are connected to their corresponding inputs on a “Material Expression Texture Sample” node, which then feeds into the main “Material Output” node.
- Base Color: Defines the diffuse color of the surface.
- Metallic: A grayscale texture (0 for dielectric, 1 for metallic) that determines how much the surface reflects light like metal. Car paint is often a complex shader mixing dielectric and metallic properties.
- Roughness: A grayscale texture that controls the microscopic surface irregularities. Lower values mean smoother, more reflective surfaces (like polished chrome), while higher values scatter light more, appearing duller (like matte paint).
- Normal Map: Provides fine surface detail without adding actual geometry, simulating bumps, scratches, and panel gaps.
- Ambient Occlusion (AO): A grayscale texture that darkens areas where ambient light would be blocked, enhancing depth and contact shadows.
For car paint, you might explore more complex material functions that combine a clear coat layer over a metallic base, accurately simulating automotive finishes. Crucially, create Material Instances from your master materials. This allows you to quickly change parameters like color, roughness, or metallic properties for interactive customization without recompiling shaders, which is critical for smooth user experience.
Dynamic Lighting with Lumen and Ray Tracing
Lighting is paramount in automotive visualization. Unreal Engine’s advanced lighting solutions, particularly Lumen and hardware-accelerated Ray Tracing, offer unparalleled realism. Lumen, Unreal Engine’s dynamic global illumination and reflections system, provides incredibly believable indirect lighting and bounce light, crucial for showcasing complex vehicle forms and interior details. It reacts dynamically to changes in the environment or light sources, making it perfect for interactive demos where a car might be moved or lights adjusted.
To set up dynamic lighting:
- Place a Sky Light in your scene and ensure it’s set to “Movable.” Capture the scene or use a high-dynamic-range image (HDRI) texture for environment reflections.
- Add a Directional Light for simulating the sun. Again, set it to “Movable.”
- Utilize an HDRI Backdrop actor (available from the Quixel Bridge or Epic Marketplace) for a realistic, dynamic background that seamlessly interacts with Lumen and Ray Tracing.
For scenes requiring ultimate fidelity, enable hardware-accelerated Ray Tracing for shadows, reflections, and translucency. This delivers pixel-perfect reflections on car bodywork and glass, incredibly accurate soft shadows, and physically correct light transmission through materials. While more computationally intensive, the visual payoff for high-end demonstrations is immense. Optimize by only enabling Ray Tracing for specific features that benefit most, or use it selectively for cinematic sequences rather than full interactivity on lower-spec hardware.
Post-Processing for Cinematic Fidelity
Post-processing effects are the final polish that elevates your demo from great to truly cinematic. Applied globally to the scene, these effects can dramatically enhance mood, realism, and visual impact. The Post Process Volume is where you control these settings.
Key post-processing effects to consider for automotive demos:
- Exposure: Crucial for maintaining consistent brightness, especially with dynamic lighting. Auto Exposure can be configured to adapt to scene changes.
- Color Grading: Adjusts hue, saturation, and contrast. You can use Look-Up Tables (LUTs) for filmic color presets or manually dial in your desired aesthetic.
- Ambient Occlusion (SSAO/Ray Traced AO): Enhances contact shadows and defines edges, adding depth. Ray Traced Ambient Occlusion (RTAO) offers superior quality.
- Bloom: Creates a glow around bright areas, simulating lens effects and enhancing highlights, particularly on reflective car surfaces.
- Vignette: Subtly darkens the edges of the screen, drawing focus to the center.
- Lens Flares & Dirt Mask: Add realistic camera imperfections, making the view feel more like it’s seen through a camera lens.
- Depth of Field: Blurs backgrounds or foregrounds to focus attention, mimicking cinematic camera lenses.
Experiment with these settings to achieve a polished, professional look that complements your automotive design. Remember, less is often more; subtle enhancements usually yield the best results.
Bringing it to Life: Blueprint Scripting for Interactivity
Raw visual fidelity is compelling, but true engagement comes from interactivity. Unreal Engine’s Blueprint Visual Scripting system empowers artists and developers to create complex interactive experiences without writing a single line of code. For an automotive product demo, Blueprint is your go-to tool for everything from opening doors to changing paint colors and simulating vehicle dynamics.
Basic Interactive Elements (Door Open, Color Change)
Let’s start with fundamental interactivity. Imagine a user clicking on a car door to open it or selecting a new paint color. These actions are easily implemented with Blueprint. First, ensure your car model is imported with individual parts (doors, wheels, hood) as separate Static Meshes, ideally within a parent Actor Blueprint. This allows you to manipulate them independently.
To implement an interactive door:
- Create a Blueprint Class (e.g., “BP_Car”) inheriting from Actor.
- Add your car’s body and individual door meshes as Static Mesh Components to this Blueprint.
- In the Event Graph, add an “On Clicked” event (or “On Component Clicked”) to the door mesh component.
- From this event, use a “FlipFlop” node to alternate between two states.
- In the first state (open), use a “Set Relative Rotation” node targeting the door mesh. Input the desired rotation values to open the door (e.g., rotate around Z-axis by 60 degrees). Use a “Timeline” node to smoothly interpolate this rotation over time for a professional look.
- In the second state (close), set the rotation back to the closed position.
For changing car paint colors, the process leverages Material Instances:
- In your car’s Blueprint, create a custom event, e.g., “ChangeCarColor.”
- This event should take a “Linear Color” input parameter.
- Get a reference to your car paint Static Mesh Component.
- Use a “Create Dynamic Material Instance” node to get a mutable version of your car paint Material.
- From the dynamic material instance, use a “Set Vector Parameter Value” node (assuming your Material has a “BaseColor” or “PaintColor” vector parameter). Connect the input color to this node.
- Hook up UI buttons (using UMG, discussed next) to call this “ChangeCarColor” event with different color values.
This method is incredibly powerful for customizable options in your demo. The official Unreal Engine documentation has numerous tutorials on Blueprint fundamentals.
Advanced User Interfaces (UI) with UMG
For a seamless interactive experience, you need a robust user interface (UI). Unreal Motion Graphics (UMG) UI Designer allows you to create elegant, functional UIs directly within Unreal Engine. This includes buttons for actions, sliders for parameter changes, text displays, and more.
To create a UI:
- Right-click in the Content Browser and select User Interface > Widget Blueprint. Name it appropriately (e.g., “WBP_CarConfigurator”).
- Open the Widget Blueprint. In the “Designer” tab, drag and drop UI elements like “Canvas Panel,” “Buttons,” “Text,” and “Sliders” onto the canvas. Arrange them to create your desired layout.
- In the “Graph” tab of the Widget Blueprint, implement the logic for your UI elements. For example, for a “Change Color” button:
- Select the button in the Designer. In the “Details” panel, scroll down to “Events” and click “+” next to “On Clicked.”
- In the Event Graph, this will create an “On Clicked” event for your button.
- From this event, use a “Cast To BP_Car” node (assuming your car is an instance of “BP_Car”).
- Drag off the “As BP Car” pin and call your “ChangeCarColor” custom event, providing the desired color.
- To display your UI, in your Level Blueprint (or Game Mode Blueprint), use a “Create Widget” node, specifying your “WBP_CarConfigurator.” Then use an “Add to Viewport” node to make it visible.
- Ensure you enable the mouse cursor for interaction using “Set Show Mouse Cursor” and “Set Input Mode UIOnly” nodes.
UMG allows for rich, data-driven interfaces that significantly enhance the usability of your interactive demos.
Integrating Vehicle Physics and Dynamics
For a truly immersive experience, especially in driving simulators or showcases, integrating realistic vehicle physics is essential. Unreal Engine’s Chaos Physics system offers a robust framework for this. While setting up a full vehicle physics rig can be complex, Unreal Engine provides templates and plugins to simplify the process.
The Chaos Vehicle Plugin is your primary tool here.
- Enable the “Chaos Vehicle Plugin” in Edit > Plugins and restart the editor.
- Create a new Blueprint Class and search for “Vehicle Pawn.” This provides a base for your drivable car.
- Within the Vehicle Pawn Blueprint, add your car mesh (or individual body/wheel meshes).
- Configure the “Vehicle Movement Component (Chaos)” by adding wheel setups, defining suspension parameters, engine torque curves, gear ratios, and steering curves. Each wheel needs a specific “Wheel Setup” entry with parameters for radius, width, suspension, and steering angle.
- Set up input bindings in Project Settings > Engine > Input for throttle, brake, steering, and handbrake, then link these inputs to the Vehicle Movement Component’s control inputs in the Event Graph of your Vehicle Pawn.
Achieving realistic driving feel requires extensive tuning of these physics parameters, but the results can be incredibly rewarding, allowing users to not just look at but also dynamically drive and interact with the vehicle.
Optimizing Performance for Real-Time Interaction
An interactive demo is only as good as its performance. Smooth frame rates, quick loading times, and consistent responsiveness are paramount for a positive user experience. Unreal Engine offers powerful optimization features, but understanding how to use them effectively is key, especially when dealing with high-fidelity 3D car models.
Leveraging Nanite and LODs for Scalability
One of Unreal Engine’s most revolutionary features for high-fidelity assets is Nanite. This virtualized geometry system allows you to import and render incredibly detailed meshes with millions of polygons directly into your scene without significant performance overhead. For 3D car models, this means you can use source meshes with extreme detail (e.g., CAD data converted to mesh) and Unreal Engine will handle the polygon reduction and streaming automatically, ensuring optimal detail where needed and simplified geometry at a distance.
To enable Nanite for a Static Mesh:
- Open your Static Mesh asset in the Static Mesh Editor.
- In the “Details” panel, under the “Nanite Settings” section, simply check “Enable Nanite.”
- Adjust “Fallback Relative Error” if necessary to control the detail level of the non-Nanite fallback mesh, used when Nanite is not supported (e.g., older hardware).
While Nanite handles the primary car body beautifully, for smaller, less critical elements or for ensuring compatibility with non-Nanite supporting workflows (like certain AR/VR pipelines), Levels of Detail (LODs) remain essential. LODs are simplified versions of your mesh that automatically swap in based on the mesh’s distance from the camera, significantly reducing polygon count and draw calls for objects further away. You can generate LODs automatically in the Static Mesh Editor or import custom, pre-optimized LOD meshes (e.g., from 88cars3d.com, which often provides various LODs) for precise control. Aim for a 50% polygon reduction between each LOD group.
Texture Streaming and Shader Optimization
Textures are often a major contributor to memory usage and loading times. Texture Streaming in Unreal Engine helps manage this by only loading higher-resolution mipmaps when an object is close to the camera, and lower-resolution mipmaps when it’s further away. Ensure “Enable Texture Streaming” is checked in your Project Settings and that individual texture assets have their “Mip Gen Settings” configured appropriately (e.g., “From Texture Group” or “Sharpen0”). For critical automotive textures (e.g., paint, decals), use resolutions like 4K or 8K, but for less visible elements, 2K or 1K textures are often sufficient. Use the “Texture Streaming Build” view mode to visualize streaming status.
Shader optimization is equally important. Complex materials with many instructions can be performance bottlenecks.
- Use Material Instances whenever possible instead of duplicating materials.
- Utilize Material Functions to group common shader logic, promoting reusability and simplifying complex graphs.
- Avoid excessive use of expensive nodes like “Custom” nodes with complex HLSL, or numerous “Panner” nodes.
- Use the Shader Complexity view mode (Alt+8) to visualize the performance cost of your materials. Green is good, red is bad. Optimize red areas by simplifying material graphs, baking textures where appropriate, or using masked materials instead of translucent ones when transparency isn’t strictly necessary.
Targeting Multiple Platforms (Desktop, VR, Web)
The optimization strategies you employ will vary significantly depending on your target platform.
- Desktop: Modern desktops with high-end GPUs can handle Nanite, Lumen, and Ray Tracing. Focus on maximum visual fidelity while maintaining 60fps. Utilize scalability settings (Engine Scalability Settings) to allow users to adjust quality based on their hardware.
- VR/AR: These platforms are extremely performance-sensitive, often requiring 90fps or higher. Ray Tracing and Lumen are typically too expensive for untethered VR. Consider using baked lighting (Lightmass) where possible, forward rendering, simpler materials, and aggressive LODs. Nanite can be beneficial but should be used cautiously and profiled rigorously. Aggressively optimize draw calls and overdraw.
- Web (Pixel Streaming/WebAssembly): Pixel Streaming allows users to interact with a full Unreal Engine application running on a remote server via their web browser. This offloads computation, but network latency and server costs are factors. For WebAssembly (limited support), extreme optimization is required, often resembling VR optimization strategies.
Profiling your application frequently using tools like the “Stat Unit,” “Stat GPU,” and “Stat Raw” commands, along with the Unreal Insights profiler, is crucial to identify and address performance bottlenecks specific to your target platform.
Cinematic Storytelling and Advanced Features
Beyond interactive exploration, Unreal Engine empowers you to craft compelling cinematic narratives around your automotive designs. Features like Sequencer and Niagara, combined with emerging virtual production techniques, allow you to create stunning marketing content, virtual test drives, and immersive brand experiences.
Sequencer for Pre-rendered Animations and Virtual Production
Sequencer is Unreal Engine’s powerful multi-track non-linear editor for creating cinematic sequences, animations, and even interactive cutscenes within your demo. It’s the equivalent of a professional video editing suite, but operating entirely in 3D real-time.
With Sequencer, you can:
- Animate Cameras: Create dynamic camera movements to highlight specific features of your 3D car model, such as a sweeping shot revealing its elegant lines or a close-up on its intricate interior.
- Animate Actors: Move car components (doors, hood, trunk), animate wheels rotating, or even bring in characters to interact with the vehicle.
- Control Materials: Animate material parameters, like changing the car’s paint color over time or making components glow. This is excellent for revealing different trim levels or customization options.
- Trigger Events: Integrate Blueprint events into your sequence to trigger sound effects, particle systems (Niagara), or other interactive elements at specific points.
- Render Out Videos: Export your sequences as high-quality video files (EXR, PNG, MP4, etc.) for marketing, presentations, or social media. This is invaluable for generating polished marketing content quickly.
For virtual production workflows, Sequencer is fundamental. It can be used to choreograph entire scenes, complete with virtual cameras, lighting changes, and effects, all previewed in real-time. This allows filmmakers and automotive designers to iterate rapidly and make creative decisions on the fly, bridging the gap between pre-production and final render. This is particularly relevant for LED wall stage environments where the Unreal Engine output is projected as the background for physical sets and actors. More information can be found on the Unreal Engine learning portal.
Niagara for Visual Effects (Dust, Smoke, etc.)
While a pristine car model is beautiful, adding subtle environmental effects can significantly enhance realism and immersion. Unreal Engine’s Niagara particle system allows you to create highly customizable and dynamic visual effects (VFX).
For automotive demos, Niagara can be used to simulate:
- Wheel Dust/Smoke: As a car drives or skids, bursts of dust or tire smoke can be emitted, linked directly to the wheel’s rotation speed and slip angle via Blueprint.
- Engine Exhaust: Subtle wisps of smoke from the exhaust pipe, reacting to engine RPM.
- Rain/Snow Effects: Environmental particles that interact with the car body and ground, making the scene feel alive.
- Water Splashes: If simulating driving through puddles, Niagara can create realistic water splashes.
Niagara allows you to define emitters, particles, and modules, giving you granular control over particle behavior, appearance, and interaction. You can link Niagara systems to Blueprint events, such as a “StartEngine” event triggering exhaust smoke, or a “WheelSkid” event emitting tire smoke particles. This adds another layer of dynamic realism to your interactive experience.
Building Interactive Car Configurators and AR/VR Experiences
The culmination of these techniques is often an interactive car configurator or an immersive AR/VR experience. A configurator allows users to customize a vehicle in real-time – changing paint colors, wheel types, interior trims, and adding accessories – and see the changes instantly. This is built primarily using UMG for the UI, Blueprint for logic (as described in Section 3), and Material Instances for dynamic aesthetic changes. Configurator development benefits immensely from well-structured 3D car models where individual components are logically separated, like those found on 88cars3d.com, making swapping parts straightforward.
For AR/VR experiences, the goal is total immersion.
- AR: Place a virtual car into the real world, allowing users to walk around it, change its appearance, and even “see” it on their driveway using a mobile device or AR headset. Optimization for mobile AR (e.g., iOS ARKit, Android ARCore) is critical, emphasizing low polygon counts (often relying on LODs), baked lighting, and highly optimized materials. USDZ format is particularly beneficial for AR apps, as it’s designed for lightweight, portable 3D assets.
- VR: Step inside the vehicle or a virtual showroom. VR demands very high and consistent frame rates (e.g., 90 FPS) to prevent motion sickness. This often necessitates aggressive optimization, including forward rendering, limited post-processing, and careful use of Nanite and Lumen. Interactive elements must be intuitive for VR controllers.
These applications demonstrate the full power of Unreal Engine for transforming static automotive designs into dynamic, engaging, and highly effective marketing, sales, and design tools. They represent the pinnacle of real-time rendering in automotive visualization, providing unparalleled levels of detail and user interaction that redefine how vehicles are presented and experienced.
Conclusion: Drive Engagement with Unreal Engine
The landscape of automotive visualization and product presentation has fundamentally shifted. Static images and linear videos, while still valuable, no longer capture the imagination or provide the detailed exploration that today’s discerning audience demands. Interactive product demos built with Unreal Engine fill this void, transforming how vehicles are designed, marketed, and experienced.
Throughout this guide, we’ve explored the comprehensive journey from setting up your Unreal Engine project and importing high-quality 3D car models from trusted sources like 88cars3d.com, to crafting photorealistic visuals with PBR materials and dynamic lighting using Lumen and Ray Tracing. We delved into the power of Blueprint for creating engaging interactive elements, from simple door animations to complex car configurators and vehicle physics. Crucially, we emphasized the importance of rigorous optimization, leveraging cutting-edge features like Nanite and intelligent LOD management to ensure smooth performance across various platforms, including demanding AR/VR environments. Finally, we touched upon advanced techniques like Sequencer for cinematic storytelling and Niagara for realistic visual effects, further elevating the immersive quality of your demos.
The actionable insights provided here empower you to leverage Unreal Engine’s unparalleled capabilities to create stunning, performant, and highly engaging automotive experiences. By combining meticulous artistic detail with robust technical implementation, you can craft demos that not only showcase every facet of a vehicle but also allow users to truly connect with and understand its design, functionality, and appeal. Embrace the future of automotive visualization – a future that is dynamic, interactive, and powered by Unreal Engine and the exceptional assets you can find on marketplaces such as 88cars3d.com.
Featured 3D Car Models

BMW 7 Series 2016 3D Model
Texture: Yes
Material: Yes
Download the BMW 7 Series 2016 3D Model featuring luxurious design, detailed interior, and accurate exterior. Includes .blend, .fbx, .obj, .glb, .stl, .ply, .unreal, and .max formats for rendering, simulation, and game development.
Price: $10.79
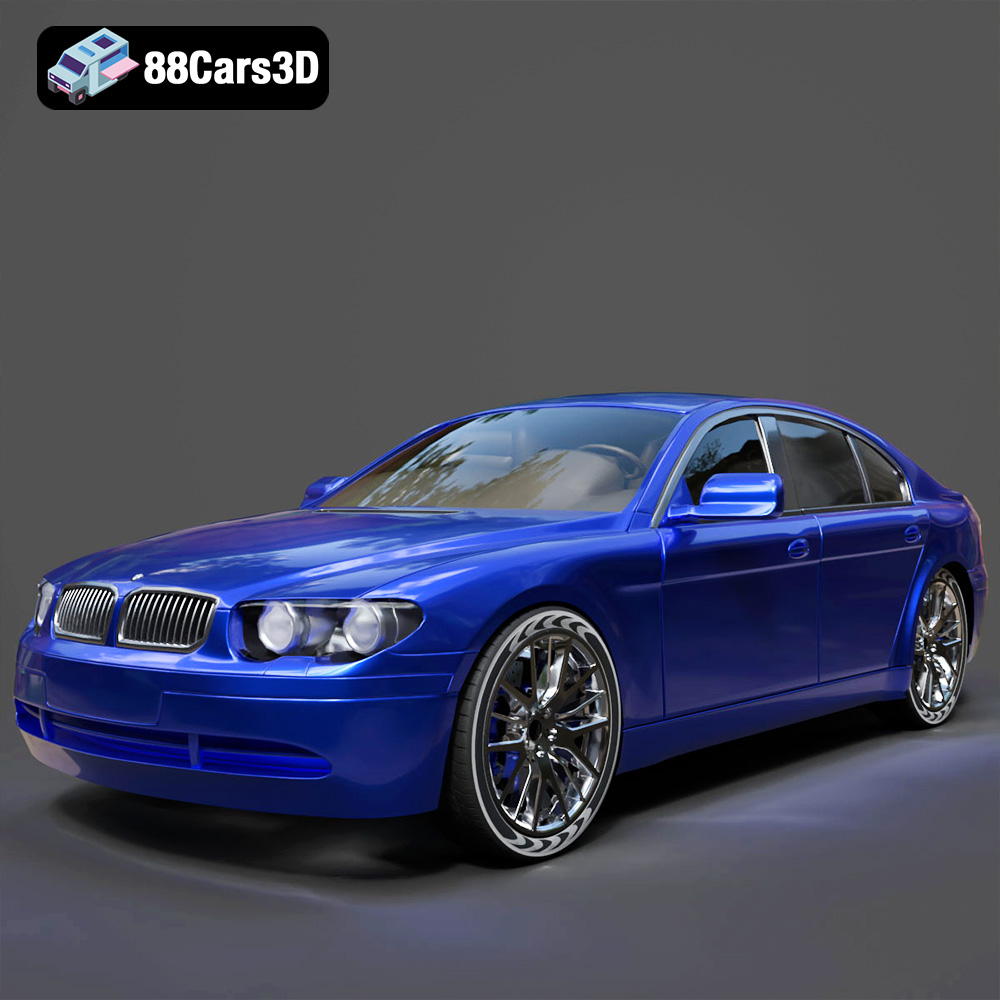
BMW 7 Series 30th Anniversary 3D Model
Texture: Yes
Material: Yes
Download the BMW 7 Series 30th Anniversary 3D Model featuring a meticulously crafted exterior, detailed interior, and realistic wheels. Includes .blend, .fbx, .obj, .glb, .stl, .ply, .unreal, and .max formats for rendering, simulation, and game development.
Price: $35.79

BMW 7-Series F02 3D Model
Texture: Yes
Material: Yes
Download the BMW 7-Series F02 3D Model featuring a detailed exterior and interior, optimized for rendering and animation. Includes .blend, .fbx, .obj, .glb, .stl, .ply, .unreal, and .max formats for rendering, simulation, and game development.
Price: $10.79
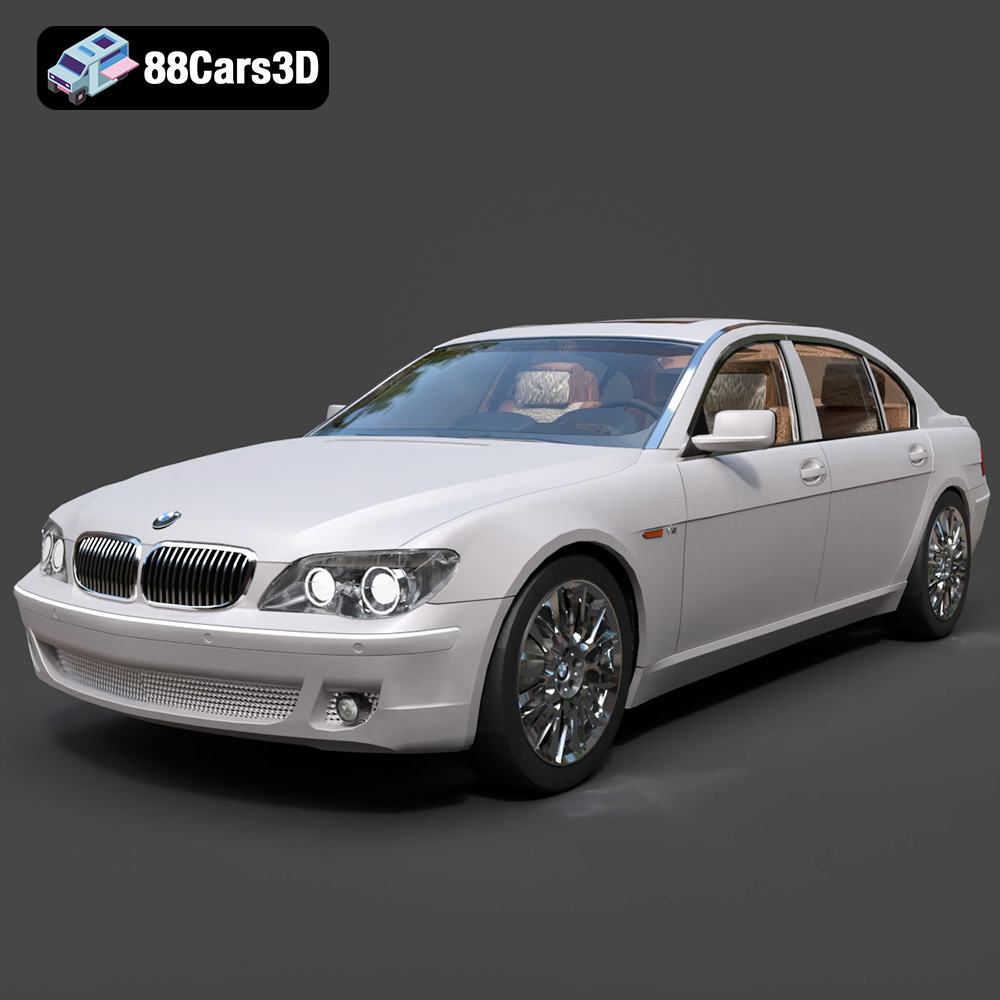
BMW 760Li E66 2005 3D Model
Texture: Yes
Material: Yes
Download the BMW 760Li E66 2005 3D Model featuring a detailed exterior, refined interior, and robust chassis. Includes .blend, .fbx, .obj, .glb, .stl, .ply, .unreal, and .max formats for rendering, simulation, and game development.
Price: $10.79
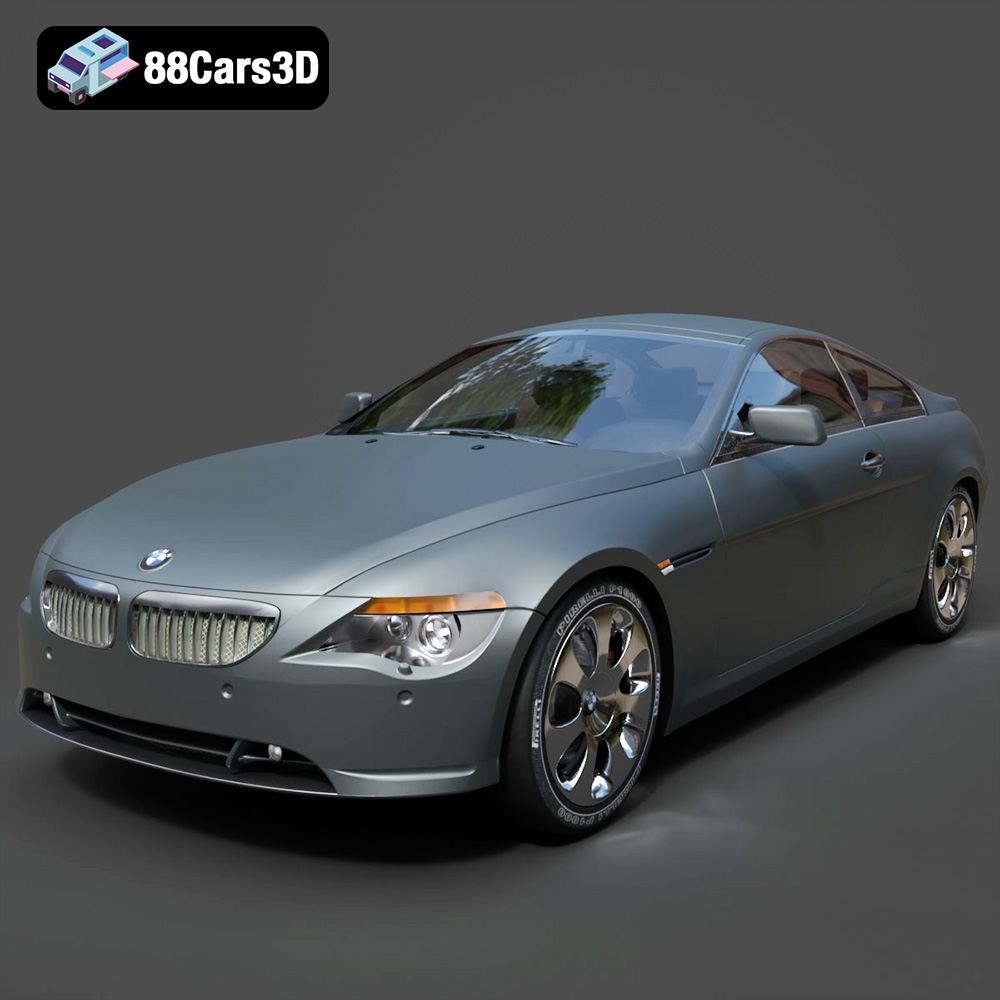
BMW 6 Series 3D Model
Texture: Yes
Material: Yes
Download the BMW 6 Series 3D Model featuring precisely modeled body panels, detailed interior, and authentic wheels. Includes .blend, .fbx, .obj, .glb, .stl, .ply, .unreal, and .max formats for rendering, simulation, and game development.
Price: $10.79
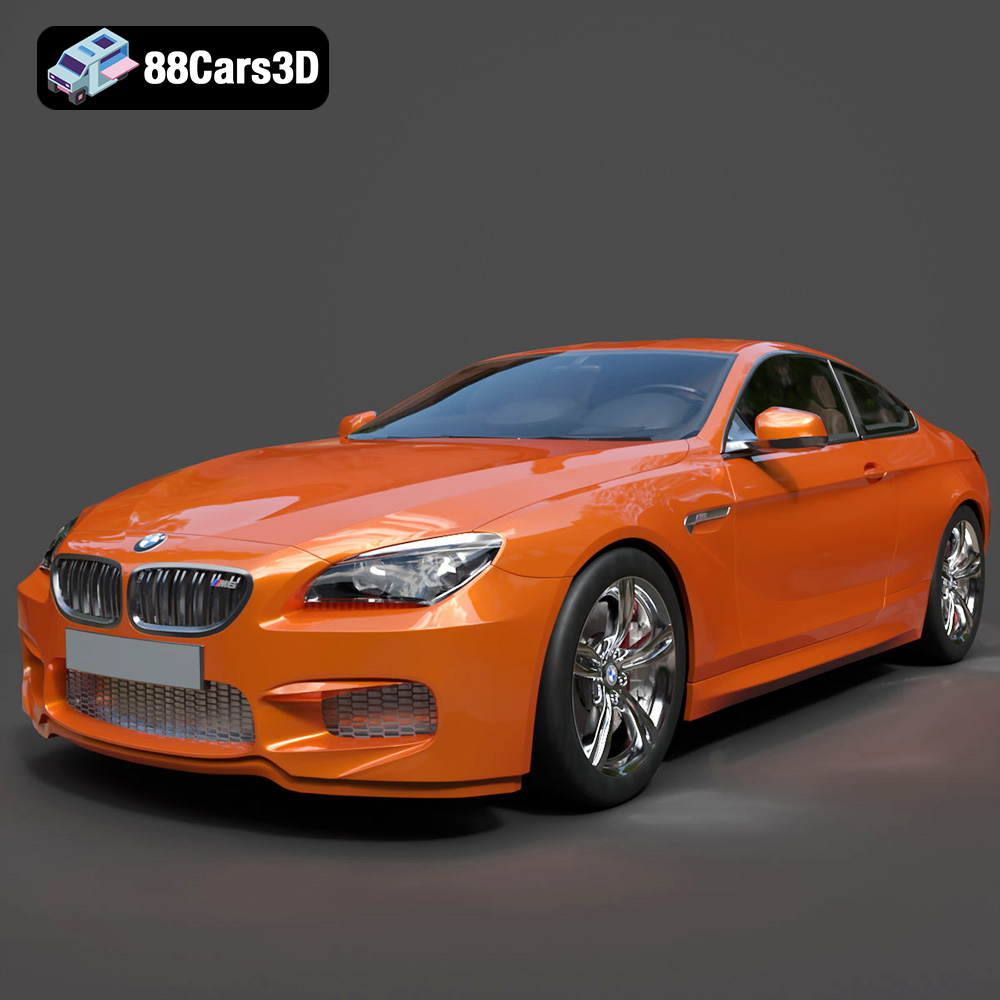
BMW M6 Coupe (F12) 3D Model
Texture: Yes
Material: Yes
Download the BMW M6 Coupe (F12) 3D Model featuring its iconic sporty design and luxurious details. Includes .blend, .fbx, .obj, .glb, .stl, .ply, .unreal, and .max formats for rendering, simulation, and game development.
Price: $10.79
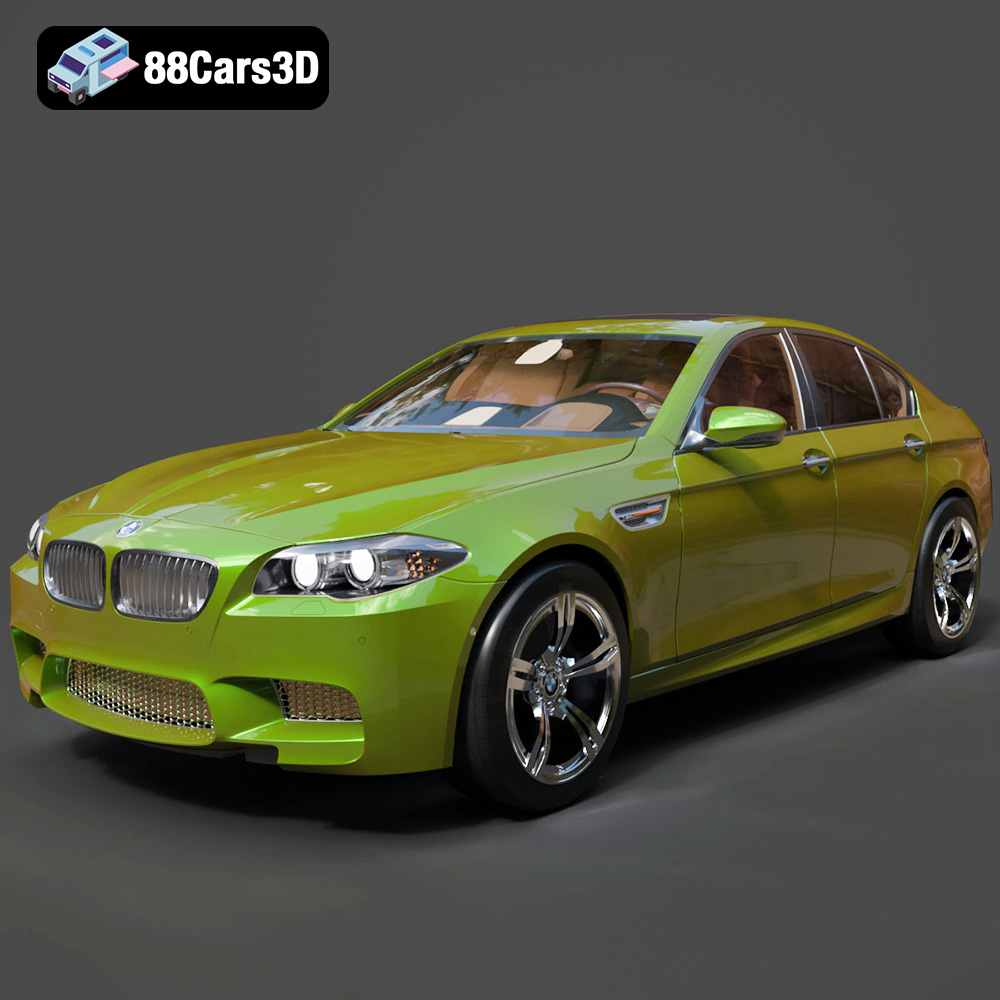
BMW M5 F10 3D Model
Texture: Yes
Material: Yes
Download the BMW M5 F10 3D Model featuring high-performance luxury sedan design, detailed interior, and realistic PBR textures. Includes .blend, .fbx, .obj, .glb, .stl, .ply, .unreal, and .max formats for rendering, simulation, and game development.
Price: $10.79
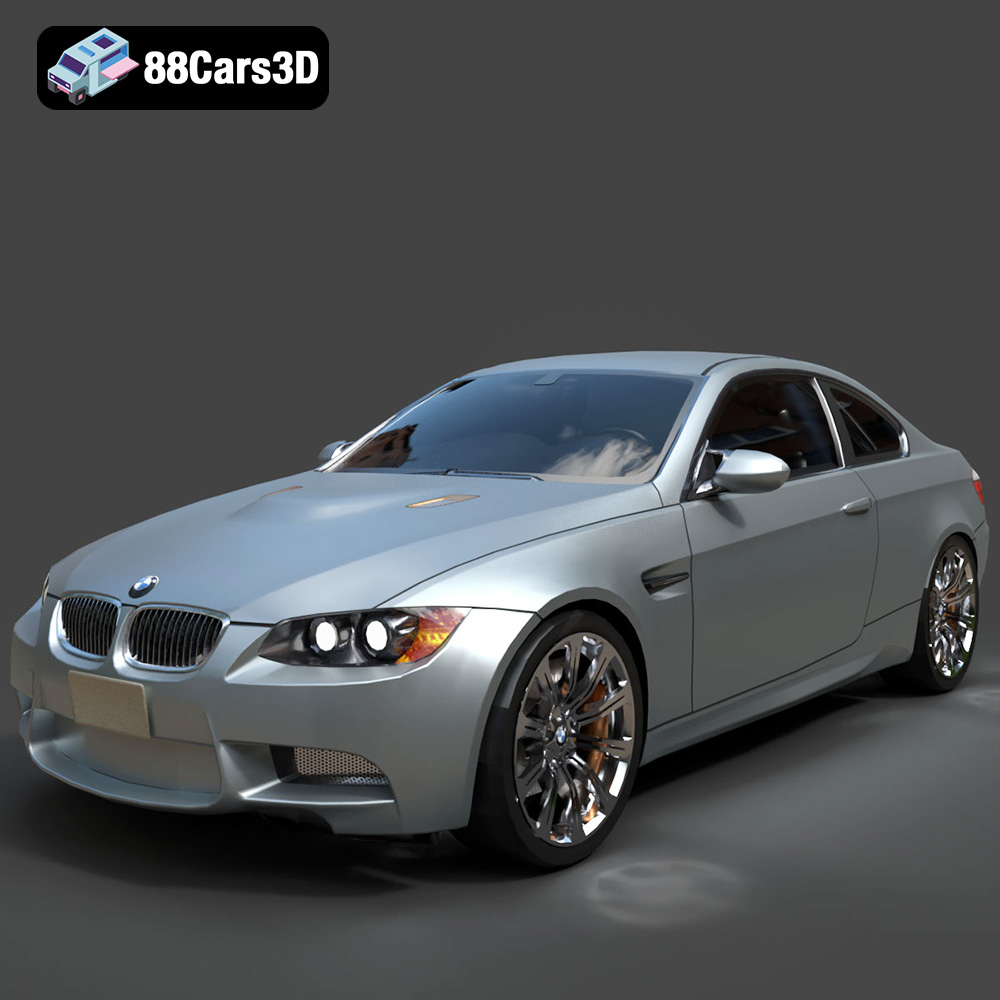
BMW M3 Coupe E92-002 3D Model
Texture: Yes
Material: Yes
Download the BMW M3 Coupe E92-002 3D Model featuring authentic styling, detailed exterior, and a faithful interior. Includes .blend, .fbx, .obj, .glb, .stl, .ply, .unreal, and .max formats for rendering, simulation, and game development.
Price: $10.79
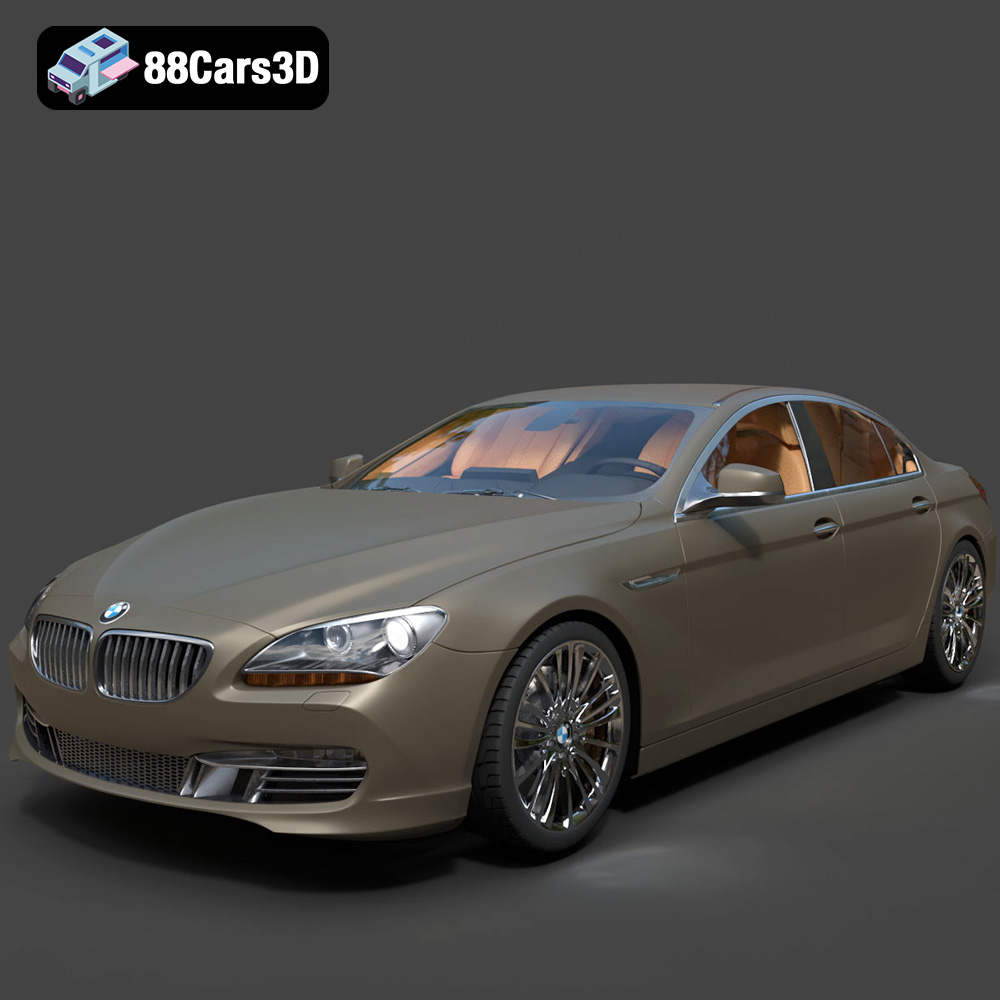
BMW 6 Series Gran Coupe 2013 3D Model
Texture: Yes
Material: Yes
Download the BMW 6 Series Gran Coupe 2013 3D Model featuring a sophisticated design, detailed exterior, and well-appointed interior. Includes .blend, .fbx, .obj, .glb, .stl, .ply, .unreal, and .max formats for rendering, simulation, and game development.
Price: $20.79
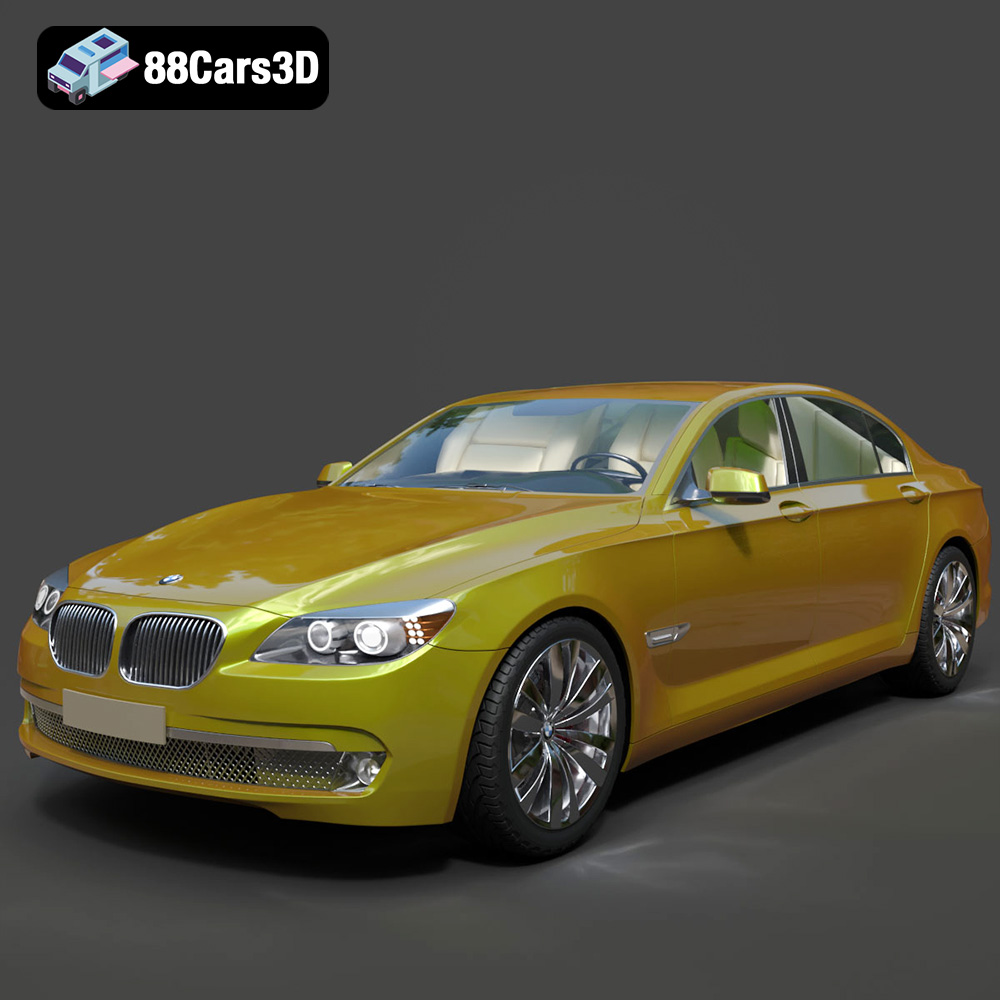
BMW 7 Series 750 F01 3D Model
Texture: Yes
Material: Yes
Download the BMW 7 Series 750 F01 3D Model featuring a detailed exterior and a luxurious interior. Includes .blend, .fbx, .obj, .glb, .stl, .ply, .unreal, and .max formats for rendering, simulation, and game development.
Price: $10.79
