

In the fast-paced world of real-time rendering and interactive experiences, particularly within automotive visualization, the ability to manage complex 3D assets efficiently is paramount. Unreal Engine has emerged as the industry standard for creating breathtaking, photorealistic environments and interactive applications. However, the sheer volume of high-quality 3D car models, intricate materials, and detailed environments can quickly become unwieldy without a robust strategy for asset management and project organization.
This comprehensive guide dives deep into the best practices for structuring your Unreal Engine projects, ensuring your automotive visualization endeavors remain scalable, performant, and collaborative. Whether you’re building a next-gen game, a stunning automotive configurator, or an immersive AR/VR experience, a well-organized project is the bedrock of success. We’ll explore everything from initial project setup and naming conventions to advanced optimization techniques like Nanite and Lumen, helping you harness the full power of Unreal Engine while keeping your development pipeline smooth and efficient. By the end, you’ll have a clear roadmap to maintain pristine projects, enabling you to focus on creativity rather than wrestling with disorganized assets.
Laying the Foundation: Project Setup and Folder Structure
The journey to a well-managed Unreal Engine project begins long before any assets are imported. Establishing a clear, logical folder structure and enforcing consistent naming conventions from day one is perhaps the single most impactful step you can take. This foundational organization acts as the backbone of your project, preventing countless headaches down the line, especially when working in teams or revisiting older projects. A cluttered Content Browser is a developer’s nightmare, leading to wasted time searching for assets, accidental overwrites, and general frustration.
Think of your project’s folder structure as a digital filing cabinet. Every asset needs a logical home. Without this, your project can quickly descend into chaos, impacting everything from performance to collaboration. For automotive visualization, where you might have dozens of unique car models, hundreds of materials, and thousands of textures, this disciplined approach is non-negotiable. It ensures that any team member can intuitively navigate the project, locate specific assets, and understand their purpose without needing constant clarification. This streamlined workflow is crucial for maintaining productivity and meeting deadlines in demanding production environments.
Standardizing Your Asset Hierarchy
A standardized hierarchy provides a predictable environment for all project contributors. While specific structures can vary based on project needs, a common and highly effective approach is to categorize assets by type and then by specific usage or entity. For instance, all meshes should live under a ‘Meshes’ folder, textures under ‘Textures,’ and so on. Within these top-level categories, you can further subdivide. For automotive projects, a common structure might look like this:
Content/_Developers/(Individual developer scratch pads)Blueprints/(All Blueprint classes)Cars/(Specific car models, e.g.,Cars/ModelA,Cars/ModelB)Environments/(Maps, environment meshes, props, specific environment textures)FX/(Niagara particle systems, flipbooks)Materials/(Master materials, material instances, material functions)Maps/(Levels, persistent levels, sub-levels)Meshes/(Static meshes, skeletal meshes)Sounds/(Audio cues, sound waves)Textures/(General textures not specific to a single model or environment)UI/(Widgets, HUD elements)Sequences/(Cinematic sequences, shots)
This structure allows for quick navigation. If you’re looking for a specific car model’s textures, you’d go to Content/Cars/ModelA/Textures rather than sifting through a monolithic ‘Textures’ folder. For further detailed guidance on project organization, Epic Games provides comprehensive documentation on their Unreal Engine learning portal.
Naming Conventions for Clarity and Searchability
Beyond folder structure, consistent naming conventions are vital. They make assets searchable, identifiable at a glance, and prevent naming conflicts. The Unreal Engine documentation recommends prefixes for different asset types, and adhering to these or a similar system is highly beneficial. Here are some examples relevant to automotive visualization:
- Static Mesh:
SM_CarName_PartName(e.g.,SM_MustangGT_Body,SM_MustangGT_WheelFrontLeft) - Skeletal Mesh:
SK_CarName_Chassis - Texture:
T_CarName_BaseColor,T_CarName_Normal,T_CarName_ORM(Occlusion, Roughness, Metallic) - Material:
M_CarName_PaintMetallic,M_CarName_Glass - Material Instance:
MI_CarName_PaintRed,MI_CarName_GlassTinted - Blueprint Class:
BP_CarName_Configurator,BP_CarName_VehiclePawn - Map/Level:
L_CarShowroom_Day,L_Configurator_Persistent - Texture Render Target:
RT_CarName_Reflection - Sequencer Sequence:
SEQ_CarShowcase_Intro
Using these prefixes and descriptive names ensures that when you search for “MustangGT,” all relevant assets appear, clearly categorized by their type. This level of detail minimizes errors and significantly speeds up development, allowing artists and developers to find what they need quickly and precisely.
Importing and Optimizing 3D Car Models from Marketplaces like 88cars3d.com
Once your project is structured, the next crucial step is bringing your high-quality 3D car models into Unreal Engine. Sourcing these assets from reputable marketplaces such as 88cars3d.com ensures you start with models that are often already optimized for real-time rendering, featuring clean topology, proper UV mapping, and PBR-ready materials. However, even with pre-optimized models, understanding the import process and further optimization techniques within Unreal Engine is essential to maximize performance and visual fidelity.
Automotive models are inherently complex, often containing millions of polygons, multiple material IDs, and intricate details. Without careful management, importing these assets can quickly lead to performance bottlenecks, long load times, and a heavy memory footprint. The goal is to strike a balance between visual quality and real-time performance, ensuring your application runs smoothly on target hardware. This involves choosing the right file formats, configuring import settings, and leveraging Unreal Engine’s powerful optimization tools to handle high-detail geometry efficiently.
Pre-Import Checks and File Formats
Before importing, perform essential checks in your Digital Content Creation (DCC) software (e.g., Blender, Maya, 3ds Max). Ensure the model has clean geometry, ideally quads, with minimal n-gons. Check the scale; Unreal Engine typically uses centimeters, so ensure your model matches this or adjust accordingly during import. Verify pivot points are correctly placed, especially for components like wheels or doors that will be animated or rotated. Ensure UV maps are properly laid out, without overlapping, which is crucial for texture mapping and light baking.
The primary file format for importing 3D models into Unreal Engine is FBX. It supports meshes, materials, animations, and more. When exporting from your DCC, select the appropriate FBX version (e.g., FBX 2018 or later for newer features). More recently, USD (Universal Scene Description) and its mobile variant USDZ are gaining traction, offering robust scene description capabilities and better interoperability across different tools. Platforms like 88cars3d.com often provide models in these optimized formats, making your workflow smoother. When importing FBX, pay attention to options like “Combine Meshes,” “Auto Generate Collision,” and “Import Materials/Textures.” For complex car models, it’s often better to import parts as separate meshes and assemble them in Blueprints, allowing for more granular control over materials and interactivity.
Leveraging Nanite and LODs for Performance
Unreal Engine 5 introduced Nanite Virtualized Geometry, a game-changer for high-fidelity assets. Nanite allows artists to import models with millions or even billions of polygons without significant performance overhead, as it intelligently streams and renders only the necessary detail. For high-detail 3D car models, enabling Nanite is highly recommended. During import, simply check the “Enable Nanite” option. After import, you can convert existing static meshes to Nanite via the Static Mesh Editor. Nanite meshes offer incredible visual fidelity without the need for manual LOD (Level of Detail) creation for distant views, as it handles geometric detail dynamically.
However, Nanite has limitations. It currently doesn’t support skeletal meshes, transparent materials, or certain vertex attributes. For these scenarios, traditional LODs are still crucial. LODs are simplified versions of your mesh that are swapped out based on the camera’s distance, drastically reducing polygon count and draw calls for objects further away. Unreal Engine can automatically generate LODs (often up to 4-5 levels) from your base mesh in the Static Mesh Editor. You can configure screen size percentages for each LOD. For critical performance, custom-created LODs from your DCC software offer the best results, as artists can manually optimize geometry. A typical car model might have a base mesh of 100,000-300,000 polygons (or millions if using Nanite), with LODs ranging down to a few thousand for distant views, ensuring optimal performance across various viewing distances.
Crafting Realistic PBR Materials and Managing Texture Workflows
The visual realism of your 3D car models in Unreal Engine heavily relies on high-quality Physical Based Rendering (PBR) materials and an organized texture workflow. PBR materials accurately simulate how light interacts with surfaces, resulting in photorealistic renders. However, managing the multitude of textures (Albedo/Base Color, Normal, Roughness, Metallic, Ambient Occlusion, Height, etc.) and material instances for complex automotive scenes requires a systematic approach to maintain performance and editability.
Disorganized materials can lead to duplicated efforts, inconsistent visual quality, and difficulties in making global changes. A well-structured material library, coupled with efficient texture management, ensures that your automotive models look stunning while adhering to real-time rendering constraints. This section will guide you through creating a robust PBR material system and optimizing your texture assets, keeping your project lean and visually impressive.
PBR Material Setup and Instancing
In Unreal Engine, a robust PBR material pipeline often starts with a few “Master Materials.” These are complex materials that define the core logic for different surface types (e.g., opaque paint, metallic paint, glass, rubber, chrome). They contain all the necessary parameters, calculations, and shader code but are not directly applied to meshes. Instead, “Material Instances” are created from these master materials.
Material instances allow artists to tweak specific parameters (like color, roughness, metallic values, texture maps) without recompiling the entire shader, offering incredible flexibility and performance benefits. For automotive paint, you might have a `M_Master_AutomotivePaint` material. From this, you could create instances like `MI_RedGlossyPaint`, `MI_BlueMattePaint`, or `MI_SilverMetallic`. Each instance would inherit the complex shader logic but expose only the relevant parameters to artists. This approach drastically reduces shader complexity and compilation times, crucial for iterating on visual styles quickly.
Inside the Unreal Engine Material Editor, parameters can be exposed by converting nodes (e.g., a Constant3Vector for color, a Texture Sample for a texture map) into “Parameters” or “Texture Parameters.” These then appear in the Material Instance editor. Organizing these parameters within your master material using groups and descriptive names is key for usability.
Texture Resolution and Streaming Optimization
Textures are often the largest contributors to memory usage in an Unreal Engine project. Managing their resolution and compression is vital for performance. For critical details on a car model, such as the body paint or interior dashboard, 4K or even 8K textures (e.g., 4096×4096 or 8192×8192 pixels) might be necessary for close-up realism. However, less critical components or objects viewed from a distance can use 2K (2048×2048) or 1K (1024×1024) textures to save memory. Never use higher resolution textures than necessary, as it only adds to memory footprint without visual gain.
Unreal Engine provides robust texture compression settings. For most color maps (Base Color), a compression setting like “Default (DXT1/5)” is suitable. For normal maps, “Normalmap (DXT5)” is specific and crucial. For packed textures like ORM (Occlusion, Roughness, Metallic) maps, “Masks (no sRGB)” is ideal to prevent color space conversion issues. Each texture’s “LOD Bias” setting can also be used to force it to use a lower resolution mipmap, effectively reducing its memory footprint. Another critical feature is “Texture Streaming,” which automatically loads higher resolution mipmaps only when the texture is close to the camera, reducing GPU memory overhead. Ensure this is enabled for most textures and adjust the streaming distance if necessary. By carefully managing texture resolutions and employing these optimization techniques, you can achieve stunning visual quality without sacrificing real-time performance.
Blueprint Scripting and Interactive Asset Management
Unreal Engine’s Blueprint Visual Scripting system is a powerful tool for creating complex interactivity and managing dynamic assets without writing a single line of C++ code. For automotive visualization, Blueprints are indispensable for everything from vehicle physics and customizable configurators to interactive demos and cinematic triggers. Effectively managing your Blueprint assets, much like your static meshes and materials, is crucial for maintaining a clean, scalable, and easy-to-debug project.
A disorganized Blueprint architecture can lead to tangled logic, difficult-to-track bugs, and make it challenging to add new features or modify existing ones. By adopting a modular approach and leveraging data-driven design, you can build robust and flexible systems that easily incorporate new 3D car models or additional customization options, making your interactive automotive experiences shine. This approach centralizes control and simplifies future expansions, ensuring your project remains agile.
Modular Blueprint Design for Automotive Configurators
Automotive configurators are prime examples of complex interactive systems that greatly benefit from modular Blueprint design. Instead of creating one monolithic Blueprint for an entire car with all its options, break it down into manageable, reusable components. For instance:
BP_VehicleBase: A parent Blueprint class for the core vehicle, containing common functionality like wheel attachments, basic movement logic, and a reference to the main chassis mesh.BP_VehicleConfigurator: A Blueprint actor responsible for managing the UI, handling user input, and orchestrating the changes to the vehicle components.BP_PaintManager: A component or separate Blueprint responsible solely for applying paint materials to specific mesh sections. It could take a color parameter or a Material Instance reference.BP_WheelSet: A Blueprint encapsulating four wheels, allowing easy swapping of entire wheel sets (e.g., different rim designs, tire types).BP_InteriorOption: Blueprints to manage different interior trims, seat materials, or dashboard layouts.
This modularity allows you to update a single component (e.g., add a new paint finish) without affecting the entire car’s logic. You can use Blueprint Interfaces or Event Dispatchers to communicate between these different Blueprints, maintaining loose coupling. For example, the `BP_VehicleConfigurator` could trigger an event like “OnPaintOptionSelected” which the `BP_PaintManager` listens to and responds by changing the material. This keeps your logic clean and easier to debug, as each Blueprint has a clear, singular responsibility. You can find excellent resources on Blueprint best practices on the Unreal Engine learning portal.
Data Tables and External Asset Management
When dealing with a multitude of customizable options – dozens of paint colors, wheel designs, interior trims – hardcoding these values or asset references directly into Blueprints quickly becomes unmanageable. This is where Data Tables shine as a powerful asset management tool. Data Tables allow you to store structured data, typically imported from CSV or JSON files, directly within Unreal Engine.
For an automotive configurator, you might create Data Tables for:
- Paint Options: Storing unique IDs, display names, RGB color values, and references to `MI_PaintMaterialInstance`.
- Wheel Options: Storing unique IDs, display names, references to `SM_WheelMesh` assets, and potentially `M_WheelMaterialInstance`.
- Interior Options: Storing unique IDs, display names, and references to different interior mesh variants or material instances.
Your `BP_VehicleConfigurator` or relevant manager Blueprints would then simply read from these Data Tables based on user selection. Instead of a series of “Switch on String” nodes in a Blueprint, you can simply query the Data Table for the asset reference associated with the selected option. This separates your data from your logic, making it incredibly easy to add new options (just update the CSV and re-import), localize content, and manage a large number of assets efficiently. It’s a scalable way to handle asset references and customization data, allowing your configurator to grow without requiring extensive Blueprint modifications for every new addition.
Lighting, Rendering, and Cinematic Asset Pipelines
Achieving stunning visual fidelity in automotive visualization hinges on expertly crafted lighting and efficient rendering techniques. Unreal Engine provides an array of powerful tools, from dynamic global illumination with Lumen to high-quality cinematic sequencing, that demand careful asset organization to perform optimally. Managing light sources, post-processing volumes, and cinematic sequences effectively ensures consistent visual quality and smooth production workflows.
Disorganized lighting setups can lead to inconsistent illumination, performance dips, and difficult-to-debug visual artifacts. Similarly, a messy cinematic pipeline can turn a creative process into a frustrating scramble. By adopting structured approaches to lighting, rendering, and cinematic asset management, you can unlock the full potential of Unreal Engine to create breathtaking automotive presentations, interactive experiences, and marketing content.
Dynamic Lighting with Lumen and Static Scene Organization
Unreal Engine 5’s Lumen Global Illumination and Reflections system revolutionizes real-time lighting, providing fully dynamic indirect lighting and reflections with incredible realism. While Lumen greatly simplifies the setup for realistic lighting, organizing your light sources and lighting scenarios is still paramount. All light sources (Directional Lights for sun/moon, Skylights for ambient light, Rect Lights for studio setups, Spot Lights for accents) should adhere to naming conventions (e.g., `L_Sun_Directional`, `L_Studio_RectLight01`).
For complex automotive scenes, especially those requiring different lighting conditions (day, night, studio), consider organizing these scenarios using Level Streaming. You can have a persistent level containing your car and base environment, and then load different sub-levels containing specific lighting setups. For example, `L_Lighting_Day`, `L_Lighting_Night`, `L_Lighting_Studio`. This allows you to quickly switch between environments and prevents an accumulation of disabled lights in a single scene, keeping your Outliner clean and performance predictable. Post-process volumes, which are crucial for color grading, exposure, and effects like bloom or depth of field, should also be named and grouped logically within your scene or lighting sub-levels (e.g., `PPV_Showroom_Overall`, `PPV_Closeup_CameraFX`). This granular control ensures each lighting setup is perfectly tuned for your automotive models.
Sequencer for Cinematic Asset Control
For creating stunning cinematic trailers, product showcases, or interactive cinematics for your automotive models, Unreal Engine’s Sequencer is an incredibly powerful non-linear editor. Efficiently managing your Sequencer assets – the sequences themselves, camera cuts, shots, and takes – is crucial for a smooth animation and rendering pipeline. Just like other assets, Sequencer sequences should reside in a dedicated folder (e.g., Content/Sequences/) and follow clear naming conventions (e.g., `SEQ_CarShowcase_Main`, `SEQ_ProductReveal_Intro`).
For longer or more complex cinematics, break them down into master sequences and shot sequences. A “Master Sequence” orchestrates the overall flow, containing multiple “Shot Sequences” (each focusing on a specific camera angle or action). This modular approach allows multiple artists to work on different shots concurrently without stepping on each other’s toes. Within each sequence, tracks for cameras, actors (your car model, props), materials (for dynamic paint changes), and audio should be clearly named and organized. Use folders within Sequencer to group related tracks. Leverage “Possessable” tracks for actors that only exist within the sequence and “Spawnable” tracks for actors created by the sequence. For advanced configurators, Sequencer can be triggered via Blueprint to dynamically play specific animations or camera movements based on user interaction, enhancing the immersive experience of your 3D car models.
Advanced Optimization and Maintenance for Long-Term Projects
Even with meticulous asset organization and initial optimization, a large-scale Unreal Engine project, especially one involving numerous high-fidelity 3D car models and intricate environments, requires ongoing maintenance and advanced optimization. Over time, projects can accumulate unused assets, performance bottlenecks, or inconsistent data. Proactive monitoring and optimization are key to ensuring long-term project health, stability, and optimal real-time performance, particularly for demanding applications like AR/VR or virtual production with LED walls.
This final section focuses on the tools and practices that allow you to continually audit your project, identify areas for improvement, and integrate robust version control. These strategies are not one-time fixes but continuous processes that safeguard your project’s integrity and performance, guaranteeing that your automotive visualizations remain cutting-edge and efficient throughout their lifecycle.
Performance Profiling and Asset Auditing
Maintaining optimal performance requires regular profiling. Unreal Engine offers a suite of powerful profiling tools:
- Unreal Insights: A standalone application that provides deep dives into CPU and GPU performance, memory usage, rendering events, and more. It helps identify exact bottlenecks like excessive draw calls, expensive shaders, or high memory consumption from textures or meshes.
- Stat Commands: In-engine console commands like `stat fps`, `stat unit`, `stat rhi`, `stat gpu`, `stat scenerendering` provide real-time performance metrics directly in your viewport. These are excellent for quick checks during development.
- Shader Complexity Viewmode: Visually highlights areas of your scene with complex shaders, which can be performance heavy. Aim for green/blue areas; red/white indicates issues.
- Asset Audit Window: Found under Window -> Developer Tools, this window allows you to see memory usage, texture sizes, polygon counts, and dependencies for all assets in your project. It’s invaluable for identifying oversized assets or assets with unnecessary dependencies. For example, you might discover a 4K texture being used for a tiny, distant detail, or a high-poly mesh where a lower LOD would suffice.
Regularly running these tools and addressing the identified issues is crucial. For AR/VR automotive applications, target frame rates (e.g., 90 FPS) are critical, making continuous profiling indispensable. Optimize draw calls by combining meshes where possible, reduce material complexity, and ensure texture streaming is working effectively. Consider using the “Merge Actors” tool to combine static meshes into a single actor, further reducing draw calls for static environment props around your 3D car models.
Data Validation and Version Control Integration
As projects grow, especially with multiple contributors, data integrity can become a challenge. Unreal Engine’s Data Validation system helps ensure that assets adhere to predefined rules. You can create custom validation rules (via C++ or even some Blueprint approaches) to check for common issues, such as missing textures on materials, incorrect naming conventions, or meshes without collision. Running these checks before submitting changes to source control can prevent corrupted or incorrectly configured assets from entering the main project branch, maintaining a high level of quality across your automotive assets.
Finally, robust version control is non-negotiable for any serious project. Perforce (Helix Core) is the industry standard for Unreal Engine development, offering excellent large binary file support and integration with the engine. Git with Git LFS (Large File Storage) is another popular option for smaller teams. Integrating your version control system ensures:
- Revision History: Every change is tracked, allowing you to revert to previous versions.
- Collaboration: Multiple team members can work on the project simultaneously.
- Backup and Recovery: Your project data is safely stored off-site.
- Conflict Resolution: Tools to manage conflicts when multiple people modify the same asset.
For large projects with high-quality 3D car models, ensuring that your Unreal Engine project is correctly configured for source control (e.g., asset serialization to text, proper ignore lists) is a crucial part of long-term maintenance and collaborative development. Regularly syncing, submitting changes with descriptive messages, and resolving conflicts promptly are essential practices for any professional team working on automotive visualization or game development.
Conclusion
Mastering asset management and project organization in Unreal Engine is not merely a nicety; it is a fundamental requirement for success in modern real-time rendering, particularly within the demanding field of automotive visualization. From the moment you set up your project and define your folder structure, through the meticulous process of importing and optimizing 3D car models, crafting PBR materials, and building interactive experiences with Blueprints, a disciplined approach pays dividends.
By leveraging features like Nanite for high-fidelity geometry, Lumen for dynamic lighting, and Sequencer for cinematic storytelling, alongside strict naming conventions and modular design principles, you can create breathtaking automotive projects that are not only visually stunning but also performant, scalable, and easy to maintain. This holistic approach empowers artists and developers to focus on creative innovation rather than getting bogged down by technical clutter. Embrace these best practices, and you’ll streamline your workflow, enhance collaboration, and consistently deliver professional-grade results. For access to high-quality, pre-optimized 3D car models ready for your next Unreal Engine project, visit 88cars3d.com and kickstart your journey to unparalleled automotive visualization.
Featured 3D Car Models
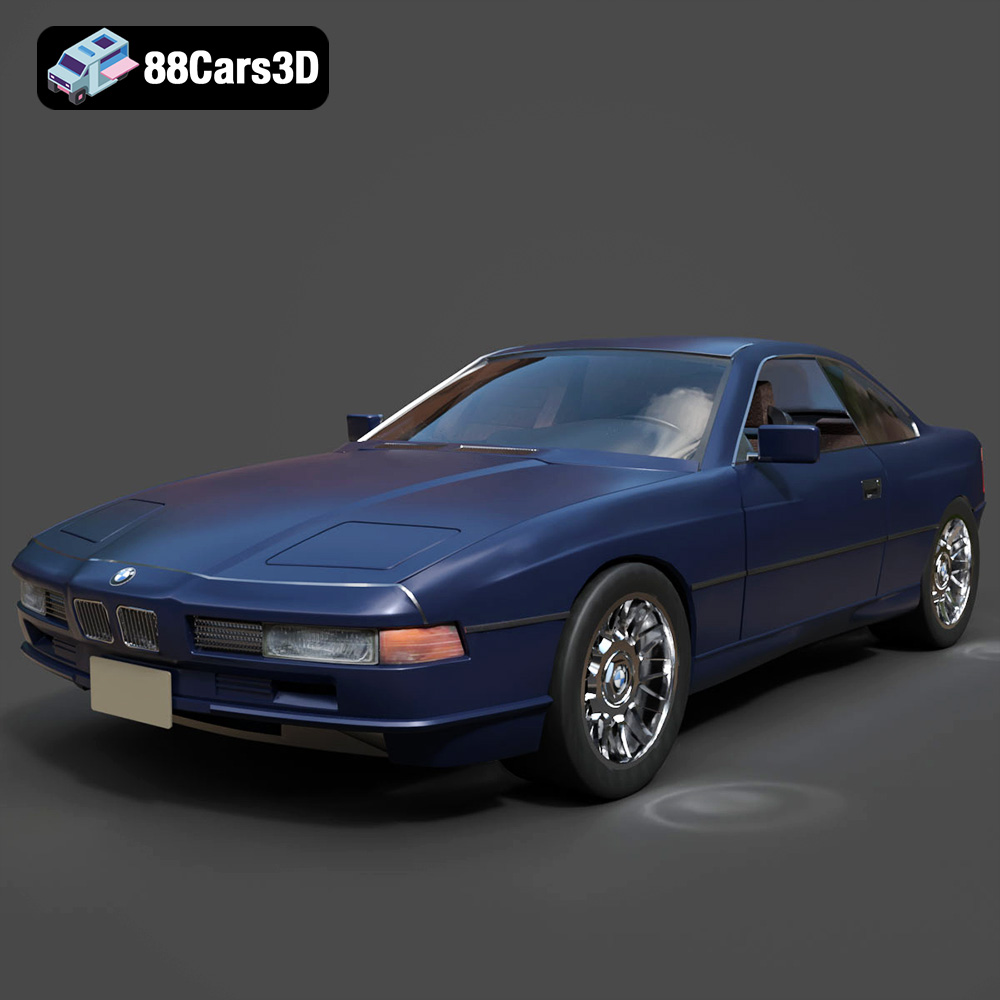
BMW 850i Coupe 1990 3D Model
Texture: Yes
Material: Yes
Download the BMW 850i Coupe 1990 3D Model featuring clean geometry, realistic detailing, and a fully modeled interior. Includes .blend, .fbx, .obj, .glb, .stl, .ply, .unreal, and .max formats for rendering, simulation, and game development.
Price: $13.99
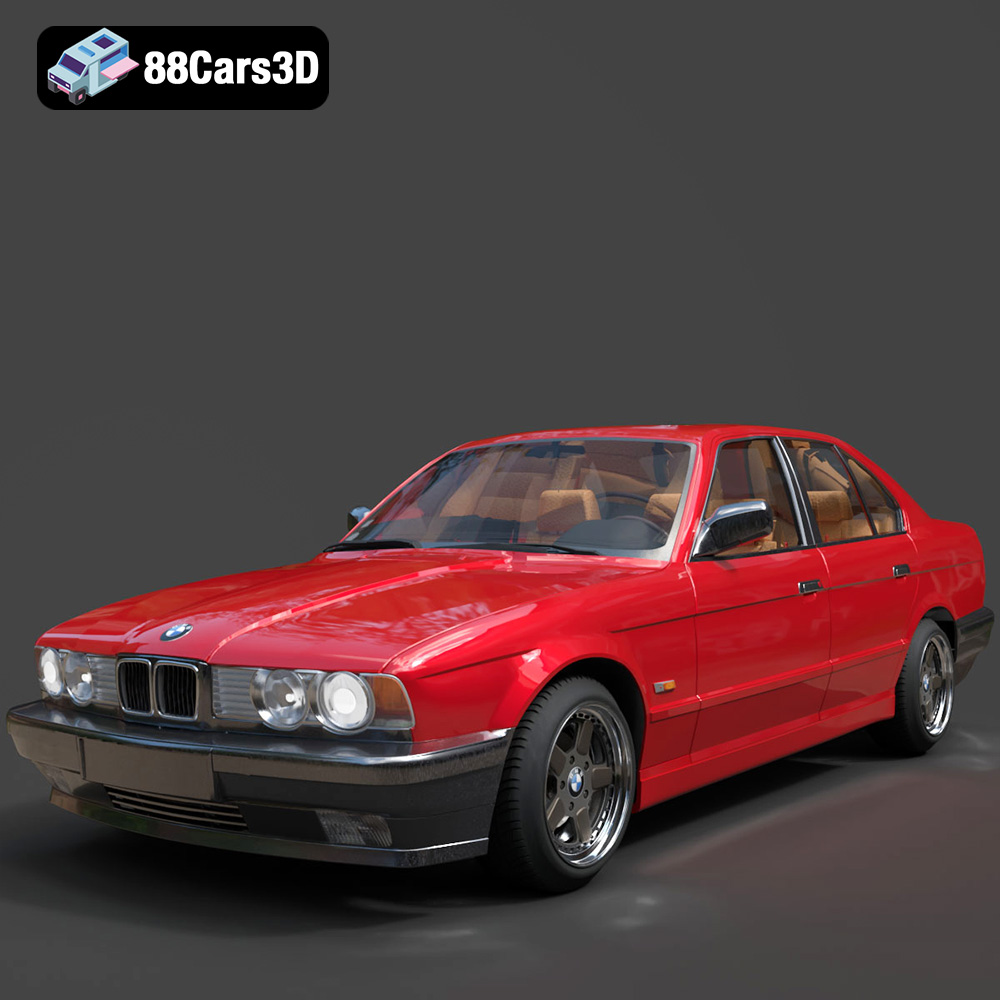
BMW 525i E34 1993 3D Model
Texture: Yes
Material: Yes
Download the BMW 525i E34 1993 3D Model featuring clean geometry, realistic detailing, and a fully modeled interior. Includes .blend, .fbx, .obj, .glb, .stl, .ply, .unreal, and .max formats for rendering, simulation, and game development.
Price: $12.99

BMW 7 Series 2016 3D Model
Texture: Yes
Material: Yes
Download the BMW 7 Series 2016 3D Model featuring luxurious design, detailed interior, and accurate exterior. Includes .blend, .fbx, .obj, .glb, .stl, .ply, .unreal, and .max formats for rendering, simulation, and game development.
Price: $10.79
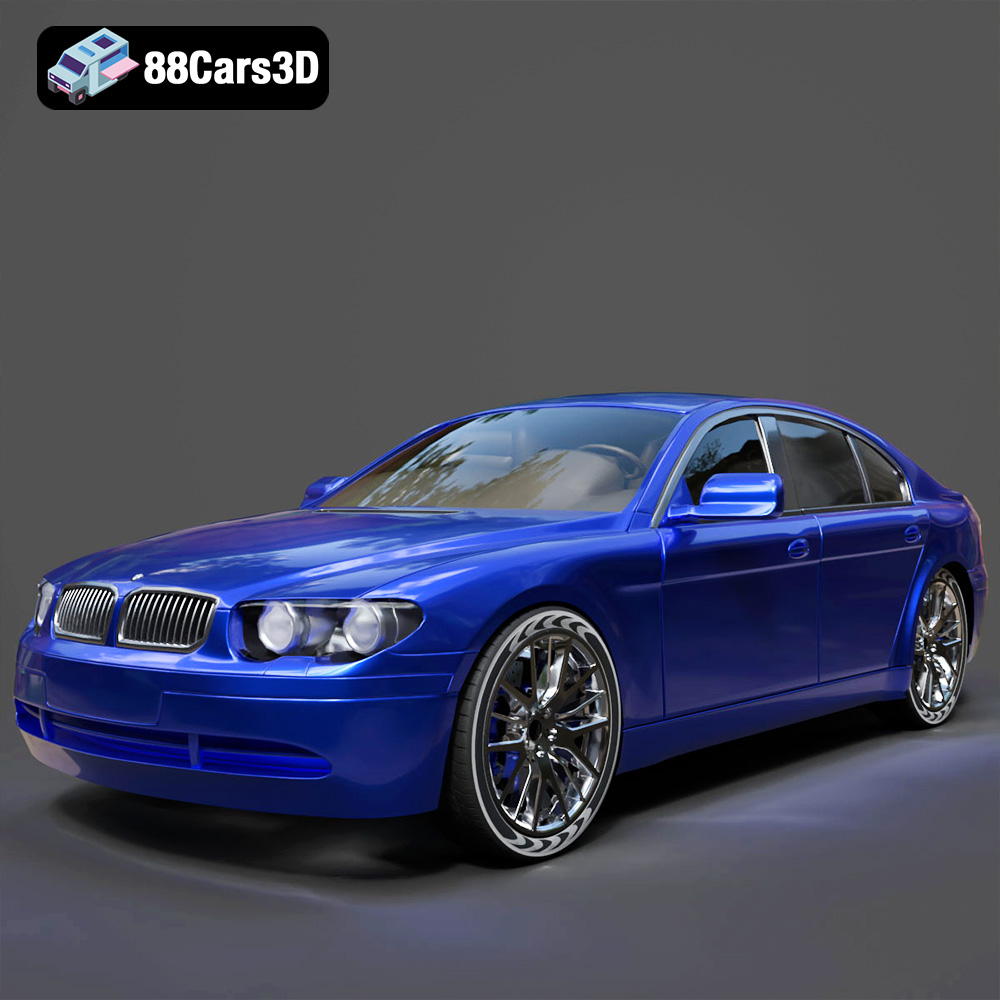
BMW 7 Series 30th Anniversary 3D Model
Texture: Yes
Material: Yes
Download the BMW 7 Series 30th Anniversary 3D Model featuring a meticulously crafted exterior, detailed interior, and realistic wheels. Includes .blend, .fbx, .obj, .glb, .stl, .ply, .unreal, and .max formats for rendering, simulation, and game development.
Price: $35.79

BMW 7-Series F02 3D Model
Texture: Yes
Material: Yes
Download the BMW 7-Series F02 3D Model featuring a detailed exterior and interior, optimized for rendering and animation. Includes .blend, .fbx, .obj, .glb, .stl, .ply, .unreal, and .max formats for rendering, simulation, and game development.
Price: $10.79
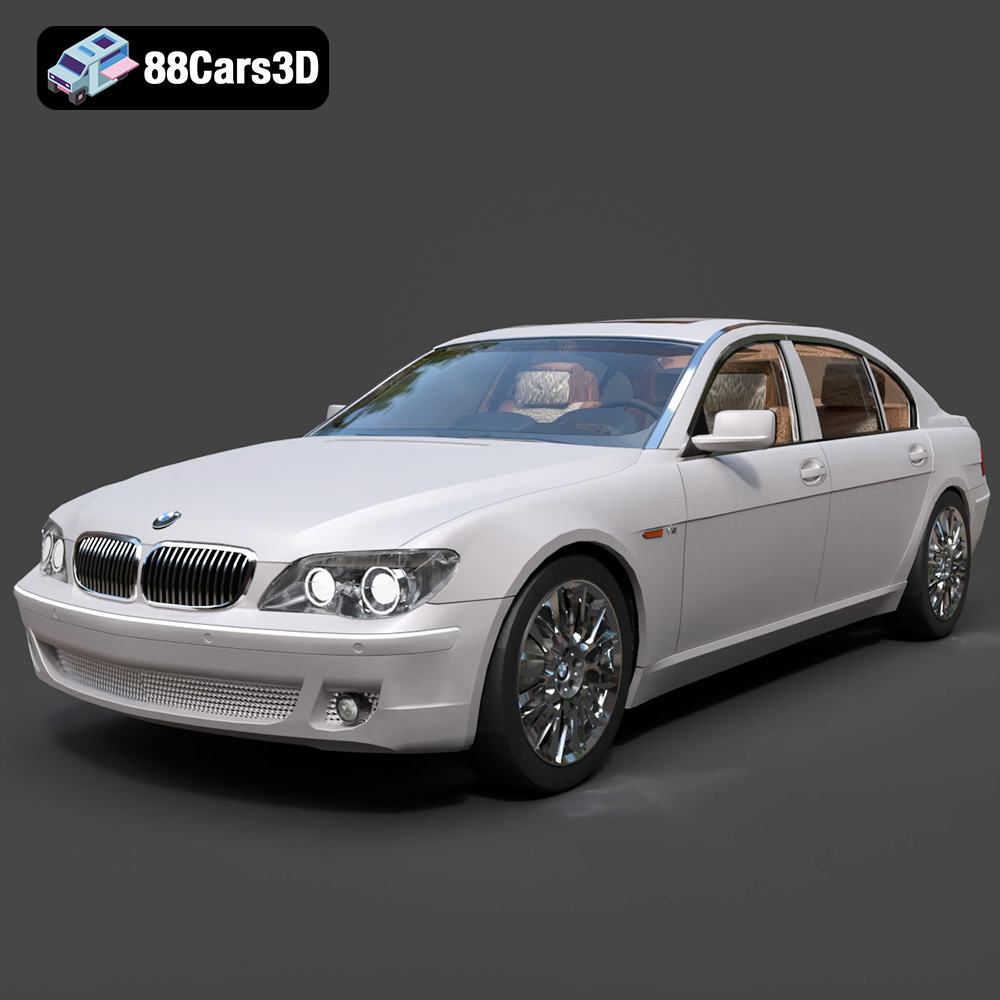
BMW 760Li E66 2005 3D Model
Texture: Yes
Material: Yes
Download the BMW 760Li E66 2005 3D Model featuring a detailed exterior, refined interior, and robust chassis. Includes .blend, .fbx, .obj, .glb, .stl, .ply, .unreal, and .max formats for rendering, simulation, and game development.
Price: $10.79
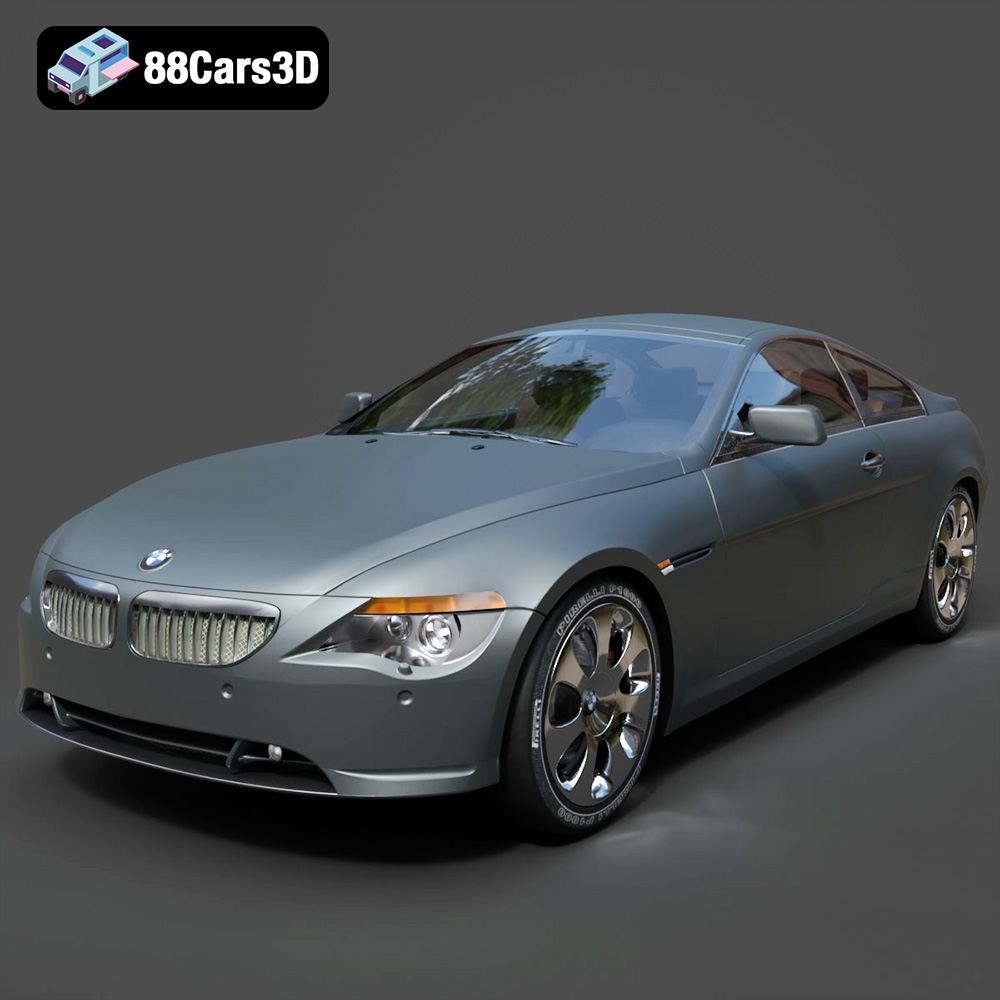
BMW 6 Series 3D Model
Texture: Yes
Material: Yes
Download the BMW 6 Series 3D Model featuring precisely modeled body panels, detailed interior, and authentic wheels. Includes .blend, .fbx, .obj, .glb, .stl, .ply, .unreal, and .max formats for rendering, simulation, and game development.
Price: $10.79
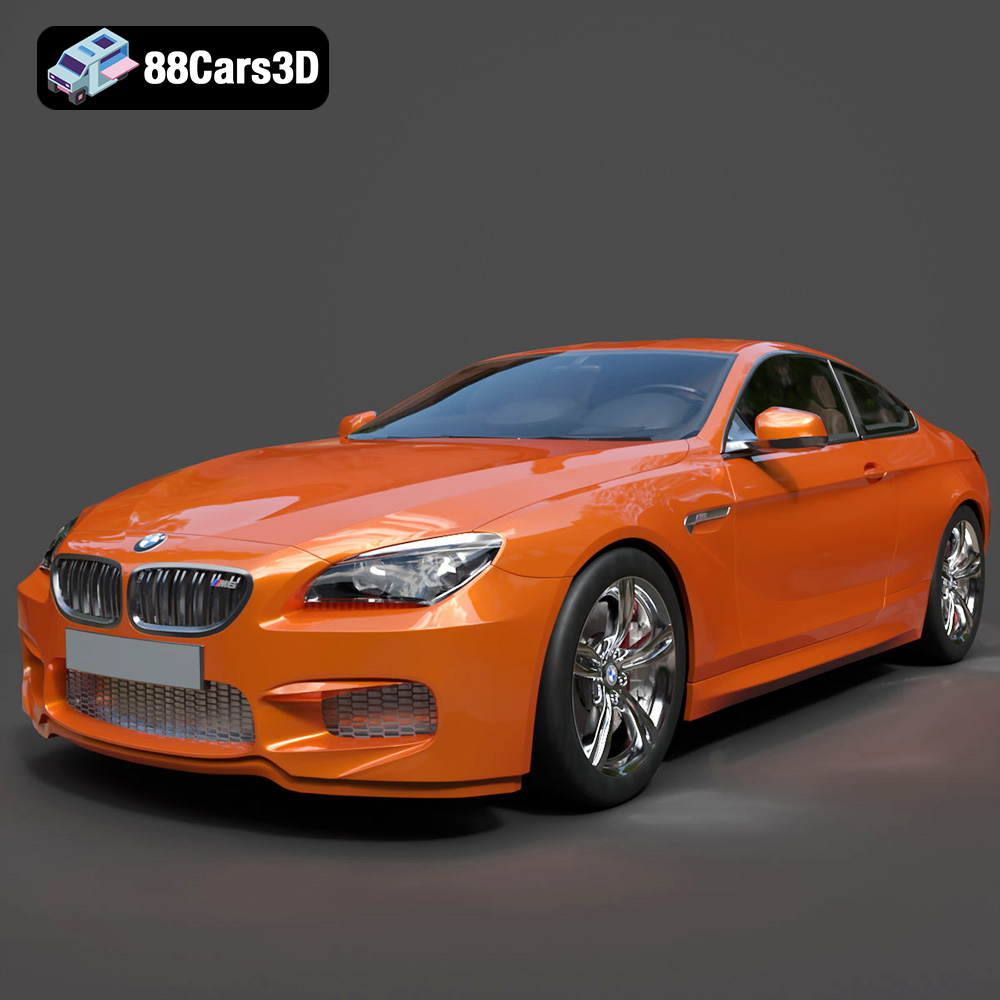
BMW M6 Coupe (F12) 3D Model
Texture: Yes
Material: Yes
Download the BMW M6 Coupe (F12) 3D Model featuring its iconic sporty design and luxurious details. Includes .blend, .fbx, .obj, .glb, .stl, .ply, .unreal, and .max formats for rendering, simulation, and game development.
Price: $10.79
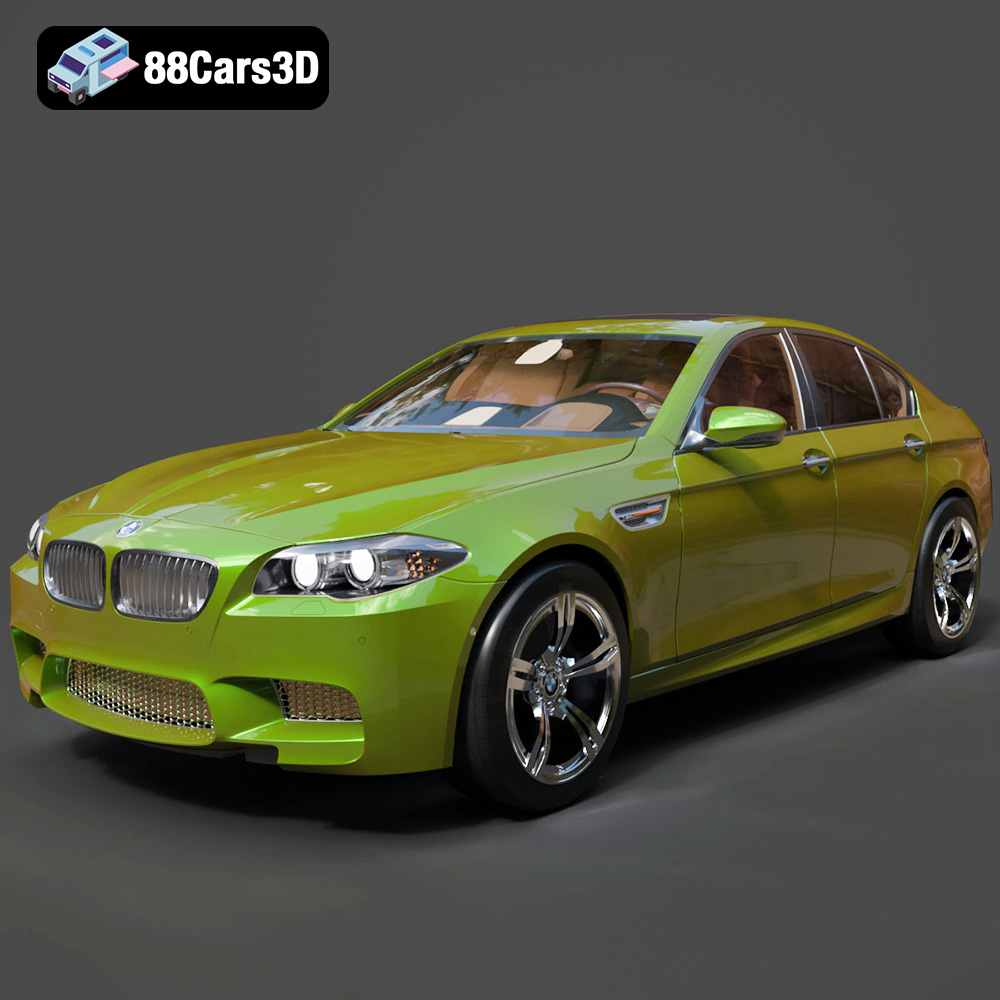
BMW M5 F10 3D Model
Texture: Yes
Material: Yes
Download the BMW M5 F10 3D Model featuring high-performance luxury sedan design, detailed interior, and realistic PBR textures. Includes .blend, .fbx, .obj, .glb, .stl, .ply, .unreal, and .max formats for rendering, simulation, and game development.
Price: $10.79
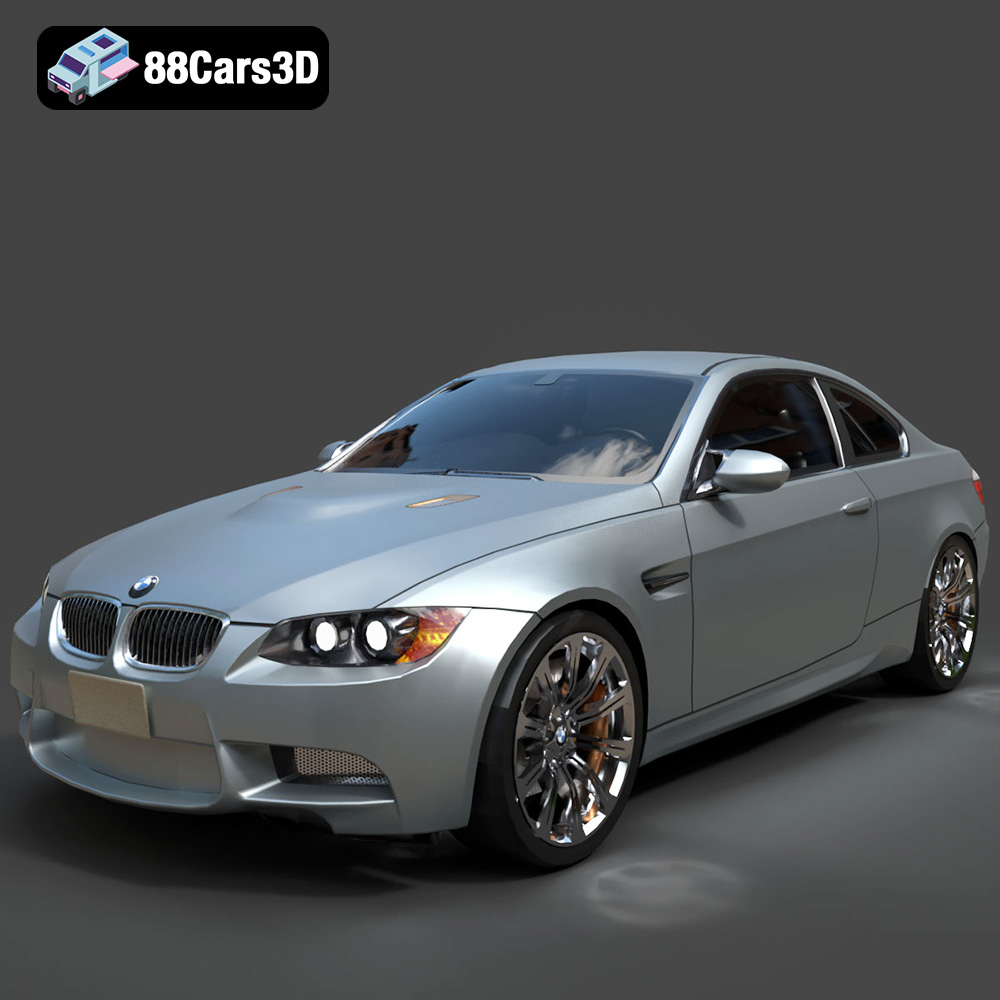
BMW M3 Coupe E92-002 3D Model
Texture: Yes
Material: Yes
Download the BMW M3 Coupe E92-002 3D Model featuring authentic styling, detailed exterior, and a faithful interior. Includes .blend, .fbx, .obj, .glb, .stl, .ply, .unreal, and .max formats for rendering, simulation, and game development.
Price: $10.79
