

Mastering STL File Preparation: A Comprehensive Guide to Cleaning Up 3D Printable Car Models in Blender
The world of 3D printing, especially for intricate and detailed subjects like automotive models, hinges on the quality of your digital blueprint – the STL file. While marketplaces like 88cars3d.com offer meticulously crafted, print-ready STL files for a stunning collection of classic and modern vehicles, sometimes even the best models can benefit from a little pre-print optimization. This is where the powerful, free, and open-source 3D creation suite, Blender, becomes an invaluable tool. In this comprehensive guide, we’ll dive deep into the essential techniques for cleaning up and preparing your downloaded STL files, ensuring flawless prints whether you’re using FDM or resin 3D printers.
We’ll cover everything from identifying common mesh errors and understanding their impact on your prints to step-by-step workflows for repairing non-manifold geometry, filling holes, and even simplifying complex meshes. By the end of this article, you’ll be equipped with the knowledge to confidently import, inspect, repair, and export your STL files from Blender, transforming them into perfectly printable assets for your next automotive scale model project. Get ready to elevate your 3D printing results by mastering the art of STL file preparation!
Understanding STL File Structure and Common Errors
Before we dive into Blender, it’s crucial to understand what an STL file is and why errors can occur. STL (STereoLithography) is the de facto standard file format for 3D printing. It represents a 3D object’s surface geometry as a collection of triangular facets. Each triangle is defined by three vertices and a normal vector, which indicates the outward-facing direction of the surface. This seemingly simple structure is what allows 3D printers to interpret and build physical objects layer by layer.
However, the way these triangles are defined can sometimes lead to issues that prevent a successful print. These errors often stem from the 3D modeling process itself, conversion from other file formats, or even issues during the initial export. For a detailed understanding of what makes a “watertight” or manifold mesh, and how these errors manifest, it’s beneficial to explore resources that explain mesh topology. When you download models from marketplaces such as 88cars3d.com, they are typically designed to be manifold and print-ready, but understanding these underlying principles will empower you to handle any edge cases or perform custom modifications.
Non-Manifold Geometry: The Printer’s Nightmare
The most common and problematic error in STL files is non-manifold geometry. A manifold mesh is analogous to a watertight object in the real world – it has a clear inside and outside, and each edge is shared by exactly two faces. Non-manifold geometry breaks this rule, leading to several critical issues:
- Internal Faces: Triangles that are completely inside the object’s volume. These confuse the slicer, which tries to determine where the solid material should be.
- Unconnected Edges (Holes): Edges that are only part of a single face. This creates holes in the mesh, making the object “leaky.”
- “T”-Junctions: Where the vertex of one triangle lies on the edge of another. This creates ambiguity in surface definition.
- Overlapping Faces: Two or more faces occupying the same space.
- Duplicate Vertices: Multiple vertices at the exact same coordinates, which can lead to infinitely thin walls or rendering artifacts.
These errors can cause slicers to generate incorrect toolpaths, lead to printing failures like gaps or missing sections, and result in weak or distorted prints. Identifying and fixing these issues is the primary goal of STL file cleanup.
Holes and Gaps: The Infiltration of Air
Holes and gaps are essentially a specific type of non-manifold edge where the surface is not closed. For FDM printing, a hole means the nozzle might print into empty space, creating a weak point or a visible blemish. For resin printing, uncured resin can seep into these gaps, leading to messy prints that are difficult to clean and cure properly. Small holes might be insignificant, but larger ones can compromise the structural integrity and aesthetic appeal of your meticulously scaled car models.
Identifying these holes is often straightforward – they appear as visible gaps in the model’s surface. However, they can also be subtle, especially in complex areas like wheel arches or panel gaps. Advanced inspection tools in Blender can help pinpoint even the smallest breaches in your mesh’s integrity.
Importing and Inspecting STL Files in Blender
Blender’s versatility extends to handling various 3D file formats, including STL. Its robust modeling tools make it an excellent choice for both inspecting and repairing these files. The process of importing an STL file into Blender is straightforward, but the subsequent inspection requires a keen eye and understanding of Blender’s interface. We’ll be focusing on the default Blender layout and essential tools for mesh analysis.
Once you’ve launched Blender, you’ll typically see a default scene with a cube, light, and camera. You can delete these by selecting them (right-click or left-click depending on your setup) and pressing the ‘X’ key, then confirming the deletion. Now, navigate to File > Import > STL (.stl). Locate your downloaded STL file (e.g., from 88cars3d.com) and click “Import STL.” Your car model will now appear in the 3D viewport.
Navigating the 3D Viewport and Object Mode
Familiarize yourself with basic navigation: Middle Mouse Button (MMB) to rotate, Shift + MMB to pan, and Scroll Wheel to zoom. Ensure your model is scaled appropriately; sometimes imported STLs can be extremely small or large. You can check and adjust the scale in the Object Properties panel (the orange square icon) under “Scale.” For 3D printing, dimensions are usually crucial, so ensure your units are set correctly (typically millimeters) via Scene Properties > Units.
When you import an STL, it will likely be in Object Mode. This mode allows you to move, rotate, and scale the entire object. However, for editing the mesh itself, you need to switch to Edit Mode. You can do this by selecting your object and pressing the ‘Tab’ key, or by using the dropdown menu in the top-left corner of the 3D viewport.
Enabling and Using Blender’s Built-in 3D-Print Toolbox Add-on
Blender has a fantastic, though sometimes overlooked, add-on specifically designed for 3D printing tasks. It’s called the “3D-Print Toolbox.” To enable it:
- Go to Edit > Preferences.
- In the Preferences window, navigate to the Add-ons tab.
- In the search bar, type “3D-Print.”
- Check the box next to “Mesh: 3D-Print Toolbox” to enable it.
Close the Preferences window. Now, when you are in Edit Mode with your STL object selected, you should see a new panel appear when you press ‘N’ (or go to the right-side panel toggle). Look for a tab labeled “3D-Print.” This toolbox provides quick access to crucial checks:
- Check All: Click this button to run a comprehensive analysis of your mesh. It will highlight common errors like non-manifold edges, bad regions, and thin faces directly on your model.
- Solid: This checks if the mesh is watertight.
- Intersections: Detects intersecting faces.
- Bad Contiguous Edges: Flags edges that are connected incorrectly.
These tools provide an immediate overview of your model’s health, guiding you to the areas that require attention. The visual feedback of highlighted errors is incredibly useful for pinpointing problems.
Essential Mesh Repair Techniques in Blender
Once you’ve identified the errors using Blender’s 3D-Print Toolbox, it’s time to fix them. Blender offers a suite of tools that can address most common STL issues. The key is to work systematically, addressing errors identified by the toolbox. Remember, some complex errors might require a combination of tools and manual adjustments. For automotive models with intricate details like grilles, spoilers, and undercarriage components, careful attention is paramount.
Filling Holes: Sealing the Leaks
Holes are often the easiest errors to fix. In Edit Mode, you can select the boundary loop of a hole (select one edge of the hole, then press Alt + Left Click to select the entire loop). Once the hole’s edge loop is selected, you have a few options:
- F (Create Face): If the hole is a simple quad or triangle, pressing ‘F’ will attempt to fill it with a single face.
- Grid Fill (Ctrl + F > Grid Fill): For larger, more complex holes, Grid Fill is often the best option. It attempts to create a clean, grid-like pattern of quads to fill the space, which is generally better for downstream processing. You might need to adjust the ‘U’ (Offset) and ‘N’ (Number of Spans) parameters in the operator panel that appears after using Grid Fill to get the best result.
- Fill (F) with Region:** Select the boundary edges of the hole, then press F. Blender will attempt to fill the hole. This is a more general filling tool.
After filling a hole, it’s good practice to run “Check All” in the 3D-Print Toolbox again to ensure the fill operation didn’t introduce new issues.
Merging Vertices: Eliminating Duplicates and “Welding” Seams
Duplicate vertices or vertices that are extremely close together can cause problems. In Edit Mode, switch to Vertex Select mode (press ‘1’ on the number row). Select all vertices (press ‘A’). Then, press ‘M’ (Merge) and choose “By Distance.” Blender will merge any vertices that are within a specified distance threshold. You’ll see a notification indicating how many vertices were removed. Adjusting the distance can be crucial; too small and it won’t merge close points, too large and it might merge unintended vertices, creating new problems.
Merging vertices is also key to fixing “T”-junctions or closing small gaps where two mesh parts should be connected. If you have two separate pieces of mesh that should be joined, you can manually move vertices from one piece to align with the other, and then merge them.
Removing Doubles and Internal Faces
“Remove Doubles” is essentially the same as merging vertices by distance. You can access it via the ‘M’ key. Internal faces can sometimes be tricky. The 3D-Print Toolbox can highlight them. Often, selecting the problematic faces and deleting them (‘X’ > Faces) is the first step. Then, you might need to manually bridge the resulting edge loops or fill holes as described earlier.
For more stubborn issues, you might need to use Blender’s sculpting tools or mesh editing tools like the Knife tool (‘K’) to manually cut edges and retriangulate areas, or the Vertex Slide (‘G’ twice) to move vertices along existing edges. Remember to save incrementally as you make repairs.
Advanced Mesh Cleanup and Optimization
Beyond basic repairs, Blender offers powerful tools for optimizing your STL files, especially for complex models like detailed car replicas. Optimization can mean simplifying the mesh for faster slicing, ensuring sufficient wall thickness for FDM prints, or preparing specific areas for easier support removal. These techniques are vital for achieving professional-looking results and reducing print failures, particularly when dealing with delicate features common in automotive models.
Decimation for Polygon Reduction
Highly detailed models, especially those converted from high-poly sculpts or scans, can have an excessive number of polygons (triangles). This can lead to very large STL files that are slow to load and slice. The Decimate modifier in Blender is perfect for reducing polygon count while attempting to preserve the overall shape.
To use it:
- In Object Mode, select your car model.
- Go to the Modifier Properties panel (the blue wrench icon).
- Click “Add Modifier” and choose “Decimate.”
- You’ll see three modes:
- Collapse: This is the most common mode for general reduction. Adjust the “Ratio” slider (e.g., 0.5 for 50% reduction) to decrease the polygon count.
- Un-Subdivide: Useful if the mesh was created using subdivision surfaces.
- Planar: Reduces polygons on flat surfaces, preserving sharp edges.
- Once you’re happy with the visual reduction and the polygon count (visible in the top-right status bar or via the 3D-Print Toolbox), click the “Apply” button on the modifier.
Be cautious not to reduce the polygon count too much, as it can lead to loss of detail, especially on smaller features like badges or panel lines. For models from 88cars3d.com, which are already optimized, decimation is usually for custom modifications or reducing file size for specific printing scenarios.
Ensuring Wall Thickness for FDM Printing
A critical aspect of FDM printing is ensuring that all parts of the model have sufficient wall thickness. Thin walls are prone to breaking or not printing at all. The 3D-Print Toolbox has a dedicated “Thickness” check. If it highlights areas as too thin, you have a few options:
- Solidify Modifier: Add a “Solidify” modifier in the Modifier Properties panel. This modifier adds thickness to faces. You can adjust the “Thickness” value. Ensure the “Offset” is set appropriately (often 0 or 1 depending on whether you want to expand outwards or inwards). Apply the modifier when satisfied.
- Manual Scaling: In Edit Mode, you can select individual faces or groups of faces that represent thin walls and scale them (‘S’) outwards slightly. This requires careful selection and can be time-consuming.
- Model Redesign: For significant thickness issues, it might be necessary to return to the original modeling software or use more advanced mesh editing to thicken specific components like spoilers, mirrors, or exhaust tips.
For resin printing, wall thickness is less of a critical concern for printability (as resin cures regardless of thickness), but extremely thin features can still be fragile. However, very thick solid parts in resin can increase print times and resin consumption.
Assisted Support Generation and Orientation
While slicer software is the primary tool for support generation, Blender can help you make informed decisions about model orientation and identify areas that will be challenging to support. In Edit Mode, you can use the 3D-Print Toolbox’s “Overhang” analysis. This highlights areas where the angle of overhang exceeds a user-defined threshold (e.g., 45 degrees), indicating where supports will likely be needed.
By rotating your model in Object Mode before exporting, you can try to minimize the surface area of these critical overhangs. For example, orienting a car model with its wheels slightly angled outwards rather than perfectly straight down can sometimes reduce the need for complex supports under the wheel wells. Understanding where supports will be difficult to place or remove (e.g., inside delicate grilles, under spoilers) allows you to export the model in an orientation that plays to your slicer’s strengths or indicates areas where you might need manual support painting in your slicer software.
Exporting Cleaned STL Files from Blender
After meticulously cleaning and optimizing your STL file in Blender, the final step is to export it in a format that your 3D printer’s slicer can understand. Blender’s STL exporter is robust, but a few export settings can ensure you get the best results, maintaining the integrity of your repairs and the detail of your car model. It’s crucial to export from Blender with the correct scale and resolution to avoid issues when importing into your slicer.
STL Export Options Explained
Once your model is repaired and you’re satisfied with its state, go to File > Export > STL (.stl). A file browser window will appear with several important options on the right-hand side (you may need to expand the panel):
- Scale: Always ensure this is set to 1.00 if you’ve been working in correct real-world units (like millimeters) in Blender. If you scaled the object in Object Mode and applied the scale, this should be correct. If you imported an STL and it was tiny, you likely scaled it up in Object Mode and didn’t apply the scale – in this case, you might need to adjust the export scale accordingly, though it’s best practice to apply scale (Ctrl+A > Scale) in Object Mode before exporting.
- Scene Unit: If checked, Blender attempts to export using scene units. It’s often safer to leave this unchecked and rely on the “Scale” value for precise control.
- Apply Modifiers: This is a crucial checkbox. If you used modifiers like “Solidify” or “Decimate” and want their effects baked into the exported mesh, make sure this is checked. If you prefer to keep modifiers live in your Blender file for later edits, uncheck it, but then you’d need to apply them before exporting. For a print-ready file, it’s generally best to check this.
- Selection Only: If you have multiple objects in your scene and only want to export the one you’ve selected and repaired, check this box. Otherwise, Blender might export all visible objects.
- Ascii vs. Binary: Binary STL files are typically smaller and faster to process than ASCII files. For most modern slicers, Binary is the preferred format.
Choose a filename and location, and click “Export STL.”
Verifying the Exported STL in Your Slicer
Before committing to a long print, it’s a wise practice to import your newly exported STL file into your preferred slicer software (like Cura, PrusaSlicer, or Simplify3D). Load the STL and perform a quick visual inspection. Many slicers have a “Layer View” or “Preview” mode where you can scrub through the layers. This allows you to:
- Check for Gaps: Ensure there are no unexpected gaps or holes that weren’t present in Blender.
- Verify Wall Thickness: Look at the slicer’s preview to confirm that walls appear solid and continuous.
- Examine Support Structures: See how the slicer interprets the geometry and where it proposes to add supports. This can reveal if any subtle issues in the STL are causing problems for support generation.
- Check Dimensions: Confirm that the model’s dimensions in the slicer match what you expect.
If you notice any new issues that weren’t apparent in Blender, it might indicate a problem with the export settings or a subtle error that slipped through. You may need to return to Blender, adjust settings, re-export, and re-verify.
Troubleshooting Common Export Issues
Occasionally, even after careful cleanup, export issues can arise. Here are a few common problems and their solutions:
- Model is upside down or mirrored: This is usually a scale or orientation issue during export. Double-check the “Scale” setting and ensure the model’s normals are facing outwards in Blender (in Edit Mode, select all, then press Shift + N to recalculate normals).
- Model appears faceted or low-resolution: This often means the “Apply Modifiers” option was not checked, or the mesh was decimated too heavily. You might also need to increase the “Resolution” of certain modifiers (like Subdivision Surface, if used) before applying them.
- Extremely large file size: Ensure you’re exporting in Binary STL format. If the file is still massive, consider whether aggressive decimation is appropriate for your model’s intended use. Sometimes, complex models from sources like 88cars3d.com are detailed by design, and large file sizes are unavoidable for high fidelity.
By following these export and verification steps, you can confidently move from digital repair to physical creation, ensuring your 3D printed car models are as flawless as possible.
Conclusion: Elevating Your 3D Prints with Blender Mastery
Mastering the art of STL file preparation is a cornerstone of successful 3D printing, particularly for detailed and intricate models like those found at 88cars3d.com. Blender, with its powerful and free toolset, offers an accessible yet comprehensive solution for diagnosing and rectifying common mesh errors. From understanding the fundamental structure of STL files and identifying issues like non-manifold geometry and holes, to implementing practical repair techniques like filling gaps and merging vertices, you are now equipped to transform potentially problematic files into perfectly watertight models.
We’ve explored the invaluable 3D-Print Toolbox add-on for rapid error detection, delved into advanced optimization strategies such as mesh decimation and ensuring adequate wall thickness for FDM printing, and covered the crucial steps for exporting your cleaned files correctly. By integrating these techniques into your workflow, you not only minimize the risk of print failures but also enhance the overall quality and fidelity of your physical creations. Whether you’re a hobbyist building a collection of iconic vehicles or an engineer prototyping a design, the ability to confidently prepare your STL files will significantly elevate your 3D printing results. Embrace these skills, experiment with Blender, and unlock the true potential of your 3D printer for automotive modeling and beyond!
Featured 3D Car Models

BMW Z4 Roadster E89 2012 3D Model
Texture: Yes
Material: Yes
Download the BMW Z4 Roadster E89 3D Model featuring clean geometry, realistic detailing, and a fully modeled interior. Includes .blend, .fbx, .obj, .glb, .stl, .ply, .unreal, and .max formats for rendering, simulation, and game development.
Price: $13.99

BMW Z4 E85 2005 3D Model
Texture: Yes
Material: Yes
Download the BMW Z4 E85 3D Model featuring clean geometry, realistic detailing, and a fully modeled interior. Includes .blend, .fbx, .obj, .glb, .stl, .ply, .unreal, and .max formats for rendering, simulation, and game development.
Price: $13.99

BMW M3 2024 3D Model
Texture: Yes
Material: Yes
Download the BMW M3 2024 3D Model featuring clean geometry, realistic detailing, and a fully modeled interior. Includes .blend, .fbx, .obj, .glb, .stl, .ply, .unreal, and .max formats for rendering, simulation, and game development.
Price: $13.99
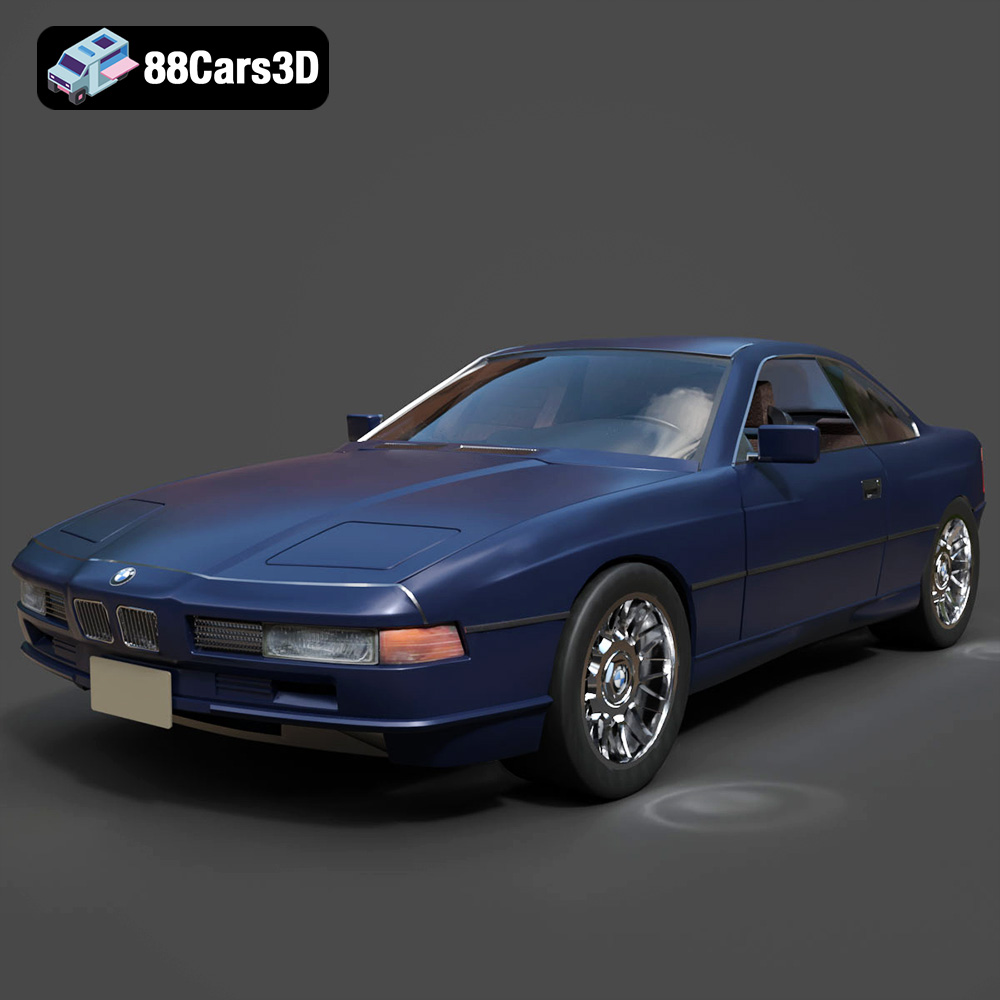
BMW 850i Coupe 1990 3D Model
Texture: Yes
Material: Yes
Download the BMW 850i Coupe 1990 3D Model featuring clean geometry, realistic detailing, and a fully modeled interior. Includes .blend, .fbx, .obj, .glb, .stl, .ply, .unreal, and .max formats for rendering, simulation, and game development.
Price: $13.99
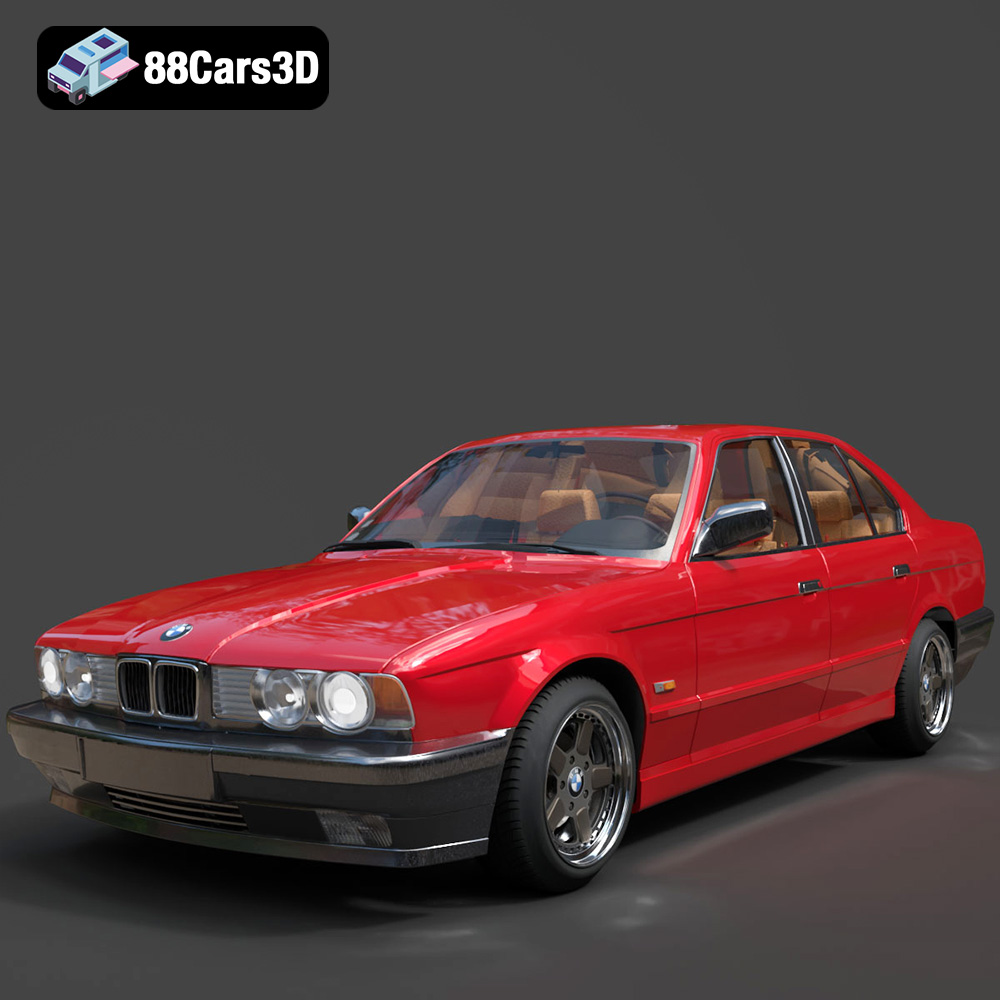
BMW 525i E34 1993 3D Model
Texture: Yes
Material: Yes
Download the BMW 525i E34 1993 3D Model featuring clean geometry, realistic detailing, and a fully modeled interior. Includes .blend, .fbx, .obj, .glb, .stl, .ply, .unreal, and .max formats for rendering, simulation, and game development.
Price: $12.99

BMW 7 Series 2016 3D Model
Texture: Yes
Material: Yes
Download the BMW 7 Series 2016 3D Model featuring luxurious design, detailed interior, and accurate exterior. Includes .blend, .fbx, .obj, .glb, .stl, .ply, .unreal, and .max formats for rendering, simulation, and game development.
Price: $10.79

BMW 7 Series 30th Anniversary 3D Model
Texture: Yes
Material: Yes
Download the BMW 7 Series 30th Anniversary 3D Model featuring a meticulously crafted exterior, detailed interior, and realistic wheels. Includes .blend, .fbx, .obj, .glb, .stl, .ply, .unreal, and .max formats for rendering, simulation, and game development.
Price: $35.79

BMW 7-Series F02 3D Model
Texture: Yes
Material: Yes
Download the BMW 7-Series F02 3D Model featuring a detailed exterior and interior, optimized for rendering and animation. Includes .blend, .fbx, .obj, .glb, .stl, .ply, .unreal, and .max formats for rendering, simulation, and game development.
Price: $10.79
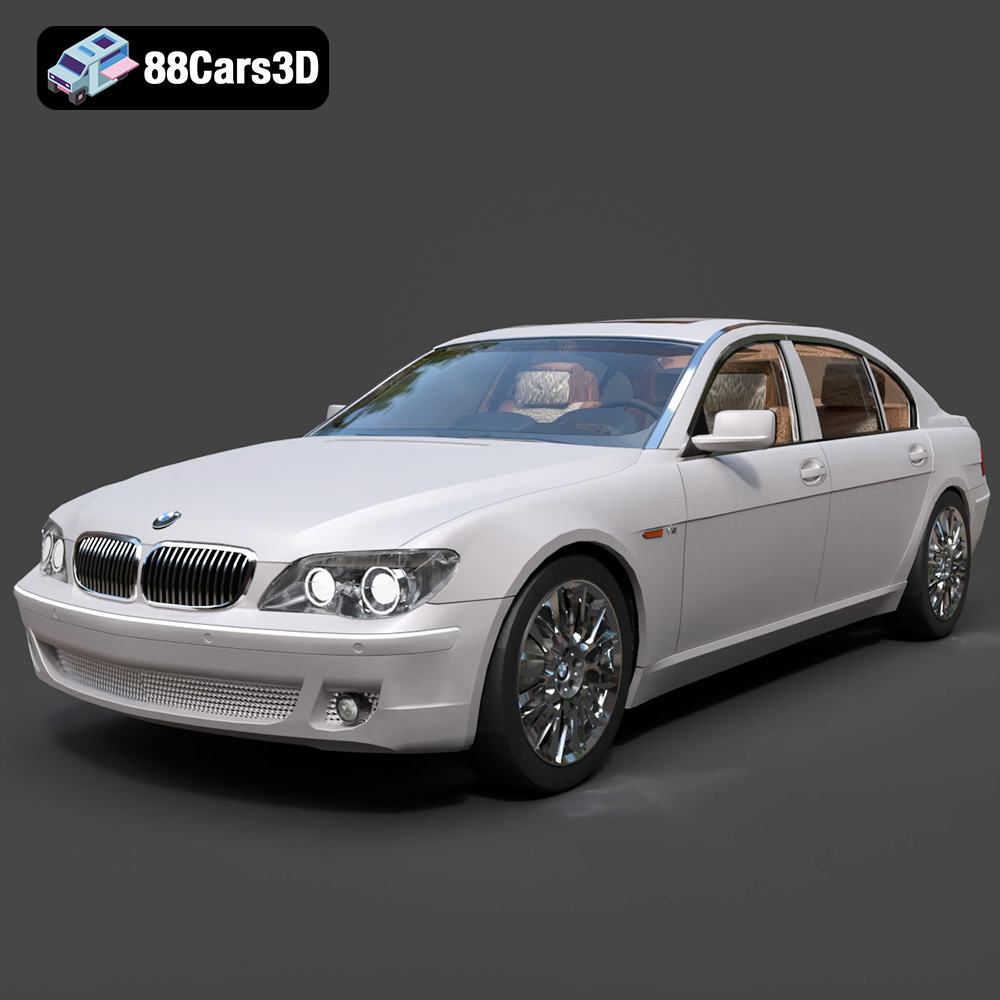
BMW 760Li E66 2005 3D Model
Texture: Yes
Material: Yes
Download the BMW 760Li E66 2005 3D Model featuring a detailed exterior, refined interior, and robust chassis. Includes .blend, .fbx, .obj, .glb, .stl, .ply, .unreal, and .max formats for rendering, simulation, and game development.
Price: $10.79

BMW 6 Series 3D Model
Texture: Yes
Material: Yes
Download the BMW 6 Series 3D Model featuring precisely modeled body panels, detailed interior, and authentic wheels. Includes .blend, .fbx, .obj, .glb, .stl, .ply, .unreal, and .max formats for rendering, simulation, and game development.
Price: $10.79
