

The journey from a meticulously crafted 3D car model to a breathtaking, cinematic visualization in Unreal Engine involves more than just accurate geometry, realistic materials, and dynamic lighting. While these foundational elements are crucial, the true magic often happens in the final stages, where the art of Post-Process Effects transforms a raw render into a masterpiece. For automotive visualization professionals, game developers, and 3D artists, mastering these effects is paramount to achieving the polish and mood that resonates with an audience, perfectly showcasing the intricate details of a high-quality asset.
Post-processing in Unreal Engine empowers creators to fine-tune the final image, manipulating everything from color and exposure to depth of field and lens artifacts, mimicking the characteristics of real-world cameras and film. This long-form guide will delve deep into Unreal Engine’s Post-Process Volumes (PPV), exploring how to leverage them for cinematic look development specifically for automotive visualization. We’ll cover everything from foundational setup and essential effects like color grading and exposure to advanced techniques involving Blueprint scripting and optimization, ensuring your 3D car models, like those available on 88cars3d.com, shine with unparalleled visual fidelity and narrative impact.
The Foundation of Visual Fidelity – Understanding Unreal Engine’s Post-Process Pipeline
At its core, post-processing refers to any image manipulation applied to a scene after all the primary rendering calculations (geometry, lighting, materials) have been completed. In Unreal Engine, this powerful stage is primarily controlled through the Post-Process Volume (PPV). Think of the PPV as your digital darkroom, where you can apply a myriad of effects to sculpt the final look and feel of your rendered image. Its importance in automotive visualization cannot be overstated; it’s the difference between a raw, clinical representation and an emotionally resonant, branded experience.
The Unreal Engine render pipeline meticulously processes a scene, from culling objects not in view, through shadow calculations, lighting interactions (including advanced techniques like Lumen and ray tracing), and material shading (PBR materials are crucial here). Once all pixels have their base color, normal, roughness, and metallic properties calculated and lit, the post-process effects are layered on top. This sequential application means that effects like bloom will react to the intensity of light sources and reflections, while depth of field will blur the final image based on its rendered Z-depth. Understanding this pipeline helps in predicting how your chosen effects will interact and allows for more precise control over your final output. Leveraging high-quality 3D car models, such as those found on 88cars3d.com, provides an excellent foundation, as their clean topology and realistic PBR materials ensure that post-process effects have rich, accurate data to work with.
Setting Up Your First Post-Process Volume
Adding a Post-Process Volume to your scene is a straightforward yet critical first step. Navigate to the Modes panel, search for “Post Process Volume,” and drag it into your viewport. By default, a PPV might not immediately affect your entire scene. To ensure it applies globally, select the PPV in your World Outliner, go to its Details panel, and enable the “Infinite Extent (Unbound)” checkbox. This removes any spatial boundary, ensuring the volume’s effects are applied everywhere. If you prefer localized effects (e.g., a specific room or area), you can leave this unchecked and scale the volume to enclose your desired area, using properties like Blend Weight and Priority to manage transitions between multiple volumes.
Once unbound, you can begin tweaking its parameters. Start with fundamental settings under the “Exposure” category, such as “Min Brightness” and “Max Brightness” to control the auto-exposure range, and “Exposure Compensation” to manually brighten or darken your scene. Adjusting the “White Balance” (Color Temp, Tint) can correct color casts from your lighting setup or intentionally shift the mood, for instance, towards a cooler, futuristic look or a warmer, nostalgic feel for your automotive visualization.
Integrating with Lighting and Materials
Post-process effects don’t operate in a vacuum; they interact profoundly with your scene’s lighting and materials. A beautifully lit scene using Lumen, Unreal Engine’s global illumination system, will provide a rich foundation for effects like bloom and lens flares. For example, a bright headlight on a Nanite-enabled, high-polygon car model will produce a more pronounced and realistic bloom effect than a dimly lit one. Similarly, the accurate reflections and physically based properties of PBR materials on a car body will dictate how color grading or contrast adjustments ultimately appear.
Consider the impact on car paint: a metallic flake paint job will react differently to exposure and color grading than a matte finish. Subtle adjustments to ‘Gain’ in the color grading settings can significantly enhance the specular highlights on chrome trim, while ‘Lift’ can deepen the shadows, bringing out the contours of the vehicle. When working with complex scenarios like virtual production stages or LED walls, consistent application of PPVs ensures that the final output maintains a cohesive visual identity, regardless of the underlying lighting setup. It’s a delicate balance; post-processing should enhance, not overpower, the intrinsic quality of your 3D car models and lighting.
Crafting Mood and Atmosphere – Color Grading and Tonal Mapping
Color grading is perhaps the most powerful tool within the Post-Process Volume for establishing the mood and atmosphere of your automotive visualization. It allows you to manipulate the colors, contrast, and overall tone of your scene, turning a generic render into a stylized, branded piece. Unreal Engine provides extensive controls for this under the “Color Grading” section of the PPV, divided into Global, Shadows, Midtones, and Highlights categories.
The global controls include “Saturation,” which adjusts the intensity of colors; “Contrast,” which dictates the difference between light and dark areas; and the critical “Gamma,” “Gain,” and “Lift” (often referred to as shadows, midtones, and highlights, respectively). By adjusting these, you can, for instance, crush the blacks (lower Lift) for a dramatic, high-contrast look, or brighten the midtones (raise Gamma) to reveal more detail in the car’s interior. For specific control, the Shadows, Midtones, and Highlights sections allow you to tint these tonal ranges independently, enabling you to add a cool blue to the shadows for a winter scene or a warm orange to highlights for a sunset render. This granular control is essential for ensuring your car model’s paint finish and interior materials respond appropriately to the desired visual aesthetic, maintaining realism while conveying a specific emotional tone.
Utilizing Look-Up Tables (LUTs) for Consistent Styles
For achieving complex color grading looks, matching specific brand aesthetics, or ensuring consistency across multiple projects, Look-Up Tables (LUTs) are an invaluable resource. A LUT is essentially a pre-defined mapping of input color values to output color values, allowing you to apply a sophisticated color grade with a single texture.
To create a LUT, you typically export a neutral screenshot from Unreal Engine (using the console command HighResShot 2560x1440, for example), import it into image editing software like Photoshop or DaVinci Resolve, apply your desired color corrections, and then export it back as a 256×16 px (or 1024×32 px for higher precision) uncompressed texture. Ensure the original screenshot has an unlit color grading grid (available in UE’s Content Browser under Engine/EngineResources/ColorGradingLUT.png) pasted on top before applying adjustments for accurate mapping. Once imported into Unreal Engine, under the PPV’s Color Grading section, expand “Misc” and assign your LUT texture to the “Color Grading LUT” slot. This provides an incredibly efficient way to achieve complex cinematic looks, such as a film noir aesthetic or a vibrant, modern showroom vibe, ensuring consistency for all your automotive assets, whether they’re derived from intricate CAD data or optimized game assets.
Exposure Control and Auto Exposure
Controlling exposure is fundamental to photography and filmmaking, and Unreal Engine provides equally robust tools. Under the “Exposure” category in the PPV, you have several options. “MeterMode” determines how the engine measures scene brightness (e.g., ‘Histogram’ for average luminance, ‘Manual’ for fixed exposure). “Compensation” allows for direct manual adjustment, measured in EV (Exposure Value). A positive EV brightens the scene, a negative darkens it.
For dynamic scenes, especially in interactive configurators or game environments, “Auto Exposure” is crucial. You can set “Min Brightness” and “Max Brightness” to define the range the auto-exposure system will target, preventing scenes from becoming excessively dark or blown out. “Speed Up” and “Speed Down” control how quickly the exposure adapts to changes in light, mimicking camera iris adjustments. For automotive visualization, particularly when showcasing high-gloss surfaces or chrome, it’s vital to carefully manage auto-exposure to avoid situations where reflections become overexposed, losing detail, or where deep shadows on the car’s body become completely crushed. Monitoring the scene’s histogram (which can be enabled via console commands like r.DisplayGamma 1 and stat unit or through visual debugging tools) provides valuable feedback to ensure optimal tonal distribution across your renders.
Adding Depth and Realism – Depth of Field and Motion Blur
Beyond color and light, the subtle nuances of camera optics play a significant role in cinematic look development. Depth of Field (DoF) and motion blur are two critical post-process effects that emulate real-world camera behavior, adding a layer of realism and artistic emphasis to your automotive visualizations.
Depth of Field is the photographic effect where objects at a certain distance from the camera appear sharp, while objects in front of or behind that plane are progressively blurred. This is invaluable for cinematic shots of 3D car models, allowing you to draw the viewer’s eye directly to a specific detail – a headlight, a wheel, or the car’s badge – by blurring out the distracting foreground and background. Unreal Engine offers various DoF methods, including ‘Bokeh’ for a more stylized, circular blur (often seen in high-end photography) and ‘Gaussian’ for a smoother, more natural blur.
Achieving Cinematic DoF for Automotive Shots
To implement DoF, navigate to the “Depth of Field” section in your PPV. The primary controls are “Focal Distance” and “Aperture.” Focal Distance dictates the exact distance from the camera where objects will be in sharp focus. You can manually set this or, for greater precision, use the eyedropper tool to pick a point in the viewport, or even drive it dynamically via Blueprint or Sequencer. Aperture (f-stop) controls the amount of blur; a smaller f-stop number (e.g., F/1.4) results in a shallower depth of field (more blur), while a larger number (e.g., F/16) yields a deeper field (less blur).
Further refinements include “Blade Count” for the shape of the bokeh (simulating aperture blades), and various blur amounts for the foreground and background. For showcasing a new car model, you might use a shallow DoF to isolate the vehicle against a soft, blurred environment, emphasizing its design. When animating cinematics with Sequencer, you can keyframe the Focal Distance to smoothly rack focus between different parts of the car or from the car to a distant landmark, adding a professional touch. Be mindful of DoF’s performance cost; high-quality bokeh can be demanding, especially in real-time applications or AR/VR, so optimize by adjusting quality settings or limiting its use to critical cinematic moments.
Simulating Movement with Motion Blur
Motion Blur realistically simulates the streaking or blurring of objects that are in motion relative to the camera during an exposure, just as in real-world photography and film. This effect is crucial for conveying speed, impact, or dynamism in automotive cinematics, particularly for scenes involving racing cars or fast camera movements.
In the PPV’s “Motion Blur” section, the key parameters are “Amount” and “Max” (maximum blur amount). A higher “Amount” value will result in more noticeable blur. Unreal Engine typically calculates motion blur on a per-pixel basis, taking into account the velocity of objects and the camera. While incredibly effective for cinematic sequences, motion blur should be used judiciously. For still renders or interactive experiences where the user expects crisp, clear visuals at all times (like in an automotive configurator), it’s often best to disable or minimize it. Excessive motion blur can also introduce visual artifacts or “ghosting” if not carefully tuned. Always consider your target platform and audience: for high-fidelity PC cinematics, motion blur can greatly enhance realism, but for lightweight AR/VR applications, its performance cost might outweigh its benefits, requiring careful optimization.
Enhancing Visuals – Bloom, Vignette, and Chromatic Aberration
The final touches of cinematic look development often involve effects that mimic the characteristics and imperfections of real-world camera lenses and film. Bloom, Vignette, and Chromatic Aberration are three such post-process effects in Unreal Engine that, when used subtly and strategically, can significantly elevate the visual realism and artistic quality of your automotive visualizations.
Bloom is the visual effect where very bright areas of an image appear to bleed or glow beyond their original boundaries, simulating the natural scattering of light within a camera lens. It enhances emissive elements like headlights, tail lights, and instrument panels, and can beautifully exaggerate specular highlights on a car’s metallic paint or chrome trim. Done well, bloom adds a soft, ethereal quality; overdone, it can wash out details and make the scene look overly bright.
Strategic Bloom Application for Automotive Highlights
Under the “Bloom” section of the PPV, you’ll find key settings: “Intensity,” “Threshold,” “Convolution,” and “Dirt Mask.” “Intensity” controls the overall brightness of the bloom effect. “Threshold” is crucial; it determines how bright a pixel needs to be before it starts to bloom. A higher threshold means only the very brightest parts of your scene will glow. For automotive visualization, a low threshold might cause the entire car body to bloom, while a carefully set threshold will make only the brightest reflections and light sources glow, adding depth and visual interest without losing detail. The “Convolution” method offers different bloom algorithms, with ‘Standard’ being a good general-purpose choice, while ‘FFT’ (Fast Fourier Transform) provides more control and often a higher quality result, albeit with a higher performance cost.
The “Dirt Mask” is a powerful but often overlooked feature. It allows you to apply a grayscale texture that simulates dust, smudges, or scratches on a camera lens, which then selectively obstructs or shapes the bloom effect. By using a custom dirt mask, you can infuse your cinematic shots with unique lens characteristics, making them feel more organic and less “digitally perfect.” For showcasing high-fidelity car models from platforms like 88cars3d.com, bloom can dramatically enhance the perceived quality of materials, making polished surfaces and reflective elements truly pop, adding to the visual appeal for high-end rendering and virtual production.
Vignette, Chromatic Aberration, and Grain
These subtle effects add further layers of realism and artistic styling:
- Vignette: Found under the “Film” section, a vignette gradually darkens the edges and corners of the screen. This effect naturally draws the viewer’s eye towards the center, where your 3D car model is likely positioned. It can add a dramatic or nostalgic feel, but should be used subtly to avoid an artificial “peeking through a keyhole” look.
- Chromatic Aberration: Also in the “Film” section, chromatic aberration (or color fringing) is a common optical distortion where a lens fails to focus all colors to the same convergence point, resulting in slight color shifts at the edges of high-contrast areas. When applied subtly in Unreal Engine, it can enhance the feeling of real-world camera optics. Overuse, however, can make your image appear distorted or unprofessional, especially for precision-focused automotive renders.
- Grain: Adding “Grain” (Noise) under the “Film” section simulates film stock texture. It can introduce a subtle, organic randomness that breaks up perfectly smooth digital gradients, contributing to a more natural, filmic aesthetic. This can be particularly effective for achieving a classic or gritty look for your automotive visualizations.
The key to these effects is restraint. A light touch often yields the most convincing and professional results. Experimentation is encouraged, but always with a critical eye, ensuring these effects enhance rather than detract from the core subject: your meticulously detailed 3D car model.
Advanced Control and Optimization – Blueprint, Sequencer, and Performance
While direct manipulation within the Post-Process Volume’s Details panel is effective for static scenes, real-time automotive visualization often demands dynamic control over these effects. This is where Unreal Engine’s visual scripting system, Blueprint, and its powerful cinematic tool, Sequencer, come into play. Understanding how to integrate these tools with your PPV settings not only unlocks interactive possibilities but also provides precise control for cinematic polish.
Blueprint allows you to programmatically alter any PPV setting in response to gameplay events, user input, or environmental changes. Imagine an automotive configurator where selecting a “Sport Mode” instantly changes the color grading to a more aggressive, high-contrast look, or an AR/VR experience where the depth of field automatically focuses on a car’s engine when the user gazes at it. This level of dynamic feedback elevates the user experience significantly.
Blueprinting Interactive Post-Process Experiences
To control a Post-Process Volume via Blueprint, you typically create a Blueprint Actor that holds a reference to your PPV. A common approach is to place a PPV in your level, set it to “Unbound” (if global), and then in a Blueprint Actor (e.g., your GameMode, PlayerController, or a dedicated PP_Controller Blueprint), use the “Get All Actors Of Class” node to find your Post Process Volume. Cast this reference to a PostProcessVolume object.
Once you have a valid reference, you can use the “Set Post Process Settings” node. This node has a structure pin for ‘Settings’, which can be broken out to expose every single setting available in the PPV’s Details panel. You can then individually set values like ‘Exposure Compensation’, ‘Bloom Intensity’, or ‘Color Grading Saturation’ based on events. For example, on a button click event in a UI, you could drive the ‘Bloom Intensity’ from 0.5 to 1.5 over a short timeline to simulate an “engine start” glow. Or, using a ‘Lerp’ (Linear Interpolate) node, you can smoothly transition between two different sets of PPV settings, offering seamless visual changes within interactive demonstrations or game scenarios. This enables responsive and engaging real-time rendering, enhancing the perception of quality for any 3D car model.
Sequencer for Cinematic Post-Processing
Sequencer is Unreal Engine’s powerful non-linear cinematic editor, and it’s indispensable for creating high-fidelity automotive commercials, product reveals, and animated sequences. Within Sequencer, you can add your Post-Process Volume as a track. Once added, you gain keyframe-level control over virtually every setting within the PPV over time.
Imagine animating a camera swooping around a car, gradually adjusting the ‘Exposure Compensation’ as it moves from shadow to direct sunlight, or dynamically changing the ‘Focal Distance’ to rack focus from a distant city skyline to the intricate details of the car’s wheel. You can keyframe ‘Color Grading’ parameters to transition from a vibrant, energetic look to a subdued, reflective one, perfectly matching the narrative arc of your cinematic. Beyond individual settings, you can also blend between different LUTs within Sequencer, offering an even more sophisticated level of color grading animation. This precise temporal control ensures that every frame of your automotive cinematic is meticulously crafted for maximum visual impact, making your 3D car models shine in their best light.
Optimizing Post-Process for Real-Time and AR/VR
While incredibly powerful, post-process effects come with a performance cost. This is especially true for demanding effects like high-quality Depth of Field (Bokeh), complex Motion Blur, and certain anti-aliasing methods. For real-time rendering, interactive applications, and particularly for performance-sensitive platforms like AR/VR or mobile automotive configurators, optimization is key. Excessive post-processing can quickly push frame rates down, leading to a poor user experience.
Optimization Strategies:
- Prioritize Effects: Determine which effects are absolutely critical for your visual goal and which can be reduced or eliminated. DoF and Motion Blur are often the biggest culprits for performance drops.
- Reduce Quality: Many effects have quality settings. For example, DoF has different types (Bokeh vs. Gaussian) and can be tuned for smaller bokeh kernels. Bloom can be set to ‘Standard’ instead of ‘FFT’.
- Use Blend Weight: Instead of fully enabling/disabling effects, use the ‘Blend Weight’ property on the PPV (or blend between multiple PPVs) to gradually fade effects in and out, or apply them only where truly needed.
- Scalability Settings: Unreal Engine’s Scalability Settings (e.g., ‘Engine Scalability Settings’ in the editor, or console commands like
sg.PostProcessQuality) allow you to globally adjust the quality of post-process effects based on user hardware, providing a flexible solution. - Console Commands: Specific console commands can be used to fine-tune individual post-process components (e.g.,
r.DepthOfField.Quality,r.MotionBlur.Max). - Profile and Diagnose: Use Unreal Engine’s profiling tools (like ‘Stat GPU’ or ‘Stat Unit’ in the console) to identify which post-process effects are consuming the most GPU time. This data is invaluable for targeted optimization.
By understanding the performance implications of each effect and employing smart optimization strategies, you can achieve stunning cinematic looks without sacrificing the smooth, responsive real-time experience that is crucial for modern automotive visualization and game development.
Real-World Applications and Best Practices
The mastery of Unreal Engine’s Post-Process Effects is not merely an artistic endeavor; it has direct, tangible benefits across various industry applications, particularly for automotive visualization. From interactive configurators to high-fidelity virtual production, these techniques elevate the perception of quality and create impactful user experiences.
Consider the competitive landscape of online automotive showcases. A 3D car model, however detailed, can appear flat or uninspired without the right post-processing. A car model sourced from a marketplace like 88cars3d.com, with its clean topology, realistic PBR materials, and optimized UV mapping, provides an exceptional base. But it’s the post-process magic that truly breathes life into it, transforming it into a compelling marketing asset. Studios use these techniques to define brand identity, evoke specific emotions, and create a consistent visual language that resonates with potential customers.
Elevating Automotive Configurator Experiences
Automotive configurators are a prime example of where dynamic post-processing shines. In these interactive tools, customers can customize a vehicle in real-time – changing colors, wheels, and interior trims. Imagine a configurator where:
- Changing the car’s paint color from a vibrant red to a sophisticated matte grey instantly triggers a subtle shift in color grading, perhaps deepening shadows or adjusting saturation to complement the new aesthetic.
- Clicking on a “Night Mode” option applies a dramatic color grading LUT, increases bloom for headlights and taillights, and introduces a gentle vignette to emphasize the urban environment.
- Hovering over a specific engine part with your mouse automatically triggers a shallow Depth of Field effect, blurring the rest of the car and the background to highlight that particular component, drawing the user’s focus.
These interactive post-process changes, driven by Blueprint, make the configurator experience more immersive and visually engaging. They allow brands to communicate different moods and scenarios instantly, enhancing the perception of the 3D car models and encouraging user exploration. The real-time rendering capabilities of Unreal Engine, combined with intelligent post-processing, are redefining how automotive products are presented and experienced.
Virtual Production and High-Fidelity Renderings
In the realm of virtual production, where LED walls display realistic environments around physical vehicles or actors, consistent look development is paramount. Post-process volumes play a crucial role in ensuring that the digital background seamlessly matches the real-world foreground, both in color temperature and photographic characteristics. A slight difference in color grading between the real camera feed and the virtual environment on the LED wall can break immersion instantly. By meticulously tuning PPV settings, virtual production artists can achieve a harmonious blend, making the composite virtually indistinguishable from reality.
For high-fidelity marketing stills and cinematic trailers, post-processing is the final polish. It’s about achieving that “magazine cover” look for your 3D car models. This involves:
- Applying a custom LUT to ensure consistent brand color grading.
- Using precise exposure control to highlight specific design features, particularly on glossy or reflective surfaces.
- Crafting cinematic Depth of Field to guide the viewer’s eye and create a sense of scale.
- Employing subtle bloom to enhance the allure of headlights and metallic finishes, making them gleam.
- Adding slight chromatic aberration and film grain for a more organic, less digital feel.
These techniques, when combined with excellent source assets and skilled lighting, are what allow automotive studios to produce stunning visuals that rival traditional photography and film. For any project aiming for photo-realism or a distinct cinematic style, from a detailed product showcase to an interactive driving simulator, the strategic application of Unreal Engine’s Post-Process Effects is a non-negotiable step.
Conclusion
Unreal Engine’s Post-Process Effects are an indispensable toolkit for anyone serious about elevating their automotive visualizations to cinematic quality. They provide the final layer of polish, allowing you to imbue your 3D car models with mood, realism, and a distinct artistic vision. From the subtle nuances of color grading and exposure that define an aesthetic, to the immersive power of depth of field and motion blur that mimic real-world camera optics, each effect offers a powerful means to enhance your visual storytelling.
Mastering these tools involves both technical understanding and an artistic eye. Experimentation is key; don’t be afraid to push boundaries, but always observe how each parameter contributes to the overall image. Remember, the goal is not just to apply effects, but to enhance the inherent beauty and detail of your high-quality assets. When sourcing professional 3D car models, platforms like 88cars3d.com offer the perfect foundation with their optimized geometry, clean UVs, and realistic PBR materials, ensuring that your post-processing efforts yield truly spectacular results.
By integrating Post-Process Volumes with Blueprint for interactivity and Sequencer for cinematic precision, you unlock a vast potential for dynamic and engaging experiences. Continue to explore the extensive Unreal Engine documentation, practice regularly, and always aim to refine your eye for what makes an image truly compelling. Embrace the power of post-processing, and transform your 3D car models into captivating visual narratives that leave a lasting impression.
Featured 3D Car Models
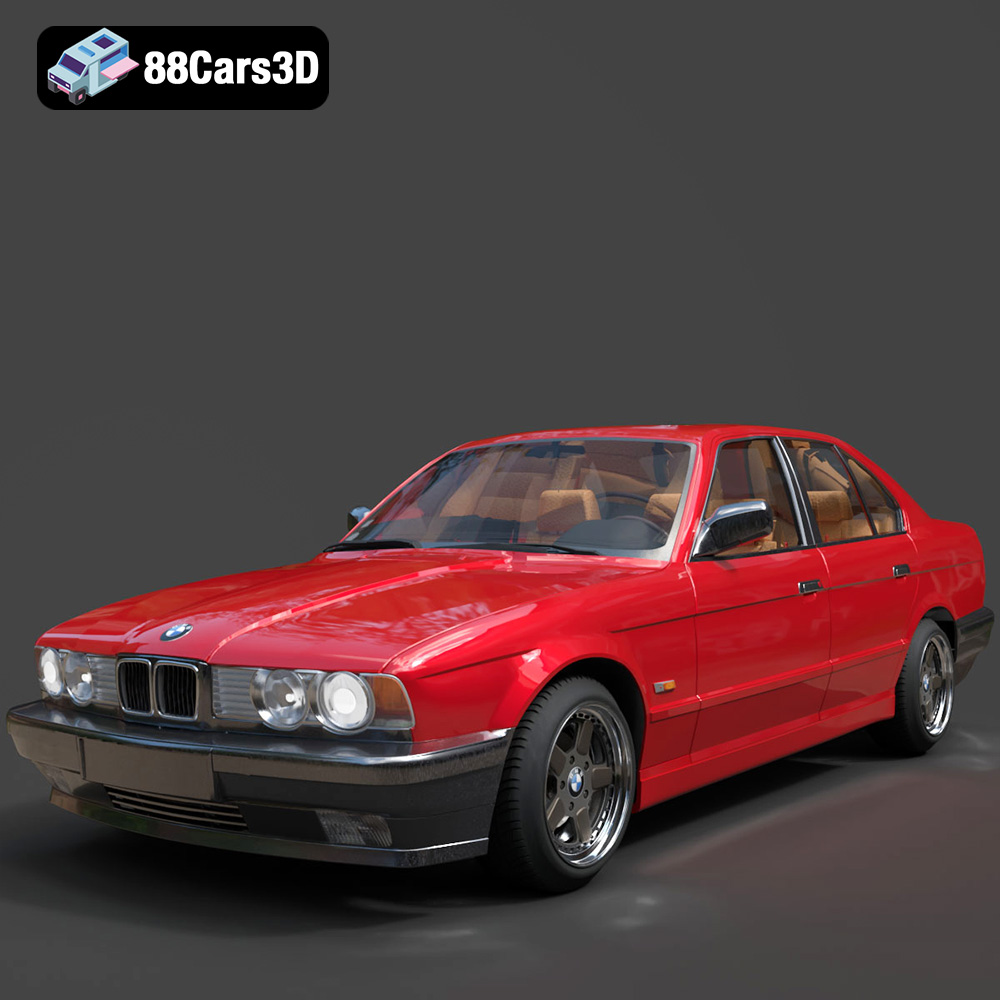
BMW 525i E34 1993 3D Model
Texture: Yes
Material: Yes
Download the BMW 525i E34 1993 3D Model featuring clean geometry, realistic detailing, and a fully modeled interior. Includes .blend, .fbx, .obj, .glb, .stl, .ply, .unreal, and .max formats for rendering, simulation, and game development.
Price: $12.99

BMW 7 Series 2016 3D Model
Texture: Yes
Material: Yes
Download the BMW 7 Series 2016 3D Model featuring luxurious design, detailed interior, and accurate exterior. Includes .blend, .fbx, .obj, .glb, .stl, .ply, .unreal, and .max formats for rendering, simulation, and game development.
Price: $10.79
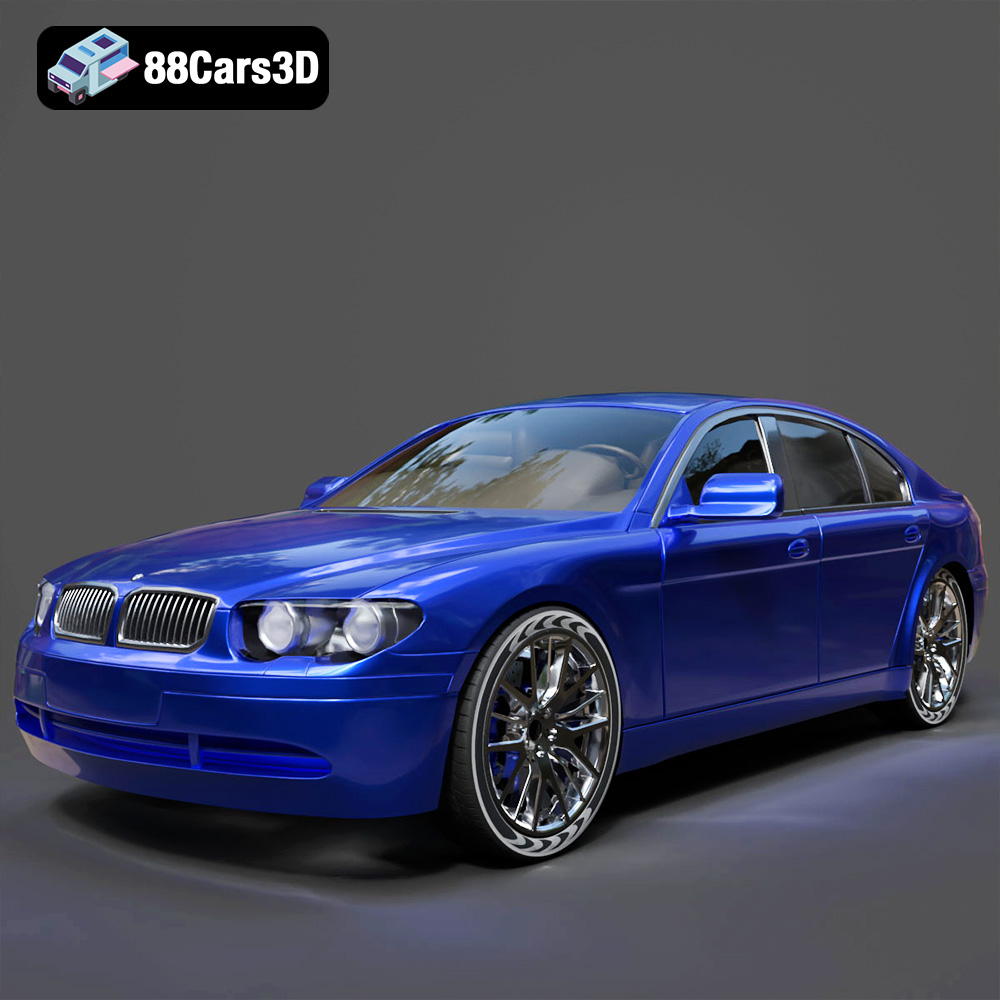
BMW 7 Series 30th Anniversary 3D Model
Texture: Yes
Material: Yes
Download the BMW 7 Series 30th Anniversary 3D Model featuring a meticulously crafted exterior, detailed interior, and realistic wheels. Includes .blend, .fbx, .obj, .glb, .stl, .ply, .unreal, and .max formats for rendering, simulation, and game development.
Price: $35.79

BMW 7-Series F02 3D Model
Texture: Yes
Material: Yes
Download the BMW 7-Series F02 3D Model featuring a detailed exterior and interior, optimized for rendering and animation. Includes .blend, .fbx, .obj, .glb, .stl, .ply, .unreal, and .max formats for rendering, simulation, and game development.
Price: $10.79
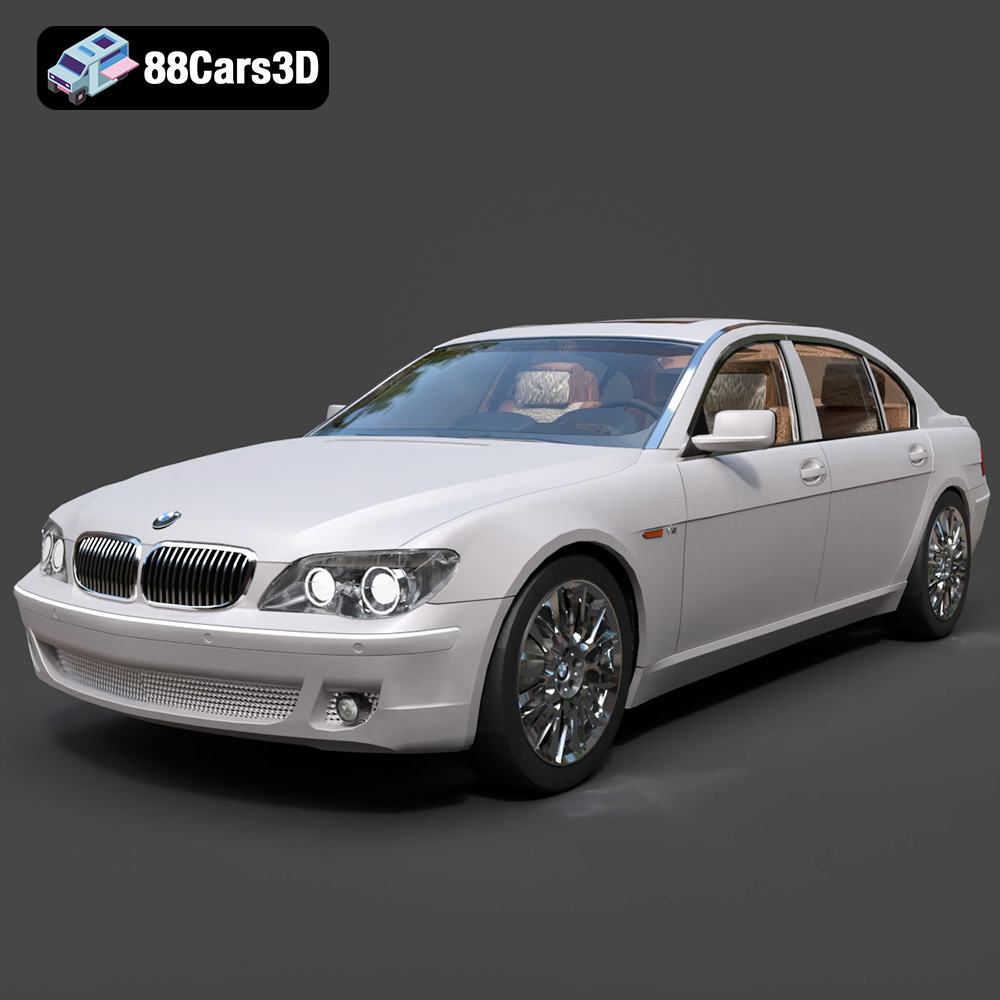
BMW 760Li E66 2005 3D Model
Texture: Yes
Material: Yes
Download the BMW 760Li E66 2005 3D Model featuring a detailed exterior, refined interior, and robust chassis. Includes .blend, .fbx, .obj, .glb, .stl, .ply, .unreal, and .max formats for rendering, simulation, and game development.
Price: $10.79
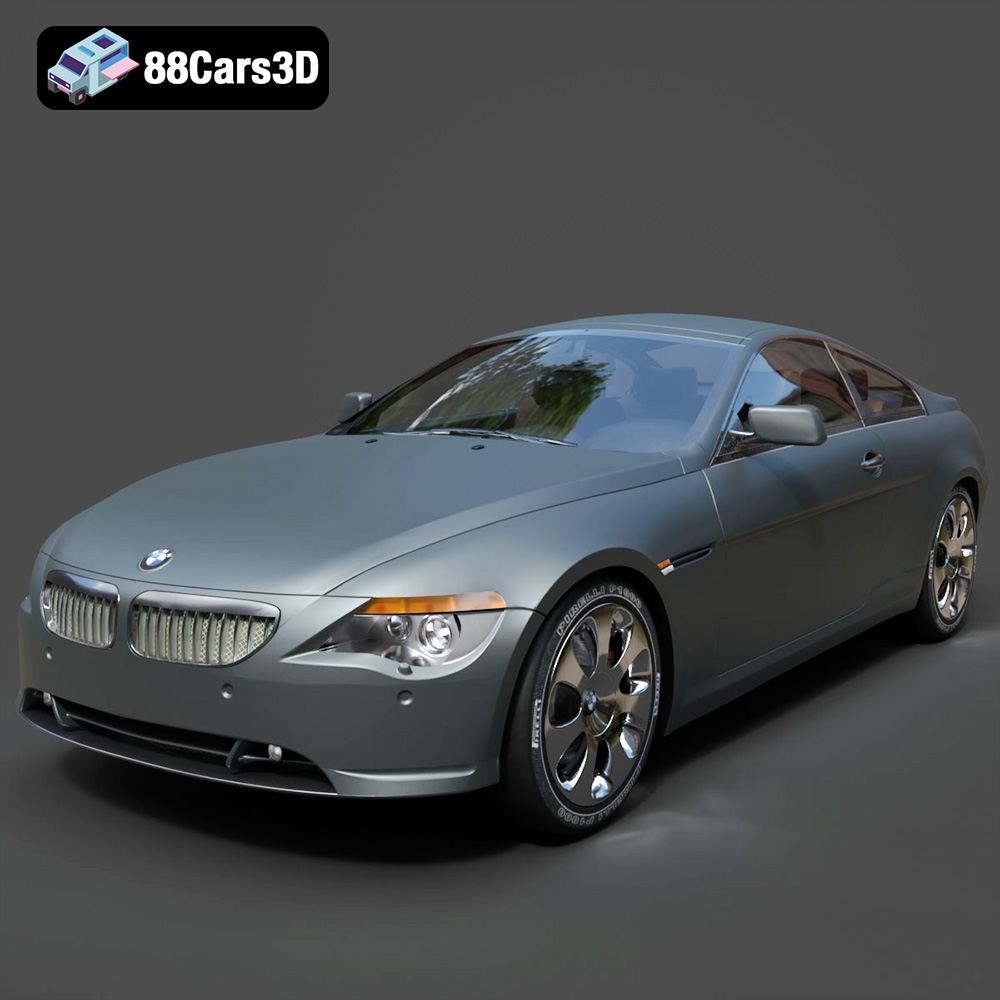
BMW 6 Series 3D Model
Texture: Yes
Material: Yes
Download the BMW 6 Series 3D Model featuring precisely modeled body panels, detailed interior, and authentic wheels. Includes .blend, .fbx, .obj, .glb, .stl, .ply, .unreal, and .max formats for rendering, simulation, and game development.
Price: $10.79
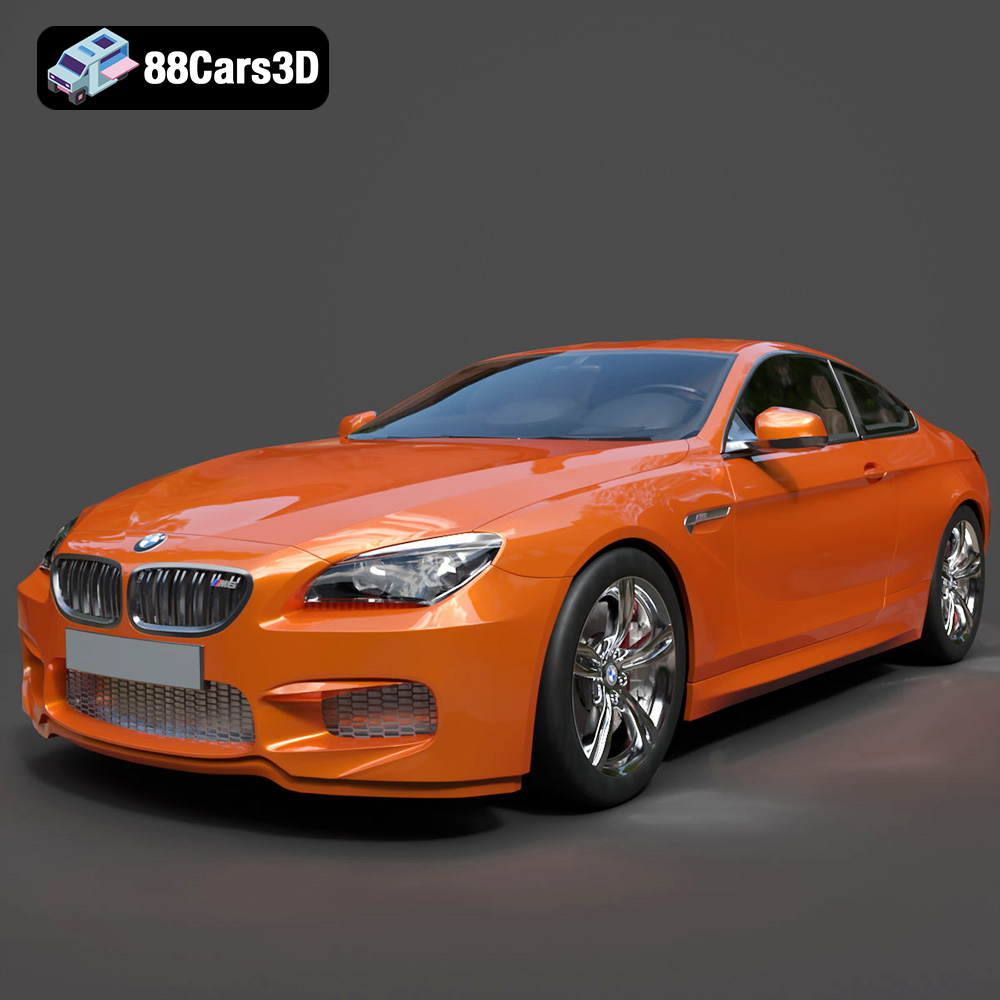
BMW M6 Coupe (F12) 3D Model
Texture: Yes
Material: Yes
Download the BMW M6 Coupe (F12) 3D Model featuring its iconic sporty design and luxurious details. Includes .blend, .fbx, .obj, .glb, .stl, .ply, .unreal, and .max formats for rendering, simulation, and game development.
Price: $10.79
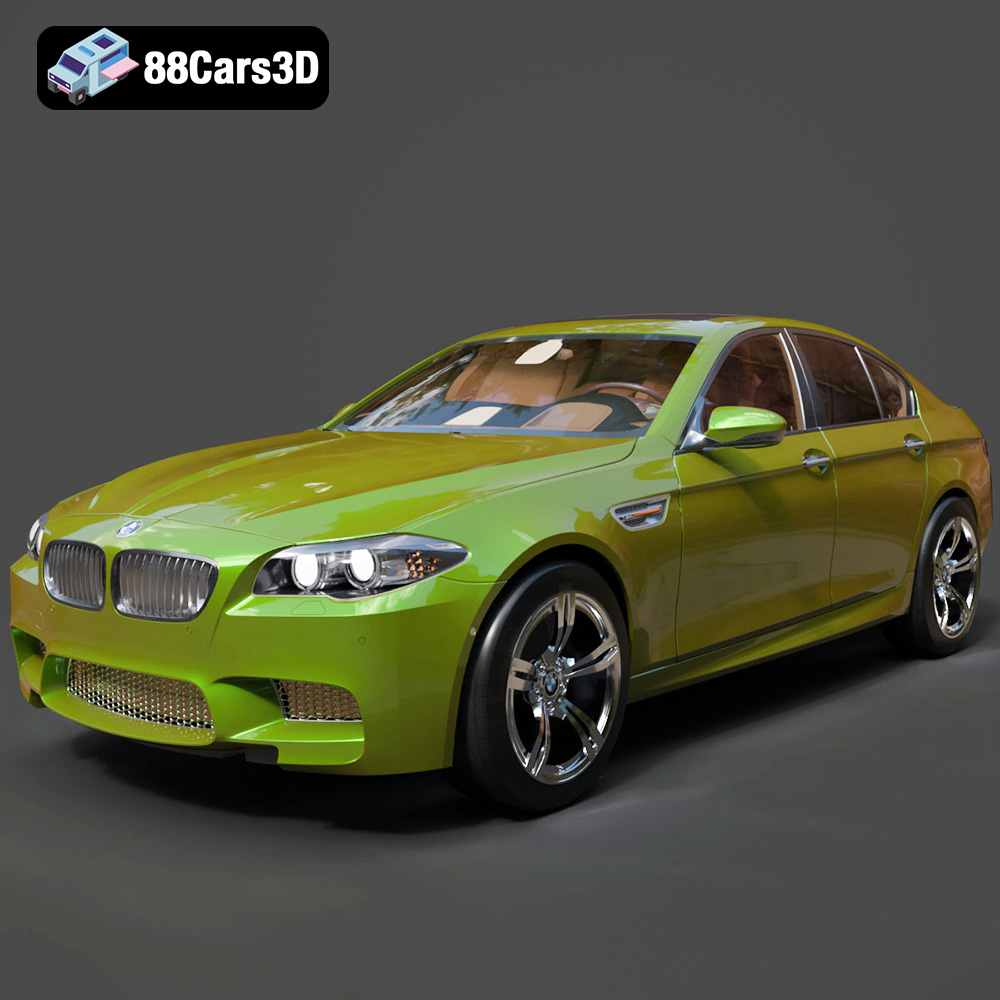
BMW M5 F10 3D Model
Texture: Yes
Material: Yes
Download the BMW M5 F10 3D Model featuring high-performance luxury sedan design, detailed interior, and realistic PBR textures. Includes .blend, .fbx, .obj, .glb, .stl, .ply, .unreal, and .max formats for rendering, simulation, and game development.
Price: $10.79
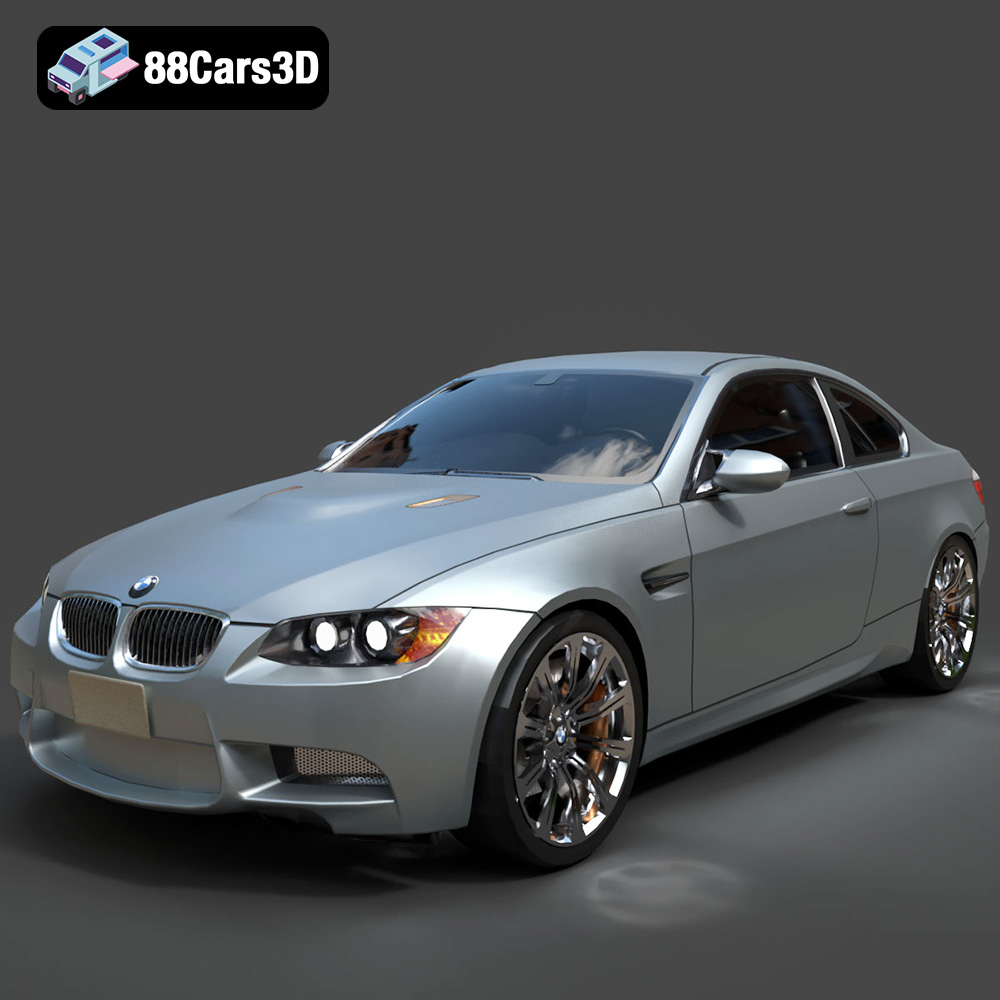
BMW M3 Coupe E92-002 3D Model
Texture: Yes
Material: Yes
Download the BMW M3 Coupe E92-002 3D Model featuring authentic styling, detailed exterior, and a faithful interior. Includes .blend, .fbx, .obj, .glb, .stl, .ply, .unreal, and .max formats for rendering, simulation, and game development.
Price: $10.79
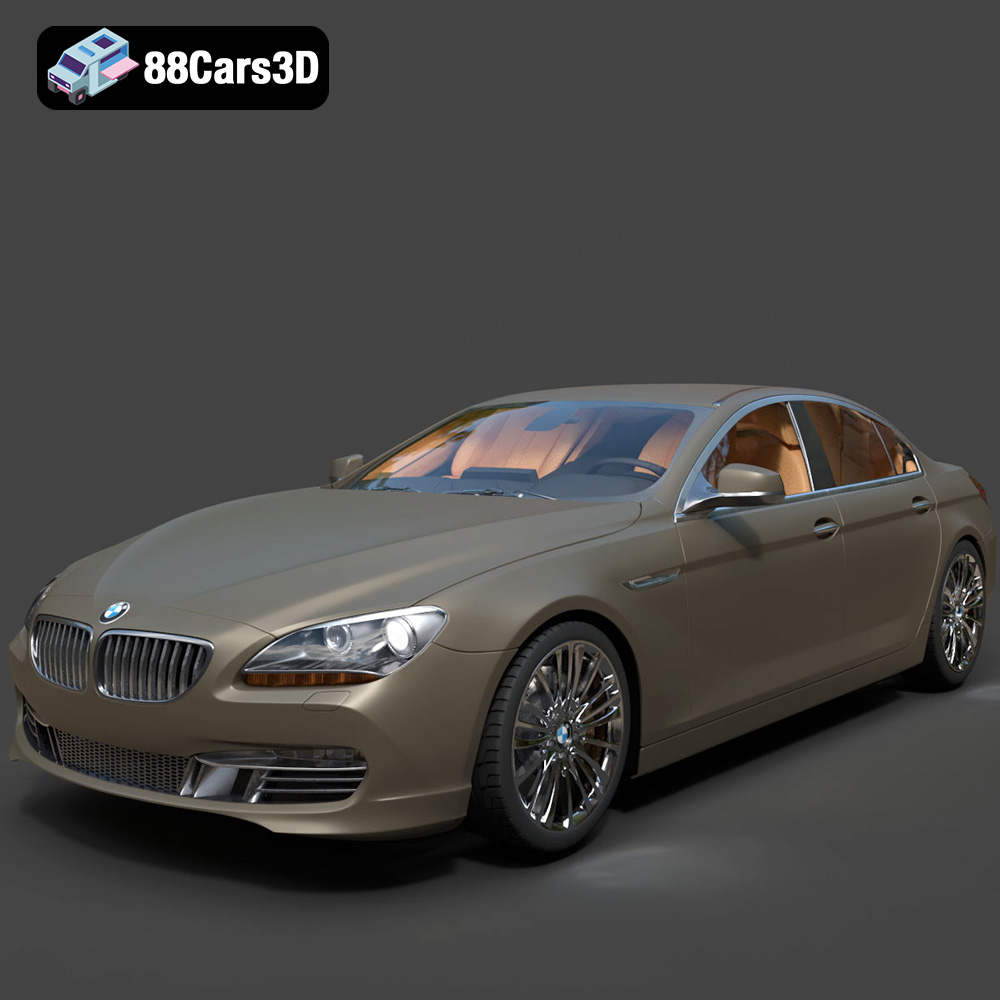
BMW 6 Series Gran Coupe 2013 3D Model
Texture: Yes
Material: Yes
Download the BMW 6 Series Gran Coupe 2013 3D Model featuring a sophisticated design, detailed exterior, and well-appointed interior. Includes .blend, .fbx, .obj, .glb, .stl, .ply, .unreal, and .max formats for rendering, simulation, and game development.
Price: $20.79
