

The pursuit of photorealism in real-time rendering has long been a holy grail for 3D artists and developers. For automotive visualization, where every curve, reflection, and material nuance matters, this pursuit takes on an even greater significance. Enter Real-Time Ray Tracing in Unreal Engine – a transformative technology that has redefined what’s possible, elevating visual fidelity from impressive to indistinguishable from reality. Gone are the days of relying solely on screen-space trickery; with ray tracing, light behaves exactly as it would in the physical world, creating breathtakingly accurate reflections, global illumination, and shadows.
For studios, designers, and enthusiasts leveraging high-quality 3D car models from platforms like 88cars3d.com, integrating real-time ray tracing isn’t just an upgrade; it’s a paradigm shift. It unlocks unparalleled immersion for interactive configurators, cinematic sequences, virtual production, and even high-end AR/VR experiences. This comprehensive guide will walk you through the essential setup, optimization techniques, and best practices to harness the full power of real-time ray tracing for your automotive projects in Unreal Engine. Prepare to dive deep into the technical intricacies that will allow your virtual vehicles to shine with unprecedented realism.
The Power of Real-Time Ray Tracing in Automotive Visualization
Automotive visualization demands an uncompromising level of visual accuracy. A car’s intricate surfaces, reflective paint, transparent glass, and metallic trim are a symphony of complex light interactions. Historically, achieving this level of realism in real-time was a monumental challenge, often requiring extensive bake times or clever but ultimately imperfect rasterization techniques. Real-time ray tracing changes this equation entirely, offering a physically accurate simulation of light paths that fundamentally elevates the visual quality of 3D car models.
This technology calculates the path of light rays from the camera into the scene, determining how they interact with surfaces – reflecting, refracting, absorbing, and scattering. This process yields precise visual effects that rasterization struggles to emulate, particularly for elements critical to automotive aesthetics. The result is an immediate and dramatic improvement in how a virtual car appears, from the subtle nuances of its paint finish under varying lighting conditions to the realistic reflections of its environment on its polished chrome.
Why Ray Tracing is a Game-Changer for Cars
The limitations of traditional rasterization become particularly apparent when rendering highly reflective or transparent objects like cars. Screen-space reflections (SSR), while performant, can only reflect what’s visible on the screen, leading to artifacts and incorrect reflections for off-screen objects or complex geometries. Similarly, traditional shadow maps often produce jagged edges and lack the soft, nuanced penumbra found in reality. Ray tracing overcomes these hurdles by tracing rays beyond the screen space, accurately calculating bounces and interactions for truly global effects.
For a car model, this means perfectly accurate reflections on every surface – the chassis, windows, mirrors, and trim. It allows for soft, physically correct shadows that react naturally to light sources and environmental occlusions. The interplay of light bouncing around the scene (Global Illumination) is computed with precision, illuminating the underside of the car or subtly bouncing off the ground and back onto the vehicle. This level of realism is crucial for automotive designers, marketers, and game developers who need to present their vehicles in the most captivating and authentic way possible.
Core Ray Tracing Features in Unreal Engine
Unreal Engine provides a robust suite of real-time ray tracing features that directly benefit automotive projects. These include:
- Ray Traced Global Illumination (RTGI): Accurately simulates indirect lighting, ensuring that light bounces realistically around your scene, illuminating surfaces that are not directly lit. This is vital for realistic ambient lighting in car interiors and for making exterior shots feel grounded.
- Ray Traced Reflections (RTR): Calculates pixel-perfect reflections on all surfaces, overcoming the limitations of screen-space reflections. This is a monumental improvement for metallic car paint, chrome, and glass, ensuring reflections appear correct from any angle.
- Ray Traced Shadows (RTS): Generates physically accurate soft shadows with correct penumbra and umbra areas, creating a more realistic sense of depth and interaction between the car and its environment.
- Ray Traced Ambient Occlusion (RTAO): Provides subtle contact shadows in crevices and tight spaces, enhancing the perceived detail and solidity of complex car parts.
- Ray Traced Translucency: Improves the rendering of transparent and translucent materials like car windows and headlights, allowing for accurate light refraction and absorption.
Together, these features combine to create an unparalleled level of visual fidelity, making 3D car models come alive within the Unreal Engine environment.
Setting Up Your Unreal Engine Project for Real-Time Ray Tracing
Before you can unleash the stunning visuals of real-time ray tracing, you need to properly configure your Unreal Engine project and ensure your system meets the necessary requirements. This initial setup is straightforward but critical for a smooth development experience and optimal performance. Neglecting these foundational steps can lead to frustrating performance issues or even prevent ray tracing features from activating at all. Understanding the underlying hardware and software dependencies will save you significant debugging time down the line.
Hardware and Software Prerequisites
Real-time ray tracing is a computationally intensive technology, demanding modern hardware. To begin, you’ll need:
- Graphics Card: An NVIDIA RTX series GPU (20-series, 30-series, or 40-series) or an AMD Radeon RX 6000 series (RDNA 2) or newer graphics card. These GPUs feature dedicated RT Cores or equivalent hardware acceleration, which is essential for real-time ray tracing performance.
- Unreal Engine Version: While ray tracing features were introduced in Unreal Engine 4.22, significant improvements and stability have been made in subsequent versions. Unreal Engine 4.27 or Unreal Engine 5.x (5.1+ is recommended for full Nanite/Lumen ray tracing integration) is highly recommended for the best experience.
- Operating System: Windows 10 (version 1809 or later) or Windows 11.
- Drivers: Ensure your GPU drivers are up-to-date. NVIDIA’s Studio Drivers or the latest Game Ready Drivers, and AMD’s latest Adrenalin Edition drivers, often include performance enhancements and bug fixes specifically for ray tracing.
Having sufficient RAM (32GB+) and a fast CPU (modern i7/Ryzen 7 equivalent or better) will also contribute to overall project responsiveness, especially when dealing with high-fidelity car models and complex scenes.
Enabling Ray Tracing in Project Settings
Once your hardware and software are ready, enabling ray tracing in Unreal Engine is a simple process:
- Open your Unreal Engine project.
- Go to Edit > Project Settings.
- Navigate to the Engine > Rendering section.
- Scroll down to the Ray Tracing category.
- Check the box next to “Support Hardware Ray Tracing”. This is the master switch.
- Optionally, you can enable or disable specific ray tracing features here, such as Ray Traced Global Illumination, Reflections, Shadows, Ambient Occlusion, and Translucency. For most automotive projects, you’ll want all of these enabled.
- Unreal Engine will prompt you to restart the editor. Save your project and restart for the changes to take effect.
After restarting, you should immediately notice a difference in your scene’s lighting, reflections, and shadows, assuming your scene contains PBR materials and light sources. For detailed official documentation on Unreal Engine’s rendering features and ray tracing setup, refer to dev.epicgames.com/community/unreal-engine/learning.
Console Commands for Fine-Tuning
While Project Settings provide global toggles, console commands offer granular control for debugging and fine-tuning individual ray tracing features in real-time. To access the console, press the tilde (~) key in the editor. Some essential commands include:
r.RayTracing 1(or 0): Global toggle for all ray tracing features.r.RayTracing.Reflections 1(or 0): Enables/disables ray-traced reflections.r.RayTracing.GlobalIllumination 1(or 0): Enables/disables ray-traced global illumination.r.RayTracing.Shadows 1(or 0): Enables/disables ray-traced shadows.r.RayTracing.AmbientOcclusion 1(or 0): Enables/disables ray-traced ambient occlusion.r.RayTracing.Reflections.MaxBounces [N]: Sets the maximum number of reflection bounces (e.g.,r.RayTracing.Reflections.MaxBounces 2for two bounces). Higher values increase realism but impact performance.r.RayTracing.GlobalIllumination.MaxBounces [N]: Sets the maximum number of GI bounces.r.RayTracing.Reflections.SamplesPerPixel [N]: Controls the quality/noise level of reflections. Higher values reduce noise but increase cost.
These commands are invaluable for quickly assessing the impact of different ray tracing components on your scene’s visuals and performance. Remember to experiment and find the right balance for your specific project’s requirements.
Optimizing 3D Car Models and PBR Materials for Ray Tracing
Even with ray tracing enabled, the quality of your source assets—specifically your 3D car models and their associated PBR materials—remains paramount. Ray tracing is unforgiving; it will highlight imperfections in geometry, UVs, and material definitions with startling clarity. This makes a strong foundation of high-quality, well-optimized assets absolutely essential. When sourcing automotive assets from marketplaces such as 88cars3d.com, you’re starting with a significant advantage, as these models are typically built with clean topology and PBR-ready materials in mind. However, understanding how to best integrate and further optimize them within Unreal Engine for a ray-traced pipeline is key to achieving truly photorealistic results.
Geometry Considerations: Nanite and Traditional Meshes
Unreal Engine 5 introduced Nanite, a virtualized geometry system that has revolutionized how high-polygon assets are handled. For incredibly detailed car models, Nanite is a game-changer. It allows artists to import film-quality assets with millions or even billions of polygons without manual LODs (Levels of Detail), aggressive polygon reduction, or significant performance impact. From Unreal Engine 5.1 onwards, Nanite meshes are fully supported by hardware ray tracing, meaning you get the benefit of extremely detailed geometry combined with accurate light interactions.
When using Nanite:
- Import high-resolution meshes: Don’t hold back on polygon count for the base mesh. Nanite will handle the streaming and rendering efficiently. This is especially beneficial for intricate car interiors, emblems, and complex panel gaps.
- Enable Nanite on import: In the Static Mesh Editor, ensure “Enable Nanite” is checked for your car parts.
- Performance: Nanite significantly reduces CPU overhead and draw calls, freeing up resources for the demanding ray tracing calculations on the GPU.
For assets not suitable for Nanite (e.g., animated parts, skeletal meshes, or legacy content), traditional mesh optimization practices still apply. This includes efficient topology (quads where possible), appropriate polygon density for the intended camera distance, and well-configured LODs to reduce the mesh complexity at a distance. Although ray tracing can handle complex geometry, excessive unoptimized meshes will still impact performance.
PBR Material Creation for Ray Tracing Accuracy
Physically Based Rendering (PBR) materials are the backbone of photorealism in Unreal Engine, and their accuracy is amplified by ray tracing. For automotive models, paying meticulous attention to PBR values is crucial.
- Base Color: Ensure your base color maps are free of lighting information (diffuse only) and accurately represent the material’s inherent color.
- Metallic: Use a binary (0 or 1) value for metallic surfaces (e.g., chrome, polished metals) and 0 for non-metallic (e.g., paint, plastic, rubber). Blend between 0 and 1 for dirty or scratched metallic surfaces.
- Roughness: This is arguably the most critical map for car materials. A low roughness value creates sharp, mirror-like reflections (polished chrome, clear coat paint), while higher values produce diffuse or satin finishes (matte paint, rubber tires). Accurate roughness maps are essential for distinguishing different finishes on a car. For car paint, use a clear coat shader model in Unreal Engine to simulate the multiple layers of paint and clear coat, providing two distinct reflection lobes.
- Normal Maps: Provide fine surface details without adding geometry. Ensure they are correctly authored and imported (tangent space normals are standard).
- Occlusion, Roughness, Metallic (ORM) Maps: Often combined into a single texture for efficiency, these maps are crucial for defining material properties.
Every PBR parameter directly influences how light rays interact with the surface. Incorrect values will lead to unrealistic reflections, refraction, and overall lighting, even with ray tracing enabled. Experiment extensively in the Unreal Engine Material Editor to achieve the desired look, using the ray-traced viewport as your guide.
UVs and Texture Resolution for Ray Traced Detail
Clean UV mapping and appropriate texture resolutions are non-negotiable for high-fidelity automotive visualization, especially with ray tracing. Ray-traced reflections magnify surface details and texture quality, making any stretching, seams, or low-resolution textures immediately apparent.
- Clean UV Layouts: Ensure your UVs are laid out efficiently, without overlapping islands (unless intentional for specific effects like decals) and minimal distortion. This prevents artifacts in reflections and ensures textures map correctly.
- Appropriate Texture Resolution: For hero assets like a car, high-resolution textures are expected. 4K (4096×4096) or even 8K (8192×8192) textures for large panels and the overall body are common, while smaller components might use 2K. The exact resolution depends on the proximity to the camera and the level of detail required.
- Texel Density: Strive for consistent texel density across all parts of your car model where possible. This ensures that details appear uniformly sharp when viewed up close.
- Mip Maps: Unreal Engine automatically generates mip maps, which are crucial for performance by reducing texture resolution at a distance. However, ensure that the base resolution is high enough to maintain detail when viewed in close-up, ray-traced glory.
By paying attention to these details, the incredibly detailed car models from sources like 88cars3d.com will truly shine, benefiting from the pixel-perfect accuracy that real-time ray tracing provides.
Advanced Lighting Techniques with Real-Time Ray Tracing
Lighting is the soul of any compelling visual, and in automotive visualization, it’s what breathes life into your 3D car models. Real-time ray tracing, particularly when combined with Unreal Engine’s advanced lighting systems like Lumen, revolutionizes how light interacts with your scene. It moves beyond approximations, delivering physically accurate global illumination, reflections, and shadows that dynamically respond to changes in lighting and environment. This level of fidelity allows for truly photorealistic renders, where every subtle glint and shadow contributes to the overall realism of the vehicle.
Lumen and Ray Traced Global Illumination
Unreal Engine 5’s Lumen Global Illumination and Reflections system is designed to provide real-time, high-quality GI and reflections for dynamic scenes. When Lumen is combined with hardware ray tracing, its capabilities are significantly enhanced. Lumen with hardware ray tracing provides superior indirect lighting and bounce light for automotive scenes compared to software-only Lumen or traditional lightmaps, which are static and require baking.
How it benefits automotive:
- Dynamic Environments: Lumen allows you to move lights, change time of day, or swap HDRIs, and the global illumination will update instantly, casting realistic bounce light onto your car’s surfaces and into its interior. This is invaluable for showcasing a vehicle in various conditions without rebaking.
- Accurate Color Bleeding: Light interacting with colored surfaces will accurately tint nearby objects. Imagine a red sports car casting a subtle red glow onto the ground or a white wall in a showroom.
- Enhanced Interior Lighting: For detailed car interiors, Lumen with RTGI ensures that light entering through windows bounces realistically, illuminating the dashboard, seats, and other components with soft, diffuse light.
To ensure Lumen leverages hardware ray tracing for the highest quality, you can check the console variable r.Lumen.HardwareRayTracing 1. This combination truly represents the pinnacle of real-time global illumination within Unreal Engine, providing unparalleled realism for your automotive renders.
Ray Traced Reflections and Translucency
One of the most visually impactful features of real-time ray tracing for automotive visualization is its ability to render Ray Traced Reflections (RTR). Unlike Screen Space Reflections (SSR) which only reflect what is currently visible on the screen, RTR calculates reflections based on the actual geometry of the entire scene, including off-screen objects. This means a car’s glossy paint, polished chrome, and glass will accurately reflect its surroundings from any camera angle.
Key aspects of RTR:
- Multiple Bounces: You can configure the number of reflection bounces (e.g.,
r.RayTracing.Reflections.MaxBounces 2). A single bounce provides primary reflections, but multiple bounces allow for reflections within reflections, crucial for complex metallic surfaces or interiors with many reflective elements. - Roughness Interaction: RTR accurately integrates with PBR roughness values, correctly blurring reflections on rougher surfaces and providing sharp, crisp reflections on smooth ones.
- Ray Traced Translucency: For materials like car windows, headlights, and transparent plastics, ray-traced translucency provides physically accurate refraction and absorption. This means light will correctly bend as it passes through glass, and transparent objects will cast accurate colored shadows. This is a massive improvement over traditional translucent rendering which often struggles with depth and accurate lighting.
Adjusting settings like r.RayTracing.Reflections.SamplesPerPixel and r.RayTracing.Translucency.SamplesPerPixel can help balance visual quality (reducing noise) with performance, ensuring your reflections and transparent materials look their best.
Accurate Shadows and Ambient Occlusion
Ray Traced Shadows (RTS) are a significant upgrade over traditional shadow maps. Instead of creating pixelated or “stair-stepped” shadows, RTS delivers soft, contact-hardening shadows that are physically accurate. The softness of a shadow naturally increases with distance from the caster and the size of the light source. This level of accuracy is essential for making a car look grounded and integrated into its environment, avoiding the “floating” effect often seen with less accurate shadow systems.
Benefits for automotive:
- Physically Accurate Softness: Light from large area lights will produce very soft shadows, while light from small, distant sources (like the sun) will be sharper, reflecting real-world physics.
- Transparency and Specular Shadowing: RTS can accurately shadow through transparent materials, meaning your car’s windows will cast realistic, softened shadows onto the interior.
- Contact Shadows: Ray-traced shadows naturally produce contact shadows, enhancing the perceived detail where surfaces meet, such as under panel gaps or around tires on the ground.
Alongside RTS, Ray Traced Ambient Occlusion (RTAO) further enhances realism by simulating subtle, diffuse shadows that occur where objects are close together, blocking ambient light. This adds depth and definition to crevices, panel lines, and the junctions between different components of a car, making it appear more solid and detailed. RTAO is less computationally expensive than full RTGI but provides a powerful visual boost for perceived micro-details.
Performance Optimization and Best Practices for Real-Time Ray Tracing
While real-time ray tracing delivers breathtaking visuals, it comes with a significant performance cost. Achieving a smooth, interactive experience—especially for high-fidelity automotive visualization—requires a strategic approach to optimization. Balancing visual quality with frame rate is an ongoing process that involves careful profiling, adjusting settings, and leveraging Unreal Engine’s performance-enhancing features. Understanding where performance bottlenecks lie and how to address them is crucial for any project using ray tracing.
Iterative Optimization Workflow
Effective optimization is not a one-time task but an iterative workflow. It begins with understanding your performance targets (e.g., 60 FPS for an interactive configurator, 30 FPS for a cinematic, 90 FPS per eye for VR) and then systematically identifying and resolving bottlenecks.
- Profile Regularly: Use Unreal Engine’s built-in profiling tools like the GPU Profiler (`stat gpu`) and Stat Unit (`stat unit`). The GPU Profiler is particularly vital for ray tracing, as it breaks down the time spent on various rendering passes, including RTGI, RTR, and RTS.
- Identify Bottlenecks: Look for the largest time expenditures in your GPU profile. Is it reflections? Global Illumination? Shadow casting? Once identified, you can target specific settings.
- Adjust Settings Incrementally: Make small changes to ray tracing settings (e.g., reducing bounce counts, lowering samples per pixel) and re-profile. Observe the impact on both visuals and performance.
- Isolate Issues: If performance is poor, try disabling ray tracing features one by one to pinpoint the exact culprit. This helps narrow down the problem.
- Optimize Assets: Review your 3D car models for unnecessary complexity. While Nanite helps, extremely dense geometry can still contribute to higher ray tracing costs for features that trace against the full mesh. Ensure PBR materials are correctly configured, as complex material graphs can also add overhead.
This systematic approach ensures that you’re making informed optimization decisions rather than guessing, leading to more predictable and efficient results.
Key Ray Tracing Quality and Performance Settings
Unreal Engine provides numerous console variables that allow fine-grained control over ray tracing quality and performance. Understanding these and their impact is essential for balancing visual fidelity with frame rate:
r.RayTracing.Reflections.MaxBounces [N]: Controls how many times a reflection ray can bounce. Lowering this from the default (often 2-3) to 1 or 0 significantly improves performance but reduces visual realism for complex reflective surfaces.r.RayTracing.GlobalIllumination.MaxBounces [N]: Similar to reflections, controls GI bounce count. Reduce for performance, increase for richer indirect lighting.r.RayTracing.SamplesPerPixel [N]: A global setting or specific to certain features (e.g.,r.RayTracing.Reflections.SamplesPerPixel). Higher values reduce noise but drastically increase render time. Start low (e.g., 1-2) and increase only if noise is unacceptable.r.RayTracing.LightGridSamples [N]: Affects the quality of lighting, particularly for GI. Lower values can introduce artifacts but are faster.r.RayTracing.AmbientOcclusion.SamplesPerPixel [N]: Controls RTAO quality. Lowering this can make AO grainier but faster.- Post-Process Volume Overrides: Many ray tracing settings can be overridden in Post-Process Volumes, allowing for localized quality adjustments or cinematic-specific settings without affecting the entire project.
A good strategy is to start with a baseline configuration, then gradually increase or decrease these values based on your profiling results and visual requirements. Often, small reductions in bounce counts or sample numbers can yield significant performance gains with only a subtle visual difference.
Leveraging DLSS/FSR for Performance
Even with rigorous optimization, rendering a fully ray-traced automotive scene at high resolutions and frame rates can be extremely demanding. This is where upscaling technologies like NVIDIA DLSS (Deep Learning Super Sampling) and AMD FSR (FidelityFX Super Resolution) become indispensable. These technologies render the scene at a lower internal resolution and then intelligently upscale it to your target resolution using advanced algorithms (AI-powered for DLSS, spatial for FSR).
- NVIDIA DLSS: Requires an RTX GPU and significantly boosts frame rates with minimal loss in image quality. It’s particularly effective with ray tracing as it can reconstruct fine details that might otherwise suffer from noise or resolution reduction.
- AMD FSR: Works on a broader range of GPUs (including NVIDIA and older AMD cards) and also provides a substantial performance uplift.
Integrating DLSS or FSR into your Unreal Engine project is relatively straightforward via plugins. By enabling these, you can often achieve a 50-100% (or more) increase in frame rate, making truly interactive, ray-traced automotive experiences possible on consumer hardware. This is a critical step for maintaining a smooth user experience while delivering cutting-edge visuals.
Real-World Applications and Interactive Experiences
The marriage of real-time ray tracing and Unreal Engine extends far beyond static renders, unlocking a wealth of possibilities for interactive and cinematic automotive content. From virtual showrooms to blockbuster film sequences, the ability to render physically accurate light in real-time transforms how vehicles are designed, presented, and experienced. Leveraging high-quality 3D car models as a foundation, these applications push the boundaries of immersion and visual fidelity, delivering compelling experiences that were once confined to offline rendering farms.
Automotive Configurators and Showcases
One of the most impactful applications of real-time ray tracing in Unreal Engine is in creating next-generation automotive configurators and interactive showcases. Imagine a customer exploring a new car model in a virtual showroom, able to instantly change paint colors, wheel designs, interior trim, and see every modification rendered with photorealistic reflections, accurate lighting, and dynamic shadows.
- Dynamic Material Swapping: Blueprint scripting can be used to control material parameters, allowing users to switch car paint types (matte, metallic, pearl), leather finishes, or carbon fiber patterns. Ray tracing ensures these material changes are reflected with accurate PBR properties.
- Interactive Lighting: Users can change the time of day or switch between different studio lighting setups, observing how the car’s surfaces react in real-time, thanks to Lumen and ray-traced GI.
- Interior Exploration: For high-detail interiors, ray tracing provides realistic bounce light, enhancing the perception of luxury and craftsmanship as users explore every button, stitch, and display.
- Augmented Reality Integration: While performance-intensive, the ability to place a ray-traced car model into a real-world environment via AR (e.g., using Unreal Engine’s ARCore/ARKit plugins) offers unparalleled marketing and sales opportunities, allowing potential buyers to visualize their dream car in their driveway.
These interactive experiences not only enhance customer engagement but also provide designers with powerful tools for visualizing design iterations in a truly immersive context.
Virtual Production and Cinematic Renders
For high-end cinematic content and virtual production workflows, real-time ray tracing in Unreal Engine is a game-changer. Using Sequencer, Unreal Engine’s multi-track cinematic editor, artists can create stunning pre-rendered or real-time rendered automotive sequences with unparalleled visual quality.
- Film-Quality Lighting: Ray-traced global illumination, reflections, and shadows bring a level of cinematic realism to car commercials, film sequences, and design showcases that was previously only achievable with lengthy offline render times.
- Virtual Production LED Walls: In virtual production, where physical actors and props are integrated into virtual environments displayed on massive LED walls, accurate ray-traced reflections on car surfaces (or other reflective props) are critical. The virtual world reflected on the car must match the perspective and lighting of the real-world LED stage, and ray tracing achieves this with precision, seamlessly blending the physical and digital.
- Motion Blur and Depth of Field: When rendered in Sequencer, ray-traced scenes can leverage high-quality motion blur and depth of field, further enhancing the cinematic feel.
- High-Resolution Output: Sequencer allows rendering out high-resolution (4K, 8K) image sequences with all ray tracing effects enabled, suitable for broadcast and film industry standards.
This empowers creators to produce high-fidelity automotive content faster and more iteratively than ever before, reducing production costs and accelerating creative workflows.
AR/VR Optimization for Automotive Applications
While ray tracing in AR/VR remains one of the most demanding applications, the potential for automotive visualization is immense. The immersive nature of AR/VR, combined with the photorealism of ray tracing, could offer truly groundbreaking experiences for automotive design reviews, training, and customer engagement. However, the performance budget for AR/VR is extremely tight (typically 90+ FPS per eye), making optimization paramount.
- Extreme Optimization: Achieving ray-traced visuals in AR/VR requires aggressive optimization. This means minimal ray bounce counts (often 1 or 0 for reflections and GI), very low samples per pixel, and reliance on DLSS/FSR in performance mode.
- Targeted Ray Tracing: Instead of enabling ray tracing globally, consider using it only for critical elements like the car body and glass, while relying on rasterization or screen-space effects for less critical scene elements.
- Foveated Rendering: Upcoming AR/VR hardware with eye-tracking will enable foveated rendering, where only the area of the user’s gaze is rendered at full quality. This holds significant promise for making ray-traced AR/VR viable by reducing rendering workload.
- Pre-baked Elements: Some aspects, like distant environment lighting or less critical shadows, might still benefit from being pre-baked to reduce real-time ray tracing overhead in performance-critical AR/VR scenarios.
While still a challenge, the progression of hardware and optimization techniques means that fully ray-traced, high-fidelity automotive experiences in AR/VR are on the horizon, promising unprecedented levels of immersion and realism for the industry.
Conclusion
Real-time ray tracing in Unreal Engine has undeniably transformed the landscape of automotive visualization, offering a level of photorealism that was once relegated to offline render farms. From pixel-perfect reflections on a gleaming car body to the subtle interplay of light within a luxurious interior, ray tracing provides a physically accurate simulation of light that elevates 3D car models to an art form. By meticulously setting up your project, optimizing your assets, and understanding the nuances of advanced lighting techniques, you can harness this powerful technology to create truly breathtaking interactive experiences and cinematic content.
The journey to mastering real-time ray tracing involves a continuous balance between visual fidelity and performance, requiring a keen eye for detail and a strategic approach to optimization. Leveraging Unreal Engine’s robust features like Nanite, Lumen, and powerful upscaling technologies like DLSS/FSR is crucial for achieving smooth frame rates without compromising on quality. As hardware continues to evolve and Unreal Engine refines its rendering capabilities, the possibilities for automotive visualization will only expand. Embrace the challenge, experiment with the settings, and let your virtual vehicles shine with unprecedented realism.
Start building your next-generation automotive experiences today by leveraging high-quality assets like those found on 88cars3d.com, and push the boundaries of what’s possible with real-time ray tracing in Unreal Engine.
Featured 3D Car Models
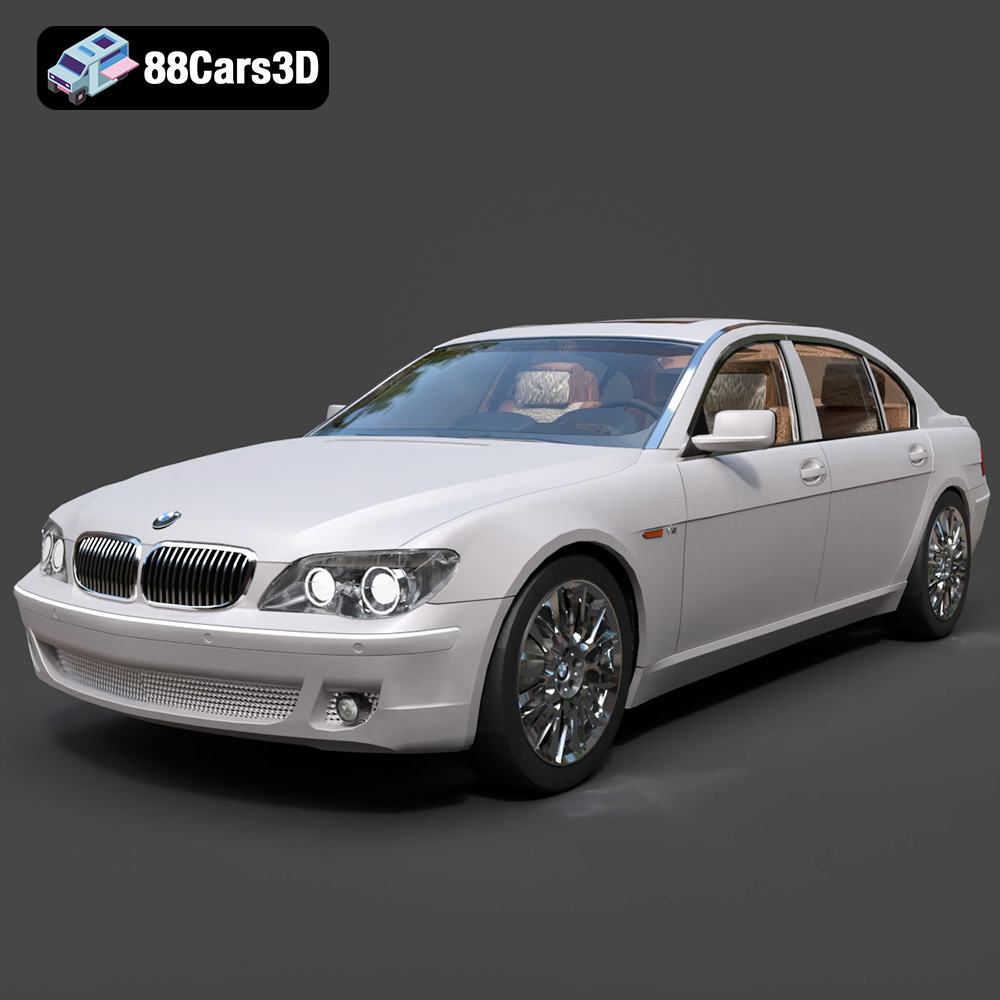
BMW 760Li E66 2005 3D Model
Texture: Yes
Material: Yes
Download the BMW 760Li E66 2005 3D Model featuring a detailed exterior, refined interior, and robust chassis. Includes .blend, .fbx, .obj, .glb, .stl, .ply, .unreal, and .max formats for rendering, simulation, and game development.
Price: $10.79
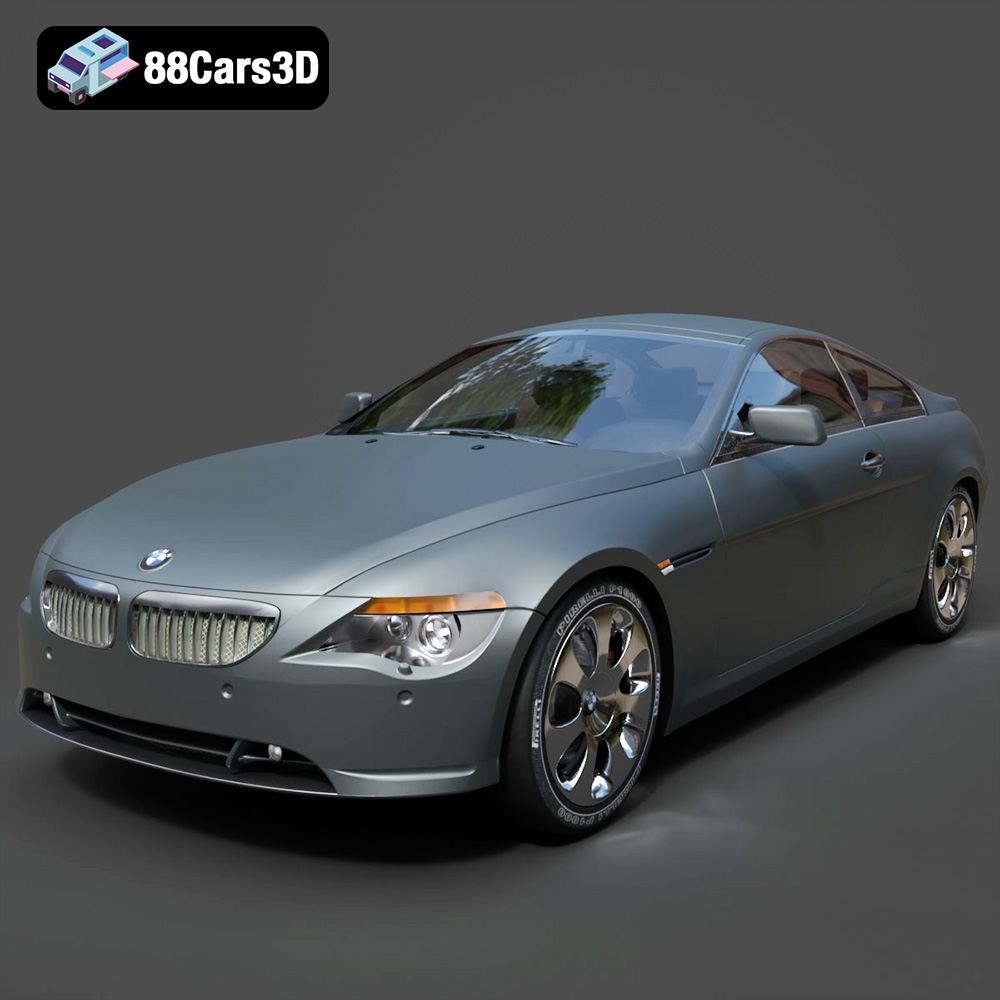
BMW 6 Series 3D Model
Texture: Yes
Material: Yes
Download the BMW 6 Series 3D Model featuring precisely modeled body panels, detailed interior, and authentic wheels. Includes .blend, .fbx, .obj, .glb, .stl, .ply, .unreal, and .max formats for rendering, simulation, and game development.
Price: $10.79
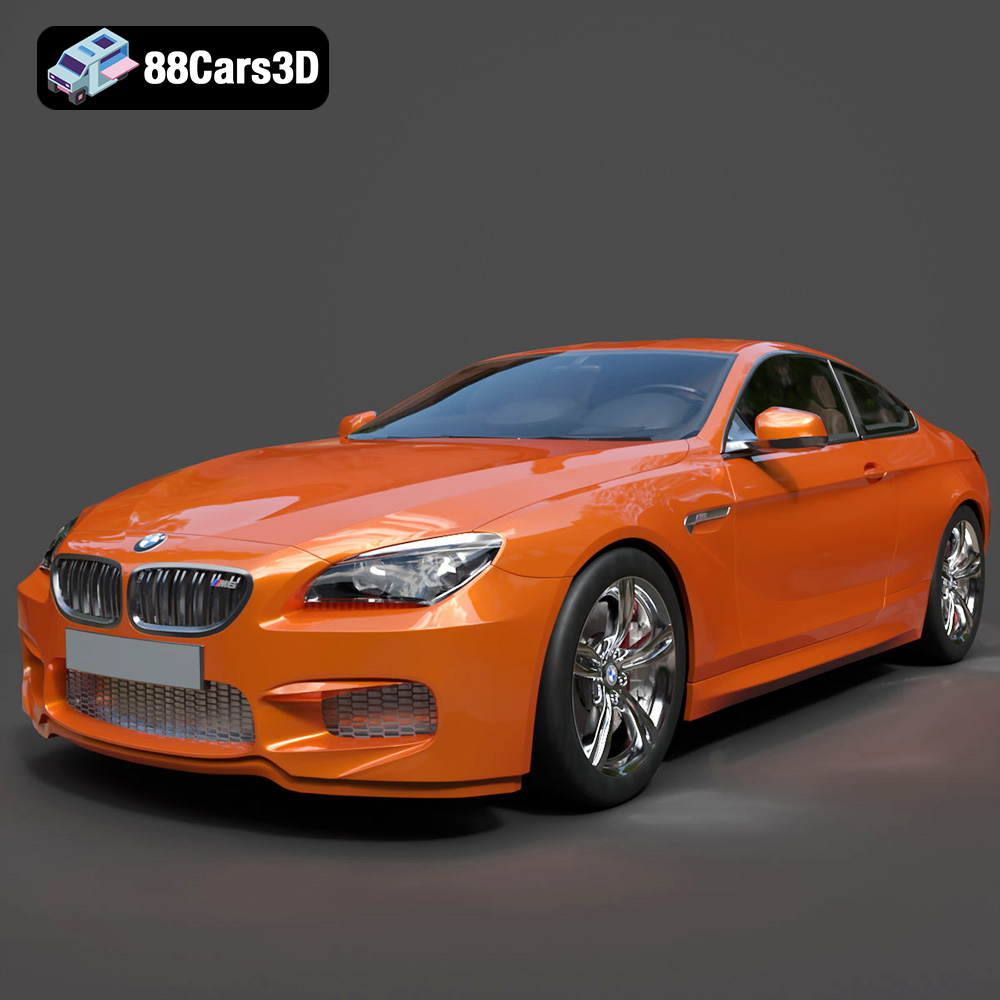
BMW M6 Coupe (F12) 3D Model
Texture: Yes
Material: Yes
Download the BMW M6 Coupe (F12) 3D Model featuring its iconic sporty design and luxurious details. Includes .blend, .fbx, .obj, .glb, .stl, .ply, .unreal, and .max formats for rendering, simulation, and game development.
Price: $10.79
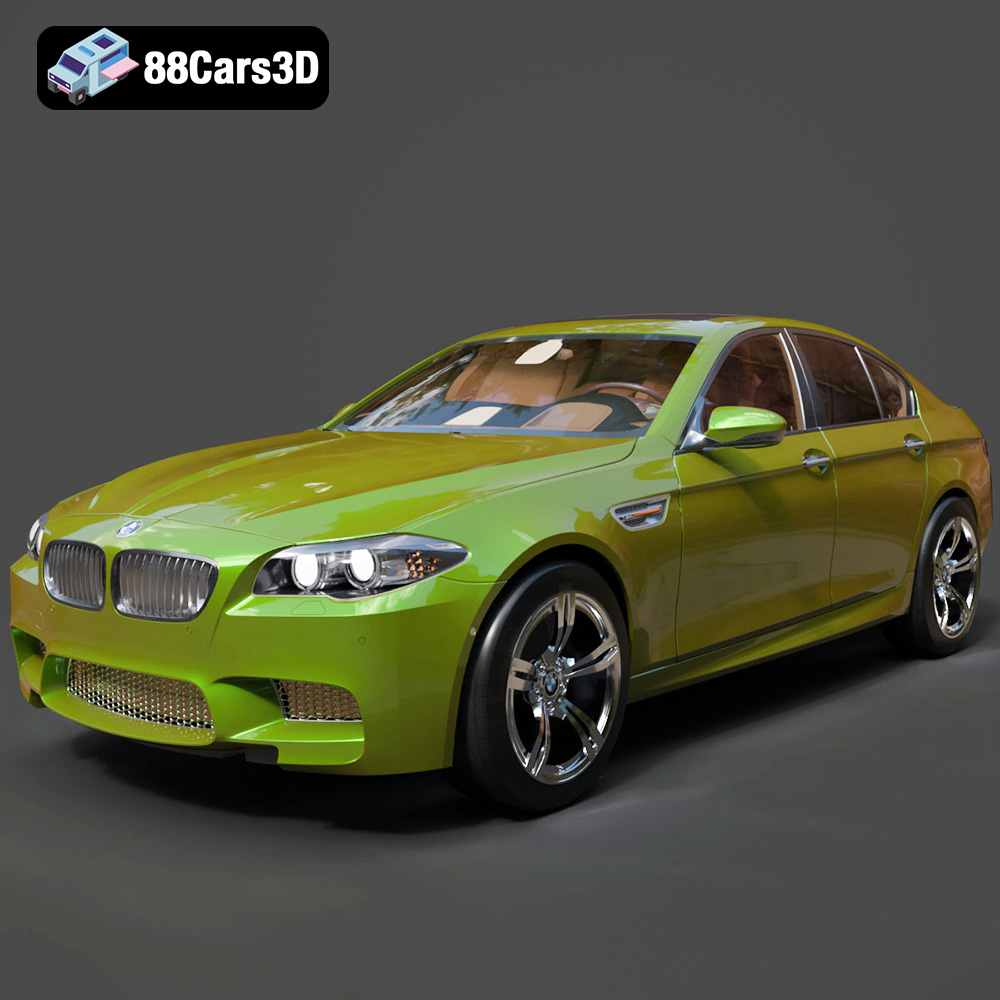
BMW M5 F10 3D Model
Texture: Yes
Material: Yes
Download the BMW M5 F10 3D Model featuring high-performance luxury sedan design, detailed interior, and realistic PBR textures. Includes .blend, .fbx, .obj, .glb, .stl, .ply, .unreal, and .max formats for rendering, simulation, and game development.
Price: $10.79
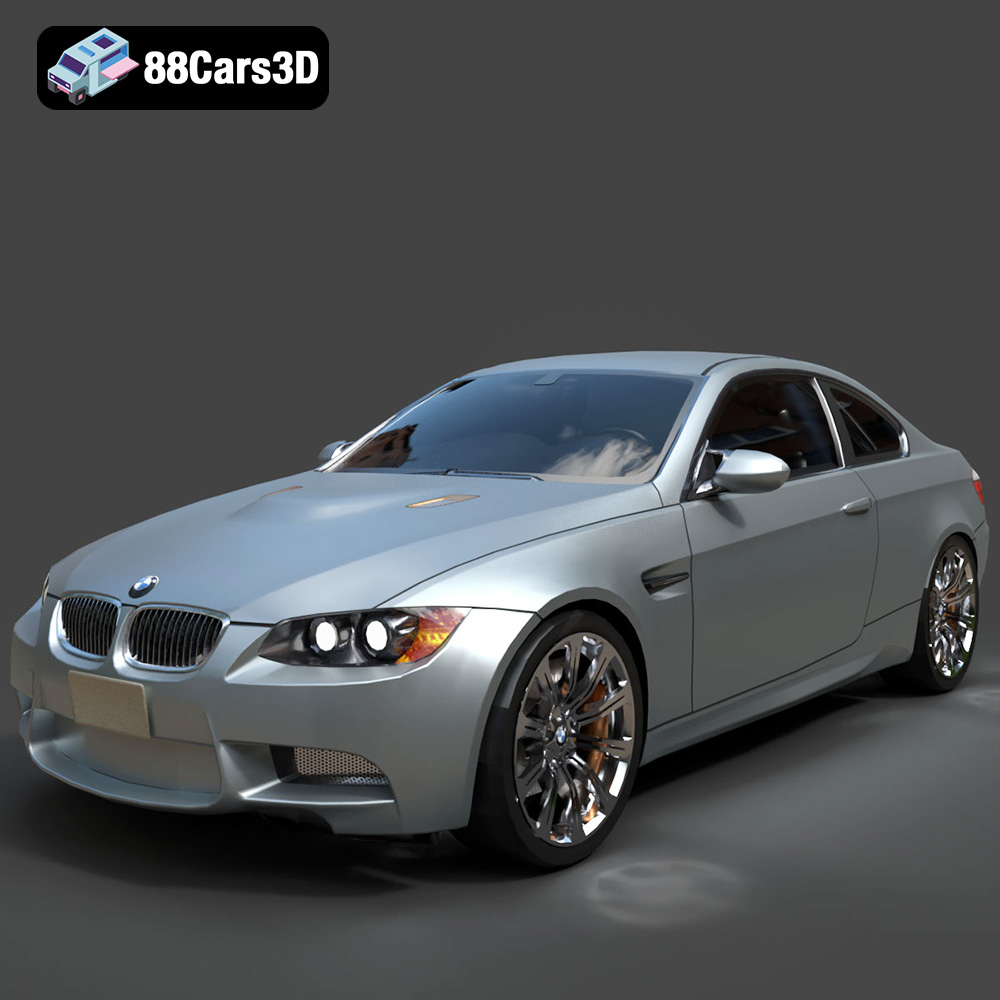
BMW M3 Coupe E92-002 3D Model
Texture: Yes
Material: Yes
Download the BMW M3 Coupe E92-002 3D Model featuring authentic styling, detailed exterior, and a faithful interior. Includes .blend, .fbx, .obj, .glb, .stl, .ply, .unreal, and .max formats for rendering, simulation, and game development.
Price: $10.79
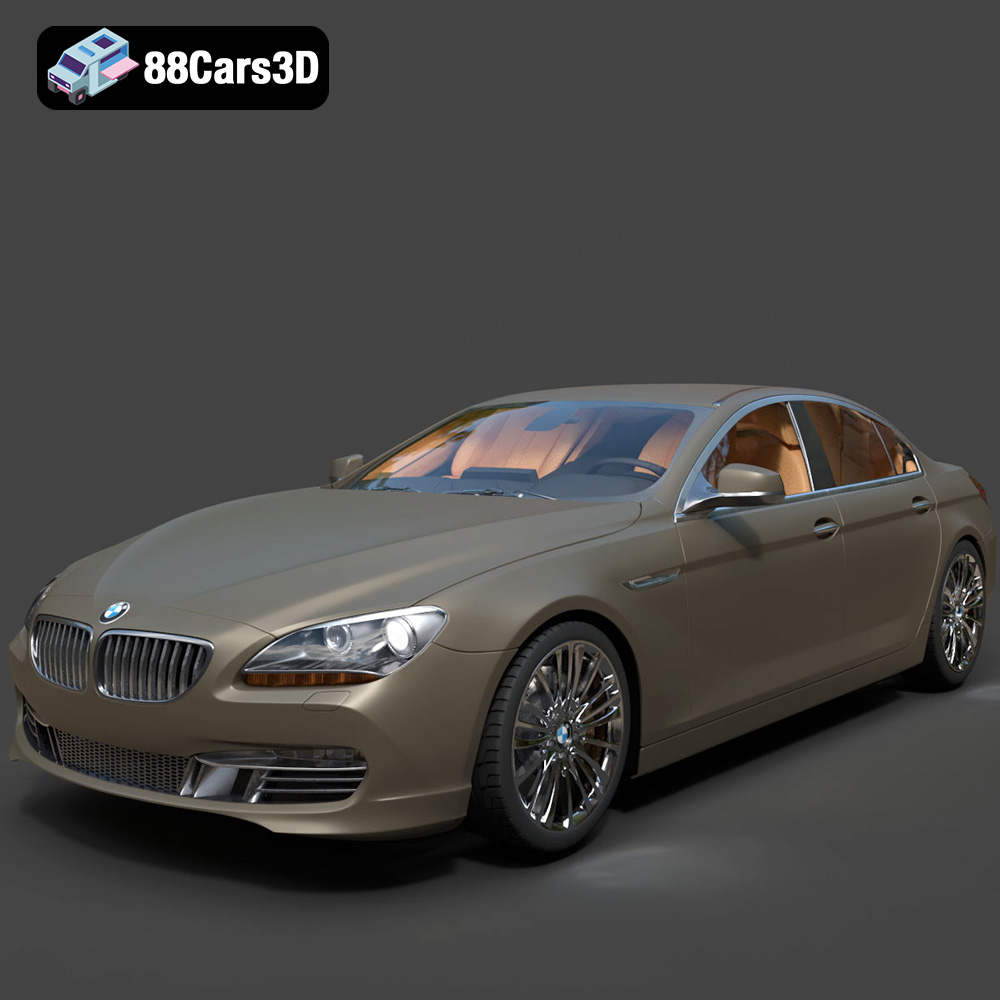
BMW 6 Series Gran Coupe 2013 3D Model
Texture: Yes
Material: Yes
Download the BMW 6 Series Gran Coupe 2013 3D Model featuring a sophisticated design, detailed exterior, and well-appointed interior. Includes .blend, .fbx, .obj, .glb, .stl, .ply, .unreal, and .max formats for rendering, simulation, and game development.
Price: $20.79
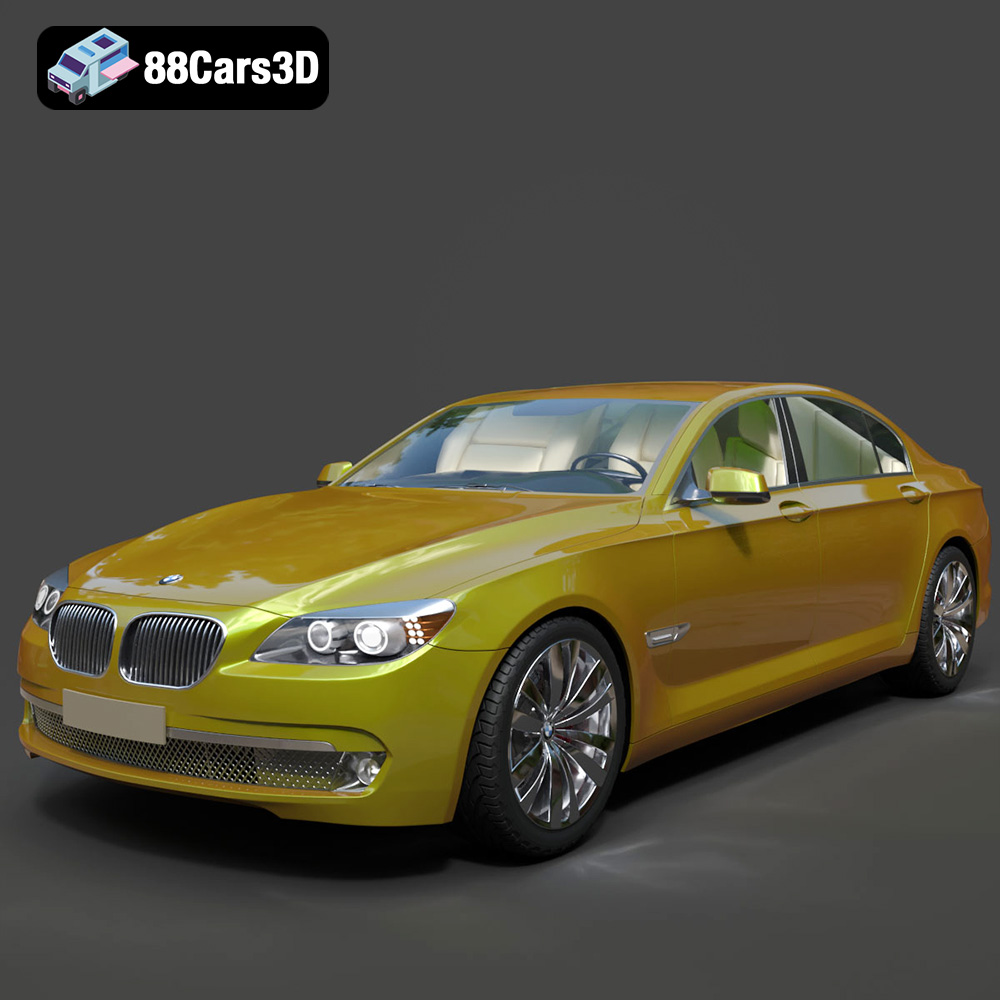
BMW 7 Series 750 F01 3D Model
Texture: Yes
Material: Yes
Download the BMW 7 Series 750 F01 3D Model featuring a detailed exterior and a luxurious interior. Includes .blend, .fbx, .obj, .glb, .stl, .ply, .unreal, and .max formats for rendering, simulation, and game development.
Price: $10.79
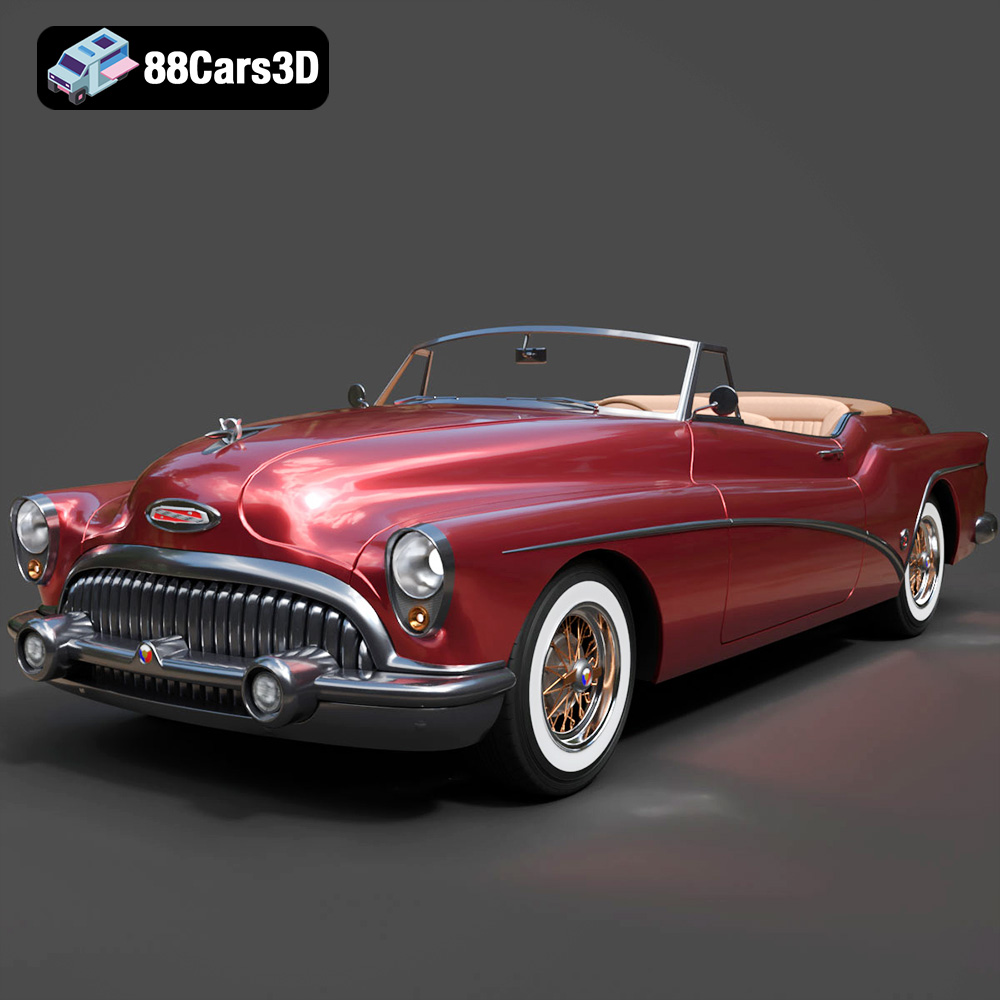
Buick Skylark Convertible 1953 3D Model
Texture: Yes
Material: Yes
Download the Buick Skylark Convertible 1953 3D Model featuring iconic 1950s styling, a detailed exterior with chrome accents, and an accurately modeled interior. Includes .blend, .fbx, .obj, .glb, .stl, .ply, .unreal, and .max formats for rendering, simulation, and game development.
Price: $10.79

Buick Roadmaster Hardtop Coupe 1957 3D Model
Texture: Yes
Material: Yes
Download the Buick Roadmaster Hardtop Coupe 1957 3D Model featuring a classic American design with detailed exterior and interior. Includes .blend, .fbx, .obj, .glb, .stl, .ply, .unreal, and .max formats for rendering, simulation, and game development.
Price: $10.79
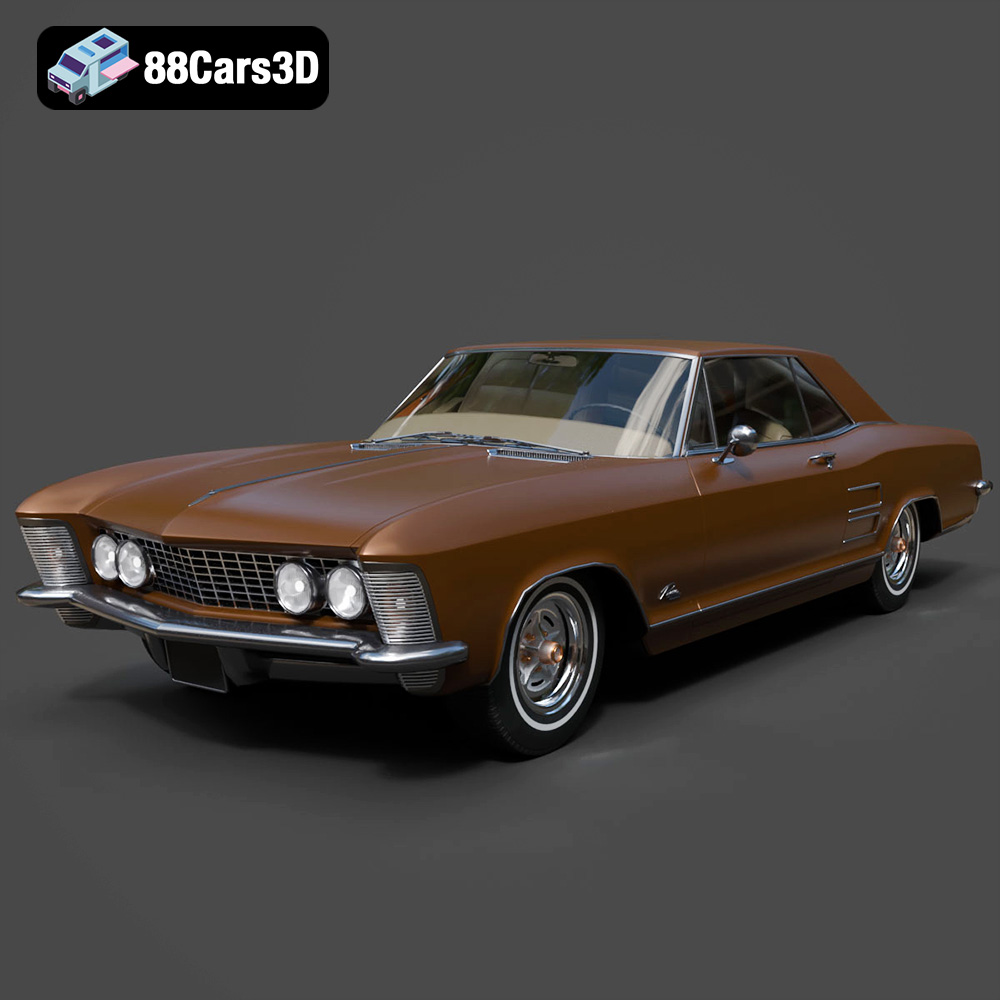
Buick Riviera 1963 3D Model
Texture: Yes
Material: Yes
Download the Buick Riviera 1963 3D Model featuring classic American muscle car design and iconic styling. Includes .blend, .fbx, .obj, .glb, .stl, .ply, .unreal, and .max formats for rendering, simulation, and game development.
Price: $10.79
