

The landscape of film and television production is undergoing a profound transformation, driven by innovative technologies that blur the lines between reality and simulation. At the forefront of this revolution stands Unreal Engine, a powerful real-time 3D creation tool that has transcended its gaming origins to become an indispensable asset for filmmakers, broadcasters, and automotive visualization professionals alike. For those involved in bringing cutting-edge vehicles to the screen, whether for commercials, feature films, or episodic series, Unreal Engine offers an unparalleled toolkit for achieving photorealistic results, dynamic interactivity, and unprecedented production efficiency.
Gone are the days when high-fidelity automotive sequences were solely the domain of lengthy render farms and costly post-production pipelines. With Unreal Engine, creatives can now design, light, animate, and render stunning car visuals in real-time, enabling immediate feedback and on-set flexibility. This shift empowers artists to iterate faster, make creative decisions on the fly, and achieve a level of visual sophistication previously unimaginable within traditional workflows. This comprehensive guide will delve into the essential Unreal Engine workflows that are revolutionizing film and TV production, with a particular focus on how to leverage high-quality 3D car models and advanced techniques to create breathtaking automotive content for the screen.
Setting the Stage: Unreal Engine for Virtual Production Environments
Virtual Production (VP) has emerged as a game-changer in film and television, allowing filmmakers to shoot live-action footage against LED walls displaying real-time Unreal Engine environments. This workflow offers significant advantages, from reducing travel and location scouting costs to providing actors with immersive on-set visuals that enhance their performance. Setting up an Unreal Engine project for virtual production, especially with high-fidelity automotive assets, requires careful planning and a robust understanding of the engine’s capabilities. The goal is to create a stable, performant, and visually stunning virtual world that seamlessly integrates with physical elements.
The initial setup involves choosing the correct project template, often the “Virtual Production” or “Film, Television, and Live Events” templates, which come pre-configured with essential plugins and settings for cinematic workflows. Key plugins like nDisplay for multi-display setups (LED walls), LiveLink for motion capture, and Sequencer for cinematic editing are crucial. Performance is paramount in VP, as any dropped frames or latency can disrupt the illusion on the LED wall and affect the final shot. Therefore, configuring project settings for optimal performance from the outset, such as ensuring proper scalability settings and enabling essential rendering features, is critical. This foundation allows for the seamless integration of detailed automotive models and complex environments, setting the stage for breathtaking real-time visualizations.
Project Setup & Datasmith Workflows
The journey begins with efficient data ingestion. Unreal Engine’s Datasmith plugin is the cornerstone for importing complex CAD data, architectural models, and high-fidelity automotive assets from various DCC (Digital Content Creation) applications like 3ds Max, Maya, Blender, and CAD software. Datasmith ensures that geometry, hierarchies, UVs, and even basic materials are transferred with fidelity, minimizing manual cleanup. For automotive projects, this is invaluable as it handles the intricacies of car models, often composed of hundreds of individual parts. When importing, it’s crucial to utilize Datasmith’s various options, such as combining meshes by material or setting custom import scales, to maintain optimal scene organization and performance. Post-import, a thorough review of the generated assets in the Content Browser is essential to identify any issues, such as inverted normals or incorrect pivot points, before proceeding. Consistent naming conventions and folder structures should be established early to manage the potentially vast number of assets associated with a detailed car model and its environment.
Integrating High-Fidelity Automotive Assets
Once the project is set up, the next critical step is to integrate high-quality 3D car models. Sourcing these assets from reputable marketplaces, such as 88cars3d.com, provides a significant advantage. Models acquired from such platforms are typically optimized with clean topology, proper UV mapping, and PBR-ready material setups, which are foundational for achieving photorealistic results in Unreal Engine. When importing these models, whether via Datasmith or direct FBX, ensure that the scale is correct (Unreal Engine uses centimeters by default) and that the pivot points of individual car parts (like doors, wheels, and hoods) are correctly aligned for animation purposes. For complex vehicles, it’s often beneficial to maintain a modular structure, where components can be easily swapped or animated independently. Leveraging Unreal Engine’s Static Mesh Editor allows for quick adjustments, such as creating basic collision meshes or manually fine-tuning LODs if necessary. The goal is to prepare these automotive assets to be as performant and visually stunning as possible within the real-time production environment, maximizing their impact on screen.
Mastering Automotive Visuals: Materials, Lighting, and Nanite
Achieving cinematic realism for automotive subjects in Unreal Engine hinges on two primary pillars: physically accurate materials and sophisticated lighting. These elements, combined with cutting-edge technologies like Nanite, elevate the visual fidelity of 3D car models to professional film and TV standards. The interaction of light with a vehicle’s surface — the reflections on its polished paint, the subtle translucency of its glass, the intricate details of its interior — is what truly sells the realism. Unreal Engine offers a powerful Material Editor and advanced lighting solutions designed to reproduce these complex real-world phenomena with stunning accuracy and real-time performance. Understanding how to harness these tools is paramount for any artist aiming to create compelling automotive visualizations that stand up to the scrutiny of a discerning audience.
The process involves not just applying textures but meticulously crafting shader networks that define how light interacts with every part of the car. This includes setting up precise PBR values, implementing clear coat reflections, and utilizing advanced material functions for effects like anisotropic reflections common on brushed metals. For lighting, the evolution of real-time global illumination with Lumen has been a game-changer, providing dynamically reacting bounced light that dramatically enhances realism without the need for baked lighting solutions. When coupled with Nanite’s ability to render extremely high-polygon models efficiently, artists can achieve an unprecedented level of detail, from the finest panel gaps to the subtlest surface imperfections, ensuring that every frame delivers cinematic quality.
Physically Based Rendering (PBR) Materials for Realism
PBR is the backbone of modern real-time rendering, ensuring that materials react to light in a physically plausible way. For automotive models, this translates into accurate representations of paint, chrome, glass, rubber, and various interior materials. In Unreal Engine’s Material Editor, artists define materials using a set of standard PBR parameters: Base Color (albedo), Metallic, Specular, Roughness, and Normal. The car paint shader is particularly complex, often requiring layered materials to achieve the distinct clear coat effect. This can be built using a Blend Material Attribute node or by combining two separate material functions — one for the base paint and another for the clear coat’s reflectivity and transmission properties. High-resolution texture maps, ideally 4K or 8K, are essential for conveying fine details and imperfections. When sourcing automotive assets from marketplaces such as 88cars3d.com, ensure their PBR maps are clean and optimized for Unreal Engine’s workflow. For instance, roughness maps are critical for defining the reflectivity and smoothness of surfaces; a high value indicates a rough, diffuse surface, while a low value indicates a smooth, reflective one. Normal maps add crucial surface detail without increasing polygon count. Employing Material Functions allows for reusability of complex shader networks, such as generic car paint or tire rubber, across multiple vehicles, streamlining the material creation process and ensuring consistency across the project.
Dynamic Real-time Lighting with Lumen and HDRI
Unreal Engine’s Lumen global illumination system has revolutionized real-time lighting, providing fully dynamic indirect lighting and reflections with incredible fidelity. For automotive visualization, Lumen allows vehicles to react realistically to changes in their environment, capturing subtle bounced light and intricate reflections from surrounding objects or LED wall content. Complementing Lumen, High Dynamic Range Image (HDRI) lighting is indispensable for capturing naturalistic lighting and reflections from real-world environments. An HDRI acts as both a light source (often via a Sky Light) and an environment for reflections, instantly adding environmental context and realism. For cinematic shots, combining a Sky Light with a powerful Directional Light (representing the sun) and several Spot Lights or Rect Lights (for fill or accent lights) mimics a professional studio setup. Post-Process Volume settings are also critical, controlling exposure, bloom, and color grading to achieve the desired cinematic look. Ensuring consistent exposure between the physical LED wall and the virtual environment is a key challenge in virtual production, often requiring careful calibration and custom LUTs (Look-Up Tables) to match color and light balance precisely.
Leveraging Nanite for Cinematic Detail
The traditional challenge of managing polygon budgets for high-detail models has largely been overcome by Nanite, Unreal Engine’s virtualized geometry system. Nanite allows artists to import and render incredibly high-fidelity meshes — models with millions or even billions of polygons — without significant performance impact. For automotive visualization, this is revolutionary. Instead of relying heavily on normal maps to fake detail, artists can directly use highly detailed CAD models or meticulously sculpted meshes, capturing every intricate curve, panel gap, and emblem with true geometric precision. This translates to superior visual quality, especially in close-up shots where geometric accuracy is critical. Activating Nanite on Static Meshes is as simple as clicking a checkbox in the Static Mesh Editor. However, some considerations remain: Nanite currently doesn’t support deformation (though this is evolving), so skeletal meshes for animated parts might require a separate workflow. Additionally, while Nanite manages geometric complexity, texture resolution and material complexity still impact performance. Thus, while Nanite liberates artists from polygon constraints, smart texture and material optimization remain important for a balanced and performant scene, particularly in real-time virtual production environments where every millisecond of rendering time counts.
The Art of Virtual Production: In-Camera VFX and LED Walls
Virtual Production (VP), particularly In-Camera VFX (ICVFX) utilizing large LED volumes, represents a paradigm shift in filmmaking. It allows real-time digital environments to be displayed on physical LED walls, directly captured by the camera alongside live-action elements. For automotive film and TV, this means shooting a physical car on a stage, surrounded by dynamic virtual backgrounds rendered in Unreal Engine. The benefits are profound: accurate real-time reflections on the car’s surfaces, interactive light provided by the LED panels, and the ability to achieve final pixel in-camera, eliminating tedious post-production green screen keying. This method significantly enhances creative control, allowing directors, cinematographers, and artists to collaborate and make immediate visual adjustments on set, fostering a more organic and efficient creative process.
Implementing an ICVFX workflow requires a deep understanding of Unreal Engine’s nDisplay system, camera tracking technologies, and meticulous color calibration to ensure seamless integration between the virtual and physical worlds. The goal is to create an immersive environment that is indistinguishable from reality when viewed through the camera lens. This involves carefully orchestrating the virtual set, the physical props (the car itself), and the live camera movement, all synchronized in real-time. The ability to make dynamic changes to the virtual environment, such as time of day, weather conditions, or even entirely different locations, empowers filmmakers with unparalleled flexibility and creative freedom on set, transforming the traditional production pipeline into a fluid and responsive creative hub.
Configuring nDisplay for LED Volume Production
nDisplay is Unreal Engine’s multi-display rendering solution, essential for driving large LED volumes in virtual production. It allows a single Unreal Engine scene to be rendered across multiple synchronized display nodes, each driving a segment of the LED wall. The setup involves defining a “cluster” of machines, each running an nDisplay instance, connected to the LED processors. In the Unreal Engine project, an nDisplay Config Asset is created to define the layout of the LED wall, including the dimensions, resolutions, and physical arrangement of each display panel. This configuration is crucial for ensuring correct projection and perspective rendering from the camera’s point of view. Camera tracking data, typically from systems like Mo-Sys, Stype, or FreeD, is fed into Unreal Engine via LiveLink. This allows the virtual environment displayed on the LED wall to dynamically adjust its perspective based on the physical camera’s position and orientation, creating the illusion of a continuous 3D space. Accurate calibration of the camera frustum and lens distortion is also paramount to prevent visual discrepancies and ensure a seamless blend between the foreground and background. This complex orchestration ensures that as the physical camera moves, the virtual world moves with it, maintaining perfect parallax and immersion.
Blending Physical and Digital with In-Camera VFX (ICVFX)
The magic of ICVFX lies in its ability to generate final pixel results directly in-camera. For automotive shoots, this means the physical car interacts with a photorealistic virtual environment in real-time. Key aspects include:
- Perspective Correction: The nDisplay system uses camera tracking data to render the background from the perspective of the live-action camera. This ensures that the virtual environment has the correct parallax and distortion, matching the real camera’s lens.
- Light Interaction: The LED wall itself acts as a massive interactive light source. The virtual environment’s lighting influences the physical car, creating accurate reflections and ambient light on its surfaces. This eliminates the need for complex studio lighting setups to match a digital background.
- Reflection Captures: For highly reflective surfaces like car paint, it’s essential to ensure that the LED wall content is accurately reflected. Unreal Engine’s Reflection Captures and Lumen’s real-time ray tracing contribute significantly here.
- Color Calibration: Matching the color science between the virtual environment and the physical camera is critical. Custom LUTs (Look-Up Tables) are often used to ensure color consistency and prevent the virtual background from looking “off.”
- Frustum Culling: Optimizing rendering by only displaying what the camera sees on the LED wall, and utilizing Unreal Engine’s various culling techniques, is essential for maintaining high frame rates. This blend provides creative freedom unmatched by traditional green screen workflows, allowing for real-time adjustments to lighting, environment, and even the narrative itself, all while keeping the physical car firmly in the shot.
Crafting Cinematic Sequences with Unreal Engine Sequencer
Once the environment and automotive assets are prepared, the next step is to breathe life into the scene through cinematic storytelling. Unreal Engine’s Sequencer is a powerful, non-linear cinematic editor that allows filmmakers to choreograph camera movements, animate props, orchestrate character actions, and control virtually every aspect of a cinematic shot or entire sequence. It’s the equivalent of a professional video editing suite, but entirely within a 3D real-time environment, offering immense flexibility and immediate visual feedback. For automotive visualization, Sequencer is essential for creating dynamic car commercials, intricate chase scenes, or subtle beauty shots that highlight the design and craftsmanship of a vehicle. It enables precise control over timing, pacing, and visual composition, ensuring that every frame contributes to the narrative and showcases the car in its best light.
The strength of Sequencer lies in its ability to combine various tracks — camera, animation, audio, effects, and even Blueprint event tracks — into a cohesive timeline. This allows artists to build complex shots incrementally, refining each element in isolation before combining them. The real-time nature of Unreal Engine means that edits, camera moves, and animations can be previewed instantly, drastically accelerating the iteration process. This capability is particularly valuable in a fast-paced production environment, where creative decisions need to be made quickly and efficiently. Whether crafting a high-octane action sequence or a serene beauty shot, Sequencer provides the tools to achieve professional-grade cinematic results, directly within the engine.
Virtual Cameras and Cinematography in UE
Unreal Engine provides robust tools for virtual cinematography, mimicking real-world camera systems and techniques. The Cine Camera Actor is central to this, offering controls for focal length, aperture (f-stop), filmback settings, and focus distance, all replicating their physical counterparts. This allows cinematographers to apply their traditional knowledge directly within the virtual space. The Virtual Camera feature takes this a step further, allowing a physical iPad or iPhone to act as a virtual camera controller, complete with gyro-based movement, touch-screen controls for focus and zoom, and even remote triggering of Sequencer playback. This provides an intuitive and physical way for directors and DPs to scout virtual locations and frame shots, translating natural camera movements directly into the engine. Integrating these virtual cameras into Sequencer allows for precise keyframe animation of camera paths, smooth dolly shots, and dynamic tracking shots, all tailored to showcase the automotive subject. Understanding cinematic principles like rule of thirds, leading lines, and depth of field becomes even more powerful when applied with these flexible virtual tools.
Animating Vehicle Actions and Camera Paths
Sequencer is the hub for all animation within a cinematic. For automotive sequences, this involves animating the car’s movement, individual components, and the camera itself.
- Car Animation: Simple translations and rotations can be keyframed directly on the car actor. For more complex movement, like realistic suspension or tire rotation based on speed, Blueprint scripting can drive these animations dynamically or pre-baked animation sequences can be imported. Chaos Physics can also be integrated for realistic vehicle dynamics if needed for specific shots, though often for cinematic purposes, more controlled, keyframed animation is preferred.
- Component Animation: Doors opening, headlights turning on, or convertible tops retracting can all be animated by targeting the individual mesh components within Sequencer.
- Camera Paths: Creating smooth, compelling camera paths is crucial for automotive cinematography. Sequencer allows for spline-based camera tracks, offering precise control over the camera’s trajectory, rotation, and speed. Keyframes can be adjusted in the Curve Editor for fine-tuning acceleration and deceleration.
- Level Sequences: Complex scenes can be broken down into multiple Level Sequences (e.g., one for the car’s action, one for a character, one for VFX), which can then be nested within a Master Sequence for final editing. This modular approach streamlines collaboration and project organization.
The iterative nature of Sequencer allows for constant refinement, ensuring that every movement and transition is perfectly synchronized and aesthetically pleasing, delivering a polished, professional cinematic experience.
Performance Optimization for Live Production & High-End Rendering
In the realm of real-time film and TV production, performance is not merely a desirable feature; it is an absolute necessity. Maintaining high, stable frame rates is crucial for both virtual production workflows (especially with LED walls) and for efficient iteration during development. Any hitch or drop in frames can disrupt the immersive illusion, introduce latency, or prolong render times for final output. Optimizing Unreal Engine projects, particularly those featuring detailed 3D car models and complex environments, is a continuous process that requires a strategic approach to asset management, rendering settings, and engine features. The goal is to achieve the highest possible visual fidelity without compromising real-time performance, ensuring a smooth and responsive experience for artists and filmmakers on set.
Optimization is a multi-faceted endeavor, touching upon every aspect of the project, from the initial import of assets to the final output settings. It involves understanding how Unreal Engine renders scenes and identifying bottlenecks that can degrade performance. Leveraging built-in tools like the GPU Visualizer and Stat commands helps pinpoint areas that need attention. A well-optimized project not only runs smoothly but also allows for greater creative flexibility, enabling filmmakers to push visual boundaries without encountering debilitating performance limitations. This section will delve into practical strategies and Unreal Engine features designed to streamline performance, ensuring that your automotive visualizations always perform at their peak.
Efficient Asset Management and Level of Detail (LOD)
Efficient asset management and judicious use of Level of Detail (LOD) are foundational to maintaining performance in any large Unreal Engine project, especially with high-fidelity automotive models. While Nanite has largely mitigated polygon count concerns for static meshes, other factors still impact performance.
- Texture Resolution: Use appropriate texture resolutions. A 4K or 8K texture might be essential for a close-up on car paint, but a distant background element might only need 1K or 2K. Unreal Engine’s texture streaming system dynamically loads textures based on camera distance, but excessive high-resolution textures can still consume too much VRAM.
- Texture Compression: Ensure textures are compressed efficiently (e.g., BC7 for color, BC5 for normals).
- LODs for Non-Nanite Meshes: For skeletal meshes (e.g., characters interacting with the car) or older static meshes not yet converted to Nanite, manually creating or automatically generating LODs is vital. LODs are simplified versions of a mesh that swap in at increasing distances from the camera, dramatically reducing polygon count for objects far away. Unreal Engine can generate these automatically, or artists can create custom LODs for precise control.
- Material Complexity: Complex material graphs with many instructions can be costly. Optimize materials by consolidating nodes, using Material Functions, and avoiding unnecessary calculations.
- Draw Calls: Minimize draw calls by combining smaller meshes where appropriate (e.g., using Instanced Static Meshes for repetitive elements like tire treads or rivets) and ensuring proper occlusion culling is enabled.
Regular auditing of asset sizes and dependencies helps keep the project lean and responsive.
Streamlining Workflows for Real-time Performance
Beyond asset-level optimizations, several workflow strategies contribute to overall project performance:
- World Partition: For extremely large environments (e.g., a sprawling city for car chases), World Partition intelligently loads and unloads parts of the world based on the player’s proximity, significantly reducing memory footprint and improving streaming performance.
- Culling Techniques: Implement Occlusion Culling (which prevents rendering objects hidden behind others) and Frustum Culling (which only renders objects within the camera’s view) to reduce the number of objects being rendered at any given time.
- Lighting Optimization: While Lumen is powerful, it has performance implications. Use Lumen’s scalability settings to dial back quality for less critical areas or ensure ray tracing settings are optimized. Avoid excessive dynamic lights. Static lights, while less flexible, are cheaper to render.
- Post-Processing: Minimize expensive post-processing effects where possible, or use the lowest acceptable quality settings. Effects like Screen Space Reflections (SSR) and Ambient Occlusion (SSAO) can be performance heavy.
- Profiling Tools: Regularly use Unreal Engine’s built-in profiling tools (e.g., ‘stat unit’, ‘stat fps’, ‘stat gpu’, ‘profilegpu’ commands) to identify performance bottlenecks and optimize accordingly. The GPU Visualizer provides a detailed breakdown of GPU costs.
By integrating these practices throughout the production pipeline, artists and developers can maintain robust real-time performance, which is essential for responsive virtual production and high-quality cinematic renders.
Advanced Interactivity and Real-time Feedback on Set
One of the most compelling aspects of using Unreal Engine for film and TV production, particularly with automotive content, is the ability to introduce advanced interactivity and receive real-time feedback directly on set. This capability goes far beyond simply displaying a static background on an LED wall. It allows for dynamic changes to the virtual environment, the vehicle itself, or even the narrative, all in response to real-time inputs or on-the-fly creative decisions. Imagine a director wanting to instantly change the car’s paint color, swap out its wheels, adjust the time of day in the virtual world, or trigger specific environmental effects during a live shoot. Unreal Engine, powered by its intuitive Blueprint visual scripting system, makes these scenarios not just possible, but practical and efficient. This level of responsiveness significantly enhances creative freedom and problem-solving during critical production phases.
This interactivity is pivotal for streamlining virtual production workflows. It empowers filmmakers to experiment, iterate, and make crucial aesthetic and logistical decisions without costly delays or extensive post-production. Whether it’s adjusting the virtual sun angle to perfectly match the physical studio lights, dynamically changing weather conditions, or enabling a configurator-like experience for a vehicle in real-time, the ability to control and manipulate the virtual world live on set offers unprecedented agility. This real-time feedback loop fosters a more collaborative environment, allowing creative and technical teams to work in harmony, achieving their vision with greater precision and speed.
Blueprint for On-Set Control and Dynamic Adjustments
Blueprint visual scripting is Unreal Engine’s powerful node-based system that allows artists and designers to create complex gameplay and interactive functionalities without writing a single line of code. In virtual production for automotive content, Blueprint is invaluable for creating custom tools and interactive elements directly accessible on set.
- Car Configurator: Blueprints can drive a real-time car configurator, allowing the crew to instantly change the vehicle’s paint color, wheel types, interior trims, or even add accessories. This is done by dynamically swapping materials or static meshes based on user input, perhaps from a custom UI built with UMG (Unreal Motion Graphics).
- Environment Controls: Directors can use Blueprint-driven interfaces to adjust environmental parameters like the time of day, weather conditions (rain, fog, snow), or change between different virtual locations. This might involve updating light source rotations, post-process volume parameters, or swapping sky sphere materials.
- Sequencer Playback Control: Blueprints can be used to trigger and control Sequencer tracks, allowing for dynamic playback of cinematic sequences based on external events or on-set commands.
- Lighting Adjustments: Fine-tuning the intensity, color, or position of virtual lights to match physical studio lights can be exposed via Blueprint controls.
These tools, often presented as custom widgets or through the Unreal Editor’s remote control API, empower creative teams to make informed decisions and iterate rapidly during live shoots, significantly accelerating the production pipeline.
Integrating Real-world Data and External Inputs
Beyond on-set controls, Unreal Engine’s flexibility allows for the integration of various real-world data and external inputs, further enhancing interactivity and realism in automotive virtual production.
- LiveLink for Motion Capture: As mentioned, LiveLink streams data from external sources into Unreal Engine in real-time. This includes camera tracking data, but also motion capture data for actors or physical objects, allowing them to interact seamlessly with the virtual environment.
- DMX and OSC for Lighting Control: Unreal Engine can integrate with DMX (Digital Multiplex) protocols, allowing for synchronization with physical stage lighting. Open Sound Control (OSC) can also be used for advanced control and communication with other software and hardware systems. This means virtual lights can be controlled in sync with physical lights, or vice versa, creating a cohesive lighting environment.
- External Data Sources: Blueprints can be configured to read data from external files (e.g., CSV, JSON) or APIs, allowing for dynamic content generation or scenario changes based on real-world data. For instance, a vehicle’s telemetry data could influence real-time visual effects.
- AR/VR Viewports for Pre-visualization: While not strictly “on-set,” using AR or VR viewports can provide an immersive pre-visualization experience. Directors can walk around a virtual car in a virtual set before any physical assets are committed, scouting camera angles and blocking scenes. This can be critical for optimizing the physical setup for the car on the stage.
These integrations transform Unreal Engine into a central hub for controlling and coordinating complex production elements, offering an unparalleled level of dynamic control and real-time feedback that fundamentally changes how automotive content is produced for film and television.
Conclusion
Unreal Engine has definitively etched its place as a cornerstone of modern film and television production, particularly for the intricate and demanding world of automotive visualization. From enabling photorealistic vehicle renders with Nanite and Lumen to driving immersive virtual production sets with nDisplay and In-Camera VFX, the engine offers an integrated suite of tools that empower filmmakers and artists with unparalleled creative freedom and efficiency. The ability to iterate in real-time, make dynamic on-set adjustments via Blueprint, and seamlessly blend physical and digital elements has revolutionized traditional pipelines, making complex automotive sequences more accessible, higher quality, and faster to produce than ever before.
As the industry continues to embrace real-time workflows, mastering Unreal Engine becomes not just an advantage, but a necessity for anyone looking to create compelling automotive content for the screen. The continuous evolution of the engine promises even more sophisticated tools and optimized workflows, further blurring the line between the virtual and the real. By leveraging high-quality 3D car models — readily available from platforms like 88cars3d.com — and applying the advanced techniques discussed in this guide, you can unlock the full potential of Unreal Engine to craft breathtaking cinematic experiences that captivate audiences and redefine visual storytelling in the automotive space. Dive in, experiment, and become part of this exciting real-time revolution!
Featured 3D Car Models
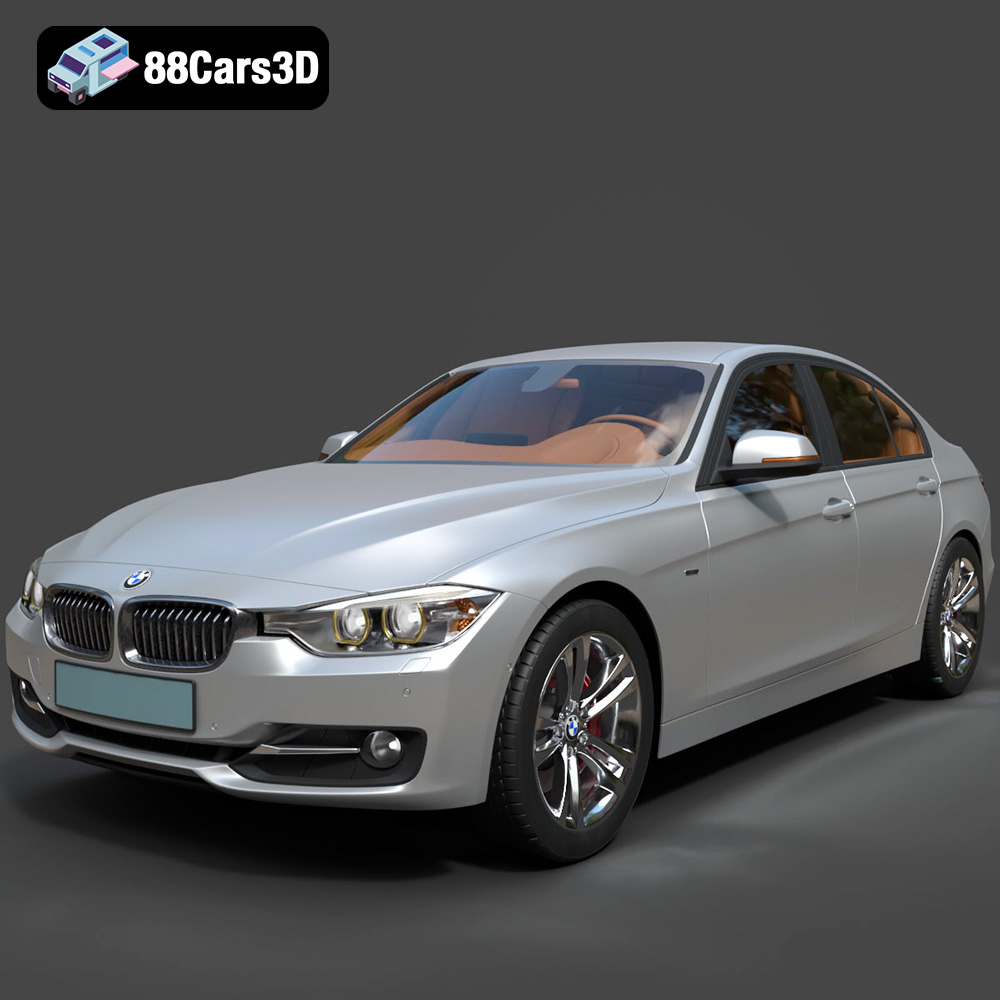
BMW 3 F30 3D Model
Texture: Yes
Material: Yes
Download the BMW 3 F30 3D Model featuring a detailed exterior, realistic interior, and optimized mesh. Includes .blend, .fbx, .obj, .glb, .stl, .ply, .unreal, and .max formats for rendering, simulation, and game development.
Price: $10.79
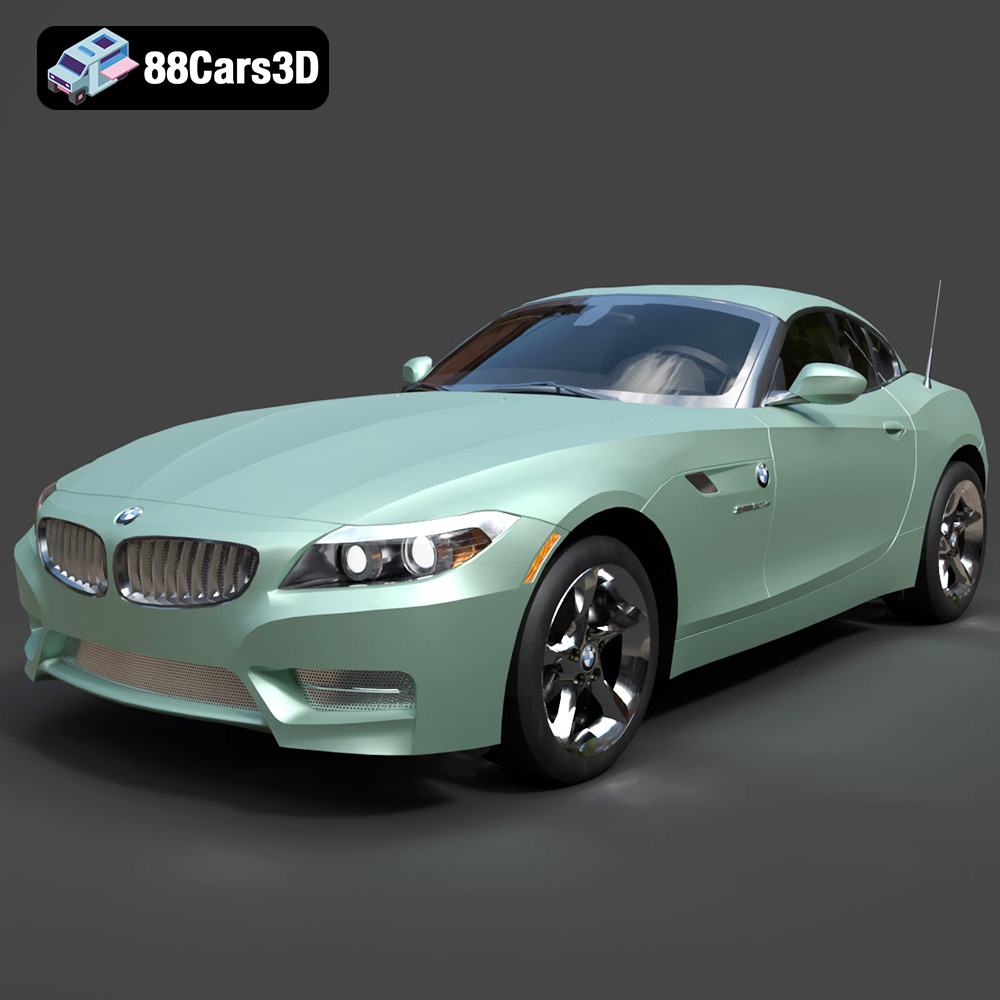
BMW Z4 Roadster E89 2012 3D Model
Texture: Yes
Material: Yes
Download the BMW Z4 Roadster E89 3D Model featuring clean geometry, realistic detailing, and a fully modeled interior. Includes .blend, .fbx, .obj, .glb, .stl, .ply, .unreal, and .max formats for rendering, simulation, and game development.
Price: $13.99

BMW Z4 E85 2005 3D Model
Texture: Yes
Material: Yes
Download the BMW Z4 E85 3D Model featuring clean geometry, realistic detailing, and a fully modeled interior. Includes .blend, .fbx, .obj, .glb, .stl, .ply, .unreal, and .max formats for rendering, simulation, and game development.
Price: $13.99

BMW M3 2024 3D Model
Texture: Yes
Material: Yes
Download the BMW M3 2024 3D Model featuring clean geometry, realistic detailing, and a fully modeled interior. Includes .blend, .fbx, .obj, .glb, .stl, .ply, .unreal, and .max formats for rendering, simulation, and game development.
Price: $13.99
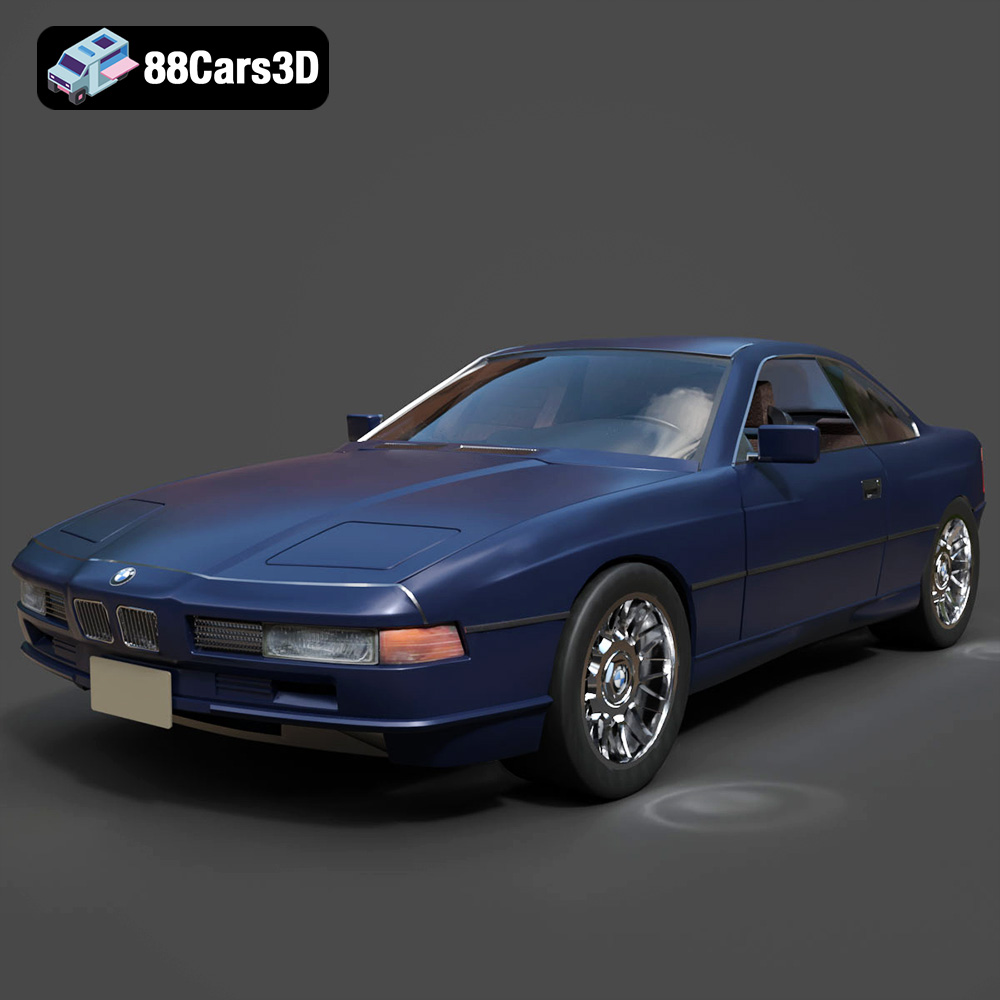
BMW 850i Coupe 1990 3D Model
Texture: Yes
Material: Yes
Download the BMW 850i Coupe 1990 3D Model featuring clean geometry, realistic detailing, and a fully modeled interior. Includes .blend, .fbx, .obj, .glb, .stl, .ply, .unreal, and .max formats for rendering, simulation, and game development.
Price: $13.99
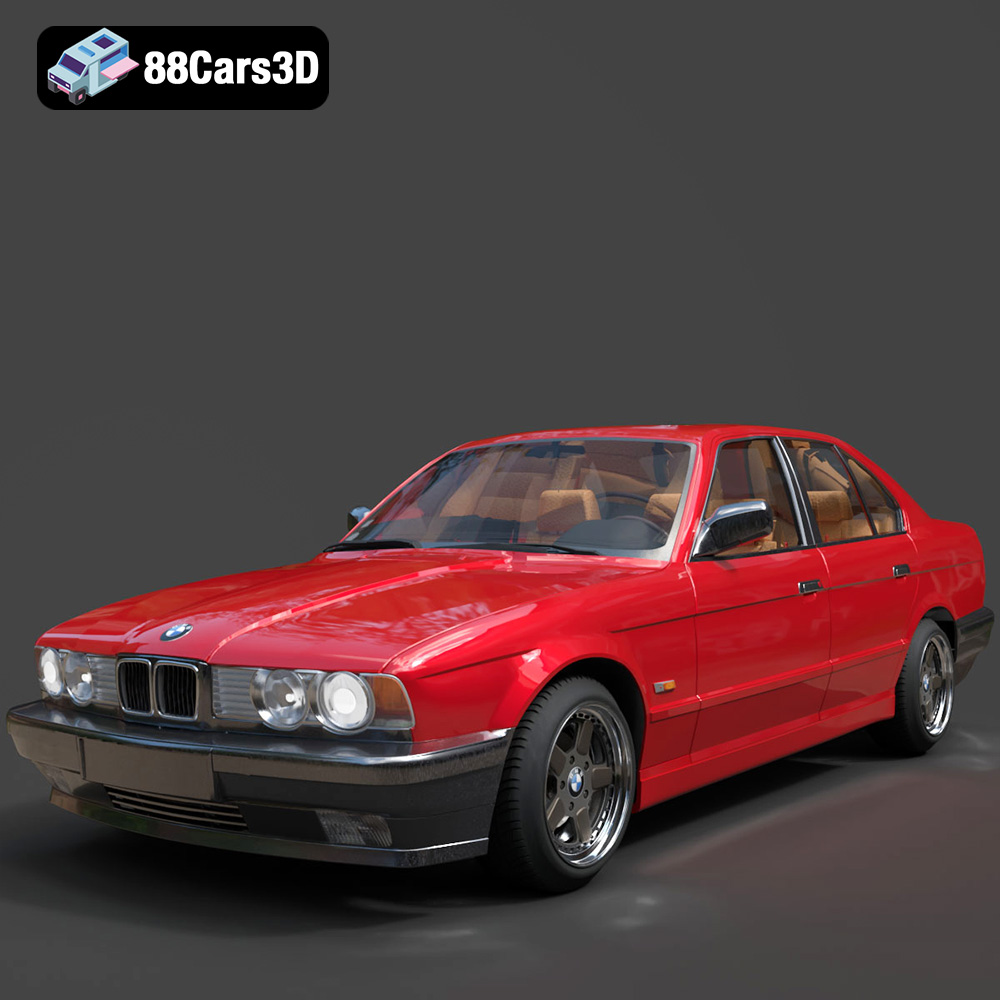
BMW 525i E34 1993 3D Model
Texture: Yes
Material: Yes
Download the BMW 525i E34 1993 3D Model featuring clean geometry, realistic detailing, and a fully modeled interior. Includes .blend, .fbx, .obj, .glb, .stl, .ply, .unreal, and .max formats for rendering, simulation, and game development.
Price: $12.99

BMW 7 Series 2016 3D Model
Texture: Yes
Material: Yes
Download the BMW 7 Series 2016 3D Model featuring luxurious design, detailed interior, and accurate exterior. Includes .blend, .fbx, .obj, .glb, .stl, .ply, .unreal, and .max formats for rendering, simulation, and game development.
Price: $10.79
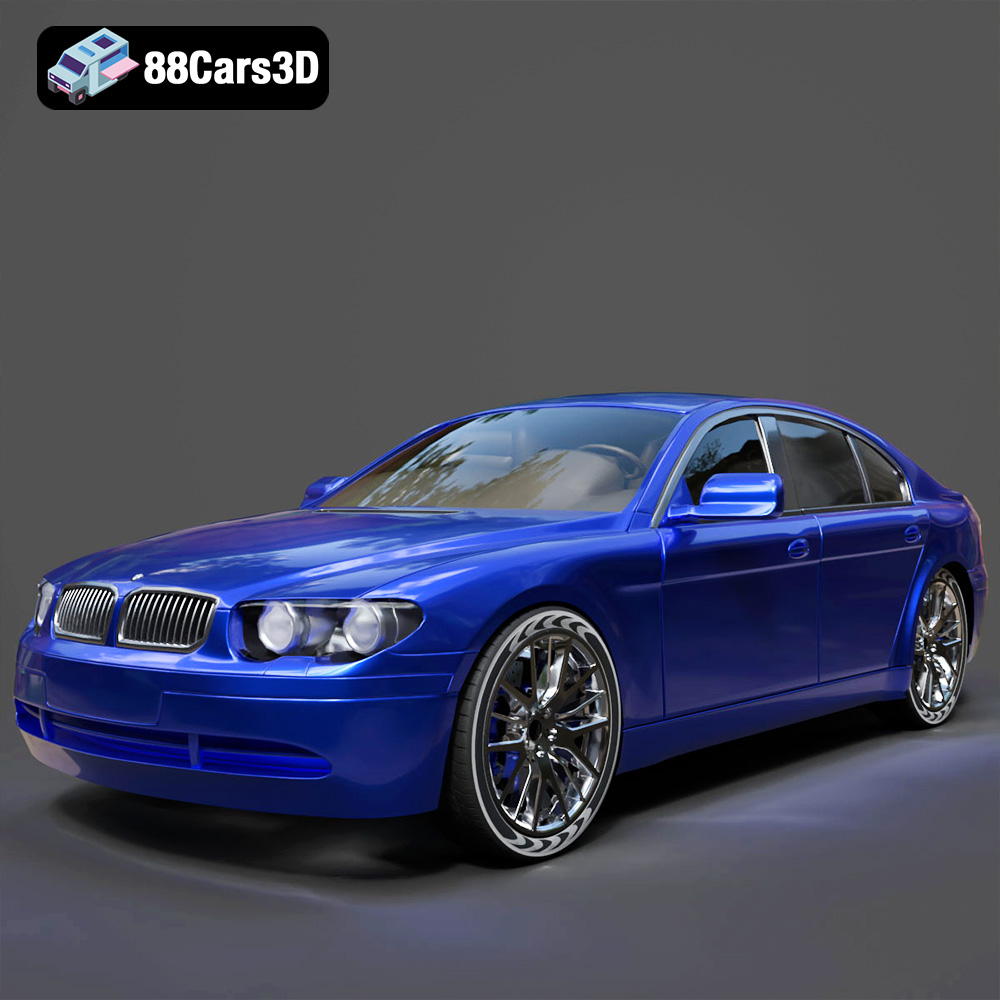
BMW 7 Series 30th Anniversary 3D Model
Texture: Yes
Material: Yes
Download the BMW 7 Series 30th Anniversary 3D Model featuring a meticulously crafted exterior, detailed interior, and realistic wheels. Includes .blend, .fbx, .obj, .glb, .stl, .ply, .unreal, and .max formats for rendering, simulation, and game development.
Price: $35.79

BMW 7-Series F02 3D Model
Texture: Yes
Material: Yes
Download the BMW 7-Series F02 3D Model featuring a detailed exterior and interior, optimized for rendering and animation. Includes .blend, .fbx, .obj, .glb, .stl, .ply, .unreal, and .max formats for rendering, simulation, and game development.
Price: $10.79
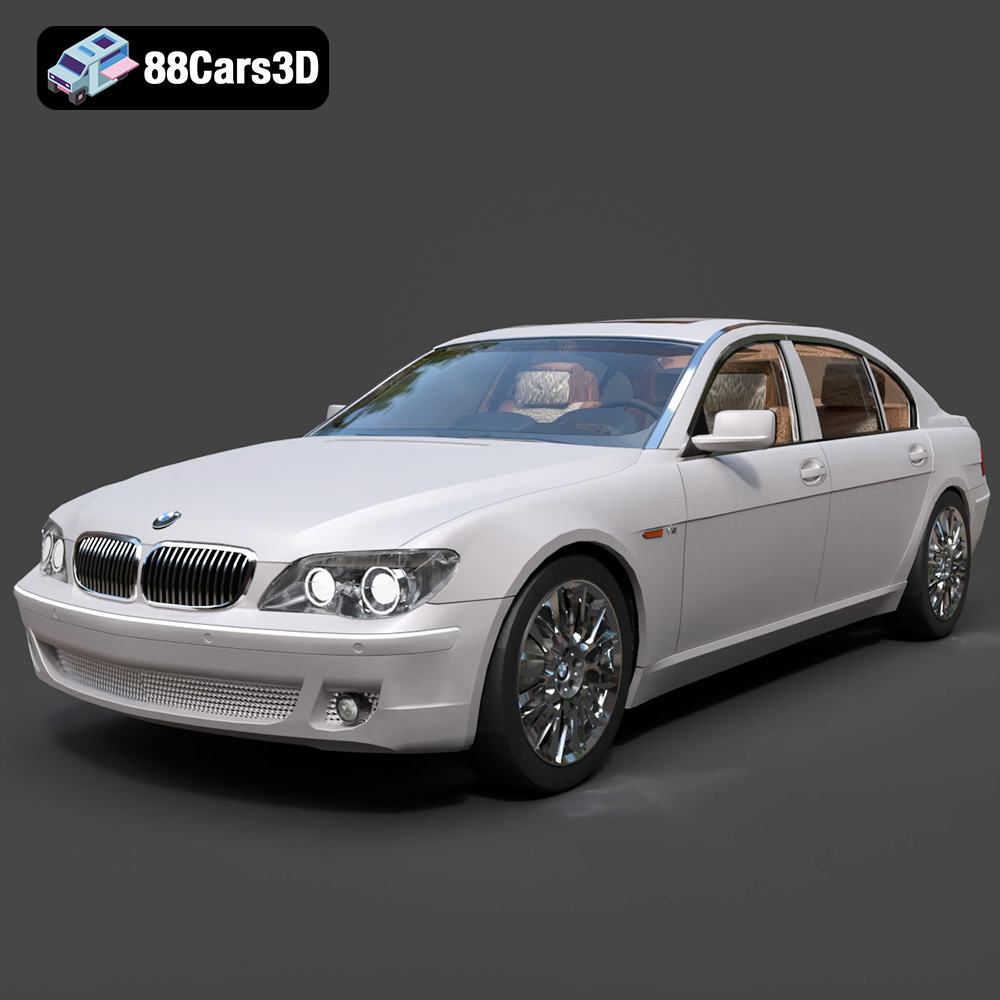
BMW 760Li E66 2005 3D Model
Texture: Yes
Material: Yes
Download the BMW 760Li E66 2005 3D Model featuring a detailed exterior, refined interior, and robust chassis. Includes .blend, .fbx, .obj, .glb, .stl, .ply, .unreal, and .max formats for rendering, simulation, and game development.
Price: $10.79
