

In the competitive world of automotive visualization, real-time rendering, and game development, merely having a meticulously crafted 3D car model is often not enough to truly stand out. While exceptional geometry, PBR materials, and realistic lighting form the bedrock of any stunning visual, it’s the subtle artistry of post-process effects that often elevates a scene from good to truly cinematic. For professionals leveraging the power of Unreal Engine, mastering these effects is paramount to achieving the photorealistic and stylized looks demanded by today’s audiences.
Post-process effects are the final polish applied to an image before it reaches the viewer’s screen. They manipulate the entire rendered scene, introducing optical phenomena, color adjustments, and depth cues that emulate real-world cameras and artistic styles. This comprehensive guide will delve deep into Unreal Engine’s post-processing capabilities, equipping you with the knowledge and techniques to transform your 3D car models – like the high-quality assets you can find on platforms such as 88cars3d.com – into breathtaking cinematic experiences. We’ll explore everything from foundational settings to advanced color grading, performance optimization, and integration into your production workflows, ensuring your automotive visualizations captivate and impress.
Understanding Post-Process Effects in Unreal Engine: The Final Polish
Post-process effects in Unreal Engine are a suite of image-space manipulations applied to the entire rendered frame. They occur at the very end of the rendering pipeline, after all geometry, lighting, and materials have been processed. This strategic placement allows them to influence the overall look, feel, and mood of your scene without directly altering the underlying assets. Think of them as the digital equivalent of a film director’s final color correction and lens adjustments in post-production. These effects can simulate various real-world camera properties, add artistic flair, and dramatically enhance the perceived realism or stylization of your automotive visualizations.
The primary tool for managing these effects is the Post Process Volume. This versatile actor can be placed within your Unreal Engine level to define an area where specific post-process settings are applied. When the player’s camera enters this volume, the defined effects become active. You have granular control over an extensive range of parameters, from basic exposure and color adjustments to complex depth of field, motion blur, and screen-space reflections. Mastering the Post Process Volume is the first step towards achieving truly cinematic results for your 3D car models and environments.
The Post Process Volume: Setup and Basic Configuration
Setting up a Post Process Volume is straightforward. Simply drag and drop a “Post Process Volume” actor from the Place Actors panel into your level. Once placed, select it and navigate to its Details panel. Here, you’ll find an overwhelming but incredibly powerful array of settings. To begin, it’s crucial to enable the “Infinite Extent (Unbound)” checkbox under the “Post Process Volume” category. This ensures that the volume’s effects apply globally to your entire scene, regardless of camera position. If left unchecked, the effects will only apply when the camera is physically inside the volume’s bounds, which is useful for localized effects but not for global look development.
Within the Details panel, you’ll see categories like Bloom, Ambient Occlusion, Auto Exposure, Color Grading, Film, Lens, etc. Each category contains numerous parameters that can be tweaked to achieve your desired aesthetic. For instance, under “Exposure,” you can control the overall brightness of your scene, while “Color Grading” offers fine-grained control over hue, saturation, and contrast. It’s important to start with a clear visual goal in mind, whether it’s photorealism, a gritty film look, or a vibrant, stylized aesthetic. Incrementally adjust settings and observe the immediate impact in your viewport. Remember, a little goes a long way with many post-process effects, and over-processing can quickly lead to an artificial or unappealing image.
Global vs. Bounded Effects: Precision Control
While an “Infinite Extent (Unbound)” Post Process Volume is excellent for establishing a consistent global look, Unreal Engine also allows for precise, localized post-process effects using bounded volumes. By deselecting “Infinite Extent (Unbound),” the Post Process Volume becomes a spatial entity. You can then scale and position it to affect only specific areas of your scene. For example, you might want a distinct color grade or a stronger depth of field effect when a car model is viewed within a particular virtual showroom area, contrasting with a different look in an exterior environment.
Furthermore, you can have multiple Post Process Volumes in a scene. When multiple volumes overlap, their settings are blended based on their “Blend Radius” and “Blend Weight” properties. This enables sophisticated transitions between different visual styles. Imagine an automotive configurator where a user drives a car into a special “studio” area, and as they enter, the scene subtly shifts to a high-key, fashion-shoot aesthetic, perhaps with a pronounced vignette and a specific color grade. This blending capability offers immense creative freedom, allowing artists and developers to guide the viewer’s eye and enhance narrative or interactive experiences with incredible precision.
Foundational Post-Process Settings for Automotive Realism
Before diving into the more artistic aspects of look development, it’s crucial to establish a solid technical foundation. Several core post-process settings are essential for achieving a clean, realistic image that respects physically based rendering (PBR) principles. These settings primarily concern how light values are interpreted and displayed, ensuring that your 3D car models, with their carefully calibrated PBR materials, look accurate and consistent under various lighting conditions. Mismanaging these foundational settings can undermine all other efforts to create a stunning visual.
The primary goal here is to ensure that the image produced by the engine aligns with real-world camera and display characteristics. This involves careful handling of exposure, tonemapping, and anti-aliasing. Neglecting these areas can lead to issues like blown-out highlights, crushed shadows, or distracting jagged edges, all of which detract from the professionalism of your automotive visualization. Establishing a strong base with these settings will provide a neutral canvas upon which more elaborate cinematic effects can be artfully applied.
Mastering Exposure and Tonemapping for PBR Materials
Exposure is fundamental to how bright or dark your scene appears. In Unreal Engine, you can control auto-exposure, which dynamically adjusts brightness like a real camera, or set a fixed exposure. For cinematic control, often disabling auto-exposure and manually setting the “Exposure Compensation” (under Post Process Volume -> Exposure) provides greater consistency. A value of 0 is typically neutral, and you can adjust it to brighten or darken the scene. Over- or underexposure can hide critical details on your car models, so finding the sweet spot is vital.
Tonemapping is the process of mapping the high dynamic range (HDR) values rendered by the engine to the lower dynamic range of typical display devices (SDR). Unreal Engine defaults to a filmic tonemapper, designed to produce more pleasing and film-like results than a simple linear mapping. For professional automotive visualization, it’s highly recommended to use the ACES (Academy Color Encoding System) tonemapper if your project pipeline supports it. ACES provides a robust, standardized color workflow that ensures consistent color reproduction across different devices and applications, critical when your renders might be used in diverse media. You can configure tonemapping under the “Film” section of the Post Process Volume. Properly calibrated exposure and tonemapping ensure that highlights don’t clip and shadows retain detail, preserving the fidelity of your PBR materials.
Anti-Aliasing Techniques for Smooth Edges
Jagged edges, or “jaggies,” are a common problem in real-time rendering and can severely detract from the realism of your 3D car models. Anti-aliasing techniques are designed to mitigate this by smoothing out stair-stepping artifacts. Unreal Engine offers several anti-aliasing methods, each with its own trade-offs between visual quality and performance:
- Temporal Anti-Aliasing (TAA): This is the default and generally recommended method for most Unreal Engine projects. TAA uses information from previous frames to smooth current frame edges, providing excellent temporal stability (reducing flickering) and good visual quality at a relatively low performance cost. However, it can sometimes introduce a slight blurriness or “ghosting” effect, especially with fast-moving objects.
- Fast Approximate Anti-Aliasing (FXAA): A less resource-intensive method, FXAA blurs edges in screen space. It’s faster than TAA but generally produces lower quality results and can blur legitimate texture details. It’s often used in performance-critical applications where TAA is too expensive.
- Multi-Sample Anti-Aliasing (MSAA): This is a traditional hardware-based method that samples geometry edges multiple times per pixel. While it produces very clean, sharp edges without blur, it is significantly more performance-intensive than TAA and not always compatible with deferred rendering pipelines common in modern engines like Unreal. MSAA is primarily available for forward-rendered elements or specific VR applications in UE.
- Unreal Engine’s new TSR (Temporal Super Resolution): Introduced in UE5, TSR offers improved quality over TAA, especially at lower screen percentages, providing excellent upscaling and anti-aliasing simultaneously. It’s the new standard for high-quality visuals.
For high-fidelity automotive visualization, TSR (or TAA in UE4 projects) is usually the best balance, ensuring your detailed car models appear crisp and smooth without prohibitive performance costs. You can find these settings under the Post Process Volume -> “Anti-aliasing” category. Experiment with the various methods and their parameters to find the optimal balance for your project, considering the target platform and desired visual fidelity.
Advanced Cinematic Techniques: Color Grading and LUTs
Once the foundational post-process settings are dialed in for technical correctness, you can unlock the true artistic potential of cinematic look development through color grading. Color grading is the process of altering and enhancing the color of an image to create specific emotional responses, establish mood, and reinforce artistic intent. It’s where the raw render truly transforms into a polished, visually compelling piece of art. For automotive visualization, subtle color shifts can drastically change how a vehicle is perceived, highlighting its sleekness, ruggedness, or luxurious appeal.
Unreal Engine provides powerful built-in tools for color grading directly within the Post Process Volume, allowing artists to manipulate lift, gamma, gain, saturation, contrast, and white balance. Beyond these direct controls, the engine also supports Look-Up Tables (LUTs), which offer an even more robust and flexible approach to consistent color management and transferring complex color grades from external professional tools like DaVinci Resolve or Adobe Photoshop.
The Power of Color Grading: Crafting Mood and Style
Unreal Engine’s Post Process Volume offers an extensive suite of color grading tools under the “Color Grading” section:
- Lift, Gamma, Gain: These correspond to controls for shadows (Lift), mid-tones (Gamma), and highlights (Gain). By adjusting the RGB values for each, you can tint different tonal ranges. For instance, adding blue to the Lift can cool down the shadows, while increasing red in the Gain can warm up highlights.
- Saturation: Controls the intensity of colors. Desaturating can create a muted, desaturated, or even black & white look, while increasing it can make colors pop.
- Contrast: Adjusts the difference between the brightest and darkest parts of the image. Higher contrast leads to punchier visuals, while lower contrast creates a softer, flatter look.
- White Balance: Adjusts the color temperature of the scene, allowing you to remove unwanted color casts and ensure whites appear neutral. A warmer temperature adds yellows/reds, while a cooler temperature adds blues.
- Tint: Applies a uniform color tint across the entire image.
When color grading your 3D car models, consider the context. A high-performance sports car might benefit from vibrant, slightly saturated colors with sharp contrast, emphasizing its dynamic nature. A luxury sedan might demand a more subdued, elegant palette with a subtle warmth. Experimentation is key, but always strive for subtlety. Overly aggressive color grading can quickly make a scene look artificial. Using a color picker on your car’s paint and comparing it to real-world references can help maintain authenticity.
Leveraging Look-Up Tables (LUTs) for Consistent Visuals
While direct color grading offers flexibility, Look-Up Tables (LUTs) provide a more powerful and pipeline-friendly approach, especially for complex or stylized color grades. A LUT is essentially a small texture that remaps input colors to output colors, storing a complex set of color transformations. This means you can create intricate color grades in dedicated color grading software like DaVinci Resolve, Adobe Lightroom, or even Photoshop, and then import them into Unreal Engine as a texture asset. This ensures consistency across different shots or even different projects, facilitating a streamlined workflow.
To use a LUT in Unreal Engine:
- Create your desired color grade in an external application.
- Export it as a 3D LUT (often in .cube format) or generate a “neutral” LUT image (a standard 256×16 image with a gradient from black to white, which you apply your grade to). Many tutorials are available on how to prepare these. Refer to the official Unreal Engine documentation for specific setup instructions regarding LUTs: https://dev.epicgames.com/community/unreal-engine/learning
- Import the generated LUT texture into Unreal Engine.
- In your Post Process Volume, under the “Color Grading” section, find the “Color Grading LUT” parameter and assign your imported texture. Enable “Color Grading LUT” to apply it.
LUTs are incredibly efficient and allow you to quickly apply sophisticated color profiles. This is invaluable for maintaining a consistent brand aesthetic across a series of automotive renders or ensuring that your in-engine cinematics match the look established by a professional colorist. When sourcing high-quality 3D car models from marketplaces like 88cars3d.com, combining their inherent visual fidelity with a carefully chosen LUT can instantly elevate your project’s visual impact.
Depth of Field and Motion Blur: Emulating Camera Optics
To truly achieve a cinematic feel, it’s essential to emulate the imperfections and characteristics of real-world camera lenses. Two of the most impactful effects in this regard are Depth of Field (DOF) and Motion Blur. These post-process effects are not just about aesthetics; they play a crucial role in directing the viewer’s attention, adding a sense of scale, and injecting dynamic realism into static or moving shots of your 3D car models.
DOF mimics the finite range of focus of a physical camera lens, blurring elements outside the focal plane. Motion blur, on the other hand, simulates the streaking effect that occurs when an object moves relative to the camera during the exposure time. Both effects, when used judiciously, can dramatically enhance the perceived realism and professional quality of your automotive renders and cinematics.
Emulating Camera Focus with Depth of Field
Depth of Field (DOF) is a powerful visual storytelling tool. It allows you to draw the viewer’s eye to a specific point of interest, such as a particular design detail on a car, by blurring the foreground and background. Unreal Engine’s DOF settings are found under the Post Process Volume’s “Lens” category, specifically within the “Depth of Field” subsection. Key parameters include:
- Focal Distance: The exact distance from the camera where objects will be perfectly in focus. This is typically measured in Unreal Units (centimeters).
- Focal Region: Defines a range around the Focal Distance where objects will remain sharp before blurring begins.
- Near/Far Transition Region: Determines how smoothly the blur transitions from in-focus to out-of-focus areas. Smaller values create a sharper falloff, larger values a more gradual one.
- Near/Far Blur Size: Controls the maximum intensity of the blur in the foreground and background.
- Bokeh Type: Allows you to choose the shape of the out-of-focus highlights (e.g., Circular, Hexagonal, or a custom texture). Circular bokeh is common, while hexagonal can mimic certain lens characteristics.
- F-Stop: Emulates the aperture setting of a real camera. Lower F-stop values (e.g., 1.4, 2.8) result in a shallower DOF (more blur), while higher F-stop values (e.g., 16, 22) create a deeper DOF (less blur).
For automotive visualization, DOF is fantastic for close-up detail shots, product reveals, or isolating a vehicle from a busy background. When setting Focal Distance, you can use the viewport’s measurement tool or even attach a small debug sphere to a blueprint to visually determine the exact distance to your desired focus point. Remember that excessive DOF can make a scene feel miniature or artificial, so use it subtly and purposefully to guide the viewer’s gaze.
Dynamic Realism with Motion Blur
Motion Blur is crucial for adding a sense of speed and dynamism to any moving object, especially vehicles. Without it, fast-moving cars can appear to stutter or look unnatural in real-time rendered sequences. Motion blur in Unreal Engine is calculated per-pixel based on object velocity and camera movement. It is controlled under the Post Process Volume’s “Lens” category, within the “Motion Blur” subsection. Key settings include:
- Amount: The overall intensity of the motion blur effect.
- Max: Caps the maximum amount of blur a pixel can receive, preventing excessively long streaks.
- Per-Object Size: Influences the motion blur caused by individual object movement.
- Shutter Speed: Directly relates to a real camera’s shutter speed. A slower shutter speed (higher value) allows more light to hit the sensor over time, resulting in more motion blur for moving objects. Conversely, a faster shutter speed (lower value) freezes motion. This is a critical parameter for matching photographic references.
For cinematic sequences involving driving, drifting, or even subtle camera pans around a stationary vehicle, motion blur is indispensable. It smooths out animation, provides visual feedback of velocity, and helps blend individual frames into a fluid visual experience. However, like DOF, overuse can make a scene look messy or difficult to interpret. Finding the right balance that enhances the sense of motion without obscuring details of your 3D car models is key. Testing various settings with your vehicle animations in Sequencer is highly recommended to achieve the perfect look.
Reflections, Global Illumination, and Environmental Effects
While not strictly “post-process” in the purest sense (as they are computed earlier in the pipeline), modern reflection and global illumination techniques like Lumen and Nanite profoundly impact the final image that post-process effects then manipulate. Furthermore, environmental post-process effects such as Bloom, Lens Flares, Vignette, and Chromatic Aberration add those critical layers of photographic realism and artistic flair that truly complete a cinematic look. Understanding how these elements synergize is vital for holistic look development.
The interplay between accurate reflections, realistic global illumination, and artistic screen-space effects is what allows Unreal Engine to produce breathtaking automotive visualizations. The precise metallic sheen on a car body, the subtle bounce light illuminating its interior, and the atmospheric haze around it all contribute to the overall visual story, which is then fine-tuned by the post-process pipeline.
Synergizing with Lumen and Nanite for Hyper-Realism
Unreal Engine 5 introduced Lumen and Nanite, two revolutionary technologies that dramatically elevate real-time rendering capabilities, especially for high-fidelity assets like those from 88cars3d.com. While neither is a post-process effect, they generate the stunning raw image data that post-processing then refines:
- Lumen: This fully dynamic global illumination and reflections system provides incredibly realistic indirect lighting and reflections in real-time. For automotive visualization, Lumen means your car models will accurately reflect their environment, and colored light bouncing off paintwork will subtly illuminate nearby surfaces. Post-process effects like exposure, contrast, and color grading become even more powerful when applied to the rich, physically accurate lighting provided by Lumen. You can find Lumen settings under Project Settings -> Rendering, and also tune its quality within the Post Process Volume itself under “Global Illumination” and “Reflections.”
- Nanite: Unreal Engine 5’s virtualized micropolygon geometry system allows artists to import film-quality assets with billions of polygons directly into the engine without performance limitations. This means incredibly detailed 3D car models can be rendered with unprecedented fidelity. Post-process effects then polish these hyper-detailed visuals, adding the final layers of photographic realism, such as DOF that beautifully blurs the high-resolution background or cinematic color grades that enhance the intricate surface details made possible by Nanite.
When working with these cutting-edge features, remember that post-processing isn’t just an afterthought; it’s an integral part of making the most of the high-quality output generated by Lumen and Nanite. A poorly applied post-process effect can diminish the impact of these technologies, while a carefully crafted one can amplify their photorealistic potential, particularly for stunning vehicle renders.
Adding Flair: Bloom, Lens Flares, and Vignette
These atmospheric and optical effects add character and photographic realism to your scenes:
- Bloom: Simulates the natural diffusion of light around bright areas in an image, causing them to glow. This is particularly effective for car headlights, taillights, or chrome reflections on a sunny day. Control Bloom settings (Threshold, Intensity, Scatter, Size) under the “Bloom” category in the Post Process Volume. Too much bloom can make a scene look washed out, so use it sparingly to enhance emissive elements.
- Lens Flares: Replicates the artifacts caused by light scattering within a camera lens, often seen when bright light sources are directly facing the camera. While often used for stylistic purposes, subtle lens flares can add an extra layer of realism. You can enable and adjust various lens flare parameters (Intensity, Global Scale, Threshold) under the “Lens” category, within the “Lens Flares” subsection.
- Vignette: A subtle darkening of the image corners, mimicking the falloff of light in real camera lenses. It can help focus the viewer’s attention towards the center of the frame (where your car model likely resides) and add a classic cinematic feel. Adjust its intensity under “Lens” -> “Vignette.”
- Chromatic Aberration: This optical distortion causes color fringes around high-contrast edges, a common artifact in real-world lenses. Used subtly, it can enhance realism; used excessively, it can appear as a visual defect. You’ll find it under “Lens” -> “Chromatic Aberration.”
Each of these effects should be applied with restraint. The goal is to enhance the scene, not overwhelm it. A delicate touch with bloom on a car’s headlamps, a hint of vignette to frame the vehicle, and a barely perceptible chromatic aberration can collectively contribute to a highly polished, professional, and immersive automotive visualization. Iterative testing and comparing against photographic references are key to perfecting these subtle enhancements.
Performance Optimization for Real-Time Cinematic Post-Processing
While post-process effects are invaluable for achieving cinematic realism, they come with a performance cost. Each effect requires additional rendering computations, which can quickly accumulate and impact frame rates, especially in real-time applications like games, AR/VR experiences, or interactive configurators. For professional automotive visualization, maintaining a smooth, consistent frame rate is as important as visual fidelity. Therefore, understanding and implementing optimization strategies is crucial for delivering high-quality visuals without compromising performance.
The key lies in balancing visual impact with computational efficiency. This involves judicious selection of effects, careful parameter tuning, and employing Unreal Engine’s profiling tools to identify and address bottlenecks. Neglecting optimization can lead to choppy experiences, especially on target platforms with limited resources, diminishing the immersive quality of your 3D car model showcases.
Profiling and Identifying Performance Bottlenecks
Before optimizing, you need to know where your performance is suffering. Unreal Engine provides robust profiling tools to help you identify post-process effects that are consuming the most resources:
- Stat GPU: Type
stat gpuinto the console (accessed by pressing `~`). This command displays detailed GPU statistics, including render passes and post-process effect timings. Look for entries under “PostProcess” or specific effect names (e.g., “DepthOfField,” “Bloom”) that have high millisecond values. - Stat RHI: This command provides information about the rendering hardware interface, including draw calls and render state changes.
- Unreal Insights: For more in-depth analysis, Unreal Insights (available from the Epic Games Launcher) allows you to record and visualize detailed performance data over time, including CPU and GPU frame timings, rendering events, and post-processing contributions. This is invaluable for pinpointing specific frames or effects that cause performance spikes.
By regularly profiling your scene, you can pinpoint exactly which post-process effects are the most expensive. Often, it’s not the sheer number of effects, but rather the intensity or quality settings of a few demanding ones (like high-quality Depth of Field, screen-space reflections, or complex custom post-process materials) that are the main culprits. This targeted approach to optimization saves time and ensures you focus on the areas that yield the biggest performance gains.
Strategic Optimization for Smooth Real-Time Experiences
Once bottlenecks are identified, here are several strategies to optimize your post-process effects:
- Prioritize Essential Effects: Not every scene needs every post-process effect. Evaluate which effects are truly critical for your desired look and disable or significantly reduce the intensity of less impactful ones. For instance, subtle chromatic aberration might be visually negligible but still incurs a performance cost.
- Reduce Quality Settings: Many effects have quality-related parameters. For example, reducing the “Bloom Size” or “Depth of Field Quality” can yield significant savings. For reflections, consider using less expensive Screen Space Reflections (SSR) instead of Ray Traced Reflections (RTR) if performance is critical, or lower the RTR samples.
- Conditional Processing via Blueprint: For interactive applications, use Blueprint visual scripting to enable/disable or adjust post-process effects dynamically based on user interaction or distance. For example, enable a high-quality DOF only when the camera is close to a car in an automotive configurator, or reduce overall post-process quality settings for AR/VR experiences to maintain frame rate.
- Lower Screen Percentage (Resolution Scaling): Under Post Process Volume -> “Scene Color” -> “Screen Percentage,” you can render the scene at a lower resolution and then upscale it. This is a powerful optimization technique, especially for VR, but it can lead to a softer image. Combined with TSR in UE5, it can maintain good quality even at lower resolutions.
- Console Commands: Specific console variables (e.g.,
r.DepthOfFieldQuality 0,r.BloomQuality 0) can globally control or disable certain effects. These can be useful for debugging or quickly toggling effects for performance testing. - Material-Based Post-Processing: For highly custom effects, consider creating custom post-process materials. While they offer immense creative freedom, optimize them by keeping shader complexity low. Avoid complex calculations per pixel if possible, or use smaller texture lookups.
By applying these strategies, you can ensure that your stunning 3D car models from 88cars3d.com are presented in a visually rich, cinematic environment that also runs smoothly across your target platforms. It’s a continuous process of tweaking, testing, and refining to achieve the perfect balance.
Integrating Post-Process into Virtual Production and Sequencer Workflows
Post-process effects are not just for static renders; they are an integral part of dynamic, real-time productions, especially in virtual production and cinematic pipelines. Unreal Engine’s Sequencer, its powerful multi-track editor, allows artists to animate nearly every aspect of a scene, including post-process settings over time. This capability is fundamental for creating captivating automotive cinematics, virtual tours, and even for adjusting the “look” of a scene in real-time during a virtual production shoot on an LED wall. Understanding how to integrate post-processing into these advanced workflows unlocks its full potential.
From subtle shifts in color temperature to dramatic changes in depth of field, animating post-process properties allows for dynamic storytelling and precise control over the visual narrative. This level of control is essential for modern automotive marketing, training simulations, and game development, where high-quality, animated content is paramount.
Animating Post-Process Effects with Sequencer
Unreal Engine’s Sequencer is your go-to tool for crafting compelling cinematics and animated sequences. It provides a non-linear editing interface where you can add actors, animate their properties, and orchestrate complex camera movements and visual effects. Integrating post-process effects into Sequencer is straightforward:
- Add a Post Process Volume: Ensure you have a Post Process Volume in your scene (either unbound or bounded to cover your cinematic area).
- Add to Sequencer: In your Sequencer track, click the “+ Track” button, then “Actor To Sequencer,” and select your Post Process Volume from the list.
- Animate Properties: Once the Post Process Volume is added to Sequencer, you can click the “+ Track” button next to its name in the Sequencer panel. This will reveal a vast list of animatable properties, mirroring those found in the Details panel. You can animate almost any post-process setting, including Exposure Compensation, Bloom Intensity, Focal Distance for Depth of Field, Saturation, Contrast, and even the Blend Weight of a volume.
- Keyframing: To animate a property, add a keyframe at your desired start time, adjust the value, and then add another keyframe at a later time with a different value. Sequencer will automatically interpolate between these keyframes, creating a smooth transition.
Imagine animating a scene where a car drives into a tunnel. You could use Sequencer to gradually reduce the overall exposure, increase vignette intensity, and perhaps shift the color grade to a cooler tone as the car enters the darker environment, then reverse these effects as it exits. This dynamic control over visual parameters allows for highly immersive and professional cinematic storytelling, making your vehicle showcases truly come alive.
Dynamic Post-Processing with Blueprint for Interactivity
Beyond linear cinematics, Blueprint visual scripting offers an incredible way to introduce dynamic and interactive post-process adjustments, especially valuable for automotive configurators, virtual showrooms, and interactive training applications. Blueprint allows you to create logic that modifies post-process settings based on player input, environmental changes, or specific game states.
- Event-Driven Changes: You can create a Blueprint that, for example, changes the scene’s color grading when a player clicks a button to switch between “Day” and “Night” modes. Or, if a user focuses on a specific part of a 3D car model, a Blueprint could dynamically adjust the Depth of Field’s Focal Distance to highlight that detail.
- Proximity-Based Effects: Attach a Post Process Volume to a moving character or vehicle, and use Blueprint to adjust its properties based on speed or proximity to other objects. For instance, as a car accelerates, the Blueprint could gradually increase the Motion Blur Amount, enhancing the sense of speed.
- Material Parameter Collections: For more complex, globally controlled post-process effects (especially custom ones), you can use Material Parameter Collections to drive values across multiple materials and post-process effects from a central Blueprint. This allows for unified control over various visual parameters.
To implement this, you would typically get a reference to your Post Process Volume actor in Blueprint, and then use nodes like “Set Post Process Settings” or specific property setters (e.g., “Set Exposure Compensation”) to modify its values. This empowers developers to create highly responsive and visually engaging interactive experiences, allowing users to fully appreciate the detail and design of the 3D car models they are interacting with. For detailed instructions on Blueprint scripting, the Unreal Engine learning portal (https://dev.epicgames.com/community/unreal-engine/learning) is an excellent resource.
Conclusion: Elevating Your Automotive Visions with Post-Process Mastery
Mastering Unreal Engine’s post-process effects is an indispensable skill for anyone aiming to produce cutting-edge automotive visualizations, compelling game experiences, or high-fidelity real-time renders. From the foundational adjustments of exposure and anti-aliasing to the artistic nuances of color grading, Depth of Field, and atmospheric flair, each effect contributes to a holistic visual narrative that can transform a raw render into a cinematic masterpiece. We’ve explored how these tools emulate real-world camera optics, craft mood, and guide the viewer’s eye, all while maintaining the integrity of your meticulously prepared 3D car models.
Remember that the true power of post-processing lies in subtlety and informed application. Overuse can quickly diminish realism, while a precise, artistic touch can elevate your content to professional standards. By understanding how to synergize these effects with advanced rendering technologies like Lumen and Nanite, optimize for performance, and integrate them into dynamic Sequencer and Blueprint workflows, you gain unparalleled control over your project’s final aesthetic. Continual experimentation, referencing real-world photography, and leveraging high-quality base assets from platforms like 88cars3d.com will be your greatest allies in this journey. Start experimenting today, and watch your automotive visions achieve a truly cinematic look.
Featured 3D Car Models
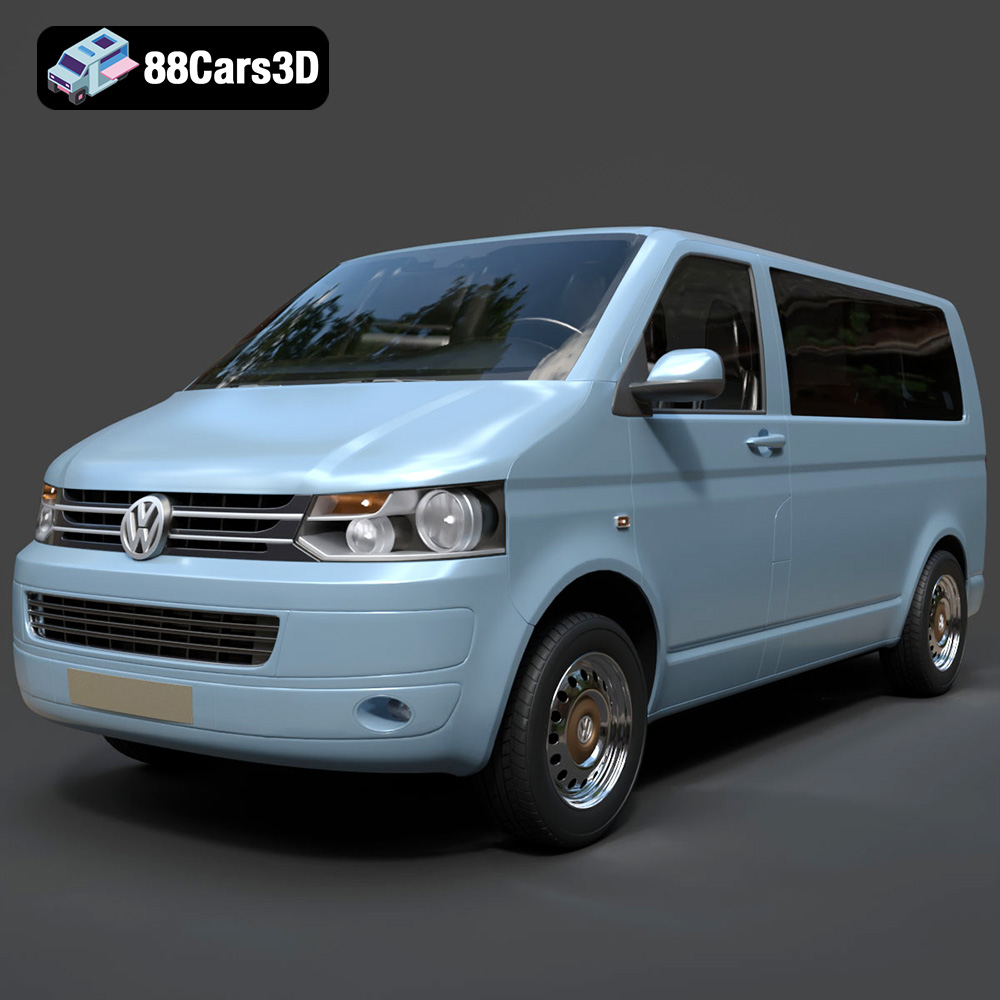
Volkswagen Transporter T5 FL 2010 3D Model
Texture: Yes
Material: Yes
Download the Volkswagen Transporter T5 FL 2010 3D Model featuring clean geometry, realistic detailing, and a fully modeled interior. Includes .blend, .fbx, .obj, .glb, .stl, .ply, .unreal, and .max formats for rendering, simulation, and game development.
Price: $22.99
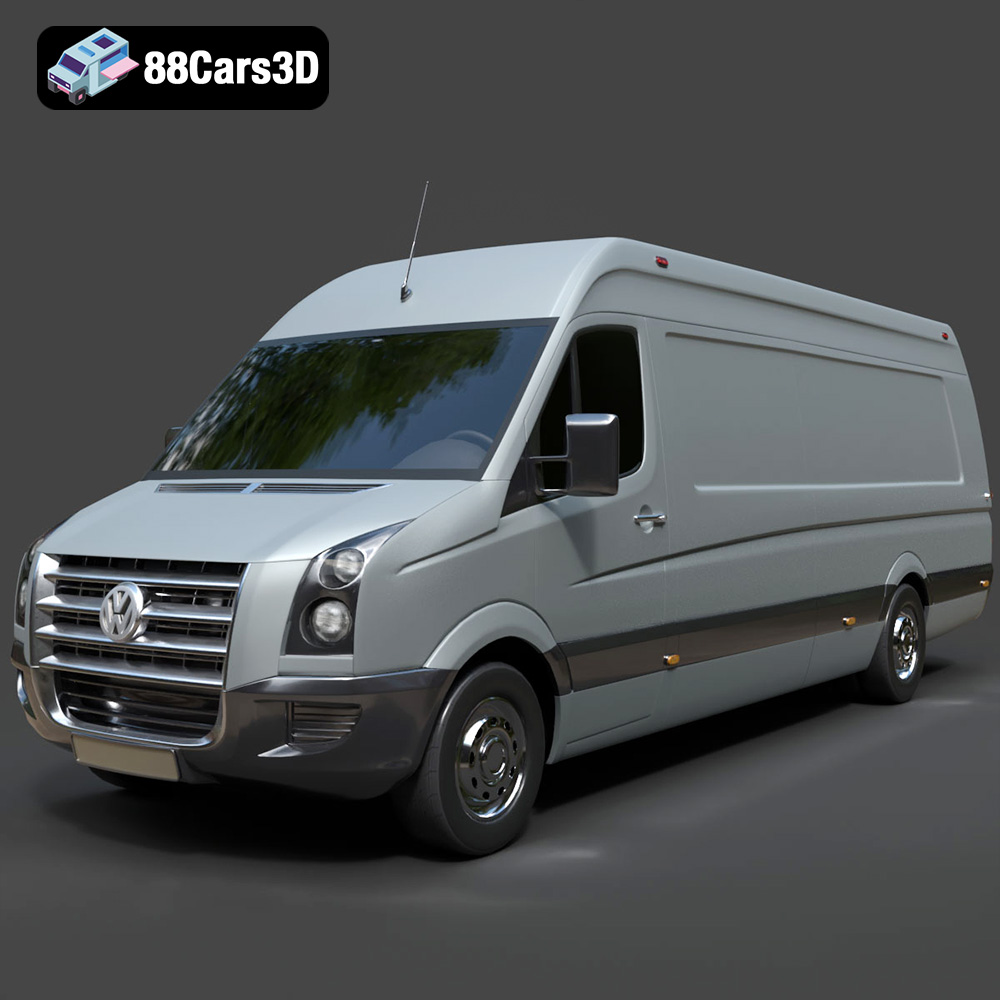
Volkswagen Crafter 2020 3D Model
Texture: Yes
Material: Yes
Download the Volkswagen Crafter 2020 3D Model featuring clean geometry, realistic detailing, and a fully modeled interior. Includes .blend, .fbx, .obj, .glb, .stl, .ply, .unreal, and .max formats for rendering, simulation, and game development.
Price: $22.99
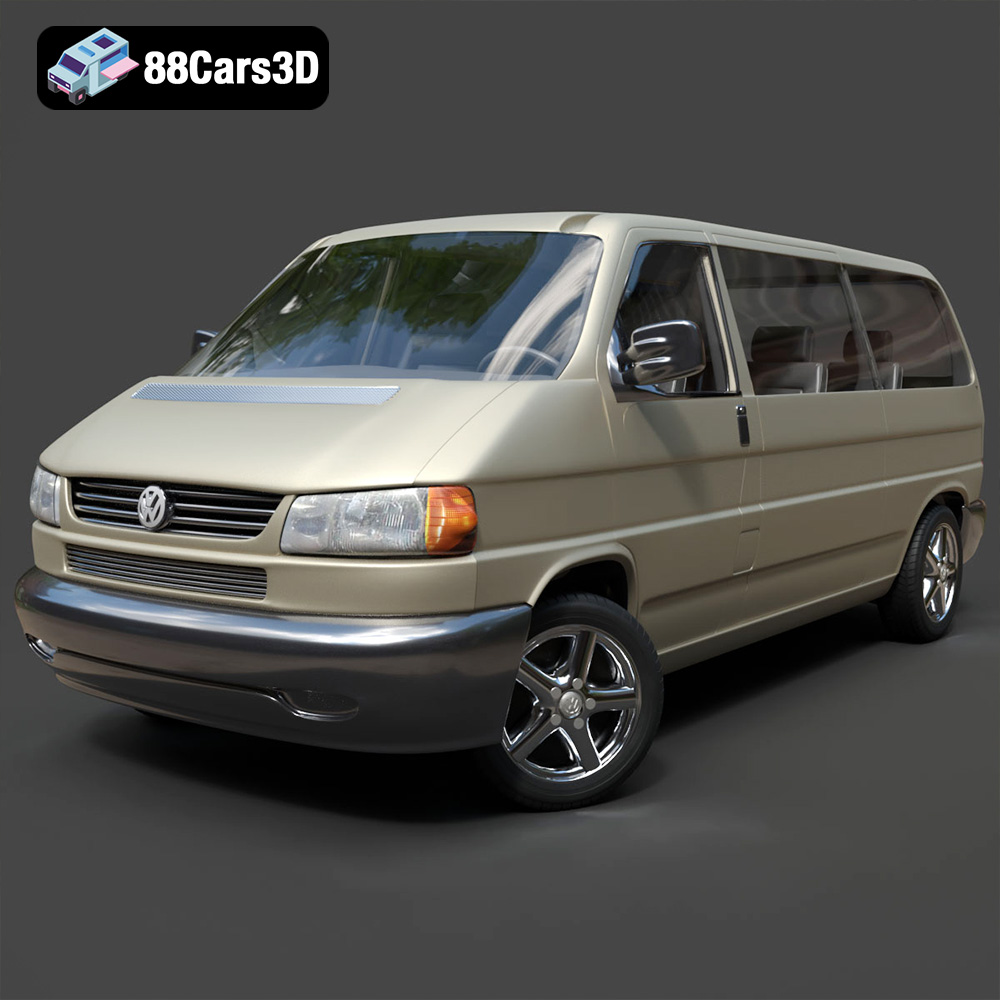
Volkswagen Caravelle 2020 3D Model
Texture: Yes
Material: Yes
Download the Volkswagen Caravelle 3D Model featuring a detailed exterior, functional interior, and optimized topology. Includes .blend, .fbx, .obj, .glb, .stl, .ply, .unreal, and .max formats for rendering, simulation, and game development.
Price: $23.99
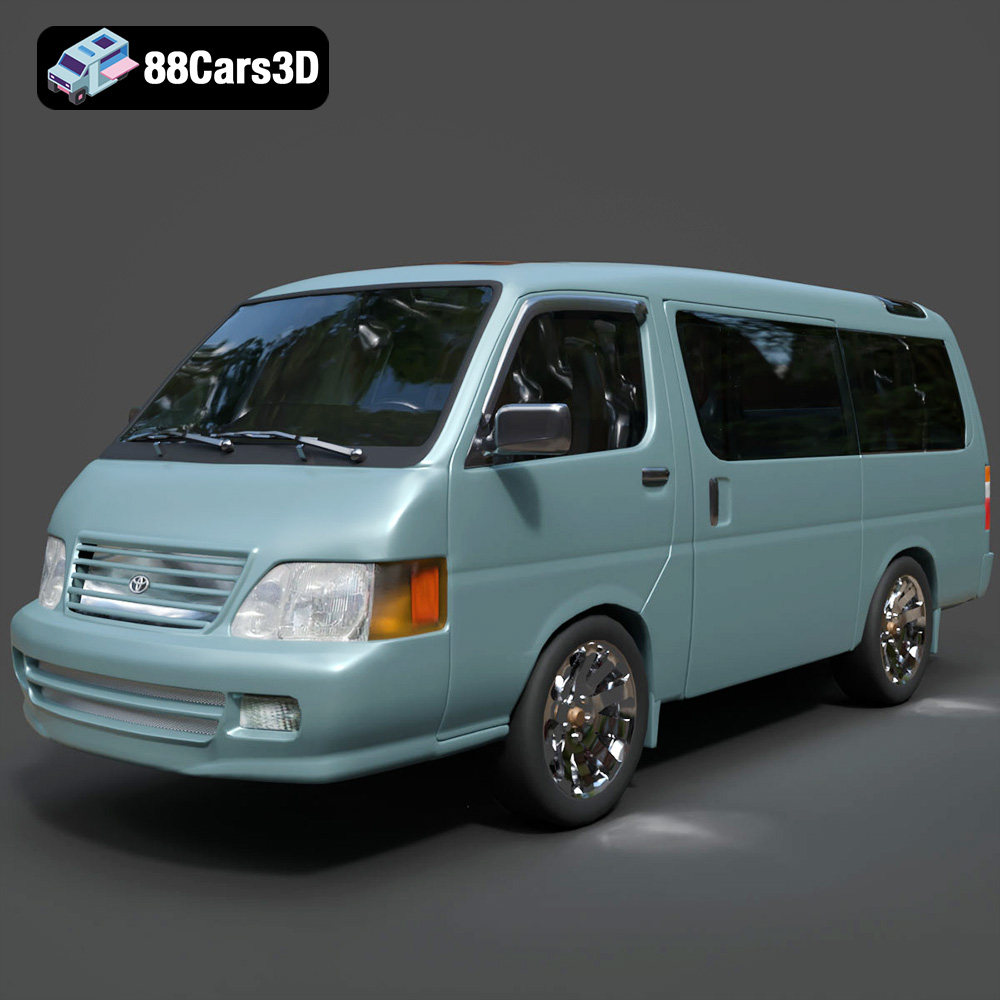
Toyota Hiace 3D Model
Texture: Yes
Material: Yes
Download the Toyota Hiace 3D Model featuring versatile design and detailed exterior. Includes .blend, .fbx, .obj, .glb, .stl, .ply, .unreal, and .max formats for rendering, simulation, and game development.
Price: $21.99
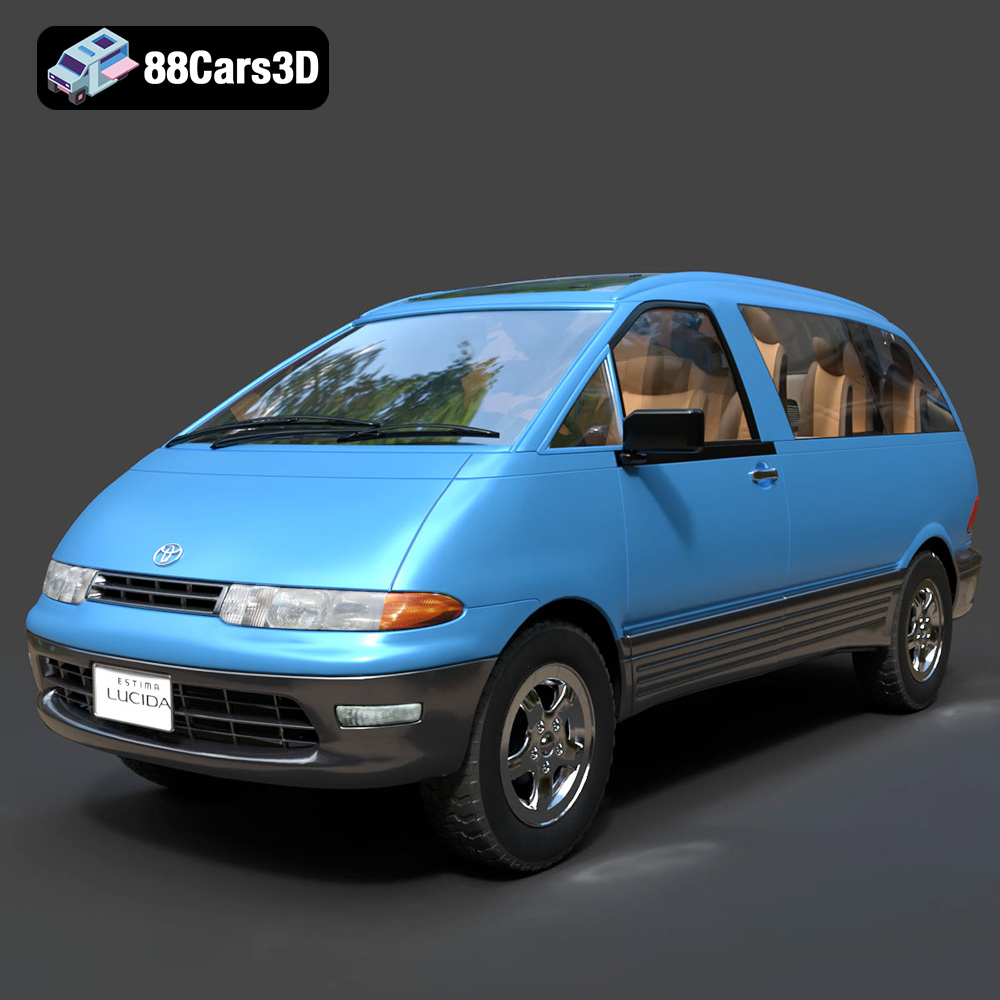
Toyota Estima Lucida 3D Model
Texture: Yes
Material: Yes
Download the Toyota Estima Lucida 3D Model featuring its iconic compact MPV design, versatile interior, and accurate exterior details. Includes .blend, .fbx, .obj, .glb, .stl, .ply, .unreal, and .max formats for rendering, simulation, and game development.
Price: $24.99

Toyota Alphard 3D Model
Texture: Yes
Material: Yes
Download the Toyota Alphard 3D Model featuring a detailed luxury minivan design with an accurate exterior and interior. Includes .blend, .fbx, .obj, .glb, .stl, .ply, .unreal, and .max formats for rendering, simulation, and game development.
Price: $21.99
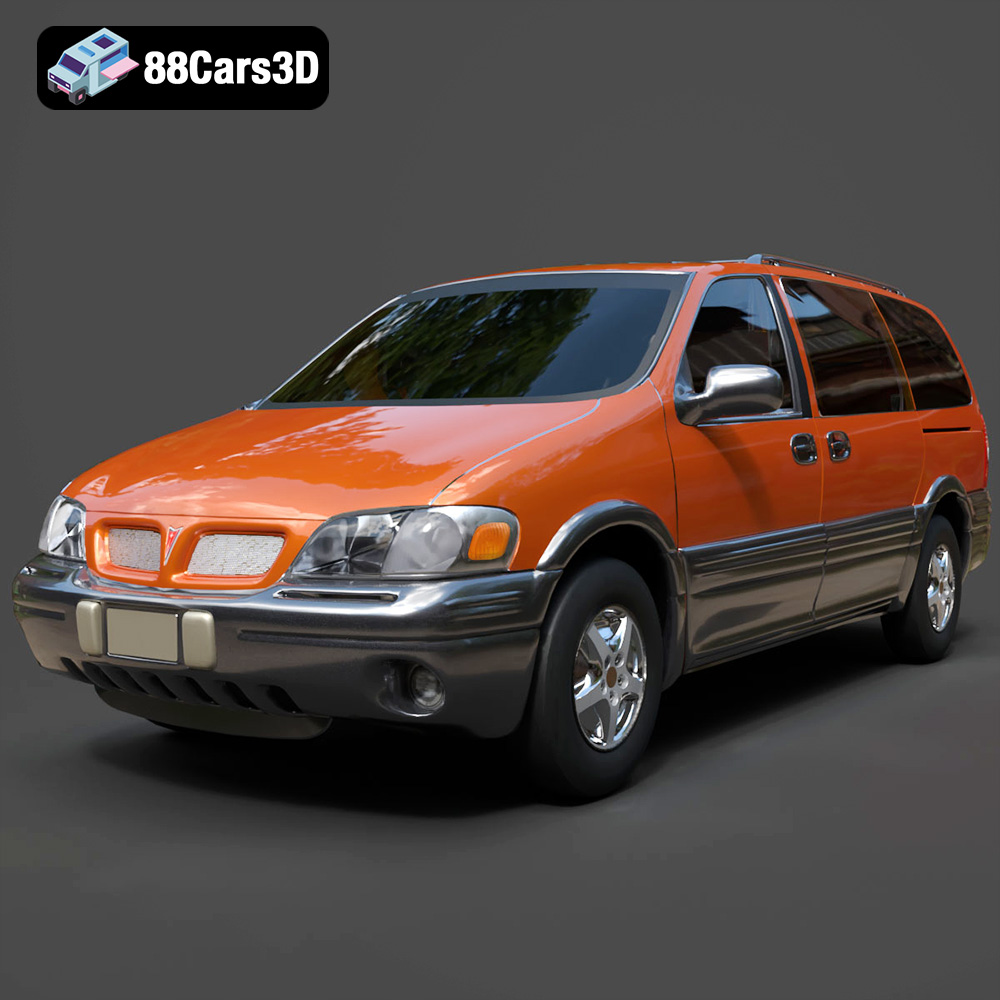
Pontiac Montana 1998 3D Model
Texture: Yes
Material: Yes
Download the Pontiac Montana 1998 3D Model featuring a detailed exterior, functional interior, and optimized mesh. Includes .blend, .fbx, .obj, .glb, .stl, .ply, .unreal, and .max formats for rendering, simulation, and game development.
Price: $21.99
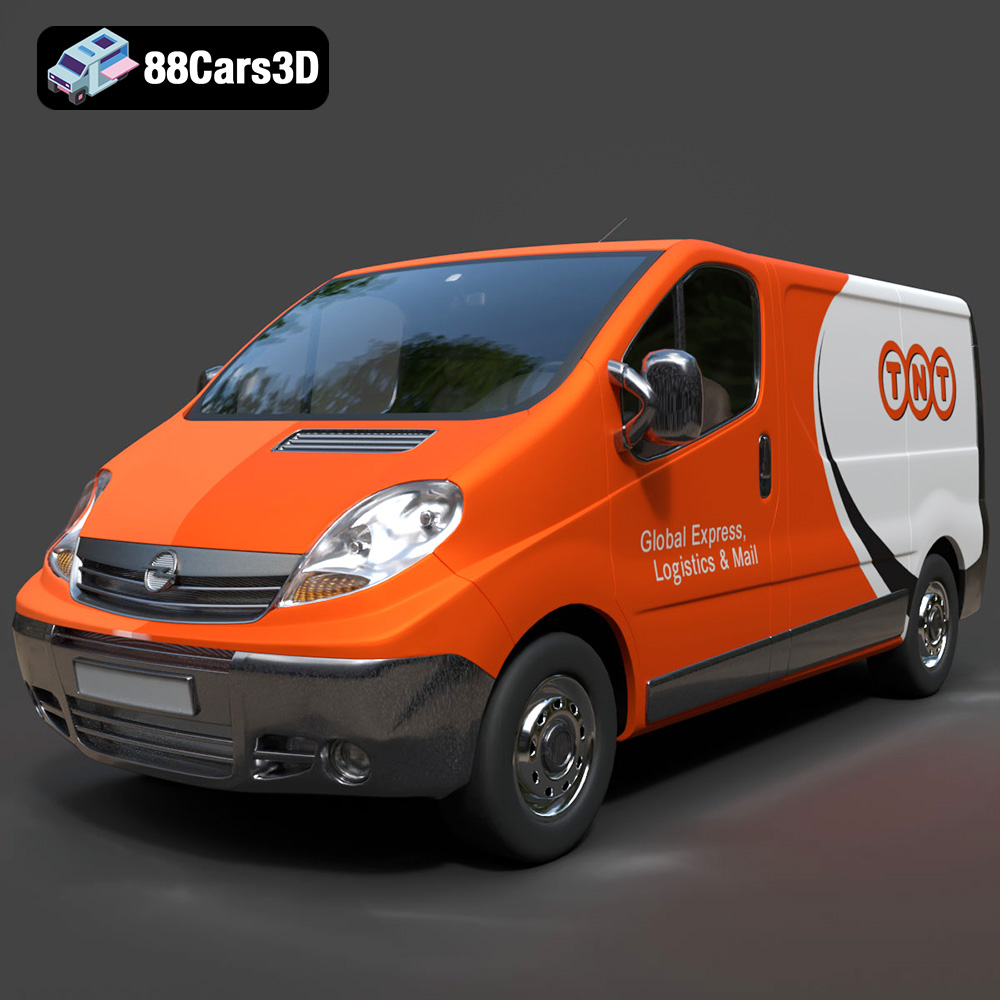
Opel Vivaro 3D Model
Texture: Yes
Material: Yes
Download the Opel Vivaro 3D Model featuring a versatile commercial van design with balanced detailing. Includes .blend, .fbx, .obj, .glb, .stl, .ply, .unreal, and .max formats for rendering, simulation, and game development.
Price: $21.99
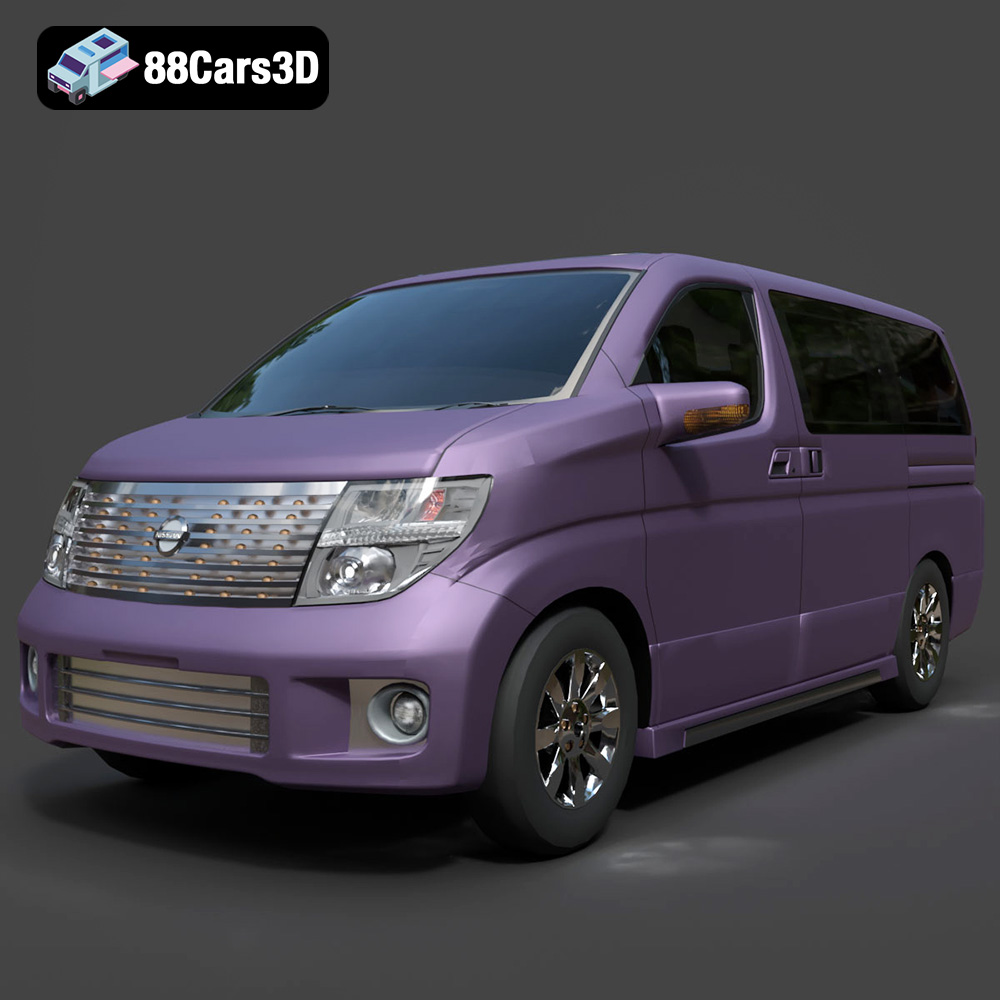
Nissan Elgrand 3D Model
Texture: Yes
Material: Yes
Download the Nissan Elgrand 3D Model featuring a versatile minivan design. Includes .blend, .fbx, .obj, .glb, .stl, .ply, .unreal, and .max formats for rendering, simulation, and game development.
Price: $21.99
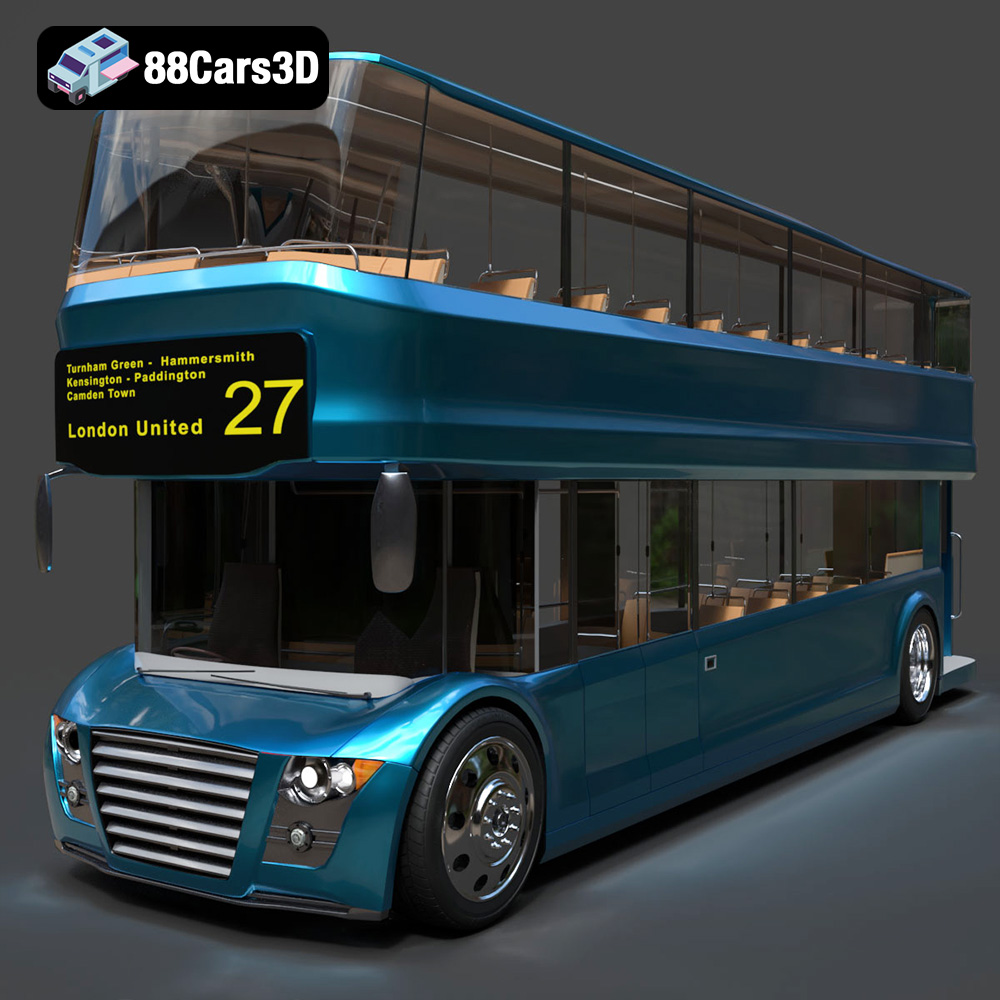
New Bus For London 3D Model
Texture: Yes
Material: Yes
Download the New Bus For London 3D Model featuring a detailed exterior and interior, optimized for rendering and animation. Includes .blend, .fbx, .obj, .glb, .stl, .ply, .unreal, and .max formats for rendering, simulation, and game development.
Price: $21.99
