

The automotive industry is in a perpetual state of innovation, not just in vehicle design and engineering, but also in how these marvels are presented to the world. Gone are the days when static renders and lengthy pre-rendered animations were the only options. Today, Unreal Engine stands at the forefront of a revolution, transforming automotive visualization into a dynamic, interactive, and photorealistic experience. For professionals ranging from concept designers and marketing specialists to game developers and AR/VR enthusiasts, Unreal Engine offers an unparalleled toolkit to bring vehicle concepts to life with stunning fidelity.
This comprehensive guide delves into the core workflows and advanced techniques necessary to master automotive visualization within Unreal Engine. We’ll explore everything from setting up your project for optimal performance and visual quality, to leveraging cutting-edge features like Nanite and Lumen, and crafting compelling interactive experiences with Blueprint. Whether you’re aiming to create breathtaking marketing cinematics, immersive AR/VR configurators, or high-performance game assets, this guide will provide the technical insights and practical tips you need. And, for those seeking the highest quality foundation, we’ll highlight how premium 3D car models from platforms like 88cars3d.com serve as the ideal starting point for your ambitious projects.
Setting Up Your Unreal Engine Project for Automotive Excellence
Embarking on an automotive visualization project in Unreal Engine begins with a robust foundation. A correctly configured project ensures that you can leverage Unreal’s full potential for real-time rendering and achieve the stunning visuals the industry demands. Starting with the right project template and adjusting key settings are critical first steps that dictate performance, visual quality, and overall workflow efficiency.
When creating a new project, you’ll be presented with various templates. For automotive visualization, the “Film, Television & Live Events” template is often an excellent starting point due to its default settings optimized for high-fidelity cinematics and visual effects. Alternatively, a “Blank” project allows for maximum customization, giving you complete control over every setting, which advanced users might prefer. Regardless of your choice, the goal is to enable the features that are paramount for automotive rendering: Nanite, Lumen, and Ray Tracing.
After selecting your template, navigate to Project Settings > Platforms > Windows and ensure Default RHI is set to DirectX 12. This is essential for enabling advanced rendering features like Hardware Ray Tracing. Next, under Project Settings > Engine > Rendering, you’ll find the core settings for Lumen, Nanite, and Virtual Textures. Enable Lumen Global Illumination and Lumen Reflections for realistic indirect lighting and highly accurate reflections, which are crucial for showcasing the intricate surfaces of a vehicle. Further down, enable Support virtual texture streaming and Nanite Support. Virtual Textures can help manage large texture data efficiently, while Nanite is a game-changer for handling extremely high-polygon 3D car models without performance degradation. For detailed documentation on these features, refer to the official Unreal Engine learning resources.
Choosing the Right Project Template and Initial Settings
The choice of project template profoundly impacts your workflow. The “Film, TV & Live Events” template comes pre-configured with cinematic post-processing and certain plugins enabled, saving initial setup time. However, if you opt for a “Blank” project, you must manually enable these features. Key settings in the Project Settings panel include:
- Rendering > Global Illumination: Set to Lumen.
- Rendering > Reflections: Set to Lumen.
- Rendering > Hardware Ray Tracing: Enable for superior reflections, shadows, and ambient occlusion.
- Rendering > Virtual Textures: Enable for efficient texture streaming with high-resolution assets.
- Rendering > Nanite: Ensure Nanite is supported and enabled by default for new geometry.
- Platforms > Windows > Default RHI: Select DirectX 12.
Organizing your content from the outset is also crucial. Create logical folders for models, materials, textures, blueprints, and sequences. This disciplined approach becomes invaluable as your project grows in complexity.
Essential Plugins and Editor Preferences
Unreal Engine’s extensibility comes from its robust plugin architecture. For automotive projects, several plugins are indispensable. Navigate to Edit > Plugins to manage them:
- Datasmith Importer: Absolutely vital for importing CAD data or complex scene files from external DCC applications (like 3ds Max, Maya, Blender, or CAD software). Datasmith intelligently converts and optimizes scene hierarchy, materials, and geometry, making it ideal for large 3D car models.
- Alembic Importer: Useful for importing complex animations, such as tire deformation or suspension movement, typically exported from DCC tools.
- Control Rig: Essential if you plan to rig and animate vehicle components (e.g., suspension, steering) directly within Unreal Engine, or for more advanced virtual production setups.
- Sequencer: While often enabled by default, ensure it’s active for cinematic creation.
Beyond plugins, adjust your Editor Preferences (Edit > Editor Preferences) for a smoother experience. Consider increasing the Asset Thumbnail Pool Size under General > Content Editors if you have many assets, and explore Performance settings to optimize editor responsiveness, especially on less powerful hardware.
Importing and Optimizing High-Quality 3D Car Models
The visual quality of your automotive visualization hinges directly on the quality of your source 3D car models. This is where platforms like 88cars3d.com excel, offering meticulously crafted assets with clean topology, proper UV mapping, and realistic materials. Importing these models into Unreal Engine, however, is just the first step; proper optimization is key to ensuring stunning visuals run smoothly in real-time rendering environments.
When you acquire a car model, such as those available on 88cars3d.com, you’ll typically receive it in formats like FBX, USD, or USDZ. FBX is a widely supported format that carries geometry, materials, animations, and skeletal data. USD (Universal Scene Description) and USDZ are increasingly gaining traction, especially for complex scene descriptions and AR applications, offering a robust way to transfer entire scenes with rich metadata. Upon import, ensure your model’s scale is correct (Unreal Engine typically uses 1 unit = 1cm). Incorrect scale can lead to issues with lighting, physics, and even material tiling.
The beauty of modern Unreal Engine lies in its ability to handle incredibly detailed meshes, thanks to features like Nanite. For a high-fidelity car model, which can easily exceed several million polygons for a complete assembly (body, interior, engine bay), Nanite virtualized geometry is indispensable. It allows these detailed models to be rendered efficiently without traditional LOD (Level of Detail) constraints, automatically streaming and processing only the necessary geometric data at render time. However, not all meshes benefit equally from Nanite, and strategic use of traditional LODs for smaller, less critical components remains a best practice for overall scene optimization.
Seamless Asset Integration from 88cars3d.com
Integrating 3D car models from marketplaces like 88cars3d.com into your Unreal Engine project is a streamlined process:
- Choose Your Format: Typically, you’ll import FBX or USD files. For FBX, use File > Import Into Level or drag and drop into the Content Browser. For USD, enable the USD Importer plugin and use the dedicated import options.
- Import Settings: Pay close attention to the import options.
- Scale Factor: Verify it matches your scene’s scale (e.g., 1 for 1:1 scale if your model was exported in meters and UE uses cm, adjust accordingly).
- Combine Meshes: Often, it’s beneficial to import components separately (body, wheels, interior) rather than combining everything into one mesh, especially for later interactivity.
- Import Materials & Textures: Ensure these are checked to bring in the PBR setups and texture maps.
- Generate Lightmap UVs: Critical for static lighting, even if using Lumen, for scenarios where baked lighting might be desired for performance or specific artistic effects.
- Inspect and Verify: After import, check the model in the editor. Look for correct scale, proper material assignments, and ensure the pivot point of individual components (like wheels) is centered for easy rotation and manipulation. The clean topology inherent in models from 88cars3d.com significantly reduces post-import cleanup.
For more details on importing various asset types, consult the Unreal Engine documentation.
Leveraging Nanite and LODs for Performance and Detail
Handling highly detailed 3D car models is a core challenge in real-time rendering, and Nanite provides a powerful solution.
- Enabling Nanite: For large, static meshes like the car body, chassis, and major interior components, right-click the Static Mesh in the Content Browser, select Nanite > Enable Nanite. Once enabled, Nanite automatically handles the complexity, allowing models with millions of polygons to render efficiently. You can observe the impact of Nanite using `stat nanite` in the console.
- Strategic LODs: While Nanite handles large geometry, traditional LODs are still crucial for smaller, instanced, or animated meshes that don’t yet support Nanite (e.g., tires for physics simulation, small bolts, or environment props). Unreal Engine can generate LODs automatically (right-click Static Mesh > LODs > Generate LODs), or you can import custom LODs.
- LOD Setup: A typical setup for a detailed car might look like:
- LOD0: Full detail (Nanite enabled for body, high poly for wheels, interior). Target poly count for non-Nanite components might be 100k-200k.
- LOD1: ~50% reduction in poly count. Activated at medium distances (e.g., 50-100m).
- LOD2: ~75% reduction. Activated at further distances (e.g., 200m+).
- LOD3+: Simple proxy meshes for very distant rendering, or even billboard sprites for extreme distances.
- Cull Distance: For very small or distant objects, consider setting a Cull Distance Volume or individual mesh cull distances to completely remove them from rendering when beyond a certain range, further optimizing performance.
Crafting Photorealistic PBR Materials and Textures
The realism of your automotive visualization isn’t just about geometry; it’s profoundly influenced by the quality and accuracy of your materials and textures. Unreal Engine’s Physically Based Rendering (PBR materials) system is designed to simulate how light interacts with surfaces in the real world, producing incredibly convincing results. Mastering the Material Editor is essential for bringing the intricate finishes of a vehicle—from shimmering car paint to transparent glass and matte rubber—to life.
PBR materials rely on a set of standardized maps: Base Color (albedo), Metallic, Specular, Roughness, and Normal maps. Each map dictates a specific physical property of the surface. For instance, the Metallic map defines how metallic a surface is (0 for dielectric, 1 for metallic), while the Roughness map controls the micro-surface detail, ranging from perfectly smooth (0) to extremely rough (1). Understanding how these values interact is fundamental to achieving realistic materials. For a car, this means creating complex shaders that accurately represent multi-layered car paint, clear and refractive glass, textured tires, and detailed interior surfaces.
Texture resolution plays a critical role in the perceived detail. For a hero car model, main body textures might require 4K or even 8K resolution to capture fine details like paint flakes or subtle imperfections, especially for close-up shots. Interior elements and wheels might comfortably use 2K or 4K, while less prominent or distant parts can utilize 1K or smaller. Efficient use of texture space, often achieved through UDIMs (if your model supports it and you have the necessary plugins) or careful UV unwrapping, is crucial for both visual fidelity and optimization.
Understanding the PBR Workflow for Automotive Surfaces
Achieving realistic automotive surfaces involves a nuanced application of PBR principles:
- Car Paint: This is arguably the most complex material. It typically involves multiple layers:
- Base Coat: Drives the primary color (Base Color map).
- Metallic Flakes: Often simulated by adding a texture with micro-normal details and varying metallic/roughness values, or using advanced shader techniques like anisotropic reflections.
- Clear Coat: A crucial translucent layer that sits on top, providing gloss and depth. Unreal Engine’s Material Editor supports dedicated Clear Coat inputs (Clear Coat, Clear Coat Roughness, Clear Coat Normal).
- Glass: Requires a Translucent material blend mode. Key parameters include:
- Refraction: Controlled by the IOR (Index of Refraction) value (e.g., ~1.5 for glass).
- Opacity: Controls transparency.
- Color: For tint.
- Roughness: For smudges or frosted effects.
- Rubber (Tires): Non-metallic, with varying roughness. Often utilizes a Normal map for tread detail and a subtle Ambient Occlusion map for wear. A very low Specular value is typical.
- Chrome/Metallic Accents: High Metallic value (close to 1), very low Roughness (close to 0), and a Base Color that might be grayscale or slightly tinted.
Using tools like Adobe Substance Painter or Designer can greatly accelerate the creation of these PBR materials, allowing artists to paint directly onto the 3D model and export maps ready for Unreal Engine.
Advanced Material Shaders for Unrivaled Realism
Beyond basic PBR parameters, Unreal Engine’s Material Editor allows for the creation of sophisticated custom shaders:
- Layered Materials: For complex assets like cars, creating a master material that uses material functions for specific layers (e.g., “CarPaint_Function,” “Glass_Function”) allows for immense reusability and easier updates across multiple vehicle parts or models. This is particularly useful for 3D car models from marketplaces like 88cars3d.com, which often come with logically separated material IDs.
- Decal Materials: Imperative for adding logos, stripes, license plates, and other surface details without modifying the base mesh or its UVs. Decals can project onto surfaces and affect Base Color, Normal, and Roughness.
- Dynamic Material Instances: Once a master material is created, you can create Material Instances. These instances allow you to adjust parameters (like color, roughness values, texture strength) without recompiling the shader, providing real-time feedback and enabling interactive configurators via Blueprint scripting.
- Anisotropic Reflections: Essential for simulating brushed metals or specific car paint effects where reflections stretch along a particular direction. This often requires custom shader logic within the material.
Understanding these advanced techniques allows artists to push the boundaries of realism, ensuring every automotive surface looks precisely as intended in any lighting condition.
Illuminating Your Scene: Dynamic Lighting with Lumen and Ray Tracing
Lighting is arguably the most critical element in any automotive visualization, directly impacting the mood, realism, and perceived quality of your 3D car models. Unreal Engine offers a sophisticated suite of lighting tools, with Lumen and Hardware Ray Tracing leading the charge in achieving photorealistic results in real-time rendering. These technologies provide dynamic global illumination, accurate reflections, and soft, natural shadows that were once the exclusive domain of offline renderers.
Lumen is Unreal Engine 5’s default global illumination and reflections system, designed for next-generation consoles and high-end PCs. It completely revolutionizes the lighting workflow by providing fully dynamic, real-time GI and reflections that react instantly to changes in lighting, geometry, and materials. This means you can move lights, change the car’s color, or even swap out environments, and the indirect lighting and reflections will update immediately, making iterative design and artistic exploration incredibly efficient. For automotive scenes, Lumen is invaluable for showcasing the intricate interplay of light across a vehicle’s curved surfaces and highly reflective materials.
Complementing Lumen, Hardware Ray Tracing pushes visual fidelity even further by accurately simulating how light rays bounce and interact with objects. When enabled, Ray Tracing provides pixel-perfect reflections on reflective surfaces like car paint and chrome, incredibly accurate contact shadows, and realistic ambient occlusion. While more computationally intensive, the visual payoff for automotive lighting is immense, elevating your visualization to cinematic levels. Combining Lumen’s efficient global illumination with Ray Tracing’s precision offers a hybrid approach to achieve both performance and unparalleled realism.
Mastering Lumen Global Illumination for Real-time Realism
Lumen is a game-changer for dynamic real-time rendering. To get the most out of it for automotive visualization:
- Enable Lumen: As discussed in project setup, ensure Lumen Global Illumination and Reflections are enabled in Project Settings.
- Post Process Volume: Add a Post Process Volume to your scene and ensure its Unbound property is checked so it affects the entire scene. Here, you’ll find Lumen-specific settings under the Global Illumination and Reflections categories.
- Lumen Scene Quality: Increase this for higher quality indirect lighting. Values between 1 and 2 are common for high-end visualization.
- Max Bounce Count: Controls how many times light bounces. Higher values (e.g., 3-5) lead to more realistic light distribution, especially in complex environments.
- Final Gather Quality: Impacts the smoothness and detail of indirect lighting.
- Light Sources: Use a combination of directional lights (for sun/sky), sky lights (for ambient environment light, often driven by an HDRI), and spot/rect lights (for studio setups or specific highlights). Lumen works seamlessly with all these.
- Environment: Lumen relies on geometry. Having a detailed environment (floor, walls, backdrop) is crucial for realistic light bounces and reflections onto the car.
Lumen drastically reduces the need for complex light baking, allowing for fluid iteration and dynamic changes.
Leveraging Hardware Ray Tracing for Ultimate Fidelity
While Lumen handles global illumination, Ray Tracing enhances specific rendering effects to achieve ultimate visual precision:
- Enable Ray Tracing: In Project Settings > Engine > Rendering > Hardware Ray Tracing, enable “Ray Tracing” and restart the editor.
- Ray Traced Reflections: In your Post Process Volume, under Reflections > Type, choose Ray Tracing. Adjust Max Roughness to control which surfaces reflect via ray tracing, and Max Bounces for multi-bounce reflections, critical for the depth of car paint.
- Ray Traced Shadows: For Directional, Spot, and Point Lights, enable “Ray Traced Shadows” in their details panel. This provides exceptionally accurate, soft contact shadows that greatly enhance realism compared to traditional shadow maps. Adjust Samples Per Pixel for quality.
- Ray Traced Ambient Occlusion: In the Post Process Volume, under Ambient Occlusion > Method, choose Ray Tracing. This generates subtle, realistic contact shadows in crevices and corners, grounding the vehicle in its environment.
- Performance Considerations: Ray Tracing is GPU intensive. Optimize by:
- Reducing Max Bounces for reflections and shadows to the lowest acceptable level.
- Lowering Samples Per Pixel on lights for shadows.
- Using fewer high-intensity Ray Traced lights and relying on Lumen for broader GI.
- Utilizing NVIDIA DLSS or AMD FSR (via plugins) for upscaling and performance gains without significant quality loss.
By carefully balancing Lumen and Ray Tracing settings, you can achieve stunning cinematic rendering for your automotive projects.
Interactive Experiences and Virtual Production for Automotive
Beyond static renders and linear animations, Unreal Engine empowers automotive visualization professionals to create deeply immersive and interactive experiences. This transformative capability is driven by Blueprint visual scripting for dynamic configurators, Sequencer for cinematic storytelling, and robust features supporting cutting-edge virtual production workflows, including AR/VR applications.
Imagine a customer or designer able to instantly change a car’s color, swap out wheel designs, or even explore the interior in real-time. This is the power of an automotive configurator built with Blueprint. Without writing a single line of code, artists and designers can craft complex logic to react to user input, update materials, switch meshes, and control animations. This interactivity not only enhances engagement but also streamlines design iteration and marketing presentations, providing a personalized and immediate experience.
For more polished, broadcast-quality content, Sequencer is Unreal Engine’s non-linear cinematic editor. It allows for precise control over camera movements, vehicle animations, material property changes over time, and visual effects, culminating in stunning marketing films or realistic virtual test drives. Furthermore, the engine’s capabilities extend into virtual production, allowing real-time integration of physical sets, LED walls, and live actors with CG automotive environments. This hybrid approach significantly reduces the time and cost associated with traditional automotive advertising and film production, while delivering unparalleled creative flexibility.
Building Interactive Automotive Configurators with Blueprint
Blueprint visual scripting is the backbone of any interactive automotive configurator. Here’s how to approach it:
- Actor Blueprint for the Car: Create a Blueprint Actor for your car model. Drag your imported 3D car model components (body, wheels, interior parts) into this Blueprint. This encapsulates all car logic within one easily manageable asset.
- Material Switching: For changing car paint colors, create multiple Material Instances (e.g., “MI_CarPaint_Red,” “MI_CarPaint_Blue”) from your master car paint material. In Blueprint, use nodes like “Set Material” on your car body mesh to swap these instances based on user input.
- Mesh Swapping: For changing wheels or interior trim, import different Static Meshes for each option. In Blueprint, use “Set Static Mesh” nodes on the wheel/interior components. Ensure the pivot points of the interchangeable meshes are consistent.
- User Interface (UMG): Create a User Widget (UMG) for your configurator controls (buttons, sliders). Bind these UI elements to custom events in your car’s Blueprint. For instance, a “Red Color” button click would trigger an event to set the red car paint material.
- Saving/Loading Configurations: For more advanced configurators, implement saving and loading functionalities to store user choices using Unreal’s SaveGame system.
This Blueprint-driven approach allows for rapid prototyping and iteration of interactive demos, ideal for showcasing 3D car models in diverse configurations.
Cinematic Storytelling with Sequencer and Virtual Production
Sequencer is Unreal Engine’s powerful tool for creating high-fidelity linear animations and cinematics:
- Creating a Sequence: From the Content Browser, right-click and choose Animation > Level Sequence. Open it to access the Sequencer editor.
- Adding Actors: Drag your car Blueprint, cameras, and lights into Sequencer. You can keyframe their transforms, material parameters, and even execute Blueprint events.
- Camera Animation: Use the Cine Camera Actor for realistic camera controls (focal length, aperture, focus distance). Keyframe its movement for dynamic shots.
- Vehicle Animation: Animate wheels spinning, doors opening, or suspension compressing. For realistic physics, you can even record physics simulation data into Sequencer.
- Material Track: Directly keyframe material parameters over time. Imagine a car changing color or emitting a special effect during a cinematic reveal.
- Virtual Production: For virtual production, Sequencer integrates seamlessly with the nDisplay system for LED walls. You can drive the virtual background rendered in Unreal Engine to perfectly match the perspective of a physical camera shooting a car on a green screen or LED stage, creating incredibly convincing in-camera VFX. This is transforming automotive advertising and film.
The synergy between Sequencer and real-time rendering capabilities allows for iterative cinematic creation, greatly speeding up production cycles.
AR/VR Optimization for Immersive Automotive Applications
Immersive AR/VR experiences are becoming increasingly vital for automotive design reviews, training, and customer engagement. Optimization is paramount for maintaining smooth performance:
- Poly Count Reduction: For AR/VR, particularly standalone headsets, Nanite might not always be the answer due to memory constraints or platform support. Aggressive LODs (Level of Detail) are crucial, ensuring meshes are simplified without noticeable visual degradation. Target polygon counts per car model can range from 100k to 500k triangles for VR, depending on the platform.
- Baked Lighting (Lightmass): While Lumen is fantastic, for some performance-critical AR/VR applications, especially on mobile or standalone headsets, baking static lighting with Lightmass can offer significantly better performance as it offloads lighting calculations.
- Draw Call Reduction: Combine meshes where possible (if not interactable) and use instanced static meshes for repetitive elements to minimize draw calls.
- Post-Processing: Be conservative with post-processing effects in VR; effects like Screen Space Reflections or complex anti-aliasing methods can be expensive.
- UI/UX: Design intuitive interfaces for VR (e.g., gaze-based interaction, motion controller input) and ensure AR experiences use appropriate tracking (ARKit, ARCore).
Unreal Engine provides robust support for OpenXR, allowing development for a wide range of AR/VR devices, ensuring your automotive visualization can reach diverse immersive platforms.
Advanced Performance Optimization and Troubleshooting
Creating highly detailed automotive visualization projects in Unreal Engine is incredibly rewarding, but the pursuit of photorealism often comes with significant performance demands. Even with cutting-edge features like Nanite and Lumen, ensuring your project runs smoothly at desired frame rates requires careful optimization and a systematic approach to troubleshooting. A beautiful scene that stutters or drops frames fails to deliver the immersive experience intended, particularly in real-time rendering contexts like interactive configurators or AR/VR applications.
Performance management in Unreal Engine is an ongoing process throughout development. It involves understanding where your project’s bottlenecks lie – whether it’s CPU-bound, GPU-bound, or limited by memory or draw calls. Unreal Engine provides powerful profiling tools that allow developers to gain deep insights into render times, shader complexity, and asset performance. Regularly profiling your scene helps identify problematic assets or settings before they accumulate into insurmountable performance hurdles.
Optimizing 3D car models themselves is a foundational step. While Nanite effectively manages high-poly geometry, its benefits are primarily for static meshes. Materials, lighting, post-processing, and the sheer number of elements in a scene can still impact performance significantly. Adhering to industry best practices, such as efficient material setups and judicious use of demanding effects, is crucial. Moreover, selecting optimized game assets from reputable sources like 88cars3d.com provides a strong starting point, as these models are typically designed with performance and quality in mind, reducing the need for extensive post-import cleanup and optimization.
Profiling and Identifying Performance Bottlenecks
Before optimizing, you must know what to optimize. Unreal Engine’s profiling tools are indispensable:
- Stat Commands: Use the console (tilde key `) for quick performance insights:
- `stat fps`: Displays current frame rate and frame time.
- `stat unit`: Shows CPU game thread, render thread, and GPU times. If Game is high, it’s CPU-bound; if GPU is high, it’s GPU-bound.
- `stat GPU`: Provides detailed GPU render times for various passes (Base Pass, Lumen, Reflections, Post-processing). This is crucial for identifying expensive rendering features.
- `stat RHI`: Gives insight into rendering hardware interface calls, useful for draw call optimization.
- `stat SceneRendering`: Details scene rendering components, including Nanite and Lumen specific metrics.
- Unreal Insights: For deeper analysis, use Unreal Insights (accessed via `UnrealInsights.exe` in your engine’s Binaries folder). This powerful tool allows you to record and visualize performance data over time, pinpointing exact CPU/GPU spikes, memory usage, and thread activity. It’s invaluable for complex automotive visualization scenes.
- Shader Complexity Viewmode: In the editor’s viewport, select View Modes > Shader Complexity. Red areas indicate complex, expensive shaders, which are prime candidates for simplification.
Regularly profiling, especially on target hardware, helps reveal bottlenecks early in the development cycle, allowing for targeted optimization efforts.
Strategies for Maintaining Optimal Frame Rates
Once bottlenecks are identified, apply these optimization strategies:
- Material Optimization:
- Reduce the number of instructions in materials. Use material functions for reusable, optimized logic.
- Avoid excessively complex translucent materials or those with many texture lookups if performance is critical.
- Utilize Material Instances to control parameters without recompiling shaders.
- Texture Optimization:
- Use appropriate texture resolutions. 4K/8K for hero assets, 2K/1K for secondary, 512/256 for minor.
- Ensure textures are properly compressed (e.g., BC7 for normal maps, DXT1/5 for color) and have streaming enabled.
- Use Virtual Textures for massive textures where supported.
- Lighting Optimization:
- Lumen: Reduce Lumen Scene Quality, Max Bounce Count, and Final Gather Quality in the Post Process Volume until acceptable performance is reached.
- Ray Tracing: Be judicious. Lower Max Bounces for reflections/shadows. Consider if RT shadows are strictly necessary for all lights or if cheaper shadow maps suffice.
- Light Counts: Use fewer, more powerful lights rather than many small ones. Cull distant lights.
- Baked Lighting: For static elements in performance-critical applications (like AR/VR), consider baking global illumination with Lightmass for a performance boost.
- Post-Processing:
- Disable unnecessary post-process effects in the Post Process Volume.
- Optimize screen percentage (e.g., 75% for VR/high-resolution output).
- Tweak anti-aliasing methods (TAA, TSR, MSAA) for the best balance of quality and performance.
- Geometry & LODs:
- Even with Nanite, try to simplify geometry where possible, especially for background elements.
- Ensure LOD management is aggressive for non-Nanite meshes, particularly for objects that quickly become distant. Use Cull Distance Volumes to completely remove objects beyond a certain range.
- Draw Calls:
- Combine static meshes where it makes sense (e.g., static environment props) to reduce draw calls.
- Utilize Instanced Static Meshes for repetitive elements.
- Hardware Scalability: Implement scalability settings (`sg.PostProcessQuality 0`, etc.) to allow users to adjust quality settings based on their hardware.
By consistently applying these techniques, you can ensure your automotive visualization projects not only look incredible but also run smoothly across various target platforms.
Conclusion
Unreal Engine has firmly established itself as the premier platform for automotive visualization, offering an unparalleled blend of photorealism, interactivity, and real-time rendering capabilities. From the foundational project setup to the intricate crafting of PBR materials, sophisticated Lumen lighting, and dynamic Blueprint-driven experiences, every aspect of vehicle presentation can be elevated to new heights. The ability to leverage features like Nanite for incredibly detailed 3D car models and Sequencer for cinematic masterpieces empowers artists and designers to realize their visions with unprecedented efficiency and quality.
Throughout this guide, we’ve explored the essential workflows and advanced techniques that transform a raw idea into a breathtaking interactive showcase. Whether you’re developing an automotive configurator, a high-fidelity marketing cinematic, or an immersive AR/VR experience, Unreal Engine provides the tools. And for those seeking a head start with meticulously crafted, optimized game assets, platforms like 88cars3d.com offer an invaluable resource, providing the high-quality 3D car models necessary to build truly professional-grade projects. The journey into real-time rendering is continuously evolving, and with Unreal Engine, you are equipped to be at its cutting edge.
Now is the time to apply these insights. Take your chosen 3D car model, perhaps from 88cars3d.com, and begin experimenting with Lumen, crafting complex shaders, and building your first interactive Blueprint. The future of automotive design, marketing, and interaction is real-time, and with Unreal Engine, you have the power to shape it. Dive in, innovate, and create the next generation of stunning automotive experiences.
Featured 3D Car Models
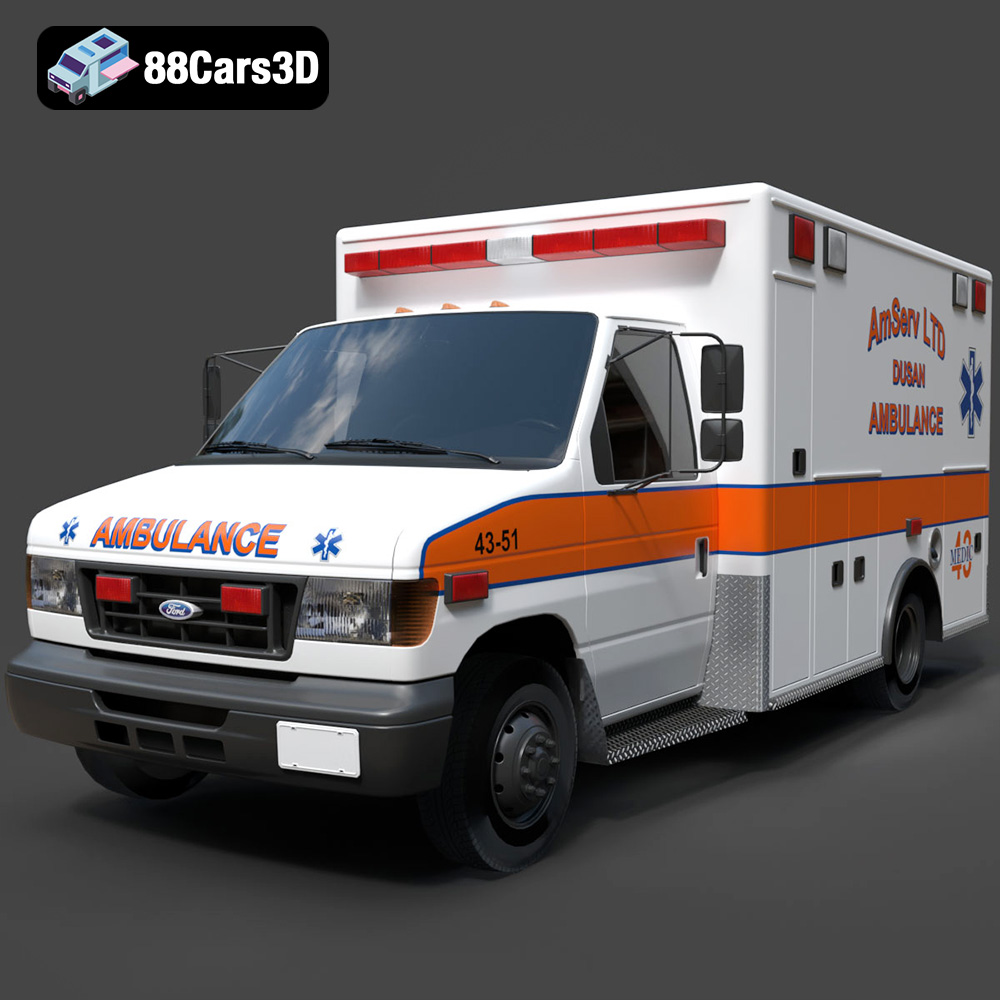
Ford Ambulance AmServ LTD Dusan-002 3D Model
Texture: Yes
Material: Yes
Download the Ford Ambulance AmServ LTD Dusan-002 3D Model featuring a high-detail exterior and interior, realistic textures, and emergency lighting. Includes .blend, .fbx, .obj, .glb, .stl, .ply, .unreal, and .max formats for rendering, simulation, and game development.
Price: $19.99
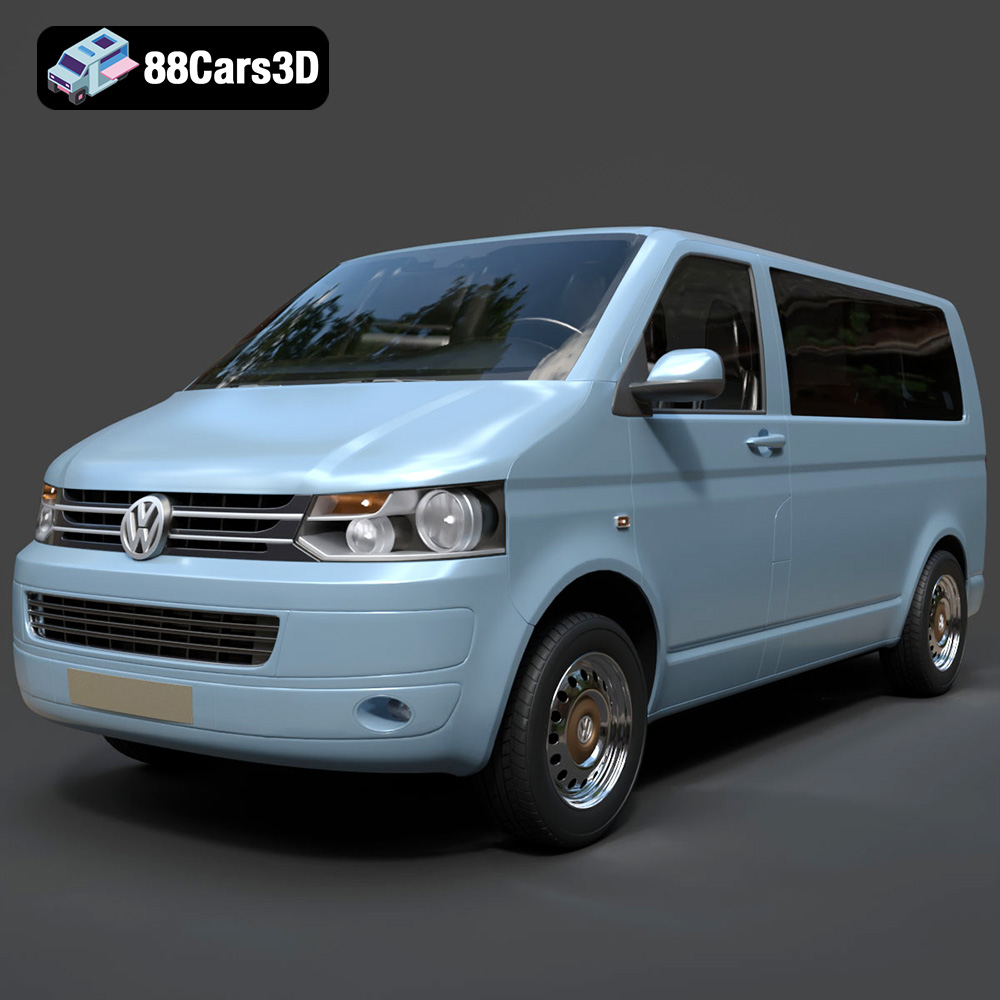
Volkswagen Transporter T5 FL 2010 3D Model
Texture: Yes
Material: Yes
Download the Volkswagen Transporter T5 FL 2010 3D Model featuring clean geometry, realistic detailing, and a fully modeled interior. Includes .blend, .fbx, .obj, .glb, .stl, .ply, .unreal, and .max formats for rendering, simulation, and game development.
Price: $22.99
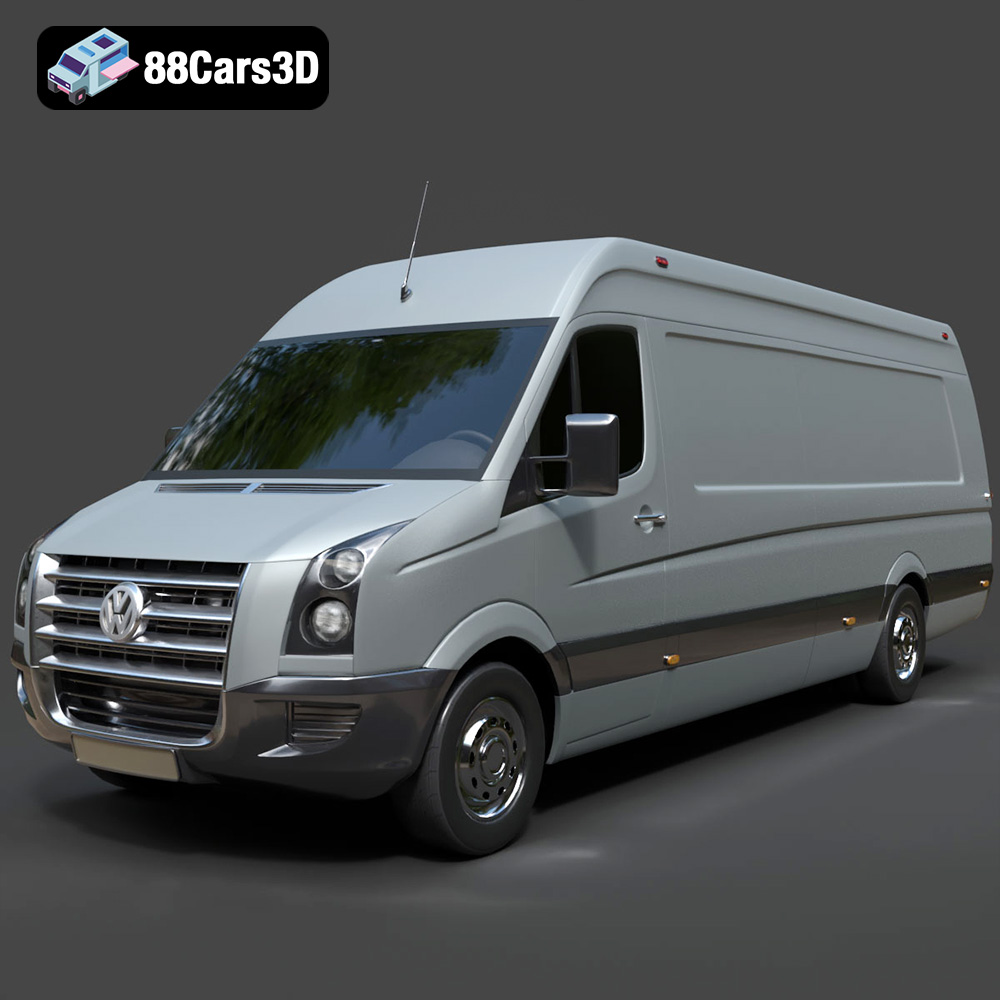
Volkswagen Crafter 2020 3D Model
Texture: Yes
Material: Yes
Download the Volkswagen Crafter 2020 3D Model featuring clean geometry, realistic detailing, and a fully modeled interior. Includes .blend, .fbx, .obj, .glb, .stl, .ply, .unreal, and .max formats for rendering, simulation, and game development.
Price: $22.99
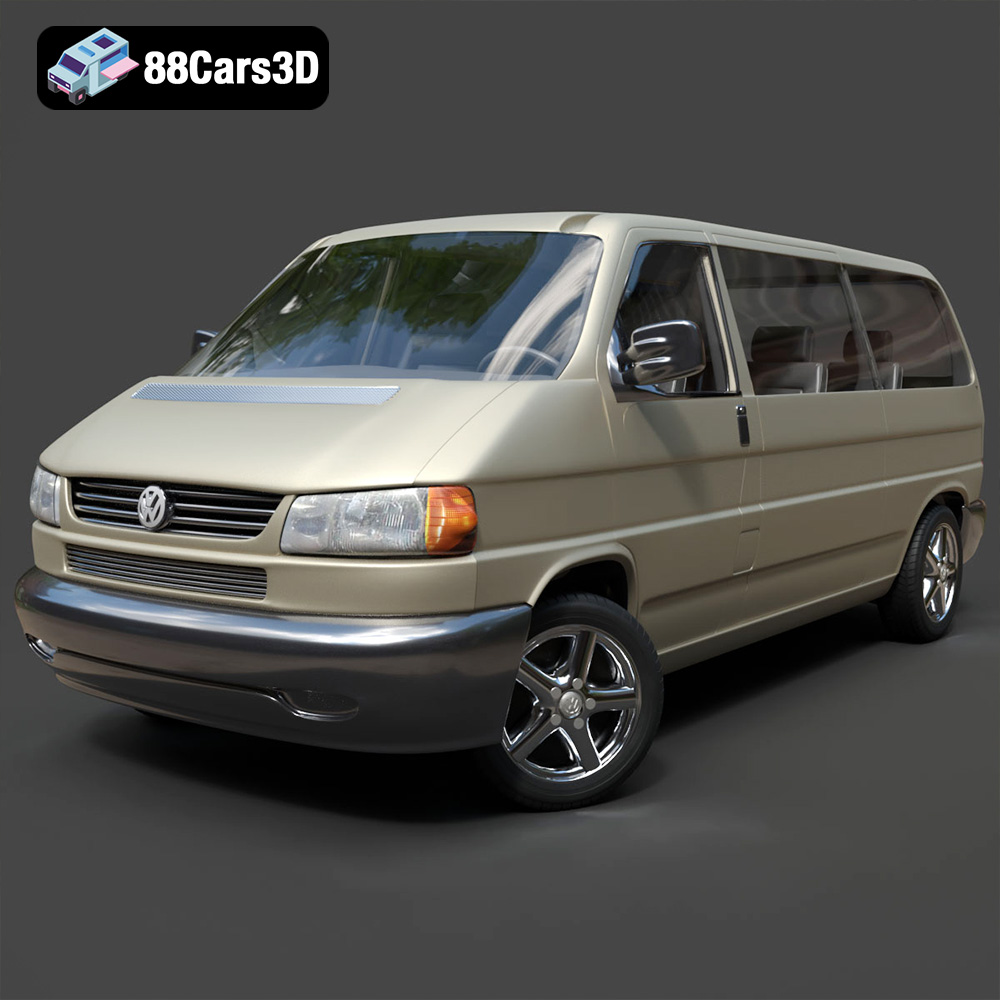
Volkswagen Caravelle 2020 3D Model
Texture: Yes
Material: Yes
Download the Volkswagen Caravelle 3D Model featuring a detailed exterior, functional interior, and optimized topology. Includes .blend, .fbx, .obj, .glb, .stl, .ply, .unreal, and .max formats for rendering, simulation, and game development.
Price: $23.99
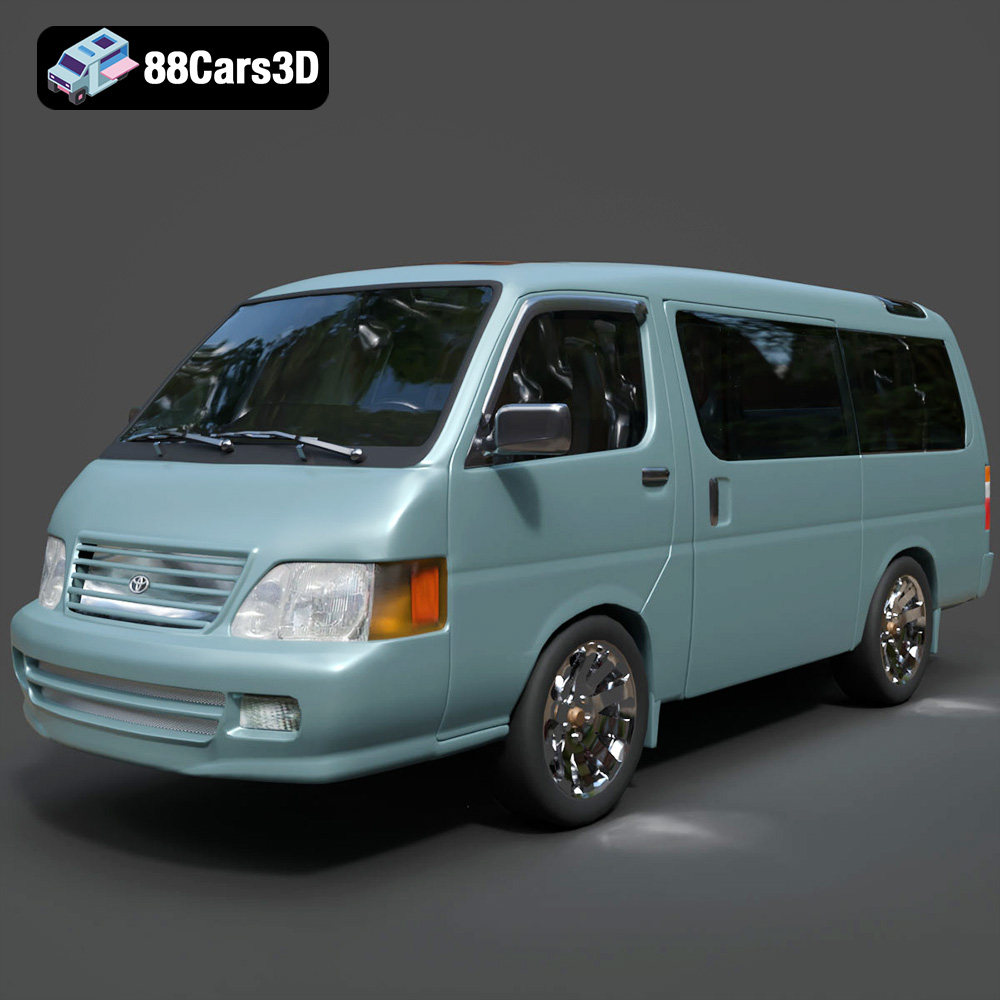
Toyota Hiace 3D Model
Texture: Yes
Material: Yes
Download the Toyota Hiace 3D Model featuring versatile design and detailed exterior. Includes .blend, .fbx, .obj, .glb, .stl, .ply, .unreal, and .max formats for rendering, simulation, and game development.
Price: $21.99
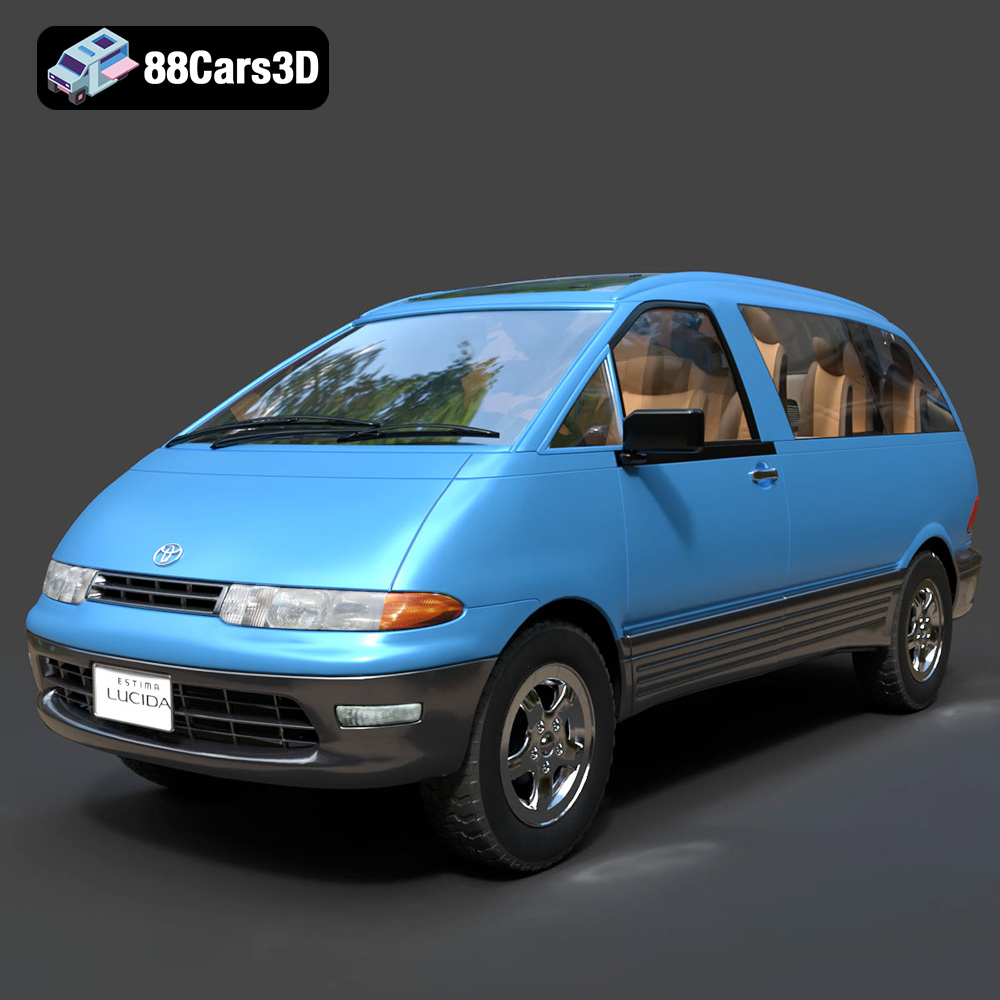
Toyota Estima Lucida 3D Model
Texture: Yes
Material: Yes
Download the Toyota Estima Lucida 3D Model featuring its iconic compact MPV design, versatile interior, and accurate exterior details. Includes .blend, .fbx, .obj, .glb, .stl, .ply, .unreal, and .max formats for rendering, simulation, and game development.
Price: $24.99

Toyota Alphard 3D Model
Texture: Yes
Material: Yes
Download the Toyota Alphard 3D Model featuring a detailed luxury minivan design with an accurate exterior and interior. Includes .blend, .fbx, .obj, .glb, .stl, .ply, .unreal, and .max formats for rendering, simulation, and game development.
Price: $21.99
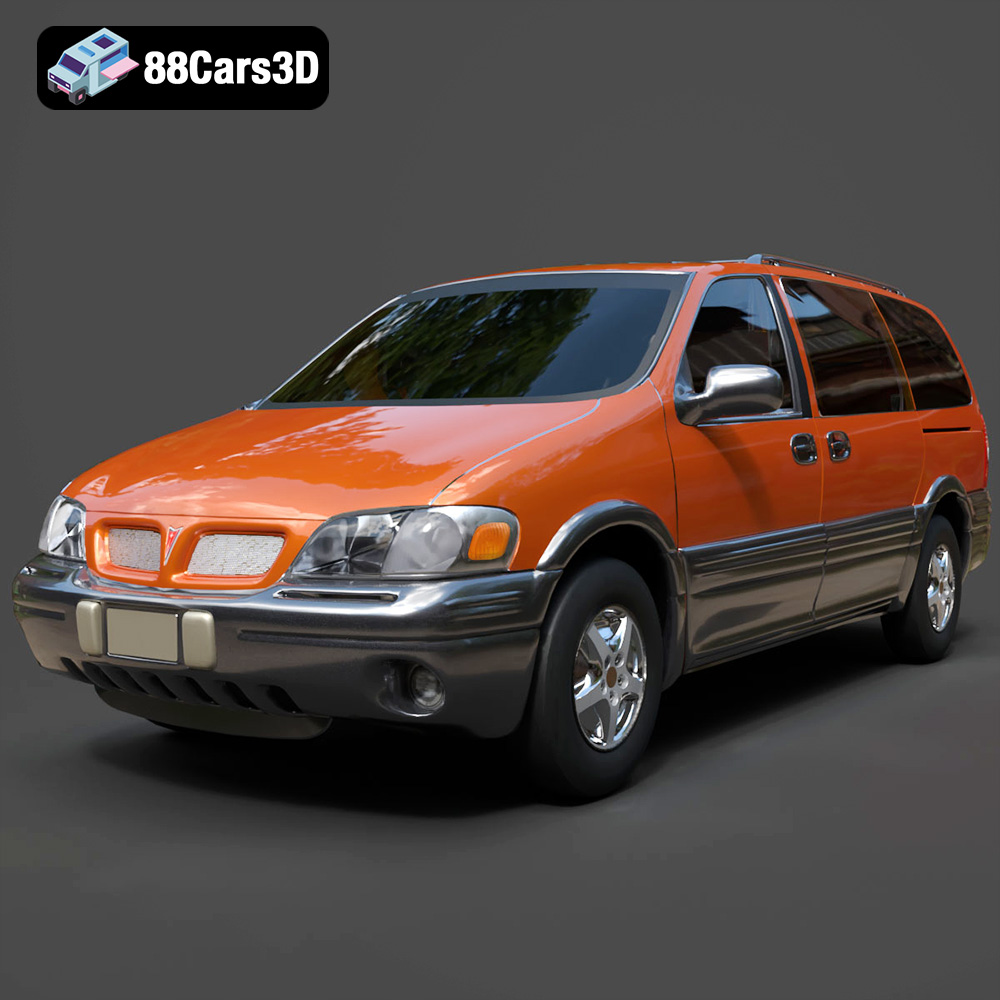
Pontiac Montana 1998 3D Model
Texture: Yes
Material: Yes
Download the Pontiac Montana 1998 3D Model featuring a detailed exterior, functional interior, and optimized mesh. Includes .blend, .fbx, .obj, .glb, .stl, .ply, .unreal, and .max formats for rendering, simulation, and game development.
Price: $21.99
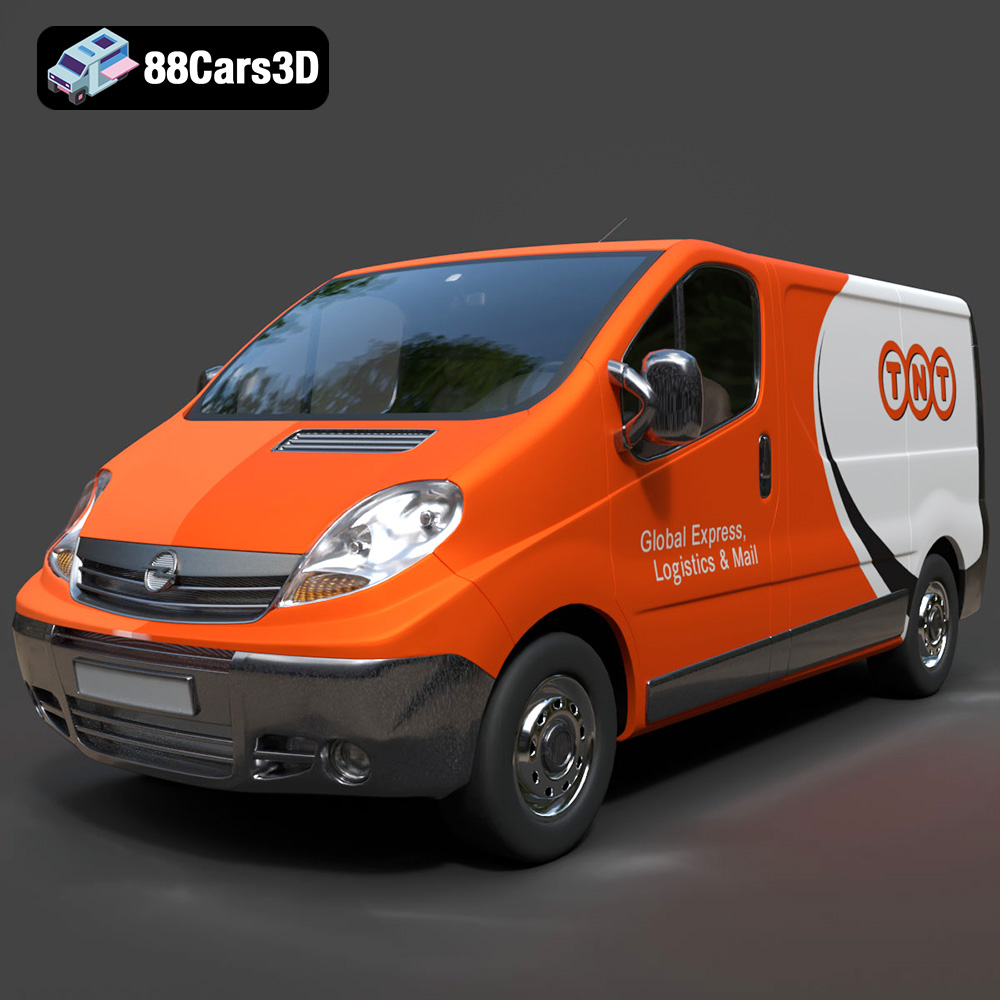
Opel Vivaro 3D Model
Texture: Yes
Material: Yes
Download the Opel Vivaro 3D Model featuring a versatile commercial van design with balanced detailing. Includes .blend, .fbx, .obj, .glb, .stl, .ply, .unreal, and .max formats for rendering, simulation, and game development.
Price: $21.99
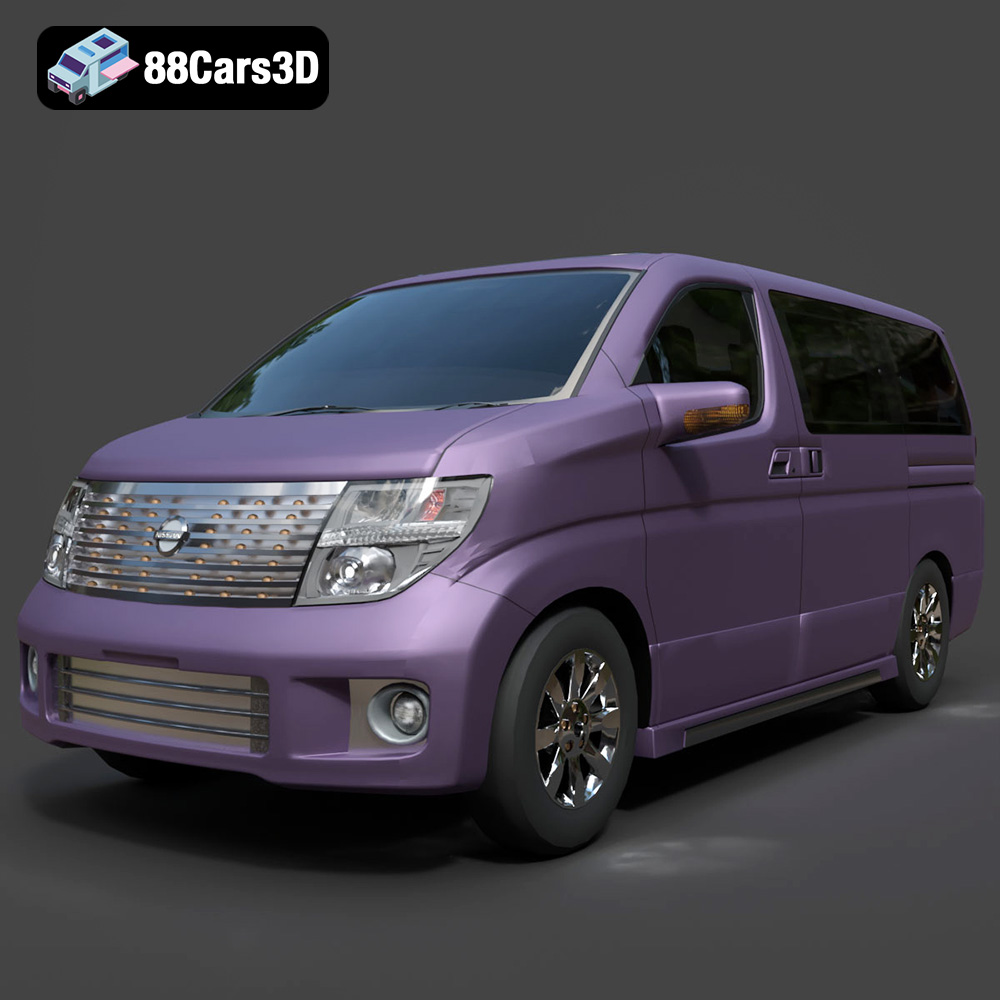
Nissan Elgrand 3D Model
Texture: Yes
Material: Yes
Download the Nissan Elgrand 3D Model featuring a versatile minivan design. Includes .blend, .fbx, .obj, .glb, .stl, .ply, .unreal, and .max formats for rendering, simulation, and game development.
Price: $21.99
