

The mobile gaming landscape is a vast and incredibly competitive arena, boasting billions of players and generating astronomical revenues. For Unreal Engine developers and 3D artists, translating high-fidelity visions into smooth, engaging mobile experiences presents a unique set of challenges. Unlike high-end PCs or consoles, mobile devices operate with significant constraints on CPU, GPU, memory, and battery life. Achieving stunning automotive visualization or a compelling racing game on a smartphone demands meticulous optimization at every stage of development.
This comprehensive guide dives deep into the world of Unreal Engine mobile game optimization. We’ll explore critical strategies, from intelligent asset management and material creation to efficient lighting and Blueprint scripting, ensuring your projects not only look fantastic but also run flawlessly on a wide range of mobile devices. Whether you’re an Unreal Engine developer, a 3D artist specializing in automotive models, or a game developer aiming for peak mobile performance, you’ll discover actionable insights to elevate your next project. We’ll cover essential techniques to make your 3D car models, sourced from marketplaces like 88cars3d.com, shine on mobile, without compromising performance.
The Mobile Imperative: Navigating Performance Constraints in Unreal Engine
Developing for mobile is fundamentally different from developing for other platforms. The primary goal is to deliver an acceptable frame rate (typically 30-60 FPS) while minimizing memory usage and battery drain. This requires a proactive, performance-first mindset from concept to deployment. Ignoring these constraints can lead to frustrating user experiences, poor reviews, and ultimately, project failure.
Understanding Mobile Hardware Limitations
Mobile System-on-Chips (SoCs) integrate CPU, GPU, and memory into a compact, power-efficient package. While increasingly powerful, they are still far less capable than dedicated gaming hardware. Mobile CPUs often have fewer cores and lower clock speeds, making complex physics simulations, AI, or extensive Blueprint logic expensive. Mobile GPUs, while optimized for mobile rendering APIs (like OpenGL ES 3.1 or Vulkan), have limited shader units, lower memory bandwidth, and shared memory with the CPU. This impacts draw call budgets, pixel fill rate, and texture sampling. Thermal throttling is another significant factor; prolonged heavy usage can cause devices to reduce performance to prevent overheating, leading to noticeable frame rate drops.
Memory is also a premium. Most modern smartphones have 4GB to 8GB of RAM, but a significant portion is reserved for the operating system and background applications. Your game might only have access to 1-3GB. Exceeding this budget leads to crashes, slow loading times, and a poor user experience. Keeping asset sizes, texture atlases, and scene complexity in check is paramount. Monitoring these limitations throughout development using Unreal Engine’s profiling tools is crucial to identify bottlenecks early and often.
Key Performance Indicators for Mobile Development
To effectively optimize, you must first understand what to measure. Key Performance Indicators (KPIs) provide a clear picture of where your game stands:
- Frame Rate (FPS): The most obvious indicator. Aim for a consistent 30-60 FPS on your target devices. Fluctuations are more noticeable and irritating than a consistent lower frame rate.
- Draw Calls: The number of times the CPU tells the GPU to render something. Each draw call has overhead. Mobile devices generally struggle with more than 500-1000 draw calls per frame, depending on complexity.
- Triangle Count: The total number of triangles rendered in a frame. While modern GPUs handle millions, mobile still benefits greatly from keeping individual meshes and the overall scene triangle count low.
- Overdraw: The number of times pixels are rendered to the same screen location. Transparency and complex shaders contribute heavily to overdraw, which is a significant GPU bottleneck on mobile.
- Memory Usage: Total RAM consumed by textures, meshes, animations, and other runtime data. High memory usage leads to crashes or being backgrounded by the OS.
- GPU/CPU Frame Time: How long the GPU and CPU take to process a single frame. The bottleneck will be whichever takes longer. Keep both below 33ms for 30 FPS, or 16ms for 60 FPS.
- Battery Consumption: Directly impacts user play sessions. Efficient rendering and CPU usage are key to prolonging battery life.
Understanding these KPIs will guide your optimization efforts, allowing you to prioritize the areas that yield the biggest performance gains. Unreal Engine provides robust profiling tools to help you monitor these metrics, which we’ll discuss later.
Lean & Mean: Optimizing 3D Car Models and Game Assets for Mobile
High-quality 3D assets, especially detailed automotive models, are often the heaviest burden on mobile performance. Strategic optimization of these assets is non-negotiable for mobile game development. Starting with optimized assets saves immense time and effort down the line.
Strategic LOD Creation and Culling Volumes
Level of Detail (LOD) is a fundamental optimization technique. It involves creating multiple versions of a mesh, each with a progressively lower polygon count and simpler materials, to be swapped out based on the camera’s distance to the object. For a hero asset like a 3D car model, you might have 3-5 LODs:
- LOD0: Full detail (e.g., 80,000-150,000 triangles for a highly detailed car). Used when very close.
- LOD1: Moderate detail (e.g., 30,000-50,000 triangles). Used at medium distances.
- LOD2: Low detail (e.g., 10,000-20,000 triangles). Used further away.
- LOD3: Very low detail (e.g., 2,000-5,000 triangles). Used at significant distances.
- LOD4: Billboard or impostor (a 2D sprite) for extremely far distances, or even culled entirely.
Unreal Engine’s Static Mesh Editor provides powerful tools for automatic LOD generation, but manual adjustments and careful review are often necessary for critical assets like vehicles. Ensure smooth transitions between LODs to avoid jarring popping. Remember to also simplify collision meshes for lower LODs. For more information on LODs, consult the official Unreal Engine documentation on mesh optimization.
Beyond LODs, use **Culling Volumes** effectively. Frustum Culling (objects outside the camera’s view are not rendered) is automatic. However, you can manually guide the engine with:
- Occlusion Culling: Objects hidden behind other opaque objects are not rendered. Ensure your scene has good “occluders” (large, opaque geometry). Unreal Engine provides various methods, including hardware occlusion queries.
- Distance Culling: Set explicit max draw distances for objects that become irrelevant beyond a certain range. This can be configured per-mesh or through level settings.
- Precomputed Visibility Volumes: For static scenes, these can pre-calculate visibility, drastically reducing runtime CPU cost for culling, especially beneficial for complex indoor environments.
Texture Management and Compression
Textures are often the largest consumers of memory on mobile. Efficient texture management is vital:
- Resolution Matters: Use the lowest possible resolution that maintains visual quality. For mobile, 2048×2048 pixels is often the maximum for hero assets, with many textures at 1024×1024 or 512×512. Consider texture atlases to reduce draw calls and memory overhead by packing multiple smaller textures into one larger sheet.
- Compression Formats: Unreal Engine supports various texture compression formats. For mobile, the most common are ETC2 (Android) and PVRTC (iOS), with ASTC offering superior quality and flexibility across both platforms, though it can have slightly higher memory usage. Select the appropriate compression for your target platform in the texture properties.
- Mipmaps: Always generate mipmaps. These are progressively smaller versions of a texture, used at a distance to reduce sampling overhead and prevent aliasing. Unreal Engine generates them by default.
- Power of Two Dimensions: Always use texture dimensions that are powers of two (e.g., 512×512, 1024×1024). This is a requirement for many compression formats and GPUs.
- Texture Streaming: Enable texture streaming in Project Settings (Engine -> Streaming) to load textures only when needed, reducing initial memory footprint and loading times.
When sourcing automotive assets from marketplaces such as 88cars3d.com, always check the provided texture resolutions and consider downscaling them if they are too high for mobile targets. It’s often easier to start with optimized textures than to try and fix issues later.
Crafting Efficient Materials and Shaders for Mobile
Materials and shaders are at the core of visual fidelity, but they can quickly become a performance bottleneck on mobile if not optimized carefully. The goal is to achieve visual quality with the fewest possible instructions per pixel.
Mobile-Friendly PBR: Balancing Realism and Performance
Physically Based Rendering (PBR) is the standard for realistic materials, but its full implementation can be heavy for mobile. Unreal Engine’s mobile renderer supports a streamlined PBR workflow, but compromises are often necessary:
- Simpler Shaders: Avoid overly complex material graphs with many texture lookups, complex mathematical operations, or numerous shader functions. Each node in your Material Editor adds to the shader instruction count. Use the “Shader Complexity” view mode (Alt+8) to visualize the cost of your materials. Green is good, red is bad.
- Reduce Texture Samples: Every texture sample is a performance hit. Can multiple parameters be packed into a single texture (e.g., roughness, metallic, ambient occlusion into different channels of one RGBA texture)? This is a common and highly effective optimization.
- Disable Unnecessary Features: In your material settings, uncheck features not needed for mobile, such as “Two Sided,” “Refraction,” “Subsurface Scattering,” or high-quality clear coat if not absolutely essential.
- Mobile HDR: While Mobile HDR offers better color precision, it comes with a performance cost. For lower-end devices or simpler games, consider disabling it in Project Settings (Rendering -> Mobile).
For metallic surfaces on your 3D car models, use a simple Metallic/Roughness PBR setup. Avoid complex clear coat shaders if performance is critical, or bake reflections into cube maps where possible.
Shader Complexity and Material Instances
Understanding and managing shader complexity is paramount. Unreal Engine compiles a unique shader for every material using a unique set of parameters and features. This leads to increased memory usage and longer compile times. To combat this:
- Material Instances: This is your best friend for material optimization. Create a master material with all the necessary parameters, then create instances from it. Material instances allow you to change texture maps, colors, and scalar values without recompiling the shader. This dramatically reduces draw calls and shader permutations, saving memory and compile time. For example, all your car paint variations (different colors, metallic flakes) should be material instances of a single master car paint material.
- Vertex Colors: Instead of multiple textures, use vertex colors to add subtle variations (e.g., dirt, wear) to objects like roads or environment pieces. This adds minimal shader cost.
- Static Switches: In your master materials, use static switches to include or exclude complex features based on a boolean parameter. When compiled, Unreal will only include the active branch, generating lighter shaders for material instances that toggle features off.
- Baked Lighting Information: While we’ll discuss lighting in detail, remember that baking lightmaps can simplify shader calculations significantly, as the material doesn’t need to perform complex real-time lighting calculations.
Always review your shader statistics (Window -> Developer Tools -> Audit -> Shader Complexity) to catch inefficient materials. The goal is to keep complexity as low as possible without sacrificing key visual elements.
Lighting the Path: Mobile Rendering and Lighting Strategies
Lighting is a major contributor to a scene’s visual appeal, but real-time global illumination and dynamic shadows are often too demanding for mobile devices. Smart lighting strategies focus on maximizing baked lighting while judiciously using real-time elements.
Baking Static Lighting for Performance
For most static geometry in a mobile scene, Unreal Engine’s Lightmass is your most powerful ally. Baking lighting means that all light and shadow information is pre-calculated and stored in lightmaps (textures) applied to your geometry. This eliminates the need for expensive real-time calculations during gameplay.
Key considerations for baking static lighting:
- Lightmap UVs: Ensure all static meshes have a second UV channel (UV Channel 1) dedicated to lightmaps. These UVs must be non-overlapping and have sufficient padding between islands to prevent bleeding.
- Lightmap Resolution: Adjust lightmap resolutions based on the object’s size and importance. Larger, more prominent objects (like the ground, walls) require higher resolutions (e.g., 128-256 pixels per unit), while smaller, less critical objects can use lower resolutions (e.g., 32-64 pixels per unit).
- Static Lights Only: Only ‘Static’ or ‘Stationary’ lights contribute to baked lighting. ‘Movable’ lights are fully dynamic and should be used sparingly for mobile, typically for the main directional light (Sun) and possibly one or two crucial spot/point lights.
- Light Propagation Volumes (LPVs): While not strictly baking, LPVs can offer some limited global illumination on mobile with a performance cost. Evaluate if the visual benefit outweighs the cost for your project.
Baking lighting reduces GPU load significantly by moving complex calculations to design time. This is especially effective for environments where your 3D car models will be driving, allowing you to dedicate dynamic lighting budget to the car itself.
Forward Rendering and Mobile HDR
Unreal Engine defaults to Deferred Rendering for desktop, but for mobile, it often uses a lighter-weight **Forward Renderer**. The forward renderer generally has lower overhead, better support for anti-aliasing (MSAA), and can be more performant on mobile GPUs, especially for scenes with fewer lights.
Configuring Mobile Rendering:
- Navigate to Project Settings -> Platforms -> Android/iOS -> Rendering.
- Enable/Disable **Mobile HDR**: Mobile HDR (High Dynamic Range) provides better color precision and allows for true bloom and exposure effects, but it comes at a significant performance cost (often 20-30% GPU time). For high-end mobile devices or visually demanding projects, it might be acceptable. For broader compatibility and maximum performance, consider disabling it. If you disable HDR, be aware that post-processing effects like bloom will be less effective or require alternative implementations.
- **Forward Shading:** Ensure your project is configured for forward shading if you are targeting mobile. This is typically the default, but double-check if you’ve made changes.
- **Anti-Aliasing:** MSAA (Multi-Sample Anti-Aliasing) is often the preferred choice for mobile when available, offering good quality at a reasonable performance cost compared to TAA (Temporal Anti-Aliasing) which can be expensive. Configure it in Project Settings -> Rendering -> Default Settings.
Beyond baked lighting, use dynamic lighting sparingly. A single directional light (sun) for dynamic shadows is often acceptable, but multiple dynamic lights or shadow casters can quickly tank performance. Consider using simple vertex-painted ambient occlusion or small, fixed-range, unshadowed point lights for local accentuation.
Streamlining Gameplay, Blueprints, and UI for Mobile Responsiveness
Performance isn’t just about graphics; inefficient gameplay logic, over-complicated Blueprints, and unoptimized UI can introduce significant CPU and memory bottlenecks. A performant mobile game requires optimization across all systems.
Blueprint Optimization Techniques
While Blueprint visual scripting is incredibly powerful and accessible, it executes on the CPU, making it a potential bottleneck on mobile devices.
Consider these techniques:
- Minimize Tick Events: Avoid complex logic on the Event Tick node. If something doesn’t need to update every frame, use timers, custom events, or event-driven logic instead. For example, rather than checking if a car is out of bounds every tick, use an overlap event with a trigger volume.
- Reduce Event Dispatchers & Interface Calls: While useful, excessive use of event dispatchers and Blueprint interface calls can introduce overhead. Use direct function calls or references when possible, especially for frequently called operations.
- Cache References: Do not repeatedly use “Get All Actors Of Class” or “Cast To” nodes on Tick. Find necessary actors once (e.g., in BeginPlay) and store references in variables for later use.
- Disable Collision for Unnecessary Objects: Many static meshes or visual-only actors don’t need collision. Set their collision response to “No Collision” to save CPU cycles.
- Use Nativization: For performance-critical Blueprints (e.g., your car’s movement component), consider Blueprint Nativization. This converts Blueprints to C++ code during packaging, offering significant CPU performance gains. Access this in Project Settings -> Packaging -> Blueprint Nativization Method.
- Delegate to C++ for Heavy Lifting: For truly performance-intensive systems (complex physics, AI pathfinding, large-scale data processing), consider implementing them in C++ and exposing minimal functionality to Blueprint.
Always profile your Blueprint logic using the Session Frontend to identify expensive nodes or execution paths. Even small optimizations spread across many actors can accumulate into significant performance improvements.
UI/UX Considerations for Mobile Performance
User Interfaces (UI) built with Unreal Engine’s UMG (Unreal Motion Graphics) can also be a performance drain. Effective optimization ensures a responsive UI without impacting frame rate:
- Minimize Widgets: Every widget, even if hidden, costs CPU and memory. Only create and show widgets when absolutely necessary. Remove widgets from the viewport when not in use.
- Batching: UMG attempts to batch draw calls, but complex hierarchies or non-uniform widget properties can break batching. Keep your UI hierarchy as flat as possible where performance is critical.
- Texture Atlases for UI: Pack UI elements (icons, buttons) into texture atlases to reduce draw calls.
- Avoid Overlapping Translucency: Transparent UI elements can cause overdraw. Use opaque elements where possible or design your UI to minimize transparent overlap.
- Complex Animations: While UMG animations are powerful, overly complex sequences or animations on frequently updated elements (like a health bar on Event Tick) can be costly. Keep them simple and short.
- Font Rendering: Use optimized font assets and avoid loading too many different font faces. Signed Distance Field (SDF) fonts can offer good quality scaling with a performance overhead, so test thoroughly.
Think about your target device’s screen size and aspect ratio from the start. A cluttered UI designed for a large monitor will likely be unplayable on a smaller mobile screen and potentially more expensive to render. Focus on clarity and efficiency.
Packaging, Profiling, and Deployment: Fine-Tuning Your Mobile Masterpiece
Optimization doesn’t stop in the editor; the real test comes when your game is running on a target mobile device. Packaging settings, diligent profiling, and thoughtful deployment are the final crucial steps to a successful mobile game.
Using Unreal Engine’s Profiling Tools (Stat commands, Session Frontend)
Unreal Engine provides an array of powerful profiling tools. They are indispensable for identifying performance bottlenecks:
- Stat Commands: In-game console commands accessible during PIE or on a connected device. Key commands include:
- `stat FPS`: Displays frame rate.
- `stat Unit`: Shows CPU and GPU frame times.
- `stat RHI`: Details rendering hardware interface stats (draw calls, triangles, etc.).
- `stat Engine`: Engine-level statistics.
- `stat Game`: Blueprint and game thread statistics.
- `stat GPU`: Detailed GPU timings.
- `stat SceneRendering`: Specific rendering passes.
- `stat Memory`: General memory usage.
- `stat UI`: UMG UI performance.
- `stat Slate`: Slate UI (editor) performance.
- Session Frontend: A comprehensive external profiling tool (Window -> Developer Tools -> Session Frontend). This allows you to connect to a running game on a device (or in PIE) and capture detailed traces of CPU, GPU, memory, and networking activity. You can analyze call stacks, identify spikes, and pinpoint the exact asset or Blueprint node causing performance issues.
- Shader Complexity View Mode (Alt+8): Visualizes the cost of your materials in the editor, crucial for identifying expensive shaders.
- Draw Call Visualization: Use the “Visualize Optimization” -> “Quad Overdraw” or “Shader Complexity” view modes to see where your scene is spending most of its rendering budget.
Profiling should be an iterative process. Optimize, profile again, identify the next bottleneck, and repeat. Always profile on your target hardware, as editor performance can differ significantly from device performance.
Project Settings and Packaging for Mobile Platforms
The final steps involve configuring your project for deployment. Correct packaging settings are vital for minimizing file size and maximizing runtime performance:
- Platforms Settings (Android/iOS):
- Minimum OS Version: Set the lowest compatible Android API level or iOS version to control your target audience and available features.
- Supported GPU RHI: Select OpenGL ES 3.1, Vulkan, or Metal. Vulkan often offers better performance on supported Android devices. Metal is for iOS.
- Mobile HDR: Reiterate the performance trade-off discussed earlier.
- Texture Compression: Verify ASTC, ETC2, or PVRTC are correctly configured.
- APK/IPA Size: Monitor this. Large file sizes deter downloads.
- Rendering Settings (Engine -> Rendering):
- Mobile Specific: Review all mobile-specific options. Disable features like instanced stereo, motion blur, lens flares, or ambient occlusion if they are not strictly necessary for your game.
- Quality Scales: Set appropriate defaults for texture quality, shadow quality, etc., for mobile.
- Packaging Settings (Project Settings -> Packaging):
- Cook Content For: Select your target mobile platforms.
- Blueprint Nativization: Consider enabling it for CPU-heavy Blueprints.
- Strip Debug Info: Essential for reducing final package size.
- Build Configuration: Always package “Shipping” builds for release, as “Development” builds include debugging information that impacts performance.
- Generate Chunks: For larger games, use content chunking to manage download sizes and stream content efficiently.
- Asset Audit: Before final packaging, perform a thorough asset audit. Delete unused assets, consolidate duplicate textures, and ensure that all meshes and textures, especially those detailed 3D car models from resources like 88cars3d.com, are using optimized settings and LODs.
A well-configured project combined with thoroughly optimized assets and logic forms the bedrock of a successful mobile game. The journey of optimization is continuous, but with these techniques, you’re well-equipped to deliver high-quality, performant experiences.
Conclusion
Optimizing mobile games in Unreal Engine is a comprehensive and ongoing process, requiring diligence across every aspect of development. From the foundational choice of your 3D assets to intricate Blueprint logic and final packaging configurations, every decision impacts your game’s performance on constrained mobile hardware. By understanding the limitations of mobile devices and employing the strategies outlined in this guide – including aggressive LODs, intelligent texture management, efficient PBR materials, strategic baked lighting, and streamlined Blueprint scripting – you can transform a demanding vision into a smooth, captivating mobile experience.
Remember to always start with optimization in mind, leverage Unreal Engine’s powerful profiling tools, and iterate frequently on your target devices. Resources like 88cars3d.com provide a great starting point with high-quality 3D car models; your task is to ensure they are integrated and optimized perfectly for the mobile ecosystem. Embrace the challenge, and your dedication to performance will pay off with engaged players and a standout title in the competitive mobile market. Keep learning, keep testing, and keep pushing the boundaries of what’s possible on mobile with Unreal Engine.
Featured 3D Car Models
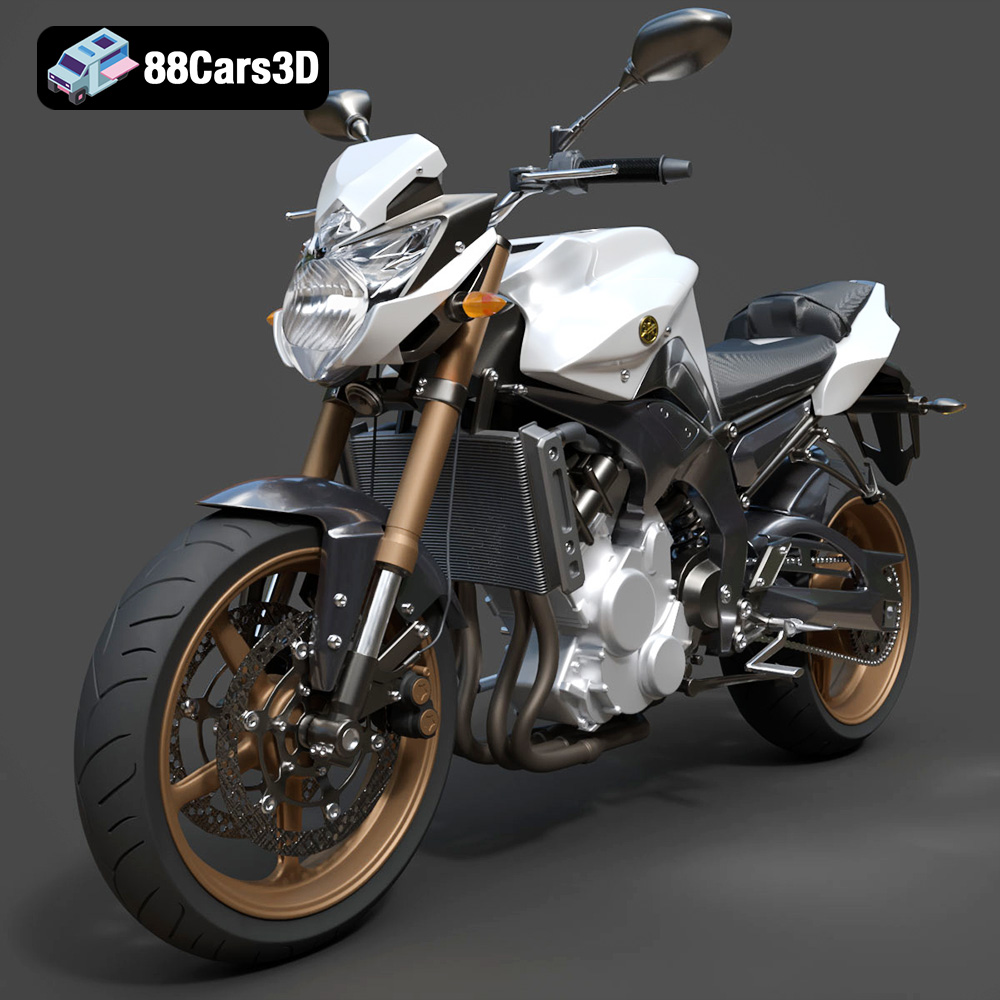
Yamaha FZ8 2011 3D Model
Texture: Yes
Material: Yes
Download the Yamaha FZ8 2011 3D Model featuring clean geometry, realistic detailing, and a fully modeled interior. Includes .blend, .fbx, .obj, .glb, .stl, .ply, .unreal, and .max formats for rendering, simulation, and game development.
Price: $19.99

Ford Ambulance AmServ LTD Dusan-002 3D Model
Texture: Yes
Material: Yes
Download the Ford Ambulance AmServ LTD Dusan-002 3D Model featuring a high-detail exterior and interior, realistic textures, and emergency lighting. Includes .blend, .fbx, .obj, .glb, .stl, .ply, .unreal, and .max formats for rendering, simulation, and game development.
Price: $19.99
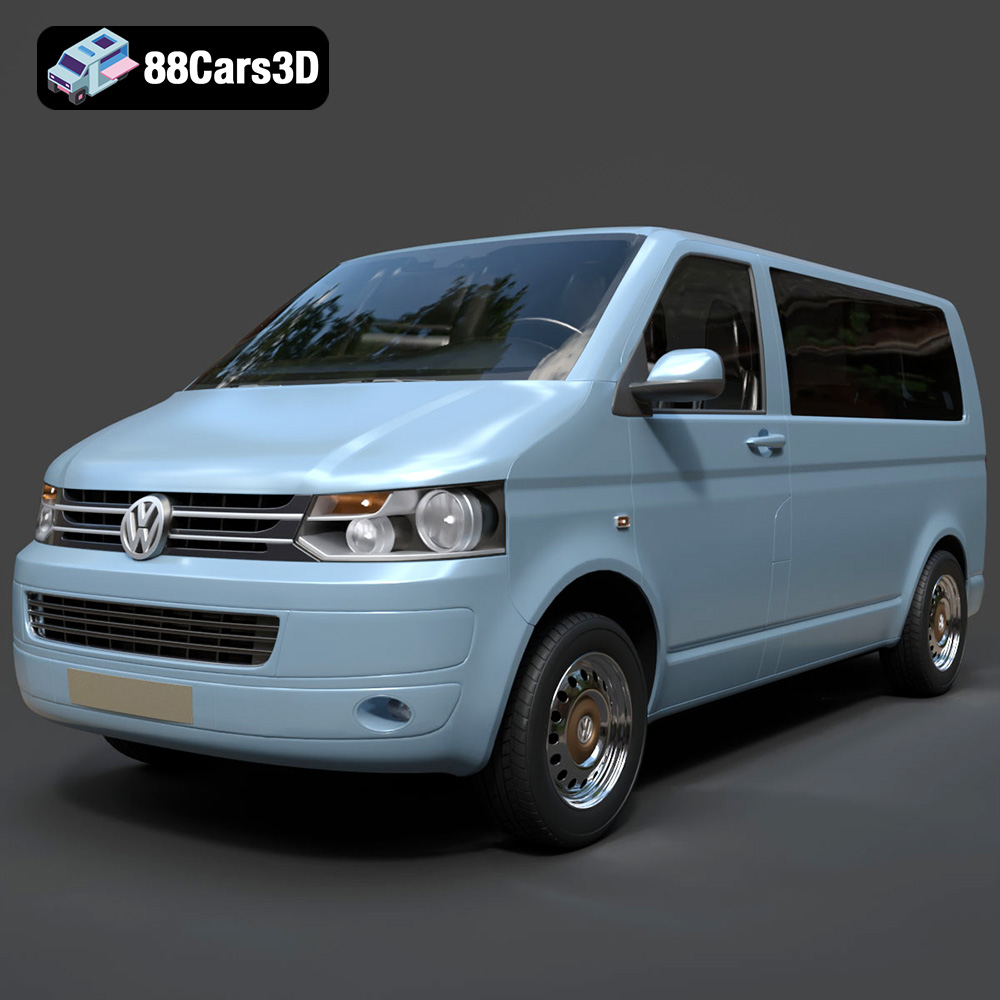
Volkswagen Transporter T5 FL 2010 3D Model
Texture: Yes
Material: Yes
Download the Volkswagen Transporter T5 FL 2010 3D Model featuring clean geometry, realistic detailing, and a fully modeled interior. Includes .blend, .fbx, .obj, .glb, .stl, .ply, .unreal, and .max formats for rendering, simulation, and game development.
Price: $22.99
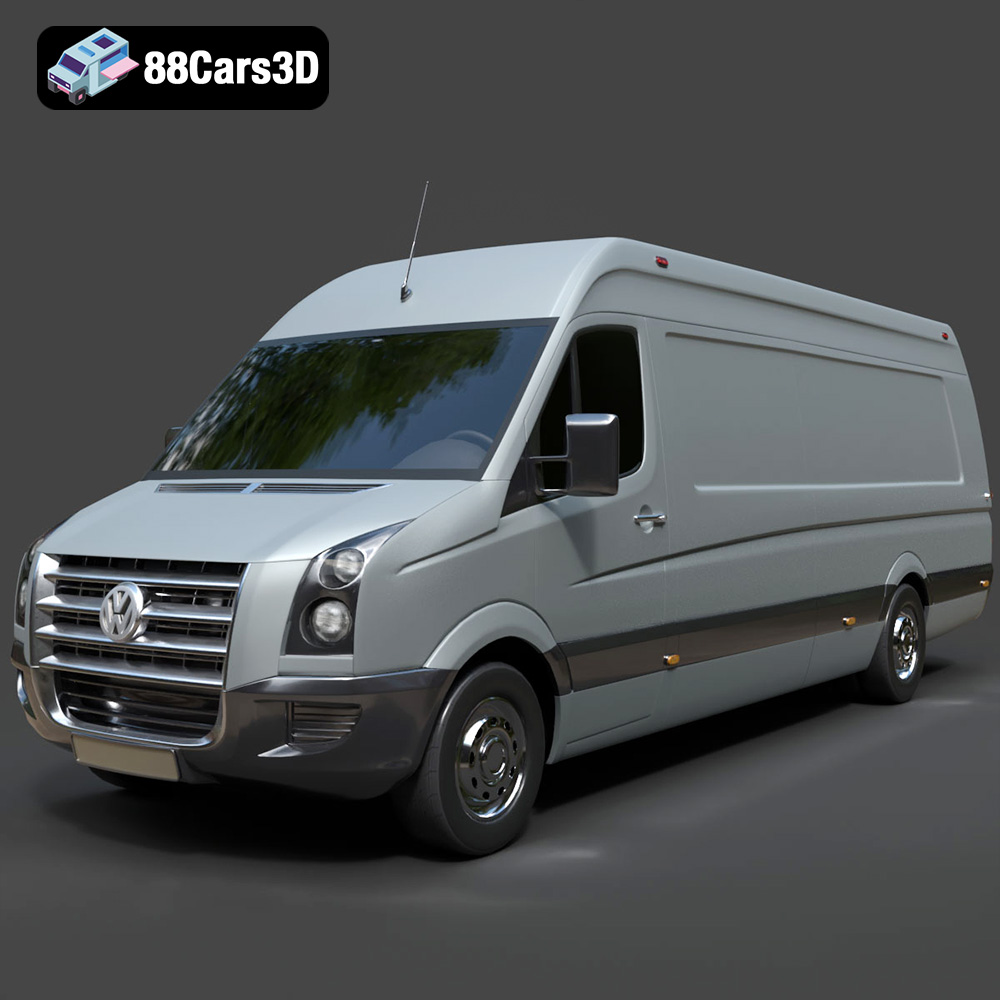
Volkswagen Crafter 2020 3D Model
Texture: Yes
Material: Yes
Download the Volkswagen Crafter 2020 3D Model featuring clean geometry, realistic detailing, and a fully modeled interior. Includes .blend, .fbx, .obj, .glb, .stl, .ply, .unreal, and .max formats for rendering, simulation, and game development.
Price: $22.99
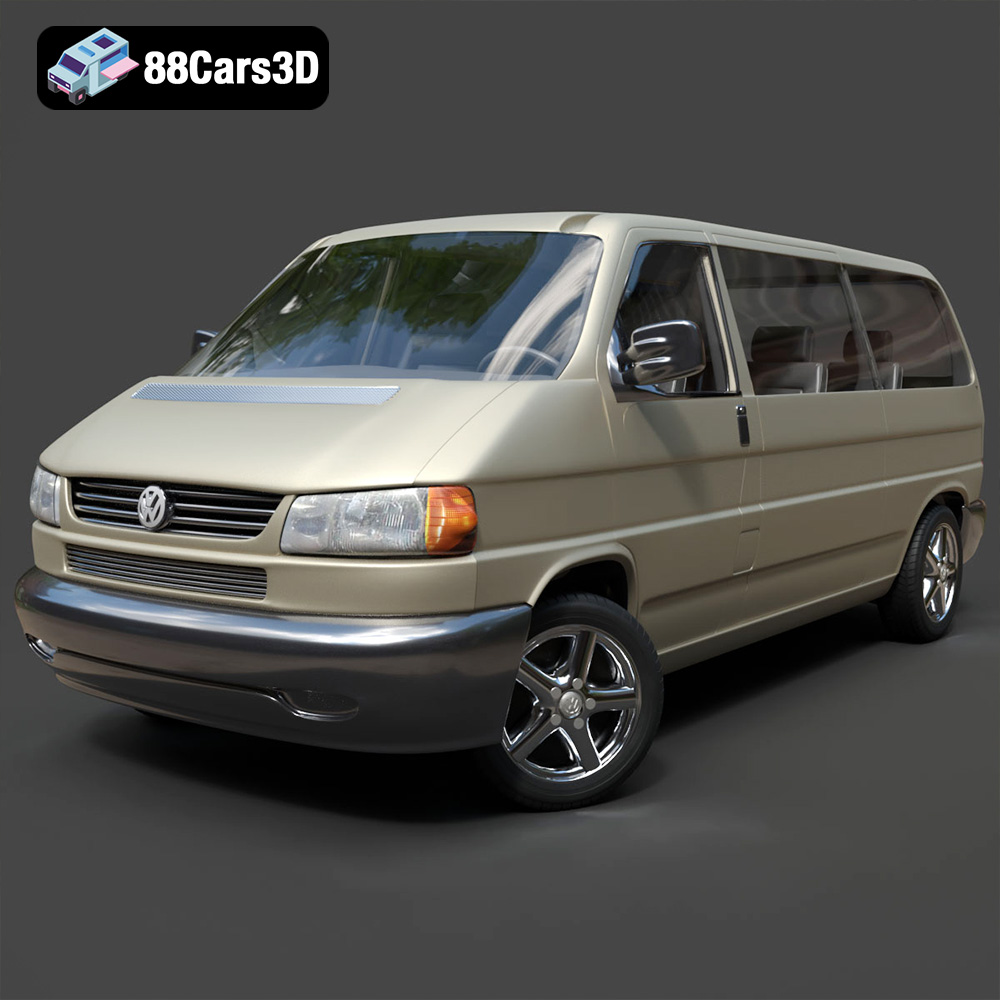
Volkswagen Caravelle 2020 3D Model
Texture: Yes
Material: Yes
Download the Volkswagen Caravelle 3D Model featuring a detailed exterior, functional interior, and optimized topology. Includes .blend, .fbx, .obj, .glb, .stl, .ply, .unreal, and .max formats for rendering, simulation, and game development.
Price: $23.99
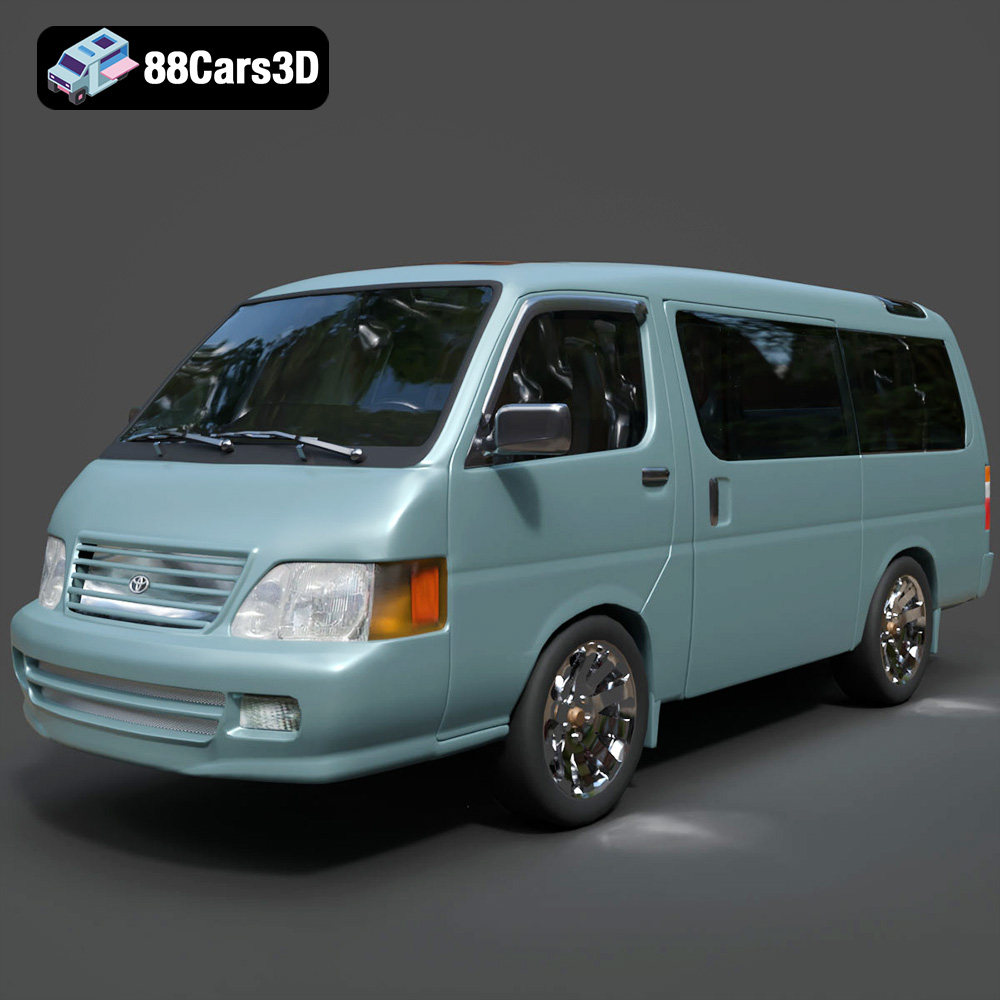
Toyota Hiace 3D Model
Texture: Yes
Material: Yes
Download the Toyota Hiace 3D Model featuring versatile design and detailed exterior. Includes .blend, .fbx, .obj, .glb, .stl, .ply, .unreal, and .max formats for rendering, simulation, and game development.
Price: $21.99
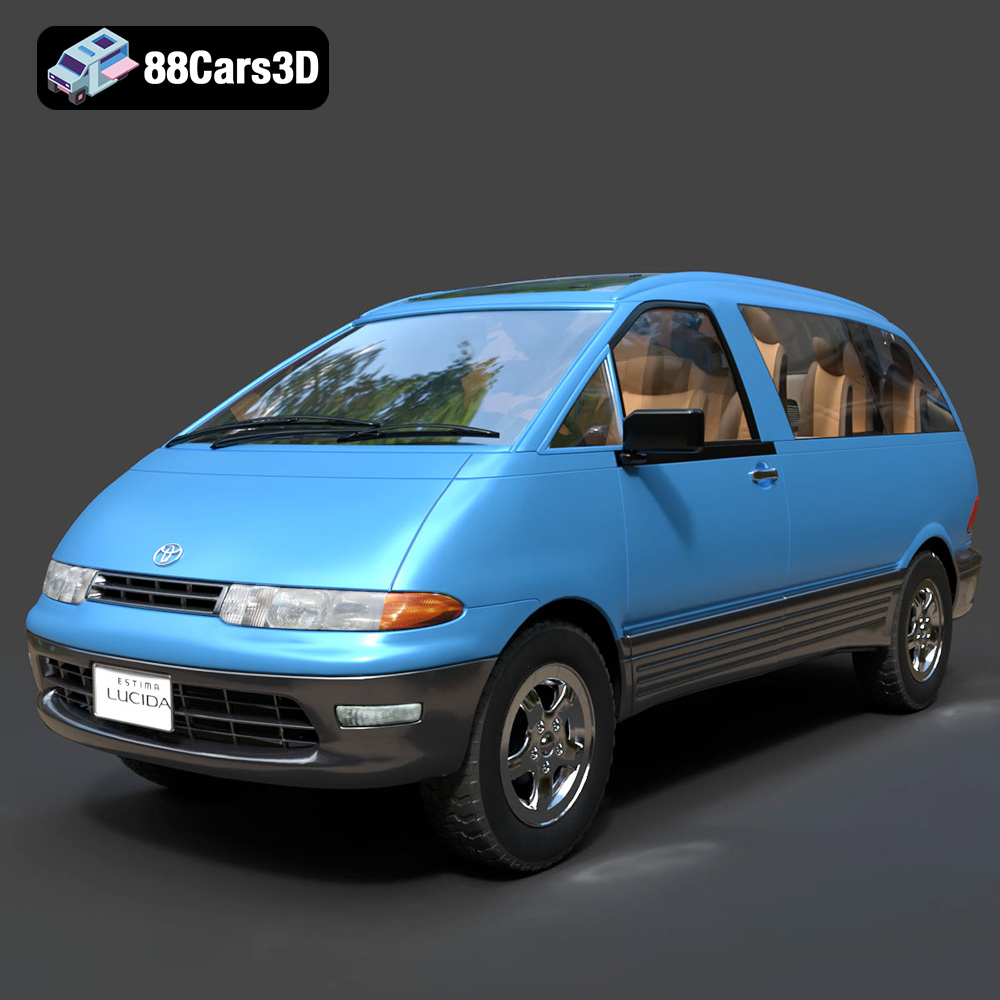
Toyota Estima Lucida 3D Model
Texture: Yes
Material: Yes
Download the Toyota Estima Lucida 3D Model featuring its iconic compact MPV design, versatile interior, and accurate exterior details. Includes .blend, .fbx, .obj, .glb, .stl, .ply, .unreal, and .max formats for rendering, simulation, and game development.
Price: $24.99

Toyota Alphard 3D Model
Texture: Yes
Material: Yes
Download the Toyota Alphard 3D Model featuring a detailed luxury minivan design with an accurate exterior and interior. Includes .blend, .fbx, .obj, .glb, .stl, .ply, .unreal, and .max formats for rendering, simulation, and game development.
Price: $21.99
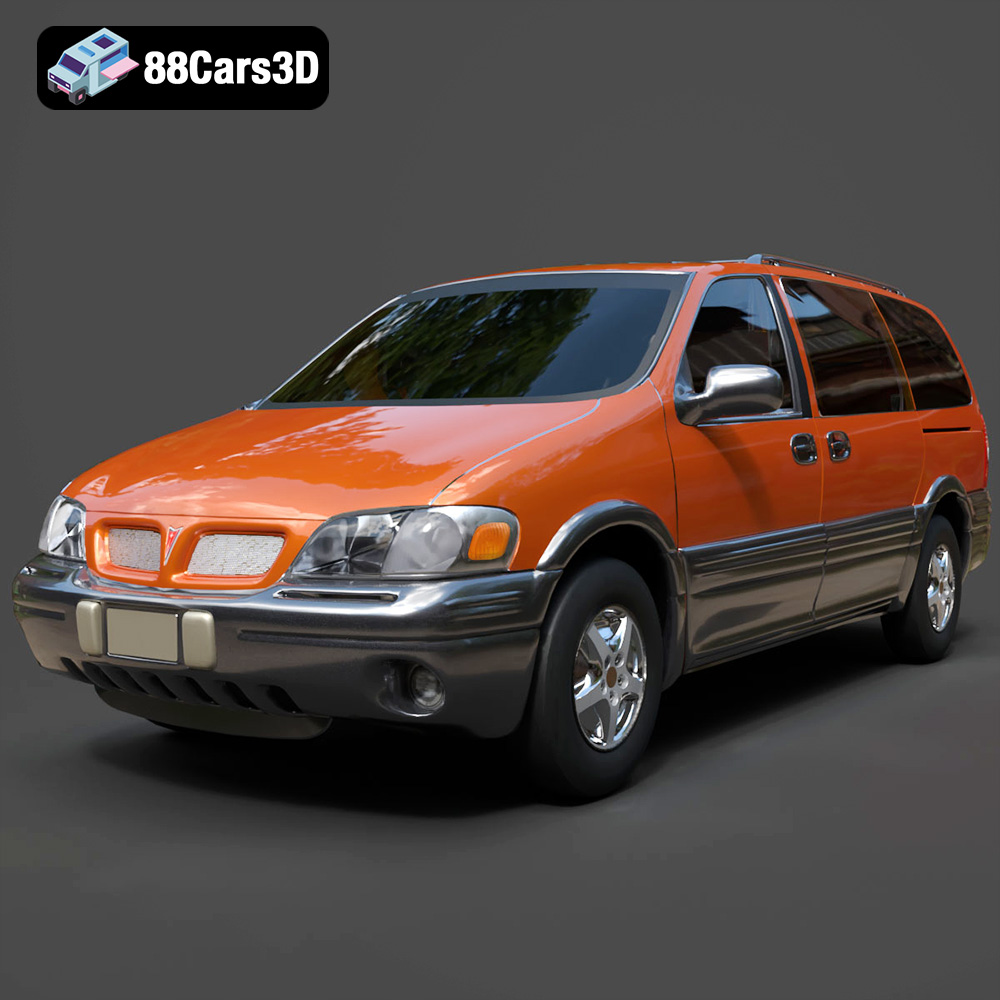
Pontiac Montana 1998 3D Model
Texture: Yes
Material: Yes
Download the Pontiac Montana 1998 3D Model featuring a detailed exterior, functional interior, and optimized mesh. Includes .blend, .fbx, .obj, .glb, .stl, .ply, .unreal, and .max formats for rendering, simulation, and game development.
Price: $21.99
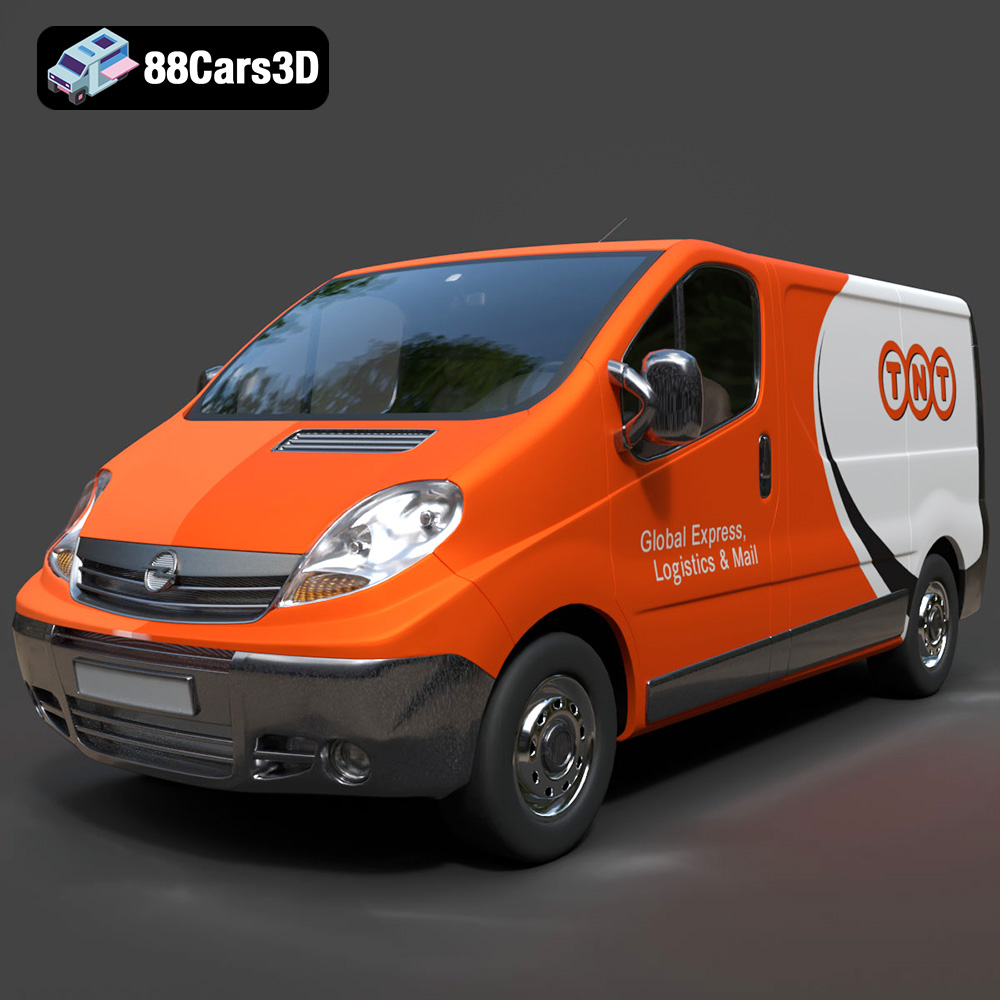
Opel Vivaro 3D Model
Texture: Yes
Material: Yes
Download the Opel Vivaro 3D Model featuring a versatile commercial van design with balanced detailing. Includes .blend, .fbx, .obj, .glb, .stl, .ply, .unreal, and .max formats for rendering, simulation, and game development.
Price: $21.99
