

In the realm of automotive visualization and real-time rendering, achieving unparalleled realism is the ultimate goal. While meticulously crafted 3D car models, such as those found on 88cars3d.com, provide the essential foundation, it’s the dynamic visual effects (VFX) that truly breathe life into static scenes. Imagine a high-performance vehicle kicking up a cloud of dust on a gravel road, water splashing realistically as it drives through a puddle, or exhaust fumes subtly dissipating into the air. These are the intricate details that transform a good visualization into an immersive, believable experience.
Unreal Engine’s Niagara VFX system stands at the forefront of real-time particle effects, offering artists and developers an incredibly powerful, flexible, and performant toolset. Designed from the ground up to handle complex simulations with efficiency, Niagara enables the creation of breathtaking visual spectacles that were once the exclusive domain of offline renderers. Whether you’re developing a cutting-edge racing game, an interactive automotive configurator, or a stunning cinematic render, mastering Niagara is essential for elevating your projects. This comprehensive guide will delve deep into the Niagara system, demonstrating how to harness its capabilities to create mesmerizing automotive VFX, optimize performance, and integrate effects seamlessly into your Unreal Engine projects.
The Power of Niagara for Automotive VFX in Unreal Engine
Niagara represents a paradigm shift in real-time VFX creation within Unreal Engine. Moving beyond the legacy Cascade particle system, Niagara offers a modular, data-driven, and highly optimized framework that empowers artists with unprecedented control and scalability. For automotive rendering, this means the ability to craft exquisitely detailed environmental interactions, dynamic vehicle wear and tear, and nuanced atmospheric effects that significantly enhance realism. Consider the visual impact of a tire peeling out, leaving a thick trail of smoke, or the subtle shimmer of exhaust fumes on a cold morning. These elements, meticulously engineered with Niagara, immerse the viewer in the scene, transforming a mere model into a living, breathing machine.
The core advantage of Niagara lies in its flexibility. Unlike traditional particle systems that often rely on pre-defined behaviors, Niagara allows you to build effects from the ground up using a library of modules. This modularity not only fosters creativity but also provides robust control over every aspect of a particle’s lifecycle, from its initial spawn to its eventual death. This level of granular control is particularly vital when aiming for photorealism in automotive visualizations, where subtle imperfections and dynamic environmental reactions are key to believability. Furthermore, Niagara’s ability to leverage GPU simulation ensures that even complex effects with thousands of particles can run efficiently in real-time, a non-negotiable requirement for modern games and interactive experiences.
Niagara’s Modular Architecture and Core Concepts
At the heart of Niagara is a hierarchical, modular structure. A Niagara System is the top-level container, housing one or more Emitters. Each Emitter defines a unique particle behavior, such as a smoke trail or water splash. Within an Emitter, various Modules dictate specific actions or properties for the particles. These modules cover everything from spawning rates and initial size to physics, collisions, and rendering. For instance, an Emitter for tire smoke might include a “Spawn Rate” module to continuously generate particles, an “Initialize Particle” module to set their initial color and size, and a “Drag” module to simulate air resistance.
User Parameters are another crucial concept, allowing you to expose variables within your Niagara system to be controlled externally, typically via Blueprints or Sequencer. This enables dynamic adjustments to effect intensity based on vehicle speed, surface type, or other in-game events. Understanding this modularity is key to building complex, yet organized and manageable, VFX. You can create libraries of re-usable Emitters and Modules, accelerating your workflow and maintaining consistency across multiple automotive projects. For more details on the core architecture, refer to the official Unreal Engine documentation on Niagara Overview.
Performance Advantages for Real-Time Automotive Scenes
Performance is paramount in real-time automotive visualization, where high polygon counts from detailed car models and demanding lighting solutions like Lumen can quickly strain system resources. Niagara excels in this area through its heavy reliance on GPU simulation. By offloading particle calculations to the graphics card, Niagara can process significantly more particles simultaneously compared to CPU-based systems, leading to smoother frame rates and more complex visual effects. This is a game-changer for scenarios requiring thousands of particles, such as realistic dust clouds, dense rain, or widespread debris from a collision.
Beyond GPU acceleration, Niagara provides extensive tools for optimization. Features like particle culling, Level of Detail (LOD) systems, and scalability settings allow developers to fine-tune effect complexity based on distance from the camera, screen size, or target hardware. This ensures that visual quality remains high when particles are prominent, but resources are conserved when they are less noticeable. For instance, a distant dust cloud might use fewer, larger particles with simpler materials, while a close-up tire smoke effect will render with maximum detail. Efficient resource management is critical when integrating detailed automotive assets from platforms like 88cars3d.com, allowing Niagara to enhance realism without compromising the overall performance of your scene.
Setting Up Your First Niagara System for Car Effects
Creating your first Niagara system in Unreal Engine is a straightforward process that lays the groundwork for more complex automotive effects. The Niagara Editor provides a comprehensive interface for building, previewing, and debugging your particle systems. We’ll walk through the initial steps, focusing on creating a fundamental effect that can be adapted for various car-related visuals, such as a basic tire smoke or exhaust plume.
To begin, navigate to your Content Browser, right-click, and select “FX” > “Niagara System.” You’ll be prompted to choose how to create your system: either from a new or existing emitter. For beginners, selecting “New system from selected Emitters” and choosing one of the template emitters, such as “Simple Sprite Burst” or “Empty Emitter,” is a good starting point. The “Empty Emitter” provides a blank canvas, giving you full control from the outset. Once created, double-clicking the new Niagara System asset will open the Niagara Editor, revealing its four main panels: the Timeline, Stack, Parameters, and Preview Viewport. The Stack panel is where you’ll spend most of your time, adding and configuring modules to define particle behavior.
Creating a Basic Tire Smoke Effect
Let’s create a foundational tire smoke effect. After opening an “Empty Emitter” in the Niagara Editor:
- Emitter Spawn Group: Click the ‘+’ icon next to “Emitter Spawn” and add a “Spawn Rate” module. Set the rate to a reasonable number, for example, 50-100 particles per second.
- Particle Spawn Group: Click ‘+’ next to “Particle Spawn” and add “Initialize Particle.” Here, you’ll define initial properties:
- Sprite Size Mode: Set to “Random Uniform.” Adjust Min and Max sizes (e.g., 20-50).
- Lifetime Mode: Set to “Random.” Define Min and Max lifetimes (e.g., 1-3 seconds).
- Color: Set to a light gray or white.
Add a “Sphere Location” module to control where particles spawn. Set its radius to a small value (e.g., 5-10 units) to simulate emission from a specific point.
- Particle Update Group: Add “Scale Color” to fade particles over their lifetime. Set the Alpha Curve to start at 1 and gradually decrease to 0. Add “Gravity Force” if you want the smoke to fall slightly. “Drag” can simulate air resistance.
- Renderer: In the “Render” section, ensure “Sprite Renderer” is selected. Assign a basic smoke material (see next section) to the “Material” slot.
This basic setup will emit small, fading gray sprites, forming the rudimentary shape of smoke. You can then attach this Niagara system to the wheel Blueprint of your 88cars3d.com car model for dynamic interaction.
Material Creation for Realistic Particles
The visual quality of your Niagara effects is heavily reliant on the materials assigned to your particles. For realistic smoke, dust, or water, you’ll typically use translucent materials with carefully crafted textures. In Unreal Engine’s Material Editor, create a new material and set its “Blend Mode” to “Translucent” and “Shading Model” to “Unlit.” For smoke and dust, an “Additive” or “Alpha Composite” blend mode often works best, allowing particles to blend realistically without harsh edges. An “Additive” blend mode brightens areas where particles overlap, ideal for glowing effects or light-colored smoke. “Alpha Composite” is generally better for darker, denser smoke where you want accurate transparency.
The core of your particle material will be a grayscale texture representing the shape of your smoke, dust, or water splash. Connect the texture’s alpha channel to the Opacity input and its RGB to the Emissive Color (or Base Color if you’re using a Lit translucent material, though Unlit is usually sufficient for most particles). You can also add a “Panner” node to move the texture over time, creating a sense of dynamic flow within the smoke or water. Expose material parameters like color and intensity so they can be driven by Niagara User Parameters, allowing for dynamic changes to your effect’s appearance based on in-game conditions.
Advanced Automotive VFX with Niagara: Realism and Interaction
Once you’ve grasped the fundamentals, Niagara truly shines when you start exploring its advanced features to create highly realistic and interactive automotive VFX. The key to believability lies in simulating how vehicles interact with their environment and how these interactions manifest visually. This involves leveraging Niagara’s collision capabilities, sampling mesh data, and utilizing sophisticated noise modules to create dynamic and organic behaviors.
Consider the difference between a generic dust cloud and one that realistically trails behind a car, changing density with speed and reacting to bumps in the road. Or a simple rain effect versus one where individual droplets visibly interact with the car’s surfaces and create splashes upon impact with the ground. These advanced techniques transform a passive visual into an active component of the narrative, enhancing the realism of any automotive project, from racing simulations to cinematic shorts. Mastering these interactions is crucial for delivering a truly immersive experience with your 88cars3d.com car models.
Simulating Dust Trails and Debris on Different Terrains
Creating convincing dust trails and debris requires more than just spawning particles in a line. You need to account for surface interaction and dynamic emission. Here’s how to approach it:
- Emission from Wheels: Instead of a simple sphere, use a “Sample Static Mesh” or “Sample Skeletal Mesh” module in the Particle Spawn group. Target the car’s wheel mesh. This ensures particles emit directly from the tire’s contact patch. You can further refine this by sampling a specific socket or a predefined curve along the tire for more accurate emission points.
- Surface Interaction: Add a “Collision” module to the Particle Update group. Configure it to collide with the “WorldStatic” channel. Adjust properties like “Restitution” (how much particles bounce) and “Friction” (how much they slide) to match different terrain types. For dust, you’d want low restitution and high friction so particles settle quickly.
- Dynamic Emission: Use “User Parameters” to control the spawn rate and initial velocity of dust particles based on the car’s speed and the detected surface type. A Blueprint could query the car’s current speed and surface material (using a Line Trace) and then pass these values to Niagara, making the dust effect intensify with speed or change texture for gravel vs. dirt.
- Debris Variety: For debris (small stones, dirt clumps), use multiple emitters within the same system, each with different textures, sizes, and physics properties. Employ “Cone Location” or “Cylinder Location” with varying angles and velocities to simulate debris being thrown upwards and outwards.
Ensure your dust and debris textures are high-quality, possibly even employing atlas textures for variety and optimization. A good tip is to use a slightly randomized rotation for each particle sprite to avoid a repetitive look.
Interactive Rain & Water Splash Effects
Interactive water effects significantly elevate realism. Here’s a breakdown for dynamic rain and splashes:
- Rain Droplets on Car Surface: For rain hitting the car, use a “Sample Static Mesh” module targeting the car body (from your 88cars3d.com model). Spawn small, fast-moving particles that have a short lifetime after collision. The “Collision” module should be configured to detect collision with the car’s specific collision channel.
- Water Splashes: When a car drives through a puddle, you need to generate splashes. This can be complex, often involving a combination of Niagara and potentially a flipbook animation for the largest splash components.
- Emission: Emit splash particles from the wheel’s contact point with the water surface. Again, a “Sample Static Mesh” for the wheel is useful.
- Shape and Flow: Use “Curl Noise Force” or custom “Vector Fields” to give water particles a turbulent, organic flow, simulating the chaotic nature of splashes.
- Material: Water splash materials should typically be translucent, with a subtle distortion effect (using a Refraction input in the material) to mimic light bending through water. A normal map on the texture can enhance this.
- Particle Lifetime: Splashes are ephemeral. Particles should have a very short lifetime and fade out quickly.
- Parameterization: Expose parameters for rain intensity, droplet size, and splash magnitude. A Blueprint can then control these based on weather conditions or water depth sensors. You can also use “Scale Sprite Size” and “Scale Color” over life modules to make droplets shrink and fade as they hit surfaces.
Achieving convincing water interaction is one of the most challenging VFX tasks, but with Niagara’s robust physics and force modules, coupled with well-designed materials, impressive results are well within reach. Don’t forget to leverage Niagara’s event system to trigger audio cues for splashes.
Optimizing Niagara Systems for Real-Time Performance
Performance optimization is critical when working with real-time VFX, especially in demanding applications like automotive visualization and game development where high-fidelity assets and complex lighting are common. A poorly optimized Niagara system can quickly become a bottleneck, leading to frame rate drops and a degraded user experience. Fortunately, Niagara provides a wealth of tools and strategies to ensure your stunning visual effects run smoothly without compromising visual quality.
The core philosophy of Niagara optimization revolves around judicious resource allocation: rendering only what is necessary, when it is necessary, and at the appropriate level of detail. This involves smart culling, effective use of Level of Detail (LODs), and making informed decisions about where and how particle simulations are processed. Understanding these techniques is not just about making your project run faster; it’s about enabling more complex and immersive experiences without hitting performance walls, allowing you to showcase the exquisite detail of your 3D car models in the most dynamic environments.
LODs, Culling, and Scalability
Niagara’s built-in Level of Detail (LOD) system is your primary tool for managing complexity based on distance. You can define multiple LODs for a single Emitter, each with different particle counts, spawn rates, and even module configurations. For example, a high-detail LOD might have thousands of particles for close-up viewing, while a distant LOD might reduce the count to hundreds or even tens, with simpler materials and physics. To configure LODs, right-click an Emitter in the Niagara Editor, select “LOD” > “Add Emitter LOD.” You can then customize the modules for each LOD and set “Distance Thresholds” in the Niagara System’s “LOD Settings” to control when each LOD activates.
Culling is another essential optimization. The “Cull Distance” parameter within an Emitter (in the “Emitter Properties” section) determines how far away the Emitter can be from the camera before it stops simulating and rendering particles. Setting appropriate cull distances prevents invisible effects from consuming resources. Similarly, the “Max Particles” setting in the “Emitter Spawn” group is a hard limit on the number of particles an Emitter can have active at any given time, preventing runaway particle counts. Furthermore, Unreal Engine’s “Scalability Settings” (Edit > Project Settings > Engine > Scalability) allow you to configure global VFX quality levels. Niagara systems can respond to these settings, adjusting their complexity automatically based on the user’s chosen quality preset.
GPU vs. CPU Simulation and Module Efficiency
Understanding the distinction between GPU and CPU simulation is fundamental for performance. As previously mentioned, GPU particles are ideal for high particle counts and simple, uniform behaviors because the GPU can process many calculations in parallel. This makes them perfect for vast dust clouds, dense rain, or widespread debris. To enable GPU simulation, ensure “Sim Target” in your Emitter’s “Emitter Properties” is set to “GPU Compute Sim.”
CPU particles, on the other hand, are better suited for effects that require complex logic, precise collisions with various world elements, or interactions with Blueprints. While CPU particles offer greater flexibility, they are significantly more expensive at high counts. A good practice is to use CPU particles sparingly for key interactions, and rely on GPU particles for background or large-scale effects. When designing modules, be mindful of their computational cost. Modules like “Collision” and complex “Force” modules can be expensive, especially on CPU. Optimize these by:
- Minimizing the number of expensive modules in Particle Update.
- Using simpler collision types (e.g., plane vs. mesh collision) when possible.
- Employing “Kill Particles in Bounds” or “Kill Particles Outside Bounds” to remove particles that are no longer visible or relevant.
- Utilizing texture atlases (combining multiple particle textures into one large texture) to reduce draw calls and improve rendering performance.
Regularly use the Niagara Debugger and Unreal Engine’s Profiler (Ctrl+Shift+, then type “stat particles” or “stat Niagara”) to identify performance bottlenecks and fine-tune your systems. This iterative process of creation, profiling, and optimization is crucial for delivering high-quality, performant automotive VFX.
Integrating Niagara with Blueprint, Sequencer, and Virtual Production
The true power of Niagara extends beyond creating standalone effects; it lies in its seamless integration with other Unreal Engine systems. By linking Niagara with Blueprint visual scripting, Sequencer for cinematic timelines, and leveraging it within virtual production workflows, you can transform static car scenes into dynamic, reactive, and cinematic experiences. This integration allows for robust control, enabling effects to respond to game logic, synchronize with animations, and enhance the realism of real-time virtual environments.
For artists and developers using detailed 3D car models from 88cars3d.com, connecting Niagara to these systems means their vehicles can now exhibit dynamic behaviors. Imagine a car’s exhaust fumes changing density based on RPM, tire smoke intensifying with drift angle, or rain effects appearing precisely when triggered by a weather system in a cinematic sequence. These integrations are not just about making things look good; they’re about creating a cohesive, believable world around your automotive assets, enhancing both gameplay and visual storytelling.
Blueprint Integration for Dynamic Car Effects
Blueprint visual scripting provides the essential bridge between your game logic and Niagara systems, enabling dynamic and interactive car effects. The most common use case is to spawn and control Niagara systems based on in-game events or vehicle parameters. Here’s a typical workflow:
- Spawning a Niagara System: In your car’s Blueprint (e.g., a custom vehicle Blueprint or an existing vehicle pawn), use the “Spawn System at Location” or “Spawn System Attached” node to create an instance of your Niagara System. “Spawn System Attached” is often preferred for vehicle effects, as it automatically parents the effect to a specific component (e.g., a wheel mesh or an exhaust pipe socket) and moves with it.
- Controlling User Parameters: Within the Niagara Editor, any parameter marked as a “User Parameter” can be modified via Blueprint. In your car Blueprint, after spawning the system, you can use nodes like “Set Niagara Float/Vector/Color/Bool/Int Parameter” to dynamically update these values. For example:
- Get Car Speed: Calculate the car’s current speed.
- Map Speed to Parameter: Use a “Map Range Clamped” node to convert the car’s speed (e.g., 0-200 km/h) to a relevant range for your Niagara parameter (e.g., 0-1 for smoke density).
- Set Niagara Parameter: Connect the output to “Set Niagara Float Parameter” on your spawned system, targeting a User Parameter like “Engine_RPM_Influence” or “Tire_Smoke_Density.”
- Stopping/Activating Effects: Use “Deactivate” and “Activate” nodes on your spawned Niagara Component to turn effects on and off, for instance, a burnout effect only when the handbrake is engaged and throttle is applied.
- Niagara Event Handlers: Niagara systems can also send events back to Blueprint. For example, when a particle collides with a surface, it can trigger an event that Blueprint can listen for, perhaps to play a sound or trigger another effect.
This allows for incredibly responsive and context-aware VFX, making your 88cars3d.com vehicles react realistically to player input and environmental conditions.
Cinematic Effects with Sequencer
For creating stunning automotive cinematics, virtual production shots, or high-quality marketing renders, Unreal Engine’s Sequencer is indispensable, and Niagara integrates beautifully with it. Sequencer allows you to orchestrate complex timelines, animating almost any property in your scene, including Niagara system parameters. To add a Niagara system to Sequencer:
- Drag your Niagara System asset into your level.
- In Sequencer, click “+ Track” > “Actor to Sequencer” and select your Niagara System actor.
- Under the Niagara System track, click “+ Track” again. You can now add tracks to control:
- User Parameters: Keyframe specific User Parameters (e.g., “Rain_Intensity,” “Exhaust_Density”) over time to create evolving effects.
- Activation/Deactivation: Control when the Niagara system turns on or off.
- Attach Track: If your car is moving, use an “Attach Track” to parent the Niagara system to a specific component of your car (e.g., the rear axle for tire smoke) ensuring it follows the vehicle accurately throughout the sequence.
This level of control allows for precise timing and artistic direction over your VFX, enabling you to choreograph intricate car chases with explosive debris, or a serene drive through a rainstorm, all with perfectly synchronized effects.
Niagara in Virtual Production Workflows
Virtual production (VP) workflows, particularly those utilizing large LED volumes, are revolutionizing automotive filmmaking and marketing. Niagara plays a crucial role in enhancing the realism of these in-camera visual effects. For instance, when shooting a physical car on a stage, the LED wall behind it can display a dynamic environment created in Unreal Engine. Niagara can then be used to simulate real-time environmental effects that react authentically to the car’s movement or camera changes.
- Dynamic Weather: Display realistic rain, snow, or fog that interacts with the virtual environment projected onto the LED wall, enhancing the illusion that the physical car is truly in that environment.
- Ground Interaction: As a physical car drives, Niagara systems can be triggered to simulate dust, dirt, or water splashes on the LED wall, making it appear as if the car is interacting with the virtual ground plane.
- Atmospheric Effects: Volumetric fog, light shafts, and other atmospheric phenomena, often built with Niagara, can be integrated into the VP scene to add depth and mood, making the virtual background more cohesive with the foreground physical elements.
The real-time nature of Niagara, combined with its optimization capabilities, makes it an ideal candidate for VP, ensuring that the visual effects are rendered seamlessly and interactively, providing immediate feedback for directors and cinematographers. This integration helps bridge the gap between physical and digital worlds, creating highly convincing automotive scenes.
Advanced Techniques and Troubleshooting
Beyond the core functionalities, Niagara offers advanced techniques for those looking to push the boundaries of real-time VFX. Custom modules and data interfaces allow artists to extend Niagara’s capabilities, tailoring effects to highly specific automotive scenarios. However, with complexity comes the potential for challenges. Understanding how to debug and profile your Niagara systems is just as crucial as knowing how to build them, ensuring your advanced effects not only look spectacular but also perform optimally.
For automotive visualization, where precision and visual fidelity are paramount, these advanced techniques can unlock truly unique effects—from custom tire deformation-driven dust emission to dynamic exhaust heat shimmer reacting to engine temperature. Mastering these aspects allows you to go beyond off-the-shelf solutions and craft bespoke effects that perfectly complement the high-quality 3D car models you might source from marketplaces like 88cars3d.com. Equipped with debugging skills, you can confidently tackle any performance or visual anomaly that arises, maintaining the integrity of your real-time renders.
Custom Modules and Data Interfaces
When the standard set of Niagara modules doesn’t quite meet your specific needs, Custom Modules offer the flexibility to write your own particle logic. These modules are created using Unreal Engine’s custom scripting language for Niagara (similar to HLSL) and allow you to perform unique calculations, interact with custom data, or implement novel particle behaviors. For instance, you could create a custom module that calculates the angular velocity of a specific car wheel and emits particles with a force vector precisely matching the wheel’s rotation, resulting in hyper-realistic tire debris or water spray patterns.
Niagara Data Interfaces are equally powerful, allowing Niagara systems to read data directly from the game world or custom sources. This means your VFX can react to practically anything. Examples relevant to automotive include:
- Skeletal Mesh Data Interface: Sample data directly from the car’s skeletal mesh, like bone locations or velocities, to emit particles from specific, animated parts (e.g., exhaust tips that move with suspension).
- Static Mesh Data Interface: Use this to emit particles from the surface of your 88cars3d.com car model, perhaps for a “rain on car surface” effect that follows the contours of the bodywork.
- Actor Data Interface: Access properties of specific actors in your scene, such as a car’s current speed, engine RPM, or even the type of surface it’s driving on. This can dynamically adjust particle spawn rates, colors, or physics parameters.
- Shader Parameter Data Interface: Read material parameters from an actor to influence Niagara. For example, if a car material has a “Dirt Accumulation” parameter, Niagara dust effects could adapt their intensity.
To implement a Data Interface, add a “Set New or Existing Parameter” module in your Emitter, change its type to “Data Interface,” and select the desired interface. You can then expose its properties as User Parameters or use them within other modules. For detailed documentation on creating custom modules and using data interfaces, consult the Unreal Engine learning portal.
Debugging and Profiling Niagara Systems
Even the most experienced VFX artists encounter issues. Niagara provides robust tools for debugging and profiling to help identify and resolve problems. The primary tool is the Niagara Debugger, accessible via the “Window” menu in the Niagara Editor. The debugger allows you to:
- Inspect Individual Particles: View properties like position, velocity, color, and lifetime for individual particles, helping diagnose incorrect module calculations.
- Monitor Module Outputs: See the values being passed between modules in real-time, pinpointing where a parameter might be going awry.
- Visualize Bounds and Collisions: Check if particle bounds are correct and if collisions are registering as expected.
For performance troubleshooting, Unreal Engine’s built-in profilers are invaluable:
- Stat Commands: In the console (tilde key), type
stat particlesfor a general overview of particle system performance, orstat Niagarafor Niagara-specific metrics like Emitter counts, particle counts, and simulation times (both CPU and GPU). - Unreal Insights: This powerful profiling tool provides a detailed timeline view of CPU and GPU usage, allowing you to pinpoint exactly which Niagara systems or modules are consuming the most resources. Look for spikes in “FX” or “Niagara” categories.
Common issues to look out for during debugging and profiling include:
- Overdraw: Too many translucent particles overlapping can significantly impact GPU performance. Reduce particle counts, use smaller textures, or consider opaque particles where possible.
- Incorrect Material Settings: Alpha sorting issues, incorrect blend modes, or inefficient material graphs can lead to visual artifacts or performance drops.
- Excessive Particle Counts: Always check your “Max Particles” setting and ensure your spawn rate isn’t generating more particles than necessary.
- CPU Bound Logic: If
stat Niagarashows high CPU times, analyze your CPU particle modules for complexity, especially collision and complex force calculations.
By systematically using these tools, you can efficiently identify bottlenecks and refine your Niagara systems to achieve both visual excellence and optimal real-time performance, making your automotive visualizations truly shine.
Conclusion
The Unreal Engine Niagara VFX system is a transformative tool for anyone involved in automotive visualization, game development, or real-time rendering. Its modular architecture, robust performance, and deep integration capabilities empower artists and developers to create breathtaking, dynamic visual effects that elevate the realism and immersion of any project. From subtle exhaust fumes and realistic tire smoke to intricate water splashes and debris trails, Niagara allows your meticulously crafted 3D car models, like those available on 88cars3d.com, to truly come alive within their virtual environments.
Throughout this guide, we’ve explored the fundamental concepts of Niagara, walked through the creation of basic and advanced automotive effects, delved into crucial optimization strategies, and highlighted the system’s powerful integrations with Blueprint, Sequencer, and virtual production workflows. The journey of mastering Niagara is one of continuous experimentation and learning, but the rewards—stunning visual fidelity and unparalleled creative control—are immense. By leveraging its data-driven design and GPU-accelerated simulation, you can push the boundaries of what’s possible in real-time automotive content.
Now is the time to apply these techniques. Start by experimenting with basic effects, then gradually build up to more complex interactions, always keeping performance and artistic intent in mind. The future of automotive visualization is dynamic and interactive, and with Niagara at your command, you are well-equipped to drive it forward. Unleash the full potential of your Unreal Engine projects and create automotive experiences that truly captivate and inspire.
Featured 3D Car Models

Ford Ambulance AmServ LTD Dusan-002 3D Model
Texture: Yes
Material: Yes
Download the Ford Ambulance AmServ LTD Dusan-002 3D Model featuring a high-detail exterior and interior, realistic textures, and emergency lighting. Includes .blend, .fbx, .obj, .glb, .stl, .ply, .unreal, and .max formats for rendering, simulation, and game development.
Price: $19.99
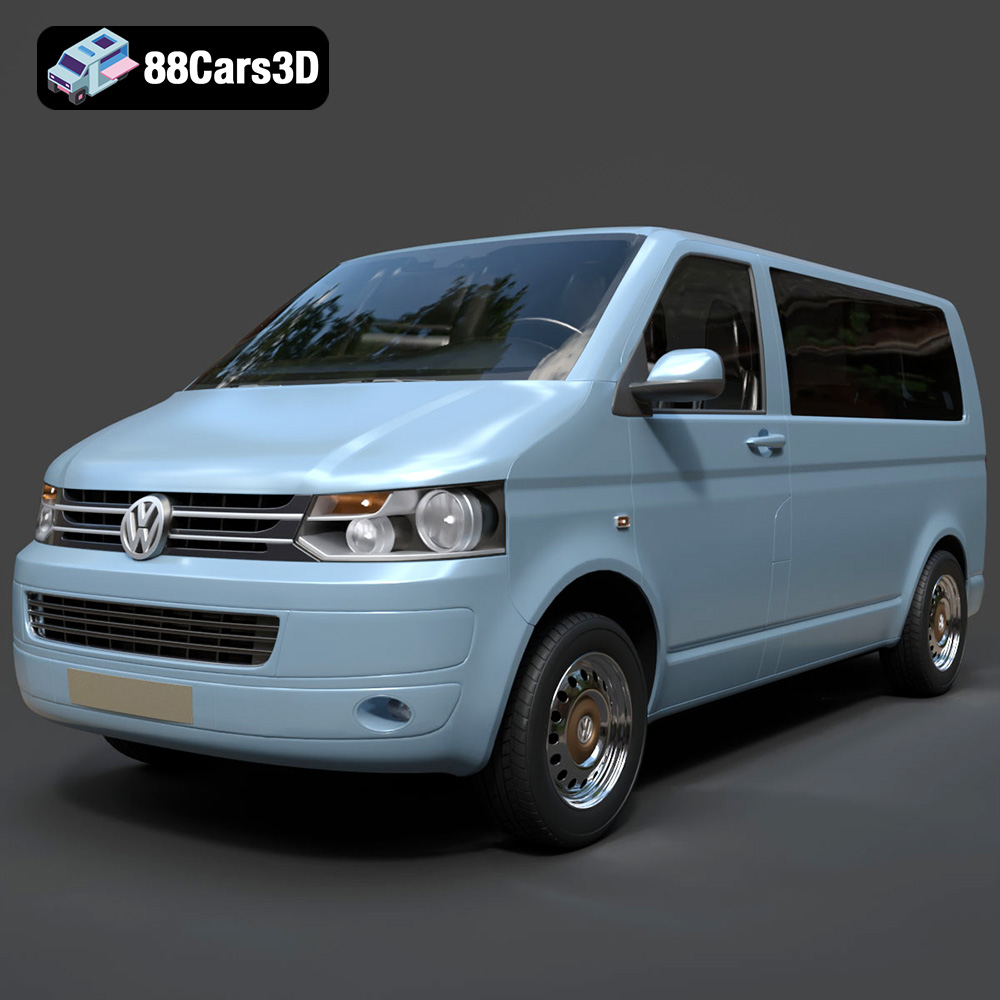
Volkswagen Transporter T5 FL 2010 3D Model
Texture: Yes
Material: Yes
Download the Volkswagen Transporter T5 FL 2010 3D Model featuring clean geometry, realistic detailing, and a fully modeled interior. Includes .blend, .fbx, .obj, .glb, .stl, .ply, .unreal, and .max formats for rendering, simulation, and game development.
Price: $22.99
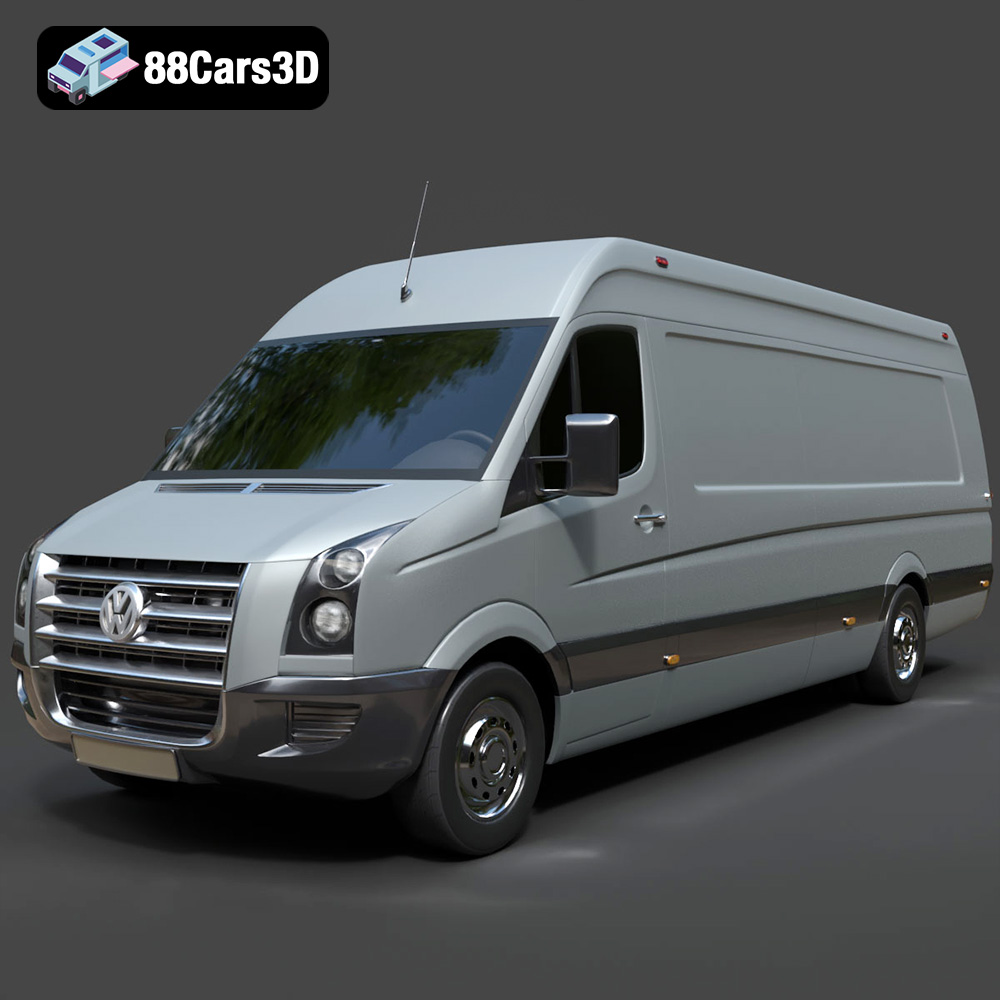
Volkswagen Crafter 2020 3D Model
Texture: Yes
Material: Yes
Download the Volkswagen Crafter 2020 3D Model featuring clean geometry, realistic detailing, and a fully modeled interior. Includes .blend, .fbx, .obj, .glb, .stl, .ply, .unreal, and .max formats for rendering, simulation, and game development.
Price: $22.99
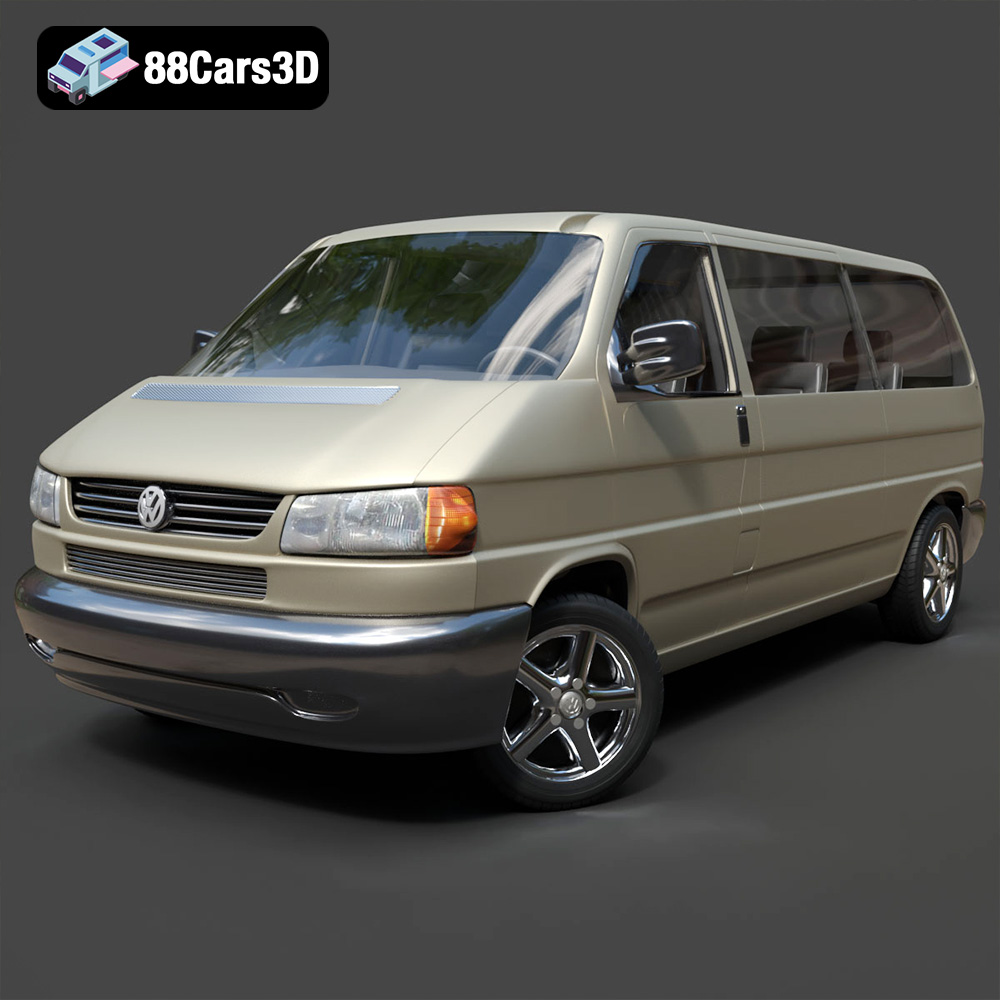
Volkswagen Caravelle 2020 3D Model
Texture: Yes
Material: Yes
Download the Volkswagen Caravelle 3D Model featuring a detailed exterior, functional interior, and optimized topology. Includes .blend, .fbx, .obj, .glb, .stl, .ply, .unreal, and .max formats for rendering, simulation, and game development.
Price: $23.99
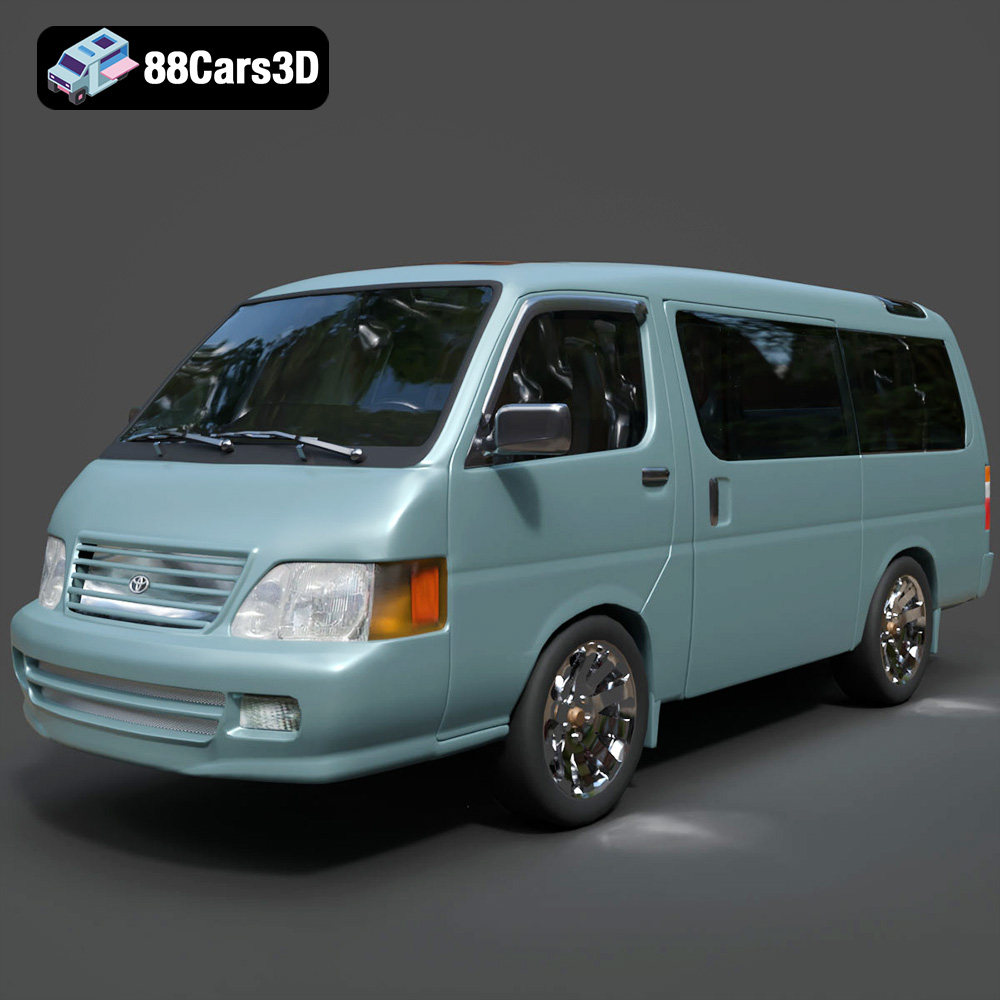
Toyota Hiace 3D Model
Texture: Yes
Material: Yes
Download the Toyota Hiace 3D Model featuring versatile design and detailed exterior. Includes .blend, .fbx, .obj, .glb, .stl, .ply, .unreal, and .max formats for rendering, simulation, and game development.
Price: $21.99
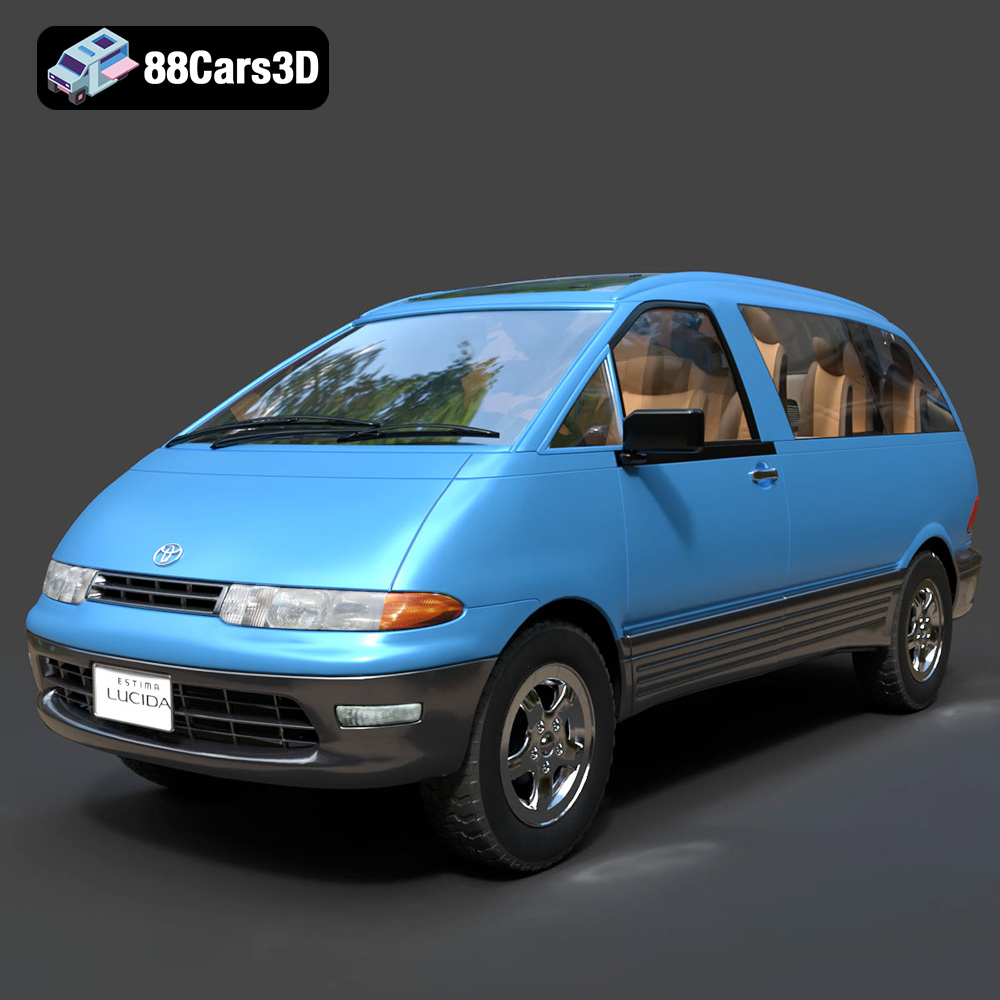
Toyota Estima Lucida 3D Model
Texture: Yes
Material: Yes
Download the Toyota Estima Lucida 3D Model featuring its iconic compact MPV design, versatile interior, and accurate exterior details. Includes .blend, .fbx, .obj, .glb, .stl, .ply, .unreal, and .max formats for rendering, simulation, and game development.
Price: $24.99

Toyota Alphard 3D Model
Texture: Yes
Material: Yes
Download the Toyota Alphard 3D Model featuring a detailed luxury minivan design with an accurate exterior and interior. Includes .blend, .fbx, .obj, .glb, .stl, .ply, .unreal, and .max formats for rendering, simulation, and game development.
Price: $21.99
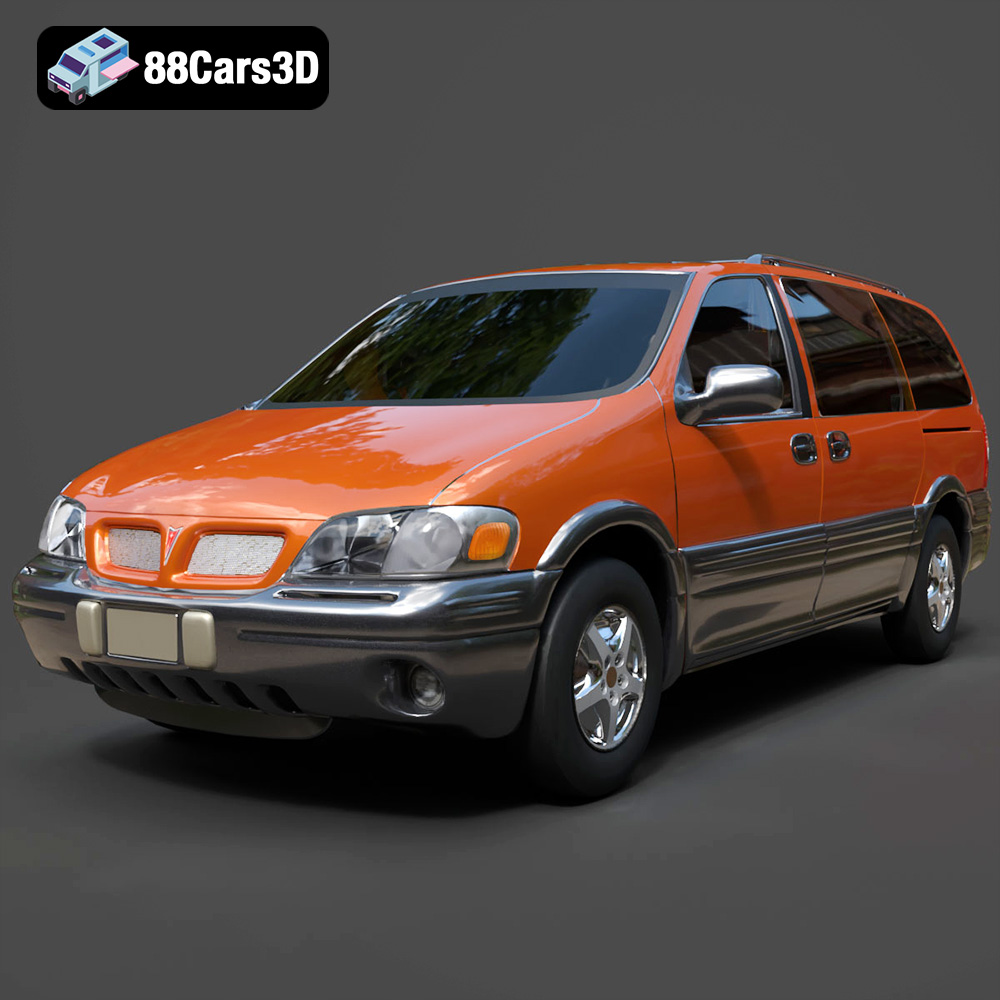
Pontiac Montana 1998 3D Model
Texture: Yes
Material: Yes
Download the Pontiac Montana 1998 3D Model featuring a detailed exterior, functional interior, and optimized mesh. Includes .blend, .fbx, .obj, .glb, .stl, .ply, .unreal, and .max formats for rendering, simulation, and game development.
Price: $21.99
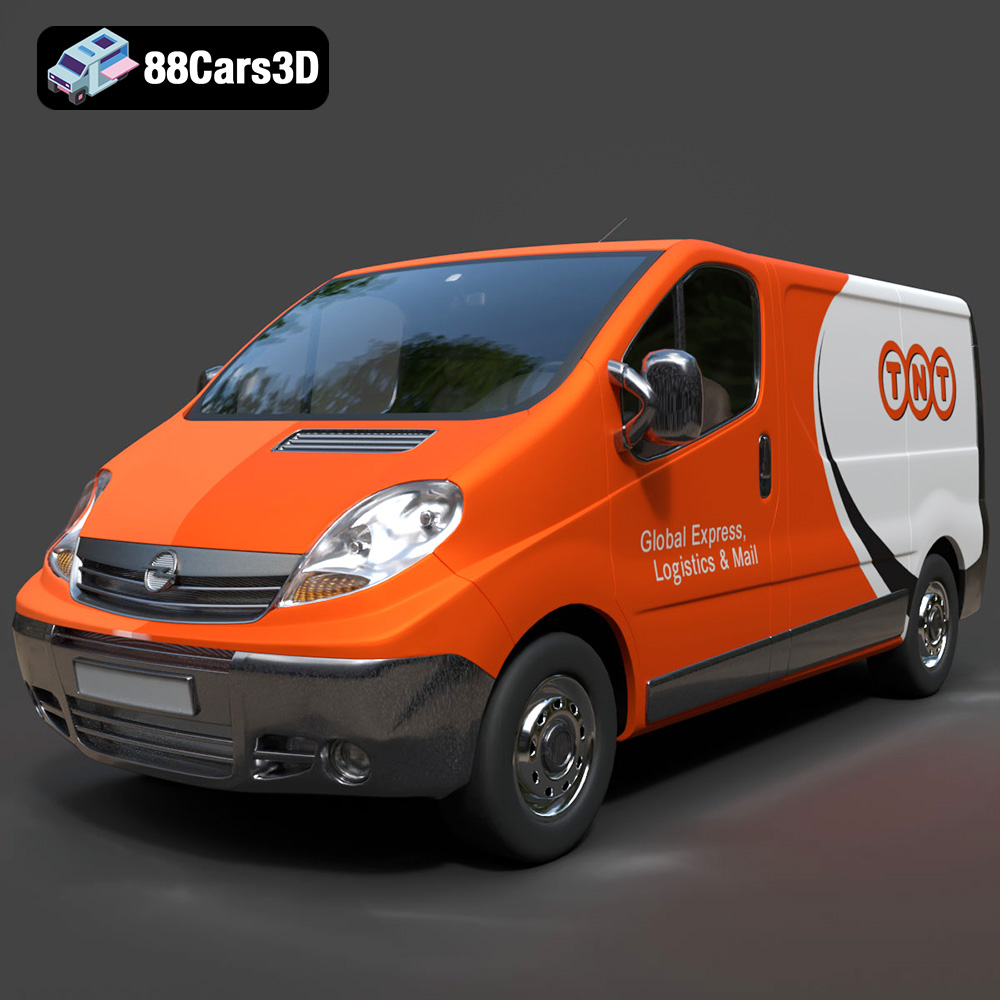
Opel Vivaro 3D Model
Texture: Yes
Material: Yes
Download the Opel Vivaro 3D Model featuring a versatile commercial van design with balanced detailing. Includes .blend, .fbx, .obj, .glb, .stl, .ply, .unreal, and .max formats for rendering, simulation, and game development.
Price: $21.99
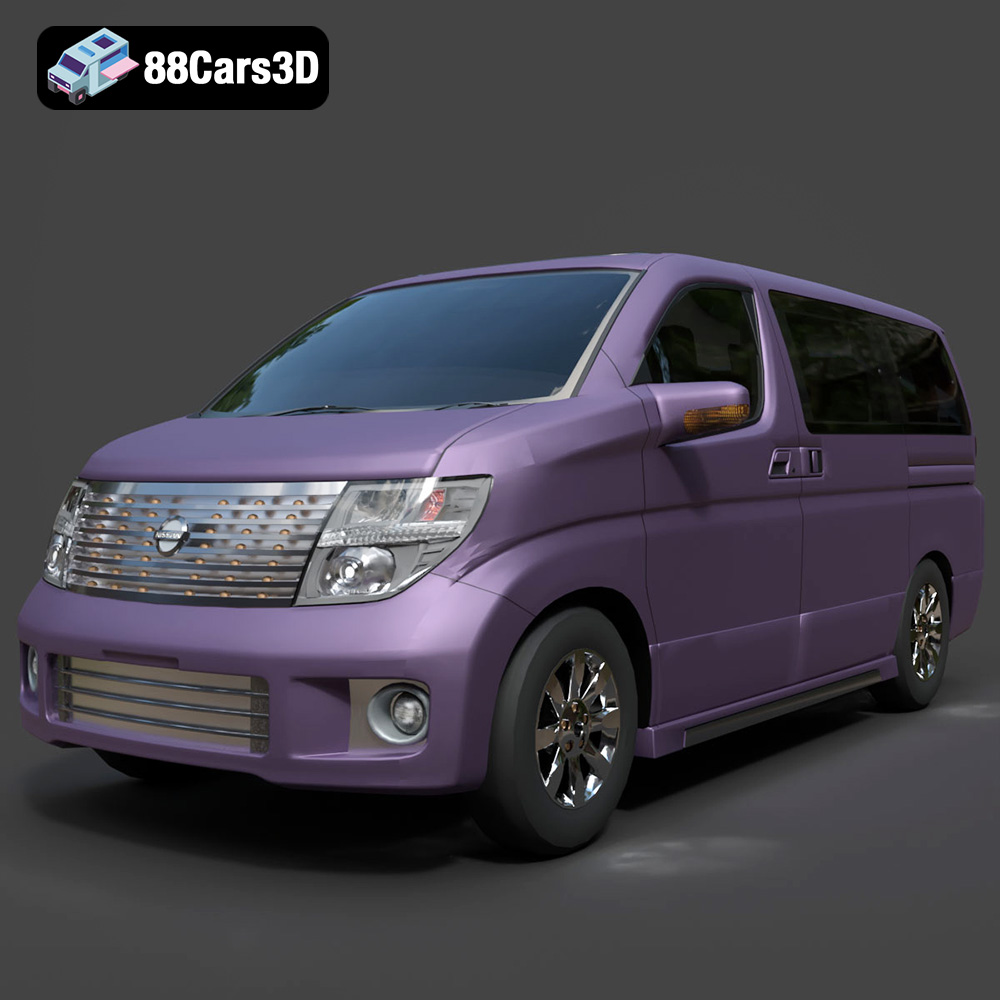
Nissan Elgrand 3D Model
Texture: Yes
Material: Yes
Download the Nissan Elgrand 3D Model featuring a versatile minivan design. Includes .blend, .fbx, .obj, .glb, .stl, .ply, .unreal, and .max formats for rendering, simulation, and game development.
Price: $21.99
