Get 20% OFF All Premium 3D & STL Models!

In the expansive and breathtaking worlds crafted within Unreal Engine, the landscape is often the silent protagonist, setting the stage for every interaction, narrative, and visual spectacle. For professionals in automotive visualization, game development, and real-time rendering, creating compelling and realistic environments is as crucial as the high-fidelity assets that inhabit them. Imagine showcasing a meticulously detailed 3D car model, perhaps sourced from a platform like 88cars3d.com, against a backdrop that feels dull or uninspired. It detracts from the vehicle’s splendor. This is where Unreal Engine’s powerful Landscape Tools become indispensable.
Unreal Engine provides an intuitive yet incredibly robust suite of tools for designing, sculpting, and texturing vast, open-world terrains. Whether you’re crafting an arid desert for a high-octane race, a serene mountain pass for a cinematic automotive reveal, or a bustling urban environment framed by distant hills, mastering these tools is paramount. This comprehensive guide will take you on a deep dive into the art and science of Unreal Engine terrain creation and sculpting, equipping you with the knowledge to build stunning, performance-optimized landscapes that elevate your projects and bring your visions to life. From initial setup to advanced optimization techniques, we’ll explore every facet necessary to transform a blank canvas into a vibrant, dynamic world.
Every magnificent environment in Unreal Engine begins with a single, crucial step: creating the landscape itself. Unreal Engine’s Landscape system is designed for massive terrains, employing a tiled architecture that allows for immense detail and efficient rendering. Understanding the initial setup and configuration is vital for a smooth workflow and optimal performance down the line. It’s more than just clicking a button; it involves strategic decisions about scale, resolution, and the method of creation.
When you initiate a new landscape in Unreal Engine, you’re presented with several options. You can start from scratch with a flat plane, allowing for complete manual sculpting, or you can import a heightmap. Heightmaps are grayscale images where white represents the highest points and black the lowest, offering a powerful way to bring pre-designed terrain data from external software (like World Machine, Gaea, or even geographical data) directly into Unreal. For projects demanding specific geological features or real-world accuracy, heightmap import is often the preferred method. Ensure your heightmap resolution aligns with Unreal Engine’s recommended dimensions for optimal tiling and detail distribution, typically (N*M) + 1 where N and M are powers of two.
Before committing to a landscape, thoughtful planning is essential. The “Manage” mode within the Landscape editor allows you to define the overall size and resolution of your terrain. Key parameters include the number of sections, components, and the overall resolution. A larger number of components and sections yields a higher-resolution landscape, allowing for finer detail but also increasing memory footprint and rendering cost. For automotive visualization where a smaller, highly detailed area might be sufficient, you might opt for fewer, denser components. Conversely, open-world games require vast landscapes with efficient streaming. Always consider the scale of your scene – a human scale for automotive visualization will dictate different dimensions than a planet scale for a space simulator. The recommended component sizes (e.g., 7×7 or 15×15 quads) are designed to work efficiently with Unreal Engine’s internal streaming and LOD systems, as detailed in the official Unreal Engine documentation.
Beyond its physical shape, a landscape needs surface properties. As part of the initial setup, you’ll associate a Landscape Material with your terrain. This is a special Unreal Engine Material that leverages ‘Landscape Layer Blend’ nodes to allow for painting different textures (e.g., grass, rock, dirt) onto your terrain. It’s crucial to set this up early, even if it’s a basic placeholder, as it directly impacts your sculpting and painting workflow. You’ll define ‘Layer Info’ assets for each texture layer, which dictate how the layers are blended. These can be ‘Weight-Blended’ (where weights are normalized, ensuring all layers sum to 1, ideal for smooth transitions) or ‘Non-Weight-Blended’ (which can be useful for specific mask-based effects but requires careful management). A well-structured Landscape Material is the backbone of a visually rich and diverse environment, allowing for realistic PBR (Physically Based Rendering) textures to bring your terrain to life.
Once your landscape is laid out, the real artistic work begins: sculpting. Unreal Engine’s Sculpt toolset is incredibly powerful, offering a wide array of brushes and settings to shape mountains, carve valleys, and define the nuanced contours of your virtual world. This process isn’t just about creating dramatic features; it’s about imbuing your terrain with a sense of realism, ensuring it feels geologically plausible and visually engaging for any vehicle or character that traverses it. Precision and subtlety are key, especially when aiming for photorealism.
The core of the sculpting workflow lies in the brush tools found within the Landscape mode’s “Sculpt” tab. You’ll primarily use brushes like “Raise/Lower” to build elevation or dig depressions, “Flatten” to create level platforms or smooth surfaces, and “Smooth” to soften harsh edges and blend disparate features. The “Erosion” and “Hydro Erosion” brushes are particularly potent for achieving natural, weathered looks, simulating the effects of wind and water on geological formations. They create channels, sediment deposits, and realistic surface wear that dramatically enhance realism. Iteration is a critical part of sculpting; don’t be afraid to experiment, undo, and refine until you achieve the desired aesthetic and functionality for your scene.
Each sculpting brush serves a specific purpose in mimicking natural terrain formation. The “Raise/Lower” brush is your fundamental tool for adding or subtracting height, while “Flatten” is invaluable for creating roads, building pads, or riverbeds. The “Ramp” tool allows you to create straight, sloped surfaces between two points, perfect for constructing natural-looking inclines or access roads for 3D car models. Utilizing these tools effectively involves adjusting parameters like brush size, falloff (how gradually the brush effect diminishes from its center), and strength. A common technique is to use a large, soft brush for broad strokes and then gradually reduce the size and increase strength for more defined details. Don’t forget the “Noise” brush, which can add subtle variations to flat surfaces, breaking up monotony and enhancing organic appeal.
For truly convincing landscapes, broad strokes must be complemented by intricate details. This is where alpha brushes become indispensable. An alpha is a grayscale texture that defines the shape and intensity of your brush. By importing custom alphas (e.g., textures of rock formations, cracks, or erosion patterns), you can stamp complex details onto your terrain with a single click, saving countless hours of manual sculpting. Imagine adding realistic rock faces or intricate erosion patterns without individually modeling them. Additionally, the “Retopologize” tool, while not strictly for sculpting, is vital for maintaining clean mesh density. If you’ve heavily sculpted an area, this can help redistribute vertices more evenly, preventing stretching and improving rendering efficiency, especially important for close-up automotive shots where terrain quality is critical.
Once the form of your landscape is established through sculpting, the next step is to give it life and realism through painting and texturing. Unreal Engine’s painting tools, combined with a robust PBR (Physically Based Rendering) material system, allow you to blend multiple textures seamlessly, mimicking the diverse surfaces found in nature. This stage is where your landscape truly starts to feel like a real environment, providing a credible backdrop for your high-quality 3D car models from platforms like 88cars3d.com.
The “Paint” tab in the Landscape mode is where you’ll spend a significant amount of time. Here, you can select different material layers (e.g., grass, dirt, rock, sand) and paint them directly onto your terrain using brushes. The magic happens within the Landscape Material itself, where these layers are blended together. A well-designed landscape material uses PBR textures (Albedo/Base Color, Normal, Roughness, Metallic, Ambient Occlusion) to ensure each surface reacts realistically to light. Consider texture resolution carefully; 2K or 4K textures are often sufficient for landscape layers, with higher resolutions reserved for specific, close-up details. Employing seamless tiling textures is crucial to avoid repetitive patterns, especially on large surfaces. For a deeper understanding of PBR material creation, Epic Games’ official Unreal Engine documentation on materials provides excellent resources.
The core of realistic landscape painting lies in how you set up your PBR material layers. Inside your Landscape Material, you’ll utilize ‘Landscape Layer Blend’ nodes. Each input to this node corresponds to a specific material layer you can paint. For each layer, you’ll typically connect a Material Function or directly link to a Texture Sample node for your Albedo, Normal, and ORM (Occlusion, Roughness, Metallic packed into one texture) maps. For optimal performance and visual quality, ensure your textures are properly sampled and that the layer blending is set up to create smooth, natural transitions. Using a ‘Weight-Blended’ approach is generally recommended as it ensures that the sum of all layer weights at any given point on the landscape equals 1, preventing visual artifacts and ensuring consistent material properties. Properly configured layer info assets are also critical, dictating how each layer behaves when painted.
To push realism further, go beyond simple color blending. Implement techniques like macro textures or detail textures. A macro texture (a large, subtle texture) can break up the tiling repetition of smaller detail textures, making large areas look more varied. Detail textures, on the other hand, are high-frequency normal maps or roughness maps that become visible only when the camera is very close to the surface, adding immense tactile detail. Consider adding features like moss or wetness that can be painted based on height or slope (e.g., moss on shaded cliff faces). You can also incorporate dirt masks or procedural noise into your layer blending logic to add natural imperfections and variations, making your painted surfaces less uniform and more organic. Strategic use of displacement maps (if performance allows) can also add physical depth to textures, but this needs careful optimization.
A sculpted and painted landscape, no matter how beautiful, often feels empty without natural and man-made elements. Populating your environment with foliage, rocks, structures, and interactive components transforms a mere terrain into a living, breathing world. This stage is particularly crucial for automotive visualization, where surrounding details significantly impact the perception of your vehicle’s realism and scale. When showcasing a high-fidelity car model, the environment should complement, not detract from, its intricate design.
Unreal Engine offers powerful tools for efficiently scattering assets across your landscape. The “Foliage” tool allows you to paint individual trees, bushes, grasses, and rocks onto your terrain with customizable density, scale, and rotation. For more advanced and large-scale distribution, the “Procedural Foliage Spawner” can automatically populate vast areas based on rules you define (e.g., density in certain biomes, slope restrictions). When sourcing assets for your environment, consider platforms like 88cars3d.com not just for vehicles, but also for high-quality props and structures that can add context to your automotive scenes. Ensure all placed assets are optimized for real-time rendering, leveraging features like Nanite for complex static meshes and efficient LODs (Levels of Detail) to maintain performance.
The Foliage mode is a cornerstone for creating dense, believable vegetation. You can select multiple static mesh assets (trees, rocks, plants) and paint them simultaneously, allowing for rapid environment creation. Key settings include density, align to surface, random scale, and random yaw, which help break up repetition and create organic distribution. For very large areas, consider using the Procedural Foliage Spawner. This system allows you to define spawn rules based on density, slope, height, and even other foliage types, enabling the creation of complex ecosystems. For example, you can specify that tall trees only grow on slopes under 30 degrees, and only where grass is present. Remember to utilize optimized foliage meshes, often with imposters or billboards for distant LODs, to keep your scene running smoothly. Combining both manual and procedural methods often yields the best results.
Your painstakingly crafted landscape serves as the perfect stage for showcasing automotive assets. Whether it’s a sleek sports car or a rugged off-road vehicle from 88cars3d.com, placing it within a realistic environment drastically enhances its presentation. Beyond the vehicle itself, consider adding props that tell a story or enhance realism: road signs, guardrails, small buildings, or even debris can add a layer of authenticity. For dynamic scenes, you might place a vehicle blueprint and use Unreal Engine’s physics system to allow it to interact realistically with the terrain. When bringing in models, ensure they are properly scaled, have clean topology, and utilize PBR materials that match the fidelity of your environment. This creates a cohesive visual experience where every element feels like it belongs.
To truly immerse your audience, consider adding dynamic, interactive elements to your landscape using Unreal Engine’s Blueprint visual scripting and Niagara particle system. Blueprint can drive environmental triggers, such as opening gates when a vehicle approaches, or changing weather conditions. Niagara is unparalleled for creating realistic environmental effects: swirling dust clouds kicked up by tires, falling leaves from trees, ambient mist in valleys, or even dynamic water effects in rivers. For automotive scenes, imagine a rain system that makes the road slick, affecting vehicle physics, or a strong wind system that subtly shifts foliage and carries particles across the landscape. These dynamic touches transform a static scene into a living, breathing world, providing an unforgettable experience, especially in interactive configurators or AR/VR applications.
Creating vast, highly detailed landscapes in Unreal Engine comes with a significant performance cost. Without proper optimization strategies, even the most powerful hardware can struggle to render these environments in real-time. For projects demanding high frame rates, such as games, AR/VR experiences, or fluid cinematic visualizations, meticulous optimization is not just recommended, it’s mandatory. The goal is to achieve visual fidelity without compromising interactivity and responsiveness.
Unreal Engine provides a suite of tools and techniques to manage landscape performance. One of the most critical is the automatic Level of Detail (LOD) system for landscapes, which dynamically adjusts the tessellation and detail based on the camera’s distance. For static meshes placed on the landscape (like rocks and trees), leveraging Nanite virtualized geometry is a game-changer, allowing you to use incredibly high-poly models without significant performance overhead. Lumen, Unreal Engine’s global illumination system, also needs careful configuration to balance visual quality with performance across vast outdoor scenes. Always profile your scene regularly using tools like the Unreal Engine Profiler and GPU Visualizer to identify bottlenecks and areas for improvement. Every asset, every material, and every light source contributes to the overall performance budget.
The landscape itself benefits from an automatic LOD system. As the camera moves away from a section of the terrain, Unreal Engine seamlessly switches to a lower-detail mesh for that area, reducing the polygon count rendered. You can adjust the LOD distribution within the landscape settings, determining how aggressively the engine reduces detail. While tessellation can add immense detail to close-up terrain surfaces (making flat surfaces appear bumpy), it’s a performance-heavy feature. Use it judiciously, perhaps only on specific material layers or areas that will be viewed up close, and ensure it’s properly controlled by distance for optimal results. For static meshes on the landscape, utilize mesh LODs and Nanite where appropriate. Nanite effectively handles massive polygon counts by only rendering the detail necessary at pixel resolution, making it ideal for high-fidelity rock formations, trees, and other complex static meshes, allowing you to populate your environment with incredibly detailed assets without sacrificing performance.
Culling is a fundamental optimization principle: if something isn’t visible, don’t render it. Unreal Engine automatically performs frustum culling (not rendering objects outside the camera’s view frustum) and occlusion culling (not rendering objects hidden behind others). For very large landscapes, World Partition, introduced in Unreal Engine 5, significantly enhances culling by streaming only the relevant parts of the world into memory, rather than loading the entire map. This drastically reduces memory usage and improves loading times. You can also strategically place simple blocking volumes to assist occlusion culling, especially for complex architectural elements or very dense forests. Understanding and leveraging these culling mechanisms is essential for maintaining high frame rates across expansive open worlds, ensuring smooth navigation for your virtual camera or player.
For truly gargantuan landscapes, managing the data effectively is paramount. Before Unreal Engine 5, World Composition was the primary method for this, allowing you to divide your large map into smaller, tile-based sub-levels that could be streamed in and out as needed. This ensured that only relevant parts of the world were loaded into memory at any given time. With Unreal Engine 5, World Partition has largely replaced World Composition, offering a more streamlined and automated approach. World Partition intelligently streams in portions of your world based on proximity to the camera, vastly improving performance and workflow for open-world development. This system is especially beneficial when showcasing automotive journeys across vast terrains, ensuring smooth transitions and consistent performance without jarring loading screens.
Mastering Unreal Engine’s Landscape Tools isn’t just about creating static environments; it’s about building dynamic, interactive worlds that serve specific professional purposes. From stunning cinematic sequences for new car reveals to fully immersive AR/VR experiences, the landscape plays a pivotal role. Understanding advanced techniques allows you to push the boundaries of realism and interactivity, making your projects truly stand out. This often involves integrating landscape features with other powerful Unreal Engine systems.
For automotive visualization, a realistic landscape can be the ultimate testing ground or showcase for vehicles. Imagine a luxury car from 88cars3d.com driving through a hyper-realistic, Lumen-lit forest, captured with Sequencer. Or an off-road vehicle navigating a challenging, physics-enabled terrain in an interactive configurator. These applications demand a deep understanding of how landscapes interact with lighting, physics, and other dynamic elements. Exploring these advanced synergies opens up a world of creative possibilities, elevating your projects from mere visualizations to truly engaging experiences.
Unreal Engine’s Sequencer is a powerful non-linear cinematic editor that allows you to choreograph complex camera movements, character animations, and environmental effects. When combined with a beautifully sculpted and lit landscape, it becomes the perfect tool for producing high-fidelity automotive films. Imagine a camera smoothly tracking a vehicle from 88cars3d.com as it drives across a sun-drenched desert, or revealing its silhouette against a dramatic, Lumen-powered sunset over a mountain range. Lumen, Unreal Engine’s real-time global illumination system, dynamically calculates indirect lighting, making outdoor environments incredibly realistic with natural light bounces and diffuse reflections. For cinematics, Lumen ensures that every crease and contour of your landscape is beautifully illuminated, creating truly breathtaking visuals that enhance the presentation of any vehicle.
A static landscape only tells half the story. For automotive applications, it’s critical that vehicles interact realistically with the terrain. Unreal Engine’s physics system allows you to simulate tire deformation, suspension travel, and traction across varying surfaces. A well-sculpted landscape with varied slopes, bumps, and material properties (e.g., rough dirt vs. smooth asphalt) directly influences how a vehicle from 88cars3d.com will behave. You can use physics assets and collision meshes to ensure accurate interaction. For example, rougher ground layers could have higher friction values, and steep inclines could challenge the vehicle’s engine and grip. Implementing tire tracks (using decal rendering or dynamic mesh deformation) further enhances realism, demonstrating the direct interaction of the vehicle with the environment. This level of physical accuracy is vital for engaging driving simulations, automotive configurators, and even virtual test drives.
Optimizing landscapes for AR/VR and Virtual Production (VP) workflows presents unique challenges. For AR/VR, maintaining extremely high frame rates (e.g., 90 FPS or higher) is crucial to prevent motion sickness. This often means being more aggressive with LODs, using simpler materials, and carefully managing asset density. You might need to bake lighting for performance or use simplified Lumen settings. For Virtual Production, especially with LED walls, the landscape needs to seamlessly integrate with real-world objects and actors. This involves precise lighting calibration, ensuring the virtual environment’s light matches that of the physical stage. Often, a combination of real-time rendering on the LED wall and offline rendering for post-production enhancements is used. Understanding the specific constraints of each platform allows you to tailor your landscape design and optimization strategies for maximum impact and performance, offering immersive experiences that truly place your automotive models within believable virtual worlds.
The landscape in Unreal Engine is far more than just a background element; it is the foundation upon which immersive experiences are built, providing context, atmosphere, and a dynamic playground for your most sophisticated assets. Mastering Unreal Engine’s Landscape Tools empowers you to transcend simple scene creation, enabling you to sculpt vast, believable worlds that elevate your automotive visualizations, game environments, and real-time productions to professional standards. From the initial strategic decisions of layout and resolution to the artistic nuances of sculpting and painting, and finally to the critical optimization for real-time performance, each step is integral to creating a truly captivating environment.
By diligently applying the techniques discussed – whether it’s planning your landscape with heightmaps, leveraging advanced sculpting brushes for natural forms, creating rich PBR materials for diverse surfaces, populating with optimized foliage and 3D car models from platforms like 88cars3d.com, or fine-tuning for performance with LODs and World Partition – you gain the ability to craft environments that not only look stunning but also perform flawlessly. Embrace these tools and strategies, and watch as your virtual worlds become more vibrant, more realistic, and ultimately, more compelling. The journey to creating breathtaking digital terrains is continuous, filled with learning and creative exploration, and with Unreal Engine, the horizon of possibilities is truly limitless.

Meta Description:
Texture: Yes
Material: Yes
Download the Porsche Cayenne 3D Model featuring realistic exterior styling and detailed interior design. Includes .blend, .fbx, .obj, .glb, .stl, .ply, .unreal, and .max formats for rendering, simulation, AR VR, and game development.
Price: $19.9
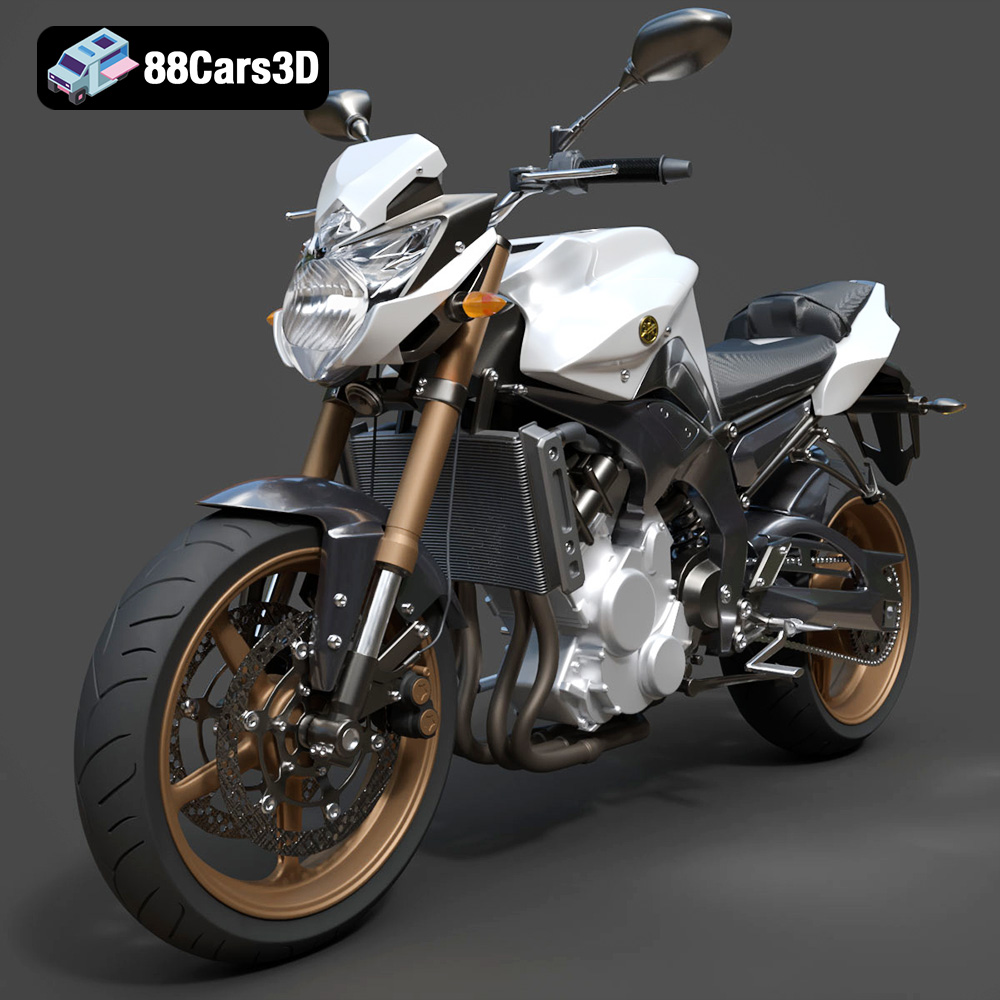
Texture: Yes
Material: Yes
Download the Yamaha FZ8 2011 3D Model featuring clean geometry, realistic detailing, and a fully modeled interior. Includes .blend, .fbx, .obj, .glb, .stl, .ply, .unreal, and .max formats for rendering, simulation, and game development.
Price: $19.99
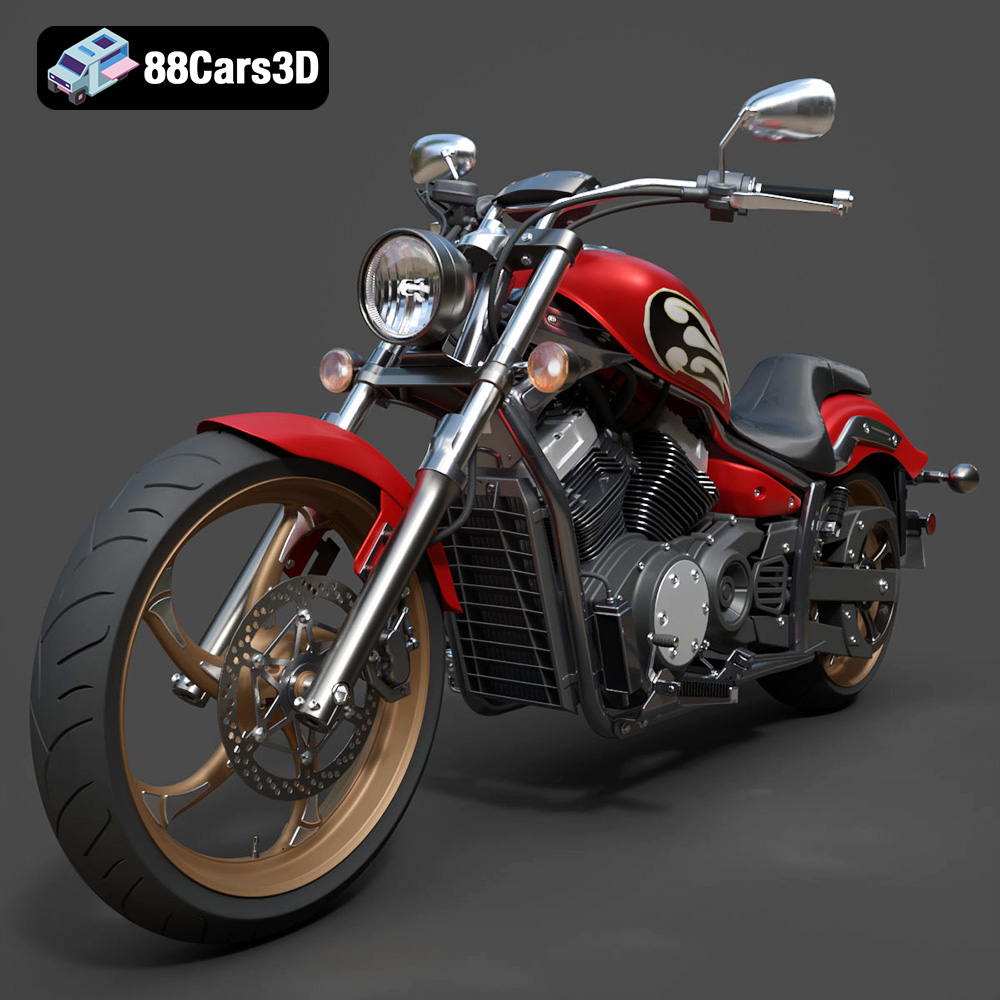
Texture: Yes
Material: Yes
Download the Yamaha Stryker 2012 3D Model featuring clean geometry, realistic detailing, and a fully modeled interior. Includes .blend, .fbx, .obj, .glb, .stl, .ply, .unreal, and .max formats for rendering, simulation, and game development.
Price: $19.99
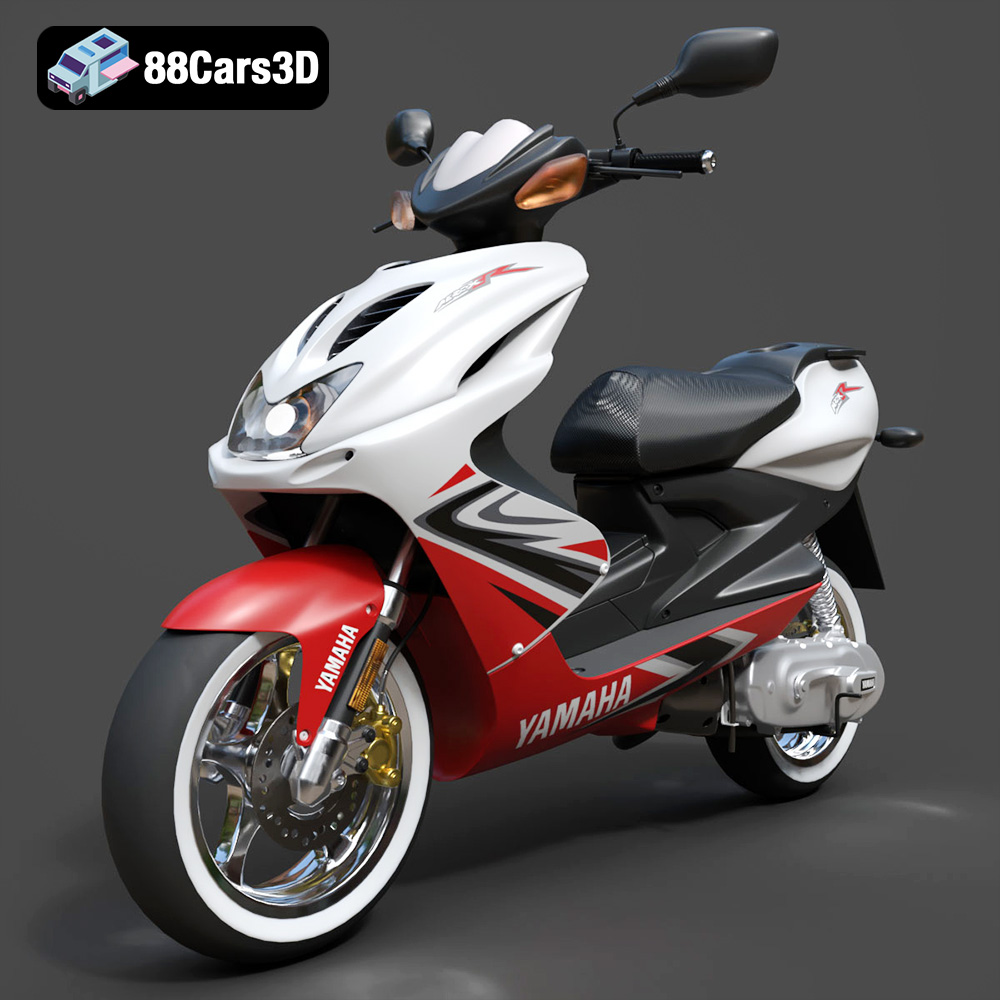
Texture: Yes
Material: Yes
Download the Yamaha Aerox R-002 2024 3D Model featuring clean geometry, realistic detailing, and a fully modeled interior. Includes .blend, .fbx, .obj, .glb, .stl, .ply, .unreal, and .max formats for rendering, simulation, and game development.
Price: $19.99
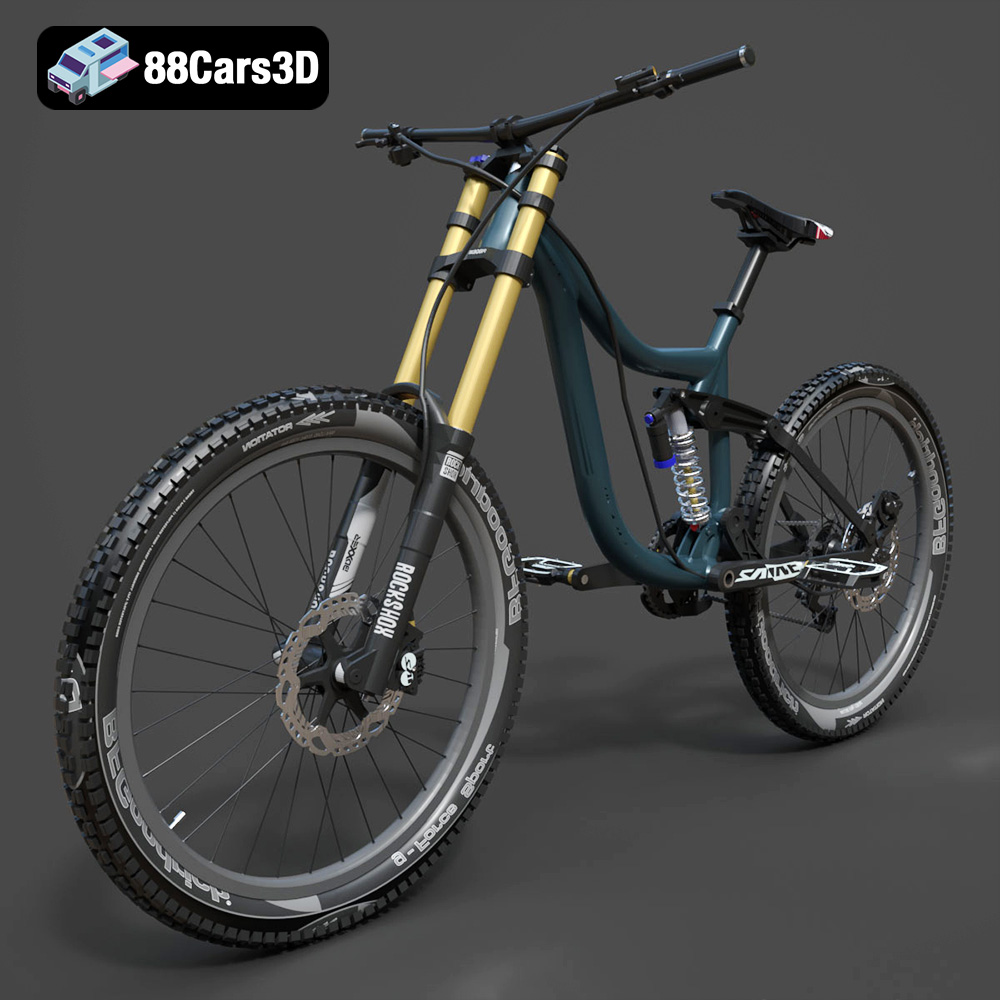
Texture: Yes
Material: Yes
Download the Mototsikly Downhill Bike-002 3D Model featuring clean geometry, realistic detailing, and precise mechanical components. Includes .blend, .fbx, .obj, .glb, .stl, .ply, .unreal, and .max formats for rendering, simulation, and game development.
Price: $19.99
Texture: Yes
Material: Yes
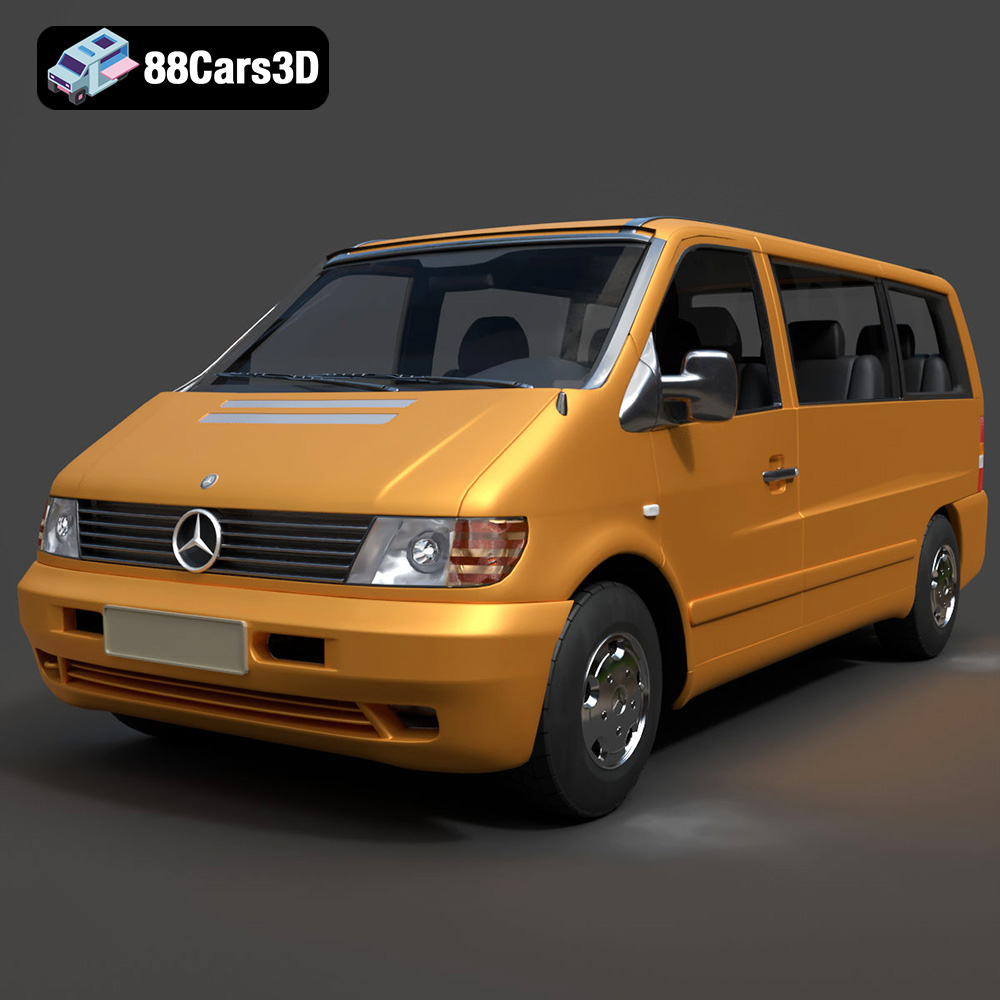
Download the Mercedes-Benz Vito Passenger Van 3D Model featuring clean geometry, realistic detailing, and a fully modeled interior. Includes .blend, .fbx, .obj, .glb, .stl, .ply, .unreal, and .max formats for rendering, simulation, and game development.
Price: $19.99
Texture: Yes
Material: Yes
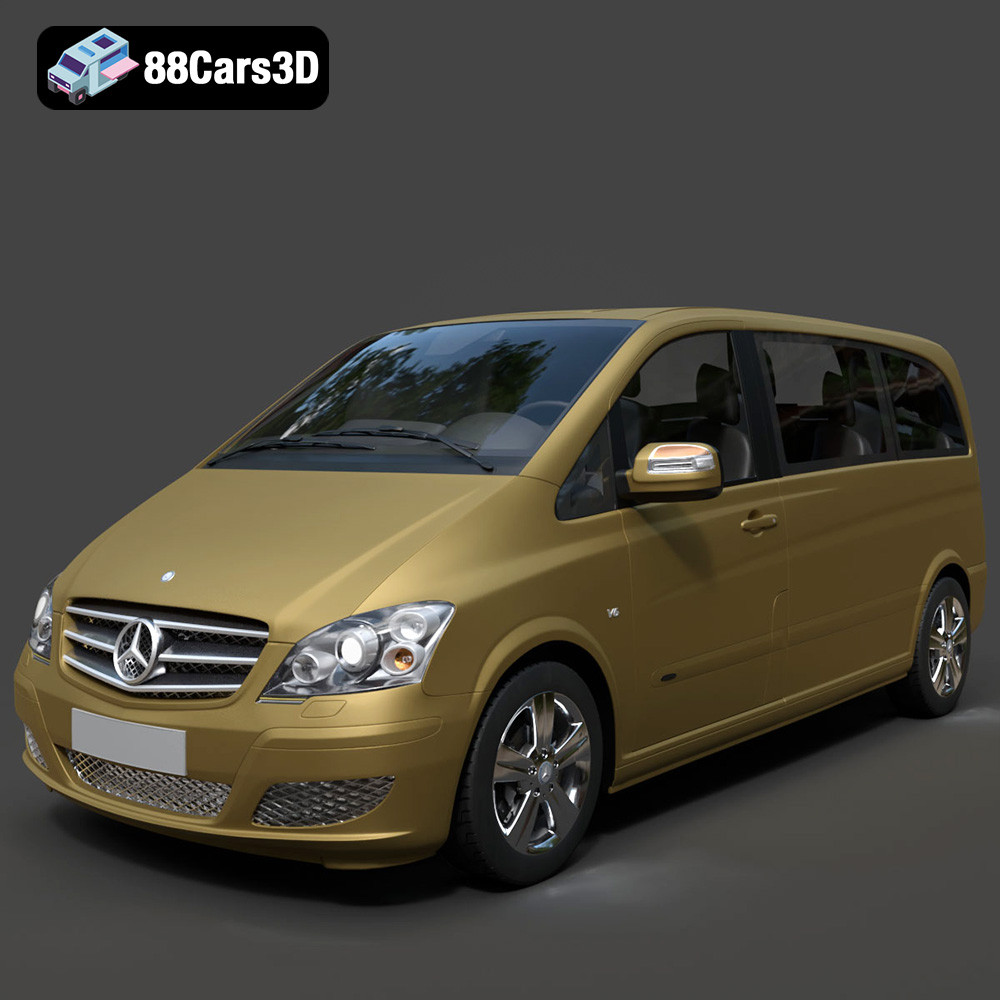
Download the Mercedes-Benz Viano 2010 3D Model featuring clean geometry, realistic detailing, and a fully modeled interior. Includes .blend, .fbx, .obj, .glb, .stl, .ply, .unreal, and .max formats for rendering, simulation, and game development.
Price: $19.99

Texture: Yes
Material: Yes
Download the Emt Avtobus 007 3D Model featuring clean geometry, realistic detailing, and a fully modeled interior. Includes .blend, .fbx, .obj, .glb, .stl, .ply, .unreal, and .max formats for rendering, simulation, and game development.
Price: $19.99
Texture: Yes
Material: Yes
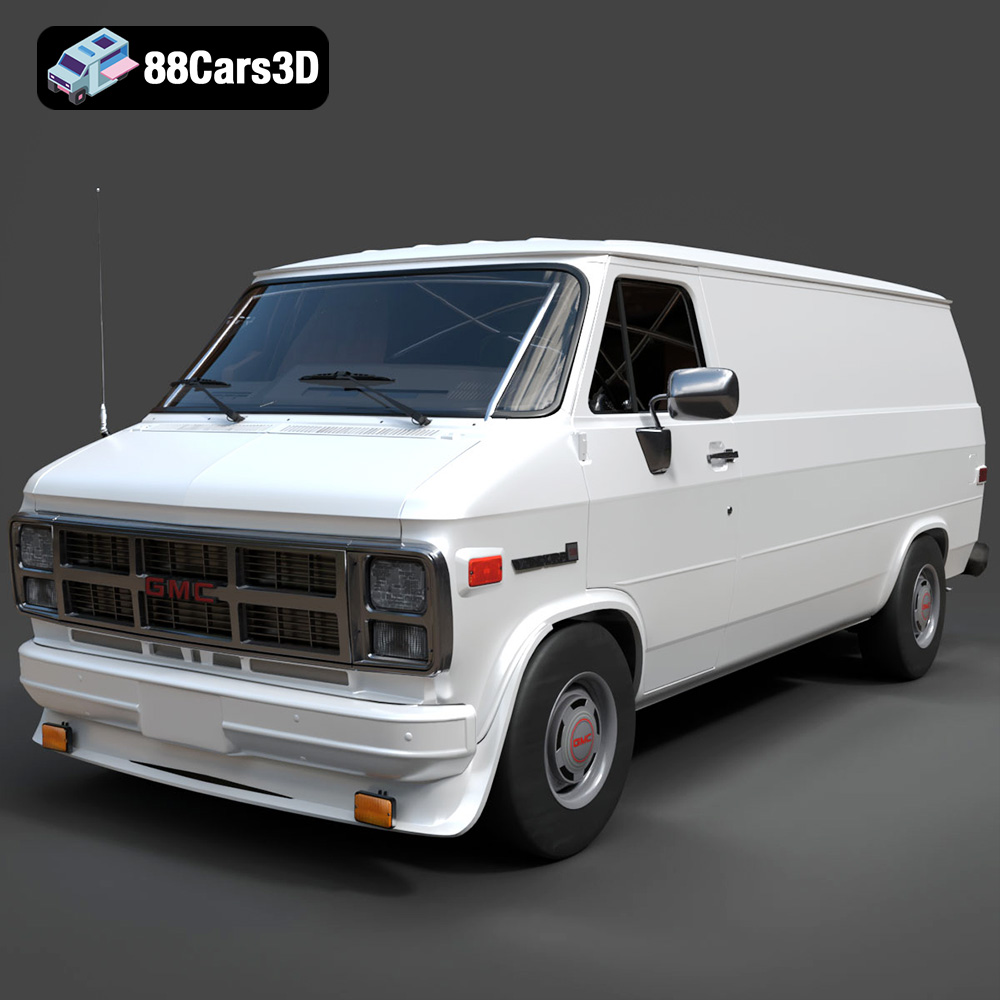
Download the GMC Vandura G-1500 1983 3D Model featuring clean geometry, realistic detailing, and a fully modeled interior. Includes .blend, .fbx, .obj, .glb, .stl, .ply, .unreal, and .max formats for rendering, simulation, and game development.
Price: $19.99

Texture: Yes
Material: Yes
Download the Ford E-450 Ambulance 3D Model featuring clean geometry, realistic detailing, and a fully modeled interior. Includes .blend, .fbx, .obj, .glb, .stl, .ply, .unreal, and .max formats for rendering, simulation, and game development.
Price: $19.99

