

“`html
Mastering the Art of 3D Printing Realistic Car Models from STL Files
The automotive world has always captivated enthusiasts, and now, with the power of 3D printing, you can bring your favorite vehicles to life right on your desk. From classic cruisers to futuristic concepts, the ability to transform a digital 3D model into a tangible object is a remarkable feat. However, achieving a high-quality, realistic 3D printed car model requires more than just hitting the ‘print’ button. It involves a deep understanding of file preparation, slicing techniques, printer settings, and post-processing. This comprehensive guide will walk you through the entire process, from selecting the perfect STL file to showcasing your finished masterpiece. Whether you’re a seasoned maker or new to additive manufacturing, you’ll gain the knowledge needed to elevate your printable car models from good to exceptional. We’ll delve into the nuances of FDM printing and resin printing, explore critical slicing parameters, master support structure generation, and troubleshoot common printing pitfalls. Get ready to unlock the full potential of your 3D printer and create stunning automotive replicas.
Understanding the Foundation: STL Files and Mesh Topology
The journey to a flawless 3D printed car begins with the STL file. Short for Stereolithography, this file format is the de facto standard for 3D printing. It represents a 3D object’s surface geometry as a collection of triangular facets. While seemingly simple, the underlying mesh topology is crucial for successful printing. A “manifold” or “watertight” mesh is essential – meaning there are no holes, gaps, or internal faces. Imagine trying to fill a leaky bucket; the water (filament) will escape, leading to print failures. For automotive models, which often feature complex curves and intricate details like grilles, spoilers, and interior components, mesh quality is paramount. High-quality models, such as those found on platforms like 88cars3d.com, are meticulously designed with clean geometry, ensuring they are print-ready straight out of the download. This saves significant time and frustration compared to repairing poorly constructed meshes.
The Importance of Watertight Meshes and Non-Manifold Geometry
A non-manifold mesh can manifest in several ways: internal faces (triangles inside the object that aren’t part of the external surface), overlapping triangles, or edges shared by more than two faces. These issues can confuse slicing software, leading to incorrect toolpaths, missing sections, or print failures. Software like Meshmixer, Blender, or Autodesk Netfabb are invaluable tools for mesh inspection and repair. Performing a quick “analysis” or “check” function in these programs will often highlight problem areas. For instance, you might find stray vertices, intersecting faces, or boundaries that aren’t closed. The process of repairing these issues typically involves merging vertices, deleting duplicate or internal faces, and ensuring all edges connect seamlessly to form a closed surface. This step is non-negotiable for achieving a solid, printable model.
File Formats: STL vs. OBJ and FBX for Automotive Models
While STL is ubiquitous, it’s a purely geometric representation and doesn’t store color or texture information. Other formats like OBJ (Wavefront Object) and FBX (Filmbox) can include UV mapping and material data. For purely structural 3D printing of car models, STL is usually sufficient. However, if you intend to use advanced techniques like multi-material printing or color 3D printing, or if the original design software exports in these formats, OBJ or FBX might be considered. Most slicers can import these formats, often converting them to a mesh representation internally. For the vast majority of hobbyists focused on creating detailed physical replicas, focusing on a clean, manifold STL is the priority. When downloading models from marketplaces such as 88cars3d.com, you are typically provided with optimized STL files designed for direct printing.
Slicing Strategies for Detailed Automotive Prints
Once you have a clean STL file of your chosen car, the next critical step is slicing. Slicing software (like Cura, PrusaSlicer, or Simplify3D) translates the 3D model into layer-by-layer instructions (G-code) that your 3D printer can understand. The settings you choose here will dramatically impact the print quality, detail, and structural integrity of your automotive model. For intricate car models, especially those with fine details like emblems, panel lines, or small accessories, careful parameter tuning is essential. Think of the slicer as your digital sculptor, guiding the printer’s nozzle or laser with precision.
Layer Height: The Trade-off Between Detail and Print Time
Layer height is arguably the most significant setting affecting print quality and speed. For highly detailed car models, a smaller layer height is generally preferred. Typical FDM printers might operate with layer heights ranging from 0.1mm to 0.3mm. For a detailed model, aiming for 0.1mm or 0.12mm will yield smoother curves and finer details, reducing the visible “stair-stepping” effect on curved surfaces like fenders or roofs. However, printing at such resolutions significantly increases print time. A complex car model that takes 10 hours at 0.2mm might take upwards of 25-30 hours at 0.1mm. Consider the scale of your print and the importance of fine details. For larger, less detailed models, a slightly larger layer height (e.g., 0.15mm or 0.18mm) can offer a good balance.
Wall Thickness, Top/Bottom Layers, and Infill for Structural Integrity
Automotive models, especially when intended for collection or even functional prototyping, benefit from robust construction.
- Wall Thickness (Perimeters): This defines how many extrusion paths are laid down for the outer shell of your print. Increasing wall thickness (e.g., from 2 to 3 or 4 perimeters) adds significant strength and can improve the appearance of fine details. For car bodies, aim for at least 3 perimeters.
- Top/Bottom Layers: These solid layers seal the top and bottom surfaces. A higher number (e.g., 5-6 layers) ensures a smooth, solid finish, preventing infill patterns from showing through on the top surfaces, which is crucial for a realistic car body.
- Infill Density and Pattern: Infill provides internal support. For most decorative car models, 10-20% infill is sufficient. Patterns like ‘Grid’, ‘Gyroid’, or ‘Cubic’ offer good strength. For parts that might need to withstand some handling or stress, consider increasing density to 25-30% and using a stronger pattern.
When setting these parameters, consider the intended use of the model. A display piece might prioritize surface finish over extreme strength, while a model intended for light handling might require more robust settings.
Print Speed and Travel Settings for Fine Details
Printing too fast can lead to a loss of detail, poor layer adhesion, and ringing artifacts. For intricate car models, reducing print speed is often necessary.
- Outer Wall Speed: This is arguably the most critical speed setting for surface quality. Lowering it significantly (e.g., to 25-40 mm/s) allows the printer to accurately lay down fine details and achieve smoother curves.
- Inner Wall Speed: Can often be slightly faster than the outer wall, but still should be moderate (e.g., 40-50 mm/s).
- Travel Speed: Controls how quickly the print head moves when not extruding. Higher travel speeds reduce stringing but can cause vibrations. A moderate speed (e.g., 100-150 mm/s) is usually a good starting point.
- Retraction Settings: Crucial for preventing stringing between separate parts of the model. Fine-tuning retraction distance and speed is essential, especially when printing complex shapes with many retractions.
Experimentation is key here. Start with conservative speeds and gradually increase them if quality remains high to optimize print time.
Support Structures: The Unsung Heroes of Complex Models
Realistic car models are rarely simple blocks. They feature overhangs, bridges, and intricate details that require support structures. These temporary structures are printed along with the model and are removed later. Improperly generated or removed supports can mar the surface finish, damage delicate parts, or leave unsightly marks. Mastering support generation is crucial for achieving a clean, professional-looking result.
Choosing the Right Support Type and Placement
Most slicers offer various support types:
- Normal/Grid Supports: Standard supports that create a grid-like structure. They are generally easy to print but can be difficult to remove cleanly from detailed surfaces.
- Tree/Branching Supports: These supports grow from a single point and branch out, mimicking tree structures. They often use less material, print faster, and are generally easier to remove from complex geometries, making them ideal for car models.
- Support Touch Platform Only: This setting ensures supports only print where the model touches the build plate, useful for models with large overhangs that don’t require internal support.
Placement is also critical. Enabling ‘Support Everywhere’ ensures all overhangs are supported, but can lead to excessive support material. ‘Support Touching Buildplate’ is safer for detailed models but might miss crucial internal overhangs. Many slicers allow you to paint ‘support blockers’ or designate areas where supports should *not* be generated, offering fine-tuned control.
Support Settings: Density, Z-Distance, and Interface Layers
Fine-tuning support settings is essential for easy removal and minimal surface scarring:
- Support Density: Controls how dense the support structure is. Lower density (e.g., 5-10%) uses less material and is easier to break away.
- Support Z Distance (Interface Layers): This is the gap between the top of the support and the bottom of the model’s overhang. Increasing this gap (e.g., to 0.2mm or 0.3mm for a 0.1mm layer height) makes removal easier but can lead to sagging on the underside of the overhang if too large.
- Support Interface Layers: Adding a few solid layers at the top and bottom of the support structure (interface layers) creates a denser, more stable contact surface. This can improve the quality of the overhang but may make removal slightly harder. Carefully tune the Z distance and consider using a support interface for critical overhangs.
Experiment with these settings. A small gap with a few interface layers often provides the best balance between support quality and ease of removal.
Manual Support Placement and Removal Techniques
For extremely delicate or complex parts of a car model (e.g., side mirrors, spoilers, intricate grilles), manual support placement is sometimes the best solution. Some advanced slicers allow you to add supports manually where needed. When it comes to removal, patience is key. Start by gently wiggling the supports. Use hobby knives, needle-nose pliers, and flush cutters to carefully break away the support material. For resin prints, supports are often removed before final curing, and a sharp blade or flush cutters are essential. On FDM prints, try to break supports away cleanly, minimizing damage to the model’s surface. If marks remain, they can often be addressed during post-processing.
Print Orientation and Bed Adhesion: The Bedrock of Success
How you orient your 3D printable car model on the build plate and ensuring it sticks properly are fundamental to a successful print. Incorrect orientation can lead to excessive supports, weak layer adhesion, or poor surface finish on critical areas. Poor bed adhesion is a leading cause of print failure, resulting in spaghetti-like messes or models detaching mid-print.
Optimizing Print Orientation for Detail and Strength
For car models, consider the following when orienting:
- Minimize Overhangs: Orient the model so that critical features like the roof, hood, and trunk have minimal overhangs. Often, placing the car upright (wheels down) is the most intuitive and may require the least amount of support for the main body.
- Maximize Detail Visibility: Position the model so that detailed surfaces (like side panels, badges, or aerodynamic elements) are not facing downwards onto supports, which can obscure or damage them.
- Consider Layer Lines: Layer lines are always visible. On a car, they might be most noticeable along the length of the body panels. Orienting to minimize their impact on prominent surfaces can improve the final aesthetic.
- Assembly Considerations: If the car model is designed in multiple parts (e.g., body, chassis, wheels), orient each part optimally for its specific geometry.
Don’t be afraid to rotate and tilt the model in your slicer to find the best orientation that balances support needs, detail preservation, and printability.
Achieving Reliable Bed Adhesion
A strong first layer is the foundation of any successful 3D print.
- Leveling the Bed: Ensure your printer’s build plate is perfectly level. This is critical for consistent extrusion across the entire print area. Manual or automatic bed leveling routines are essential.
- Clean Build Surface: Oils from fingerprints, dust, or residual adhesive can prevent adhesion. Clean your build plate thoroughly with isopropyl alcohol before each print.
- Build Surface Materials: Different build surfaces offer varying adhesion properties. Glass beds often benefit from adhesion aids like glue stick, hairspray, or specialized PEI sheets. Textured PEI sheets can provide excellent adhesion for many materials.
- First Layer Settings: In your slicer, adjust the first layer height (often slightly thicker, e.g., 0.2mm or 0.3mm) and print speed (significantly slower, e.g., 15-20 mm/s) to ensure maximum squish and adhesion.
- Brim or Skirt: A skirt is a few outlines around the model to prime the nozzle. A brim adds a wider perimeter around the base of the model, increasing the surface area contact with the build plate, which is highly recommended for models with small footprints or prone to warping.
For materials like ABS that are prone to warping, an enclosure or higher bed temperature might be necessary.
FDM vs. Resin Printing: Material and Adhesion Considerations
The choice between FDM printing and resin printing (SLA/DLP) significantly impacts adhesion and overall print quality for car models.
- FDM: Uses extruded thermoplastic filament. Adhesion relies on melting plastic to the build plate. Materials like PLA generally adhere well to common surfaces, while PETG and ABS can be more challenging and may require specific bed surfaces or temperatures. Warping is a primary concern with FDM, especially for larger models.
- Resin Printing: Uses liquid photopolymer resin cured by UV light. Adhesion occurs on the build plate via a thin layer of uncured resin. Resin printers typically have very high success rates for adhesion due to the nature of the resin and build plate interaction. However, resin prints often require more delicate support structures that are less forgiving during removal.
For extremely fine details and smooth surfaces, resin printing often excels. For larger, more robust models where fine detail isn’t the absolute priority, FDM can be a more cost-effective and faster option.
Material Selection and Printer Calibration for Optimal Results
The material you choose and the calibration of your 3D printer are foundational to producing high-quality printable car models. Different materials have unique properties, and a well-calibrated printer ensures consistency and accuracy, translating the digital design faithfully into a physical object.
Common Filaments for FDM Car Models: PLA, PETG, ABS
When using FDM printing for car models, material choice is important:
- PLA (Polylactic Acid): The most common and easiest material to print. It’s rigid, has good detail reproduction, and comes in a vast array of colors. PLA is biodegradable and generally safe to print indoors. It can be slightly brittle, so models intended for frequent handling might benefit from stronger materials. Ideal for display models.
- PETG (Polyethylene Terephthalate Glycol): Offers a good balance of strength, flexibility, and temperature resistance compared to PLA. It’s more durable and less prone to cracking. PETG can be slightly stringier than PLA, requiring careful retraction tuning. A great choice for models that might see more interaction.
- ABS (Acrylonitrile Butadiene Styrene): Known for its toughness, impact resistance, and higher temperature resistance. However, ABS is more challenging to print, prone to warping, requires higher temperatures, and emits fumes that necessitate good ventilation or an enclosure. Best suited for experienced users needing its specific properties.
For most hobbyists and automotive model enthusiasts, PLA offers the best combination of ease of use, detail, and color options. Many marketplaces, including 88cars3d.com, offer models designed with common materials like PLA in mind.
Resin Types for Highly Detailed Automotive Replicas
Resin printing opens up a world of incredible detail for miniature car models.
- Standard Resins: Offer excellent detail and a smooth finish. They come in various colors, though grey is popular for priming and painting.
- Tough/ABS-like Resins: Mimic the mechanical properties of ABS plastic, offering increased durability and impact resistance, suitable for parts that might need to be more robust.
- Flexible Resins: Can be used for specific components like tires, though less common for car models.
Resin prints generally require more post-processing, including washing in isopropyl alcohol or a resin cleaner and post-curing under UV light to achieve their final properties. Safety precautions, including wearing gloves and working in a well-ventilated area, are paramount when handling liquid resins.
Essential Printer Calibration and Maintenance
A well-calibrated printer is non-negotiable for consistent, high-quality prints:
- E-steps Calibration: Ensures the printer extrudes the correct amount of filament.
- PID Tuning: Stabilizes nozzle and bed temperatures, preventing fluctuations that affect print quality.
- Flow Rate/Extrusion Multiplier Calibration: Fine-tunes the amount of filament extruded to match wall thickness and prevent over- or under-extrusion.
- Temperature Towers and Retraction Tests: Crucial for finding the optimal printing temperature and retraction settings for a specific filament.
- Regular Maintenance: Keep your printer clean, lubricate moving parts, check belt tension, and ensure the nozzle is clear. A well-maintained machine leads to fewer print failures.
Performing these calibrations, especially when using new materials or after significant printer usage, will pay dividends in print quality and reliability for all your 3D printing projects, including detailed automotive models.
Post-Processing: Bringing Your 3D Printed Car Model to Life
The 3D printing process doesn’t end when the print finishes. Post-processing is where you transform a raw print into a polished, realistic automotive model. This stage involves cleaning, assembling, and finishing the parts to achieve a professional look. The techniques used will depend on whether you used FDM or resin printing.
Support Removal and Initial Cleaning
The first step is carefully removing all support structures. As discussed, using appropriate tools like pliers, flush cutters, and hobby knives is essential.
- FDM: Gently break away supports, being careful not to damage the model. For stubborn supports, a quick blast of warm air or carefully scoring with a knife can help.
- Resin: Supports are typically removed after washing the print in IPA but before final UV curing. Use sharp flush cutters for a clean break.
After support removal, clean the print thoroughly. For FDM, a quick wipe-down with a brush or compressed air might suffice. For resin prints, a thorough wash in isopropyl alcohol (IPA) or a specialized resin cleaner is necessary to remove all uncured resin residue.
Sanding, Filling, and Priming for a Smooth Finish
Achieving a smooth, paint-ready surface often requires several steps:
- Sanding: Start with a coarser grit sandpaper (e.g., 150-220 grit) to remove layer lines and support marks, progressing to finer grits (e.g., 400, 800, 1000, and even higher) for a glass-smooth finish. Wet sanding can be beneficial for FDM prints.
- Filling: For significant imperfections or gaps, use modeling putty, Bondo, or even 3D printing filler primer to fill them. Allow the filler to cure completely before sanding.
- Priming: Apply a thin, even coat of primer (spray primer works well). Primer helps reveal any remaining imperfections that need further sanding or filling and provides a uniform base for paint.
This meticulous sanding and priming process is critical for automotive models, where smooth, flowing body lines are expected.
Painting and Detailing Techniques
This is where your car model truly comes to life.
- Base Coat: Apply your chosen automotive paint color. Airbrushing provides the smoothest, most professional finish, but spray cans can also yield good results if applied carefully in thin, even coats.
- Masking: Use painter’s tape (e.g., Tamiya tape) to mask off different sections for two-tone paint jobs, trim, or details.
- Detail Painting: Use fine brushes to paint smaller details like headlights, taillights, grilles, emblems, and interior components. Acrylic model paints are excellent for this.
- Clear Coat: Apply a clear coat (gloss, satin, or matte, depending on the desired finish) to protect the paint job and give it a professional sheen.
- Decals and Weathering: For extra realism, consider applying waterslide decals for badges or racing stripes. Weathering techniques, such as applying washes or dry brushing, can add depth and realism to simulate dirt, rust, or wear.
The level of detail you put into painting and finishing will directly translate to how realistic your final 3D printed car model appears.
Conclusion: Your Journey to Realistic 3D Printed Cars
Creating stunning, realistic 3D printed car models from STL files is an achievable and incredibly rewarding endeavor. It requires a methodical approach, starting with a well-formed, manifold mesh and progressing through meticulous slicing, intelligent support generation, optimized print orientation, careful material selection, and diligent post-processing. By understanding the interplay of these elements—from setting the right layer height and wall thickness to mastering support removal and achieving a flawless paint job—you can overcome common printing challenges and elevate your automotive creations. Whether you’re printing for display, a hobbyist collection, or even educational purposes, the techniques outlined here provide a robust framework for success. Platforms like 88cars3d.com offer a fantastic starting point with their library of high-quality, print-ready car models, allowing you to focus on the printing and finishing aspects. Embrace the learning process, experiment with settings, and don’t be afraid to refine your techniques. The journey of bringing these digital automotive marvels into the physical world is as exciting as the designs themselves.
“`
Featured 3D Car Models

Porsche Cayenne 3D Model
Meta Description:
Texture: Yes
Material: Yes
Download the Porsche Cayenne 3D Model featuring realistic exterior styling and detailed interior design. Includes .blend, .fbx, .obj, .glb, .stl, .ply, .unreal, and .max formats for rendering, simulation, AR VR, and game development.
Price: $19.9
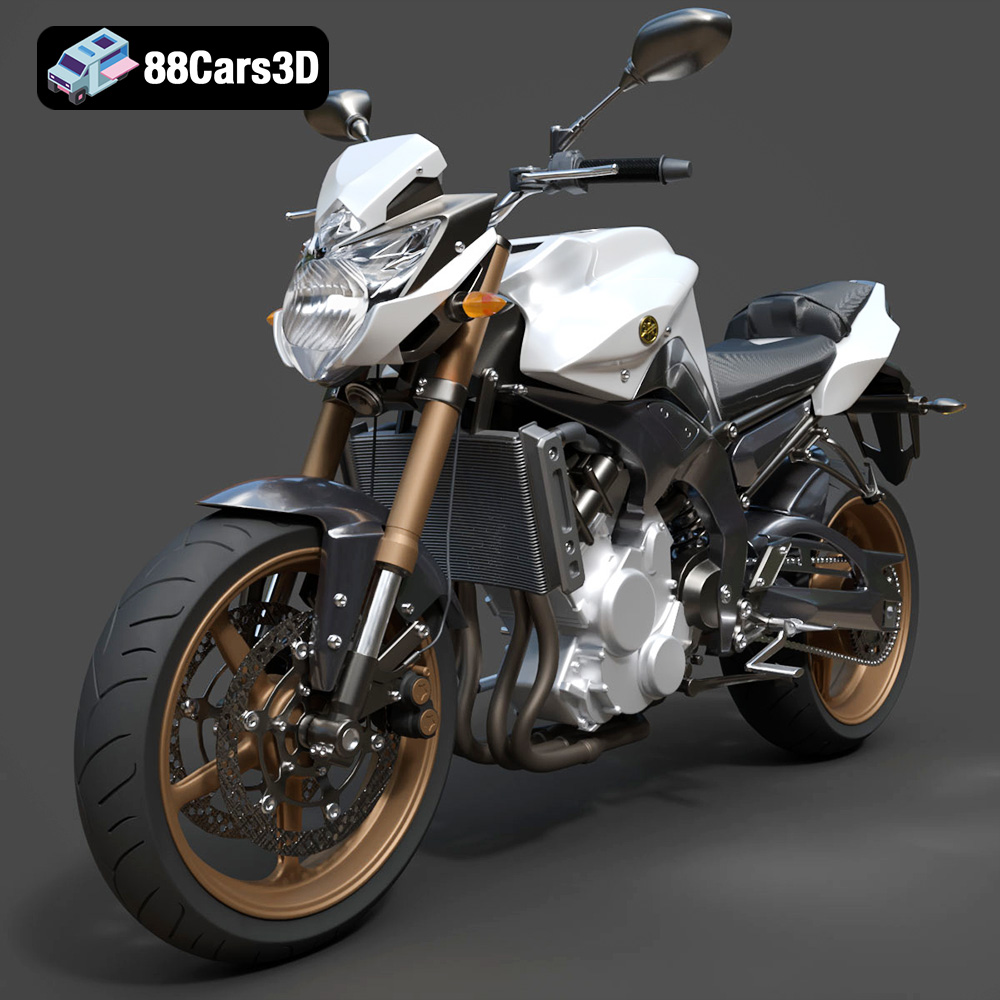
Yamaha FZ8 2011 3D Model
Texture: Yes
Material: Yes
Download the Yamaha FZ8 2011 3D Model featuring clean geometry, realistic detailing, and a fully modeled interior. Includes .blend, .fbx, .obj, .glb, .stl, .ply, .unreal, and .max formats for rendering, simulation, and game development.
Price: $19.99
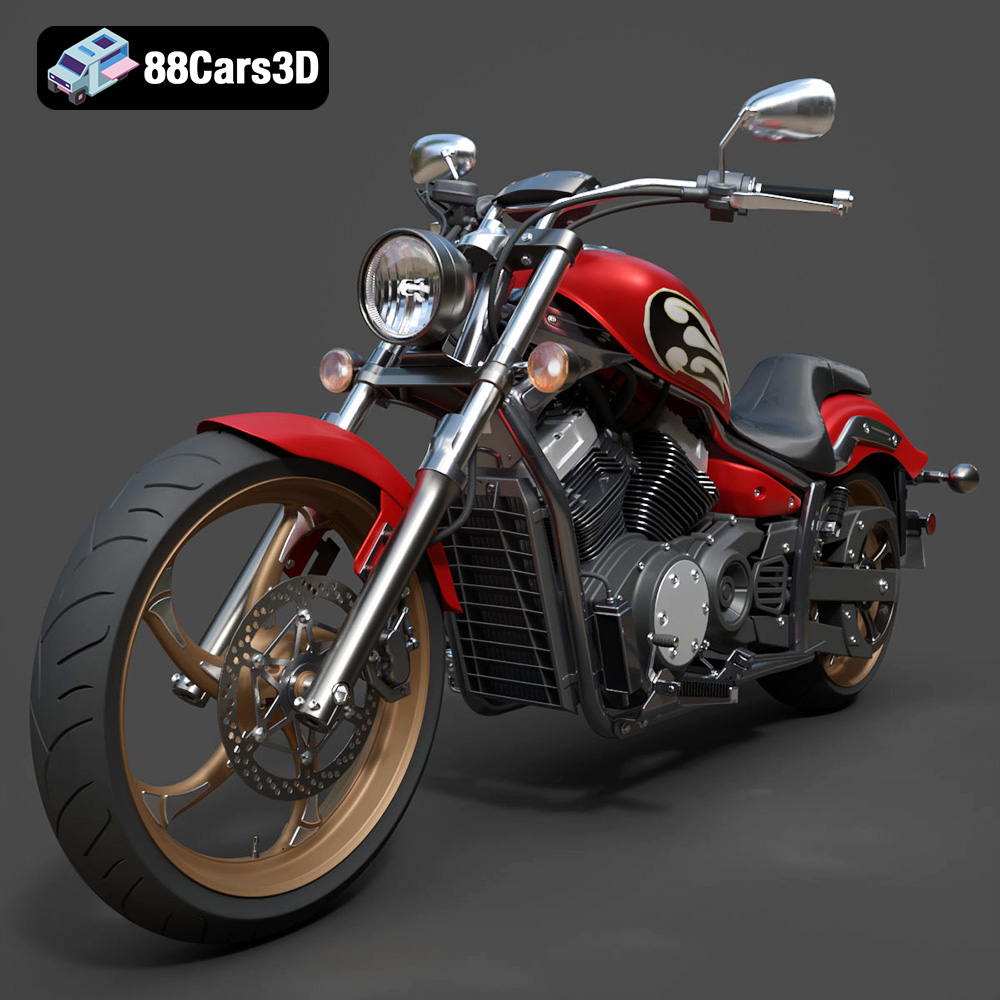
Yamaha Stryker 2012 3D Model
Texture: Yes
Material: Yes
Download the Yamaha Stryker 2012 3D Model featuring clean geometry, realistic detailing, and a fully modeled interior. Includes .blend, .fbx, .obj, .glb, .stl, .ply, .unreal, and .max formats for rendering, simulation, and game development.
Price: $19.99
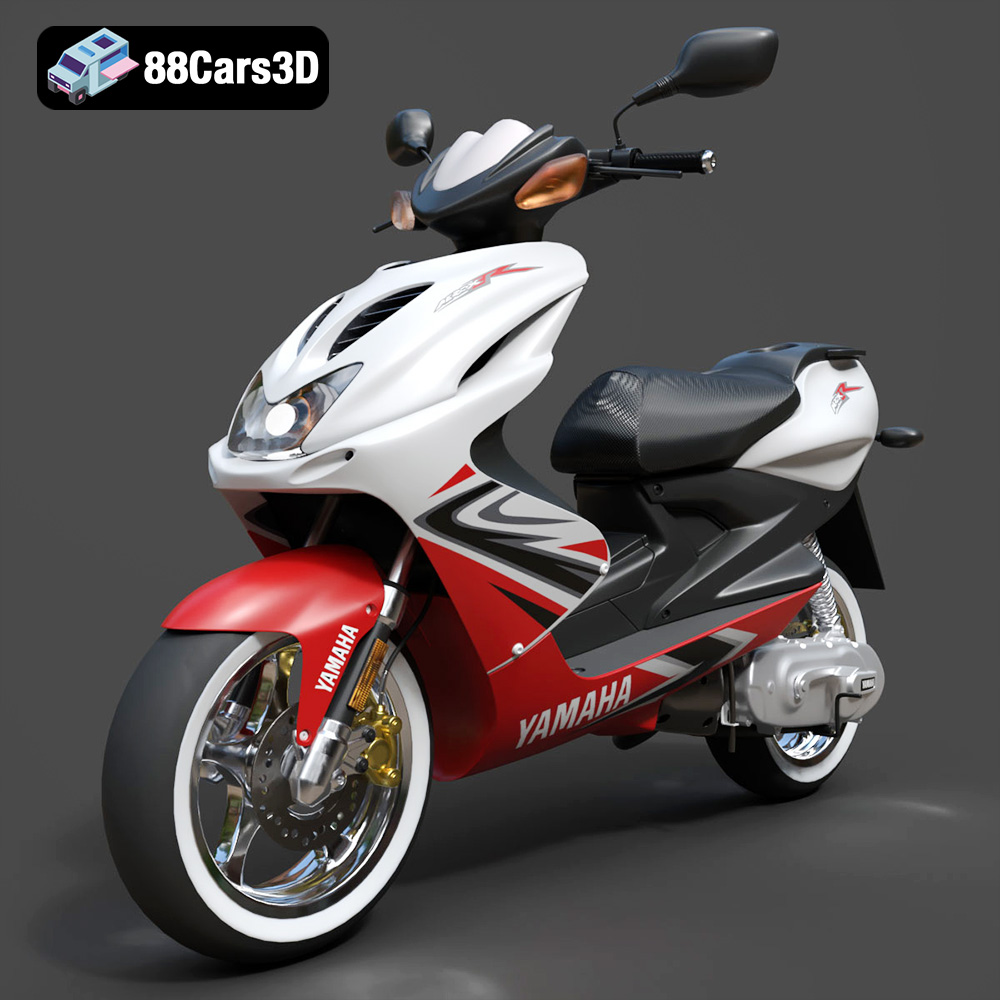
Yamaha Aerox R-002 2024 3D Model
Texture: Yes
Material: Yes
Download the Yamaha Aerox R-002 2024 3D Model featuring clean geometry, realistic detailing, and a fully modeled interior. Includes .blend, .fbx, .obj, .glb, .stl, .ply, .unreal, and .max formats for rendering, simulation, and game development.
Price: $19.99
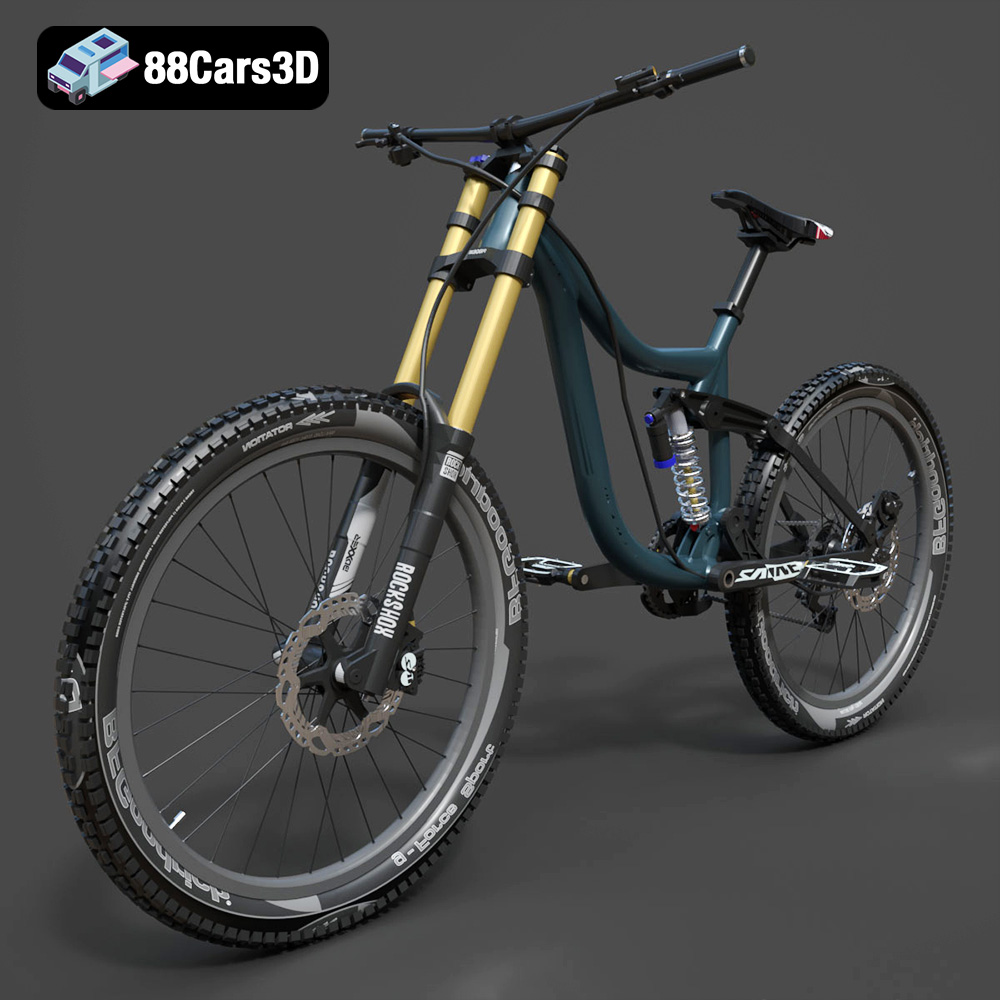
Mototsikly Downhill Bike-002 3D Model
Texture: Yes
Material: Yes
Download the Mototsikly Downhill Bike-002 3D Model featuring clean geometry, realistic detailing, and precise mechanical components. Includes .blend, .fbx, .obj, .glb, .stl, .ply, .unreal, and .max formats for rendering, simulation, and game development.
Price: $19.99
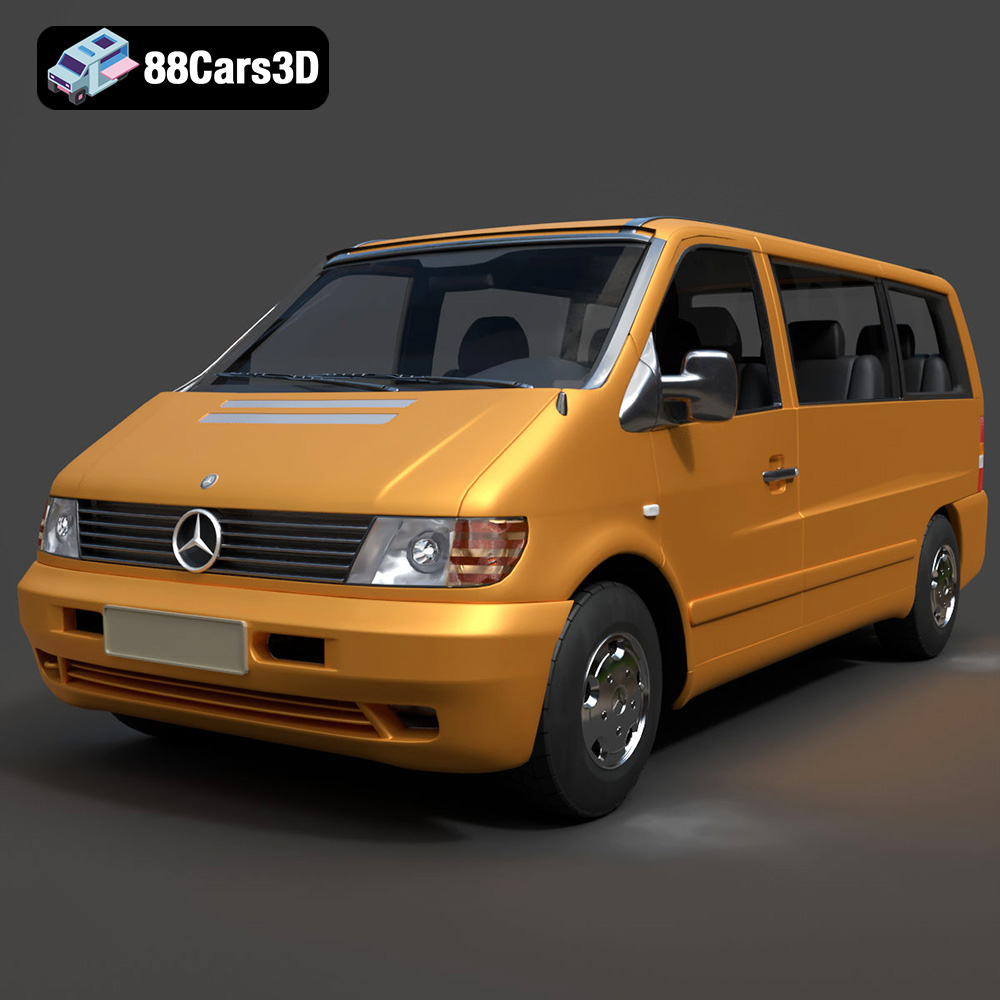
Mercedes-Benz Vito Passenger Van 3D Model
Texture: Yes
Material: Yes
Download the Mercedes-Benz Vito Passenger Van 3D Model featuring clean geometry, realistic detailing, and a fully modeled interior. Includes .blend, .fbx, .obj, .glb, .stl, .ply, .unreal, and .max formats for rendering, simulation, and game development.
Price: $19.99
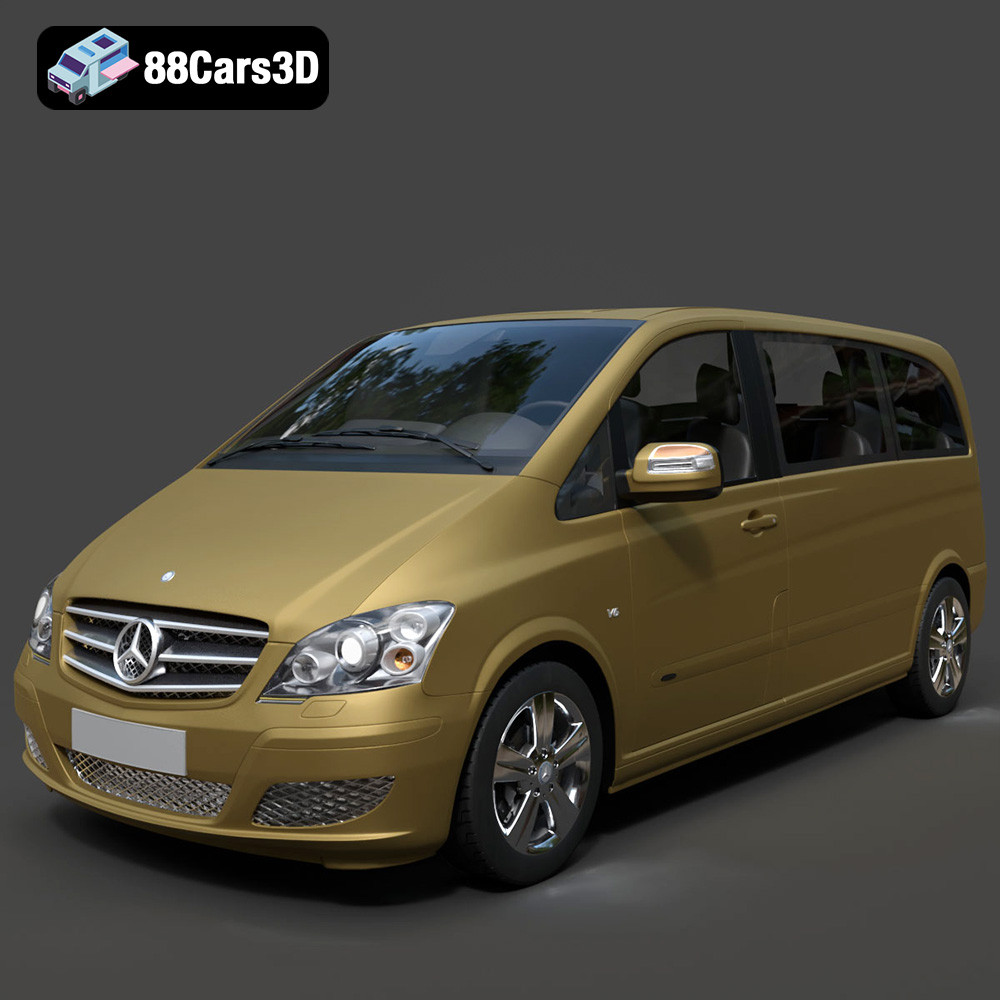
Mercedes-Benz Viano 2010 3D Model
Texture: Yes
Material: Yes
Download the Mercedes-Benz Viano 2010 3D Model featuring clean geometry, realistic detailing, and a fully modeled interior. Includes .blend, .fbx, .obj, .glb, .stl, .ply, .unreal, and .max formats for rendering, simulation, and game development.
Price: $19.99

Emt Avtobus 007 3D Model
Texture: Yes
Material: Yes
Download the Emt Avtobus 007 3D Model featuring clean geometry, realistic detailing, and a fully modeled interior. Includes .blend, .fbx, .obj, .glb, .stl, .ply, .unreal, and .max formats for rendering, simulation, and game development.
Price: $19.99
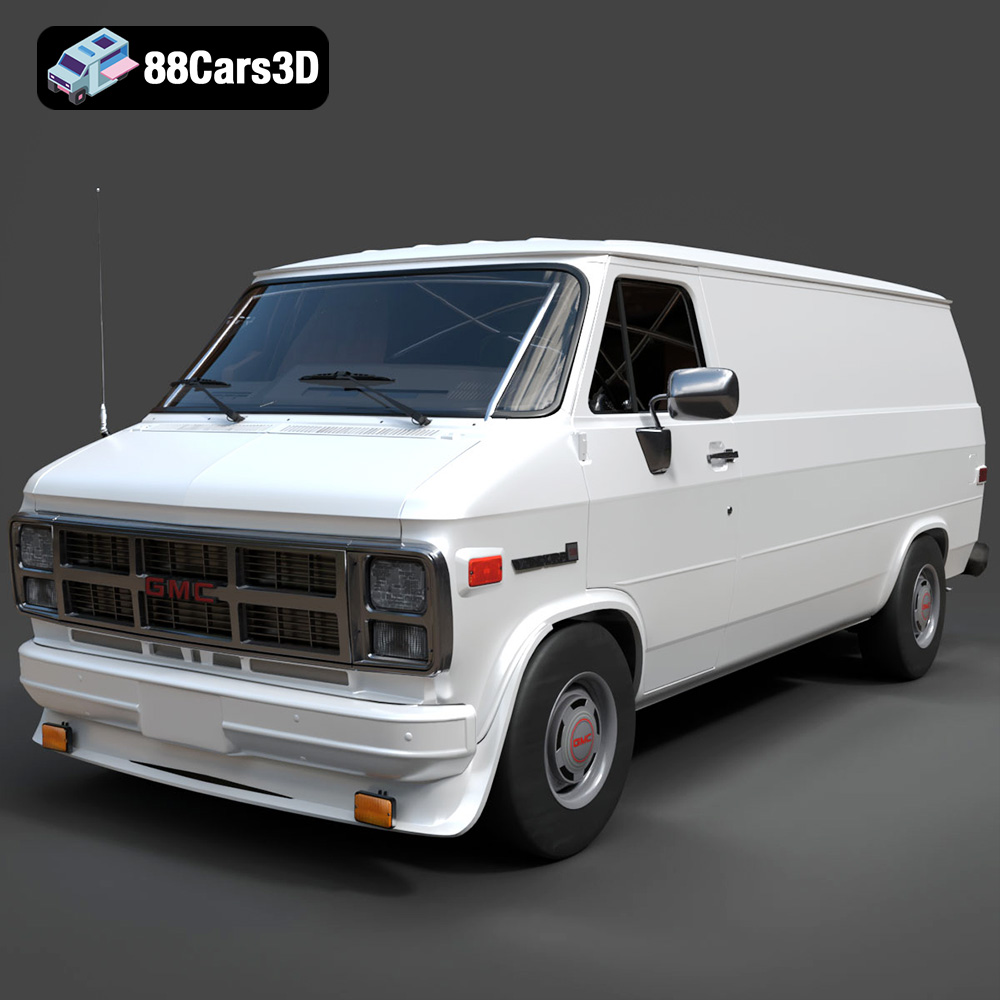
GMC Vandura G-1500 1983 3D Model
Texture: Yes
Material: Yes
Download the GMC Vandura G-1500 1983 3D Model featuring clean geometry, realistic detailing, and a fully modeled interior. Includes .blend, .fbx, .obj, .glb, .stl, .ply, .unreal, and .max formats for rendering, simulation, and game development.
Price: $19.99
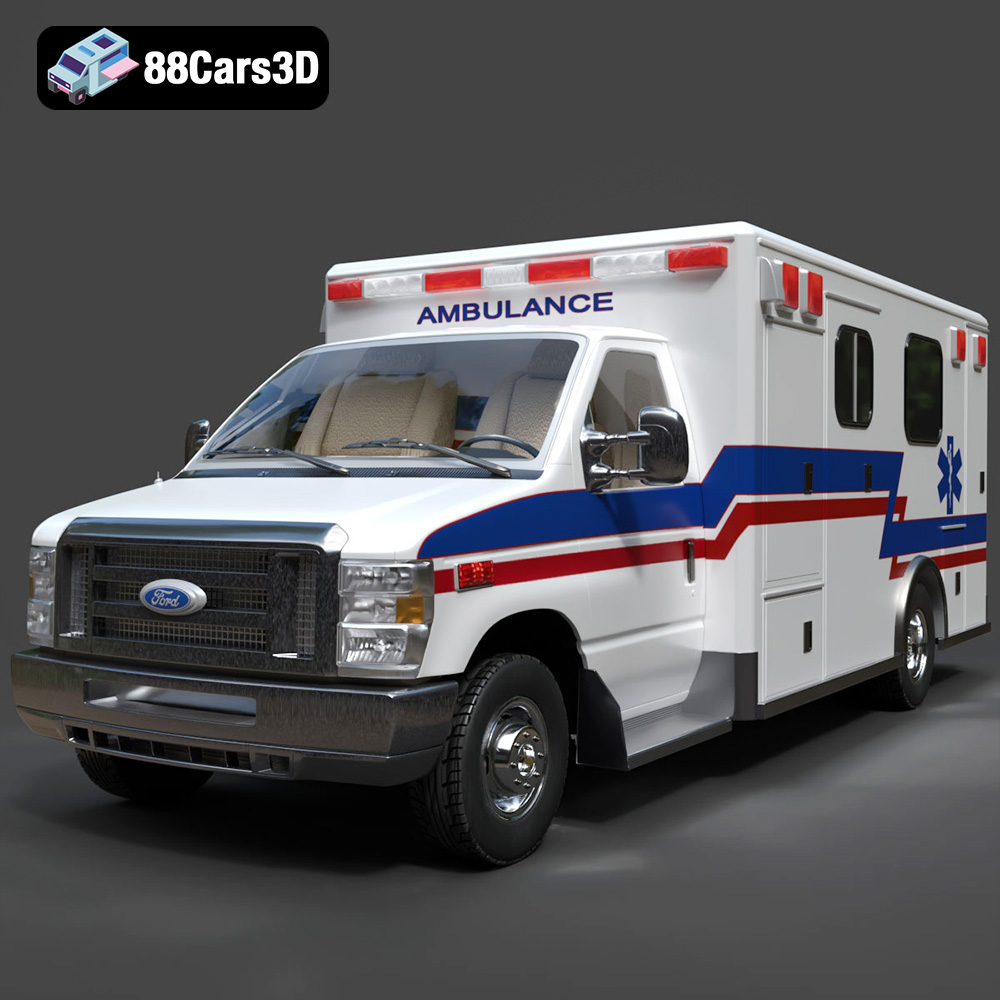
Ford E-450 Ambulance 3D Model
Texture: Yes
Material: Yes
Download the Ford E-450 Ambulance 3D Model featuring clean geometry, realistic detailing, and a fully modeled interior. Includes .blend, .fbx, .obj, .glb, .stl, .ply, .unreal, and .max formats for rendering, simulation, and game development.
Price: $19.99
