Get 20% OFF All Premium 3D & STL Models!

The automotive industry is in constant motion, demanding innovative solutions for training, development, and sales. Traditional methods, while valuable, often fall short in delivering the immersive, interactive, and cost-effective experiences needed for today’s complex vehicles and rapidly evolving technologies. This is where real-time 3D simulation, powered by a robust engine like Unreal Engine, truly shines. Imagine a trainee virtually disassembling an engine, practicing complex repair procedures, or test-driving a new model in a photorealistic environment, all before touching a physical component.
Unreal Engine provides an unparalleled platform for creating these interactive training simulations. Its suite of cutting-edge tools – from advanced rendering with Lumen and Nanite, to intuitive visual scripting with Blueprint, and cinematic sequencing – enables developers and artists to build experiences that are not only visually stunning but also deeply engaging and instructionally effective. This comprehensive guide will delve into the technical workflows and best practices for leveraging Unreal Engine to develop high-fidelity automotive training simulations, offering insights into project setup, asset optimization, material creation, interactive logic, and performance considerations. Get ready to transform your approach to automotive training.
In an era where technology accelerates faster than ever, the methods we use for training must keep pace. The automotive sector, with its intricate mechanics, sophisticated electronics, and demanding safety protocols, presents a unique challenge for effective education. Unreal Engine emerges as a leading solution, offering a dynamic and interactive alternative to traditional classroom lectures, static manuals, or expensive physical prototypes. By providing a virtual sandbox for learning, Unreal Engine empowers trainees to experiment, make mistakes, and master complex procedures in a safe, controlled, and infinitely repeatable environment.
Traditional training often involves extensive written manuals, theoretical presentations, or hands-on practice with expensive physical vehicles and tools. While hands-on experience is irreplaceable, it comes with significant costs, logistical hurdles, and potential safety risks, especially for initial learning phases. Real-time 3D simulations bridge this gap by offering a virtual counterpart that is both highly realistic and readily accessible. Trainees can explore vehicle interiors, inspect components, and perform intricate tasks repeatedly without incurring material wear-and-tear or safety concerns. This approach dramatically reduces training costs and accelerates the learning curve, making it an indispensable tool for automotive visualization and skill development.
Unreal Engine’s architecture is ideally suited for creating sophisticated training simulations. Its physically based rendering (PBR) pipeline ensures materials and lighting behave as they would in the real world, producing hyper-realistic visuals essential for accurate automotive visualization. Features like Lumen for global illumination and reflections, and Nanite for virtualized geometry, allow for unprecedented visual fidelity without compromising real-time performance. Furthermore, Blueprint visual scripting empowers technical designers and trainers to build complex interactive logic without writing a single line of code, enabling dynamic scenarios and personalized feedback loops. The engine’s robust physics system and comprehensive tools for creating interactive user interfaces (UMG) further solidify its position as the premier platform for developing engaging and effective automotive training experiences. Developers can find extensive resources on these features on the official Unreal Engine learning platform: dev.epicgames.com/community/unreal-engine/learning.
The foundation of any compelling automotive training simulation is high-quality 3D car models. These models must not only be visually accurate but also technically optimized for real-time rendering. This means clean topology, proper UV mapping, and a comprehensive set of PBR texture maps. Sourcing such assets can be time-consuming and expensive if done from scratch. This is where specialized marketplaces like 88cars3d.com become invaluable. They offer a curated selection of production-ready 3D car models, meticulously crafted for Unreal Engine and other real-time applications, ensuring your simulation starts with a strong visual and technical base. These models typically feature optimized polygon counts, realistic materials, and are provided in various formats like FBX or USD, making integration into your Unreal Engine project seamless and efficient.
Beginning an Unreal Engine project for automotive training requires a structured approach to ensure optimal performance, scalability, and ease of development. A well-configured project forms the backbone of your simulation, allowing for efficient asset management and robust interactive experiences. Importing and preparing your high-quality 3D car models correctly is a critical first step, as their fidelity and optimization will directly impact the visual realism and real-time performance of your training environment.
When starting a new project in Unreal Engine, selecting the appropriate template is crucial. For training simulations, consider starting with a “Blank” or “Games” template, as it provides a clean slate or a basic game framework without unnecessary features, ensuring better performance from the outset. Crucially, configure your project for scalability. Navigate to Edit > Project Settings > Engine > Rendering and adjust settings like Global Illumination Method (Lumen is recommended for high fidelity) and Reflection Method. It’s also vital to set up source control early (e.g., Perforce or Git) to manage collaborative development and versioning of your extensive 3D car models and project files. Establishing clear folder structures for your assets – e.g., Cars/, Materials/, Blueprints/, Environments/ – is key for project organization and maintainability, especially as the simulation grows in complexity.
The quality of your 3D car models directly impacts the visual authenticity of your training simulation. When importing models, particularly from platforms like 88cars3d.com, ensure they are in a compatible format such as FBX or USD. During import, specify appropriate settings: merge meshes, generate collision, and import textures if available. For optimal real-time rendering, especially in performance-critical applications like AR/VR, car models typically range from 50,000 to 300,000 polygons for standard components, with Nanite allowing for millions of polygons on detailed parts. Models from reputable marketplaces are often pre-optimized, featuring clean geometry and efficient material assignments. Post-import, always verify the model’s pivot point (usually centered at the base for vehicles) and scale. Incorrect scaling can lead to physics issues and visual discrepancies within your Unreal Engine scene. Further details on importing assets can be found in the official Unreal Engine documentation.
After importing, essential post-processing steps include setting up collisions, Level of Detail (LODs), and initial PBR material assignments. For interactive training, accurate collision meshes are paramount. Unreal Engine can automatically generate simple collision (e.g., Box, Sphere) or you can import custom complex collision meshes for precise interaction, such as opening car doors or interacting with engine components. LODs are critical for performance optimization; they allow the engine to swap out high-polygon meshes for simpler versions when the object is far from the camera, drastically reducing draw calls and vertex processing. Aim for at least three to four LOD levels, with reductions of 50-75% polygon count at each step. Finally, ensure your imported models have correctly assigned PBR materials. Even if temporary, having placeholders for Albedo, Normal, Roughness, Metallic, and Ambient Occlusion maps will provide a visual starting point for the realistic materials you’ll refine later.
A compelling automotive training simulation extends beyond just a detailed car model; it requires an equally realistic and immersive environment. Achieving visual fidelity in Unreal Engine involves a meticulous approach to material creation, strategic lighting setups, and thoughtful environmental design. These elements combine to create a credible virtual space where trainees can suspend disbelief and fully engage with the learning experience.
Physically Based Rendering (PBR) materials are the cornerstone of realism in Unreal Engine. They simulate how light interacts with surfaces in the real world, providing a consistent and believable appearance under varying lighting conditions. In the Unreal Engine Material Editor, you’ll create material instances from master materials to manage variations efficiently. Each PBR material typically requires several texture maps:
For automotive paint, consider layers: a base coat (metallic/roughness), clear coat (specular/transmission), and flake layers. Using clear coat materials with a high index of refraction (IOR) and precise roughness control is vital for achieving convincing car paint. Leverage Material Functions to create reusable networks for complex material behaviors, such as advanced car paint shaders or tire rubber, promoting efficiency and consistency across your 3D car models.
Unreal Engine’s Lumen Global Illumination and Reflections system is a game-changer for real-time lighting, delivering highly realistic and dynamic illumination that adapts to changes in the environment and light sources. To set up Lumen, ensure it’s enabled in your Project Settings (Engine > Rendering). Then, in your level, use a Directional Light for the sun, a Sky Light for ambient sky illumination (capturing distant sky information), and a Post Process Volume to fine-tune exposure, color grading, and reflection settings. For interior spaces or specific training scenarios, add Point Lights or Spot Lights, ensuring their mobility is set to ‘Movable’ for Lumen interaction. For optimal performance, especially in scenarios with many lights, consider baking static environmental lighting with Lightmass for background elements, while keeping Lumen active for dynamic interactions with your automotive assets. Proper lighting is not just aesthetic; it’s crucial for visual cues in maintenance or assembly training, highlighting components and areas of interest.
The training environment should be thoughtfully designed to support the learning objectives. Whether it’s a sterile workshop, a test track, or a showroom, the environment must feel authentic. Use high-quality environmental assets – props, foliage, buildings – to populate your scene. Consider using Virtual Textures for large landscape surfaces to reduce texture memory usage and improve streaming performance. When placing assets, pay attention to scale, composition, and visual flow. Utilize Unreal Engine’s foliage tools for efficient placement of repetitive elements like trees or grass. For specific automotive training scenarios, such as engine diagnostics, you might create a dedicated ‘cutaway’ environment that exposes internal components. Remember that every asset placed contributes to the scene’s complexity; judicious use of assets and optimization techniques like LODs and occlusion culling will maintain real-time performance even in dense environments.
The true power of an Unreal Engine training simulation lies in its interactivity. Moving beyond passive observation, interactive simulations empower trainees to perform actions, receive feedback, and navigate complex decision trees. Unreal Engine’s Blueprint visual scripting system is the primary tool for bringing these interactive training scenarios to life, enabling developers to create sophisticated logic without extensive coding. Combined with intuitive user interfaces and realistic physics, Blueprint allows for deeply engaging and effective learning experiences.
User Interface (UI) is paramount for guiding trainees through a simulation, providing instructions, feedback, and interactive controls. Unreal Engine’s UMG (Unreal Motion Graphics) UI Designer offers a powerful and flexible way to create these interfaces. You can design various widgets such as buttons, text blocks, progress bars, and image displays to construct a comprehensive UI. For a training simulation, this might include step-by-step instructions (e.g., “Click on the oil filter”), task checklists, real-time performance feedback, or virtual tool selections.
For instance, to create a button that opens a car door, you would:
Consistent UI design is crucial for user experience. Use anchors, canvases, and sizing boxes to ensure your UI scales correctly across different resolutions and aspect ratios, maintaining readability and usability throughout the training experience.
Blueprint visual scripting is the heart of interactivity in Unreal Engine. It allows you to define complex logic, reactions, and sequences of events visually. For automotive training, Blueprint can be used for:
A typical Blueprint workflow involves using Event BeginPlay to set up initial states, Event Tick for continuous checks, and custom events or interfaces for specific interactions. For example, when a trainee clicks on a component, a Blueprint in that component’s Actor could cast to the player controller to determine if the correct virtual tool is equipped, then play an animation and update the UI with task completion. For more in-depth Blueprint concepts and tutorials, consult the official Unreal Engine documentation.
For simulations involving driving, component manipulation, or assembly, realistic physics are non-negotiable. Unreal Engine’s Chaos Physics system offers robust capabilities for vehicle dynamics and object interaction.
For driving simulations, you can utilize the Chaos Vehicle component, which provides a comprehensive framework for creating realistic car physics, including wheel setups, engine curves, gear ratios, and suspension. Integrating this with input systems (keyboard, gamepad, or even custom hardware for simulators) allows trainees to virtually “drive” the 3D car models.
For maintenance or assembly training, ensure individual components of your 3D car models have appropriate collision settings and physics constraints. For instance, when a trainee virtually removes a bolt, you can use Blueprint to apply a force or detach the component, allowing it to fall realistically or be picked up by a virtual hand. Using physics constraints like Hinge Constraints for doors or Prismatic Constraints for pistons provides realistic movement limitations, enhancing the authenticity of the interactive training experience.
To truly immerse trainees and maximize learning retention, automotive simulations must push the boundaries of visual fidelity and fluidity. Unreal Engine’s advanced features like Nanite revolutionize how high-detail 3D car models are handled, while Sequencer offers unparalleled control over cinematic presentations. However, maintaining high performance, especially for demanding applications like AR/VR, remains paramount. Balancing stunning visuals with smooth frame rates is key to a successful and effective training experience.
Nanite, Unreal Engine’s virtualized geometry system, is a game-changer for working with high-polygon 3D car models and intricate environments. It allows artists to import film-quality assets with millions or even billions of polygons directly into Unreal Engine without significant performance degradation. Nanite intelligently streams and processes only the necessary detail for what’s visible on screen, scaling triangles down to individual pixels. This means you can have incredibly detailed car interiors, engines, or body panels from 88cars3d.com with extreme geometric fidelity, without needing to manually create LODs for static meshes.
To enable Nanite for a mesh, simply select your static mesh asset in the Content Browser, open its editor, and check the “Enable Nanite” box in the Details panel. It’s particularly effective for complex automotive visualization elements that require close-up inspection, allowing trainees to discern fine details like bolt threads, small electrical components, or surface imperfections that would be impossible with traditional polygon budgets. While Nanite primarily benefits static meshes, its impact on the overall scene budget allows more resources for dynamic elements.
Sequencer is Unreal Engine’s powerful, multi-track non-linear editor, perfect for creating cinematic introductions, guided walkthroughs, and complex animation sequences within your training simulation. It allows you to orchestrate cameras, actors, animations, sounds, and events over a timeline, delivering polished, professional-quality content.
For automotive training, Sequencer can be used to:
Sequencer tracks can include animation tracks (for skeletal meshes like characters or morph targets), transform tracks (for moving and rotating objects), event tracks (to trigger Blueprint functions or UI updates at specific points), and audio tracks. Its precise control makes it an indispensable tool for delivering highly polished and informative training sequences, enhancing the overall professional feel of your automotive visualization project.
Even with features like Nanite, careful optimization is crucial for maintaining smooth frame rates, especially for AR/VR applications where performance requirements are stringent.
Continual profiling and optimization throughout development are key to delivering a robust and performant interactive training experience across various hardware configurations.
The capabilities of Unreal Engine extend far beyond merely creating interactive training modules. Its real-time rendering prowess and flexibility unlock a myriad of real-world applications within the automotive sector, from enhancing sales processes to revolutionizing production workflows. By understanding these broader applications, developers can create more versatile and impactful solutions that deliver value across the entire automotive lifecycle.
Interactive configurators built with Unreal Engine provide a powerful tool for automotive sales and marketing. Instead of relying on static images or limited web configurators, customers can explore a 3D car model in real-time, changing colors, rims, interior trims, and optional features with instant visual feedback. This level of immersion significantly enhances the buying experience, allowing potential buyers to truly visualize their personalized vehicle. Sales professionals can use these configurators on large touch screens or even in VR headsets to provide a bespoke, engaging presentation. Blueprints drive the customization logic, updating materials and mesh variants dynamically, while Lumen ensures realistic lighting conditions for every configuration. This not only streamlines the sales process but also serves as an excellent training tool for sales staff to learn about all vehicle options and their visual impact.
One of the most impactful applications of interactive training simulations is in technical instruction for maintenance, assembly, and safety. Trainees can practice complex procedures in a risk-free virtual environment.
These simulations often leverage precise 3D car models, like those found on 88cars3d.com, ensuring anatomical accuracy for parts and components. Using Sequencer for pre-scripted demonstrations and Blueprint for interactive, branching scenarios provides a comprehensive and adaptable training curriculum.
The convergence of real-time rendering with physical production sets, known as Virtual Production, is revolutionizing how content is created, including advanced training materials. By using massive LED walls displaying Unreal Engine environments, filmmakers and trainers can place real actors and physical cars within dynamic virtual worlds. This technique eliminates the need for green screens and complex compositing, creating hyper-realistic backgrounds and reflections that react in real-time.
For automotive training, this means:
This blending of real and virtual elements produces incredibly convincing and immersive training content, pushing the boundaries of what’s possible in automotive visualization. As the technology matures, expect virtual production techniques to become a standard for creating high-impact training and marketing content in the automotive industry, further leveraging Unreal Engine’s real-time capabilities.
The journey of creating interactive training simulations in Unreal Engine for the automotive sector is a testament to the power of real-time 3D technology. From meticulously setting up projects and optimizing high-fidelity 3D car models sourced from platforms like 88cars3d.com, to crafting visually stunning environments with PBR materials and dynamic Lumen lighting, every step contributes to an immersive learning experience. Blueprint visual scripting unlocks limitless interactive possibilities, allowing trainees to engage with vehicles and scenarios in unprecedented ways, while advanced features like Nanite and Sequencer push the boundaries of visual fidelity and guided narratives.
The applications are vast and transformative, ranging from engaging automotive configurators and critical maintenance training to cutting-edge virtual production content. By embracing Unreal Engine, developers and educators can not only reduce traditional training costs and risks but also accelerate skill development and foster deeper understanding. The future of automotive training is undeniably real-time, interactive, and powered by the robust capabilities of Unreal Engine. Begin your journey today, explore the possibilities, and redefine how the next generation of automotive professionals learns and thrives.

Meta Description:
Texture: Yes
Material: Yes
Download the Porsche Cayenne 3D Model featuring realistic exterior styling and detailed interior design. Includes .blend, .fbx, .obj, .glb, .stl, .ply, .unreal, and .max formats for rendering, simulation, AR VR, and game development.
Price: $19.9
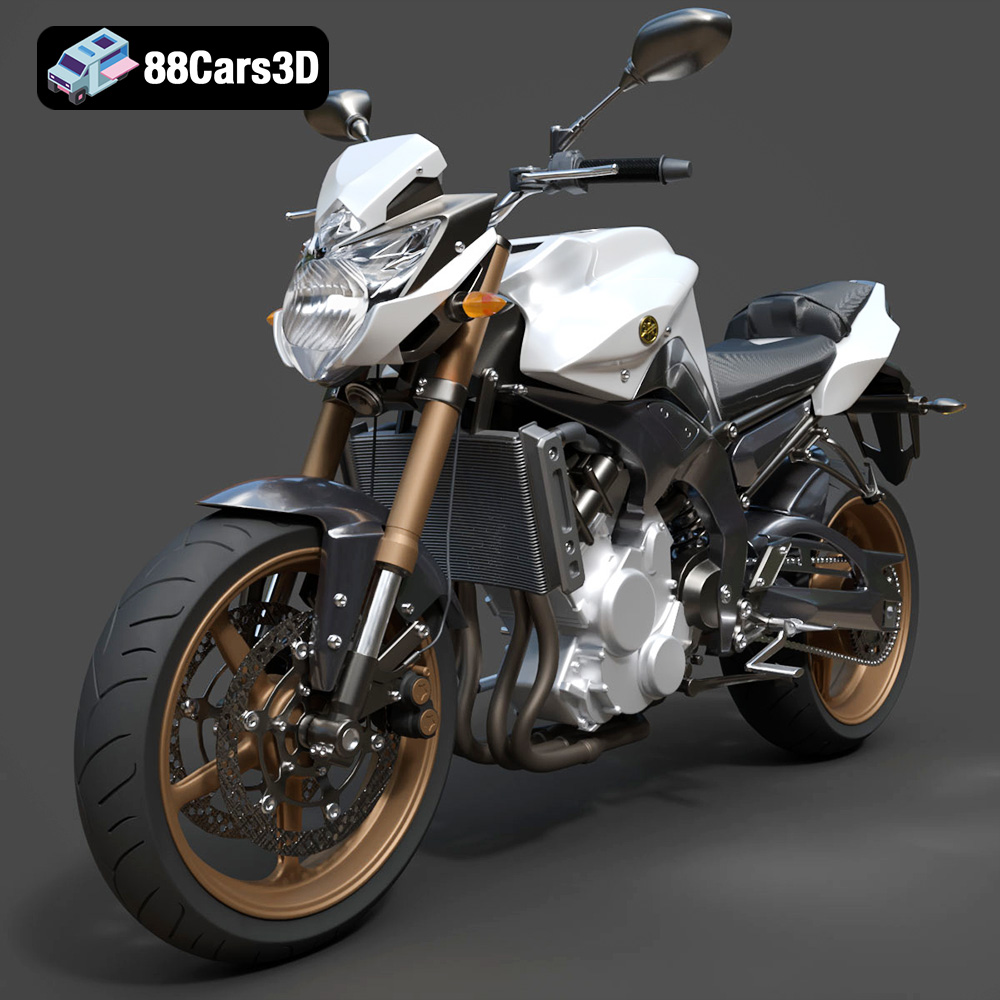
Texture: Yes
Material: Yes
Download the Yamaha FZ8 2011 3D Model featuring clean geometry, realistic detailing, and a fully modeled interior. Includes .blend, .fbx, .obj, .glb, .stl, .ply, .unreal, and .max formats for rendering, simulation, and game development.
Price: $19.99
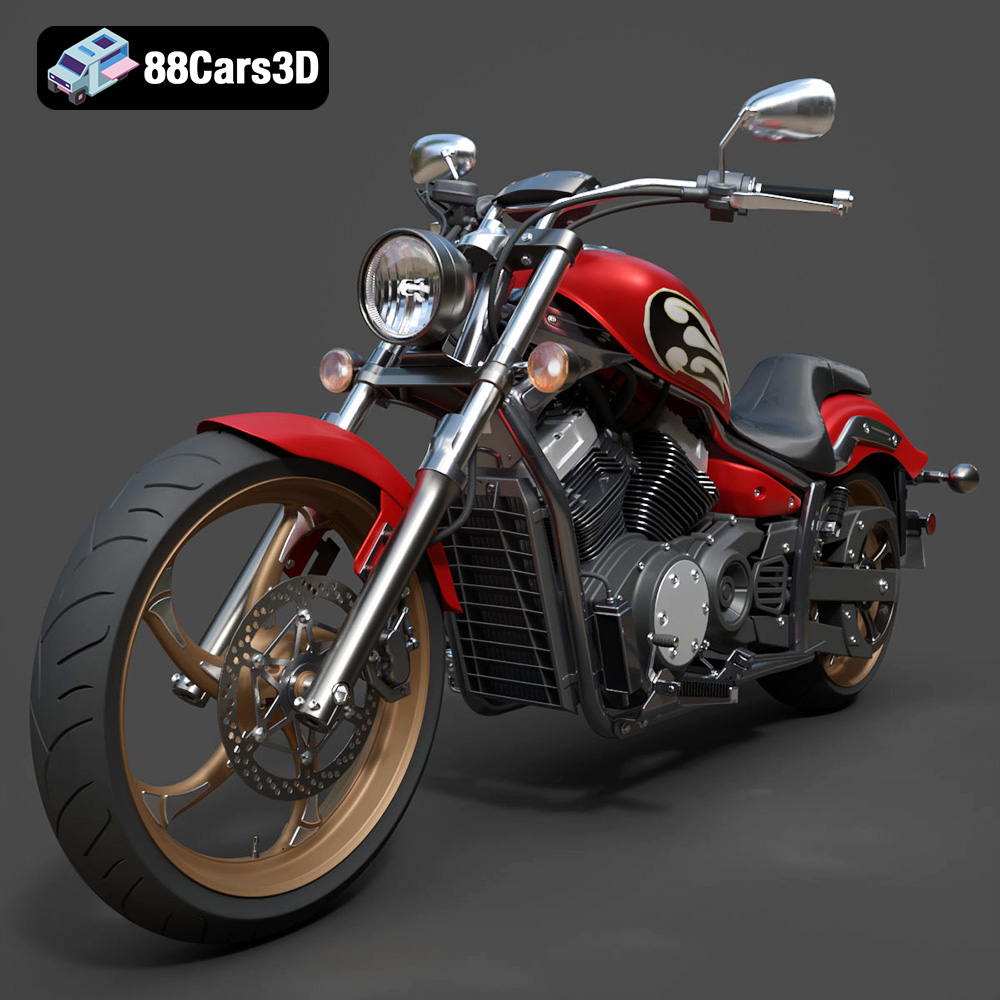
Texture: Yes
Material: Yes
Download the Yamaha Stryker 2012 3D Model featuring clean geometry, realistic detailing, and a fully modeled interior. Includes .blend, .fbx, .obj, .glb, .stl, .ply, .unreal, and .max formats for rendering, simulation, and game development.
Price: $19.99
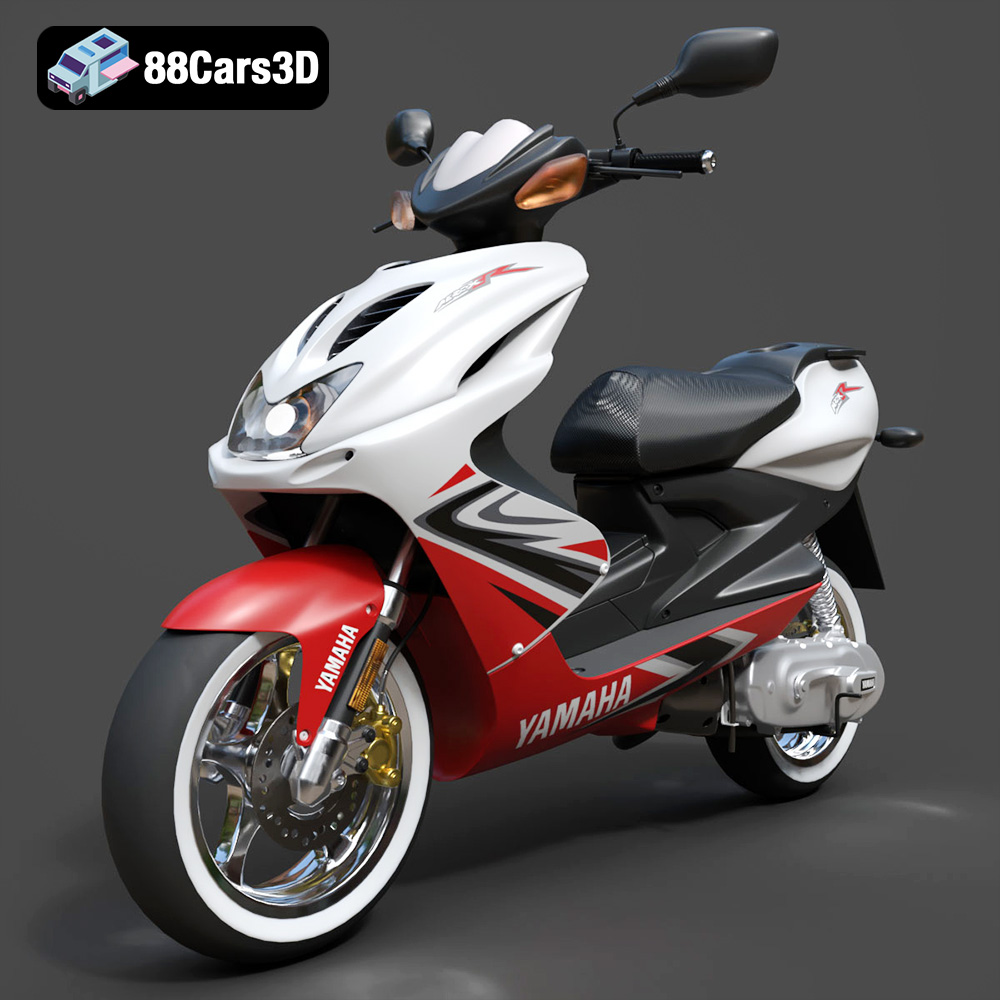
Texture: Yes
Material: Yes
Download the Yamaha Aerox R-002 2024 3D Model featuring clean geometry, realistic detailing, and a fully modeled interior. Includes .blend, .fbx, .obj, .glb, .stl, .ply, .unreal, and .max formats for rendering, simulation, and game development.
Price: $19.99
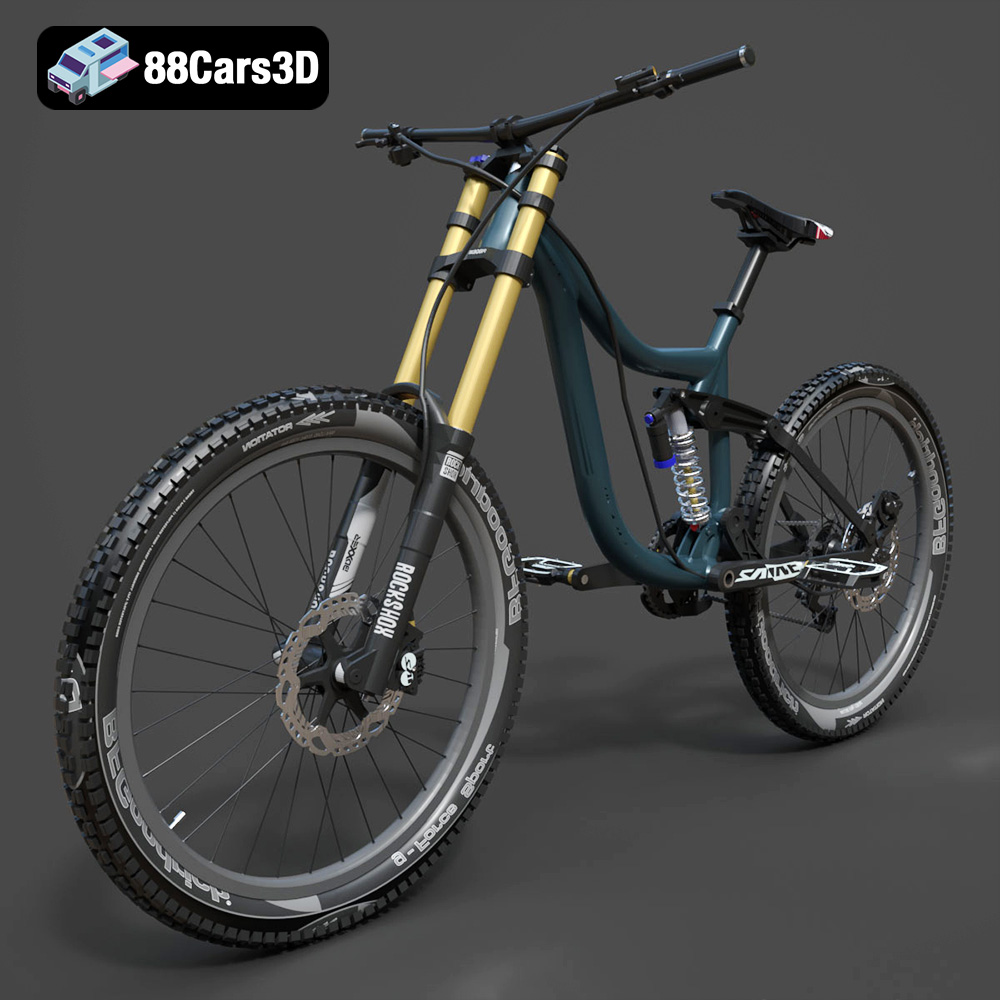
Texture: Yes
Material: Yes
Download the Mototsikly Downhill Bike-002 3D Model featuring clean geometry, realistic detailing, and precise mechanical components. Includes .blend, .fbx, .obj, .glb, .stl, .ply, .unreal, and .max formats for rendering, simulation, and game development.
Price: $19.99
Texture: Yes
Material: Yes
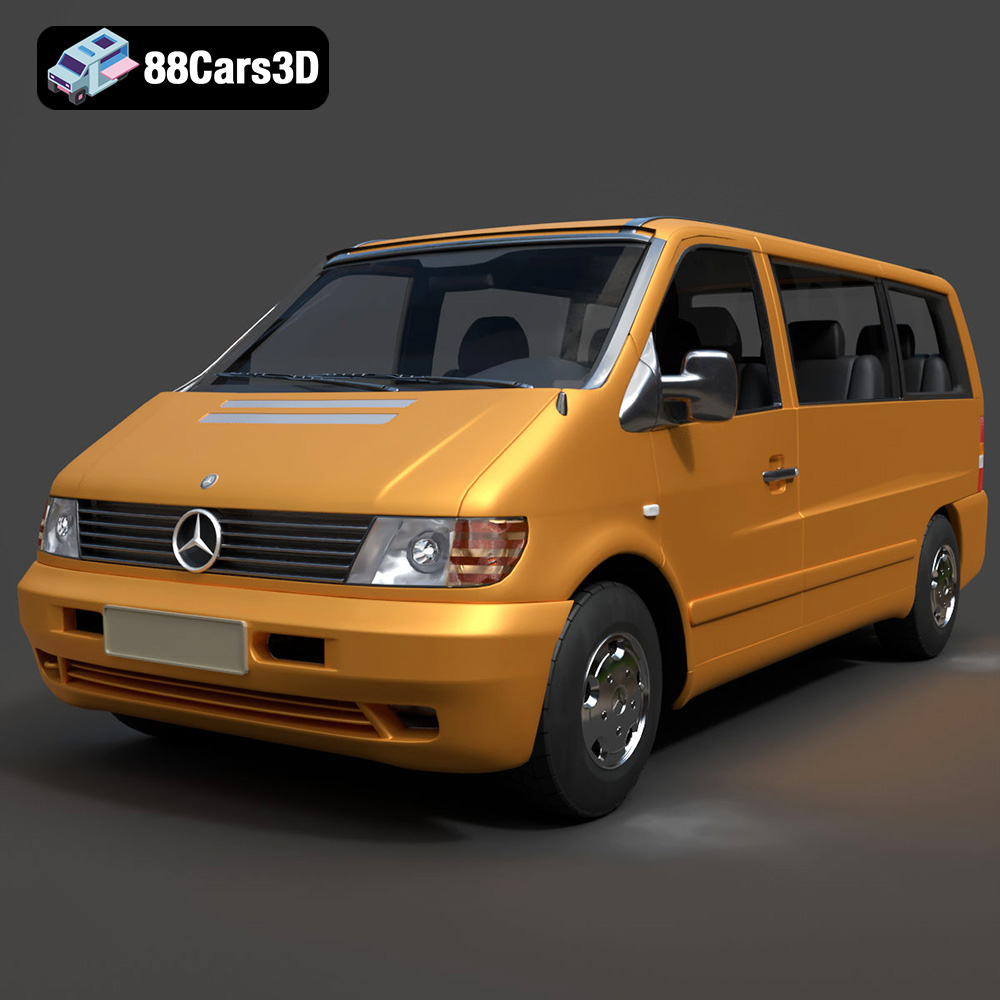
Download the Mercedes-Benz Vito Passenger Van 3D Model featuring clean geometry, realistic detailing, and a fully modeled interior. Includes .blend, .fbx, .obj, .glb, .stl, .ply, .unreal, and .max formats for rendering, simulation, and game development.
Price: $19.99
Texture: Yes
Material: Yes
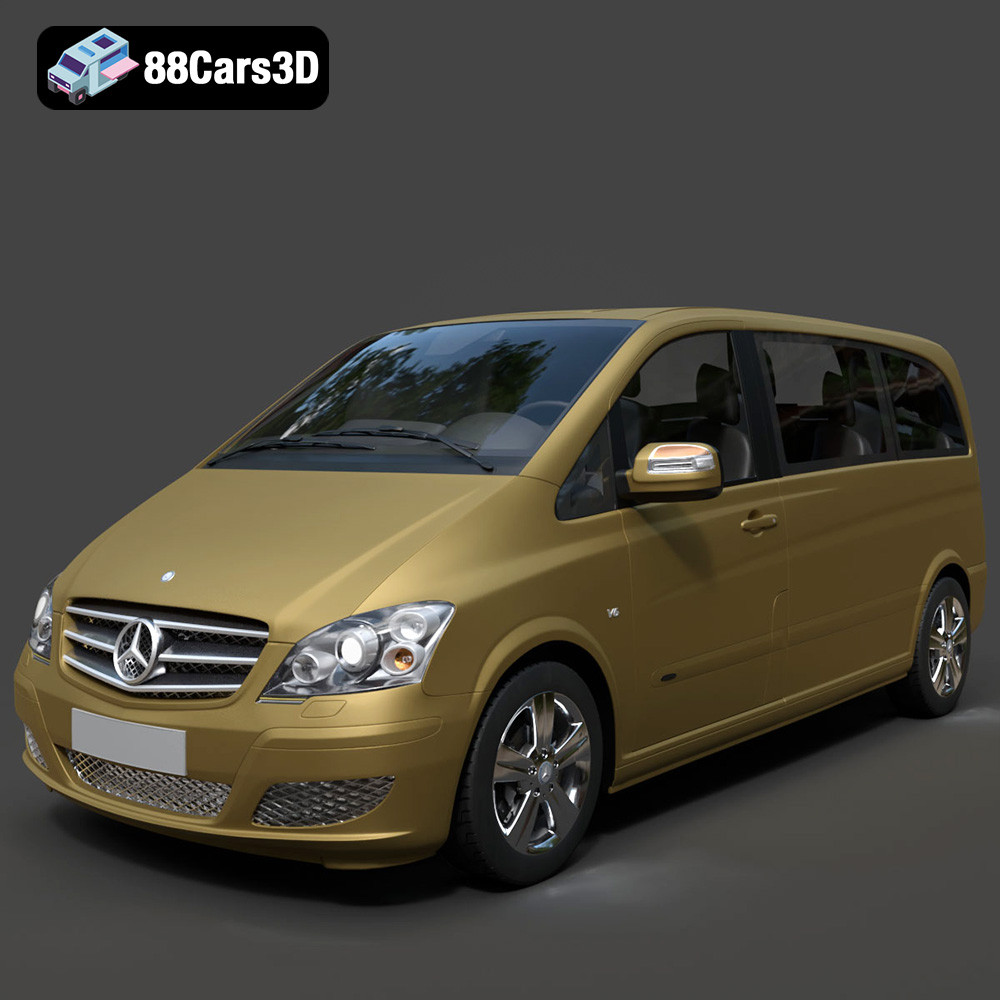
Download the Mercedes-Benz Viano 2010 3D Model featuring clean geometry, realistic detailing, and a fully modeled interior. Includes .blend, .fbx, .obj, .glb, .stl, .ply, .unreal, and .max formats for rendering, simulation, and game development.
Price: $19.99

Texture: Yes
Material: Yes
Download the Emt Avtobus 007 3D Model featuring clean geometry, realistic detailing, and a fully modeled interior. Includes .blend, .fbx, .obj, .glb, .stl, .ply, .unreal, and .max formats for rendering, simulation, and game development.
Price: $19.99
Texture: Yes
Material: Yes
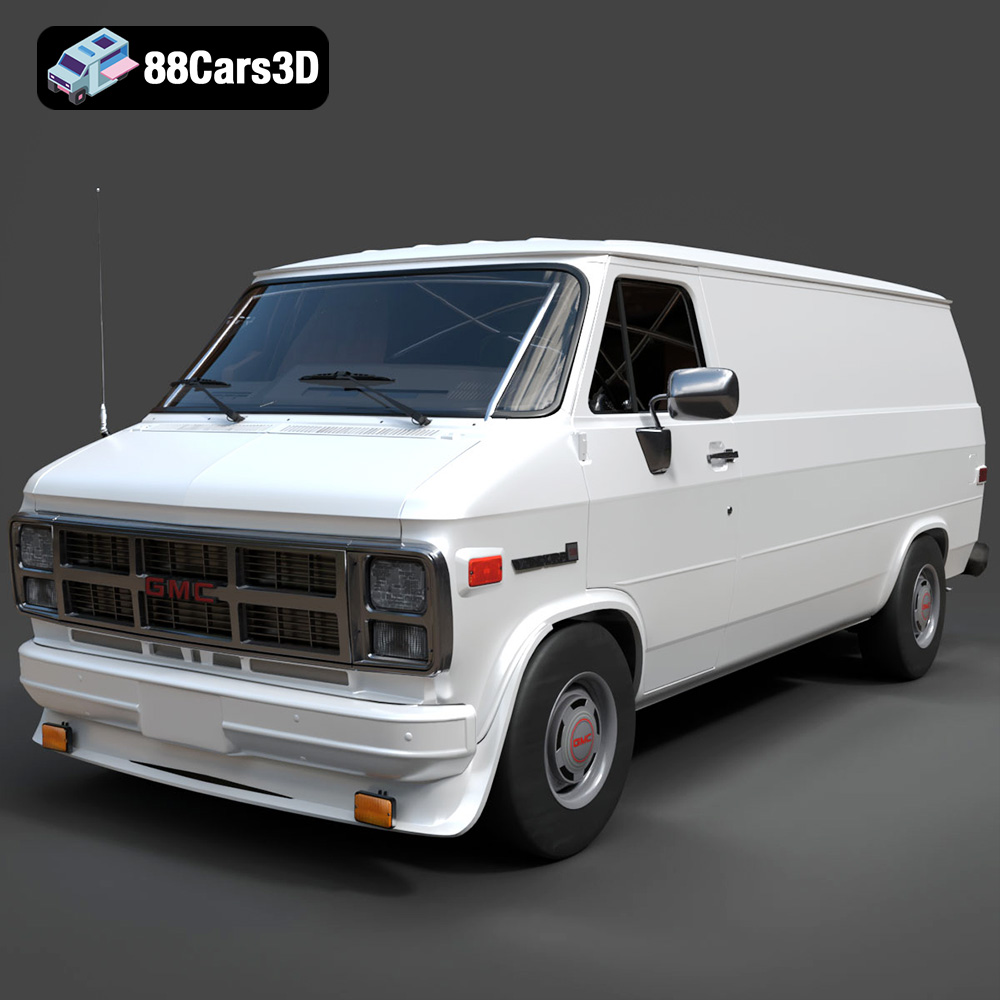
Download the GMC Vandura G-1500 1983 3D Model featuring clean geometry, realistic detailing, and a fully modeled interior. Includes .blend, .fbx, .obj, .glb, .stl, .ply, .unreal, and .max formats for rendering, simulation, and game development.
Price: $19.99
Texture: Yes
Material: Yes
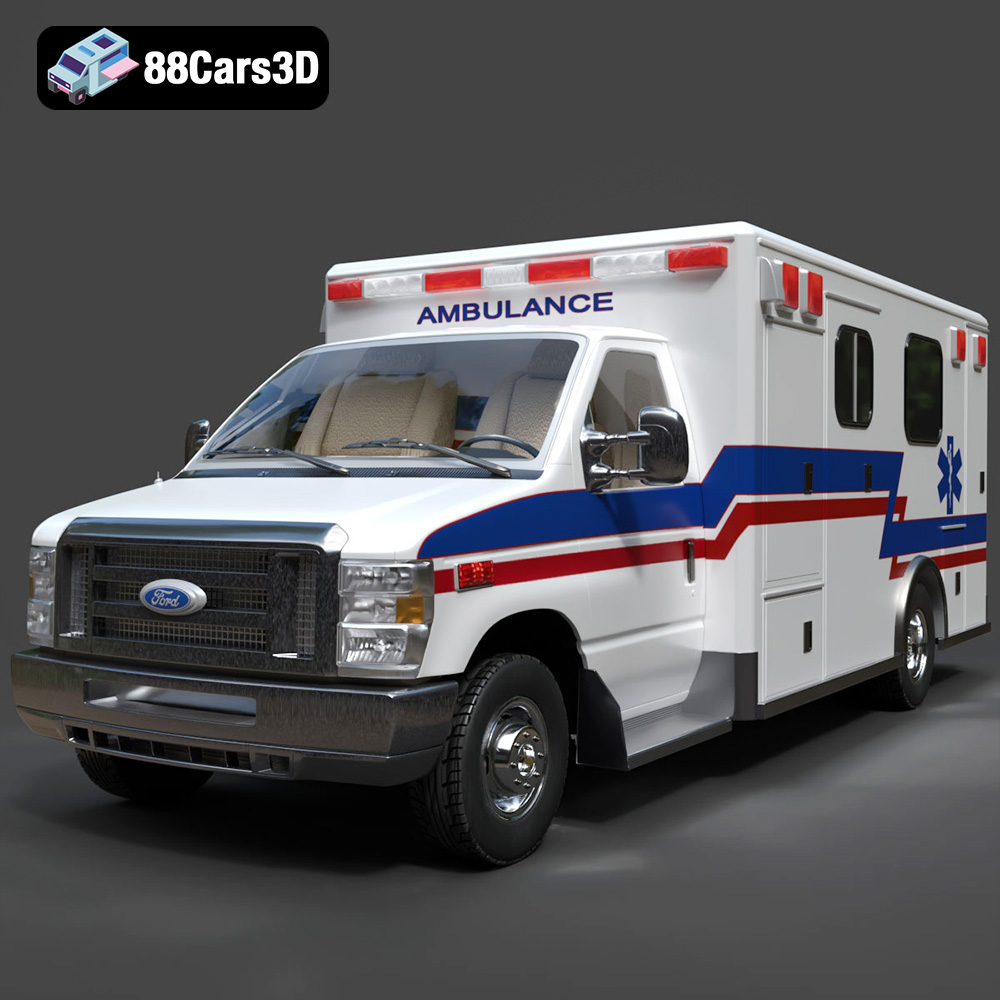
Download the Ford E-450 Ambulance 3D Model featuring clean geometry, realistic detailing, and a fully modeled interior. Includes .blend, .fbx, .obj, .glb, .stl, .ply, .unreal, and .max formats for rendering, simulation, and game development.
Price: $19.99

