Get 20% OFF All Premium 3D & STL Models!

“`html
The world of 3D printing has opened up incredible possibilities for automotive enthusiasts, hobbyists, and model makers. Imagine bringing your favorite classic car, a sleek supercar, or even intricate custom parts to life in your own home. At 88cars3d.com, we are passionate about providing high-quality, print-ready STL files of automotive models, from complete vehicles to individual components like wheels and tires. However, simply downloading an STL file is just the first step. Achieving stunning results requires a deep understanding of the 3D printing process, from file preparation to the final print and post-processing. This comprehensive guide will walk you through everything you need to know to successfully 3D print automotive parts, focusing on critical elements like wheels, tires, and other detailed components. We’ll cover file structure, slicing strategies, support generation, material selection, and troubleshooting, empowering you to transform digital designs into tangible, high-fidelity models.
The STL file format is the de facto standard for 3D printing, but understanding its underlying structure is crucial for troubleshooting and achieving optimal prints, especially for complex geometries like car wheels and tires. An STL file describes the surface geometry of a 3D object using a collection of triangular facets. Each triangle is defined by the coordinates of its three vertices and a normal vector, which indicates the direction the facet is facing. For intricate automotive parts, the density and quality of this triangulation directly impact the final print’s smoothness and accuracy.
A “watertight” or manifold mesh is paramount for successful 3D printing. This means the 3D model must form a closed volume with no holes, gaps, or internal faces. For car models, this is particularly important for components like wheels, which often have intricate spokes, brake calipers, and tire treads. Imagine a wheel with a hole in the rim; your slicer would struggle to understand how to fill that space, leading to printing errors or incomplete models. Software like Meshmixer, Blender, or Autodesk Netfabb are invaluable tools for checking and repairing mesh integrity. They can identify non-manifold edges, intersecting faces, and holes, providing tools to automatically or manually correct these issues. When downloading models from marketplaces such as 88cars3d.com, you can be confident that our files are meticulously prepared for printability, minimizing these common geometric issues.
The resolution of an STL file, often referred to as its “mesh density,” dictates the level of detail that can be captured. A higher resolution file contains more triangles, allowing for smoother curves and finer details, which is essential for replicating the subtle curves of a tire sidewall or the sharp edges of a wheel rim. However, excessively high polygon counts can lead to massive file sizes, slow down slicer performance, and potentially introduce artifacts if not properly managed. Conversely, a low-resolution file may result in a blocky, stepped appearance, especially on curved surfaces. For detailed car parts, finding a balance is key. Professional marketplaces like 88cars3d.com often offer models with optimized resolutions, providing a good balance between detail and file manageability. When preparing your own models or choosing from various sources, consider the intended print size and the capabilities of your 3D printer. You might need to decimate (reduce polygon count) or subdivide (increase polygon count) a model in software like Blender to achieve the desired outcome for your specific application.
The slicer is the software that translates your STL file into the layer-by-layer instructions (G-code) your 3D printer understands. For intricate car parts like wheels and tires, judiciously chosen slicing parameters are critical for achieving both detail and structural integrity. Generic settings often won’t suffice; you need to tailor your approach based on the model’s complexity, your printer’s capabilities, and the chosen material.
Layer height is arguably the most significant setting affecting surface finish. A smaller layer height (e.g., 0.1mm or even 0.05mm) results in finer steps between layers, producing smoother curves and more detailed surfaces, ideal for replicating the smooth finish of a painted car body or the subtle details on a wheel. However, this comes at the cost of significantly longer print times. For larger, less detailed parts, a thicker layer height (e.g., 0.2mm or 0.3mm) can drastically reduce print duration with minimal perceived loss in quality. For wheels and tires, a common strategy is to use a lower layer height (0.1mm) for the primary printing pass to capture tread detail and rim accents. The trade-off is clear: prioritize detail and accept longer print times, or prioritize speed and potentially accept visible layer lines.
The infill is the internal support structure within your 3D print. For purely display models, low infill densities (5-15%) are often sufficient, saving material and print time. However, if you intend to use printed parts for prototyping, functional applications (e.g., custom dashboards, interior components), or if the part experiences stress, higher infill densities (30-70%) and stronger infill patterns are necessary. Patterns like gyroid, cubic, or honeycomb offer excellent strength-to-weight ratios. For car wheels, even if for display, a slightly higher infill (e.g., 20-25%) can provide a more satisfying heft and rigidity, preventing brittle failures of thin spokes. Consider the specific part: a delicate spoiler might need less infill than a sturdy chassis component.
Printing complex automotive parts often requires a balance between speed and quality. While faster print speeds reduce overall print time, they can compromise surface finish, accuracy, and layer adhesion, especially on intricate details like tire treads or thin wheel spokes. For high-detail prints, it’s often advisable to reduce the print speed, particularly for outer walls and small features. Typical speeds for detailed prints might range from 30-50 mm/s. Adequate cooling is also vital, especially for materials like PLA, to ensure sharp details and prevent drooping or warping. Ensure your printer’s part cooling fan is running at an appropriate level (often 100% after the first few layers) to solidify extruded plastic quickly.
Proper support generation and print orientation are critical for successfully printing overhangs, bridges, and complex geometries common in automotive models, such as suspension components, body kits, and the intricate designs of wheels and tires. Without adequate support, these features can sag, warp, or fail entirely, ruining the print.
Support structures are temporary, sacrificial layers printed beneath overhangs to provide a stable base. The type and density of supports significantly impact print success and post-processing effort. Most slicers offer various support types: ‘Normal’ (grid-like), ‘Tree’ (organic, branching), and ‘Conical’. For car wheels, ‘Tree’ supports are often beneficial as they minimize contact points with the model’s surface, reducing scarring and making removal easier. Pay close attention to the ‘Support Overhang Angle’ setting – typically around 45-60 degrees. This determines at what angle an overhang will require support. For tires, the tread pattern itself can sometimes act as a natural support for slight overhangs, but significant undercuts will require explicit support. Consider using ‘Support Interface’ options, which create a denser, more easily removable layer at the top of the support structure, providing a cleaner surface on the model itself.
The way you orient your model on the print bed (the “build plate orientation”) has a profound impact on print quality, strength, and the need for supports. For car parts, orienting for minimal overhangs and maximum bed adhesion is key. For a car body, printing it upright might seem intuitive but can lead to extensive support needs on the undercarriage and wheel wells. Printing it on its side or even upside down might reduce the support footprint and improve surface quality on visible areas. For wheels, orienting them flat on the bed, either face up or face down, is often the most stable and efficient. If printing face up, ensure supports are used effectively for the inner rim and brake caliper areas. If printing face down, the tire treads will be perfectly formed, but you’ll need supports for the inner hub and spokes. Experimentation is often required, and slicers like Cura and PrusaSlicer offer tools to visualize overhangs based on orientation.
A print failing due to poor bed adhesion is frustratingly common. For automotive parts, especially larger ones that can warp, ensuring a solid first layer is crucial. Common methods include using a brim (a single-layer flat area around the base of the print) or a raft (a thicker, multi-layer base). A brim is usually sufficient for most car parts, providing increased surface area for the first layer to stick to. For materials prone to warping like ABS, a raft might be necessary. Ensure your print bed is clean (using isopropyl alcohol is effective), level, and at the correct temperature for your chosen filament. Heated beds are essential for most filaments beyond basic PLA. For FDM printers, surfaces like PEI sheets, glass with adhesion promoters (glue stick, hairspray), or specialized build surfaces can provide excellent results.
The choice of material significantly influences the appearance, durability, and functionality of your 3D printed car parts. From glossy finishes to heat resistance, each filament type offers unique advantages and disadvantages.
PLA (Polylactic Acid) is the most popular material for hobbyist FDM printing due to its ease of printing, low warping, and wide range of colors. It’s ideal for display models and parts that won’t be exposed to high temperatures. However, PLA has a relatively low glass transition temperature (around 60°C), meaning it can deform in warm environments like a car interior on a sunny day. PETG (Polyethylene Terephthalate Glycol) offers improved strength, temperature resistance (around 80°C), and layer adhesion compared to PLA, making it a good choice for more durable components or parts needing moderate heat resistance. It can be slightly trickier to print, often requiring slower speeds and careful temperature control. ABS (Acrylonitrile Butadiene Styrene), the material used in LEGO bricks, offers excellent toughness and higher temperature resistance (around 100°C). However, it is prone to warping during printing and requires a heated enclosure and good ventilation due to fumes. For car parts that might see moderate use or temperature fluctuations, PETG is often a good compromise. For those seeking the highest detail and smooth finishes, consider exploring specialty filaments designed for aesthetic applications.
For extremely fine details, such as intricate badges, tiny interior elements, or highly detailed tire treads that are difficult to achieve with FDM, resin printing (SLA/DLP) is often superior. Resin printers use UV light to cure liquid photopolymer resin layer by layer. This process can achieve incredibly smooth surfaces and resolutions down to 25 microns (0.025mm), far exceeding typical FDM capabilities. However, resin prints are often more brittle than FDM prints, can be more challenging to post-process (requiring washing and curing), and the materials themselves can be more expensive and require careful handling. If your goal is museum-quality miniatures or exceptionally detailed components, a resin printer might be the best tool for the job. Many platforms, including 88cars3d.com, offer models optimized for both FDM and resin printing, allowing you to choose the best approach for your needs.
Consider the intended use of the printed part. Wheels for a static display model might be fine in PLA. However, if you’re printing components for an RC car chassis, you’ll need materials with higher impact resistance and durability, like PETG, ABS, or even more advanced engineering filaments like Nylon or Polycarbonate (which require more advanced printers). Tire prints benefit from materials with some flexibility, though achieving true rubber-like properties with standard filaments is difficult. Some hobbyists experiment with TPU (Thermoplastic Polyurethane) for flexible tires, but printing TPU requires specific extruder setups and slow speeds. For most scale models, standard PLA or PETG will suffice for wheels and tires, with post-processing adding the final aesthetic touch.
The journey doesn’t end when the print finishes. Post-processing is where raw 3D prints are transformed into polished, professional-looking models. For automotive parts, this stage is crucial for achieving realism and hiding the tell-tale signs of 3D printing.
Carefully removing support structures is the first step. Use flush cutters, hobby knives, and pliers to gently break away supports, trying to minimize damage to the underlying model. For difficult-to-reach areas or to repair small blemishes left by supports, tools like needle files, sandpaper (in various grits from 100 to 1000+), and rotary tools (like Dremel) with sanding attachments are invaluable. Achieving a truly smooth finish on FDM prints often involves sanding through progressively finer grits. For materials like ABS, vapor smoothing with acetone can create an incredibly smooth, almost injection-molded finish, but this requires extreme caution and proper safety equipment. For resin prints, the primary post-processing involves washing away uncured resin and UV curing, followed by light sanding if necessary.
Once supports are removed and the surface is smoothed, you can fill any remaining gaps or layer lines. Automotive-specific putty (like Bondo putty) or wood filler can be used for larger imperfections, while specialized model putties or even cyanoacrylate (super glue) can fill smaller gaps. After filling, apply a primer. A good quality spray primer (e.g., automotive primer) will reveal any remaining imperfections and provide a uniform base for paint. Sand the primed surface lightly between coats. Painting automotive parts offers immense creative freedom. Use hobby paints (acrylics, enamels) and airbrushing for the smoothest finishes. Masking tape is essential for achieving clean lines between different colors (e.g., body color, trim, tire sidewall lettering). Weathering techniques, such as applying washes to highlight details or dry brushing to simulate wear, can add incredible realism.
Many car models, especially those from reputable sources like 88cars3d.com, are designed for assembly, allowing you to print different components separately (body, chassis, wheels, interior) and then join them. Cyanoacrylate glue (super glue) is the go-to adhesive for most 3D printed plastics. For larger or stress-bearing joints, two-part epoxy or plastic cement designed for specific plastics (if known) can provide stronger bonds. Ensure parts fit snugly before gluing. Adding small details like clear plastic for windows (often applied with clear coats or specialized glues), photo-etched metal parts, or custom decals can elevate your model from a print to a masterpiece. Patience and attention to detail are your best tools throughout the post-processing stages.
Even with the best preparation, 3D printing can present challenges. Understanding common problems and their solutions is key to a successful and stress-free printing experience, especially when working with detailed automotive models.
Warping, where the corners or edges of a print lift off the build plate, is often caused by uneven cooling and thermal contraction. As the extruded plastic cools, it shrinks. If the bottom layers cool too quickly or unevenly compared to the upper layers, it pulls the edges upwards. Solutions include ensuring proper bed leveling and temperature, using a brim or raft, printing inside an enclosure (especially for ABS), and reducing cooling fan speed for the initial layers. If prints fail to adhere at all, check bed cleanliness, bed temperature, Z-offset (the initial distance between the nozzle and the bed), and consider using adhesion aids like glue stick or hairspray.
Stringing, where fine strands of plastic are left between separated parts of a print, is usually caused by filament oozing from the nozzle during non-print travel moves. This is often related to retraction settings. Ensure your retraction distance and speed are appropriately tuned. A retraction distance of 4-6mm for Bowden extruders and 1-2mm for direct drive extruders is a good starting point. Retraction speed typically ranges from 25-60 mm/s. Too low a temperature can also lead to poor extrusion, while too high can increase oozing. Dry filament is also crucial, as moisture can degrade filament quality and performance.
Layer shifting, where layers are misaligned, often indicates a mechanical issue. The printer’s belts might be too loose or too tight, or the stepper motor drivers might be overheating or skipping steps. Check belt tension, ensure the nozzle isn’t colliding with previously printed sections (which can happen with poorly supported overhangs or dimensional inaccuracies), and verify that the printer’s stepper motors are adequately cooled. Under-extrusion, where not enough plastic is being deposited, can result from a partial nozzle clog, incorrect filament diameter settings in the slicer, worn extruder gears, or printing too quickly for the hotend to melt the filament effectively. Performing a “cold pull” can help clear nozzle clogs.
If intricate details on wheels or tires aren’t printing correctly (e.g., missing treads, blurry spokes), it often points to issues with layer height, print speed, or cooling. Printing too fast or with insufficient cooling can prevent fine details from solidifying properly. Consider reducing print speed for outer walls and increasing part cooling fan speed. If models appear “blobby” or imprecise, recalibrating your printer’s E-steps (extruder steps per millimeter) can ensure accurate filament extrusion. For resin prints, failed details can be due to incorrect exposure times, insufficient supports, or issues with the resin itself.
By understanding these fundamental aspects of 3D printing, from the nuances of STL files to the intricacies of slicing, supports, materials, and post-processing, you can confidently tackle even the most complex automotive models. Platforms like 88cars3d.com provide the essential digital building blocks – high-quality, print-ready STL files – for your projects. Combine these excellent models with the knowledge in this guide, and you’ll be well on your way to creating stunning, detailed 3D printed car parts and models that truly impress.
“`

Meta Description:
Texture: Yes
Material: Yes
Download the Porsche Cayenne 3D Model featuring realistic exterior styling and detailed interior design. Includes .blend, .fbx, .obj, .glb, .stl, .ply, .unreal, and .max formats for rendering, simulation, AR VR, and game development.
Price: $19.9
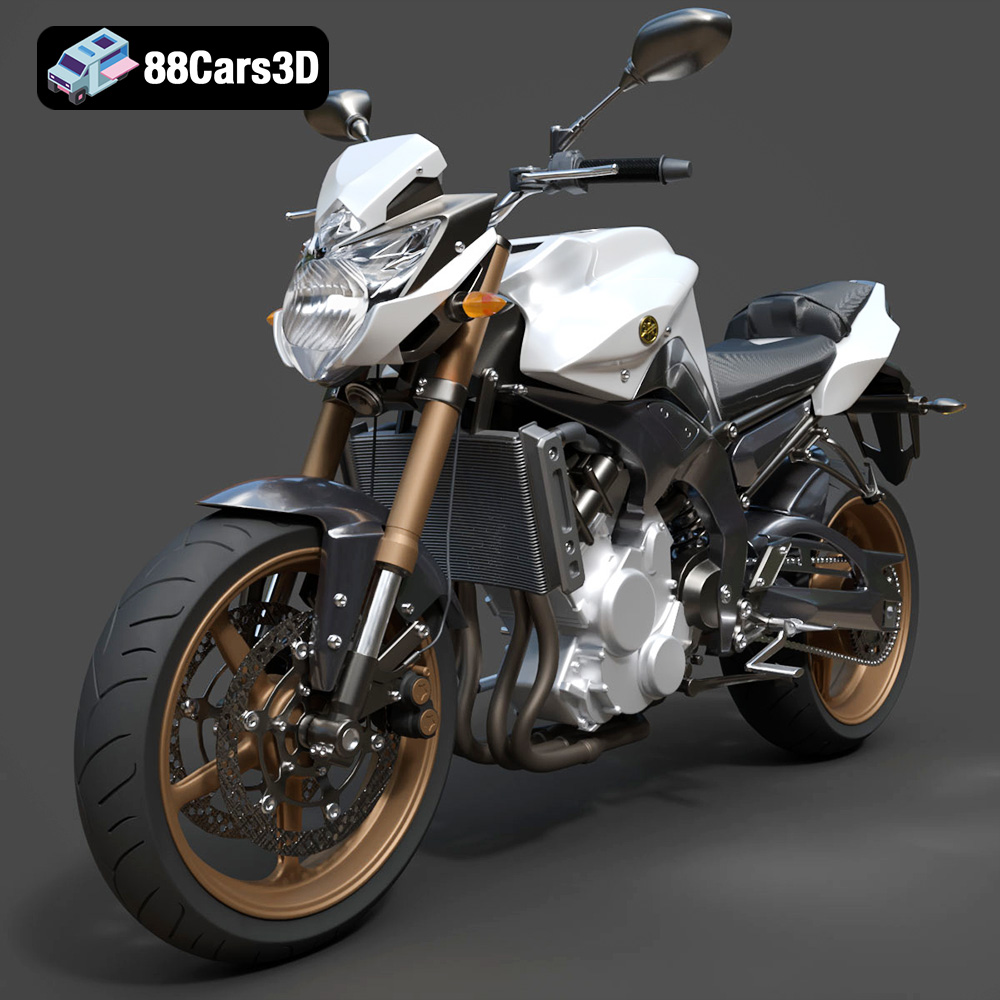
Texture: Yes
Material: Yes
Download the Yamaha FZ8 2011 3D Model featuring clean geometry, realistic detailing, and a fully modeled interior. Includes .blend, .fbx, .obj, .glb, .stl, .ply, .unreal, and .max formats for rendering, simulation, and game development.
Price: $19.99
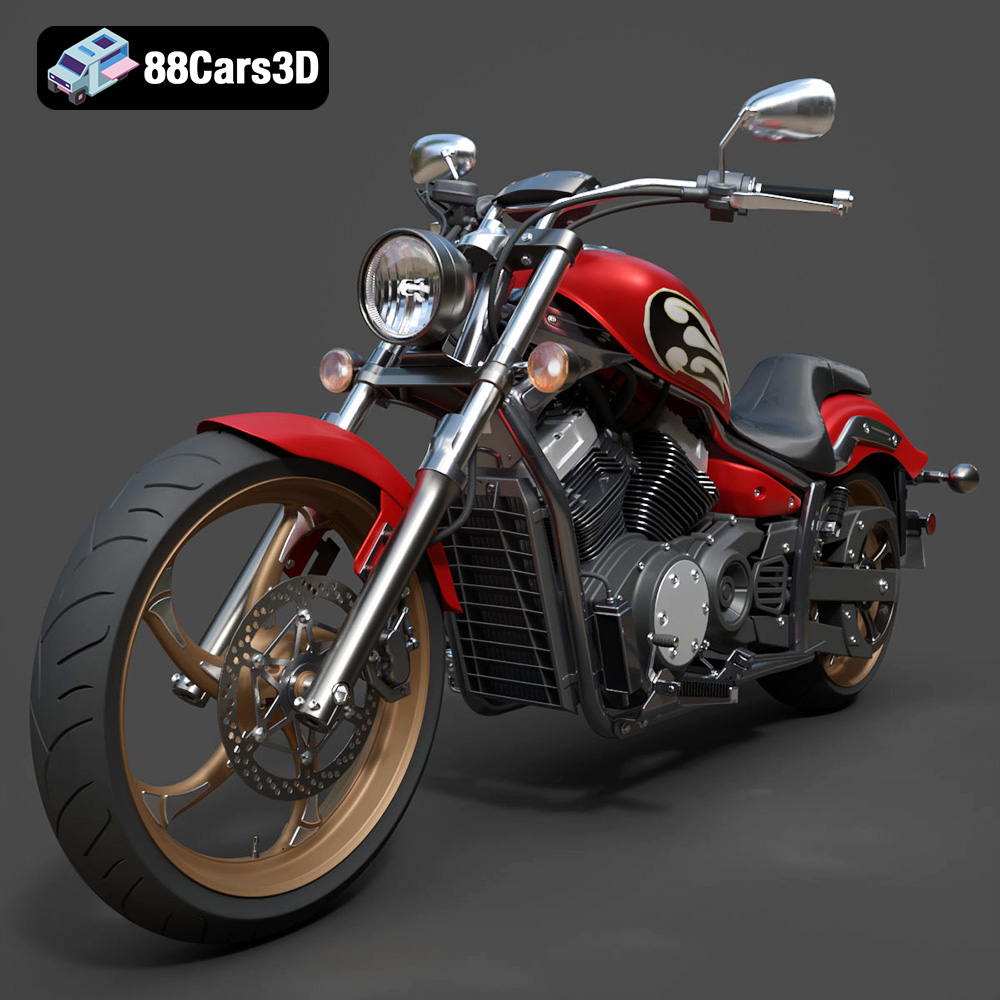
Texture: Yes
Material: Yes
Download the Yamaha Stryker 2012 3D Model featuring clean geometry, realistic detailing, and a fully modeled interior. Includes .blend, .fbx, .obj, .glb, .stl, .ply, .unreal, and .max formats for rendering, simulation, and game development.
Price: $19.99
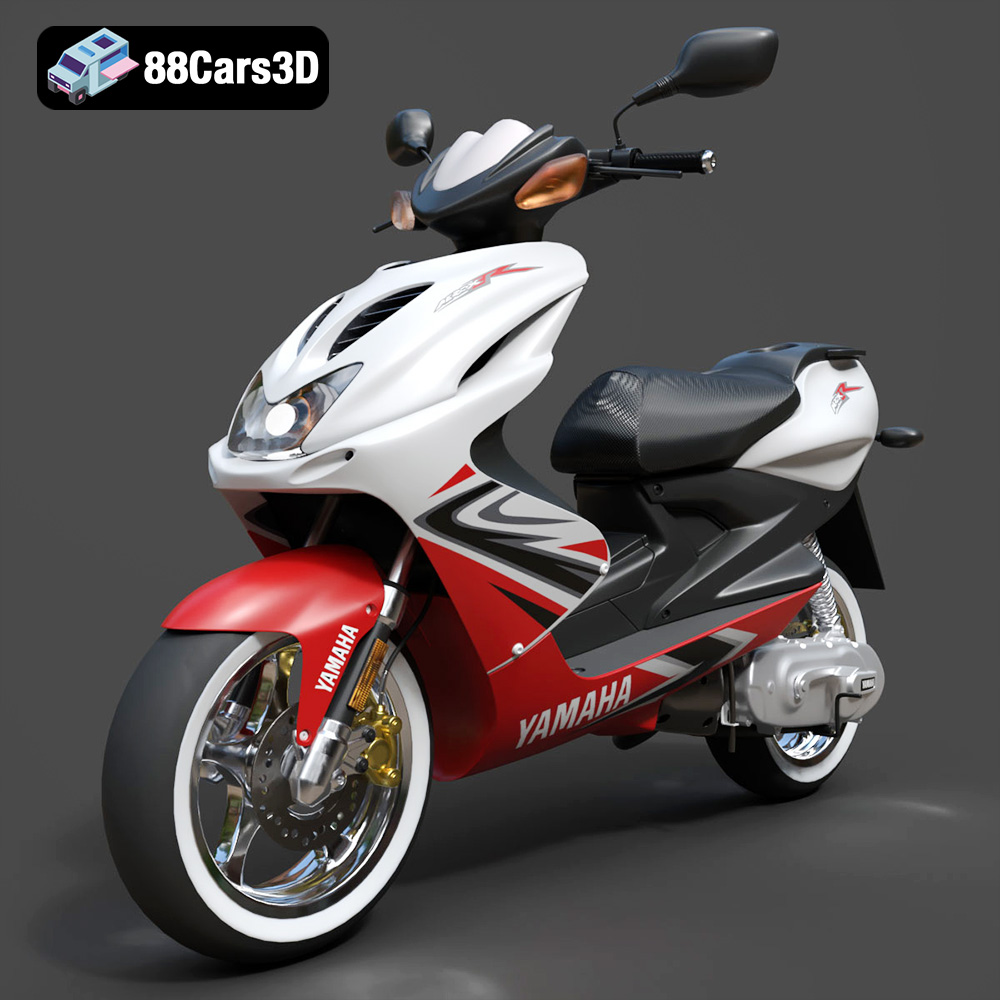
Texture: Yes
Material: Yes
Download the Yamaha Aerox R-002 2024 3D Model featuring clean geometry, realistic detailing, and a fully modeled interior. Includes .blend, .fbx, .obj, .glb, .stl, .ply, .unreal, and .max formats for rendering, simulation, and game development.
Price: $19.99
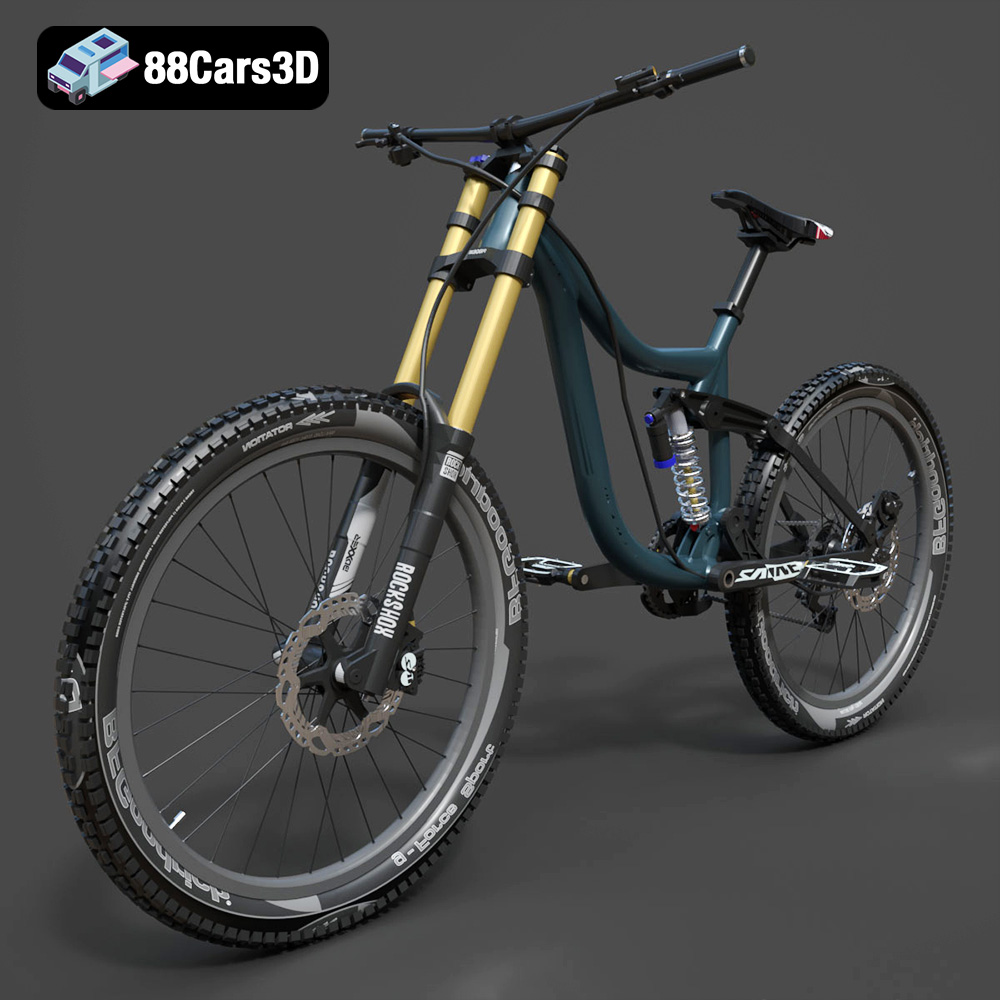
Texture: Yes
Material: Yes
Download the Mototsikly Downhill Bike-002 3D Model featuring clean geometry, realistic detailing, and precise mechanical components. Includes .blend, .fbx, .obj, .glb, .stl, .ply, .unreal, and .max formats for rendering, simulation, and game development.
Price: $19.99
Texture: Yes
Material: Yes
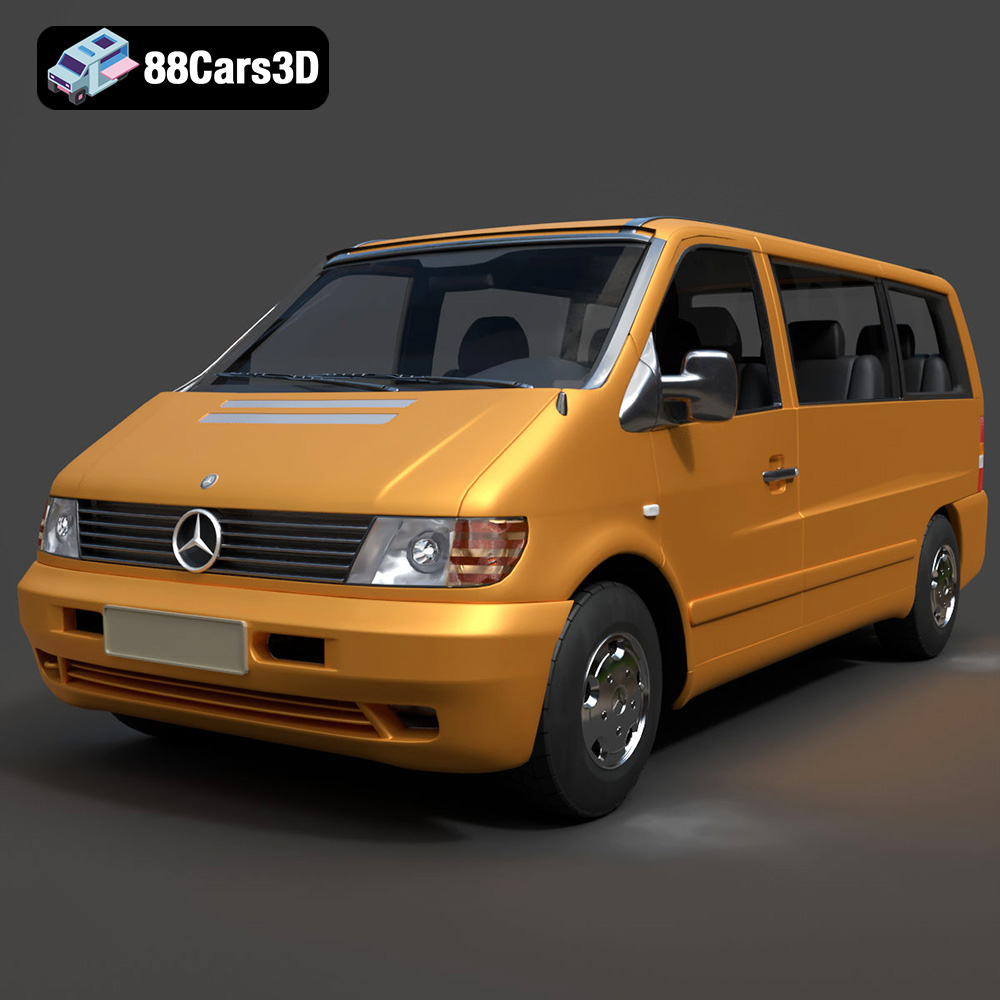
Download the Mercedes-Benz Vito Passenger Van 3D Model featuring clean geometry, realistic detailing, and a fully modeled interior. Includes .blend, .fbx, .obj, .glb, .stl, .ply, .unreal, and .max formats for rendering, simulation, and game development.
Price: $19.99
Texture: Yes
Material: Yes
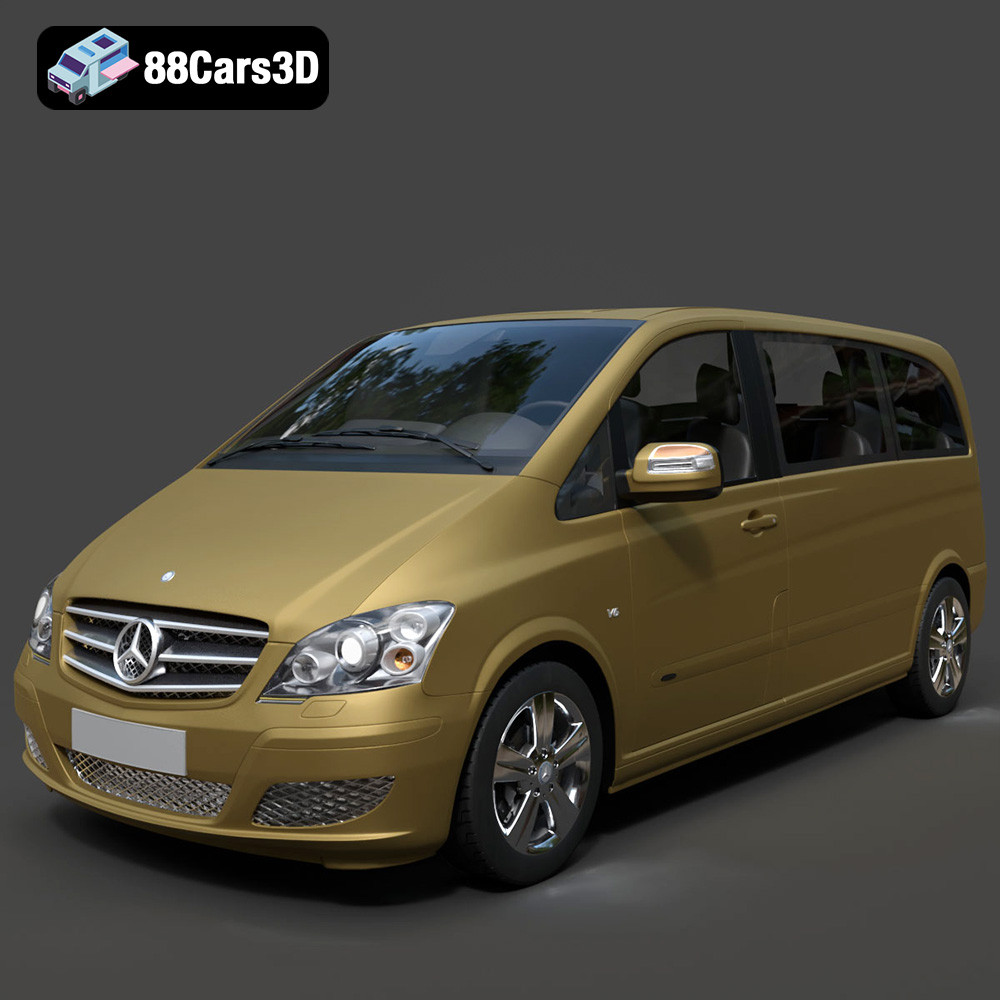
Download the Mercedes-Benz Viano 2010 3D Model featuring clean geometry, realistic detailing, and a fully modeled interior. Includes .blend, .fbx, .obj, .glb, .stl, .ply, .unreal, and .max formats for rendering, simulation, and game development.
Price: $19.99

Texture: Yes
Material: Yes
Download the Emt Avtobus 007 3D Model featuring clean geometry, realistic detailing, and a fully modeled interior. Includes .blend, .fbx, .obj, .glb, .stl, .ply, .unreal, and .max formats for rendering, simulation, and game development.
Price: $19.99
Texture: Yes
Material: Yes
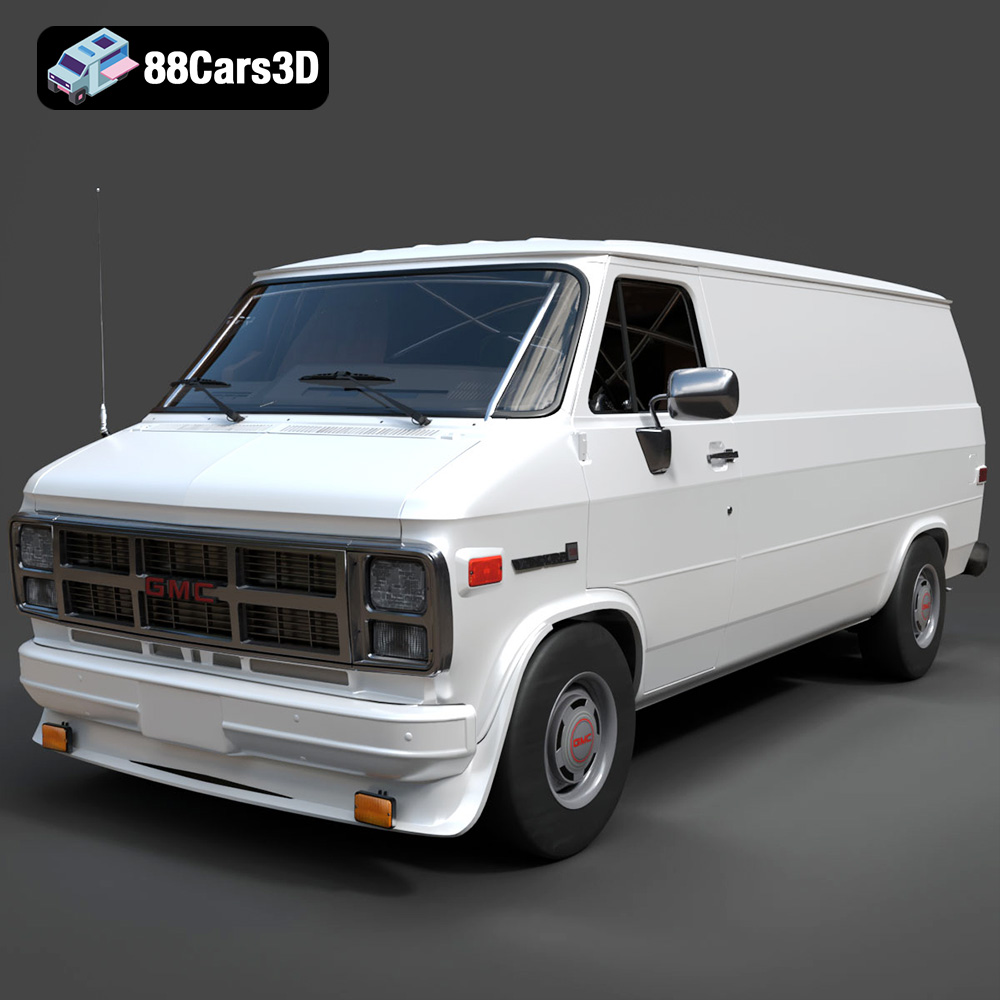
Download the GMC Vandura G-1500 1983 3D Model featuring clean geometry, realistic detailing, and a fully modeled interior. Includes .blend, .fbx, .obj, .glb, .stl, .ply, .unreal, and .max formats for rendering, simulation, and game development.
Price: $19.99
Texture: Yes
Material: Yes
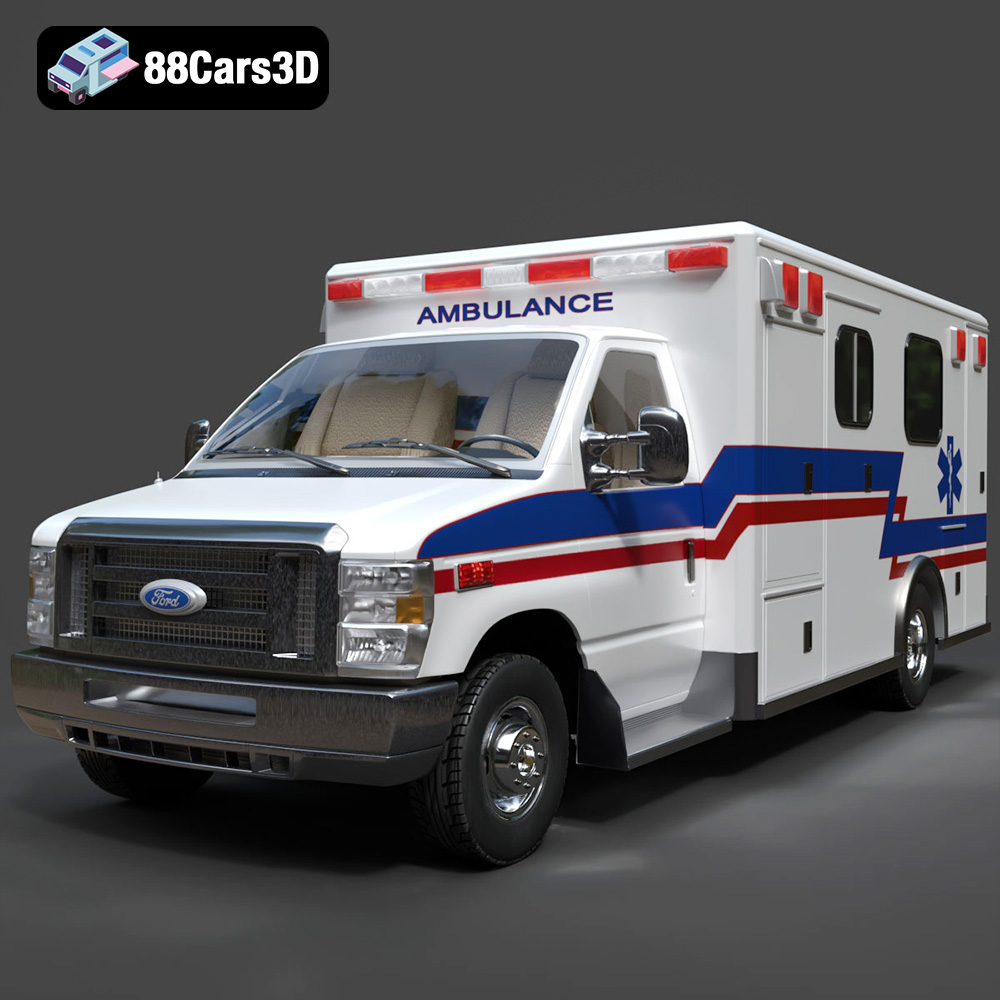
Download the Ford E-450 Ambulance 3D Model featuring clean geometry, realistic detailing, and a fully modeled interior. Includes .blend, .fbx, .obj, .glb, .stl, .ply, .unreal, and .max formats for rendering, simulation, and game development.
Price: $19.99

