

Unreal Engine for Automotive Marketing: Crafting Immersive Interactive Experiences
The automotive industry has always been at the forefront of innovation, not just in vehicle design and engineering, but also in how it presents its creations to the world. For decades, marketing relied on static images, pre-rendered videos, and physical showrooms. However, with the advent of real-time rendering technology, particularly tools like Unreal Engine, the landscape of automotive visualization and marketing is undergoing a revolutionary transformation. Brands can now offer prospective buyers, designers, and enthusiasts fully interactive, photorealistic experiences that were once confined to the realm of high-budget film production or concept art.
This shift empowers companies to showcase every intricate detail of a vehicle, from the flawless paintwork reflecting its environment to the luxurious textures of an interior, all in a dynamic and customizable real-time setting. This comprehensive guide will delve into how Unreal Engine is redefining automotive marketing. We’ll explore the essential workflows, technical insights, and creative strategies needed to leverage this powerful engine, transforming high-quality 3D car models into engaging interactive experiences. From initial asset import and material setup to advanced lighting, Blueprint scripting, and performance optimization, prepare to unlock the full potential of real-time automotive visualization.
The Power of Unreal Engine for Automotive Visualization
Unreal Engine stands as a titan in the real-time rendering space, renowned for its unparalleled photorealism, robust feature set, and scalability across various platforms. For automotive visualization, it offers a distinct advantage over traditional linear media or offline renderers. The ability to explore a vehicle from any angle, customize its features on the fly, and even “drive” it in a virtual environment provides an unprecedented level of engagement. This interactive freedom not only captivates audiences but also significantly enhances the decision-making process for consumers and stakeholders alike. Beyond marketing, Unreal Engine is increasingly being adopted for design review, virtual production, and even driver training simulations, proving its versatility within the automotive sector. Its continuous development, spearheaded by Epic Games, ensures that it remains at the cutting edge, consistently introducing features that push the boundaries of what’s possible in real-time.
Why Real-Time Rendering is Reshaping Automotive Marketing
Traditional automotive marketing often involved lengthy and expensive rendering pipelines for static images and videos. Any change, no matter how minor, could necessitate significant re-rendering time and cost. Real-time rendering, however, eliminates these bottlenecks. Imagine a potential customer instantly changing the paint color, wheel design, or interior trim of a car with a click, seeing the updates instantly in photorealistic detail. This immediacy is a game-changer. It allows for dynamic configurators, interactive virtual showrooms, and engaging mobile experiences that are impossible with pre-rendered content alone. Furthermore, real-time engines facilitate rapid iteration for design teams, enabling them to visualize changes to a vehicle’s aesthetics or engineering instantly, fostering a more agile and efficient development cycle. The cost-effectiveness of creating dynamic, reusable assets for multiple marketing campaigns also presents a compelling business case for adopting Unreal Engine.
Key Unreal Engine Features for Automotive
Unreal Engine’s feature set is particularly well-suited for automotive visualization. **Lumen**, its fully dynamic global illumination and reflections system, brings unparalleled realism to environments, accurately simulating how light bounces and interacts with surfaces. This means car models appear grounded and naturally lit within any scene. **Nanite**, the virtualized geometry system, allows artists to import film-quality 3D car models with millions of polygons directly into the engine without traditional performance bottlenecks, liberating creators from the constraints of poly budgets. For pristine, noise-free images and animations, Unreal Engine’s **Path Tracer** offers an unbiased, physically accurate rendering solution. Beyond rendering, **Sequencer** provides powerful cinematic tools for creating stunning promotional videos and animations, while **Blueprint Visual Scripting** empowers artists and designers to build complex interactivity without writing a single line of code. These features, combined with an extensive ecosystem of tools for materials, particles (Niagara), and physics (Chaos), make Unreal Engine an indispensable platform for automotive professionals.
Importing and Optimizing 3D Car Models from 88cars3d.com
The foundation of any compelling automotive experience in Unreal Engine is a high-quality 3D car model. The quality of your source assets directly impacts the realism and performance of your project. When selecting 3D car models, it’s crucial to prioritize those with clean topology, proper UV mapping, and a logical hierarchy. Platforms like 88cars3d.com specialize in providing meticulously crafted automotive assets that meet these professional standards, ensuring a smooth transition into Unreal Engine. These models are typically prepared with performance and visual fidelity in mind, featuring optimized mesh densities and well-organized material IDs, which significantly streamline the subsequent setup process within the engine.
Sourcing High-Quality Assets
A high-quality 3D car model from a reputable source like 88cars3d.com will possess several key attributes. Firstly, **clean, quad-based topology** is essential for smooth deformations and subdivision, ensuring the vehicle’s surfaces appear pristine from all angles. Secondly, **proper UV mapping** is critical for applying textures accurately, preventing stretching or distortions, and allowing for efficient light baking if needed. Models often come with **multiple UV sets** – one for albedo/normal/roughness, another for lightmaps, and sometimes a third for specific effects or decals. Thirdly, **realistic PBR (Physically Based Rendering) texture maps** (Base Color, Normal, Metallic, Roughness, Ambient Occlusion) are paramount for achieving photorealistic materials. Lastly, a well-organized **mesh hierarchy and naming convention** simplifies the import and subsequent material assignment process within Unreal Engine, making it easier to select individual parts like doors, wheels, or interior components.
Importing Workflow and Initial Setup
Once you’ve acquired your optimized 3D car models from marketplaces such as 88cars3d.com, the import process into Unreal Engine is straightforward. The most common formats are **FBX** and **USD (Universal Scene Description)**. USD is increasingly becoming the preferred format due to its ability to encapsulate complex scene data, including geometry, materials, animations, and variants, making it ideal for collaborative workflows.
1. **Drag and Drop or Import Button:** Drag your `.fbx` or `.usd` file directly into the Content Browser, or use the “Import” button.
2. **Import Options:** In the import dialog, ensure “Skeletal Mesh” is unchecked unless your model has an advanced rigging setup for deformation (e.g., suspension). Enable “Combine Meshes” if the car is intended as a single static object, or disable it if you need to manipulate individual parts (doors, wheels). Ensure “Generate Missing Collision” is enabled for basic interaction.
3. **Scale and Pivot:** Verify the import scale. Unreal Engine typically works best with real-world units (centimeters), so a 1:1 scale is ideal. If the model appears too large or small, adjust the import scale or scale it directly in the editor after import. Check the pivot point of the imported mesh; it should ideally be at the bottom center of the car for natural rotation and placement. Adjust it if necessary within Unreal Engine or your 3D modeling software.
4. **Material Slots:** The import process will create material slots based on your model’s material assignments. This is where you’ll apply your PBR materials.
Leveraging Nanite for High-Fidelity Car Models
**Nanite Virtualized Geometry** is a groundbreaking feature in Unreal Engine that revolutionizes how high-polygon meshes are handled. Previously, a 3D car model with millions of polygons would severely impact real-time performance, necessitating complex LOD (Level of Detail) systems. With Nanite, you can import incredibly detailed, film-quality meshes directly into Unreal Engine without significant performance overhead.
To enable Nanite on your imported mesh:
1. **Select the Static Mesh:** In the Content Browser, double-click your imported static mesh to open the Static Mesh Editor.
2. **Enable Nanite:** In the Details panel, under the “Nanite Settings” section, check the “Enable Nanite” box. You might need to build Nanite data, which the engine will prompt you to do.
3. **Fallback Mesh (Optional):** For compatibility with platforms that don’t support Nanite (e.g., older mobile devices, AR/VR headsets without specific support), you can generate a “Fallback Mesh.” This creates a lower-poly version used automatically when Nanite isn’t available.
Nanite intelligently streams and renders only the necessary geometric detail based on the camera’s distance and viewpoint, making it perfect for showcasing the intricate details of a luxury vehicle without compromising frame rate. This feature significantly reduces the artist’s burden of manual LOD creation, allowing more focus on artistic quality and design fidelity. For further details on Nanite’s capabilities, refer to the official Unreal Engine documentation at https://dev.epicgames.com/community/unreal-engine/learning.
Crafting Realistic Automotive Materials with PBR
Achieving photorealistic visuals in Unreal Engine relies heavily on meticulously crafted materials. For automotive applications, this means going beyond basic textures to simulate complex surfaces like clear coat paint, reflective chrome, luxurious leather, and transparent glass with convincing accuracy. Physically Based Rendering (PBR) is the cornerstone of modern real-time graphics, ensuring that materials react to light in a physically plausible manner, regardless of the lighting conditions. Understanding PBR principles and how to translate them into Unreal Engine’s Material Editor is crucial for bringing 3D car models to life.
Understanding PBR Principles for Automotive
PBR materials are defined by several key maps that describe a surface’s properties, rather than its appearance under specific lighting. For automotive assets, these maps are critical:
* **Base Color (Albedo):** Represents the diffuse color of the surface without any lighting information. For metals, this map is typically dark or black, while for non-metals, it holds the intrinsic color.
* **Metallic:** A grayscale map where white (1) indicates a fully metallic surface and black (0) indicates a non-metallic (dielectric) surface. Values between 0 and 1 are typically avoided for pure metals but can be used for mixed materials.
* **Roughness:** A grayscale map where white (1) represents a very rough surface (matte) and black (0) represents a very smooth, mirror-like surface. This map is crucial for defining the sheen of paint or the texture of upholstery.
* **Normal Map:** A texture that fakes high-resolution surface detail (like scratches or subtle bumps) using an RGB texture that stores direction information for surface normals, saving on polygon count.
* **Ambient Occlusion (AO):** A grayscale map that simulates soft shadows in crevices and corners, enhancing depth and realism. While often used for static lighting, modern engines with dynamic GI like Lumen can often generate effective AO on the fly.
By combining these maps accurately, you can simulate a vast range of automotive materials, ensuring consistent and believable reactions to diverse lighting scenarios.
Building Complex Car Paint Materials
Car paint is one of the most challenging yet rewarding materials to create in real-time. It typically involves multiple layers to achieve its characteristic depth, reflectivity, and clear coat sheen.
1. **Base Layer (Metallic Flakes):** Start with a base color and integrate a subtle metallic flake normal map and texture. This can be achieved by using a `Lerp` node to blend between two colors based on a texture, or by adding a small amount of `Normal` map variation to simulate the flakes. The `Metallic` input should be set to 0.
2. **Clear Coat Layer:** Unreal Engine’s Material Editor includes a dedicated `Clear Coat` input. This allows you to simulate the reflective, protective layer over the base paint.
* Set the `Clear Coat` value to 1 (full clear coat).
* Adjust `Clear Coat Roughness` to control the glossiness of the clear coat. A low value (e.g., 0.05-0.15) provides a highly reflective surface, while a higher value results in a more satin finish.
* The `Clear Coat Normal` input allows you to add subtle imperfections or orange peel effects to the clear coat, making it even more realistic.
3. **Layered Materials:** For more advanced effects like dirt, dust, or wear, consider using **Material Functions** or **Layered Materials**. Material Functions allow you to encapsulate complex material graphs into reusable nodes. Layered Materials enable blending multiple distinct materials (e.g., clean paint, dirty paint, scratched paint) based on mask textures or runtime parameters. This offers immense flexibility for creating dynamic visual effects or car configurators.
Advanced Material Techniques for Interiors and Glass
Beyond the exterior, automotive interiors demand equal attention to detail.
* **Leather and Fabric:** These materials require accurate `Base Color`, `Roughness` (to simulate the subtle variations in texture), and `Normal` maps. For fabrics, `Subsurface Scattering` can add softness and realism, especially for materials like Alcantara. Use a `Subsurface Color` parameter and blend it with the `Base Color` for this effect.
* **Glass:** Car windows and headlights require careful setup for transparency, refraction, and reflectivity.
* Set the **Blend Mode** of the material to `Translucent` and the **Shading Model** to `Default Lit` or `Clear Coat` if it’s a clear coat over glass.
* Connect a `Vector3` parameter to `Base Color` for tint.
* For `Opacity`, a constant value around 0.1-0.3 often works well, or use a texture for varying transparency.
* The `Refraction` input (available only in `Translucent` blend mode) is critical. Use the `Fresnel` node to drive `Refraction` strength, ensuring that light bends more at glancing angles, mimicking real glass. A default `IOR (Index of Refraction)` of 1.5-1.6 for glass is a good starting point.
* Ensure **Ray Tracing Translucency** is enabled in your project settings and material for accurate reflections and refractions with Ray Tracing.
For more information on setting up advanced materials, including detailed examples and best practices, consult the official Unreal Engine documentation at https://dev.epicgames.com/community/unreal-engine/learning.
Dynamic Lighting and Stunning Environments
Lighting is the ultimate sculptor of mood and realism in any 3D scene, and for automotive visualization, it’s paramount. The way light interacts with the meticulously crafted surfaces of a 3D car model can elevate it from a mere digital asset to a captivating visual experience. Unreal Engine offers a versatile suite of lighting tools, from its groundbreaking dynamic global illumination system, Lumen, to traditional static lighting methods and advanced ray tracing capabilities, providing artists with immense control over the visual narrative.
Mastering Lumen for Global Illumination
**Lumen** is Unreal Engine’s fully dynamic global illumination and reflections system designed for next-generation consoles and PC. It provides incredibly realistic indirect lighting and reflections without the need for lightmaps or pre-baked solutions, making it ideal for interactive automotive configurators where lighting conditions or environments might change on the fly.
To set up Lumen:
1. **Enable Lumen:** In `Project Settings > Rendering > Global Illumination`, set “Global Illumination Method” to `Lumen`. Do the same for “Reflections Method.”
2. **Post Process Volume:** Place a `Post Process Volume` in your scene and ensure its “Infinite Extent (Unbound)” property is checked.
3. **Lumen Settings:** Within the `Post Process Volume`, search for “Lumen.” Here you can fine-tune settings such as `Ray Tracing Quality` (for higher fidelity, if using hardware ray tracing), `Global Illumination quality`, and `Reflection quality`.
4. **Light Sources:** Ensure your main light sources (Directional Light for sun, Sky Light for environment light) have “Affects Global Illumination” enabled. Adjust their intensity and color to create the desired mood.
5. **Emissive Materials:** Lumen also accurately propagates light from emissive materials, allowing you to create realistic glowing elements like car headlights or interior ambient lighting.
Lumen’s dynamic nature means you can move lights, change the time of day, or swap environments, and the indirect lighting will update instantly, providing unparalleled flexibility for real-time presentations.
HDRI Sky Domes and Lighting Scenarios
High Dynamic Range Image (HDRI) sky domes are indispensable for achieving photorealistic automotive lighting and reflections. An HDRI captures a full 360-degree representation of a real-world environment’s lighting information, including sky, clouds, and surrounding objects.
1. **Import HDRI:** Import your `.hdr` or `.exr` file into Unreal Engine as a texture.
2. **Create Sky Light:** Place a `Sky Light` actor in your scene.
3. **Assign HDRI:** In the Sky Light’s Details panel, under “Light,” change “Source Type” to `SLS Specified Cubemap` and assign your imported HDRI texture to the `Cubemap` slot.
4. **Real-Time Capture:** Ensure “Real Time Capture” is enabled for dynamic HDRI updates with Lumen.
5. **Adjust Intensity:** Fine-tune the `Intensity Scale` of the Sky Light to match your scene’s exposure.
Combining an HDRI-driven Sky Light with a Directional Light (representing the sun) creates a highly convincing outdoor lighting scenario, casting accurate shadows and providing realistic reflections on the car’s paint and chrome. You can easily swap HDRIs to showcase the car in different environments (e.g., a sunny beach, an urban street, a studio backdrop), instantly altering the mood and visual context.
Cinematic Lighting with Lightmass and Ray Tracing (Optional/Hybrid)
While Lumen offers dynamic global illumination, for situations demanding the absolute highest quality and consistency in static scenes (e.g., pre-rendered cinematic sequences or arch-viz style showrooms), **Lightmass** (Unreal’s static GI solver) combined with **Hardware Ray Tracing** can still be a powerful option.
* **Lightmass:** For static lighting, Lightmass pre-calculates global illumination and shadows and stores them in lightmaps. This delivers extremely high-quality, noise-free results but is not dynamic. It’s excellent for meticulously crafted, unchanging environments.
* **Hardware Ray Tracing:** When enabled in Project Settings, hardware ray tracing enhances various aspects of rendering, including reflections, shadows, ambient occlusion, and global illumination.
* **Ray Traced Reflections:** Provides pixel-perfect reflections that accurately bounce light, crucial for highly reflective car surfaces.
* **Ray Traced Shadows:** Produces contact-hardened shadows with realistic penumbrae, adding significant depth.
* **Ray Traced Global Illumination:** Can be used as an alternative or in conjunction with Lumen for very high-quality indirect lighting, though it’s more computationally intensive.
A hybrid approach is often effective: use Lumen for dynamic interactivity and overall real-time fidelity, but leverage hardware ray tracing for specific features like reflections and shadows to push visual quality even further. This ensures a stunning visual presentation without sacrificing the real-time interactivity that Unreal Engine provides.
Building Interactive Automotive Experiences with Blueprint
The true power of Unreal Engine in automotive marketing lies in its ability to create interactive experiences. While stunning visuals are captivating, allowing users to customize, explore, and even “drive” a vehicle elevates engagement to an entirely new level. This interactivity is primarily achieved through **Blueprint Visual Scripting**, a powerful node-based system that allows artists and designers to implement complex logic and gameplay mechanics without writing C++ code. Blueprint makes it accessible to create car configurators, dynamic showrooms, and even basic vehicle simulations.
Creating an Interactive Car Configurator
An interactive car configurator is one of the most compelling applications of Unreal Engine for automotive marketing. It empowers users to personalize a vehicle in real-time.
1. **Material Swapping:** To change paint colors or interior trims:
* Create **Material Instances** of your base car paint material. For each color option, create a unique Material Instance and simply change its `Base Color` parameter.
* In Blueprint, use the `Set Material` node on the relevant Mesh Component (e.g., the car body) to swap materials dynamically based on user input (e.g., clicking a button).
* For a deeper dive, use `Set Vector Parameter Value` on a **Dynamic Material Instance** to change specific parameters (like a color or roughness) within a single material, offering even more flexibility.
2. **Mesh Swapping (Wheels, Body Kits):** For changing larger components like wheels, spoilers, or even different body variants:
* Import each variant as a separate Static Mesh.
* In Blueprint, when a user selects an option, use the `Set Static Mesh` node on the relevant Mesh Component to replace the existing mesh with the chosen variant. Ensure pivot points and scaling are consistent across all variants for a seamless swap.
3. **UI Elements (UMG):** User Interface (UI) is crucial for a configurator. Use **UMG (Unreal Motion Graphics)** to create buttons, sliders, and dropdown menus.
* Create a `Widget Blueprint` to design your UI layout.
* On button clicks, use “Event Dispatchers” or direct Blueprint communication to trigger the material or mesh swapping logic on your car actor.
* Display current selections and prices dynamically to enhance the user experience.
Camera Controls and User Interface (UI)
Intuitive camera controls are essential for exploring the car.
1. **Orbit Camera:** A common setup involves an `Actor` Blueprint with a `Spring Arm` component and a `Camera` component.
* The `Spring Arm` acts as a camera boom, maintaining a set distance from a target (the car).
* Use `Event Tick` to capture mouse input (X and Y movement) and rotate the `Spring Arm` around the car using `Add Controller Yaw Input` and `Add Controller Pitch Input`.
* Allow mouse scroll for zooming in/out by adjusting the `Target Arm Length` of the `Spring Arm`.
2. **Interior Camera:** For seamless transitions into the car’s interior:
* Create multiple `Camera Actor` blueprints placed at strategic viewpoints (driver’s seat, passenger seat, rear seat).
* When a user clicks an “Interior View” button, use the `Set View Target with Blend` node in Blueprint to smoothly transition the player’s view to one of the interior camera actors. Set a `Blend Time` for a cinematic transition.
3. **UMG for Controls:** As mentioned, UMG is perfect for creating your configurator’s interface, allowing users to navigate camera presets, toggle features, or access different customization options with ease.
Vehicle Physics and Dynamics (Basic Implementation)
For a truly immersive experience, allowing users to “drive” the car, even in a simplified manner, can be highly engaging. Unreal Engine’s **Chaos Vehicle Physics** system provides a robust framework for simulating vehicle dynamics.
1. **Chaos Vehicle Setup:**
* Start with a `Chaos Vehicle Pawn` Blueprint. This comes with pre-configured components like `Vehicle Movement Component (Chaos)` and a `Skeletal Mesh` slot.
* Import your 3D car model as a `Skeletal Mesh` (requires proper rigging, usually with a wheel bone hierarchy) and assign it to the Vehicle Pawn.
* Configure the `Vehicle Movement Component` with appropriate values for engine torque, gear ratios, suspension, and wheel settings (radius, width, mass). These values often require real-world reference data and careful tuning.
2. **Input Mapping:**
* Set up input actions in `Project Settings > Input` for acceleration, braking, steering, and handbrake.
* In your Vehicle Pawn Blueprint, use these input actions to control the `Vehicle Movement Component`’s throttle, brake, and steering inputs.
3. **Basic Driving Experience:** This setup allows for a fundamental driving experience. For more advanced features like tire smoke (Niagara particle system), damage, or complex terrain interaction, additional Blueprint scripting and physics component configurations would be necessary. While this can get complex, a basic drivable car can significantly enhance the perceived interactivity and immersion of an automotive demo.
Advanced Applications and Performance Optimization
Unreal Engine’s capabilities extend far beyond simple configurators, enabling cutting-edge applications in virtual production, AR/VR, and high-fidelity cinematic rendering. However, as projects grow in complexity and fidelity, performance optimization becomes critical, especially for real-time applications and deployment across various hardware. Balancing visual quality with smooth frame rates is an art and a science, requiring a deep understanding of Unreal Engine’s optimization tools and best practices.
Virtual Production and LED Walls
Virtual Production, particularly with LED volumes (often referred to as “The Volume”), is revolutionizing filmmaking and content creation, and the automotive industry is rapidly adopting it for commercials and promotional content. Instead of greenscreens, actors and vehicles are placed within a physical LED stage displaying photorealistic environments rendered in real-time by Unreal Engine. This allows for in-camera VFX, realistic reflections on car surfaces, and immediate feedback for directors and cinematographers.
1. **nDisplay:** Unreal Engine’s **nDisplay** framework is central to driving LED walls. It manages synchronized rendering across multiple displays from a single project, ensuring a seamless, consistent image across the curved or flat LED panels.
2. **Camera Tracking:** Integrating physical camera tracking systems (e.g., Mo-Sys, Stype) with Unreal Engine ensures that the perspective of the virtual background rendered on the LED wall dynamically shifts with the physical camera’s movement, creating a perfect parallax effect and maintaining visual realism.
3. **Lighting Integration:** The LED wall itself acts as a massive light source, influencing the real vehicle on stage. Unreal Engine’s dynamic lighting, especially Lumen, plays a crucial role in ensuring the virtual environment’s illumination realistically affects the physical car and actors.
4. **Benefits:** This workflow drastically reduces post-production time, allows for on-set creative decisions, and provides incredibly realistic lighting and reflections on the car directly in-camera, eliminating many challenges associated with traditional green screen compositing.
AR/VR Experiences for Automotive Marketing
Augmented Reality (AR) and Virtual Reality (VR) offer immersive ways for consumers to interact with automotive products. Imagine experiencing a car in your driveway via AR on your phone, or sitting inside a virtual model in a VR headset.
1. **VR Setup:** Enable the “OpenXR” plugin (or platform-specific plugins like SteamVR) in Unreal Engine. Create a `VR Pawn` Blueprint, assign your VR headset as the target device, and configure motion controller inputs.
2. **AR Setup (Mobile):** For mobile AR, enable the “ARCore” (Android) or “ARKit” (iOS) plugins. Use the `ARSession` and `ARPin` components to detect surfaces and place virtual car models in the real world.
3. **Optimization for AR/VR:** This is paramount due to the high frame rate requirements (often 90fps or higher per eye for VR) and limited mobile processing power for AR.
* **LODs:** Utilize aggressive LODs (Level of Detail) for all meshes, including the car model, to swap in lower-polygon versions at a distance. Even with Nanite, consider a Nanite fallback for mobile AR/VR.
* **Texture Resolution:** Use optimized texture resolutions. While 4K textures look great up close, 2K or even 1K might be sufficient for distant objects or mobile.
* **Draw Calls:** Minimize draw calls by merging static meshes where appropriate and using Material Instancing.
* **Lighting:** Prefer baked lighting (Lightmass) over fully dynamic solutions like Lumen for performance-critical AR/VR, or use highly optimized dynamic lighting. Mobile HDR is crucial for AR/VR rendering.
* **Post-Processing:** Be conservative with post-processing effects. Heavy effects like screen-space reflections or complex anti-aliasing can severely impact performance.
Optimization Strategies for Real-Time Performance
Regardless of the target platform, performance optimization is an ongoing process throughout development.
1. **LOD Management (if not using Nanite, or for Nanite Fallback):** Manually generate or import multiple levels of detail for your 3D car models. Ensure a smooth transition between LODs to avoid popping. Unreal Engine’s built-in LOD generation tools can assist.
2. **Texture Streaming:** Unreal Engine automatically streams texture mipmaps based on camera distance. Ensure `Texture Streaming` is enabled in Project Settings and monitor texture memory usage with the `Stat Streaming` command. Adjust `Min Mip Map` values for critical textures if needed.
3. **Culling Techniques:**
* **Occlusion Culling:** Unreal Engine automatically culls objects hidden behind others. Use `HLODs (Hierarchical LODs)` for large environments to optimize culling.
* **Frustum Culling:** Objects outside the camera’s view are not rendered.
4. **Profiling Tools:** Utilize Unreal Engine’s built-in profilers:
* `Stat FPS`: Displays current frame rate.
* `Stat Unit`: Shows CPU and GPU frame times.
* `Stat GPU`: Provides detailed GPU statistics.
* `Stat RHI`: Low-level rendering hardware interface stats.
* **Unreal Insights:** A powerful tool for deep performance analysis, identifying bottlenecks in CPU, GPU, and memory usage.
5. **Blueprint Optimization:** Keep Blueprint graphs clean and efficient. Avoid excessive `Event Tick` operations, prefer `Timers` or `Event Driven` logic where possible.
6. **Material Complexity:** Keep material node networks as streamlined as possible. Overly complex shaders with many instructions can be a significant performance drain. Leverage Material Functions for reusability without duplication.
By systematically applying these optimization strategies, you can ensure that your interactive automotive experiences run smoothly across various hardware, providing a consistent and high-quality user experience.
Conclusion
Unreal Engine has firmly established itself as an indispensable tool for the automotive industry, driving a paradigm shift in how vehicles are visualized, marketed, and even designed. From crafting photorealistic 3D car models sourced from platforms like 88cars3d.com to implementing dynamic PBR materials, mastering global illumination with Lumen, and building sophisticated interactive configurators with Blueprint, the engine offers an unparalleled ecosystem for creative professionals. The ability to render in real-time empowers brands to deliver immersive, personalized experiences that captivate audiences and significantly enhance customer engagement, setting a new standard for automotive marketing.
As real-time technology continues to evolve, so too will the possibilities within Unreal Engine. Embracing these advanced workflows, from virtual production on LED walls to optimized AR/VR showcases, allows companies to stay ahead in a competitive landscape. The convergence of high-fidelity assets and powerful interactive tools means the future of automotive marketing is not just about showcasing a car, but about enabling an experience. By leveraging the comprehensive features and optimization strategies discussed, you can unlock the full potential of Unreal Engine to create breathtaking, interactive automotive content that truly resonates with your audience and drives innovation forward.
Featured 3D Car Models

Porsche Cayenne 3D Model
Meta Description:
Texture: Yes
Material: Yes
Download the Porsche Cayenne 3D Model featuring realistic exterior styling and detailed interior design. Includes .blend, .fbx, .obj, .glb, .stl, .ply, .unreal, and .max formats for rendering, simulation, AR VR, and game development.
Price: $19.9
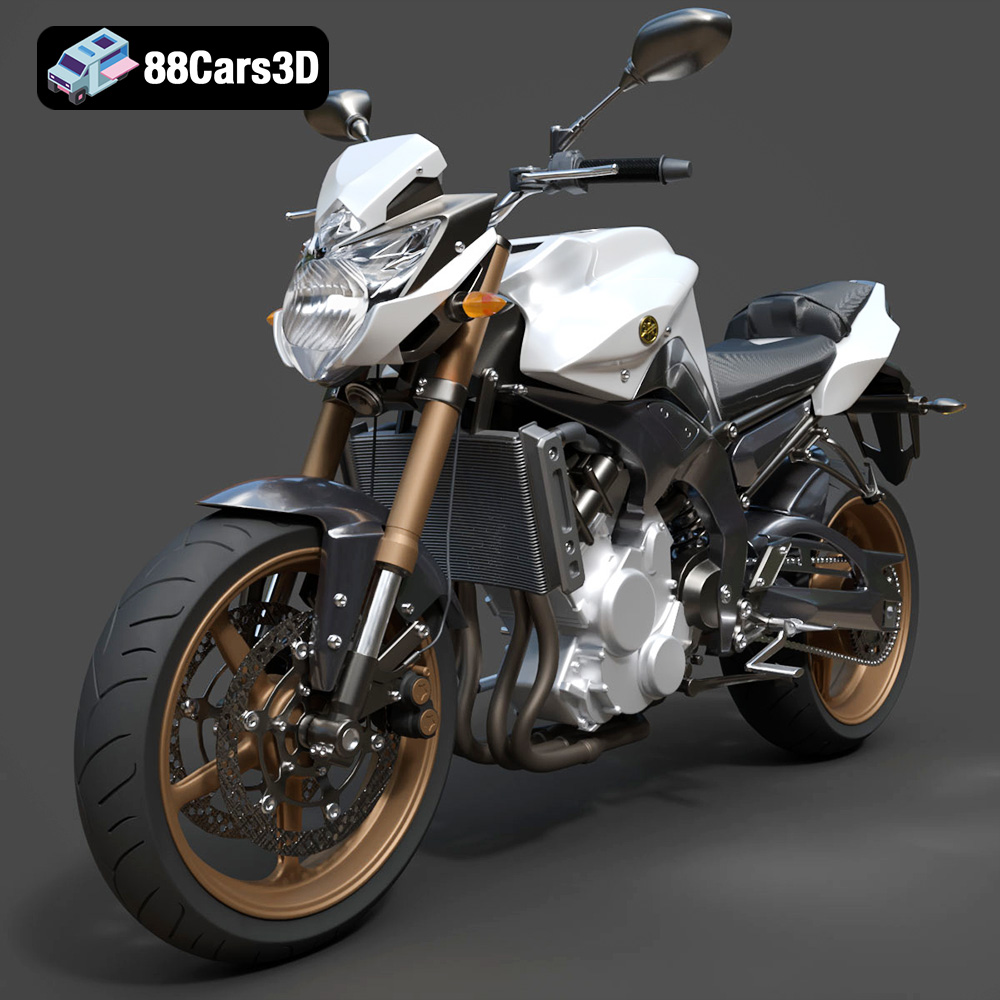
Yamaha FZ8 2011 3D Model
Texture: Yes
Material: Yes
Download the Yamaha FZ8 2011 3D Model featuring clean geometry, realistic detailing, and a fully modeled interior. Includes .blend, .fbx, .obj, .glb, .stl, .ply, .unreal, and .max formats for rendering, simulation, and game development.
Price: $19.99
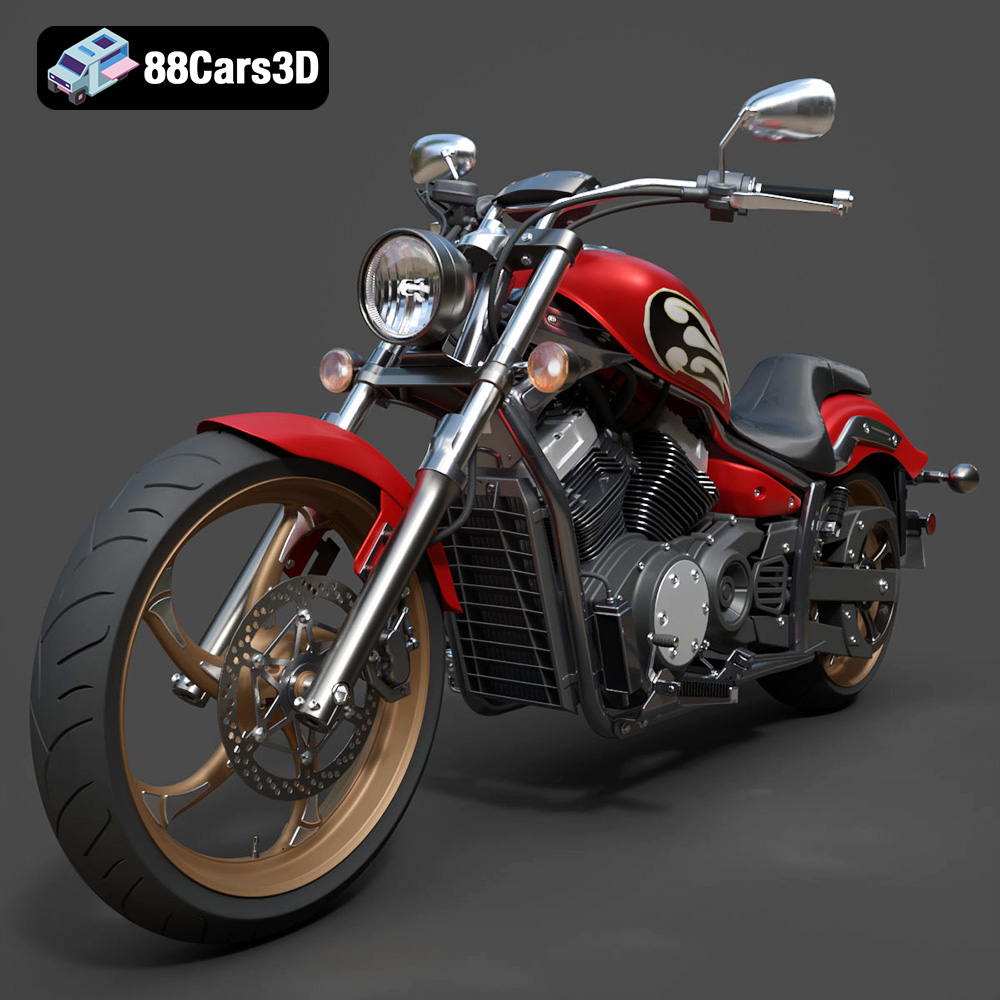
Yamaha Stryker 2012 3D Model
Texture: Yes
Material: Yes
Download the Yamaha Stryker 2012 3D Model featuring clean geometry, realistic detailing, and a fully modeled interior. Includes .blend, .fbx, .obj, .glb, .stl, .ply, .unreal, and .max formats for rendering, simulation, and game development.
Price: $19.99
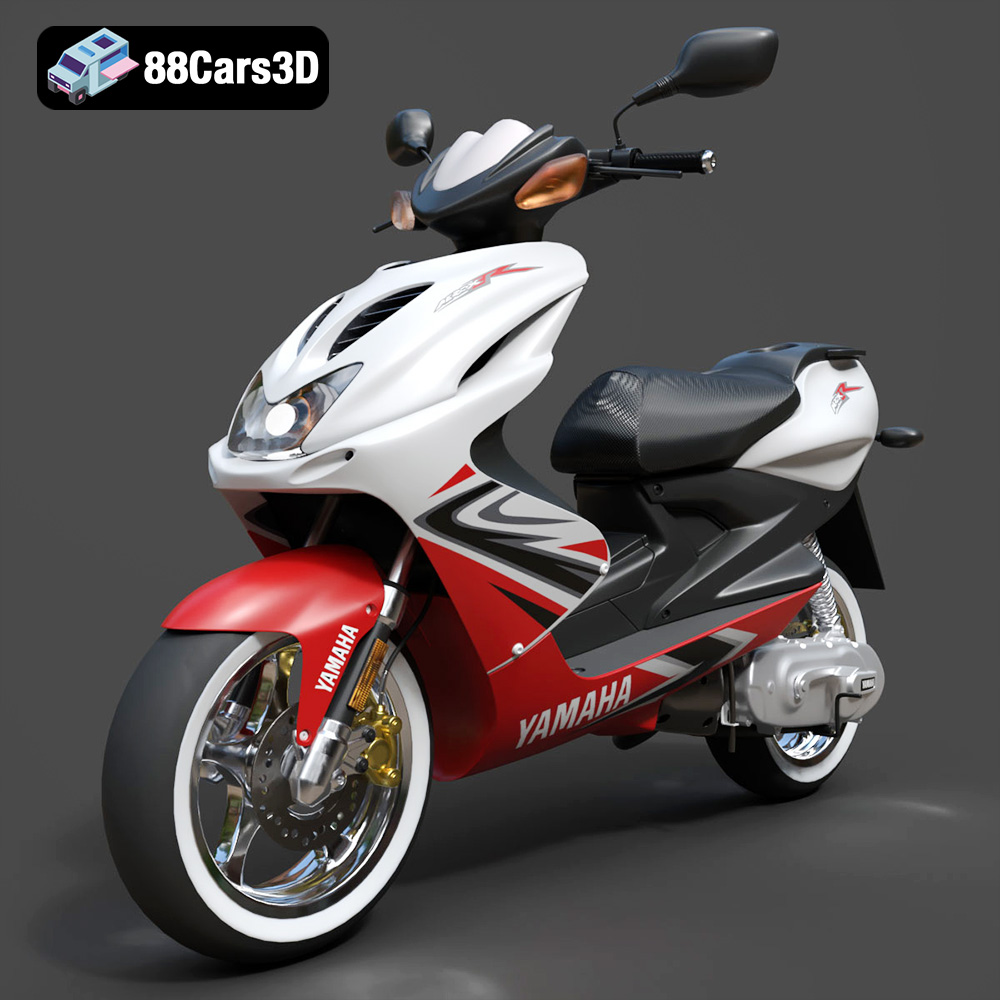
Yamaha Aerox R-002 2024 3D Model
Texture: Yes
Material: Yes
Download the Yamaha Aerox R-002 2024 3D Model featuring clean geometry, realistic detailing, and a fully modeled interior. Includes .blend, .fbx, .obj, .glb, .stl, .ply, .unreal, and .max formats for rendering, simulation, and game development.
Price: $19.99
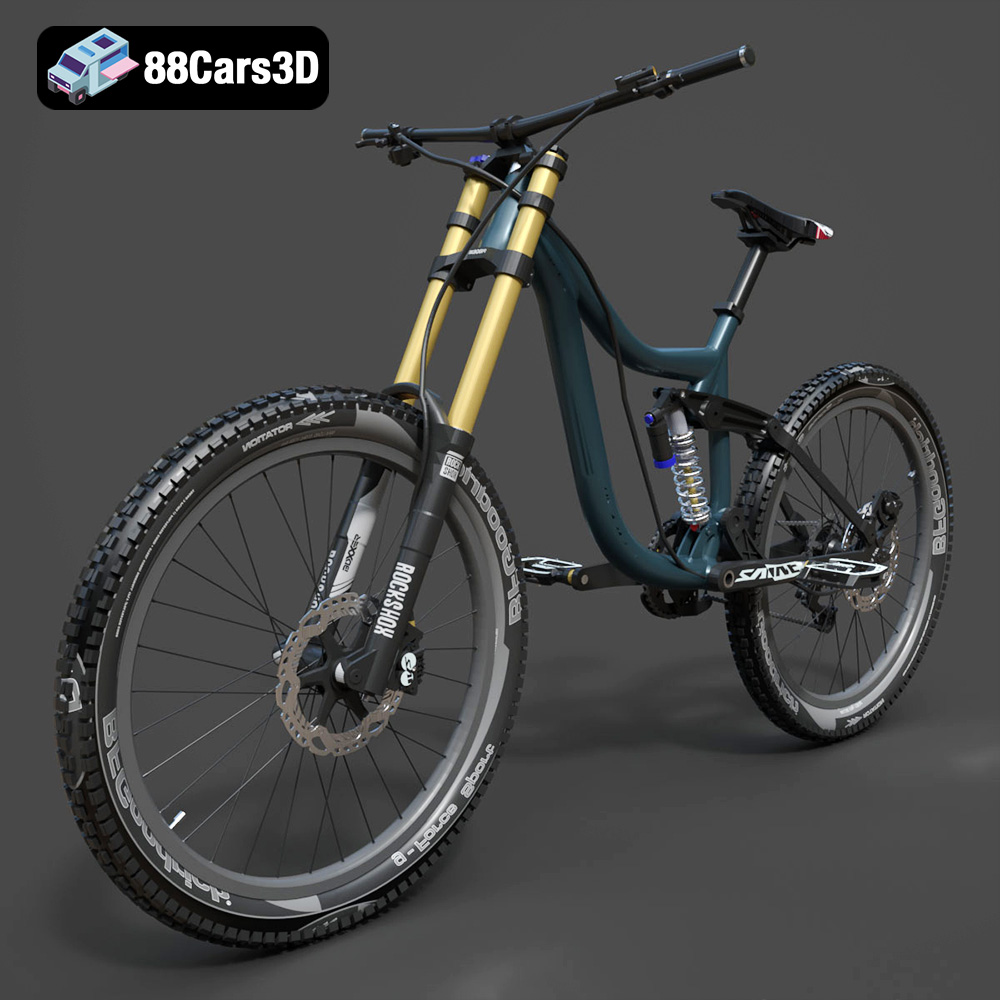
Mototsikly Downhill Bike-002 3D Model
Texture: Yes
Material: Yes
Download the Mototsikly Downhill Bike-002 3D Model featuring clean geometry, realistic detailing, and precise mechanical components. Includes .blend, .fbx, .obj, .glb, .stl, .ply, .unreal, and .max formats for rendering, simulation, and game development.
Price: $19.99
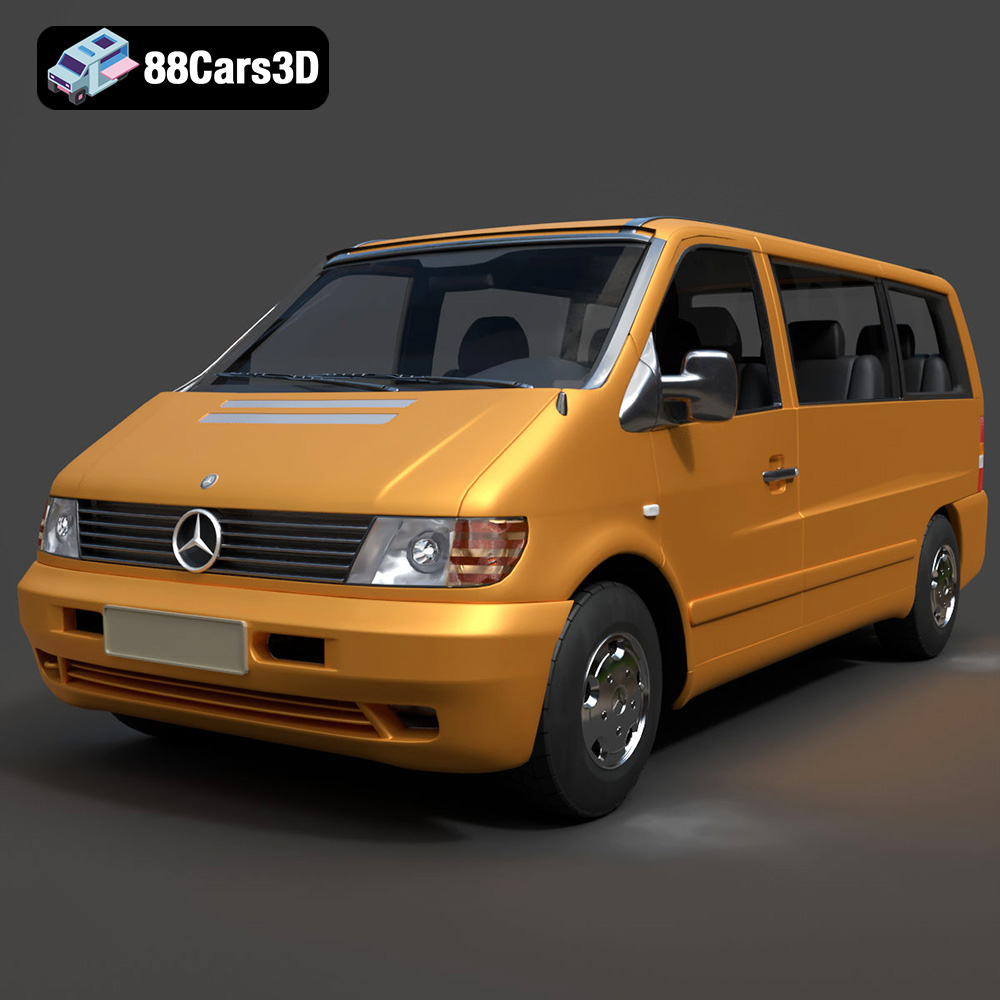
Mercedes-Benz Vito Passenger Van 3D Model
Texture: Yes
Material: Yes
Download the Mercedes-Benz Vito Passenger Van 3D Model featuring clean geometry, realistic detailing, and a fully modeled interior. Includes .blend, .fbx, .obj, .glb, .stl, .ply, .unreal, and .max formats for rendering, simulation, and game development.
Price: $19.99
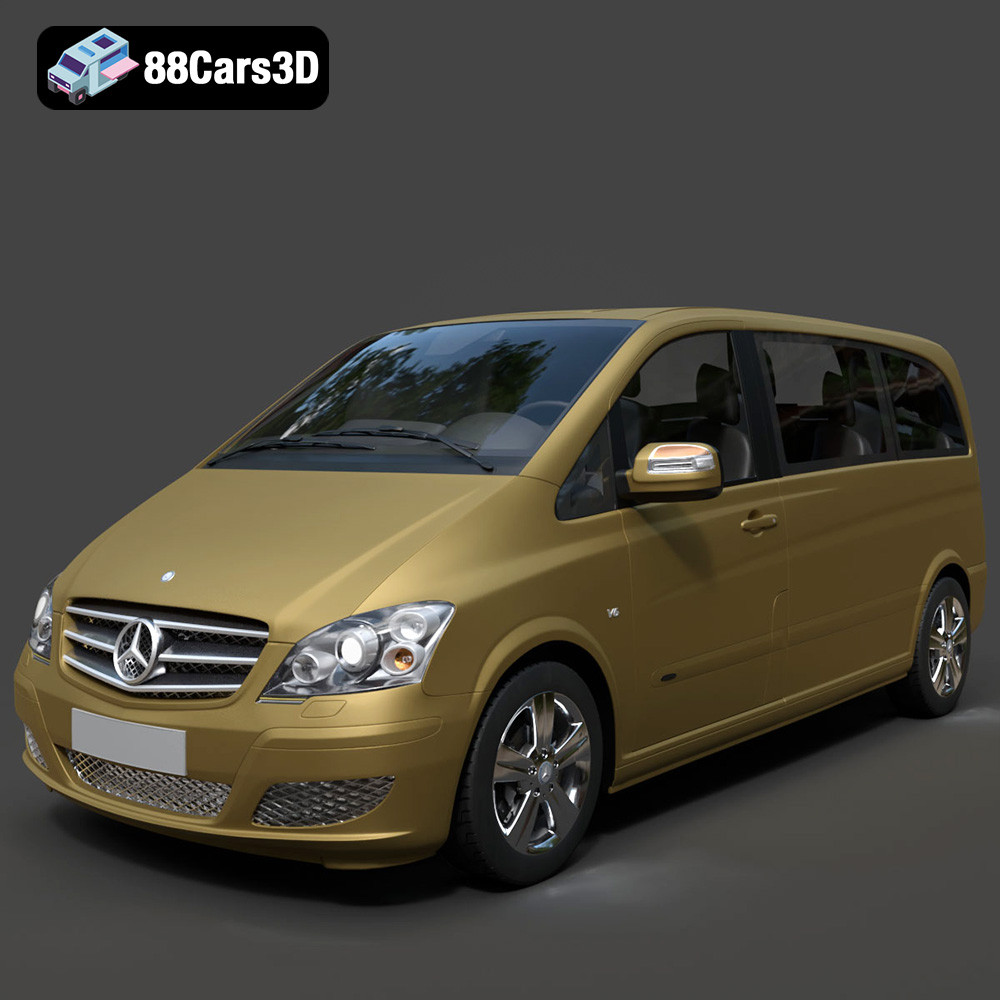
Mercedes-Benz Viano 2010 3D Model
Texture: Yes
Material: Yes
Download the Mercedes-Benz Viano 2010 3D Model featuring clean geometry, realistic detailing, and a fully modeled interior. Includes .blend, .fbx, .obj, .glb, .stl, .ply, .unreal, and .max formats for rendering, simulation, and game development.
Price: $19.99

Emt Avtobus 007 3D Model
Texture: Yes
Material: Yes
Download the Emt Avtobus 007 3D Model featuring clean geometry, realistic detailing, and a fully modeled interior. Includes .blend, .fbx, .obj, .glb, .stl, .ply, .unreal, and .max formats for rendering, simulation, and game development.
Price: $19.99
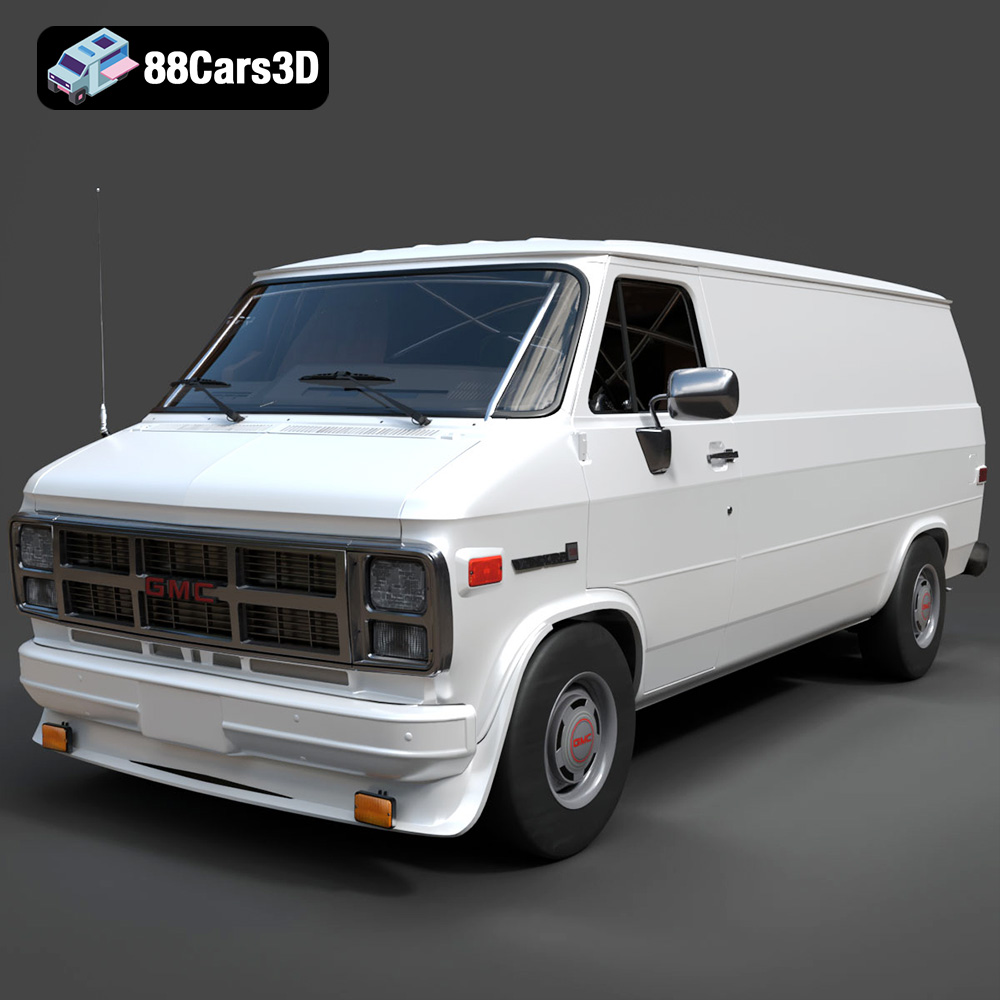
GMC Vandura G-1500 1983 3D Model
Texture: Yes
Material: Yes
Download the GMC Vandura G-1500 1983 3D Model featuring clean geometry, realistic detailing, and a fully modeled interior. Includes .blend, .fbx, .obj, .glb, .stl, .ply, .unreal, and .max formats for rendering, simulation, and game development.
Price: $19.99
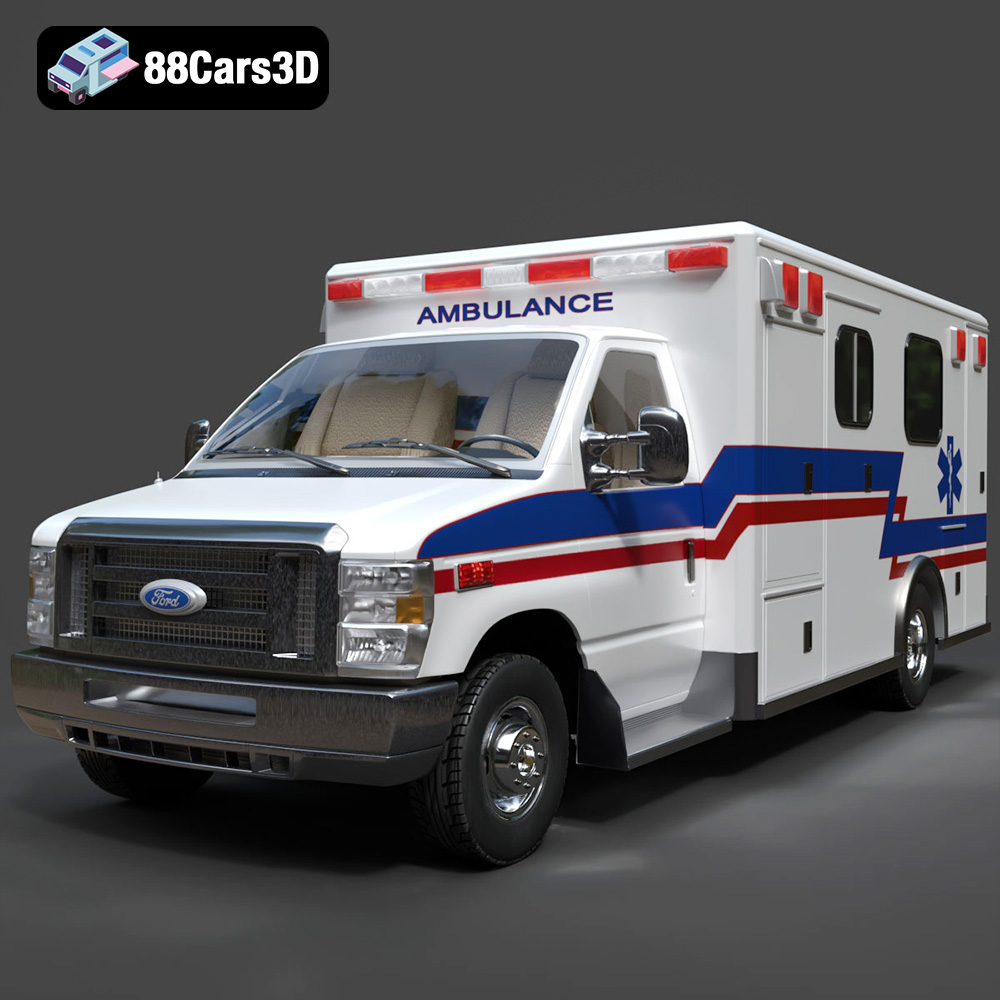
Ford E-450 Ambulance 3D Model
Texture: Yes
Material: Yes
Download the Ford E-450 Ambulance 3D Model featuring clean geometry, realistic detailing, and a fully modeled interior. Includes .blend, .fbx, .obj, .glb, .stl, .ply, .unreal, and .max formats for rendering, simulation, and game development.
Price: $19.99
