Get 20% OFF All Premium 3D & STL Models!

In the intricate world of 3D modeling, where every polygon, texture, and shader contributes to the final masterpiece, organization is not just a virtue—it’s a critical component of success. For professionals working with high-fidelity 3D car models, whether for breathtaking automotive rendering, immersive game development, or precise visualization projects, an organized workflow is paramount. Imagine sifting through hundreds of unnamed objects, unlinked textures, or a spaghetti-like node network; such chaos can quickly derail even the most experienced artist. This comprehensive guide will delve into the best practices for organizing your 3D model files, focusing specifically on the unique challenges and requirements of automotive assets. We’ll explore everything from standardized naming conventions and logical folder structures to advanced techniques for topology management, UV mapping, PBR material creation, and scene optimization across various software environments. By the end, you’ll have a robust framework to streamline your workflow, enhance collaboration, and ensure your 3D car models are production-ready for any application, including those sourced from or intended for platforms like 88cars3d.com.
A well-organized project saves time, reduces errors, and ultimately leads to higher quality results. It facilitates easy asset sharing, smoother team collaboration, and simplifies future updates or modifications. Whether you’re a seasoned 3D artist, a game developer, an automotive designer, or a student embarking on complex vehicle projects, understanding and implementing these best practices will significantly elevate your productivity and the professional appeal of your work. Let’s unlock the power of order in your 3D modeling journey.
The first and most fundamental step towards an organized 3D project begins with consistent naming conventions and a logical folder hierarchy. Without these, even the most meticulously crafted 3D car model can become a nightmare to manage. In complex automotive assemblies, which often comprise hundreds of individual parts, materials, and textures, a chaotic naming scheme can lead to wasted hours trying to locate specific assets or decipher their purpose. Establishing clear rules from the outset is non-negotiable for efficiency and collaboration.
Every element in your 3D scene—from individual mesh objects to materials, textures, cameras, and lights—should adhere to a predefined naming system. This ensures instant recognition of an asset’s type and function. For instance, consider a typical 3D car model: you’ll have numerous parts like ‘Car_Body_Main’, ‘Wheel_Front_Left’, ‘Door_Front_Right’, ‘Engine_Block’, and ‘Seat_Driver’. Each name should be descriptive yet concise, often using prefixes or suffixes to denote type. For materials, use prefixes like ‘Mat_’ or ‘Material_’; for textures, ‘Tex_’ or ‘Texture_’. Specific texture maps should include their type, e.g., ‘Texture_Tire_Tread_Albedo.png’, ‘Texture_Tire_Tread_Normal.png’, ‘Texture_Tire_Tread_Roughness.png’. This level of detail immediately tells you what the file is, what it belongs to, and its specific purpose, eliminating guesswork and accelerating workflow.
Car_Body_Main, Wheel_Front_Left_01, Headlight_Glass_R, Interior_Dashboard.Mat_Paint_Metallic_Blue, Mat_Chrome_Reflective, Mat_Tire_Rubber.Tex_Paint_Blue_Albedo.png, Tex_Chrome_Roughness.png, Tex_Tire_Normal.tif (including map type and file extension).Cam_Render_Beauty, Cam_Interior_Shot_01.Light_Key_Front, Light_Fill_Back, Light_HDR_Environment.Beyond individual file names, the way you structure your project folders on disk is equally vital. A well-organized folder hierarchy acts like a digital blueprint for your entire project, guiding you and collaborators to the right assets swiftly. A common structure starts with a main project folder, then subdivides into categories like ‘Models’, ‘Textures’, ‘Scenes’, ‘Renders’, and ‘Exports’. Within ‘Models’, you might have subfolders for different car components (e.g., ‘Exterior’, ‘Interior’, ‘Wheels’, ‘Engine’), or even different versions of the same car (e.g., ‘Low_Poly’, ‘High_Poly’). The ‘Textures’ folder typically categorizes by material or object, further broken down by map type (Albedo, Normal, Roughness, etc.). This clear, nested structure mirrors the logical breakdown of your 3D asset, making navigation intuitive.
Project_CarName/
├── Models/
│   ├── High_Poly/
│   │   ├── Car_Body/
│   │   ├── Wheels/
│   │   └── Interior/
│   ├── Low_Poly/
│   │   ├── Car_Body/
│   │   ├── Wheels/
│   │   └── Interior/
│   └── Source_Files/ (e.g., ZBrush, CAD imports)
├── Textures/
│   ├── Car_Paint/
│   │   ├── Tex_Paint_Red_Albedo.png
│   │   └── Tex_Paint_Red_Roughness.png
│   ├── Tires/
│   │   ├── Tex_Tire_Tread_Albedo.png
│   │   └── Tex_Tire_Tread_Normal.png
│   ├── Glass/
│   └── Interior_Fabric/
├── Scenes/
│   ├── Work_In_Progress/
│   │   ├── CarName_Scene_V01.max
│   │   ├── CarName_Scene_V02.max
│   │   └── CarName_Scene_V03.max
│   └── Final_Render_Setups/
├── Renders/
│   ├── Beauty_Shots/
│   ├── Wireframe_Renders/
│   └── Render_Passes/
└── Exports/
    ├── FBX/
    ├── OBJ/
    ├── GLB/
    └── USDZ/
As your project evolves, managing different iterations becomes crucial. Implement a systematic version control strategy. For individual scene files, a simple sequential numbering system (e.g., ‘CarName_Scene_V01.max’, ‘CarName_Scene_V02.max’) is effective. Consider major milestones or significant changes as new versions. For more robust version control, especially in team environments, utilize tools like Git or Perforce. These systems track changes, allow rollbacks, and manage conflicts, providing a safety net against data loss and facilitating collaborative development. Always backup your work frequently, ideally to an external drive or cloud storage, mirroring your established folder structure to maintain consistency.
Beyond naming, the internal structure of your 3D car model—its topology—is paramount. Automotive models are renowned for their smooth, reflective surfaces and complex curvatures, which demand pristine mesh organization. Poor topology can lead to rendering artifacts, difficulties in deformation, and inefficient game engine performance. Understanding and implementing best practices for polygon flow and object grouping ensures your models are both visually stunning and technically sound.
For high-quality automotive models, clean, quad-based topology is fundamental. Quads (four-sided polygons) allow for smooth subdivision and predictable deformation, crucial for maintaining the integrity of a car’s sleek curves. Avoid N-gons (polygons with more than four sides) and excessive triangles, especially on areas intended for subdivision or deformation, as they can cause pinching, unpredictable smoothing, and rendering issues. Focus on establishing clear edge loops that follow the natural contours and design lines of the car. These loops are essential for creating supporting edges for subdivision surfaces, enabling precise control over reflections and hard edges without resorting to excessive polygon counts. For example, around wheel wells, door seams, and window frames, having tight edge loops ensures sharp, clean transitions when the mesh is subdivided. This attention to edge flow is critical for models used in high-end automotive rendering, where surface imperfections are highly visible.
When working on detailed automotive components, such as a dashboard or engine parts, consider the density of your mesh. Higher polygon counts are acceptable for hero assets in close-up renders, but for game engines or distant shots, optimization is key. Maintaining an all-quad mesh also simplifies UV unwrapping and texture application later in the pipeline.
A typical 3D car model is an assembly of hundreds, if not thousands, of individual components. Effective object grouping and establishing a logical hierarchy are vital for managing this complexity. Group logically related parts together: all tire components (tread, sidewall, rim) should be grouped under a ‘Wheel’ null or parent object. Similarly, create groups for ‘Body Panels’, ‘Interior’, ‘Engine’, ‘Suspension’, ‘Lights’, etc. This hierarchy facilitates easier manipulation, animation, and organization within your scene. For example, to move the entire car, you only need to select and move the top-level parent object. If you need to animate a door opening, its parent object will contain all its sub-components, simplifying the animation process. This organizational method is crucial for any 3D artist, game developer, or visualization professional dealing with intricate models like those found on platforms like 88cars3d.com.
In Blender, for example, the collection system (refer to the official Blender 4.4 documentation for more details: Blender 4.4 Documentation) provides a powerful way to organize objects into logical groups, allowing for easy visibility toggling, rendering control, and instance management without altering the object’s parent-child relationship in the outliner.
The optimal polygon count for a 3D car model depends entirely on its intended application. For high-fidelity automotive rendering, where realism is paramount, a model might have several hundred thousand or even millions of polygons, especially with detailed interiors and engines. However, for real-time applications like game development or AR/VR experiences, such high poly counts are prohibitive due to performance constraints. This is where Level of Detail (LOD) comes into play. LODs involve creating multiple versions of the same model, each with a progressively lower polygon count. The highest detail (LOD0) is used when the car is close to the camera, while lower detail versions (LOD1, LOD2, etc.) are swapped in as the car moves further away. This optimization technique drastically reduces the computational load on the GPU without a noticeable loss of visual quality from a distance.
When creating LODs, aim for significant reductions at each level (e.g., 50% or 75% polygon reduction). Ensure that the silhouette and major features remain intact even at lower LODs. For hero cars in games, LOD0 might be 50,000-100,000 triangles, LOD1 around 20,000-30,000, and LOD2 as low as 5,000-10,000. For background cars, even lower counts are acceptable. Implement LOD groups in game engines like Unity or Unreal Engine, which automate the switching process based on screen space. This meticulous approach to polygon management is a hallmark of professional game asset development and is essential for achieving smooth frame rates in interactive experiences.
UV mapping is the process of flattening the 3D surface of your model into a 2D space, allowing textures to be accurately applied. For complex 3D car models with their intricate curves and diverse material properties, mastering UV mapping and subsequent texture management is critical for achieving photorealistic results and efficient real-time performance. Poor UVs can lead to stretched textures, seams, and wasted texture space, undermining the visual quality of your automotive asset.
The goal of efficient UV unwrapping for a car model is to create a layout that minimizes distortion, hides seams, and provides consistent texel density across all surfaces. Texel density refers to the number of texture pixels per unit of 3D space. Maintaining a uniform texel density ensures that textures appear equally sharp and detailed across the entire model. For large, smooth surfaces like the car body, aim for large, continuous UV islands. Strategically place seams in less visible areas, such as under the car, along sharp edges, or within panel gaps, to minimize their visual impact. Techniques like “cut and sew” or “pelting” are commonly used to flatten complex shapes effectively. Utilize multiple UV sets if necessary: one for primary diffuse/normal maps and another for lightmaps or specific decal placements, especially for game environments. This allows for specialized texture applications without compromising the main material details. Overlapping UVs can be used for mirrored or repeating elements (like the left and right sides of the car body if they share the same texture details) to save texture space, but ensure this doesn’t create issues if unique details are needed on each side.
Physically Based Rendering (PBR) materials require a specific set of texture maps to accurately simulate real-world material properties. For a 3D car model, these typically include Albedo (color), Normal (surface detail), Roughness (specularity and microscopic surface variation), Metalness (distinguishing dielectric from metallic surfaces), and Ambient Occlusion (soft shadows from indirect light). Other maps might include Height/Displacement, Emission, or Opacity. Organizing these texture sets meticulously is crucial. Each PBR texture map should be clearly named, following your established conventions (e.g., Tex_Car_Paint_Albedo.png, Tex_Car_Paint_Normal.png, Tex_Car_Paint_Roughness.png). Store them in dedicated subfolders within your main ‘Textures’ directory, perhaps organized by the material they belong to (e.g., ‘Textures/Car_Paint/’, ‘Textures/Tires/’). Use appropriate file formats: PNG for maps needing an alpha channel, TIFF for high bit-depth or layered maps, and JPEG for less critical maps where file size is a major concern. Choose resolutions wisely: 2K (2048×2048) or 4K (4096×4096) for hero assets and critical details, 1K or 512 for less important elements or LODs. This disciplined approach to texture organization is vital for complex automotive projects, ensuring that all necessary maps are readily accessible and correctly linked within your PBR shader networks.
For game development and real-time applications, optimizing texture usage is critical for performance. One powerful technique is texture atlasing, where multiple smaller textures are combined into a single, larger texture sheet (an “atlas”). For example, instead of having separate 512×512 textures for various small interior components (buttons, vents, dashboard details), you can pack them all into a single 2048×2048 atlas. The UVs for each component are then adjusted to point to their specific region within this larger atlas. The primary benefit of atlasing is a significant reduction in draw calls. Each time the GPU has to switch to a new material or texture, it incurs a draw call. By combining textures into an atlas, you reduce the number of texture switches, thereby improving rendering performance. This is particularly beneficial for complex models like cars, which can have numerous distinct materials and small parts. When performing texture atlasing, ensure there’s sufficient padding between individual textures within the atlas to prevent bleeding or sampling artifacts at the edges. This optimization is a cornerstone of creating efficient game assets and is heavily utilized in models designed for game engines.
The visual fidelity of your 3D car model heavily relies on its materials and shader networks. A well-organized material library and clean node-based shaders not only enhance realism but also streamline the texturing process, making it easier to manage complexity, iterate on designs, and ensure consistency across your project. Whether you’re working in 3ds Max, Blender, or Maya, a systematic approach to material creation is essential.
Modern 3D software utilizes node-based material editors, allowing artists to build complex shaders by connecting various inputs and outputs. While incredibly powerful, these networks can quickly become visually overwhelming if not managed properly. For PBR materials on a car model, which often involve multiple texture maps (Albedo, Normal, Roughness, Metalness, etc.), a clean nodal organization is paramount. Group related nodes together, use clear labels for each node (e.g., “Car Paint Color,” “Tire Tread Normal Map”), and route connections logically to avoid “spaghetti” networks. Utilize frames or grouping functions within your software’s node editor to encapsulate entire sections of a shader, such as all nodes related to the car paint or the headlight glass. This not only makes the shader easier to read and debug but also facilitates understanding for other artists working on the project. For instance, in Blender’s Shader Editor, you can use Node Groups to encapsulate complex logic into a single, cleaner node, making your material graph much more manageable and reusable. For detailed information on Blender’s node system, refer to the official Blender 4.4 documentation at Blender 4.4 Shader Nodes.
Reusability is a key principle of efficient 3D asset creation. Instead of creating a new material for every single instance of the same surface, leverage material instancing. For example, if all your car windows use the same glass material, create one master glass material and instance it across all glass objects. Any changes made to the master material will propagate to all its instances, saving immense time and ensuring visual consistency. This is particularly important for models with numerous repeating elements, like interior buttons, bolts, or small trim pieces. Maintain a centralized material library or collection of master materials within your project. This library should contain all the standard materials used across your car model (e.g., various paint finishes, different types of chrome, tire rubber, interior fabrics, plastics). Such a library acts as a single source of truth, making it easy to apply consistent aesthetics and quickly swap materials if design requirements change. When sourcing models from marketplaces such as 88cars3d.com, you often encounter well-structured material setups that employ these instancing principles, making integration into your projects seamless.
Car models frequently feature decals, logos, warning labels, and other graphic overlays that add a layer of realism and detail. Integrating these effectively into your material setup without creating additional complex geometry or compromising UV space requires careful planning. One common approach is to use a separate texture set for decals, often with an alpha channel, which can then be layered over the base material using a mix shader or decal projection techniques. This allows for flexible placement and easy modification of decals without affecting the underlying material. Another method involves utilizing a second UV channel specifically for decals, which can be unwrapped to avoid distortion and provide dedicated space for these graphic elements. In game engines, decals are often implemented as deferred decals, projected onto the surface at render time, offering highly efficient placement and reusability. Regardless of the method, ensure that your decal textures are properly named and organized within your texture directories, making them easy to locate and apply.
An organized 3D scene is the backbone of an efficient rendering workflow. For automotive rendering, where complex lighting, detailed environments, and multiple camera angles are common, meticulous scene management is crucial. This section focuses on how to keep your rendering scene clean, efficient, and ready for high-quality output.
Just as a carpenter organizes tools, a 3D artist must organize scene elements. Utilizing layers, collections, or display layers within your 3D software (e.g., 3ds Max Layers, Blender Collections, Maya Display Layers) is fundamental. Create distinct layers for different categories of objects: ‘Car_Body’, ‘Wheels’, ‘Interior’, ‘Lighting_Rig’, ‘Cameras’, ‘Environment’, ‘Render_Planes’. This allows you to quickly isolate, hide, or lock specific parts of your scene, reducing clutter and preventing accidental modifications. For example, when focusing on interior details, you can temporarily hide the exterior body panels. When setting up a render, you can easily toggle the visibility of different lighting setups or environment models. This hierarchical organization not only improves navigation within complex scenes but also significantly speeds up selection and manipulation tasks, especially beneficial when dealing with the high polygon counts typical of professional 3D car models. Furthermore, it allows for targeted rendering of specific components, which can be useful for troubleshooting or generating render passes.
For automotive rendering, you’ll typically have multiple camera angles (beauty shots, detail shots, interior views) and intricate lighting setups to achieve photorealistic results. Organize your cameras and lights with the same rigor applied to your models. Name cameras descriptively (e.g., Cam_Front_Beauty, Cam_Interior_Dashboard, Cam_Side_Action). Group related lights under a parent null or a dedicated layer/collection. For instance, all lights comprising your ‘Studio_Lighting_Rig_01’ should be grouped together, allowing you to easily move, scale, or toggle the entire setup. This is particularly important when experimenting with different lighting scenarios, such as outdoor HDRIs versus studio setups. Maintain a consistent naming convention for lights, specifying their type and purpose (e.g., Light_Key_Front_Softbox, Light_Fill_Rear_Panel, Light_HDR_Environment). A well-organized lighting and camera setup enables rapid iteration and consistent render output, crucial for client presentations and marketing materials.
Professional automotive rendering often involves rendering multiple “passes” or “elements” to allow for greater flexibility in post-production and compositing. These include passes for diffuse color, reflections, refractions, shadows, ambient occlusion, Z-depth, and more. Organize your render output by creating dedicated subfolders for each render job, and within that, for each render pass (e.g., Renders/Car_Shot_01/Beauty, Renders/Car_Shot_01/Albedo, Renders/Car_Shot_01/Reflections). Name your output files systematically, including the render pass, frame number, and version (e.g., Car_Shot_01_Beauty_0001_V01.exr). Using OpenEXR (.exr) files is highly recommended for render passes, as they support high dynamic range, multi-channel data, and often include alpha channels, providing maximum flexibility in compositing software like Adobe Photoshop, Nuke, or Fusion. This meticulous output management is essential for advanced post-processing, allowing artists to fine-tune every aspect of the final image, correct errors, and add special effects without re-rendering the entire scene.
The journey of a 3D car model doesn’t end with its creation and rendering; it often needs to be exported and prepared for diverse platforms, each with its own technical requirements. Whether targeting game engines, AR/VR experiences, or 3D printing, proper preparation and understanding of file formats are critical to ensure compatibility, performance, and visual integrity. For professional assets from platforms like 88cars3d.com, this final stage is as important as the initial modeling.
Choosing the right file format for export depends entirely on the destination platform. Each format has its strengths and limitations:
Always perform test exports and imports to verify that all data (geometry, UVs, textures, materials) transfers correctly. Pay close attention to scale, pivot points, and axis orientation during export.
Preparing 3D car models for game engines like Unity or Unreal Engine involves specific optimization steps:
These steps are vital for creating high-performance, visually appealing game assets that integrate smoothly into development pipelines.
For AR/VR applications, optimization is key. Models typically need to be very low polygon count (e.g., 20,000-50,000 triangles for an entire car) to maintain high frame rates on mobile devices. Use highly optimized textures, often smaller resolutions, and rely heavily on PBR materials. Ensure minimal draw calls through atlasing. Real-world scale is also critical for believable AR experiences. For 3D printing, the requirements shift dramatically:
Understanding these unique requirements for each output platform ensures your meticulously organized 3D car models can be successfully deployed across a wide range of applications, showcasing their full potential.
The journey through the best practices for organizing 3D model files, particularly for complex automotive assets, underscores a fundamental truth in the world of 3D artistry: organization is not a mere suggestion, but a powerful catalyst for efficiency, collaboration, and ultimately, success. From the initial imposition of disciplined naming conventions and logical folder structures to the meticulous management of topology, UVs, PBR materials, and intricate scene elements, every step contributes to a streamlined workflow and superior final product. We’ve explored how clean edge flow and object hierarchies are vital for stunning automotive renders, and how polygon optimization and LODs are indispensable for robust game assets. The nuanced art of UV mapping and PBR texture organization ensures visual fidelity, while intelligent material libraries and nodal setups enhance reusability and clarity. Finally, understanding the specific export requirements for platforms ranging from game engines to AR/VR experiences and 3D printing ensures your 3D car models reach their full potential across diverse applications.
Implementing these practices will transform your workflow, reduce frustrating errors, and free up valuable time that can be reinvested into creative endeavors. A well-organized project is easier to hand off, simpler to update, and more resilient to future changes. It’s a testament to professional integrity and a cornerstone of high-quality asset creation. Whether you’re designing the next generation of virtual vehicles or sourcing production-ready models from reputable platforms like 88cars3d.com, embrace these principles. Make organization an ingrained habit, and watch as your productivity soars and your 3D car models achieve an unparalleled level of polish and professionalism. Start today by reviewing your current projects and identifying areas where these best practices can be applied. The effort invested now will pay dividends throughout your entire 3D modeling career.

Meta Description:
Texture: Yes
Material: Yes
Download the Porsche Cayenne 3D Model featuring realistic exterior styling and detailed interior design. Includes .blend, .fbx, .obj, .glb, .stl, .ply, .unreal, and .max formats for rendering, simulation, AR VR, and game development.
Price: $19.9
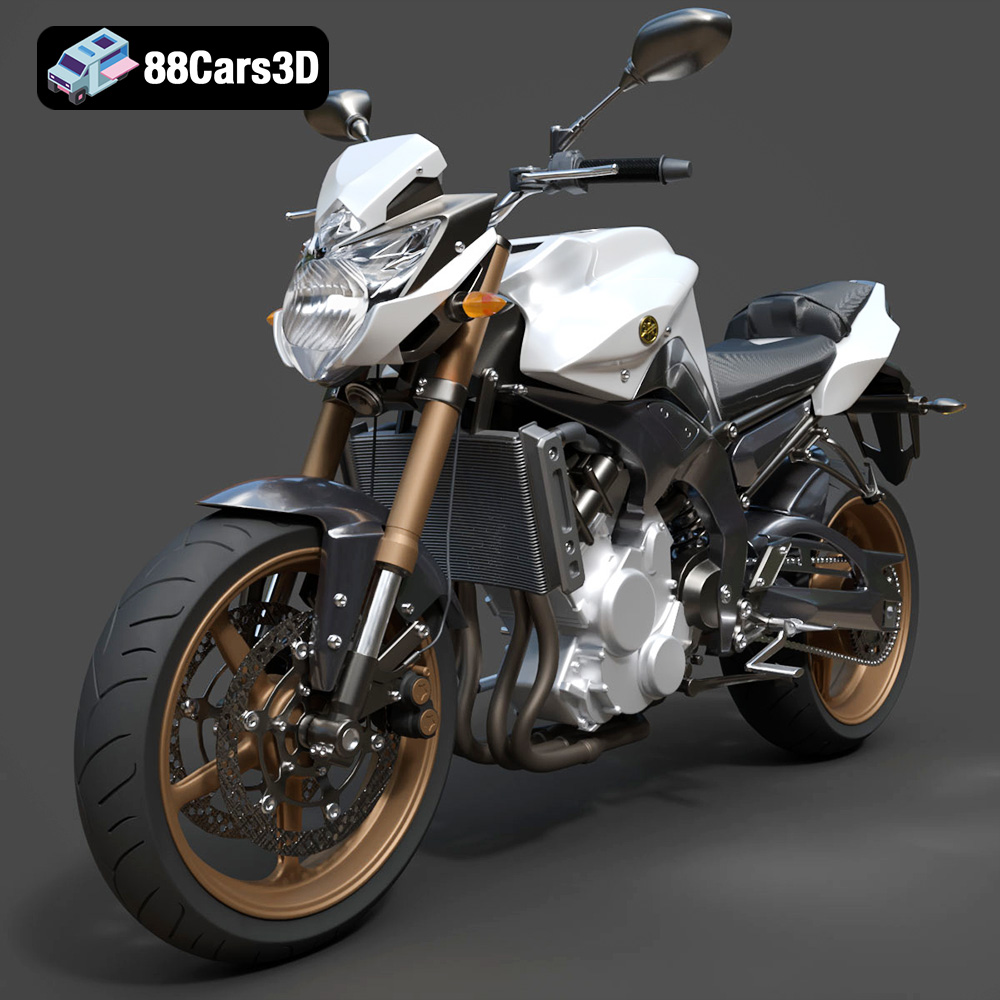
Texture: Yes
Material: Yes
Download the Yamaha FZ8 2011 3D Model featuring clean geometry, realistic detailing, and a fully modeled interior. Includes .blend, .fbx, .obj, .glb, .stl, .ply, .unreal, and .max formats for rendering, simulation, and game development.
Price: $19.99
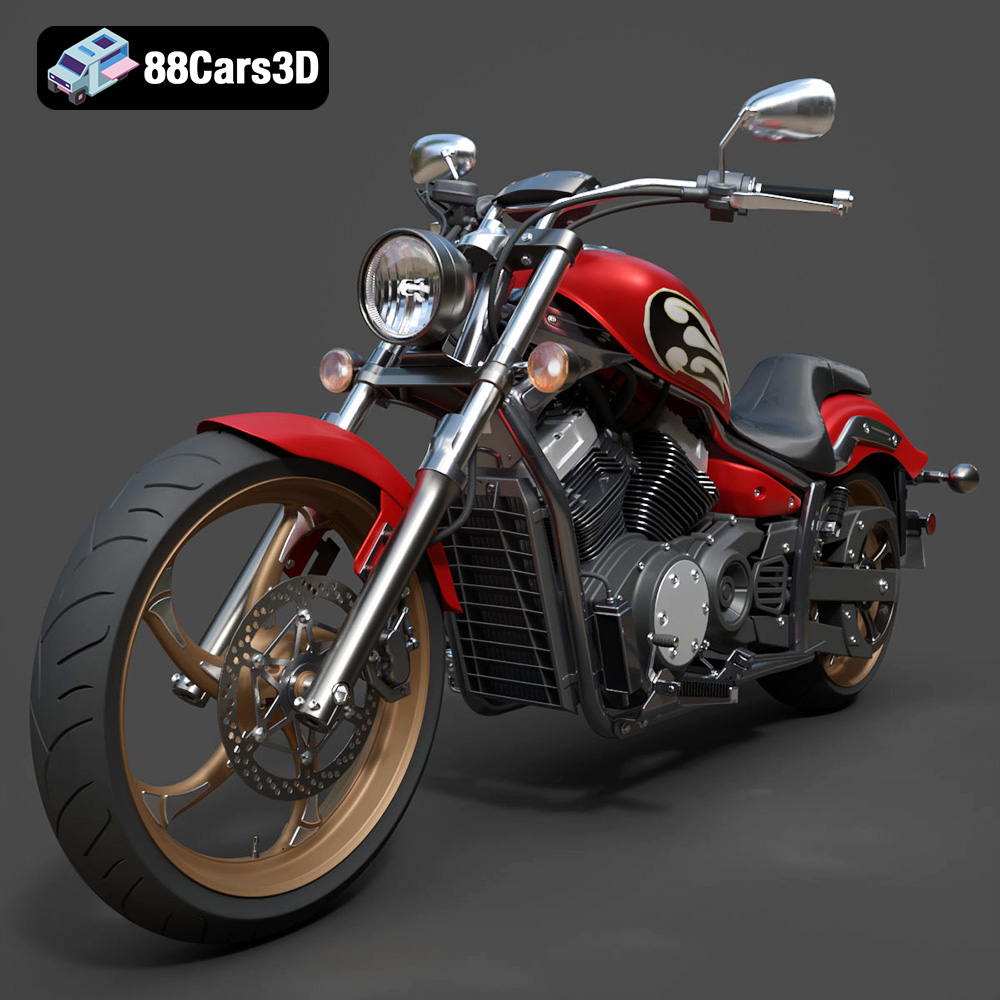
Texture: Yes
Material: Yes
Download the Yamaha Stryker 2012 3D Model featuring clean geometry, realistic detailing, and a fully modeled interior. Includes .blend, .fbx, .obj, .glb, .stl, .ply, .unreal, and .max formats for rendering, simulation, and game development.
Price: $19.99
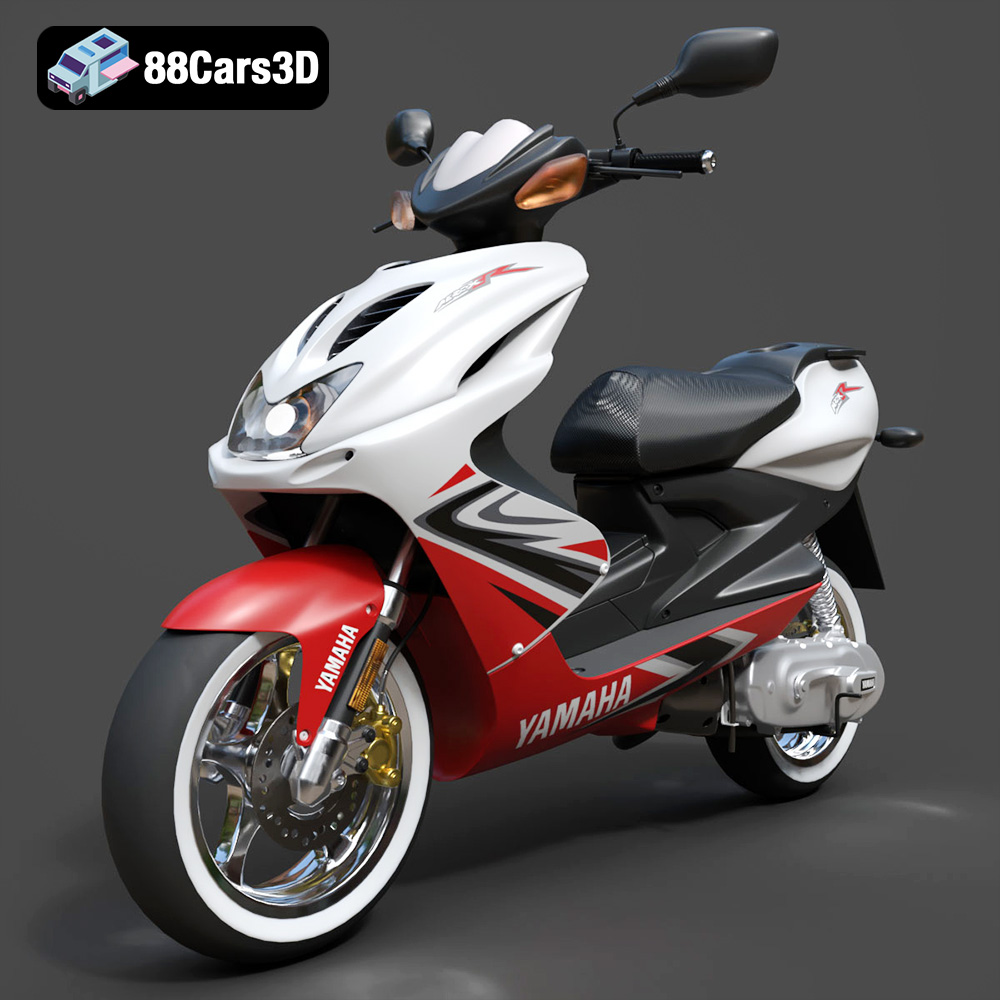
Texture: Yes
Material: Yes
Download the Yamaha Aerox R-002 2024 3D Model featuring clean geometry, realistic detailing, and a fully modeled interior. Includes .blend, .fbx, .obj, .glb, .stl, .ply, .unreal, and .max formats for rendering, simulation, and game development.
Price: $19.99
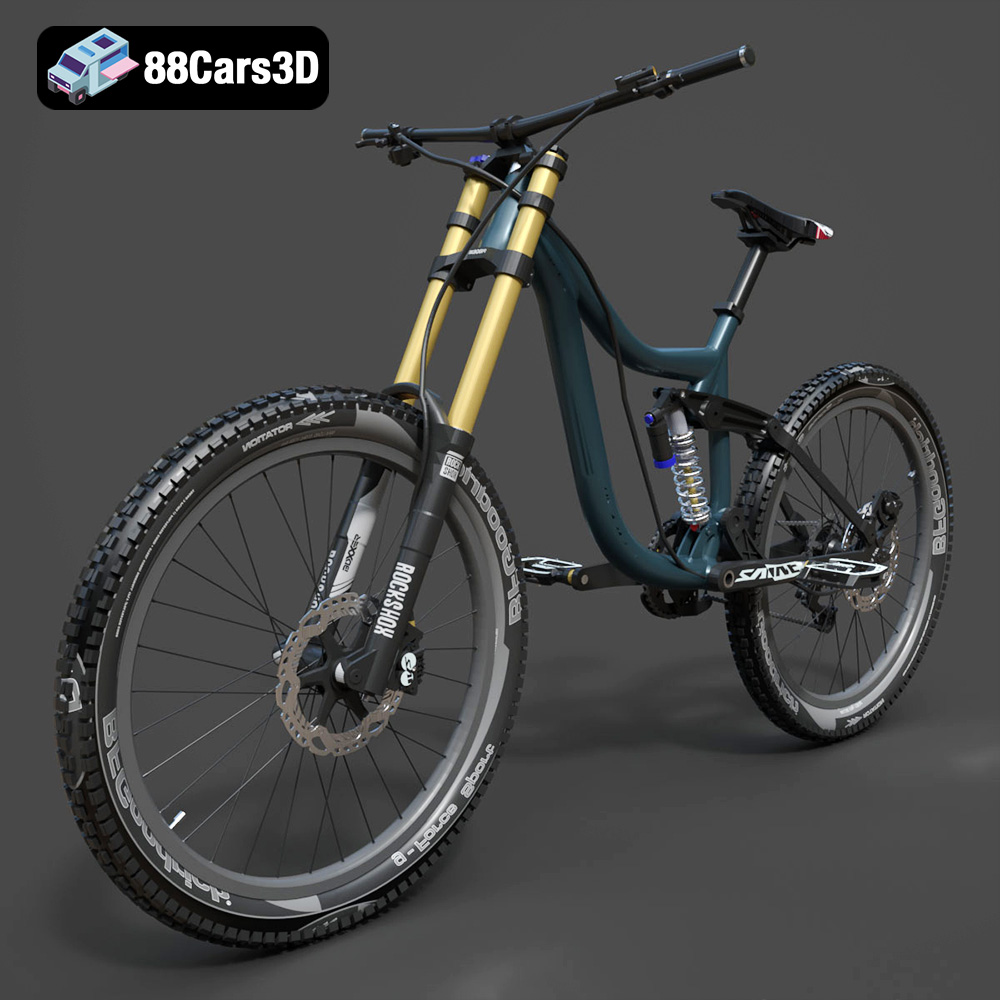
Texture: Yes
Material: Yes
Download the Mototsikly Downhill Bike-002 3D Model featuring clean geometry, realistic detailing, and precise mechanical components. Includes .blend, .fbx, .obj, .glb, .stl, .ply, .unreal, and .max formats for rendering, simulation, and game development.
Price: $19.99
Texture: Yes
Material: Yes
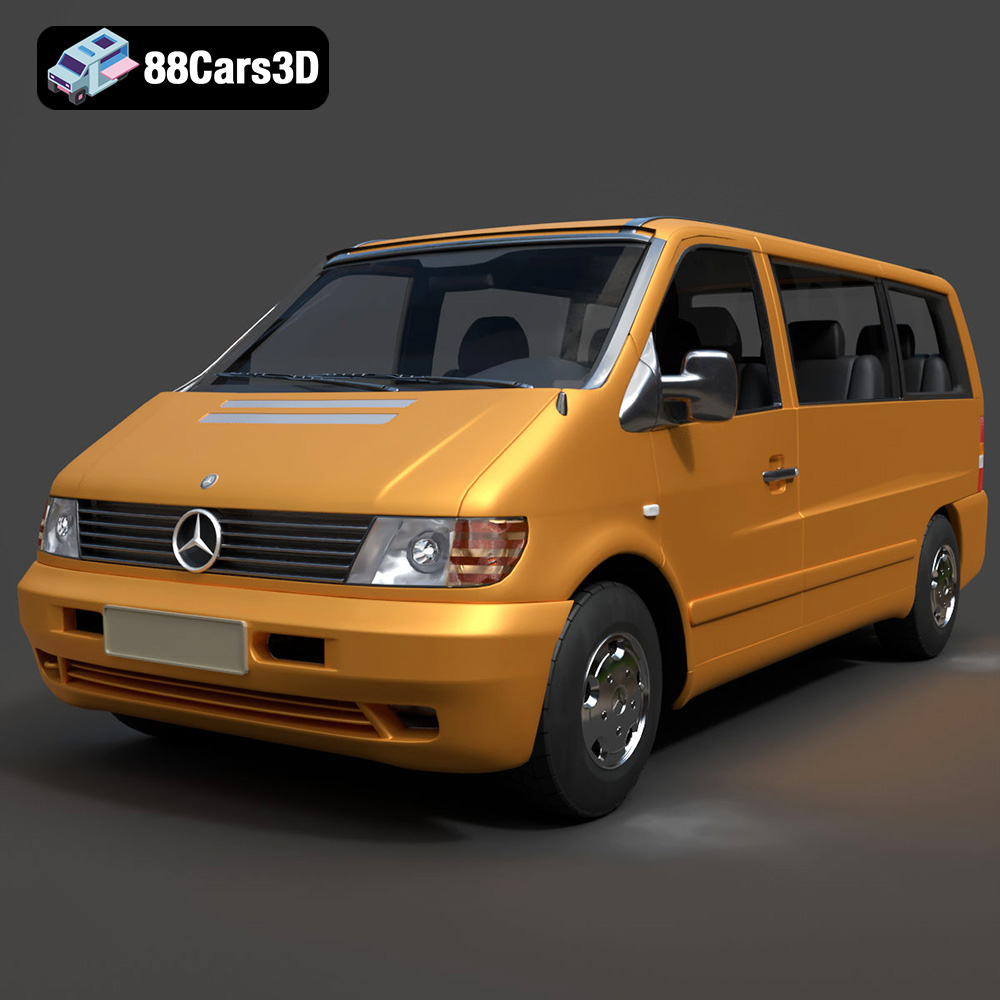
Download the Mercedes-Benz Vito Passenger Van 3D Model featuring clean geometry, realistic detailing, and a fully modeled interior. Includes .blend, .fbx, .obj, .glb, .stl, .ply, .unreal, and .max formats for rendering, simulation, and game development.
Price: $19.99
Texture: Yes
Material: Yes
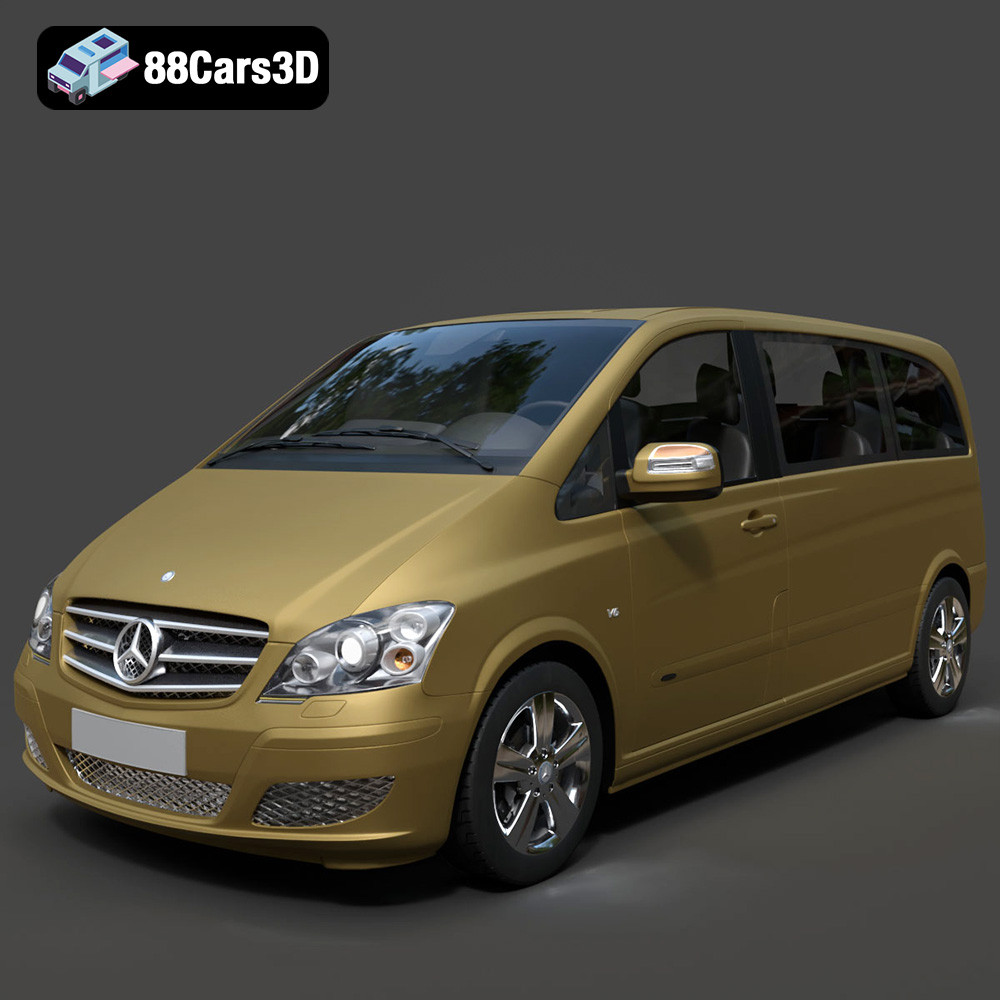
Download the Mercedes-Benz Viano 2010 3D Model featuring clean geometry, realistic detailing, and a fully modeled interior. Includes .blend, .fbx, .obj, .glb, .stl, .ply, .unreal, and .max formats for rendering, simulation, and game development.
Price: $19.99

Texture: Yes
Material: Yes
Download the Emt Avtobus 007 3D Model featuring clean geometry, realistic detailing, and a fully modeled interior. Includes .blend, .fbx, .obj, .glb, .stl, .ply, .unreal, and .max formats for rendering, simulation, and game development.
Price: $19.99
Texture: Yes
Material: Yes
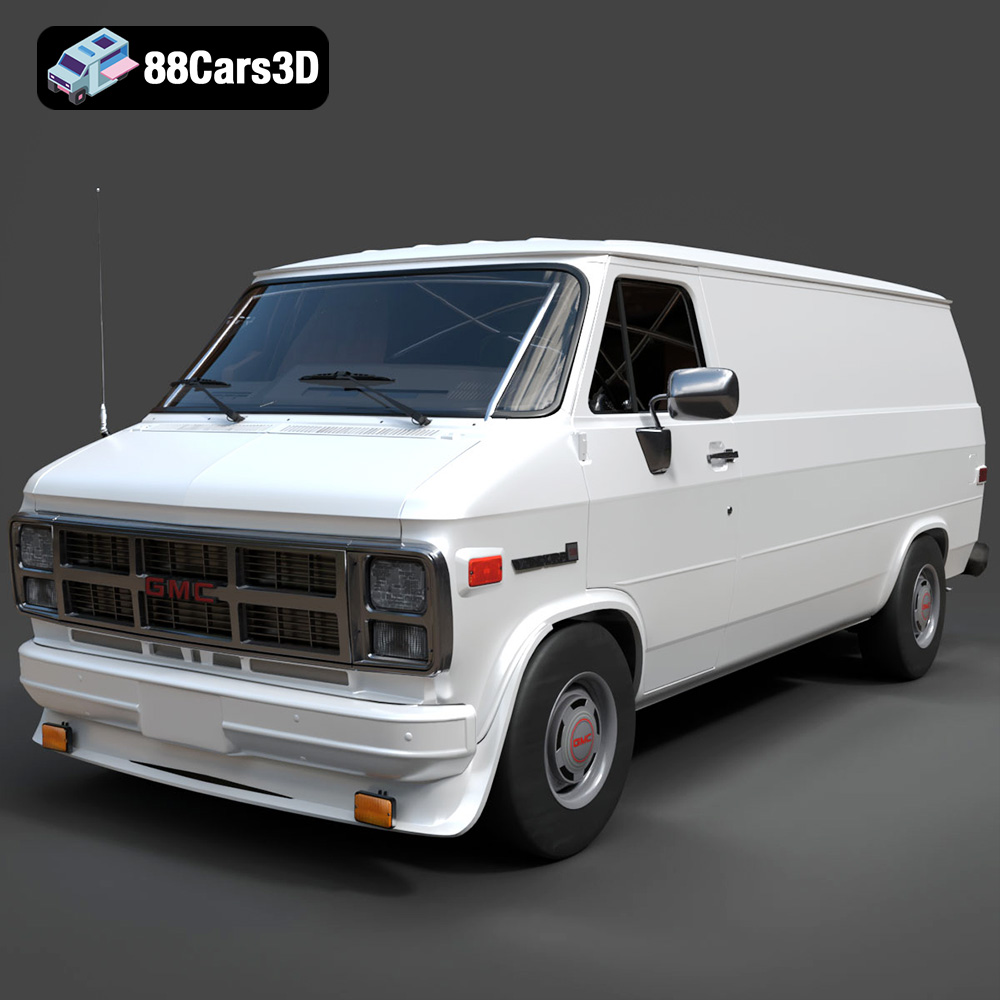
Download the GMC Vandura G-1500 1983 3D Model featuring clean geometry, realistic detailing, and a fully modeled interior. Includes .blend, .fbx, .obj, .glb, .stl, .ply, .unreal, and .max formats for rendering, simulation, and game development.
Price: $19.99
Texture: Yes
Material: Yes
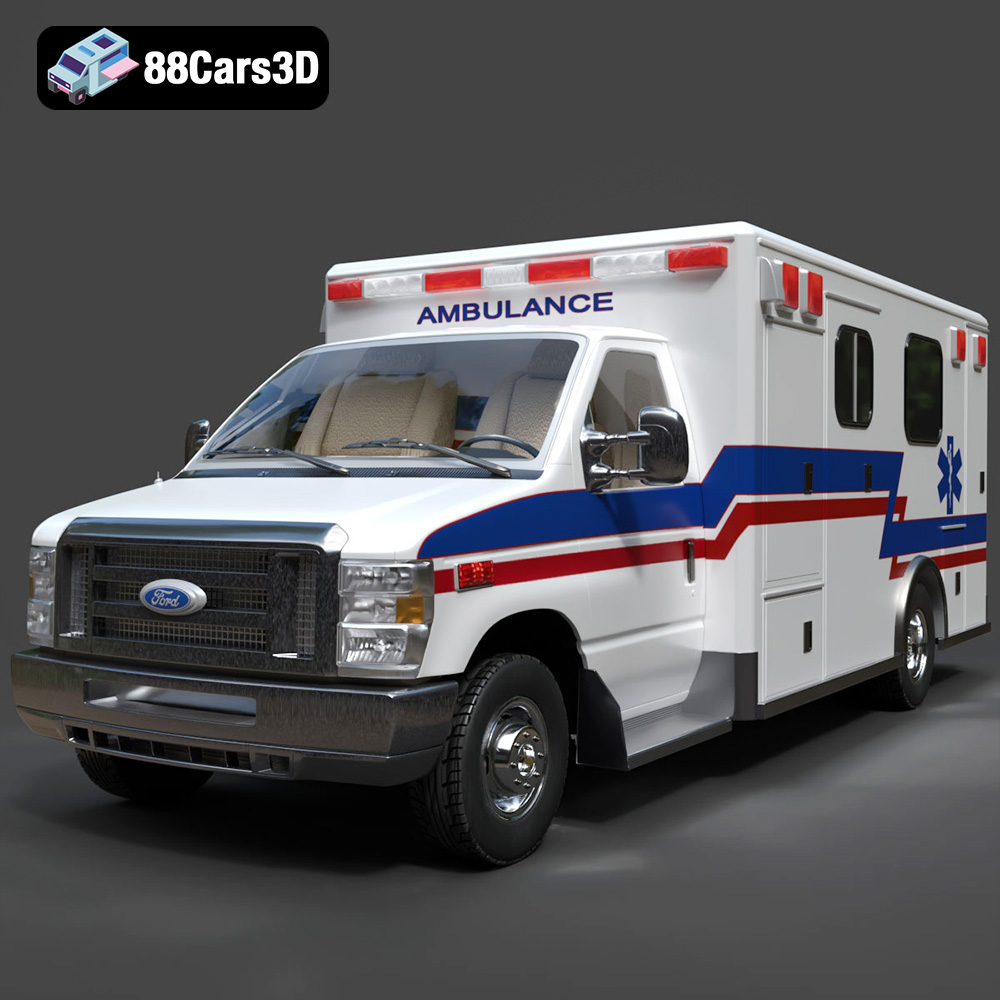
Download the Ford E-450 Ambulance 3D Model featuring clean geometry, realistic detailing, and a fully modeled interior. Includes .blend, .fbx, .obj, .glb, .stl, .ply, .unreal, and .max formats for rendering, simulation, and game development.
Price: $19.99

