Get 50% OFF All Premium 3D & STL Models!

“`html
3D printing, particularly for intricate models like the printable car models available on platforms like 88cars3d.com, demands a nuanced understanding of support structures. While automated support generation in slicing software has become increasingly sophisticated, manually adding supports remains a crucial skill for achieving optimal print quality and stability. This comprehensive guide will delve into the intricacies of manual support creation, covering everything from assessing model geometry to utilizing specific software tools and troubleshooting common issues. We’ll explore techniques that minimize material waste, improve surface finish, and guarantee successful prints, especially for demanding models with overhangs, bridges, and delicate features. Whether you’re using FDM or resin printing, mastering manual supports will unlock a new level of precision and control in your 3D printing endeavors.
In this article, you’ll learn:
Automatic support generation algorithms, while convenient, often fall short when dealing with complex geometries. They might over-support certain areas, leading to excessive material usage and difficult removal, or under-support others, resulting in print failures. Manual supports offer the advantage of precisely targeting areas that truly need reinforcement, leading to cleaner prints and reduced post-processing effort. For detailed car models from 88cars3d.com, this level of control is particularly vital, preserving the intricate details of the design.
The first step in adding manual supports is to meticulously examine your STL file for overhangs and bridges. Overhangs are sections of the model that extend outward without any support from below at a certain angle (usually anything over 45 degrees). Bridges are horizontal spans between two points. These features are prone to sagging or collapsing during printing if not adequately supported. Examine the model in your slicer software, rotating it to view it from all angles. Pay close attention to areas like spoilers, mirrors, wheel wells, and other protruding elements.
Beyond obvious overhangs, consider the overall structural integrity of the model. Thin walls, delicate features, and sharp corners can also benefit from additional support, even if they don’t strictly qualify as overhangs. These areas are susceptible to warping or detachment from the build plate. When downloading models from marketplaces such as 88cars3d.com, inspect the mesh closely to identify potential weak points. Software like Meshmixer offers tools for analyzing mesh curvature and identifying areas that might require reinforcement.
FDM (Fused Deposition Modeling) printing presents unique challenges when it comes to support structures. The supports are typically printed with the same material as the model, making removal more difficult and potentially leaving behind scarring. Therefore, strategic placement and optimization of supports are crucial. Choosing the correct support material can also significantly affect print quality and ease of removal. Breakaway supports are available, but require a dual-extrusion printer.
The density of your support structures directly impacts their strength and ease of removal. A higher density provides more support but also increases material usage and makes removal more challenging. A lower density is easier to remove but may not provide sufficient support. Experiment with different infill patterns for your supports, such as lines, triangles, or honeycomb. A sparse infill pattern can significantly reduce material consumption without compromising structural integrity. A good starting point is to set the support infill to 15-20% and adjust based on the specific model.
Strategic placement of supports can dramatically simplify the removal process. Position supports in areas that are less visible or easier to access. Avoid placing supports directly on critical surfaces, as they can leave marks. Use “support blockers” in your slicer software to prevent supports from generating in unwanted areas. Consider using “support interface” layers, which create a weaker bond between the support and the model, making removal easier. Also consider the angle of the supports. Steeper angles require less material but may not provide adequate support for certain overhangs. A 45-degree angle is generally a good compromise.
Resin printing, also known as SLA or DLP, offers the advantage of finer detail and smoother surfaces compared to FDM. However, it also requires different support strategies. Resin prints are often more fragile before curing, and the suction forces during the printing process can cause them to detach from the build plate if not adequately supported. The supports themselves are also more brittle and can break during removal if not carefully placed.
One of the most effective strategies for resin printing is to angle the model on the build plate. This reduces the cross-sectional area of each layer, minimizing the suction forces and the number of supports required. Experiment with different angles to find the optimal orientation. A 45-degree angle is often a good starting point. Consider the overall shape of the model and try to orient it in a way that minimizes the number of overhangs and maximizes the surface area in contact with the build plate.
Resin slicing software typically offers a variety of support types, including light, medium, and heavy supports. Light supports are ideal for delicate features and areas that require minimal reinforcement. Heavy supports are necessary for large overhangs and areas that are subject to high stress. Adjust the size and density of the supports based on the specific needs of each area. Use thinner supports near delicate details to minimize scarring. Experiment with different support tip diameters to optimize the contact area with the model. A smaller tip diameter will be easier to remove but may not provide sufficient support for heavy overhangs.
Meshmixer is a free and powerful software tool that allows for precise manual support creation. Its intuitive interface and advanced features make it an excellent choice for both beginners and experienced users. Here’s a step-by-step guide on how to add manual supports in Meshmixer:
First, import your STL file into Meshmixer. Once the model is loaded, navigate to the “Analysis” tab and select “Overhangs.” Meshmixer will automatically highlight areas that require support in red. Adjust the overhang angle threshold to fine-tune the detection sensitivity. Experiment with different angles to see how it affects the highlighted areas. This step provides a visual guide for identifying areas that need manual support.
Next, go to the “Support Generator” tool. Disable “Auto Generate Supports.” Select “Manual Edit” to start placing supports. You can choose different support shapes, such as trees or columns. Adjust the support density, thickness, and branch angle to customize the support structures. Position the supports strategically, focusing on the areas identified during the overhang analysis. Use the “Add Support” and “Erase Support” tools to precisely control the placement of each support. Pay attention to the contact points between the supports and the model, ensuring they are strong enough to provide adequate support but also easy to remove. Meshmixer also allows you to create custom support profiles, which can be saved and reused for future projects.
Blender, a free and open-source 3D creation suite, offers powerful tools for manual support creation, particularly for complex or organic shapes. While it has a steeper learning curve than Meshmixer, its versatility and advanced features make it a valuable asset for experienced 3D printing enthusiasts. Using Blender gives you fine-grained control over the shape and placement of your supports.
Import your STL file into Blender. Ensure the model is properly scaled and oriented. Switch to “Edit Mode” by selecting the model and pressing “Tab.” This allows you to directly manipulate the mesh. Consider using the “Sculpt Mode” for organic support structures. You can use sculpting brushes to shape the supports directly on the model.
Create a new mesh object to serve as your support structure. You can start with a simple cube or cylinder. Use Blender’s modeling tools, such as extrude, loop cut, and bevel, to shape the support to your desired form. Position the support under the overhang or bridge that needs reinforcement. Use Blender’s “Snap” tools to ensure the support is precisely aligned with the model. Apply modifiers, such as “Subdivision Surface” and “Smooth,” to refine the shape of the support. Join the support object with the main model object using Ctrl + J. Use the Boolean modifier to join the supports to the car body and then separate them in edit mode for printing.
Even with careful planning and execution, support-related issues can arise during 3D printing. Here are some common problems and their solutions:
If your support structures collapse during printing, it’s likely due to insufficient density or inadequate adhesion to the build plate. Increase the support density and ensure your build plate is properly leveled and clean. Consider using a brim or raft to improve bed adhesion. For resin printing, increase the exposure time for the first few layers to ensure a strong bond to the build plate. Make sure you have proper ventilation to prevent any print failures. Consider increasing the thickness of the support structures.
If you’re struggling to remove supports without damaging the model, try using a heat gun or hair dryer to soften the support material. Carefully cut the supports with a sharp blade or hobby knife, working slowly and methodically. Consider using specialized support removal tools, such as pliers or cutters. For resin prints, soaking the model in warm water can make support removal easier. When designing the supports, consider using a “support interface” layer to create a weaker bond between the support and the model.
Support structures can sometimes leave behind surface imperfections on the model. Minimize this issue by carefully positioning supports in less visible areas. Use thinner supports and smaller contact points. After removing the supports, sand the affected areas with fine-grit sandpaper to smooth out any imperfections. Consider using a primer and paint to further conceal any blemishes. Properly calibrated retraction settings can also help reduce stringing and improve surface quality.
Mastering manual support creation is an essential skill for any 3D printing enthusiast, especially when working with intricate models like the printable car models available on 88cars3d.com. By understanding the principles of support generation, utilizing the right software tools, and troubleshooting common issues, you can achieve cleaner, more stable prints and unlock the full potential of your 3D printer. Remember to carefully analyze your model for overhangs and weak points, choose the appropriate support strategy for your printing method (FDM or resin), and experiment with different settings to optimize your results. With practice and patience, you’ll be able to create stunning 3D printed car models with exceptional detail and structural integrity.
Next steps:
“`
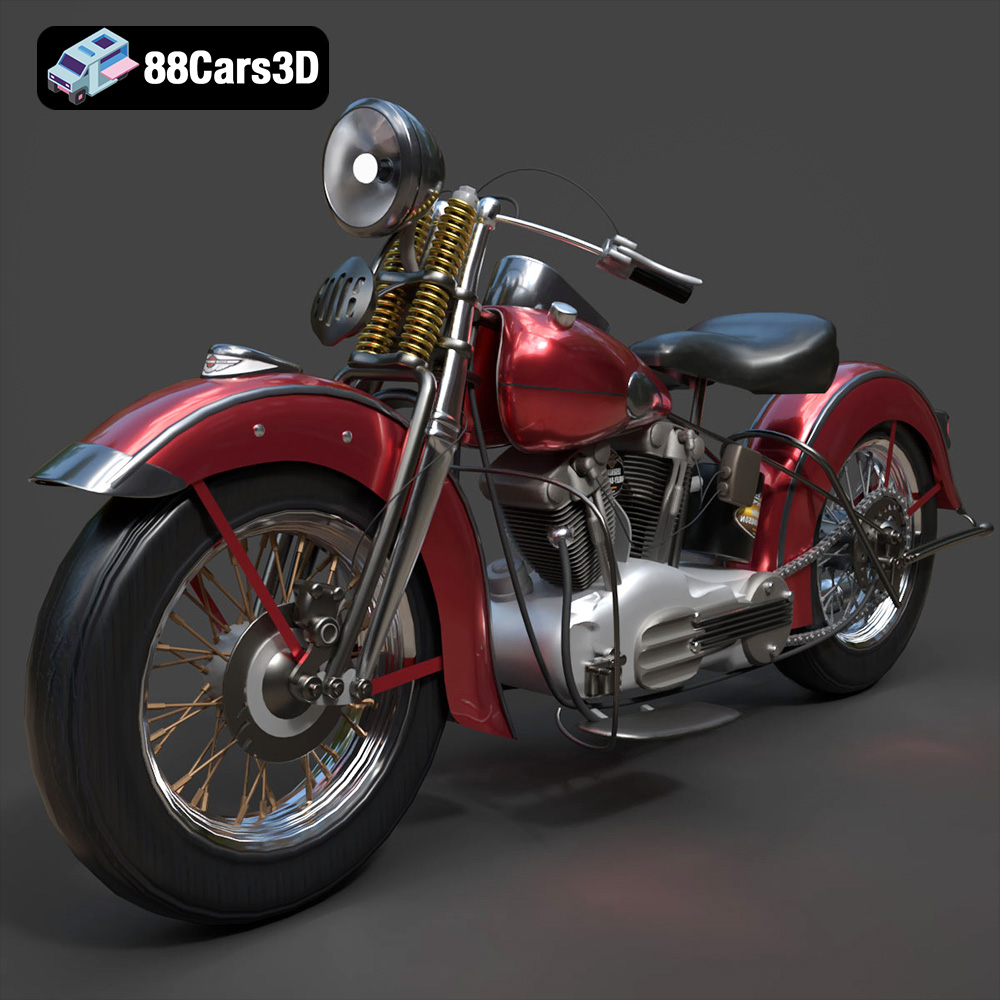
Texture: Yes
Material: Yes
Download the Harley Davidson F 1946 3D Model featuring clean geometry, realistic detailing, and a fully modeled interior. Includes .blend, .fbx, .obj, .glb, .stl, .ply, .unreal, and .max formats for rendering, simulation, and game development.
Price: $19.99
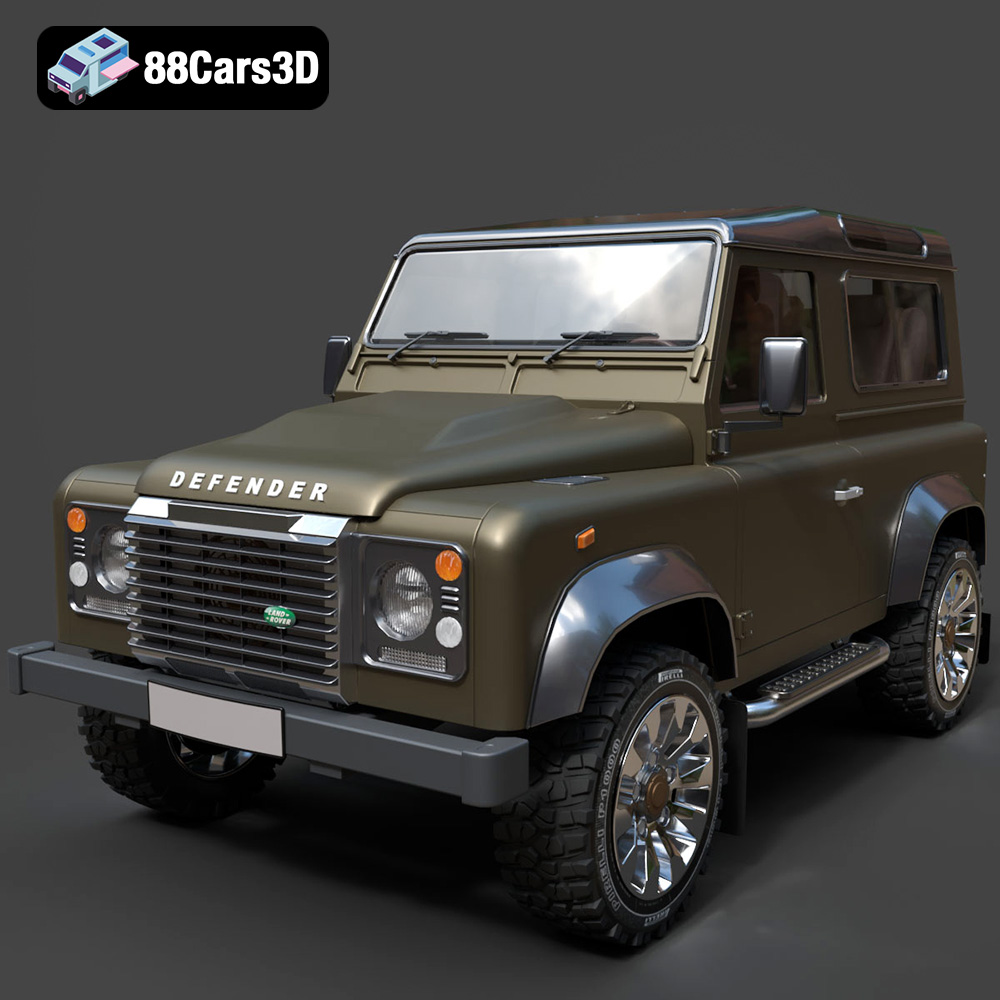
Texture: Yes
Material: Yes
Download the Land Rover Defender Works V8 3D Model featuring clean geometry, realistic detailing, and a fully modeled interior. Includes .blend, .fbx, .obj, .glb, .stl, .ply, .unreal, and .max formats for rendering, simulation, and game development.
Price: $19.99
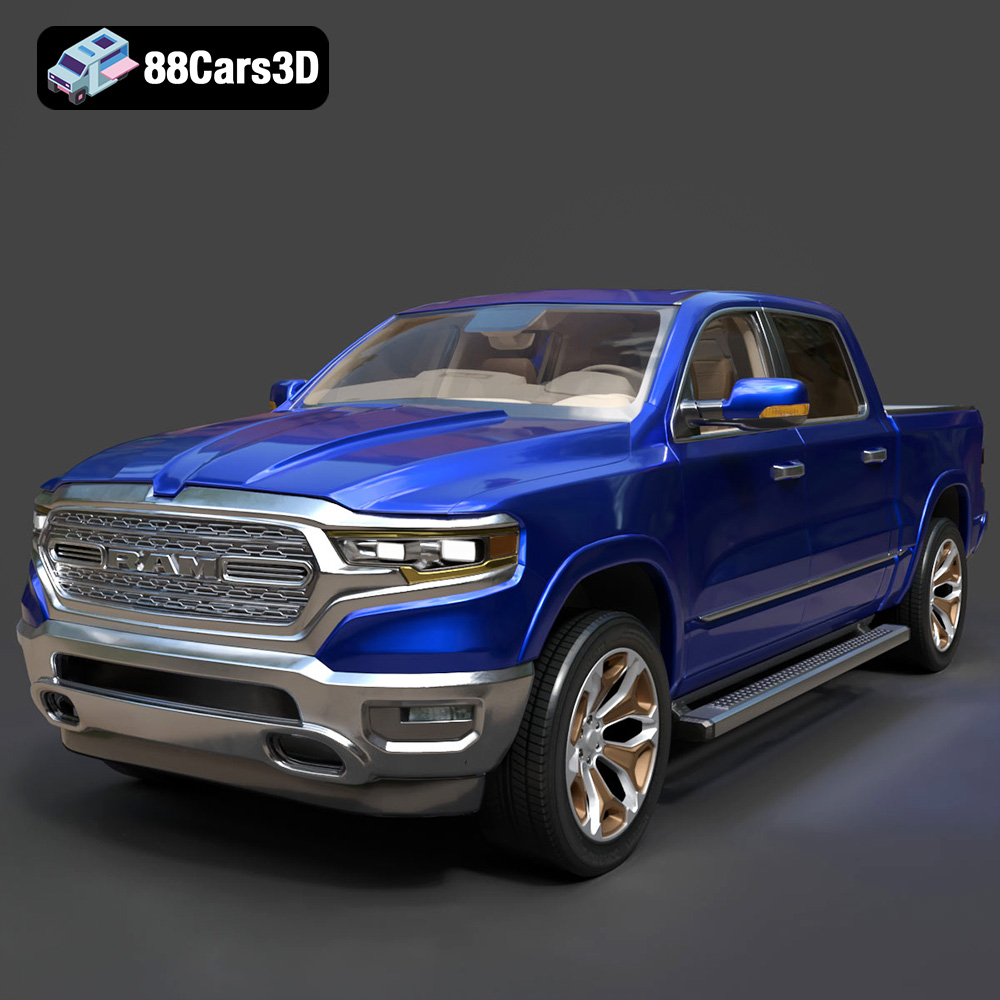
Texture: Yes
Material: Yes
Download the Dodge RAM 2019 3D Model featuring clean geometry, realistic detailing, and a fully modeled interior. Includes .blend, .fbx, .obj, .glb, .stl, .ply, .unreal, and .max formats for rendering, simulation, and game development.
Price: $19.99
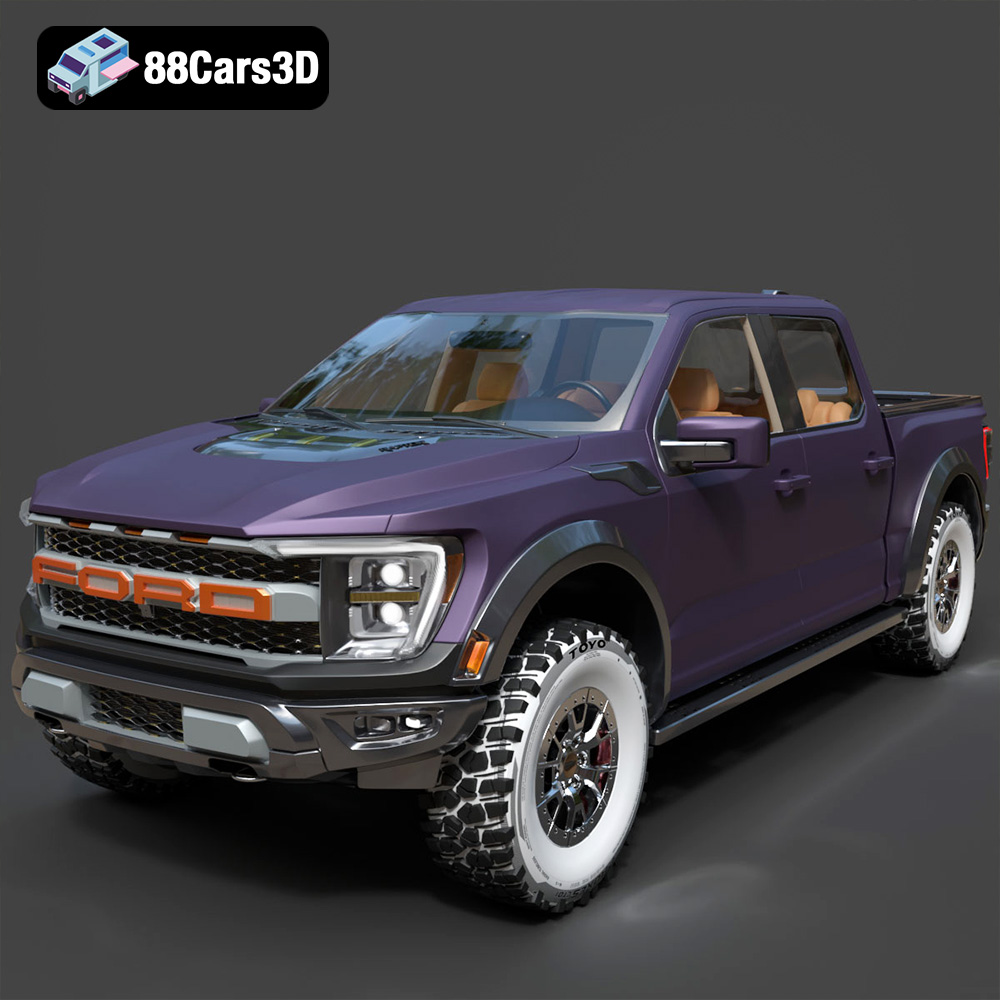
Texture: Yes | Material: Yes Download the ultra-high-detail Ford F-150 Raptor 2021 3D Model (8.73M Triangles). Features uncompromised widebody styling, fully modeled Fox Live Valve suspension, 37-inch tires, and interior. Perfect for premium VFX, cinematic rendering, and ArchViz. Includes .blend, .fbx, .obj, .glb, .stl, and .max formats.
Price: $29.99
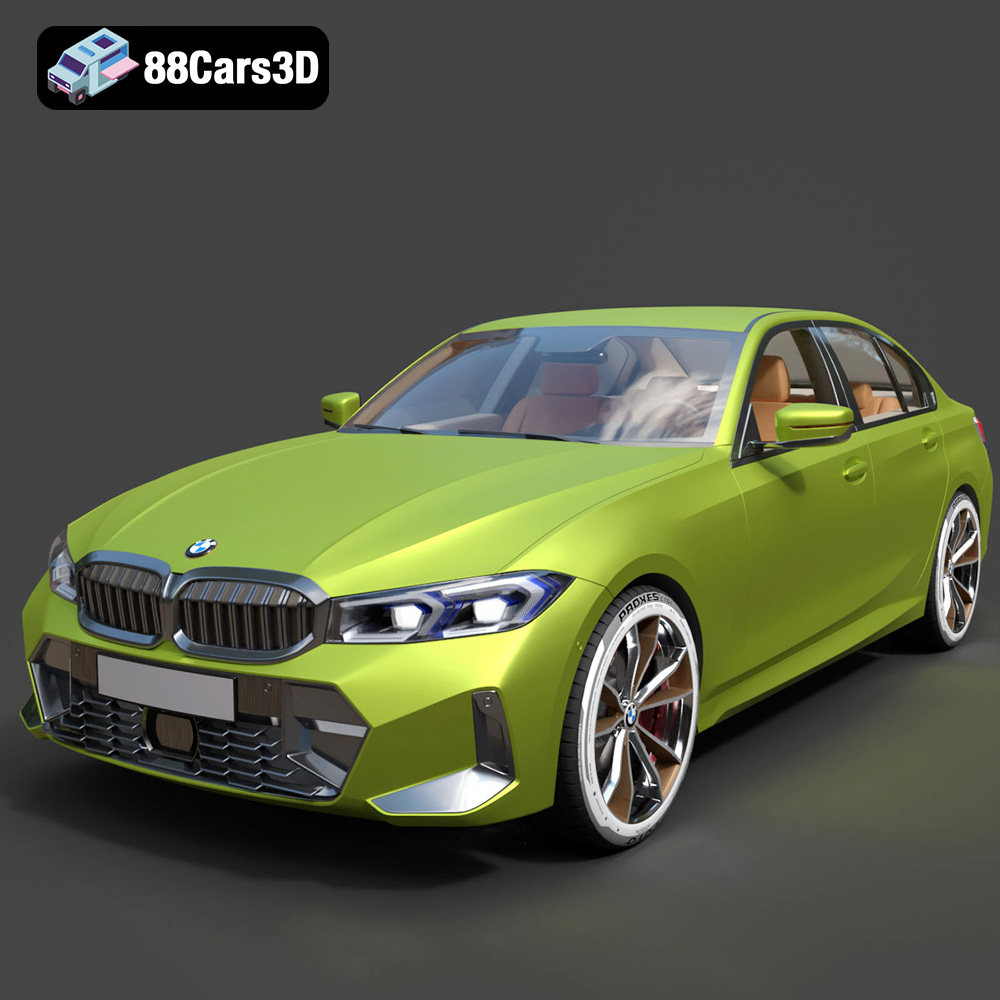
Texture: Yes | Material: Yes Download the ultra-high-detail BMW 3 Series Limousine (2022) 3D Model (4.16M Triangles). Features the modernized G20 LCI exterior, the all-new BMW Curved Display interior, and ultra-dense topology. Perfect for ArchViz, VFX, and cinematic rendering. Includes .blend, .fbx, .obj, .glb, .stl, and .max formats.
Price: $19.99
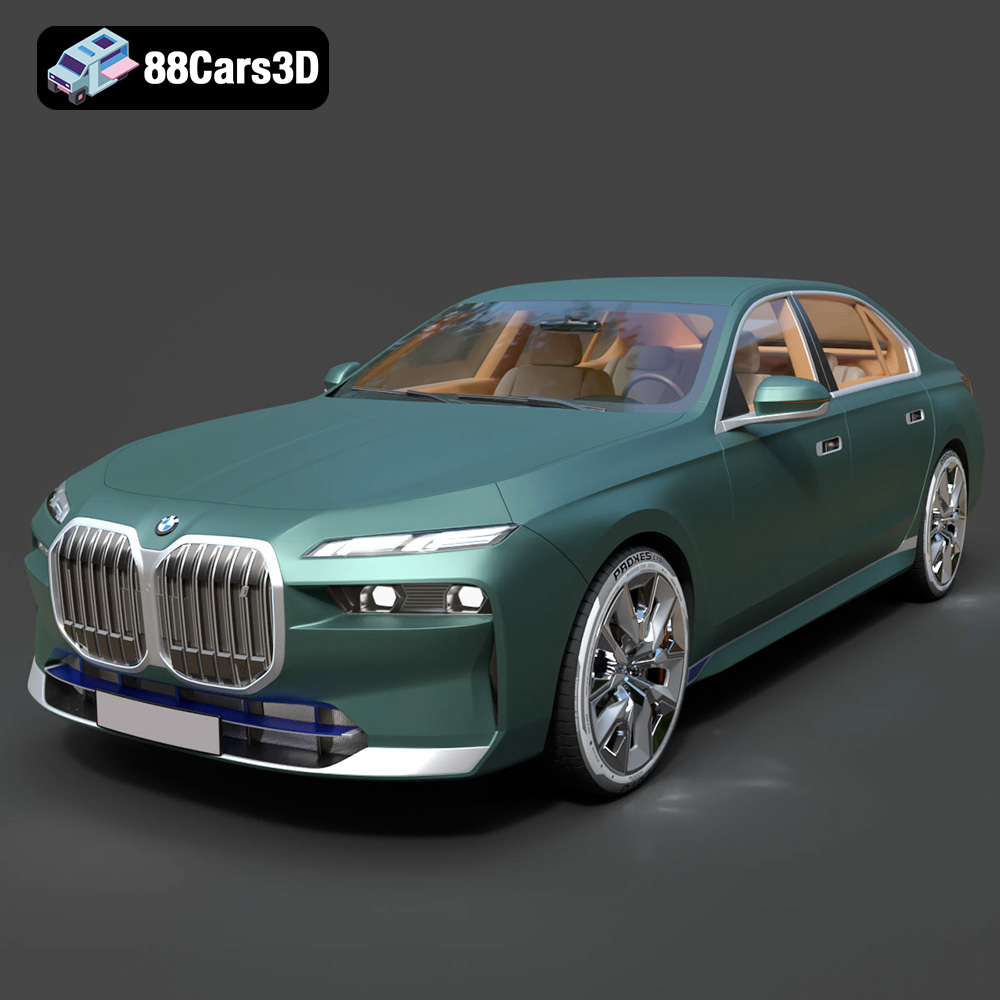
Texture: Yes | Material: Yes Download the ultra-high-detail BMW i7 (2023) 3D Model (4.14M Triangles). Features the illuminated kidney grille, split crystal headlights, fully modeled Theatre Screen interior, and monolithic luxury styling. Perfect for ArchViz, VFX, and cinematic rendering. Includes .blend, .fbx, .obj, .glb, .stl, and .max formats.
Price: $19.99
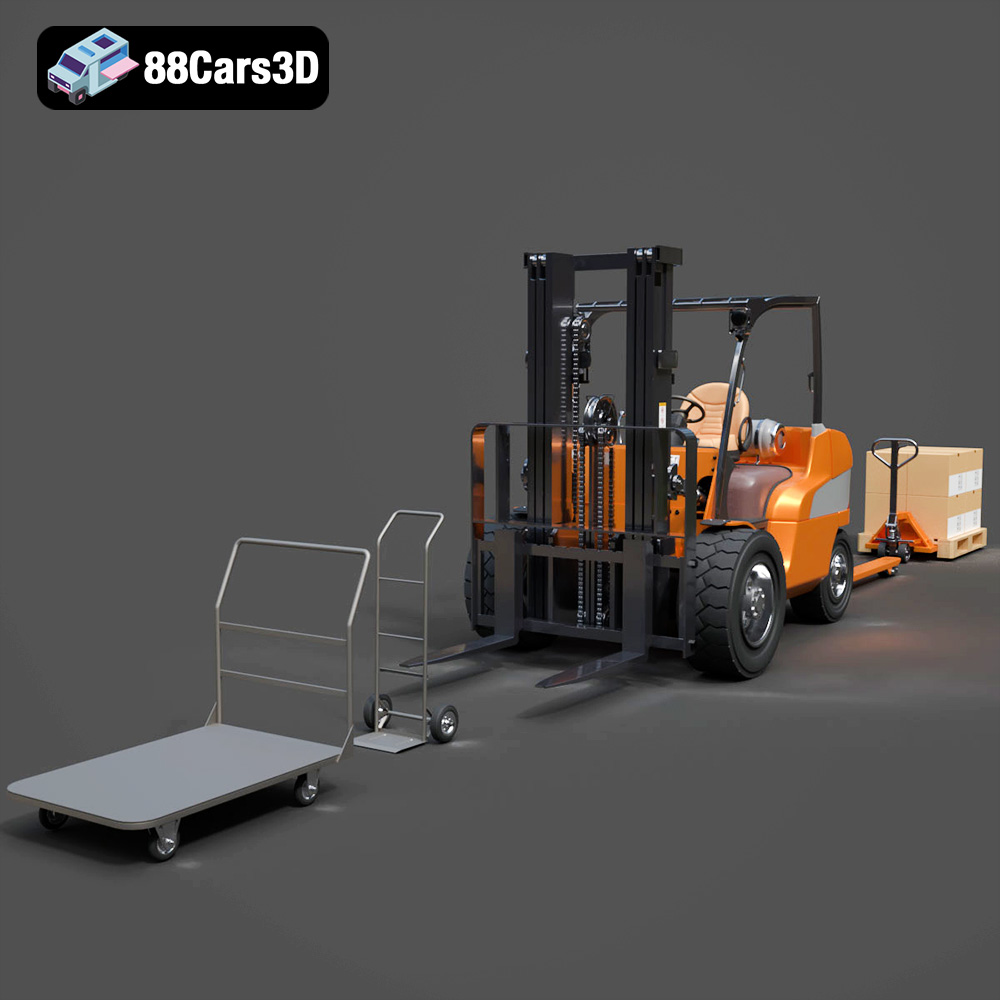
Texture: Yes | Material: Yes Download the highly detailed CAT Manual Loader & Warehouse Carts Kit 3D Model (2.4M Triangles). Features a macro-detailed hydraulic pallet jack, heavy-duty forks, and transport carts. Perfect for industrial ArchViz, factory rendering, and logistics simulations. Includes .blend, .fbx, .obj, .glb, .stl, and .max formats.
Price: $19.99

Texture: Yes | Material: Yes
Download the highly optimized Mazda CX-5 2014 3D Model (294k Triangles). Features the dynamic Kodo design language, signature grille, and a clean interior. Perfectly balanced for ArchViz, background traffic, and game development. Includes .blend, .fbx, .obj, .glb, .stl, and .max formats.
Price: $19.99
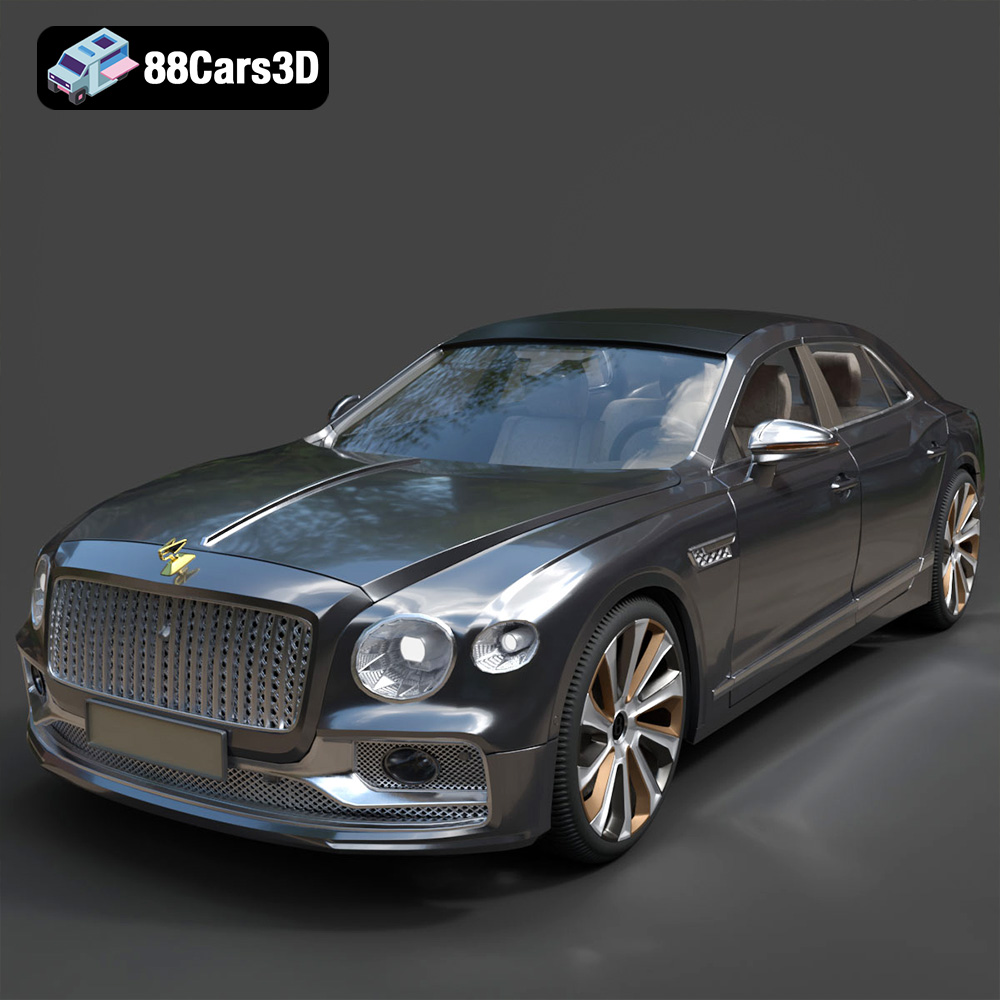
Texture: Yes | Material: Yes Download the ultra-high-detail Bentley Flying Spur Mulliner 2022 3D Model (2.94M Triangles). Features the bespoke Double Diamond grille, a fully modeled diamond-quilted interior, and exquisite luxury styling. Perfect for high-end ArchViz, VFX, and cinematic rendering. Includes .blend, .fbx, .obj, .glb, .stl, and .max formats.
Price: $19.90

Texture: Yes | Material: Yes | 3D Printable: Yes. Download the Ultimate Creators’ Showcase featuring 5 premium 3D models: Lamborghini Huracan, ZAV Concept Motorcycle, Sukhoi SU-26, Presidential Limousine, and Daewoo Damas. Optimized for 4K CGI rendering and 3D printing. Save massive with this exclusive multi-category bundle!
Price: $99.99

