Get 50% OFF All Premium 3D & STL Models!

The interior of a 3D car model is more than just a collection of geometric shapes; it’s an intimate space designed to evoke comfort, luxury, or high performance. While the sleek exterior often captures immediate attention, the realism of an automotive interior is what truly grounds a visualization or game asset in authenticity. Fabric and leather materials, in particular, play a pivotal role in this illusion, dictating the perceived quality, age, and tactile feel of a vehicle’s cabin. From the subtle sheen of fine leather upholstery to the intricate weave of modern performance fabrics, mastering these materials is a cornerstone of professional automotive rendering and game development.
This comprehensive guide delves deep into the technical workflows, artistic considerations, and optimization strategies required to create hyper-realistic fabric and leather materials for your 3D car models. We’ll explore the underlying principles of Physically Based Rendering (PBR), advanced texturing techniques, intricate shader networks, and practical optimization tips for various platforms, ensuring your interiors look stunning whether rendered in a high-fidelity visualization or experienced in real-time AR/VR. Prepare to elevate your automotive visualization skills and bring unparalleled realism to every interior detail.
Achieving photorealism in 3D car interiors begins with a robust understanding of Physically Based Rendering (PBR). PBR is a shading paradigm that aims to represent how light interacts with surfaces in a physically accurate way, mimicking real-world material properties. Unlike older rendering techniques, PBR ensures that your materials respond correctly to various lighting conditions, making them look consistent and believable across different scenes. For automotive interiors, where materials like leather, fabric, plastics, and metals converge, a consistent PBR workflow is absolutely critical.
The core of PBR revolves around several key texture maps that define a material’s appearance. The Albedo (or Base Color) map defines the diffuse color of the surface without any lighting information. The Roughness map dictates how spread out the specular reflections are—a lower roughness value means a shinier, more reflective surface, while a higher value results in a duller, more matte look. The Metallic map distinguishes between metallic and non-metallic surfaces, with 0 (black) indicating a dielectric (non-metal) and 1 (white) indicating a metallic surface. For interior materials like fabric and leather, the Metallic map will typically be black. Beyond these, Normal maps simulate surface detail without adding actual geometry, and Displacement (or Height) maps offer true geometric deformation for coarser details.
While both are common upholstery materials, fabric and leather have distinct physical properties that demand different approaches in PBR. Fabric materials, such as woven cloth, suede, or Alcantara, exhibit unique light scattering characteristics due to their fibrous nature. Key features to simulate include: the intricate weave pattern (often requiring fine normal maps), anisotropic reflections (where reflections stretch based on the fiber direction), and a subtle “fuzz” or sheen effect at grazing angles, which is caused by light scattering off individual microfibers. Accurately representing these details is crucial for a believable fabric look.
Leather materials, on the other hand, require attention to grain, subtle pores, and varying levels of specularity. Real leather often has a distinct texture, which can range from fine and smooth to coarse and pebbled. It’s also a dielectric material, meaning it reflects light differently from metals. Important aspects to consider are: the irregular, organic nature of its surface grain (best captured with high-resolution normal and displacement maps), varying levels of roughness that can indicate wear or oiliness, and a slight, almost imperceptible Subsurface Scattering (SSS) effect, especially noticeable on thinner edges or lighter-colored leathers, where light penetrates the surface slightly before scattering out. Capturing these nuances is key to avoiding a “plastic” appearance and achieving authentic leather.
A consistent PBR workflow ensures predictable results across different software and renderers. The first rule is maintaining a linear workflow and understanding color spaces. Albedo maps, which represent pure color, should typically be in sRGB color space. All other maps—Roughness, Metallic, Normal, Displacement—are data maps and should be interpreted as non-color (or raw) data by your software to prevent incorrect gamma correction. Most modern 3D applications and game engines automatically handle this if materials are set up correctly.
In 3ds Max, the Physical Material is your go-to PBR shader, offering parameters for Base Color, Roughness, Metalness, and dedicated slots for Normal and Displacement maps. For Blender, the Principled BSDF shader is the industry-standard PBR material, conveniently combining all essential parameters into one node. Blender 4.4’s Principled BSDF offers dedicated controls for Sheen, Anisotropy, and Subsurface Scattering, making it incredibly versatile for fabric and leather. In Maya, the aiStandardSurface (Arnold renderer) or Standard Surface (Redshift, V-Ray, etc.) provides similar PBR controls. Consistency in naming conventions for your texture maps (e.g., `material_Albedo.png`, `material_Roughness.png`) across your asset pipeline is also a professional best practice, streamlining the material setup process.
The visual fidelity of fabric and leather materials is profoundly dependent on the quality and resolution of their textures. High-resolution textures are paramount for capturing the subtle nuances of weave patterns, leather grains, and delicate imperfections. Low-resolution textures will inevitably lead to blurry, unrealistic results, especially in close-up shots or interactive experiences. Typically, for hero assets like car interiors, texture resolutions of 2K (2048×2048) or 4K (4096×4096) for individual material sets are common, with even 8K textures used for extreme close-ups in high-end visualizations. The challenge lies not just in creating these textures but in efficiently mapping them onto complex automotive surfaces.
Sourcing and creating these textures involves several methods. Scanned data (photogrammetry or dedicated material scanners) offers the highest level of realism, capturing real-world surface properties with incredible accuracy. These are often costly and time-consuming to acquire. Alternatively, procedural generation using tools like Substance Designer allows artists to create infinitely tiling and highly customizable materials from scratch, offering immense creative control and flexibility. Lastly, high-quality tiling textures from reputable material libraries can serve as an excellent starting point, often requiring slight modifications to perfectly fit the automotive context.
Effective UV mapping is the bridge between your 2D textures and 3D models. For complex car interior elements like seats, dashboards, and door panels, a strategic approach to UV unwrapping is essential to minimize seams, avoid stretching, and ensure uniform texel density. Texel density refers to the number of texture pixels per unit of 3D space. Maintaining a consistent texel density across your model prevents some areas from looking blurry while others are sharp.
For large, relatively flat surfaces like a dashboard, projection methods (planar, cylindrical) can be a good start, followed by careful cutting and relaxing of UV shells. For intricate, organic shapes like car seats, which have numerous curves and folds, manual seam marking and unwrapping are often necessary. In Blender, the “Mark Seam” and “Unwrap” functions are indispensable. Utilizing tools like “Smart UV Project” can provide a quick initial unwrap, which then needs refinement. The goal is to create UV islands that are as flat and unstretched as possible, without overlapping unless intentionally for repeating patterns. For areas with repeating patterns (e.g., fabric weave), you might choose to overlap UVs to save texture space, but for unique details like stitching or wear, unique UV space is required. In 3ds Max, the “UVW Map” modifier provides basic projections, while the “Unwrap UVW” editor offers comprehensive tools for seam cutting, packing, and relaxing UVs, allowing for granular control over every aspect of your texture layout.
To truly sell the realism of fabric and leather, simply having a base color and roughness isn’t enough; you need to convey intricate surface details. Normal maps are critical for simulating fine details like the individual threads of a fabric weave or the subtle pores of a leather grain without increasing polygon count. These are typically baked from high-resolution sculpted meshes (e.g., created in ZBrush or Blender’s sculpting mode) onto a lower-resolution game-ready or render-ready mesh. Tools like Substance Painter or Marmoset Toolbag also offer excellent normal map baking capabilities. A strong normal map can dramatically enhance the tactile appearance of materials, making them visually richer and more believable.
For larger surface variations, such as the creases and folds in worn leather upholstery or the natural sagging of fabric, Displacement maps come into play. Unlike normal maps, displacement maps actually deform the mesh geometry at render time, adding true physical depth. This is particularly effective for large-scale details that would look flat with just a normal map. Careful consideration of subdivision levels is required when using displacement to balance detail and render performance. Furthermore, for extreme realism, a technique called micro-normal mapping can be employed. This involves blending a primary normal map (for larger details) with a secondary, much finer normal map (for microscopic details like individual fibers or ultra-fine leather pores). This layering creates incredible depth and visual fidelity, preventing surfaces from appearing too smooth even under close inspection. For instance, creating a fine fabric normal map in Substance Designer and blending it into the main material can make a significant difference, preventing tiling artifacts and adding subtle variations.
Once you have your meticulously unwrapped models and high-resolution texture maps, the next crucial step is to assemble them within a sophisticated shader network. This is where the magic happens, as you define how light interacts with your fabric and leather, transforming flat textures into vibrant, lifelike surfaces. Modern PBR shaders are incredibly powerful, allowing for complex material definitions that simulate the nuanced physical properties of various materials. Understanding how to connect and manipulate these nodes is paramount for achieving professional-grade realism.
A well-constructed shader network goes beyond simply plugging in base color, roughness, and normal maps. It involves layering materials, blending different effects based on masks, and utilizing specialized shader parameters to mimic real-world phenomena. For instance, simulating wear and tear often involves blending a “clean” material with a “worn” material based on curvature masks (generated automatically by many 3D painting tools) or hand-painted masks. This ensures that edges and areas of high contact show appropriate signs of degradation, adding to the material’s story and realism. Similarly, combining procedural noise with texture maps can introduce subtle variations that break up repetitive patterns, making materials look less artificial and more organic.
Fabric materials, with their interwoven fibers, possess distinct optical properties that need careful attention in shading. One of the most critical is anisotropy. Unlike isotropic materials where reflections are uniform in all directions, anisotropic materials exhibit stretched or elongated specular highlights, often aligned with the direction of their fibers or brush strokes. For textiles like brushed fabric, velvet, or Alcantara, enabling and properly orienting anisotropy in your shader is vital. In Blender’s Principled BSDF, the “Anisotropic” and “Anisotropic Rotation” parameters allow you to control this effect. You would typically use a texture map to drive the anisotropic rotation, ensuring it follows the flow of the fabric’s weave or brush direction.
Another key characteristic of many fabrics is their subtle “fuzz” or sheen. This effect, caused by light scattering off tiny microfibers on the surface, is most visible at grazing angles. It manifests as a soft, diffuse highlight, often with a slightly different color than the main diffuse. Blender’s Principled BSDF offers a dedicated “Sheen” parameter and “Sheen Tint” to control this. When working in other renderers or creating custom shaders, this might involve a custom Fresnel-driven blend that adds a layer of diffuse reflection primarily visible at glancing angles. Additionally, for thinner or lighter fabrics, a subtle degree of translucency (where light passes through and scatters within the material) can enhance realism, especially when backlit, adding a softness that pure opaque surfaces lack. The combination of these subtle effects—anisotropy, sheen, and translucency—is what truly sells a realistic fabric shader.
Leather materials, despite their robust appearance, demand an equally nuanced approach to shading. The primary challenge is to accurately represent the complex, organic nature of their surface. This begins with layering multiple textures. A high-resolution normal map for the overall leather grain is essential, followed by a separate, finer normal map for micro-details like pores or subtle irregularities. Variations in roughness are crucial for leather; different areas might be shinier (e.g., from natural oils or polish) while others are duller (e.g., from wear). This can be achieved by blending multiple roughness maps or using procedural noise driven by curvature. The use of masks to define areas of wear and tear—scratches, scuffs, faded patches, or dirt accumulation—is also critical. These masks can be procedural (e.g., curvature maps) or hand-painted, allowing you to blend in different roughness, color, or even normal map variations to simulate damage.
A subtle but impactful feature for realistic leather is Subsurface Scattering (SSS). While not as pronounced as in skin or wax, SSS allows light to penetrate the surface of the leather slightly before scattering and exiting, giving it a softer, less opaque appearance than a purely diffuse surface. This effect is particularly noticeable on thin edges, where light can visibly pass through, or on lighter-colored leathers. In renderers like Corona, V-Ray, Cycles, or Arnold, SSS parameters allow you to control the depth and color of this scattering. Over-exaggerating SSS can make leather look waxy, so a delicate touch is needed. The aim is to add just enough SSS to contribute to the material’s depth and organic quality without making it appear translucent. By carefully combining these elements—layered textures, detailed roughness variations, and subtle SSS—you can create leather materials that are rich in character and incredibly lifelike, avoiding the common “plastic” look often associated with poorly rendered leather. When sourcing models from marketplaces such as 88cars3d.com, pay close attention to the provided material maps to ensure they support these advanced shading techniques.
Even the most perfectly crafted fabric and leather materials will fall flat without a thoughtfully designed lighting and rendering setup. Lighting is the storyteller of your scene, highlighting contours, emphasizing textures, and establishing the mood of the interior. A realistic camera setup further enhances the illusion, mimicking how a real-world camera perceives light and depth. The choice of render engine also significantly impacts the final visual quality and the specific workflows you’ll employ to achieve optimal results.
For automotive interiors, lighting isn’t just about illuminating the scene; it’s about defining the luxury, sportiness, or practicality of the vehicle. Consider the time of day, weather conditions, and whether the car is indoors or outdoors. Subtle reflections and refractions on various surfaces, even those not directly related to fabric or leather, contribute to the overall atmosphere and help contextualize your meticulously created materials. The interplay of direct and indirect light will reveal the true depth and texture of your upholstery.
Effective interior lighting for automotive visualization often combines several approaches. HDRI (High Dynamic Range Image) environments are almost universally used for realistic global illumination. An HDRI captures real-world lighting information, providing natural ambient light, reflections, and subtle color bounces, which are crucial for rendering fabric and leather authentically. Placing your car model within an HDRI environment (e.g., a studio, a garage, or an outdoor scene) immediately establishes a believable lighting context. Beyond the HDRI, targeted area lights are used to accentuate specific features. For example, a small, soft area light can be strategically placed to create a subtle rim light on the edge of a leather seat, revealing its profile and the fine details of its grain. Similarly, area lights can be positioned to mimic natural light coming through windows or to highlight interior elements like stitching on fabric. Using ambient occlusion (AO) is also essential for adding contact shadows and depth, especially in crevices and where different components meet, enhancing the perceived realism of the materials.
Beyond lighting, realistic camera settings are vital. Employing a physically accurate camera model, adjusting parameters like aperture (for depth of field), shutter speed, and ISO, will make your renders feel more like photographs. A shallow depth of field can direct the viewer’s eye to specific material details, blurring out less important areas. Setting a correct white balance prevents color casts and ensures that your fabric and leather colors appear accurate under the chosen lighting conditions. It’s often beneficial to use a real-world camera lens focal length (e.g., 50mm, 85mm) to avoid distorted perspectives that can make interiors feel unnatural.
Each render engine has its nuances, though most modern physically based renderers share common principles. In Corona Renderer and V-Ray (popular choices for architectural and automotive visualization), material setup involves using their respective PBR shaders (Corona Physical Material, V-Ray PBR Material). These engines excel at producing highly realistic global illumination and often offer intuitive material editors. Specific settings for subsurface scattering (for leather) and sheen (for fabric) need careful calibration within their material parameters. For instance, V-Ray’s Fast SSS or VRayMtl’s Translucency options can be fine-tuned for leather. Corona’s Physical Material also offers dedicated SSS and Sheen controls.
Blender’s Cycles and Arnold Renderer (often used in Maya) follow similar PBR workflows, typically relying on the Principled BSDF or aiStandardSurface respectively. In Cycles, the Node Editor allows for highly customizable shader networks, where you can blend multiple materials, add procedural effects, and fine-tune every parameter. Both Cycles and Arnold are production-proven renderers capable of stunning realism, with robust ray tracing capabilities that accurately simulate light bounces for complex interior scenes. When it comes to render settings, it’s a balance between quality and speed. For high-fidelity stills, higher sampling rates, increased ray depths, and more accurate global illumination methods are preferred, even if they result in longer render times. For animations or quick iterations, lower settings can be used. Finally, post-processing and compositing in tools like Photoshop or Affinity Photo are critical for adding the final polish: adjusting exposure, color grading, adding subtle vignettes, and correcting any minor imperfections can dramatically enhance the impact of your rendered fabric and leather materials.
While photorealistic offline renders prioritize visual fidelity above all else, game engines and real-time applications like AR/VR demand a delicate balance between visual quality and performance. Every polygon, texture resolution, and shader instruction contributes to the computational load, and exceeding budget limits can lead to frame rate drops and a poor user experience. Optimizing your fabric and leather interior assets for these environments is a specialized skill that ensures your beautiful materials translate effectively into interactive experiences.
The core challenge is to maintain the illusion of detail and complexity without actually requiring the same computational resources as an offline renderer. This involves smart asset creation, clever use of texture space, and leveraging engine-specific optimization features. For developers working with high-quality 3D car models, platforms like 88cars3d.com often provide assets that are already optimized or designed with real-time considerations in mind, making them an excellent starting point for game development or interactive visualization projects.
Creating game-ready fabric and leather assets begins with strict adherence to polygon budgets. Car seats, being highly visible and complex, often demand the largest share of the poly count budget for interiors. While a high-poly sculpt might have millions of polygons for baking, the in-game mesh should be drastically reduced—often in the range of 20,000-50,000 triangles for an entire interior, with seats taking a significant portion of that. This reduction is achieved through careful retopology, ensuring good edge flow for deformation and clean UVs for texturing. LODs (Level of Detail) are indispensable here. You create multiple versions of the mesh, each with a progressively lower polygon count. The game engine then swaps these meshes based on the camera’s distance to the object, ensuring that detailed meshes are only rendered when necessary, thus saving performance. Typically, 3-5 LOD levels are used for complex assets like car seats.
Texture atlasing is another critical optimization. Instead of having separate texture sets for every small interior component, multiple smaller textures (e.g., dashboard fabric, seat leather, steering wheel grip) are combined into a single, larger texture atlas. This reduces the number of draw calls (instructions to the GPU), which significantly improves rendering performance. Vertex painting can also be subtly used to add variation; for instance, painting vertex colors to simulate dirt or wear in crevices, which can then be used to blend material layers in the shader, adding complexity without additional texture maps. Game engines like Unity (with its Standard Shader or URP/HDRP graph) and Unreal Engine (with its powerful Material Editor) provide robust PBR workflows tailored for real-time performance, allowing artists to create physically accurate materials that are also highly optimized.
Augmented Reality (AR) and Virtual Reality (VR) environments impose even stricter performance constraints than traditional desktop games, especially for standalone VR headsets or mobile AR applications. Here, every optimization becomes paramount. The polygon budget for an entire AR/VR scene featuring a car interior might be as low as 100,000-200,000 triangles, meaning individual interior components need to be extremely lean. Baking complex lighting into texture maps (lightmaps) is a common strategy to reduce real-time lighting calculations, especially for static interior elements. This can involve baking global illumination, ambient occlusion, and even subtle direct lighting into diffuse or emissive texture channels.
Efficient material setups are crucial. This often means simplifying shader graphs, reducing the number of texture samples, and avoiding expensive real-time calculations like complex procedural noise or excessive transparency/refraction. For AR/VR, particularly on mobile, using a streamlined PBR workflow with fewer texture maps (e.g., only Albedo, Normal, and combined Roughness/Metallic/AO maps) is often necessary. Texture resolutions might be limited to 1K or 2K for the entire interior. Leveraging GPU instancing for repetitive elements (like buttons or vents) and employing occlusion culling to prevent rendering objects that are not visible to the camera are fundamental techniques. The goal is to deliver a smooth, immersive experience with realistic-looking fabric and leather, even with significant performance constraints, ensuring users can explore 88cars3d.com’s high-quality models within interactive environments without compromise.
Beyond the fundamental PBR workflow, several advanced techniques and industry best practices can elevate your fabric and leather materials from realistic to truly hyper-realistic. These methods often involve meticulous layering, procedural generation, and an artistic eye for subtle imperfections that tell a material’s story. Mastering these aspects is what differentiates good 3D artists from exceptional ones, enabling them to create automotive interiors that are indistinguishable from real-world photography.
One of the most common pitfalls in 3D material creation is the appearance of repetitive tiling patterns, especially on large surfaces like car seats or dashboard fabrics. Addressing this requires creative texture blending and randomization strategies. Another challenge is achieving a truly organic look for leather, which is often difficult to capture with perfectly clean, uniform textures. Incorporating subtle damage, wear, and environmental effects is key to breaking up artificial uniformity and adding character to the materials. Professional artists constantly iterate and refine their materials, understanding that perfection often lies in the imperfections.
Hyper-realism in fabric and leather materials is frequently achieved through sophisticated material layering and blending. Instead of a single, monolithic material, think of a surface as composed of multiple layers: a base material, a layer of dust, a layer of grime, localized wear, and perhaps even specific stains. Each layer would have its own set of PBR maps (Albedo, Roughness, Normal, etc.) and is blended with the others using various masks. These masks can be procedural (e.g., driven by ambient occlusion, curvature, or edge wear generators in Substance Painter or directly in a shader graph) or meticulously hand-painted to target specific areas. For example, a leather seat might have a clean base layer, an “edge wear” layer that exposes slightly lighter, rougher leather along high-contact edges, and a “dust/dirt” layer that accumulates in crevices, all blended using intelligent masks. This modular approach allows for incredible flexibility and realism, creating materials that appear to have a history.
Furthermore, combining scanned data with procedural elements offers the best of both worlds. A base texture set derived from a high-quality scan of real leather provides inherent realism, while procedural generators can be used to add unique variations, remove tiling, or introduce specific types of wear that weren’t present in the original scan. Tools like Substance Designer and Painter excel at this, allowing artists to build complex material graphs that blend, warp, and modify textures dynamically. This approach not only enhances realism but also provides a non-destructive workflow where material properties can be adjusted and iterated upon without having to re-bake or re-sculpt. For automotive models, this means you can efficiently create numerous variations of fabric and leather upholstery—different colors, levels of wear, or subtle patterns—from a single base material setup.
Even with the best tools and techniques, artists frequently encounter common challenges when creating realistic materials. One pervasive issue is tiling artifacts, where repetitive patterns in textures become visibly obvious on large surfaces. To combat this, several strategies can be employed: using larger, less repetitive textures; applying texture randomization techniques (e.g., rotating or offsetting texture samples in a shader); blending multiple unique textures with procedural masks; or utilizing tri-planar mapping, which projects textures from three axes, eliminating the need for UVs and greatly reducing tiling visibility. For very large surfaces, an additional ‘detail’ or ‘micro’ texture can be blended in at a much smaller scale to break up perceived repetition.
Another common problem is the “plastic” look, where materials lack depth, variation, and realism. This often stems from insufficient variation in the roughness map or an incorrect Fresnel curve. To fix this, meticulously refine your roughness map to include subtle shifts and imperfections—a perfectly uniform roughness value rarely looks natural. Adding subtle micro-details through a secondary normal map, ensuring correct Fresnel values (which dictate how reflections behave at different viewing angles), and introducing a slight subsurface scattering effect (for leather) can significantly enhance realism. Finally, poor performance in real-time applications is a constant concern. Identify bottlenecks by profiling your scene: are your texture resolutions too high? Is your shader graph overly complex with too many instructions? Are you using too many dynamic lights? Optimize by reducing texture resolution, simplifying shader graphs, utilizing LODs, baking lighting, and reducing polygon counts. Remember, iteration and keen observation are your greatest assets. Regularly comparing your renders to real-world references will help you identify subtle discrepancies and guide your material refinement. When looking for ready-to-use solutions, check out 88cars3d.com for high-quality, pre-optimized 3D car models that provide a solid foundation for your projects.
Crafting realistic fabric and leather materials for 3D car interiors is a nuanced art form that blends technical mastery with keen artistic observation. We’ve journeyed through the foundational principles of PBR, dissecting the unique properties of fabric and leather, and exploring how to translate these into intricate texture maps and sophisticated shader networks. From the meticulous process of advanced UV mapping and the generation of detail maps like normals and displacement, to the critical role of lighting, camera settings, and render engine-specific workflows, every step contributes to the ultimate goal of unparalleled realism.
We also delved into the crucial aspect of optimization, ensuring that your stunning interior assets perform flawlessly in demanding real-time environments like game engines and AR/VR applications. Mastering LODs, texture atlasing, and efficient material setups are not just technical requirements but creative strategies for delivering immersive experiences. Finally, we explored advanced techniques like material layering, procedural blending, and crucial troubleshooting tips to overcome common challenges and elevate your work to hyper-realistic standards. The journey to creating believable automotive interiors is iterative, requiring patience, a sharp eye for detail, and a commitment to continuous learning.
By applying the comprehensive techniques outlined in this guide, you are well-equipped to infuse your 3D car models with breathtaking interior realism, captivating audiences whether through stunning visualizations or interactive experiences. We encourage you to experiment, push the boundaries of what’s possible, and continuously refine your craft. For those looking for a head start or seeking high-quality, professionally crafted base models to apply these advanced material techniques, explore the extensive collection of 3D car models available at 88cars3d.com. Elevate your automotive projects today!
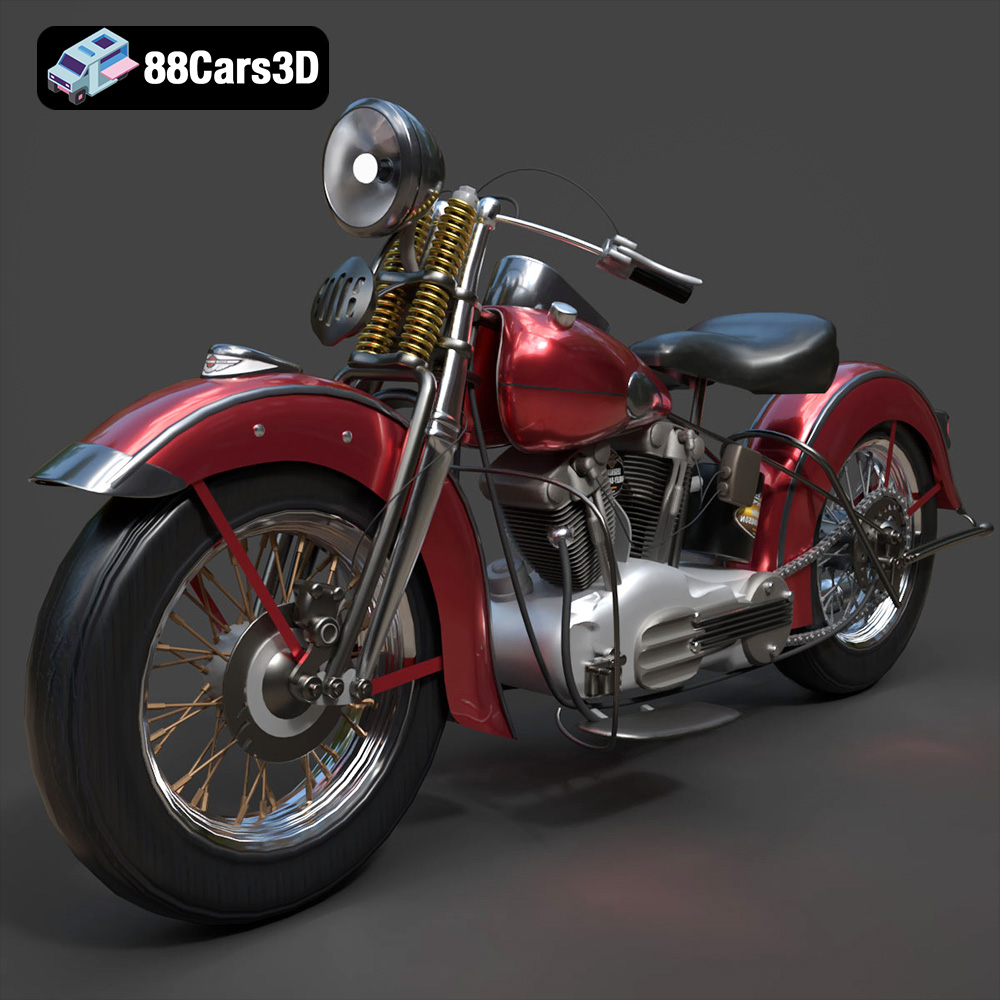
Texture: Yes
Material: Yes
Download the Harley Davidson F 1946 3D Model featuring clean geometry, realistic detailing, and a fully modeled interior. Includes .blend, .fbx, .obj, .glb, .stl, .ply, .unreal, and .max formats for rendering, simulation, and game development.
Price: $19.99
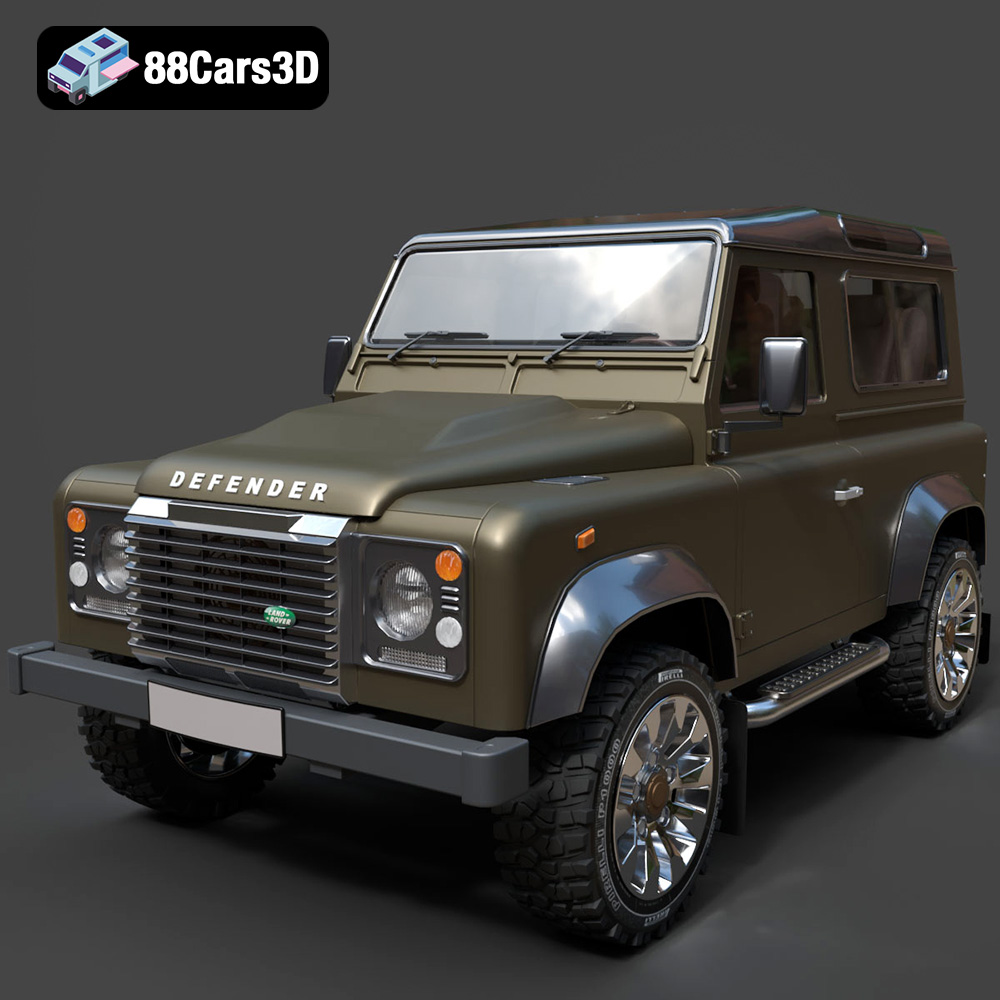
Texture: Yes
Material: Yes
Download the Land Rover Defender Works V8 3D Model featuring clean geometry, realistic detailing, and a fully modeled interior. Includes .blend, .fbx, .obj, .glb, .stl, .ply, .unreal, and .max formats for rendering, simulation, and game development.
Price: $19.99
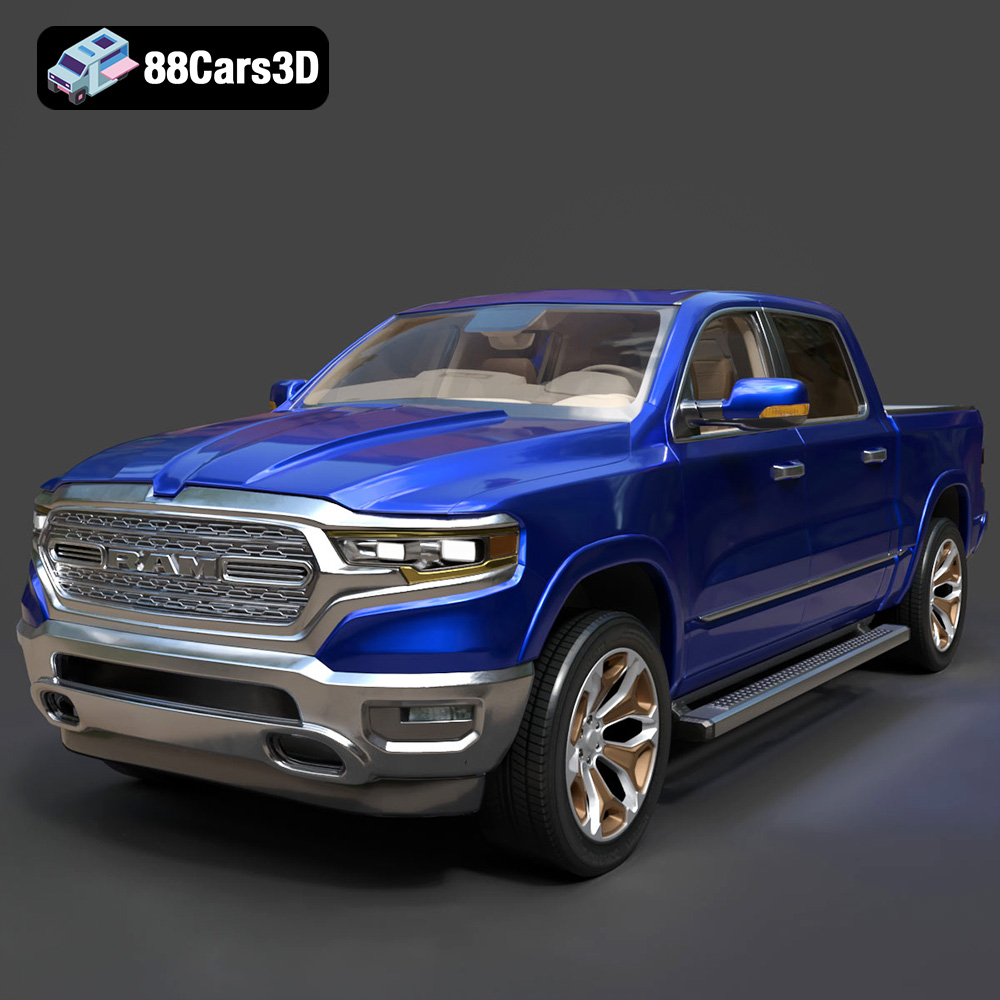
Texture: Yes
Material: Yes
Download the Dodge RAM 2019 3D Model featuring clean geometry, realistic detailing, and a fully modeled interior. Includes .blend, .fbx, .obj, .glb, .stl, .ply, .unreal, and .max formats for rendering, simulation, and game development.
Price: $19.99
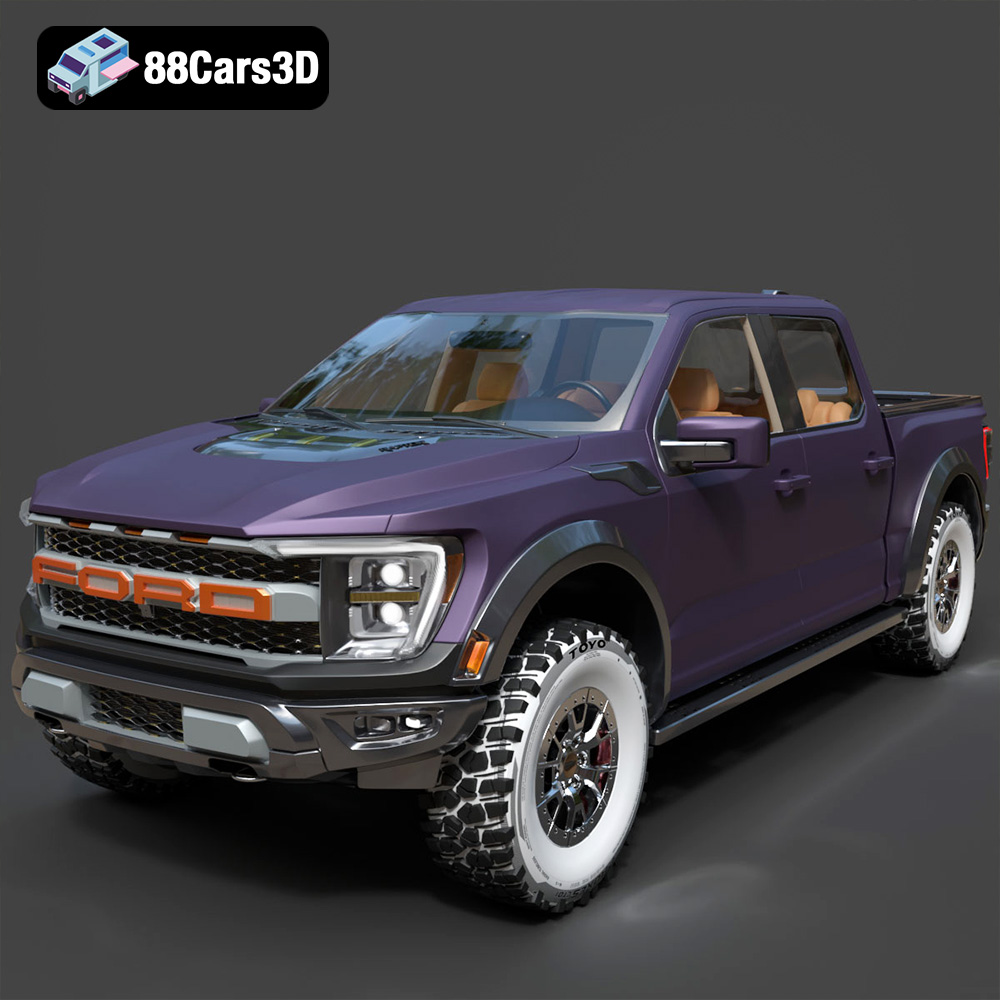
Texture: Yes | Material: Yes Download the ultra-high-detail Ford F-150 Raptor 2021 3D Model (8.73M Triangles). Features uncompromised widebody styling, fully modeled Fox Live Valve suspension, 37-inch tires, and interior. Perfect for premium VFX, cinematic rendering, and ArchViz. Includes .blend, .fbx, .obj, .glb, .stl, and .max formats.
Price: $29.99
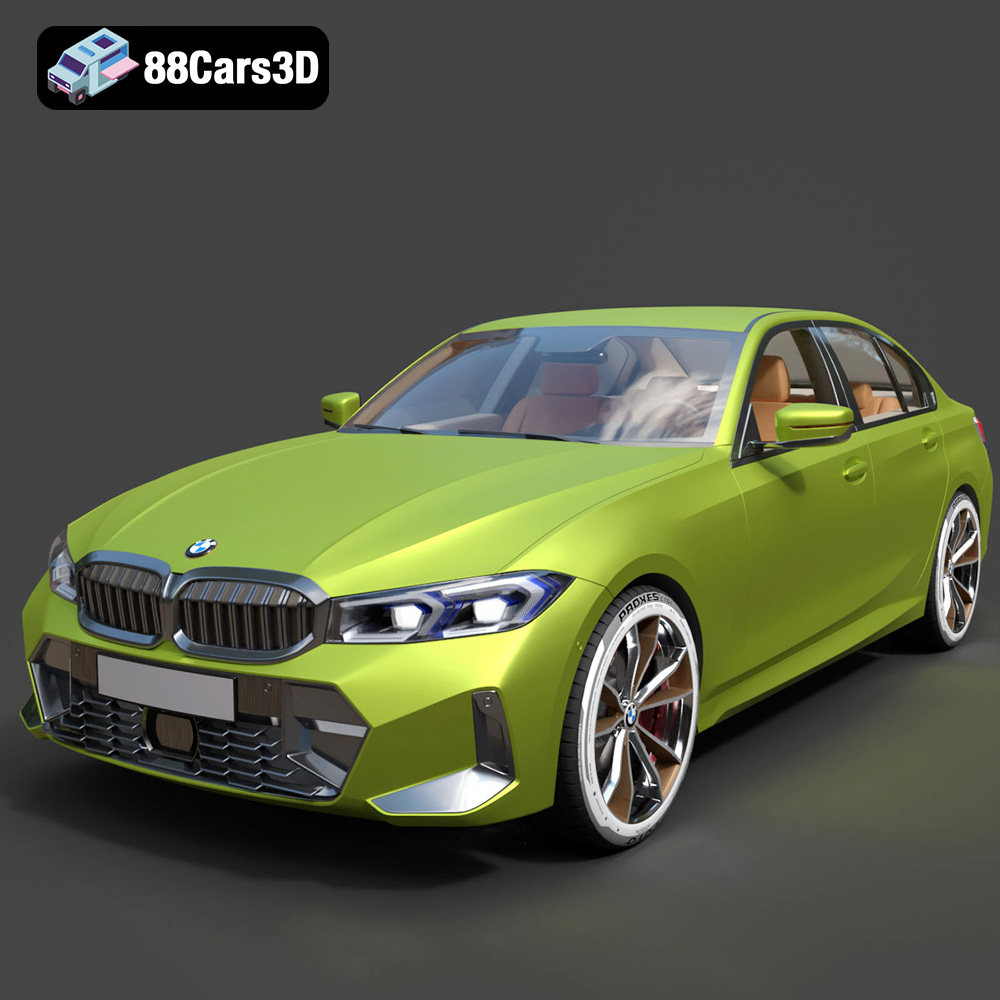
Texture: Yes | Material: Yes Download the ultra-high-detail BMW 3 Series Limousine (2022) 3D Model (4.16M Triangles). Features the modernized G20 LCI exterior, the all-new BMW Curved Display interior, and ultra-dense topology. Perfect for ArchViz, VFX, and cinematic rendering. Includes .blend, .fbx, .obj, .glb, .stl, and .max formats.
Price: $19.99
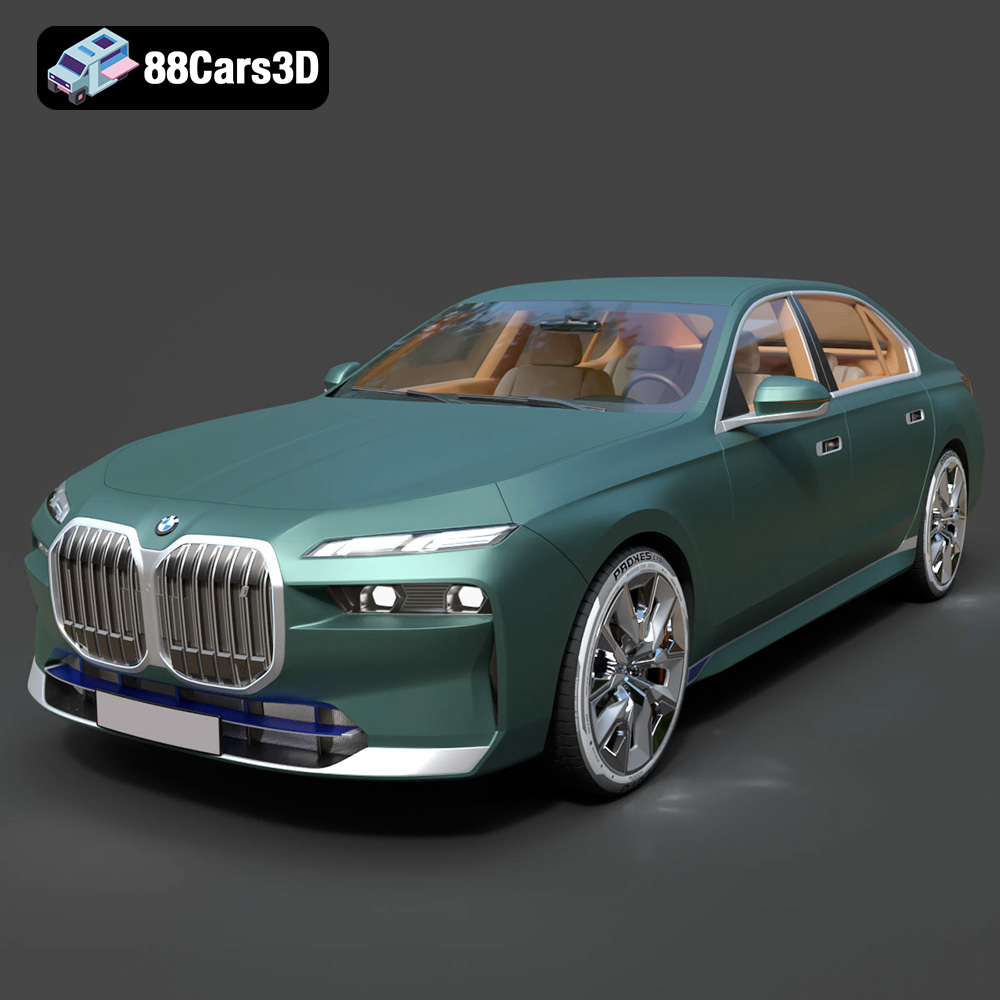
Texture: Yes | Material: Yes Download the ultra-high-detail BMW i7 (2023) 3D Model (4.14M Triangles). Features the illuminated kidney grille, split crystal headlights, fully modeled Theatre Screen interior, and monolithic luxury styling. Perfect for ArchViz, VFX, and cinematic rendering. Includes .blend, .fbx, .obj, .glb, .stl, and .max formats.
Price: $19.99
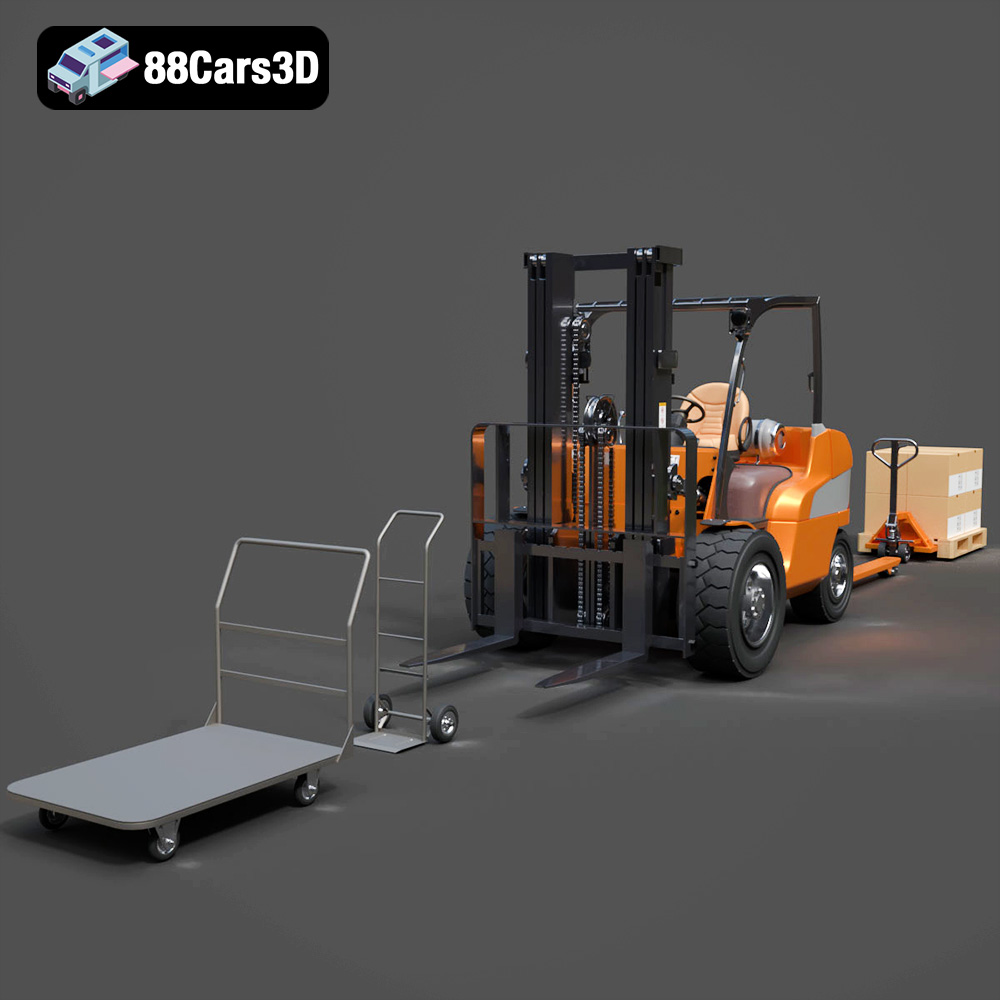
Texture: Yes | Material: Yes Download the highly detailed CAT Manual Loader & Warehouse Carts Kit 3D Model (2.4M Triangles). Features a macro-detailed hydraulic pallet jack, heavy-duty forks, and transport carts. Perfect for industrial ArchViz, factory rendering, and logistics simulations. Includes .blend, .fbx, .obj, .glb, .stl, and .max formats.
Price: $19.99
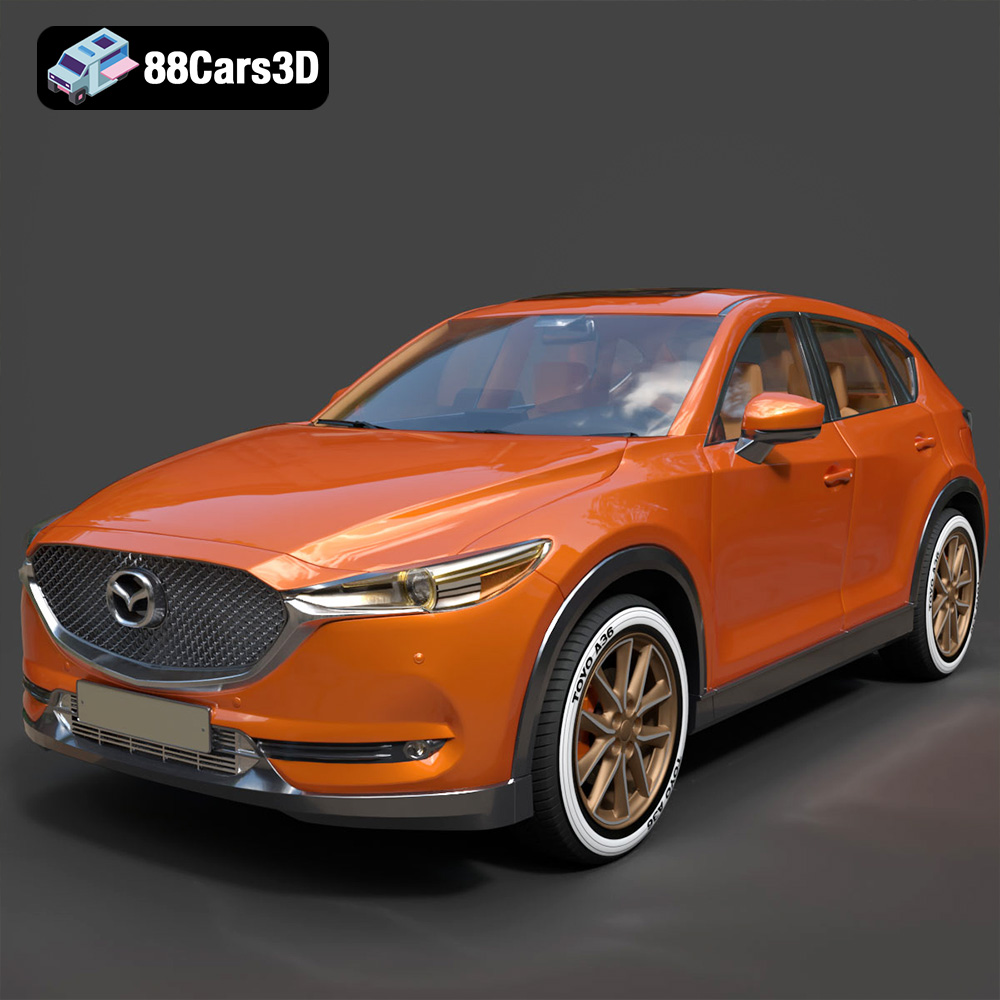
Texture: Yes | Material: Yes
Download the highly optimized Mazda CX-5 2014 3D Model (294k Triangles). Features the dynamic Kodo design language, signature grille, and a clean interior. Perfectly balanced for ArchViz, background traffic, and game development. Includes .blend, .fbx, .obj, .glb, .stl, and .max formats.
Price: $19.99
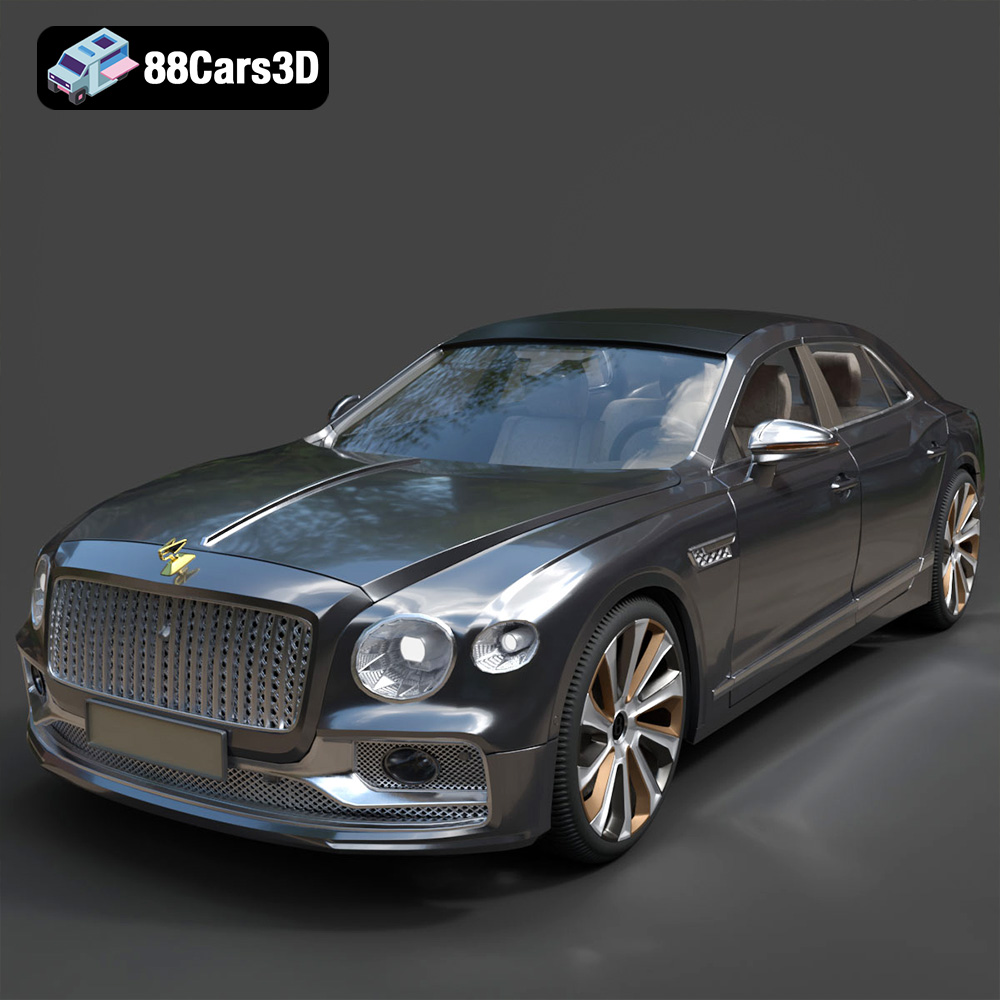
Texture: Yes | Material: Yes Download the ultra-high-detail Bentley Flying Spur Mulliner 2022 3D Model (2.94M Triangles). Features the bespoke Double Diamond grille, a fully modeled diamond-quilted interior, and exquisite luxury styling. Perfect for high-end ArchViz, VFX, and cinematic rendering. Includes .blend, .fbx, .obj, .glb, .stl, and .max formats.
Price: $19.90
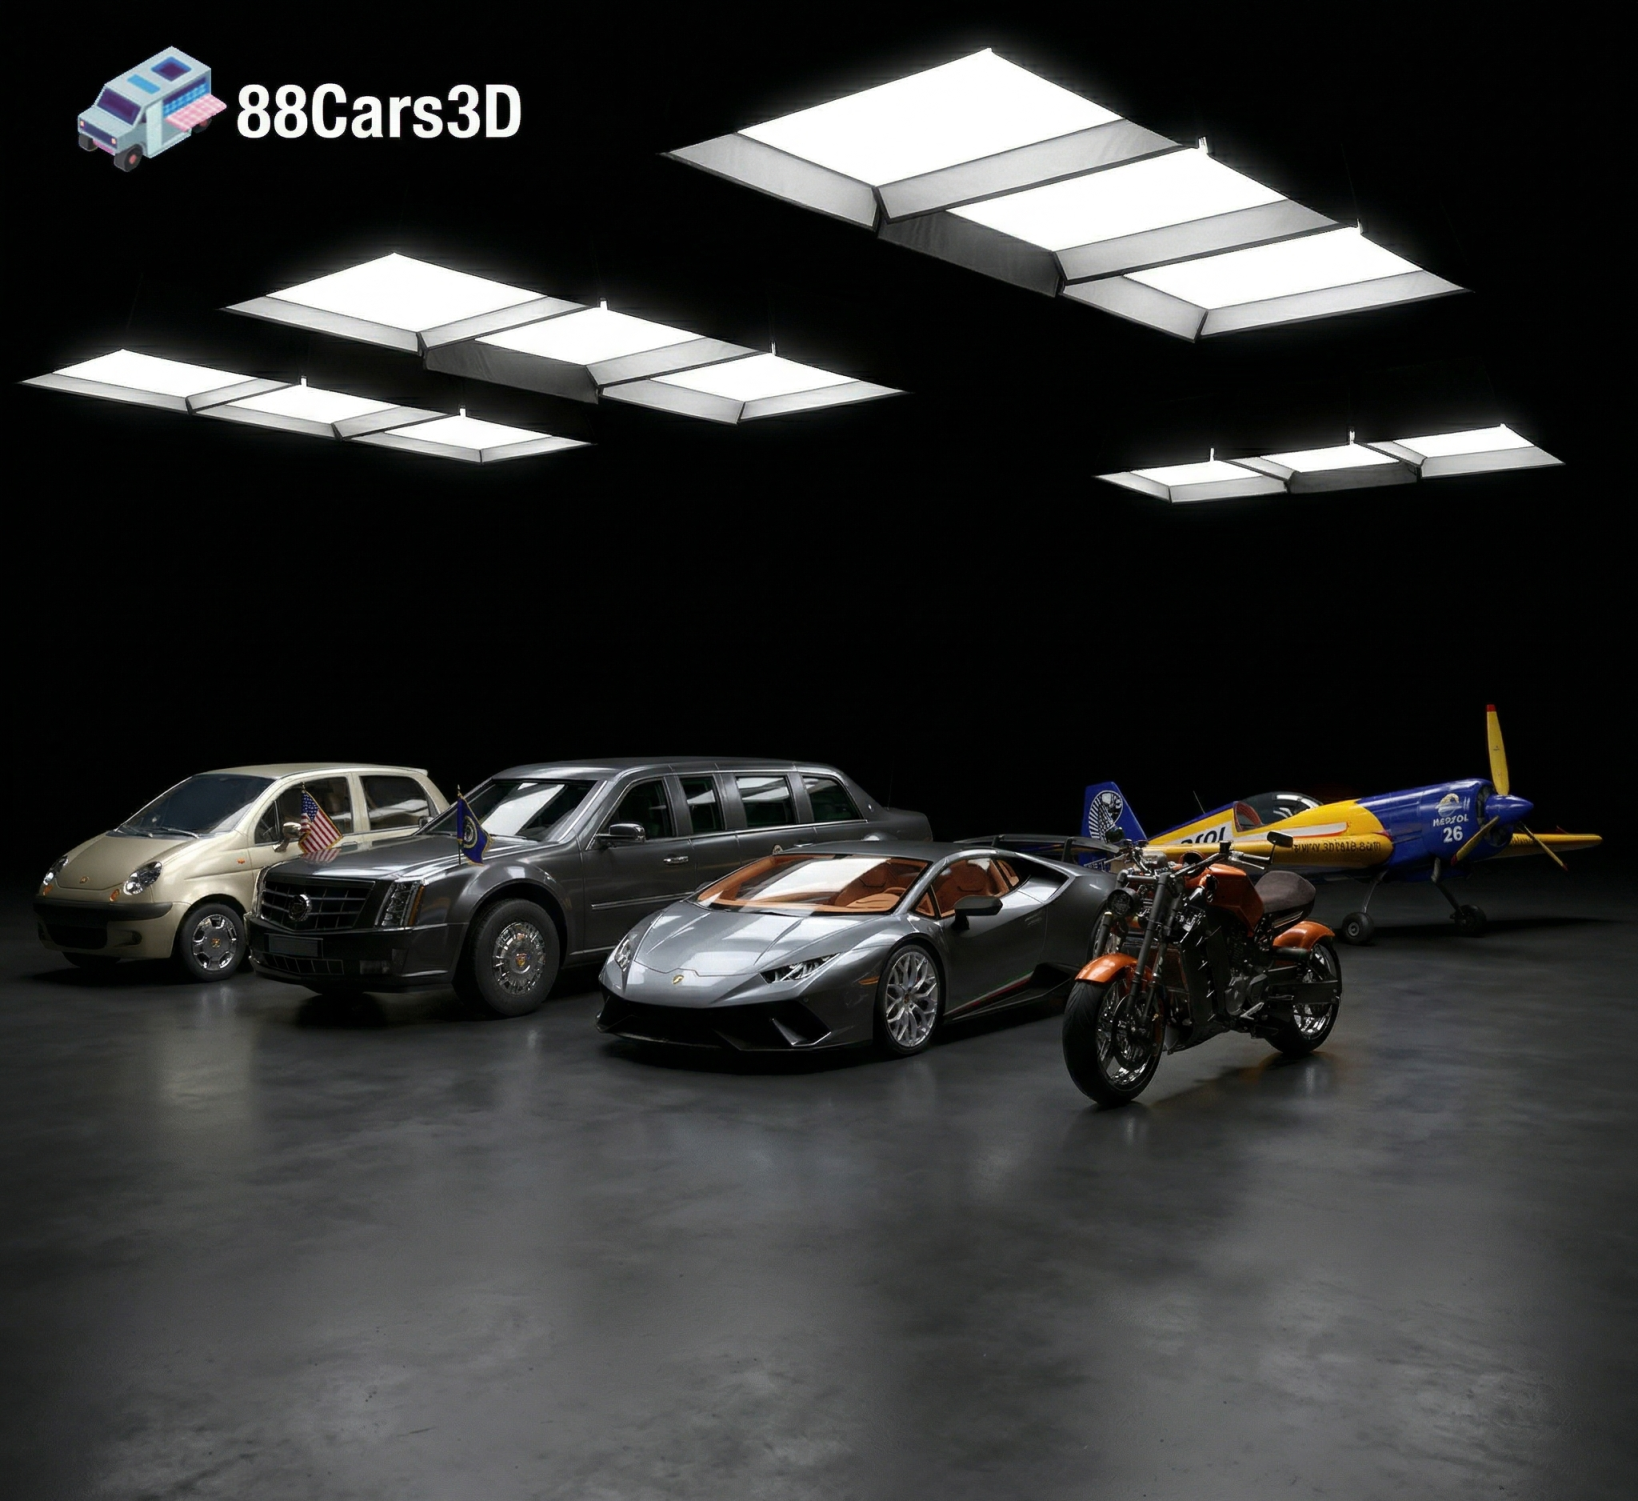
Texture: Yes | Material: Yes | 3D Printable: Yes. Download the Ultimate Creators’ Showcase featuring 5 premium 3D models: Lamborghini Huracan, ZAV Concept Motorcycle, Sukhoi SU-26, Presidential Limousine, and Daewoo Damas. Optimized for 4K CGI rendering and 3D printing. Save massive with this exclusive multi-category bundle!
Price: $99.99

