Get 50% OFF All Premium 3D & STL Models!

“`html
The quest for photorealistic rendering in Unreal Engine is a constant pursuit for automotive visualization professionals and game developers alike. While real-time rendering technologies like Lumen have made significant strides, achieving the pinnacle of image quality often requires leveraging path tracing. This blog post delves into the intricacies of using path tracing in Unreal Engine to create stunning, offline-rendered automotive visualizations, focusing on how to maximize visual fidelity when using high-quality 3D car models, such as those available on platforms like 88cars3d.com. We’ll cover everything from setting up your project and optimizing your models to advanced material techniques and lighting strategies.
In this guide, you’ll learn:
Before diving into the specifics of path tracing, it’s crucial to properly configure your Unreal Engine project. This involves enabling the necessary plugins and adjusting project settings to optimize performance and ensure compatibility with path tracing features.
Path tracing relies on ray tracing technology, so the first step is to ensure that ray tracing is enabled in your project. Navigate to Edit > Plugins and search for “Ray Tracing”. Enable both the “RayTracing” and “PathTracing” plugins. You’ll be prompted to restart the engine after enabling these plugins. After restarting, go to Edit > Project Settings > Engine > Rendering. In the “Rendering” section, find the “Ray Tracing” category. Enable “Ray Tracing” and set the “Ray Tracing Mode” to “Global Illumination, Reflections, and Translucency”. This ensures that ray tracing is used for all supported features. Unreal Engine Documentation provides additional details on these settings: https://dev.epicgames.com/community/unreal-engine/learning.
Several project settings can significantly impact path tracing performance. Within the same “Rendering” section of Project Settings, adjust the following:
Remember to save your project settings after making these changes.
The quality and optimization of your 3D car model directly impact the final rendered image. High-quality models, often available from sources like 88cars3d.com, provide a solid foundation, but further optimization is usually necessary for efficient path tracing.
While path tracing can handle high polygon counts due to advancements like Nanite, optimizing your model’s topology is still crucial. Ensure that your model has clean, even topology with minimal unnecessary polygons. Avoid excessively dense areas that don’t contribute to the visual quality. Aim for a balanced approach where detail is preserved in visually important areas while simplifying less noticeable regions. Consider using decimation tools in your 3D modeling software (e.g., Blender, Maya) to reduce polygon count without significant loss of detail. Tools like Simplygon can also automate LOD (Level of Detail) generation.
Proper UV mapping is essential for seamless texture application. Ensure that your model has clean, non-overlapping UVs with sufficient resolution to support the textures you’ll be using. When sourcing automotive assets from marketplaces such as 88cars3d.com, pay close attention to the UV layout. For path tracing, high-resolution textures are generally preferred to capture fine details and achieve realistic material representation. However, be mindful of VRAM limitations and optimize texture sizes appropriately. For example, textures for smaller details might be scaled down without noticeable impact on the overall quality. Unreal Engine’s texture streaming pool size can also be adjusted to manage VRAM usage.
Path tracing relies on physically based rendering (PBR) materials to simulate how light interacts with surfaces realistically. Creating accurate PBR materials is crucial for achieving photorealistic results.
PBR materials are defined by several key properties: Base Color, Metallic, Roughness, Normal, and Ambient Occlusion (AO). Base Color represents the diffuse color of the surface. Metallic determines whether the surface is metallic or non-metallic. Roughness controls the surface’s glossiness; a value of 0 represents a perfectly smooth, mirror-like surface, while a value of 1 represents a completely matte surface. Normal maps add surface detail by simulating bumps and irregularities. AO maps simulate ambient occlusion, which is the darkening of areas where light is occluded, such as crevices and corners.
Unreal Engine’s Material Editor provides a powerful node-based interface for creating and editing materials. When creating PBR materials for path tracing, follow these best practices:
Lighting is paramount in path tracing, as it directly influences the realism and mood of your scene. Effective lighting techniques can dramatically enhance the visual impact of your automotive visualizations.
Unreal Engine offers various light sources, each with its unique characteristics. For path tracing, consider using:
Experiment with different light types and combinations to achieve the desired lighting effect.
High Dynamic Range Images (HDRIs) provide a powerful way to illuminate your scene with realistic ambient lighting. HDRIs capture a wide range of light intensities, allowing for more accurate and realistic global illumination. You can use an HDRI to create an environment map that surrounds your scene, providing realistic reflections and indirect lighting. Unreal Engine supports HDRIs in the .exr and .hdr formats. To use an HDRI, create a Sky Light in your scene and assign the HDRI texture to the “Source Cubemap” parameter. Adjust the “Intensity” and “Lower Hemisphere Is Solid Color” parameters to fine-tune the lighting. Ensure that “Cast Shadows” is disabled on the Sky Light, as the HDRI already provides the primary lighting.
Post-processing effects can further enhance the visual quality of your path-traced renders, adding the final polish and cinematic flair. Unreal Engine’s Sequencer allows you to create cinematic animations and control the rendering process for high-quality output.
Unreal Engine offers a wide range of post-processing effects, including:
Add a Post Process Volume to your scene and adjust the settings to achieve the desired effect. Be mindful of performance, as some post-processing effects can be computationally intensive.
Sequencer is Unreal Engine’s built-in cinematic editor. It allows you to create animations, control camera movements, and render out high-quality images and videos. To use Sequencer for path tracing, create a new Level Sequence and add your camera and other scene elements to the sequence. Keyframe the camera movements and other parameters to create your animation. When you’re ready to render, click the “Render Movie” button in the Sequencer toolbar. In the “Render Movie Settings” window, configure the following:
Click “Render” to begin the rendering process. Be patient, as path tracing can be computationally intensive, and rendering times can be significant, especially for high resolutions and SPP values.
Path tracing, while capable of producing stunning visuals, is computationally demanding. Optimizing performance and managing render times is crucial for practical application, especially in automotive visualization workflows where quick iteration cycles are often required.
Several strategies can help reduce render times without sacrificing visual quality:
Path tracing performance is heavily dependent on your hardware, particularly your GPU. A powerful GPU with ample VRAM is essential for efficient path tracing. Consider investing in a high-end NVIDIA RTX or AMD Radeon RX graphics card for optimal performance. Additionally, a fast CPU and sufficient RAM can also improve rendering performance. Ensure that your graphics drivers are up to date to take advantage of the latest performance optimizations.
Path tracing in Unreal Engine provides a powerful toolset for achieving offline rendering quality in automotive visualization and other applications. By understanding the fundamentals of project setup, model optimization, material creation, lighting techniques, and post-processing, you can create stunningly realistic images and animations. While path tracing can be computationally intensive, careful optimization and hardware considerations can help manage render times and make it a practical option for professional workflows. Platforms like 88cars3d.com offer a great starting point with high-quality, detailed 3D car models ready to be imported into your Unreal Engine projects. Remember to experiment, iterate, and continually refine your techniques to unlock the full potential of path tracing in Unreal Engine.
Next steps to take:
“`
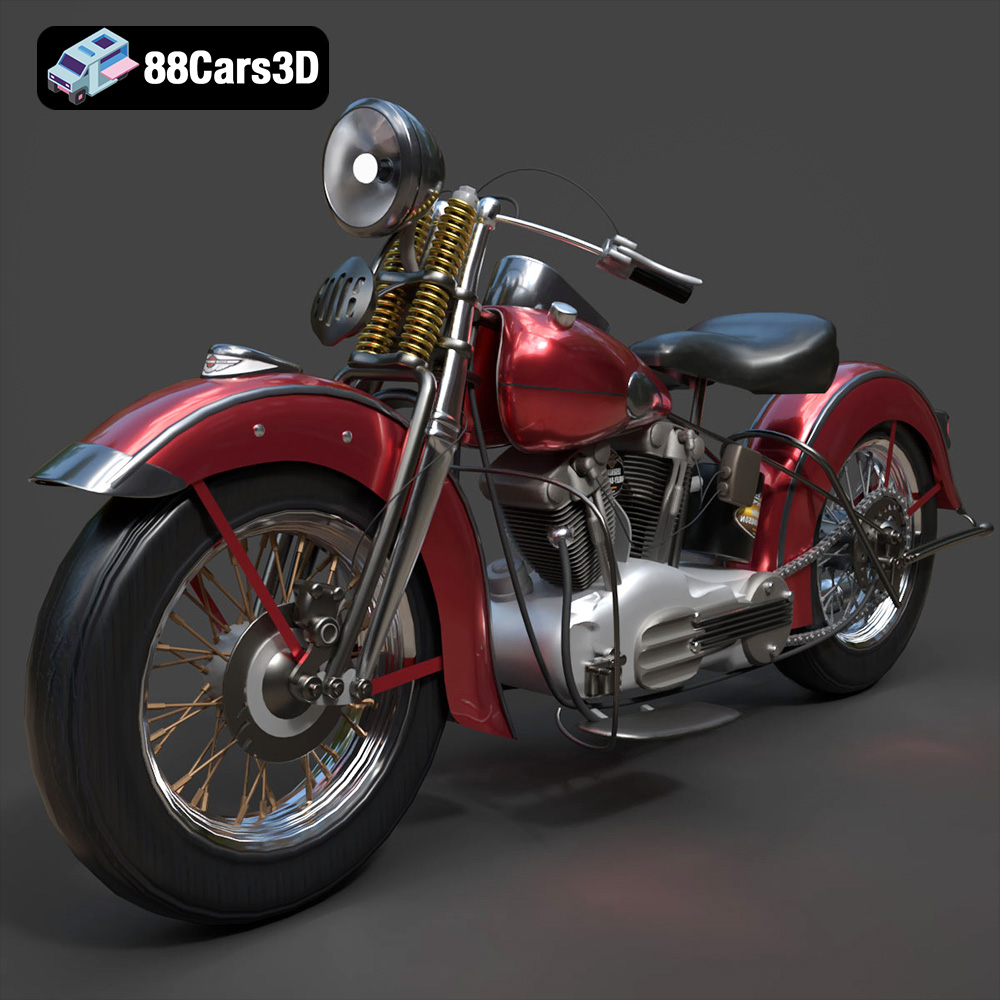
Texture: Yes
Material: Yes
Download the Harley Davidson F 1946 3D Model featuring clean geometry, realistic detailing, and a fully modeled interior. Includes .blend, .fbx, .obj, .glb, .stl, .ply, .unreal, and .max formats for rendering, simulation, and game development.
Price: $19.99
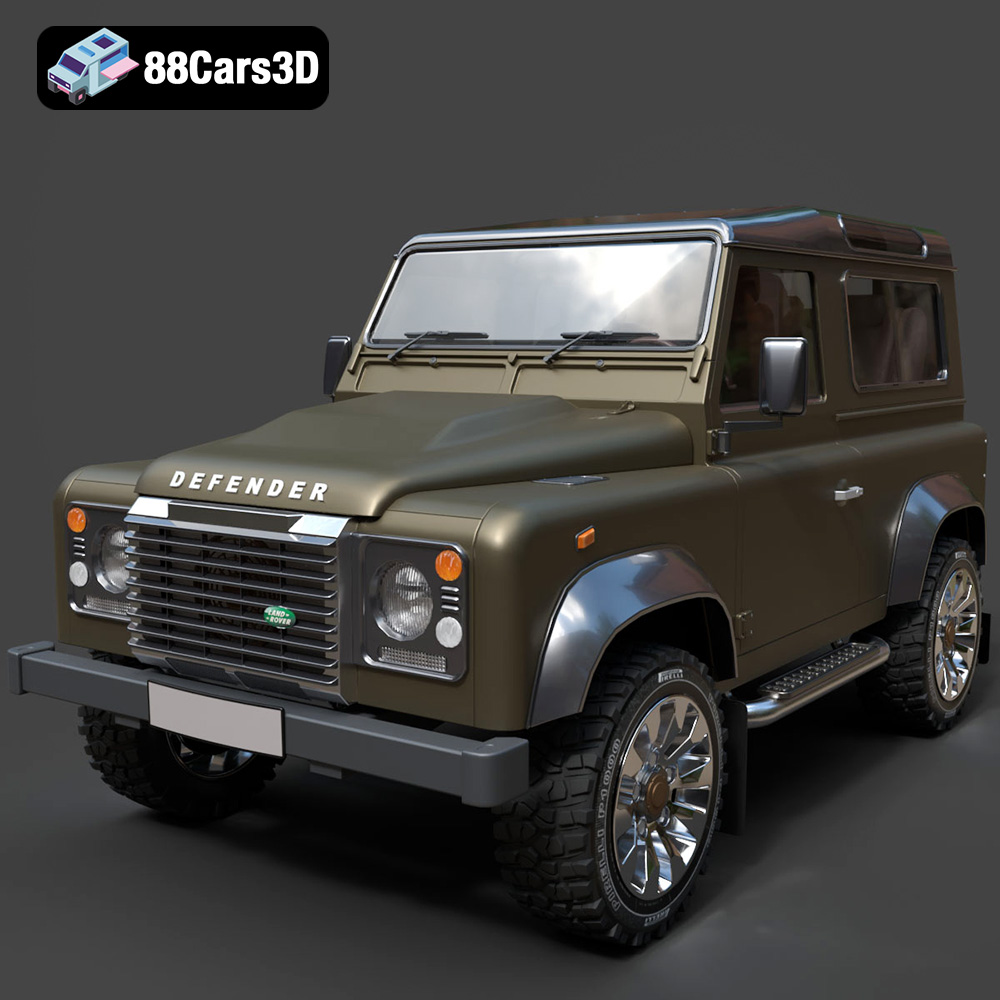
Texture: Yes
Material: Yes
Download the Land Rover Defender Works V8 3D Model featuring clean geometry, realistic detailing, and a fully modeled interior. Includes .blend, .fbx, .obj, .glb, .stl, .ply, .unreal, and .max formats for rendering, simulation, and game development.
Price: $19.99
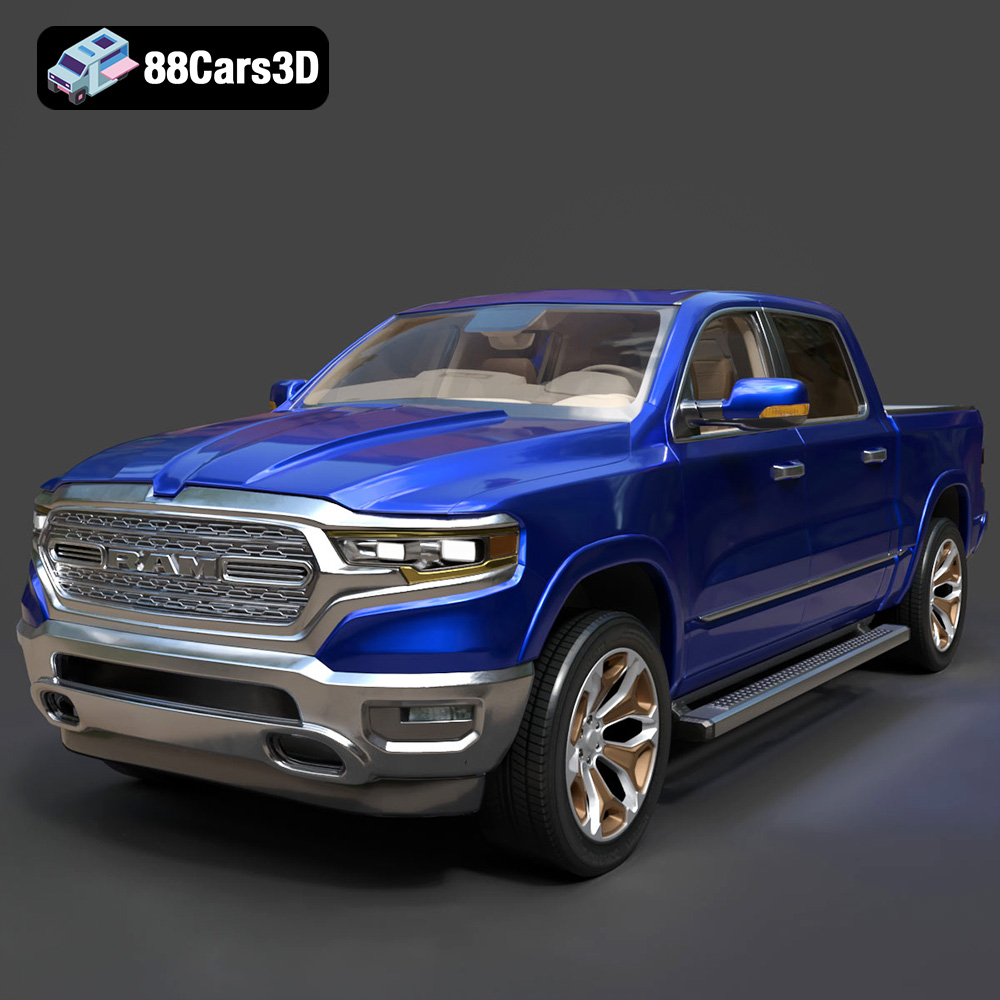
Texture: Yes
Material: Yes
Download the Dodge RAM 2019 3D Model featuring clean geometry, realistic detailing, and a fully modeled interior. Includes .blend, .fbx, .obj, .glb, .stl, .ply, .unreal, and .max formats for rendering, simulation, and game development.
Price: $19.99
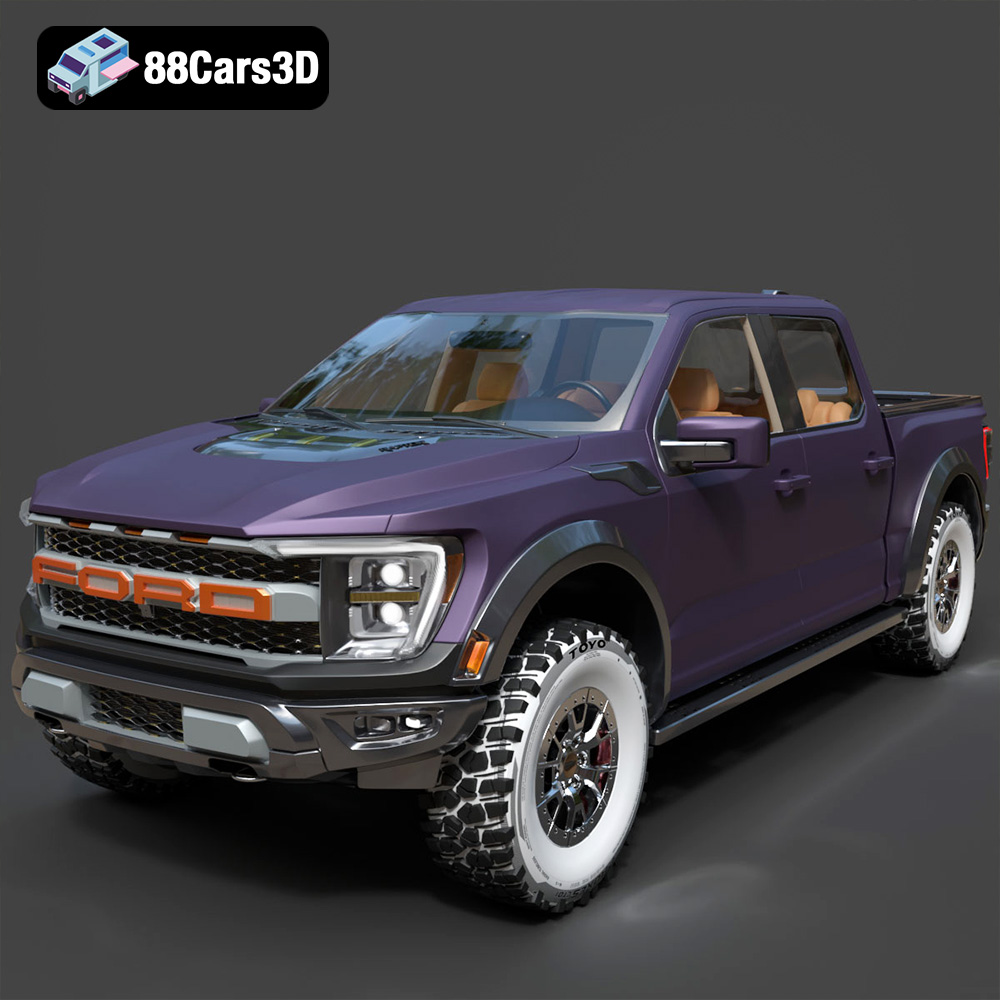
Texture: Yes | Material: Yes Download the ultra-high-detail Ford F-150 Raptor 2021 3D Model (8.73M Triangles). Features uncompromised widebody styling, fully modeled Fox Live Valve suspension, 37-inch tires, and interior. Perfect for premium VFX, cinematic rendering, and ArchViz. Includes .blend, .fbx, .obj, .glb, .stl, and .max formats.
Price: $29.99
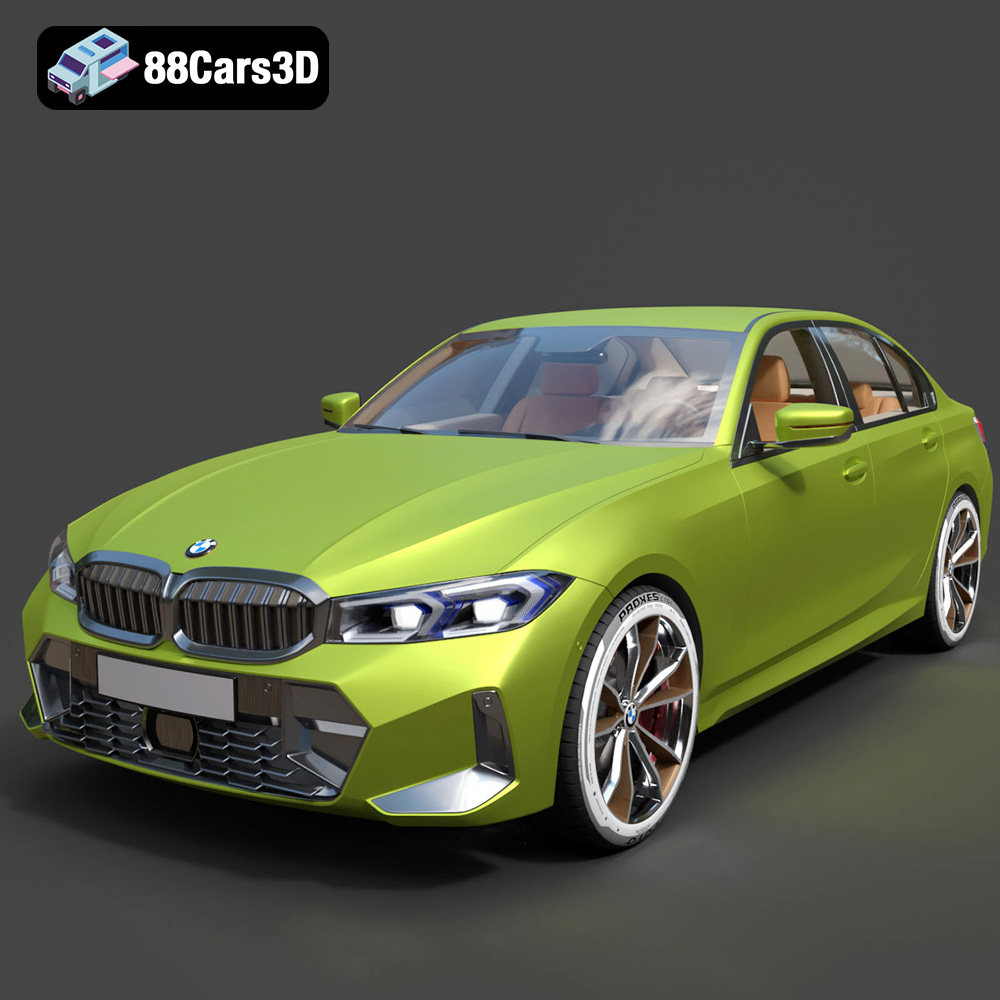
Texture: Yes | Material: Yes Download the ultra-high-detail BMW 3 Series Limousine (2022) 3D Model (4.16M Triangles). Features the modernized G20 LCI exterior, the all-new BMW Curved Display interior, and ultra-dense topology. Perfect for ArchViz, VFX, and cinematic rendering. Includes .blend, .fbx, .obj, .glb, .stl, and .max formats.
Price: $19.99
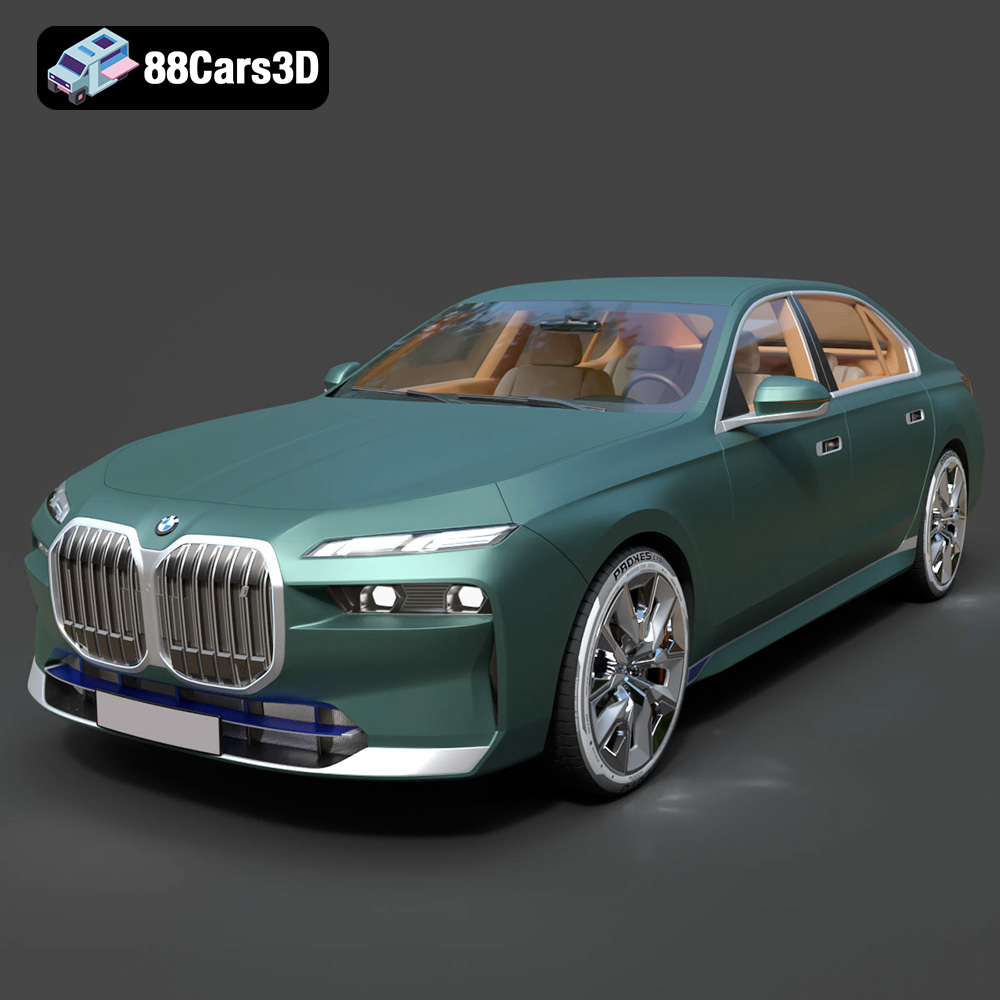
Texture: Yes | Material: Yes Download the ultra-high-detail BMW i7 (2023) 3D Model (4.14M Triangles). Features the illuminated kidney grille, split crystal headlights, fully modeled Theatre Screen interior, and monolithic luxury styling. Perfect for ArchViz, VFX, and cinematic rendering. Includes .blend, .fbx, .obj, .glb, .stl, and .max formats.
Price: $19.99
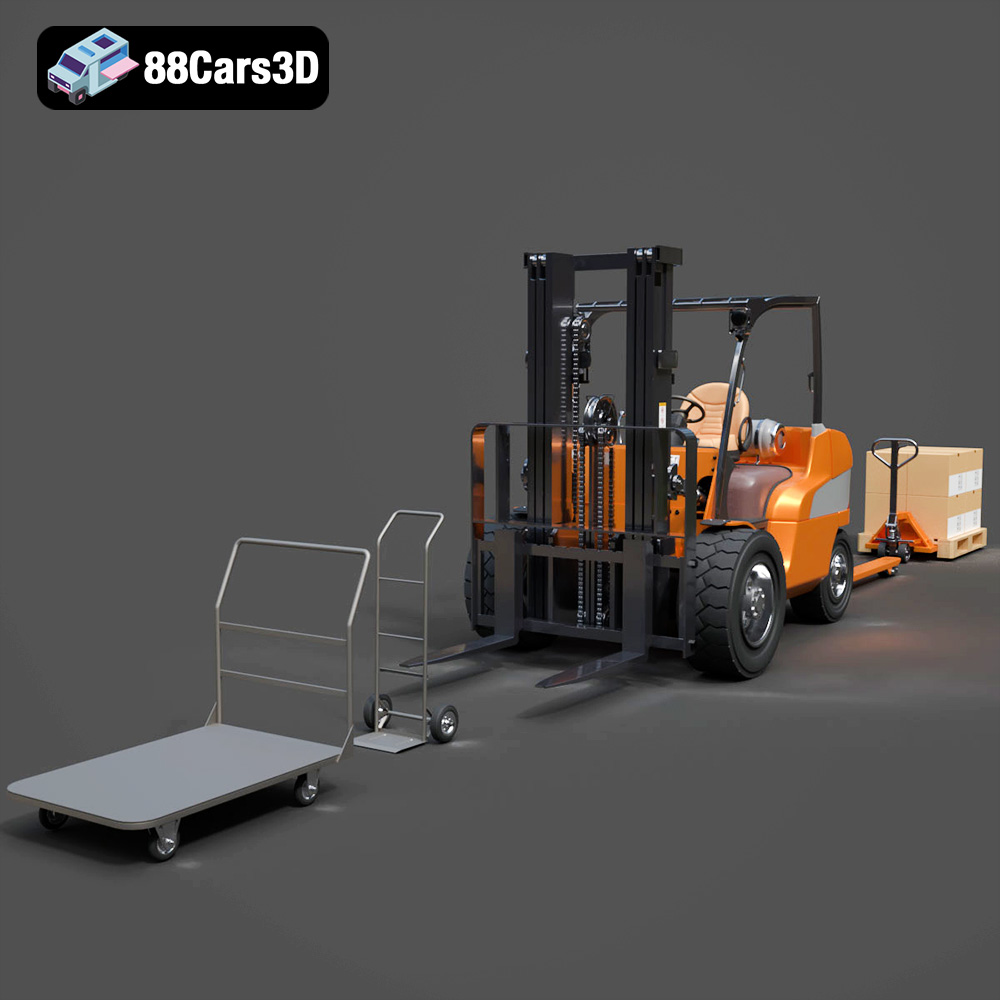
Texture: Yes | Material: Yes Download the highly detailed CAT Manual Loader & Warehouse Carts Kit 3D Model (2.4M Triangles). Features a macro-detailed hydraulic pallet jack, heavy-duty forks, and transport carts. Perfect for industrial ArchViz, factory rendering, and logistics simulations. Includes .blend, .fbx, .obj, .glb, .stl, and .max formats.
Price: $19.99
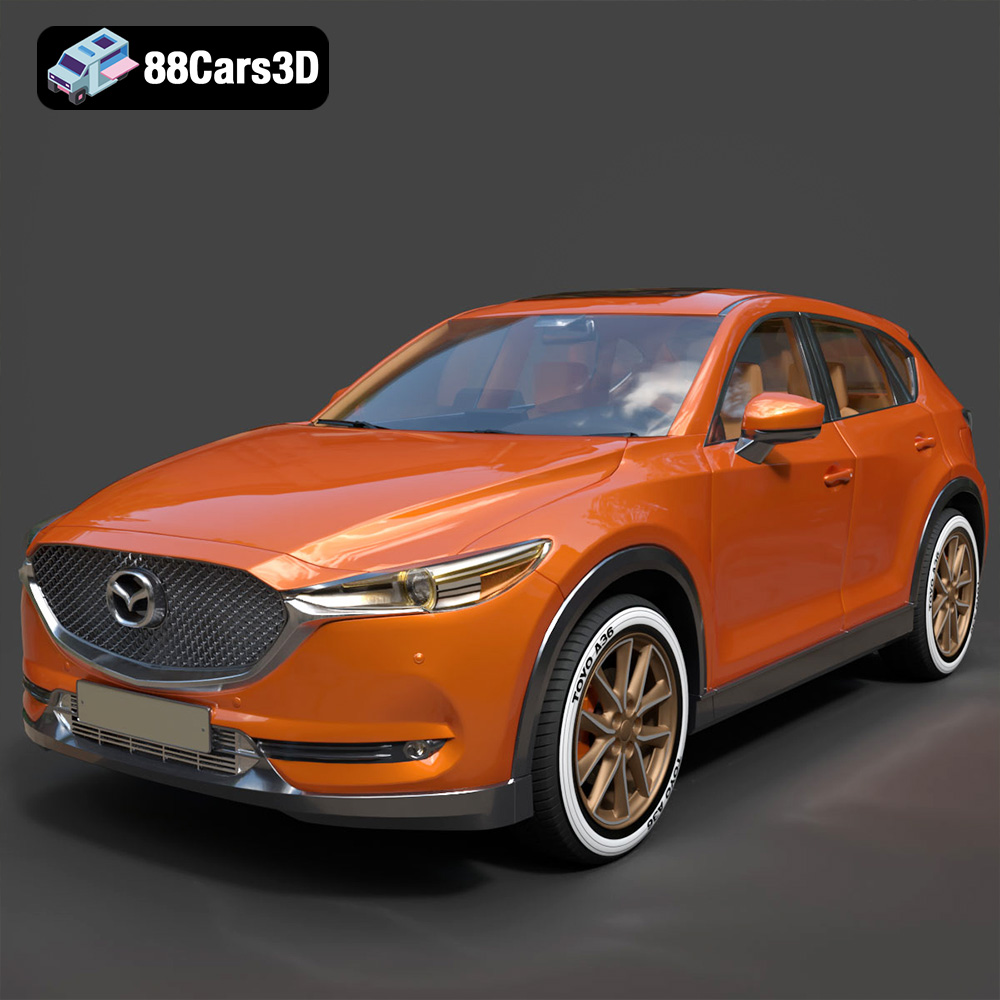
Texture: Yes | Material: Yes
Download the highly optimized Mazda CX-5 2014 3D Model (294k Triangles). Features the dynamic Kodo design language, signature grille, and a clean interior. Perfectly balanced for ArchViz, background traffic, and game development. Includes .blend, .fbx, .obj, .glb, .stl, and .max formats.
Price: $19.99
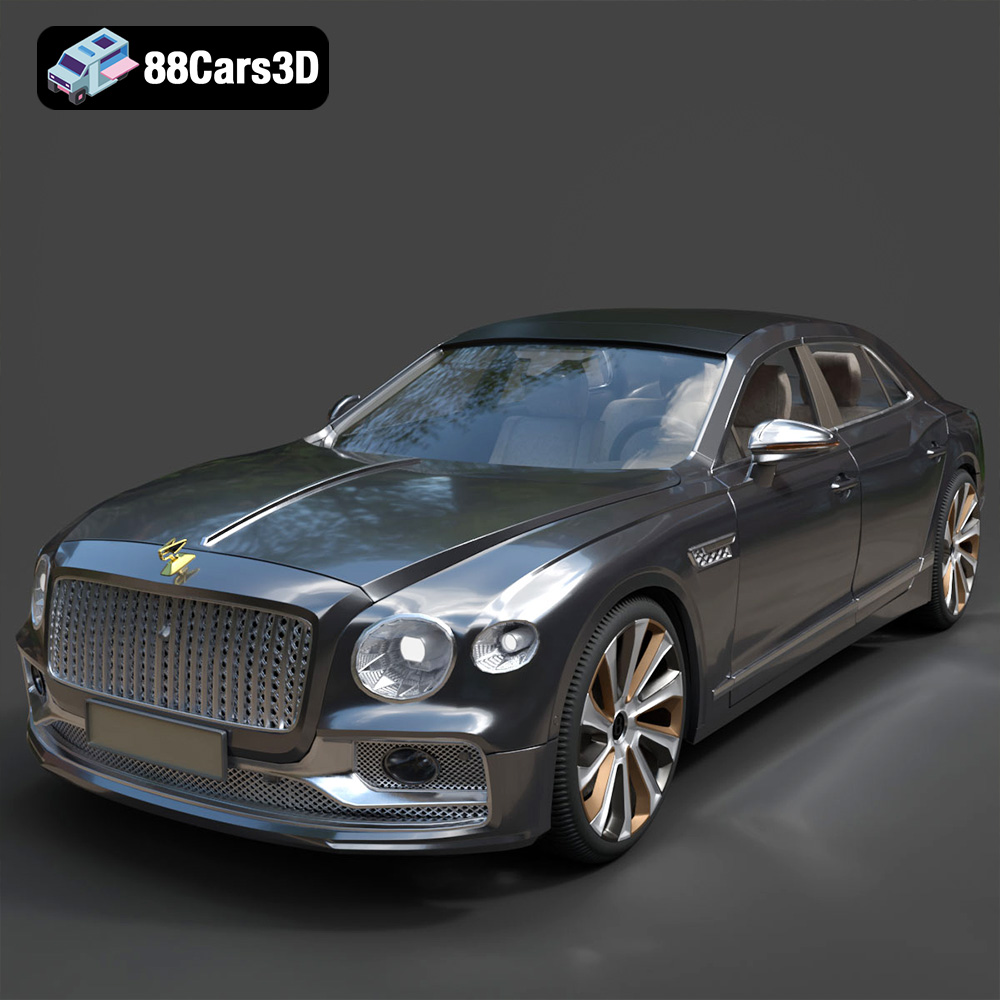
Texture: Yes | Material: Yes Download the ultra-high-detail Bentley Flying Spur Mulliner 2022 3D Model (2.94M Triangles). Features the bespoke Double Diamond grille, a fully modeled diamond-quilted interior, and exquisite luxury styling. Perfect for high-end ArchViz, VFX, and cinematic rendering. Includes .blend, .fbx, .obj, .glb, .stl, and .max formats.
Price: $19.90
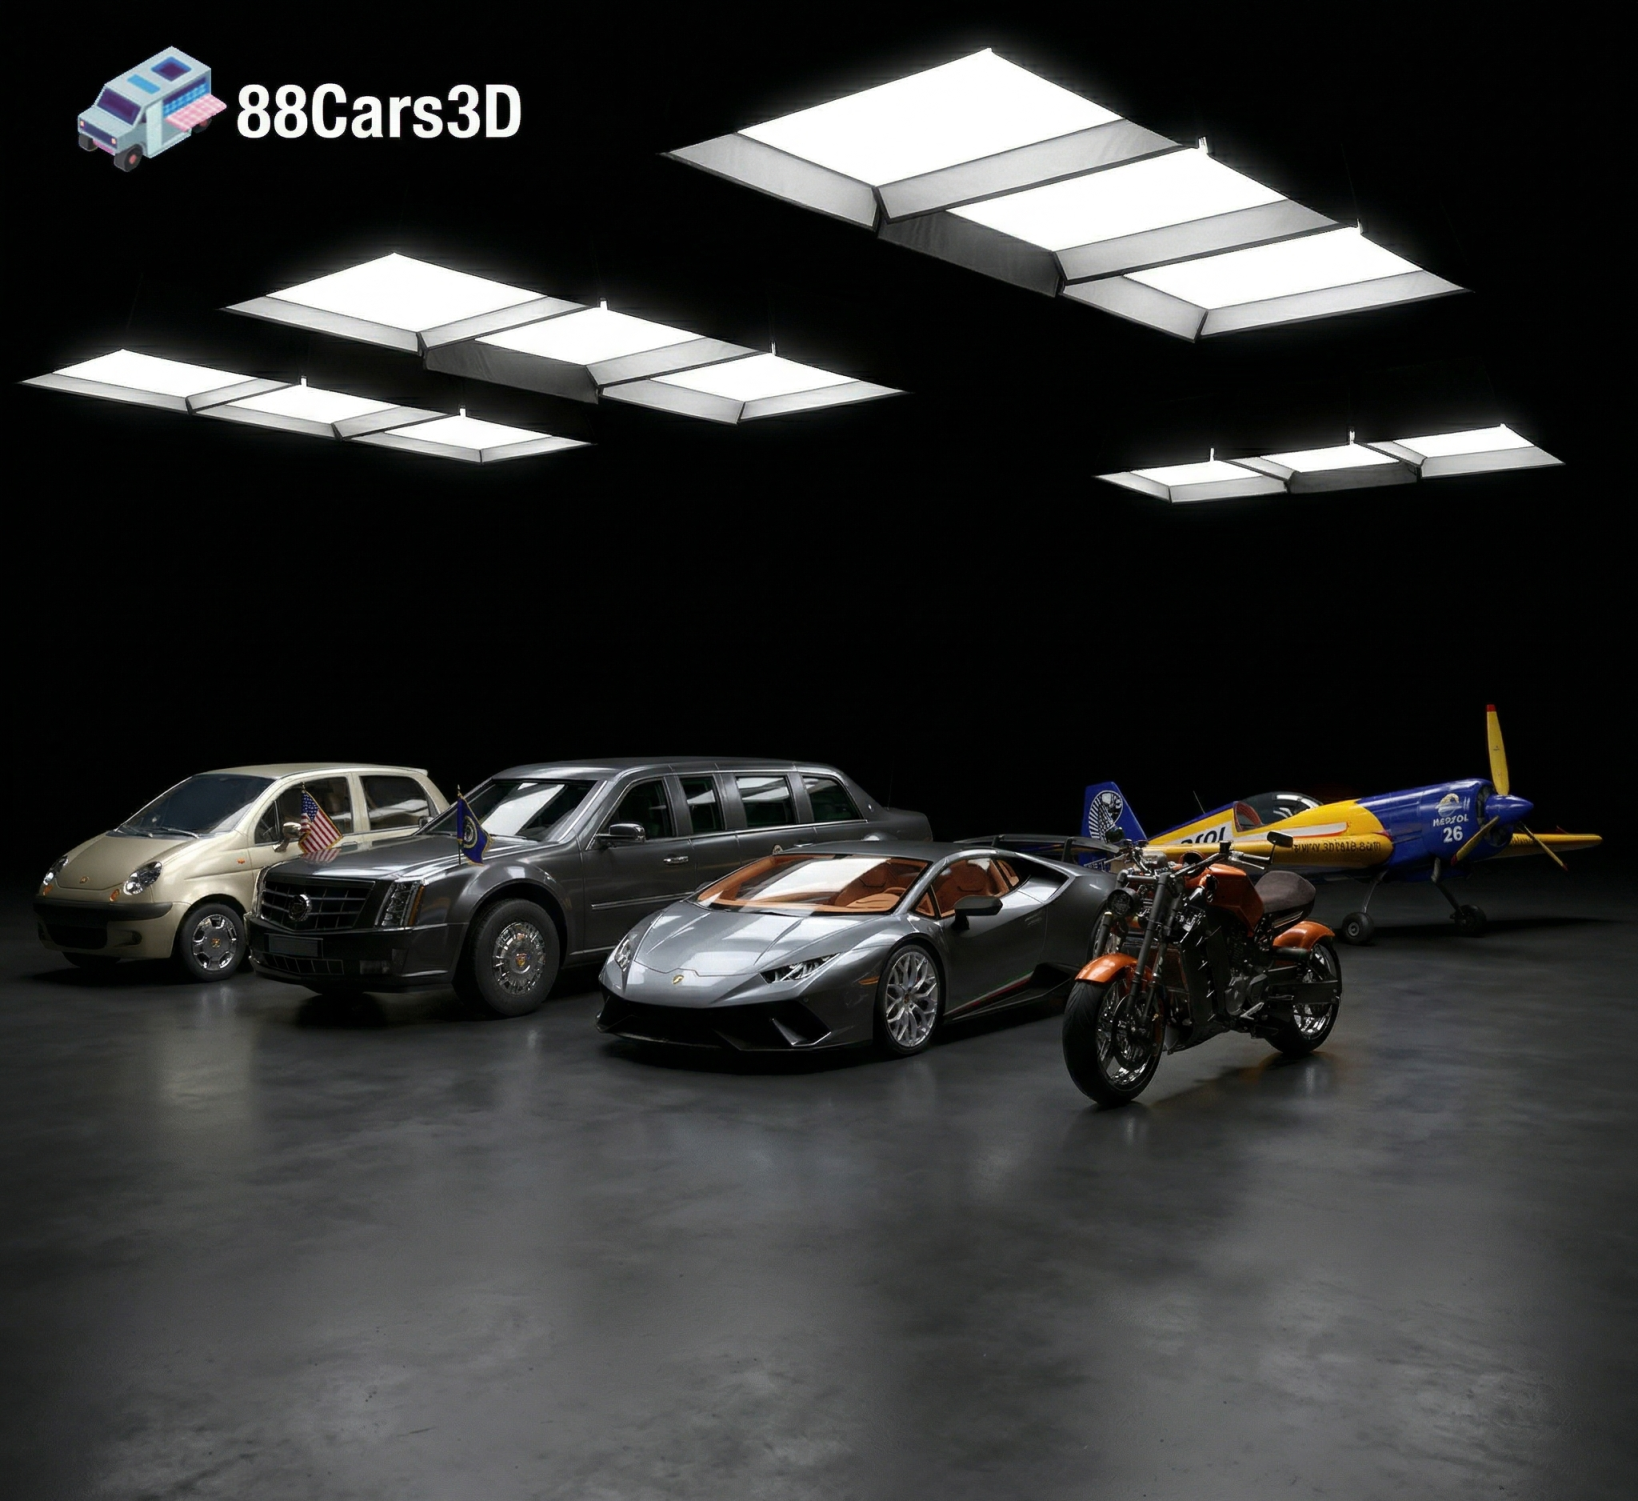
Texture: Yes | Material: Yes | 3D Printable: Yes. Download the Ultimate Creators’ Showcase featuring 5 premium 3D models: Lamborghini Huracan, ZAV Concept Motorcycle, Sukhoi SU-26, Presidential Limousine, and Daewoo Damas. Optimized for 4K CGI rendering and 3D printing. Save massive with this exclusive multi-category bundle!
Price: $99.99

