Get 50% OFF All Premium 3D & STL Models!

“`html
Real-time ray tracing has revolutionized the world of automotive visualization, bringing unprecedented levels of realism and visual fidelity to Unreal Engine projects. Imagine showcasing a meticulously crafted 3D car model from platforms like 88cars3d.com, bathed in accurate reflections and soft shadows, all rendered in real-time. This blog post will guide you through the process of setting up and optimizing real-time ray tracing in Unreal Engine, focusing on the specific needs of automotive visualization. We’ll explore the technical aspects, best practices, and common challenges you might encounter, enabling you to create stunning, interactive automotive experiences.
In this comprehensive guide, you’ll learn how to enable ray tracing in your Unreal Engine project, configure post-processing settings for optimal visual quality, optimize your 3D car models for ray tracing performance, and implement advanced techniques for achieving photorealistic results. Whether you’re a seasoned Unreal Engine developer or just starting your journey into real-time rendering, this post will equip you with the knowledge and tools you need to master ray tracing for automotive visualization.
The first step to harnessing the power of real-time ray tracing is to enable it within your Unreal Engine project. This involves making changes to both the project settings and the default rendering settings.
To enable ray tracing at the project level, navigate to Edit > Project Settings. In the Project Settings window, go to the Engine > Rendering section. Scroll down to the Hardware Ray Tracing section and check the box labeled “Support Hardware Ray Tracing.” You might also need to check the box labeled “Ray Tracing” under the Rendering section. These settings require a restart of the Unreal Engine editor to take effect.
Furthermore, ensure your project is configured to use DirectX 12, as it’s the API required for hardware-accelerated ray tracing. You can specify the Default RHI (Rendering Hardware Interface) within the project settings. Setting it to “Default” usually suffices if your system properly supports DirectX 12. If you’re having trouble, try specifically setting it to DirectX 12.
Important Note: Ray tracing performance is heavily dependent on your hardware. Ensure you have a compatible NVIDIA RTX or AMD Radeon RX series graphics card with sufficient VRAM. A minimum of 8GB VRAM is recommended, and 12GB or more is ideal for complex automotive scenes.
Ray tracing effects are largely controlled through post-processing volumes. Add a PostProcessVolume to your scene (Add > Visual Effects > PostProcessVolume) and ensure it’s set to “Unbound” so it affects the entire scene (check “Unbound” in the Details panel). Within the PostProcessVolume’s settings, you’ll find various ray tracing options under the Ray Tracing Quality category. These include:
Experiment with these settings to find the right balance between visual quality and performance. Start with lower settings for prototyping and gradually increase them as you optimize your scene.
The complexity of your 3D car models significantly impacts ray tracing performance. Optimization is crucial for achieving a smooth and interactive experience. Models sourced from marketplaces such as 88cars3d.com are generally well-optimized, but further refinement might still be necessary.
While ray tracing can handle incredibly detailed models, excessive polygon counts can quickly degrade performance. Aim for a polygon count that is appropriate for real-time rendering. For exterior models, a range of 300,000 to 800,000 polygons is a good starting point. Interior models might require slightly higher polygon counts to capture finer details. The use of Nanite, Unreal Engine’s virtualized geometry system, can greatly assist with handling high-poly models without significant performance penalties. Nanite intelligently streams and renders only the visible details, allowing you to import models with millions of polygons. To enable Nanite on a static mesh, simply double-click the mesh in the Content Browser and check the “Enable Nanite Support” box in the Details panel.
Level of Detail (LOD) models are essential for optimizing performance at varying distances. Create multiple LOD versions of your car model with progressively lower polygon counts. Unreal Engine automatically switches between LODs based on the distance from the camera. Generate LODs within your 3D modeling software (e.g., Blender, Maya, 3ds Max) or use Unreal Engine’s built-in LOD generation tool. A good starting point is to reduce the polygon count by 50% for each subsequent LOD.
Proper UV mapping is crucial for accurate material application and texture display. Ensure your car model has clean and non-overlapping UVs. Optimize your textures by using appropriate resolutions and compression formats. High-resolution textures (e.g., 4K or 8K) can enhance visual quality but also increase VRAM usage. Consider using lower-resolution textures for elements that are not frequently viewed up close. Texture compression formats like BC5 (for normal maps) and BC7 (for color and roughness maps) can significantly reduce texture size without noticeable loss of quality.
When creating or modifying UVs, pay close attention to avoiding stretching or distortion, as these can lead to visual artifacts, especially in reflections. A consistent texel density across the model is ideal.
Physically Based Rendering (PBR) materials are essential for achieving realistic results with ray tracing. Unreal Engine’s Material Editor provides a powerful node-based system for creating complex PBR materials. 3D car models from 88cars3d.com often come with pre-made PBR materials, but you can customize them further to achieve your desired look.
Key PBR material properties include:
These properties work together to define how light interacts with the surface of the material. When creating PBR materials for automotive visualization, pay close attention to the roughness and metallic values, as they significantly impact the realism of reflections. For example, a car paint material typically has a metallic value of 0 (non-metal) and a roughness value that varies depending on the type of paint (e.g., glossy, matte).
Material Instances allow you to create variations of a master material without duplicating the entire material graph. This is extremely useful for creating different colors or finishes for your car model. Create a Material Instance by right-clicking on a master material in the Content Browser and selecting “Create Material Instance.” You can then modify the parameters exposed in the Material Instance to change the appearance of the material. Material Parameter Collections are a centralized way to control material parameters across multiple materials. This allows you to easily adjust the look of your entire scene by modifying a single parameter collection.
For example, you might create a Material Parameter Collection to control the overall brightness or saturation of your car paint materials. This allows you to quickly adjust the look of your car in different lighting conditions.
Accurate and realistic lighting is paramount for automotive visualization. Unreal Engine offers several lighting solutions, including Lumen, its fully dynamic global illumination and reflections system, and traditional lighting techniques.
Lumen is Unreal Engine’s next-generation global illumination and reflections system. It provides high-quality, dynamic lighting without the need for precomputed lightmaps. To enable Lumen, go to Project Settings > Rendering > Global Illumination and set the Dynamic Global Illumination Method to “Lumen.” Also, set the Reflection Method to “Lumen.” Lumen is particularly well-suited for ray tracing because it seamlessly integrates with ray-traced reflections and global illumination.
Lumen offers several settings that you can adjust to control the quality and performance of the lighting. Key settings include:
Experiment with these settings to find the right balance between visual quality and performance. Lowering the Final Gather Quality and Tracing Quality can significantly improve performance, while increasing the Max Ray Distance can improve the accuracy of the lighting.
Even with Lumen enabled, you can still use traditional lighting techniques to enhance your scene. Directional lights, spotlights, and point lights can be used to add specific highlights and shadows. When using traditional lights, ensure they are set to “Static” or “Stationary” to take advantage of baked lighting. However, for dynamic scenes, consider using “Movable” lights. For best performance, minimize the number of movable lights in your scene. Consider using IES profiles for your spotlights to create more realistic and interesting lighting patterns. IES profiles are files that define the distribution of light emitted from a light source.
You can also use lightmass importance volumes to focus lightmap generation on specific areas of your scene. This can improve the quality of the baked lighting in those areas without significantly increasing bake times.
Unreal Engine’s Blueprint visual scripting system allows you to create interactive experiences without writing code. For automotive visualization, Blueprints can be used to create car configurators, interactive demos, and virtual showrooms.
A car configurator allows users to customize various aspects of the car, such as the paint color, wheels, and interior trim. To create a car configurator using Blueprints, you can use the following steps:
For example, you can use a “Set Material” node to change the material of the car’s body based on the selected paint color. You can also use a “Set Static Mesh” node to change the wheel type based on the user’s selection. To create a user interface for the configurator, you can use Unreal Engine’s UMG (Unreal Motion Graphics) system. UMG allows you to create interactive buttons, sliders, and dropdown menus that the user can use to customize the car.
Blueprints can also be used to create interactive demos that showcase the features and capabilities of the car. For example, you can create a demo that allows users to open and close the doors, turn on the headlights, and adjust the interior lighting. To create an interactive demo, you can use the following steps:
For example, you can use a “Timeline” node to create an animation for opening and closing the doors. You can also use a “Set Visibility” node to turn on and off the headlights. To detect user input, you can use “Input Action” events in the Blueprint. These events are triggered when the user presses a specific key or button. You can then use these events to trigger the corresponding actions in the Blueprint.
Achieving photorealistic results with real-time ray tracing requires advanced techniques and careful optimization. Here are some tips and tricks to improve the visual quality and performance of your automotive visualization projects.
Unreal Engine uses acceleration structures to speed up ray tracing calculations. These structures organize the scene geometry in a way that allows the engine to quickly determine which objects are intersected by a ray. The type of acceleration structure used can significantly impact performance. Unreal Engine offers several acceleration structure options, including:
The BVH is generally the best choice for most scenes, but the SAS can be more efficient for scenes with a large number of small objects. You can choose the acceleration structure type in the Project Settings under Rendering > Ray Tracing > Acceleration Structure. Experiment with different acceleration structure types to find the one that performs best in your scene.
Ray tracing can introduce noise and artifacts, especially when using lower sample counts. Temporal Anti-Aliasing (TAA) is a technique that helps to smooth out these artifacts by blending frames over time. TAA is enabled by default in Unreal Engine, but you can adjust its settings in the PostProcessVolume. Ray tracing denoisers can further reduce noise and artifacts. Unreal Engine offers several denoiser options, including:
Enable denoising in the PostProcessVolume under the Ray Tracing Quality > Denoiser section. Experiment with different denoiser options to find the one that provides the best balance between quality and performance.
Real-time ray tracing in Unreal Engine offers unparalleled realism for automotive visualization. By following the steps outlined in this guide, you can set up and optimize your projects to achieve stunning visual results. Remember to focus on optimizing your 3D car models, creating realistic PBR materials, leveraging Lumen for dynamic lighting, and using Blueprint scripting for interactive experiences. Continuously test and profile your project to identify performance bottlenecks and fine-tune your settings accordingly. Resources from platforms like 88cars3d.com, offering pre-optimized models, can greatly accelerate your workflow.
The key takeaways from this guide are:
Take the next step and start experimenting with ray tracing in your own Unreal Engine projects. Explore the official Unreal Engine documentation (https://dev.epicgames.com/community/unreal-engine/learning) for more in-depth information on ray tracing features and techniques. With dedication and practice, you can master real-time ray tracing and create breathtaking automotive visualizations that captivate your audience.
“`
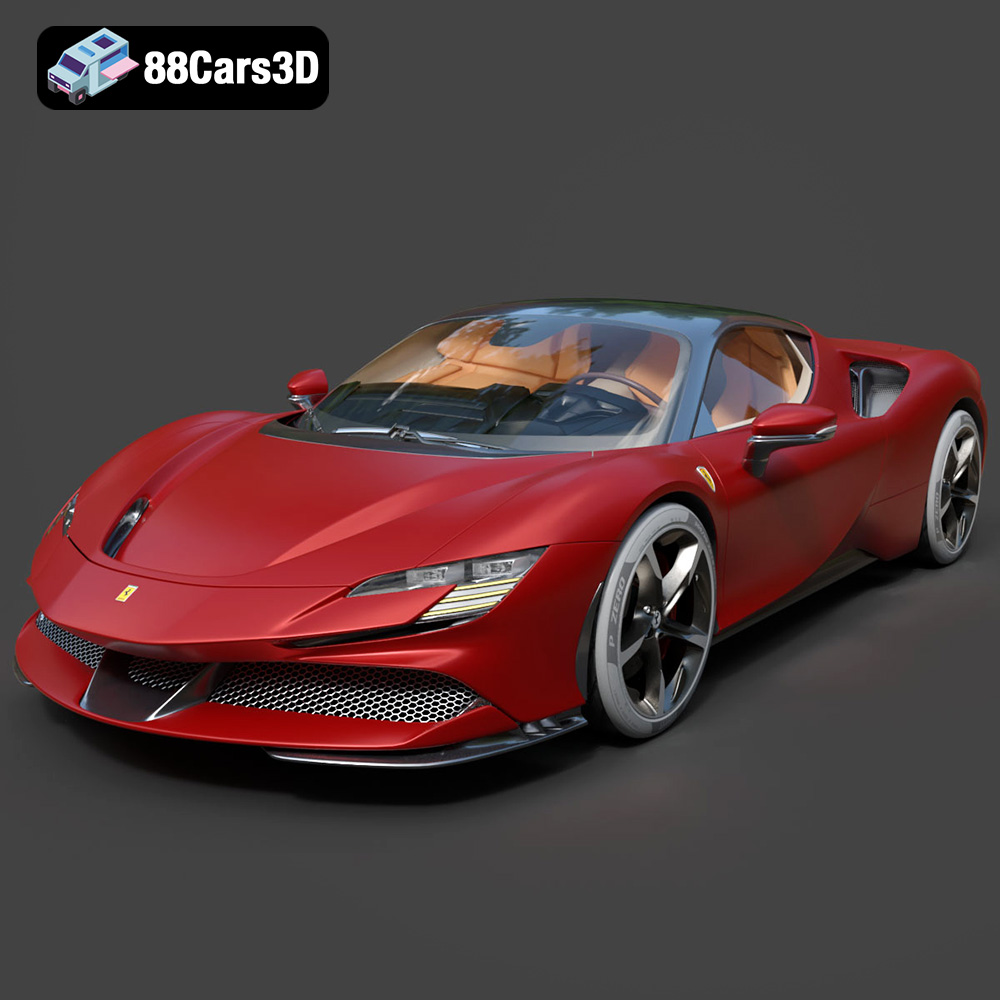
Texture: Yes
Material: Yes
Download the Ferrari SF90 Stradale 3D Model featuring clean geometry, realistic detailing, and a fully modeled interior. Includes .blend, .fbx, .obj, .glb, .stl, .ply, .unreal, and .max formats for rendering, simulation, and game development.
Price: $19.99
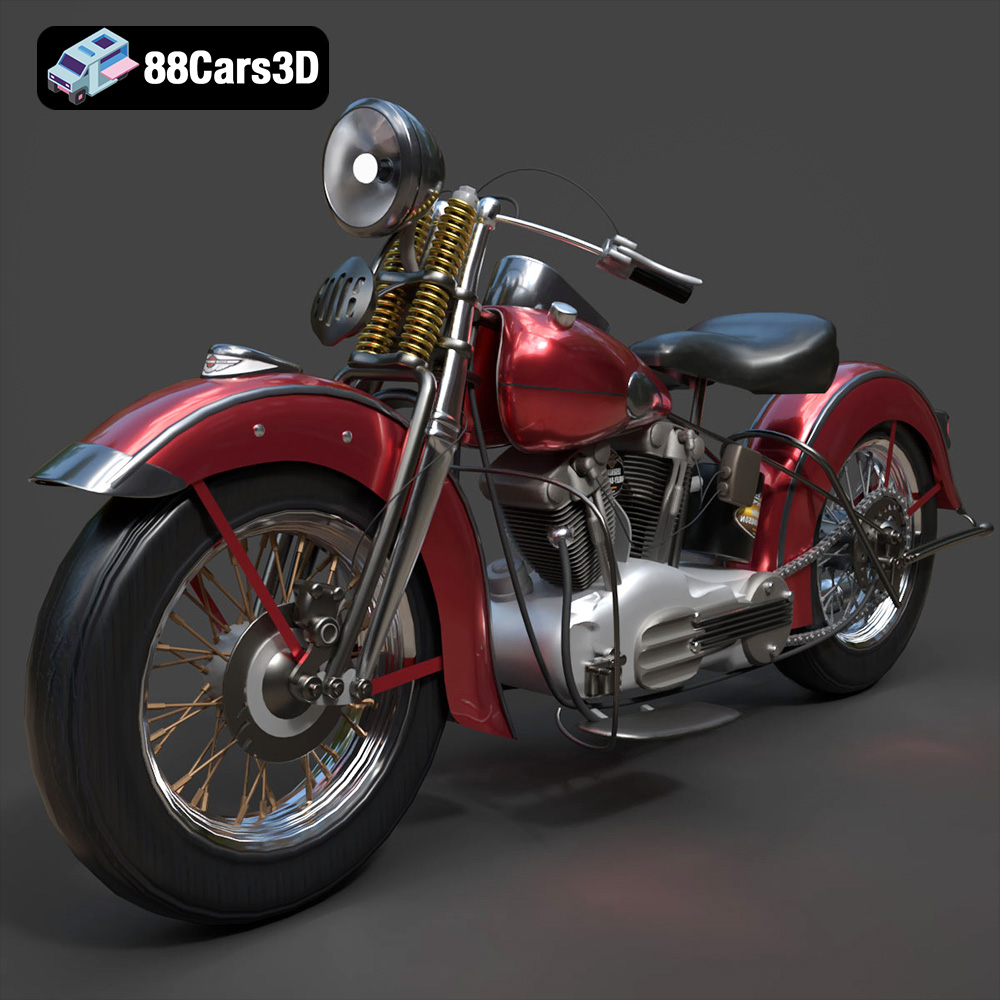
Texture: Yes
Material: Yes
Download the Harley Davidson F 1946 3D Model featuring clean geometry, realistic detailing, and a fully modeled interior. Includes .blend, .fbx, .obj, .glb, .stl, .ply, .unreal, and .max formats for rendering, simulation, and game development.
Price: $19.99
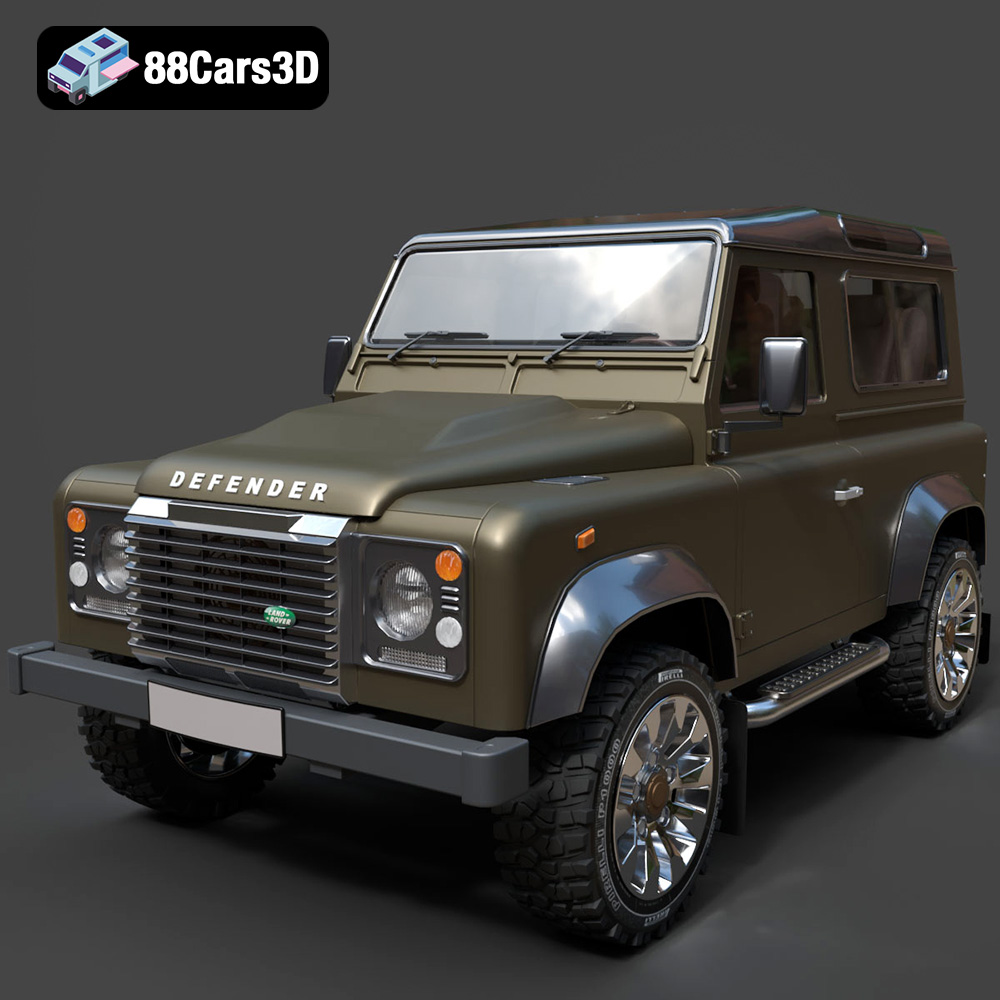
Texture: Yes
Material: Yes
Download the Land Rover Defender Works V8 3D Model featuring clean geometry, realistic detailing, and a fully modeled interior. Includes .blend, .fbx, .obj, .glb, .stl, .ply, .unreal, and .max formats for rendering, simulation, and game development.
Price: $19.99
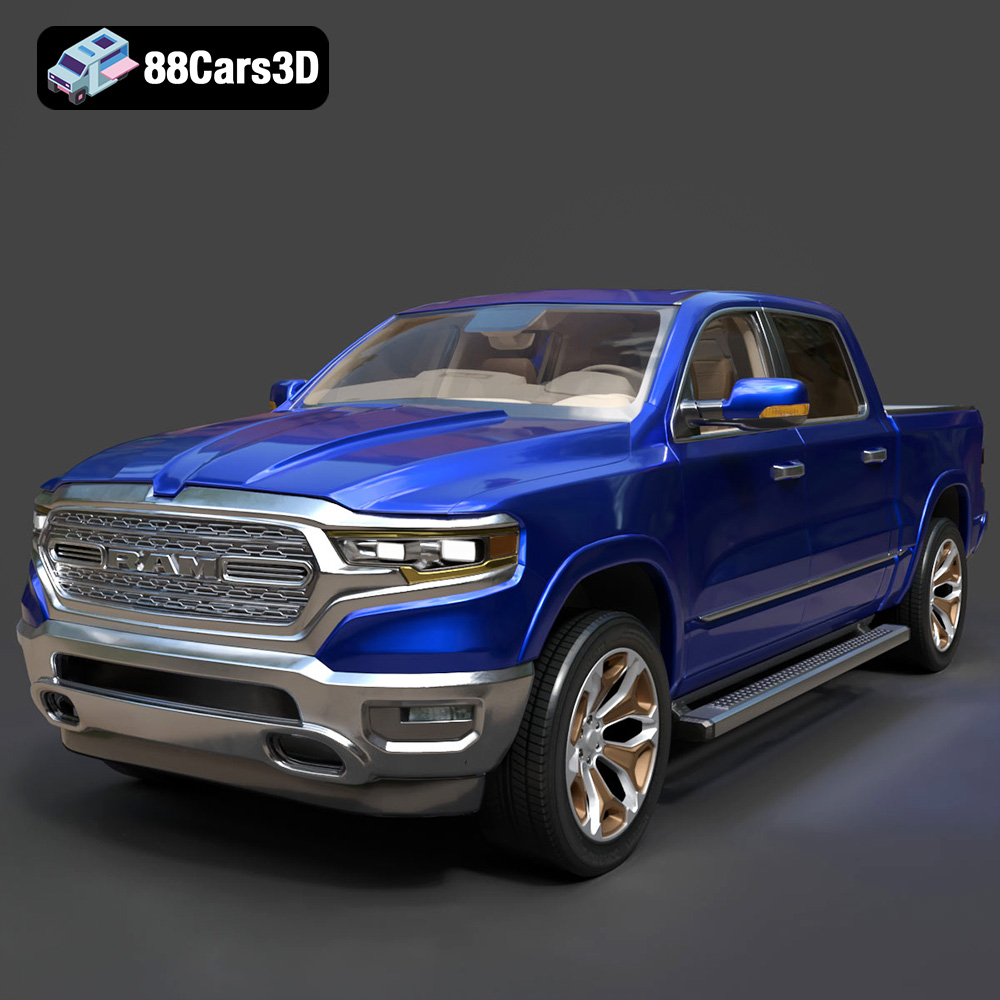
Texture: Yes
Material: Yes
Download the Dodge RAM 2019 3D Model featuring clean geometry, realistic detailing, and a fully modeled interior. Includes .blend, .fbx, .obj, .glb, .stl, .ply, .unreal, and .max formats for rendering, simulation, and game development.
Price: $19.99
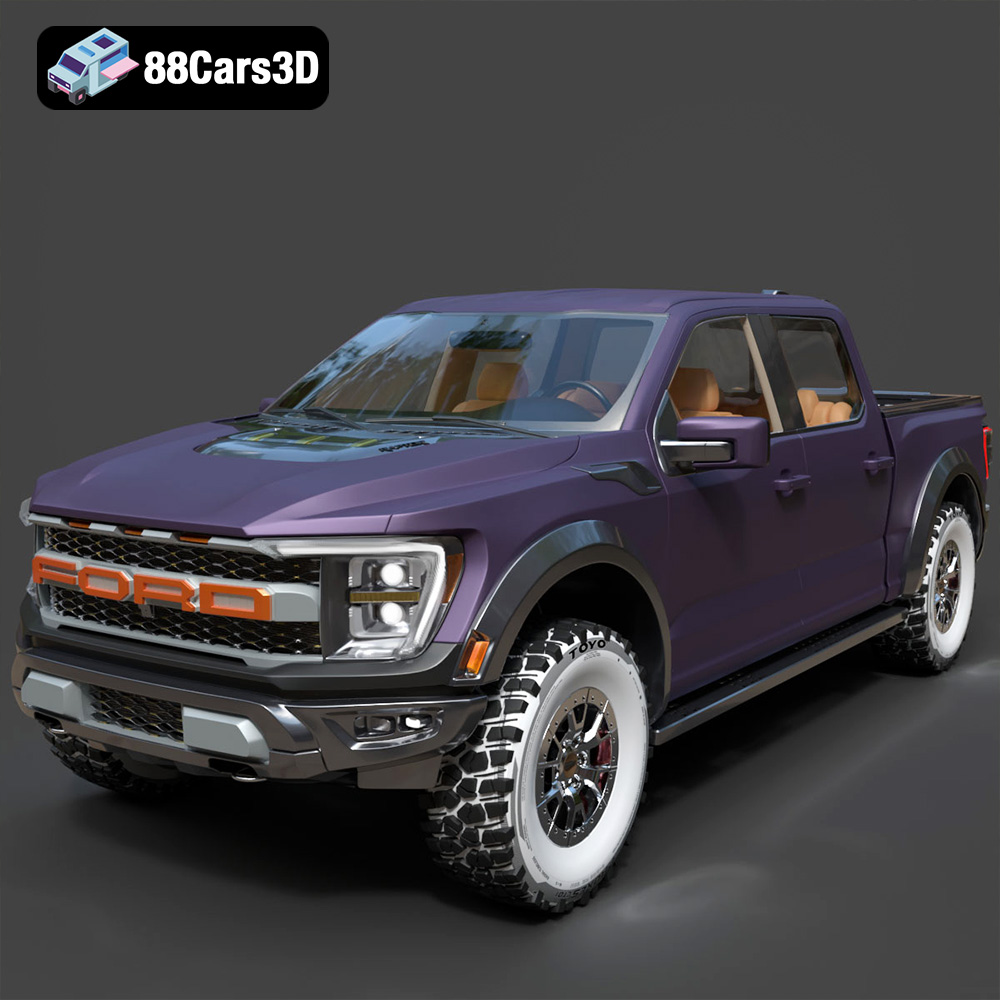
Texture: Yes | Material: Yes Download the ultra-high-detail Ford F-150 Raptor 2021 3D Model (8.73M Triangles). Features uncompromised widebody styling, fully modeled Fox Live Valve suspension, 37-inch tires, and interior. Perfect for premium VFX, cinematic rendering, and ArchViz. Includes .blend, .fbx, .obj, .glb, .stl, and .max formats.
Price: $29.99
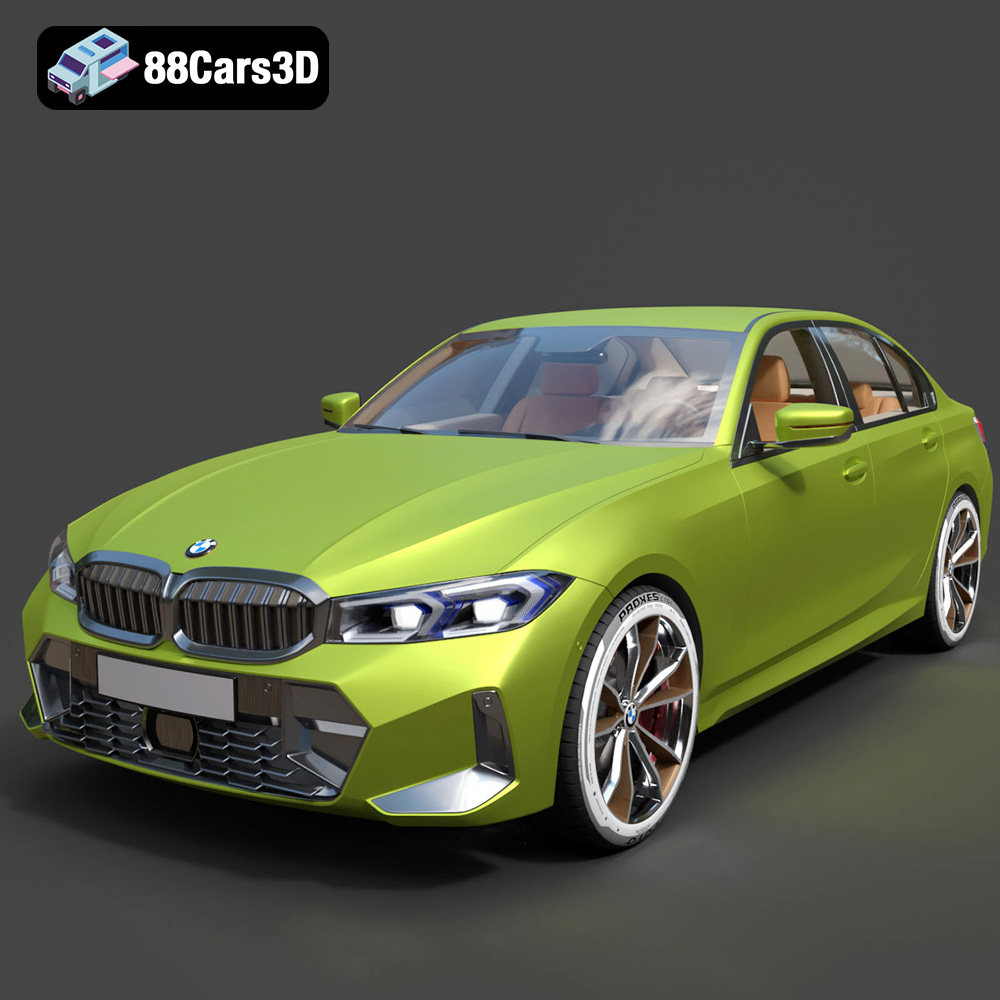
Texture: Yes | Material: Yes Download the ultra-high-detail BMW 3 Series Limousine (2022) 3D Model (4.16M Triangles). Features the modernized G20 LCI exterior, the all-new BMW Curved Display interior, and ultra-dense topology. Perfect for ArchViz, VFX, and cinematic rendering. Includes .blend, .fbx, .obj, .glb, .stl, and .max formats.
Price: $19.99
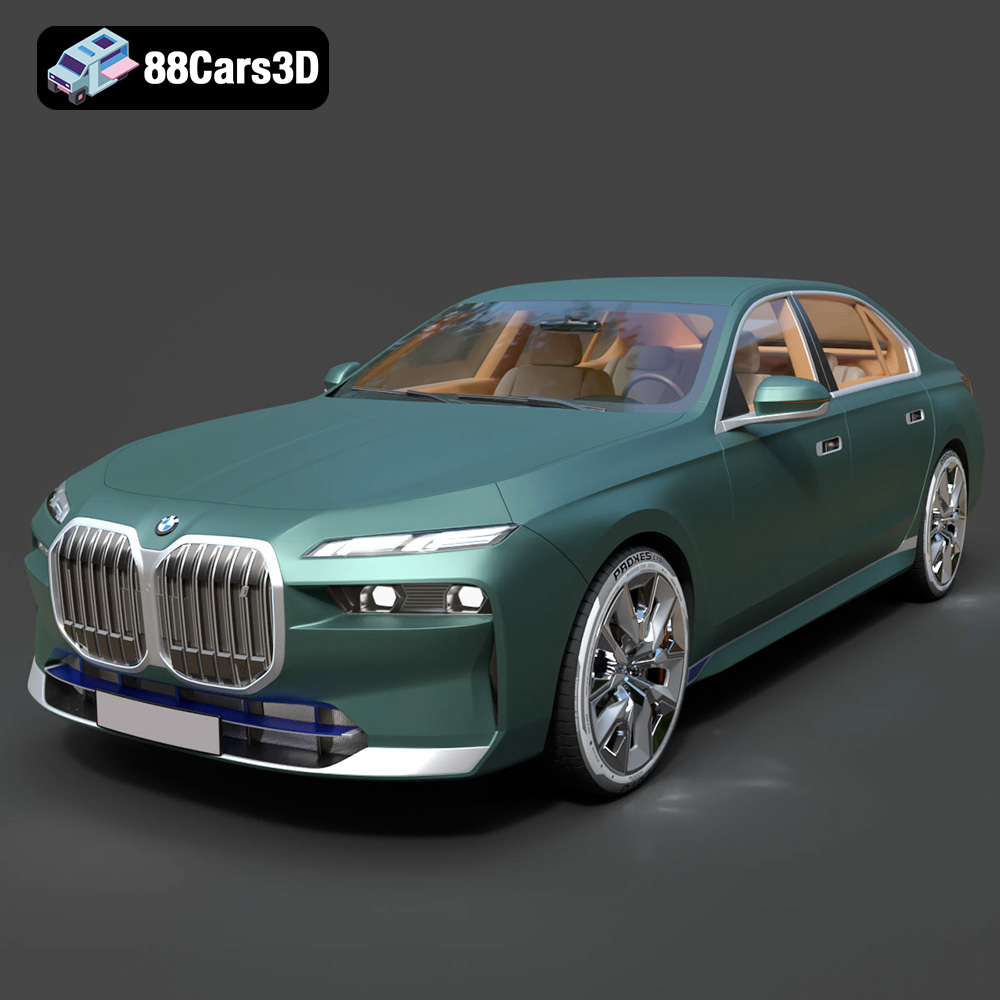
Texture: Yes | Material: Yes Download the ultra-high-detail BMW i7 (2023) 3D Model (4.14M Triangles). Features the illuminated kidney grille, split crystal headlights, fully modeled Theatre Screen interior, and monolithic luxury styling. Perfect for ArchViz, VFX, and cinematic rendering. Includes .blend, .fbx, .obj, .glb, .stl, and .max formats.
Price: $19.99
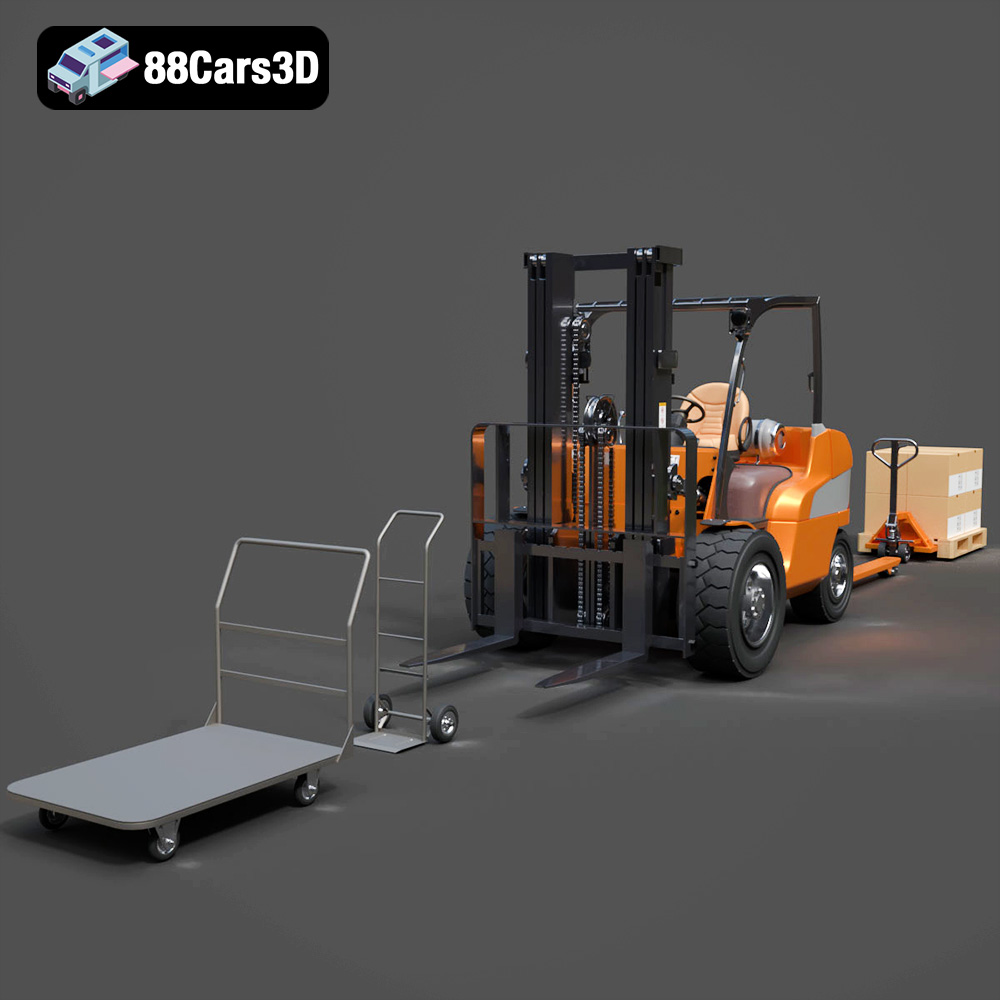
Texture: Yes | Material: Yes Download the highly detailed CAT Manual Loader & Warehouse Carts Kit 3D Model (2.4M Triangles). Features a macro-detailed hydraulic pallet jack, heavy-duty forks, and transport carts. Perfect for industrial ArchViz, factory rendering, and logistics simulations. Includes .blend, .fbx, .obj, .glb, .stl, and .max formats.
Price: $19.99
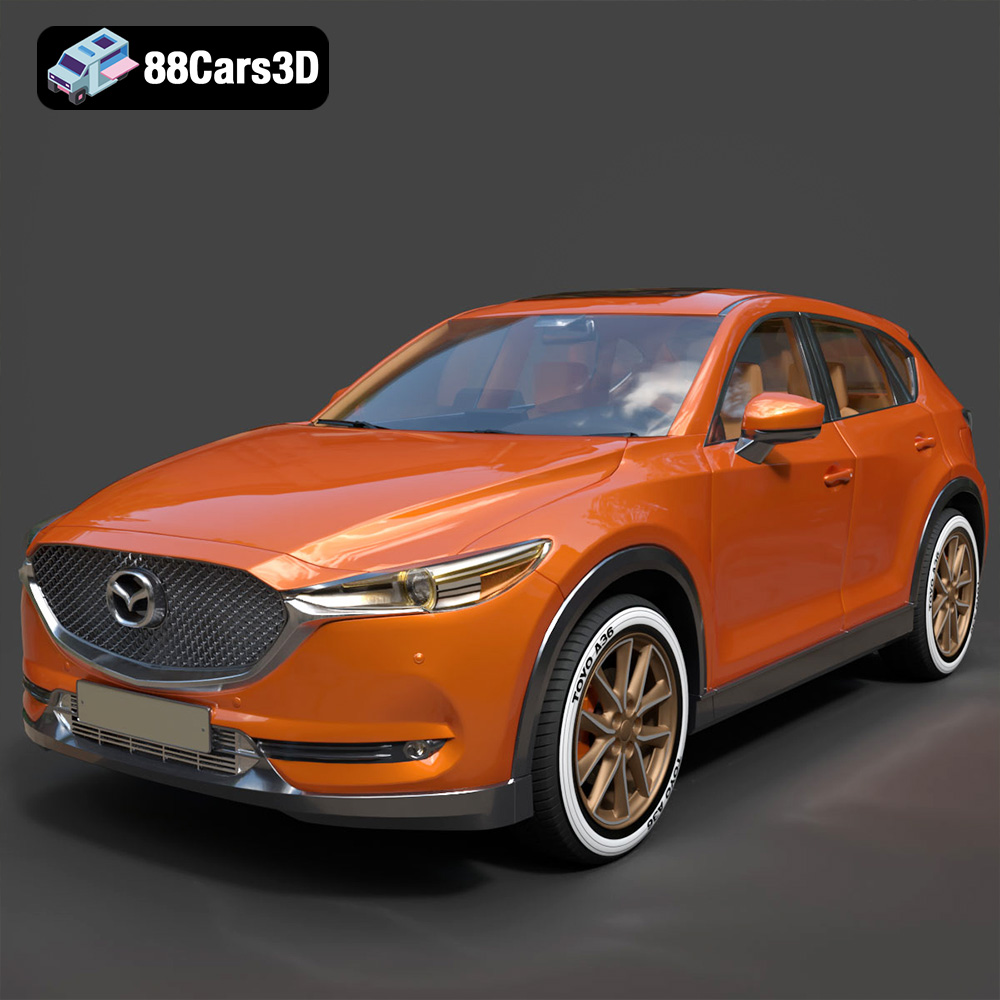
Texture: Yes | Material: Yes
Download the highly optimized Mazda CX-5 2014 3D Model (294k Triangles). Features the dynamic Kodo design language, signature grille, and a clean interior. Perfectly balanced for ArchViz, background traffic, and game development. Includes .blend, .fbx, .obj, .glb, .stl, and .max formats.
Price: $19.99
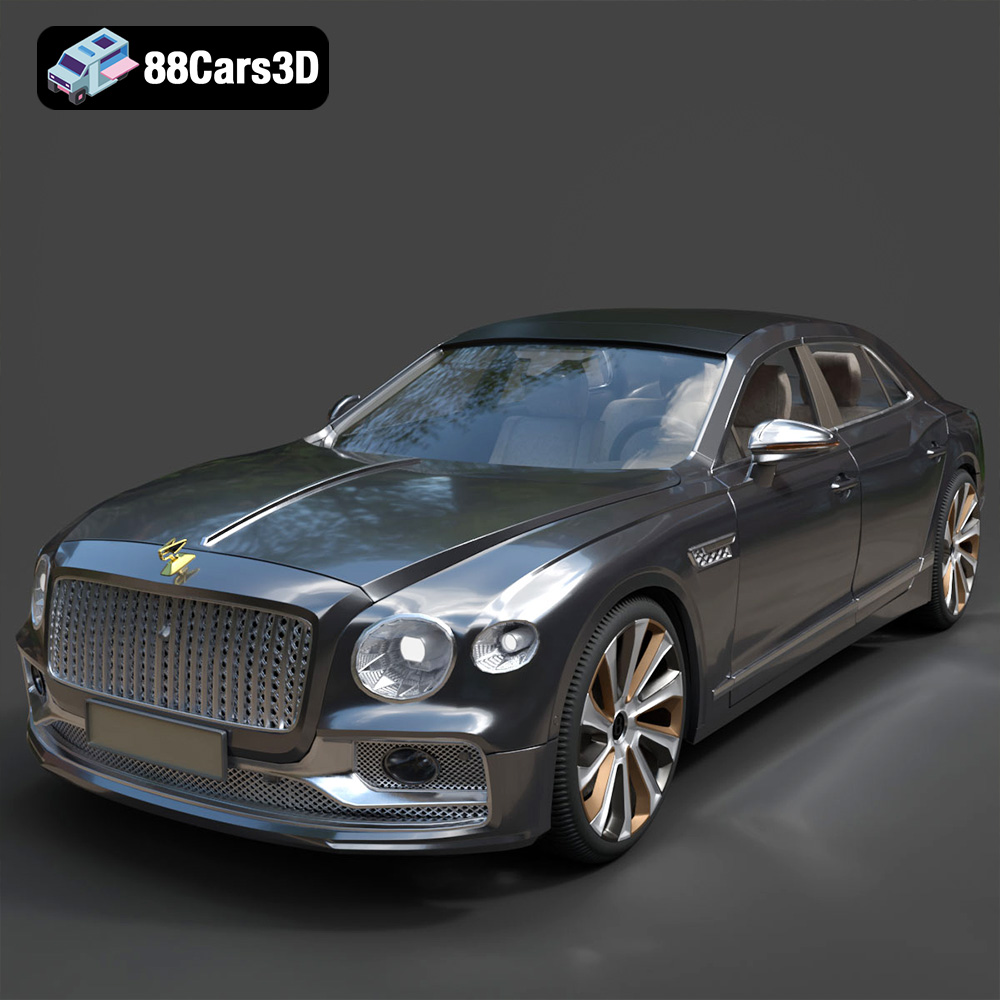
Texture: Yes | Material: Yes Download the ultra-high-detail Bentley Flying Spur Mulliner 2022 3D Model (2.94M Triangles). Features the bespoke Double Diamond grille, a fully modeled diamond-quilted interior, and exquisite luxury styling. Perfect for high-end ArchViz, VFX, and cinematic rendering. Includes .blend, .fbx, .obj, .glb, .stl, and .max formats.
Price: $19.90

