Get 20% OFF All Premium 3D & STL Models!

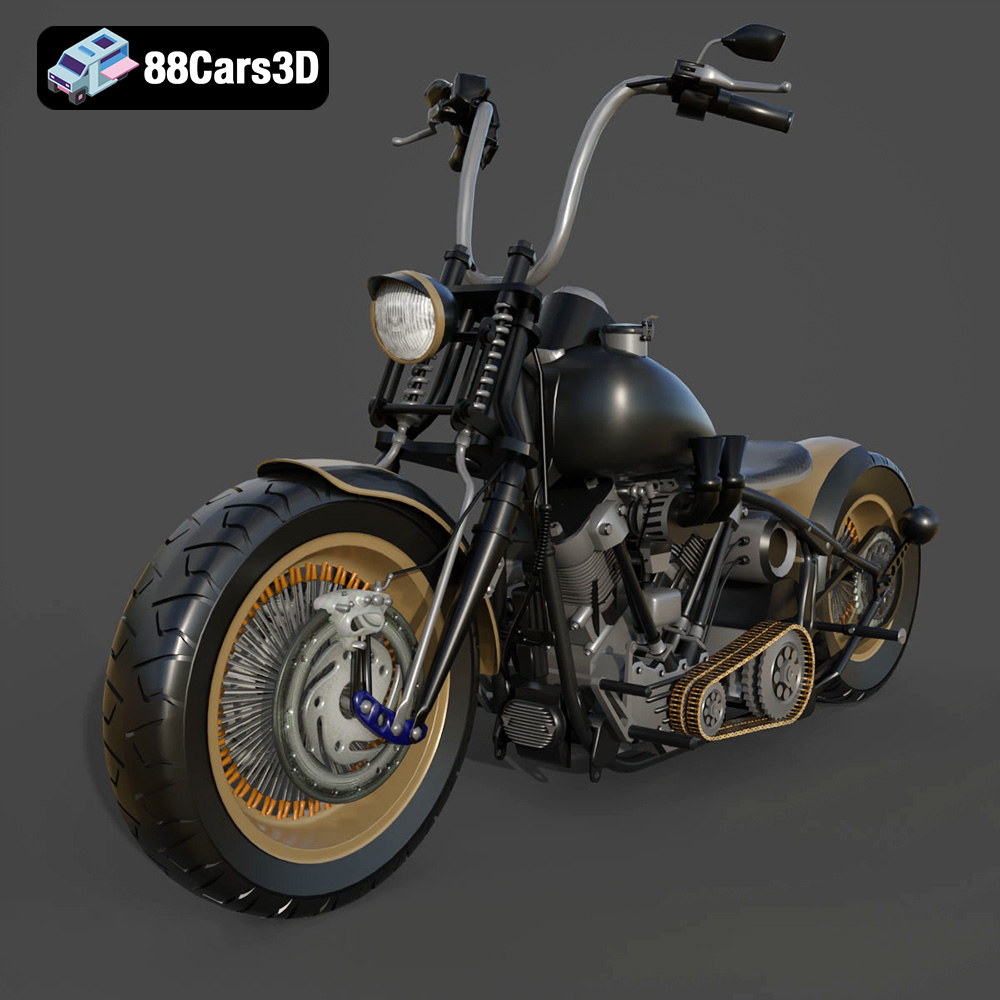
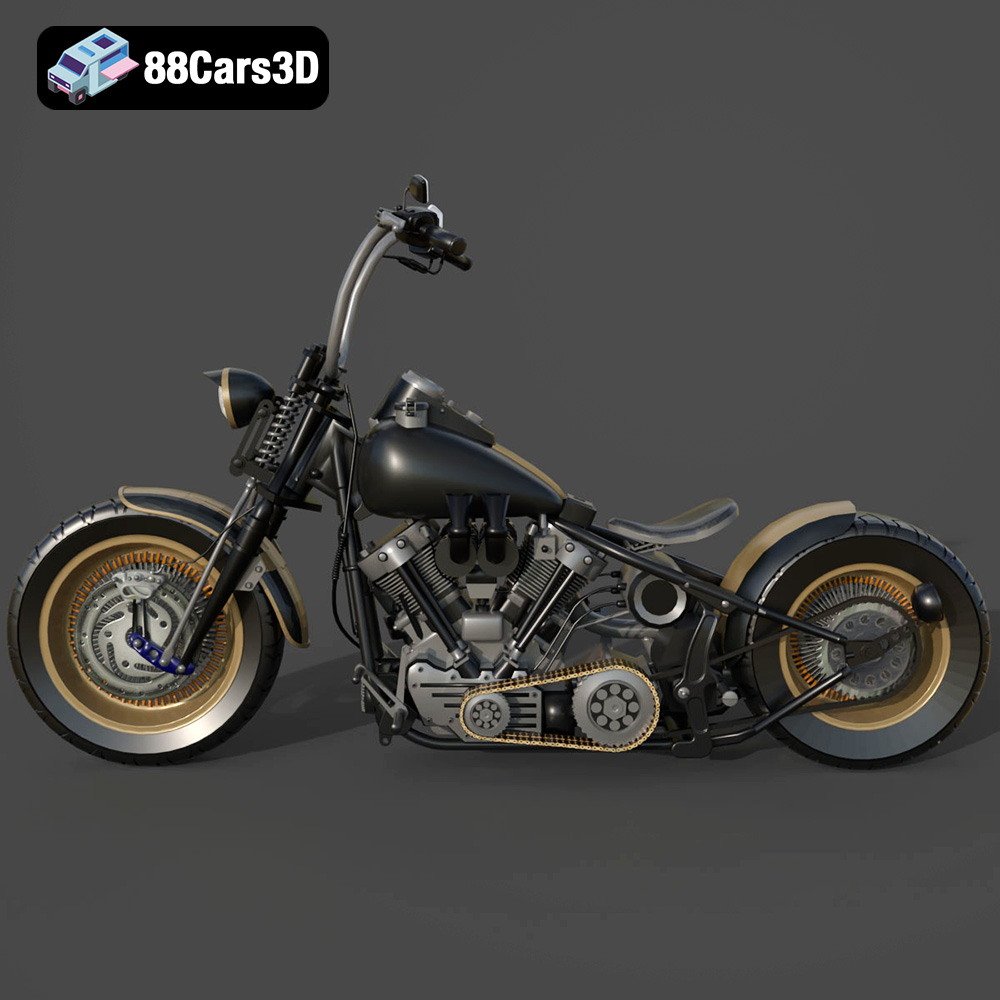
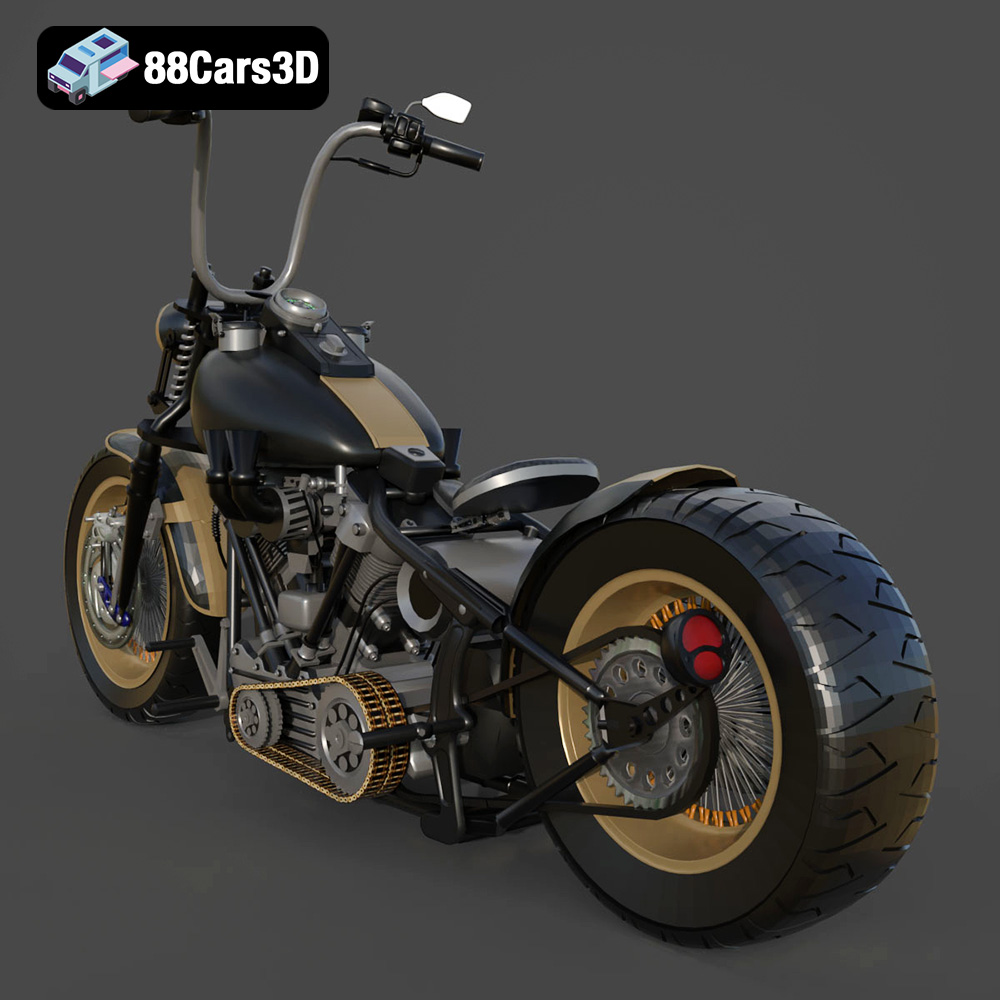
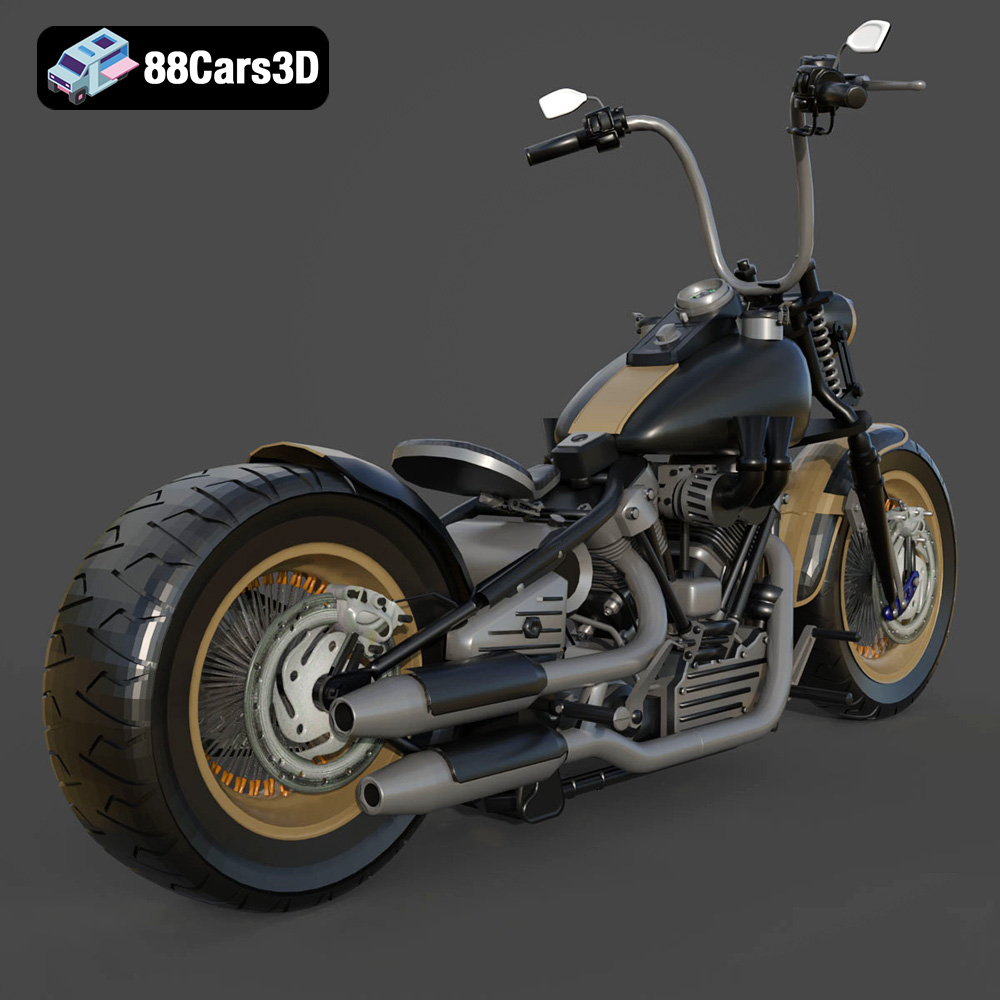
The Harley Davidson Knucklehead, a symbol of American motorcycle history, can now grace your desk, shelf, or even become a centerpiece of your diorama thanks to the power of 3D printing. This guide will walk you through the process of turning the detailed 3D model available at 88cars3d.com into a tangible piece of art. We’ll cover everything from choosing the right materials and optimizing printer settings to post-processing techniques for a truly stunning final result. Get ready to bring this classic machine to life!
Before you even think about hitting that “print” button, it’s crucial to understand the different file formats that come with the Harley Davidson Knucklehead 3D model and how they relate to 3D printing. While the package from 88cars3d.com includes several formats, not all are created equal when it comes to additive manufacturing.
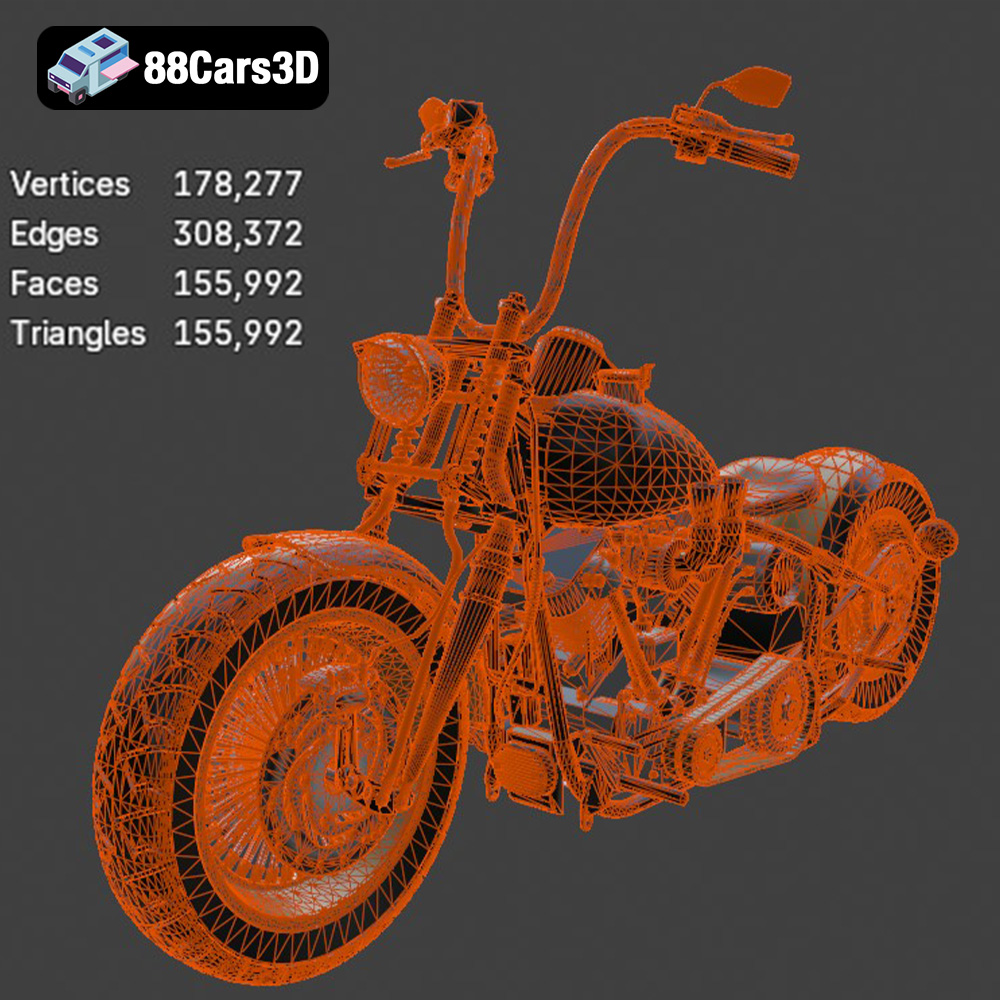
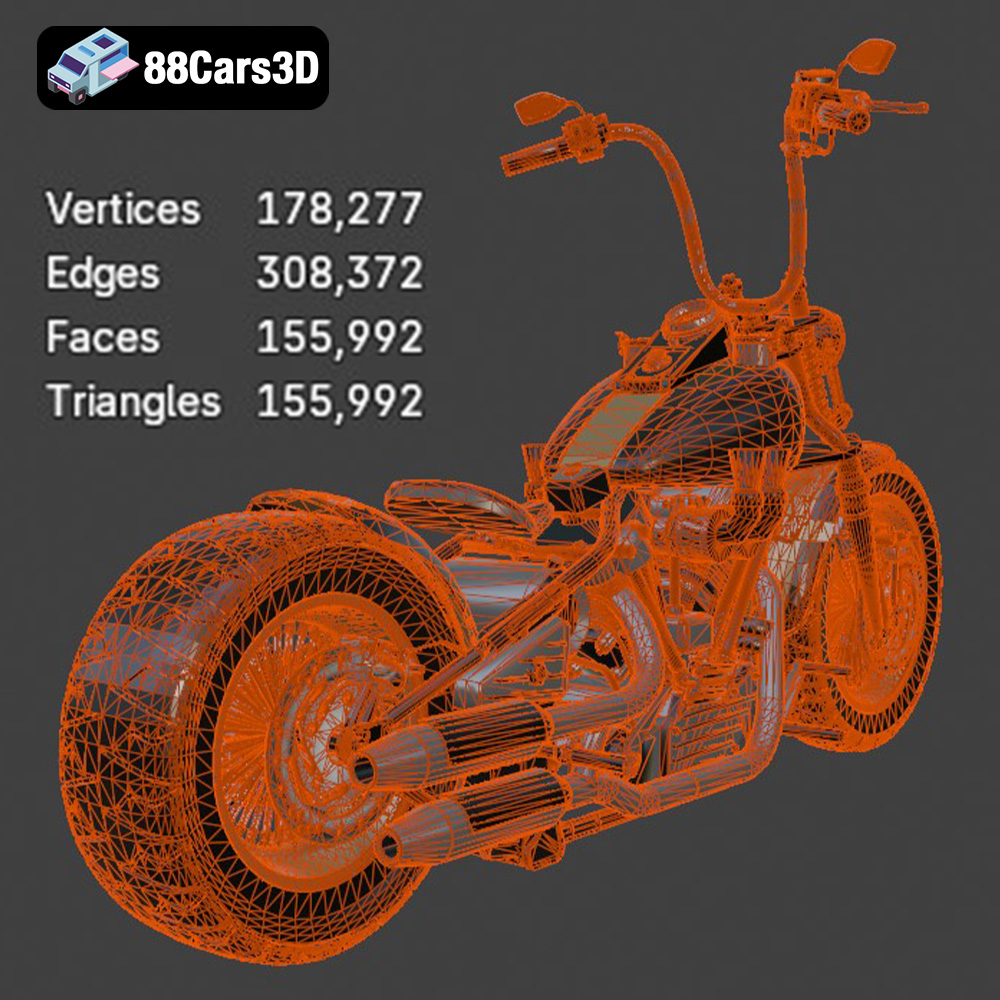
The STL (Stereolithography) file format is the workhorse of 3D printing. It represents the surface geometry of a 3D object using a mesh of triangles. This format is universally compatible with virtually all slicing software, making it the go-to choice for 3D printing. The quality of the printed model heavily depends on the resolution of the STL file; a higher number of triangles results in a smoother surface but also a larger file size. When preparing the Knucklehead model for printing, start with the STL file provided. Examine it in your slicer to ensure the mesh is closed (watertight) and free of errors. This is crucial for successful printing.
OBJ files are another common 3D model format. Unlike STL, OBJ files can store color and texture information, making them suitable for full-color 3D printing, although that is less common. For the Knucklehead model, the OBJ file is primarily intended for rendering or game development. While you *can* technically print an OBJ file, you’ll likely want to convert it to STL first using a 3D modeling program like Blender, Meshmixer, or even some slicer software. This will allow you to optimize the model specifically for your printer and desired print settings.
PLY files are designed for storing 3D data acquired from 3D scanners. They’re excellent at representing complex geometries with high precision. For the Harley Davidson Knucklehead, the PLY format could offer a highly detailed mesh. However, because it’s optimized for scanned data, it may have a very high polygon count which can overwhelm some slicing software and 3D printers. You may need to simplify the mesh in Blender or a similar program before printing.
The .blend file is the native format for Blender, a popular open-source 3D modeling software. This is where you have the most freedom to customize the model before printing. You can modify the design, add details, separate parts for easier printing, or even create custom supports. If you’re comfortable with Blender, this is an excellent option for tailoring the Knucklehead model to your specific needs. After modifications, you *must* export the model as an STL file for 3D printing.
FBX files are primarily used for transferring 3D models between different software applications, especially in game development. While the FBX format can contain material information, it’s typically not directly used for 3D printing unless you’re dealing with specialized full-color printing processes. The primary purpose of the FBX file for the Knucklehead model is for importing into game engines like Unity or Unreal Engine.
GLB files are designed for efficient delivery of 3D models in web and AR/VR applications. They’re optimized for real-time rendering and often used for previewing models before purchase or integrating them into augmented reality experiences. While you can’t directly 3D print a GLB file, it’s a useful format for visualizing the Knucklehead model in its intended context.
Similar to .blend, .max is the native file format for Autodesk 3ds Max, a professional 3D modeling and animation software. This allows experienced 3D modelers to further refine the model before exporting it for printing. After modifications, you will need to export it into .STL for printing.
In summary, for 3D printing the Harley Davidson Knucklehead model, the **STL file** is your primary focus. However, leveraging the .blend or .max file can provide opportunities for customization and optimization before exporting to STL for slicing and printing. Ensure that whichever file you use to generate the STL, the resulting mesh is manifold (closed) and free of errors.
Once you’ve chosen your STL file, the next step is preparing it for 3D printing. This involves using slicing software to convert the 3D model into a set of instructions your printer can understand. It also includes considerations for scaling, orientation, and support structures.
Several excellent slicing software options are available, including Cura, PrusaSlicer, Simplify3D, and IdeaMaker. Cura and PrusaSlicer are free and open-source, making them excellent choices for beginners. Simplify3D is a paid option that offers more advanced features and control. IdeaMaker is known for its user-friendly interface and good support generation.
Regardless of the software you choose, start by importing the Knucklehead STL file. Scale the model to your desired size. Consider the overall dimensions of your printer’s build volume and the level of detail you want to achieve. A larger model will naturally showcase more detail but will also require more material and printing time. Once scaled, configure your printer profile within the slicing software. Select the correct printer model and nozzle size.
Before slicing, it’s essential to check the model for any errors that could cause printing problems. Some slicing software includes built-in repair tools that can automatically fix issues like non-manifold geometry or flipped normals. Alternatively, you can use dedicated mesh repair software like Meshmixer or Netfabb. These programs can identify and fix a wide range of mesh issues, ensuring a clean and printable model.
Within the slicer, you can also optimize the model for printing. This includes adjusting the polygon count to reduce file size without sacrificing detail, and smoothing surfaces to minimize the visibility of layer lines.
Proper orientation is crucial for a successful 3D print. Consider the geometry of the Knucklehead model and orient it in a way that minimizes the need for support structures. Overhangs (parts of the model that extend outward without underlying support) are prone to sagging or warping during printing. Orienting the model to minimize these overhangs will improve print quality.
However, some support structures will likely be necessary. The slicing software will automatically generate these based on your chosen settings. Experiment with different support settings, such as support density, support pattern, and support interface layers, to find a balance between ease of removal and adequate support for overhanging features. Consider using tree supports, which are more efficient and less likely to damage the model surface during removal.
The choice of material significantly impacts the final appearance, strength, and durability of your 3D printed Harley Davidson Knucklehead. Here are some popular options and their pros and cons.
PLA (Polylactic Acid) is a biodegradable thermoplastic polymer derived from renewable resources like cornstarch or sugarcane. It’s easy to print with, has low warping, and produces a smooth surface finish. PLA is an excellent choice for creating a display model of the Knucklehead, especially if you plan to paint it.
However, PLA has some limitations. It’s not very heat-resistant and can soften or warp at temperatures above 60°C (140°F). It’s also not as strong or durable as other materials like ABS or PETG. Therefore, PLA is best suited for models that won’t be subjected to high temperatures or significant stress.
PETG (Polyethylene Terephthalate Glycol-modified) is a thermoplastic polymer that combines the ease of printing of PLA with the strength and durability of ABS. It has good heat resistance, excellent layer adhesion, and is resistant to chemicals and moisture. PETG is a great choice for printing functional parts or models that need to withstand some wear and tear.
PETG can be a bit more challenging to print than PLA. It requires higher printing temperatures and can be prone to stringing if not properly dialed in. However, with the right settings, PETG can produce high-quality, durable prints.
Resin printing, using technologies like SLA (Stereolithography) or DLP (Digital Light Processing), offers the highest level of detail and surface finish. Resin printers use liquid photopolymer resins that are cured by UV light. This allows for the creation of extremely intricate models with smooth surfaces and fine details that are impossible to achieve with FDM (Fused Deposition Modeling) printers.
Resin printing is an excellent choice for printing the Knucklehead if you want to capture every tiny detail. However, resin prints are typically more brittle than FDM prints and may require additional post-processing steps, such as washing and curing. Resin printing also requires more safety precautions, as the resins can be toxic.
Other materials, such as ABS (Acrylonitrile Butadiene Styrene), Nylon, and Carbon Fiber composites, can also be used to print the Knucklehead model. ABS is a strong and heat-resistant material but can be challenging to print due to warping. Nylon is a very strong and flexible material that is suitable for functional parts. Carbon Fiber composites offer exceptional strength and stiffness but require specialized printing equipment and techniques. Ultimately, the best material for your project will depend on your specific needs and priorities.
Achieving a stunning 3D printed Harley Davidson Knucklehead requires careful attention to printer settings. These settings will vary depending on your printer, material, and desired level of detail, but here are some general guidelines:
Layer height determines the vertical resolution of your print. A smaller layer height results in a smoother surface finish and more detail but also increases printing time. For PLA and PETG, a layer height of 0.1mm to 0.2mm is a good starting point. For resin printing, layer heights can be as low as 0.025mm to 0.05mm for exceptional detail.
Infill refers to the internal structure of your 3D print. A higher infill density results in a stronger and heavier model but also increases material consumption and printing time. For a display model of the Knucklehead, an infill density of 15% to 25% is usually sufficient. Experiment with different infill patterns, such as rectilinear, grid, or gyroid, to find a balance between strength and material usage. Gyroid infill, in particular, can provide excellent strength-to-weight ratio.
Print speed and temperature are critical for achieving good layer adhesion and preventing warping or stringing. Consult the manufacturer’s recommendations for your chosen material. Generally, PLA prints well at temperatures between 190°C and 220°C and speeds between 40mm/s and 60mm/s. PETG requires higher temperatures, typically between 230°C and 250°C, and slightly slower speeds, around 30mm/s to 50mm/s. For resin printing, follow the resin manufacturer’s recommendations for exposure time and lifting speed.
As mentioned earlier, support structures are necessary for printing overhanging features. Experiment with different support settings to find a balance between ease of removal and adequate support. Increase support density for critical overhangs and use a support interface layer to improve adhesion between the support and the model.
Good bed adhesion is essential for preventing warping and ensuring that the model stays firmly attached to the build plate throughout the printing process. Use a heated bed and apply a bed adhesion enhancer, such as glue stick, hairspray, or painter’s tape, to improve adhesion.
Once the print is complete, the real fun begins: post-processing. This is where you transform the raw 3D print into a polished and professional-looking model.
The first step is to carefully remove the support structures. Use pliers, cutters, or a deburring tool to gently detach the supports from the model. Be careful not to damage the model surface. After removing the supports, clean up any remaining support marks with sandpaper or a file.
Sanding is essential for achieving a smooth surface finish. Start with coarse-grit sandpaper (120-220 grit) to remove any major imperfections or layer lines. Gradually move to finer grits (320-400 grit, then 600-800 grit, and finally 1000+ grit) to create a smooth and even surface. Wet sanding can help to reduce dust and improve the surface finish.
Once the model is sanded smooth, apply a primer to create a uniform surface for painting. Choose a primer that is compatible with your chosen material and paint. After the primer has dried, apply several thin coats of paint, allowing each coat to dry completely before applying the next. Consider using an airbrush for a professional-looking finish.
The Harley Davidson Knucklehead model may consist of multiple parts that need to be assembled. Use glue or fasteners to attach the parts together. Add any final details, such as decals, chrome accents, or weathering effects, to bring the model to life. Reference real-world images of the Knucklehead to ensure accuracy and realism.
Even with careful preparation, 3D printing can sometimes present challenges. Here are some common issues and how to troubleshoot them:
Warping occurs when the corners of the model lift off the build plate during printing. This is often caused by poor bed adhesion or uneven cooling. To prevent warping, use a heated bed, apply a bed adhesion enhancer, and ensure that the printing environment is free from drafts.
Stringing is when thin strands of plastic are left between different parts of the model. This is often caused by excessive retraction, high printing temperature, or a wet filament. To prevent stringing, adjust the retraction settings, lower the printing temperature, and dry your filament.
Layer separation occurs when the layers of the model do not adhere properly to each other. This can be caused by low printing temperature, insufficient layer adhesion, or a weak filament. To prevent layer separation, increase the printing temperature, increase the layer adhesion, and use a high-quality filament.
Elephant’s foot is when the bottom layers of the model are wider than the upper layers. This is often caused by excessive bed temperature or over-extrusion. To prevent elephant’s foot, lower the bed temperature and reduce the extrusion multiplier.
By understanding these common issues and their solutions, you can troubleshoot problems and achieve consistently high-quality 3D prints of your Harley Davidson Knucklehead. Remember to consult online forums and communities for additional tips and support.
3D printing the Harley Davidson Knucklehead is a rewarding project that combines technical skill with artistic expression. By carefully selecting your materials, optimizing your printer settings, and mastering post-processing techniques, you can create a stunning replica of this iconic motorcycle. Whether you’re a seasoned 3D printing enthusiast or a newcomer to the hobby, this guide provides the knowledge and resources you need to bring this classic machine to life. So, download the STL files from 88cars3d.com, fire up your printer, and get ready to embark on a journey of creation. Remember, patience and experimentation are key to achieving the best possible results. Happy printing!
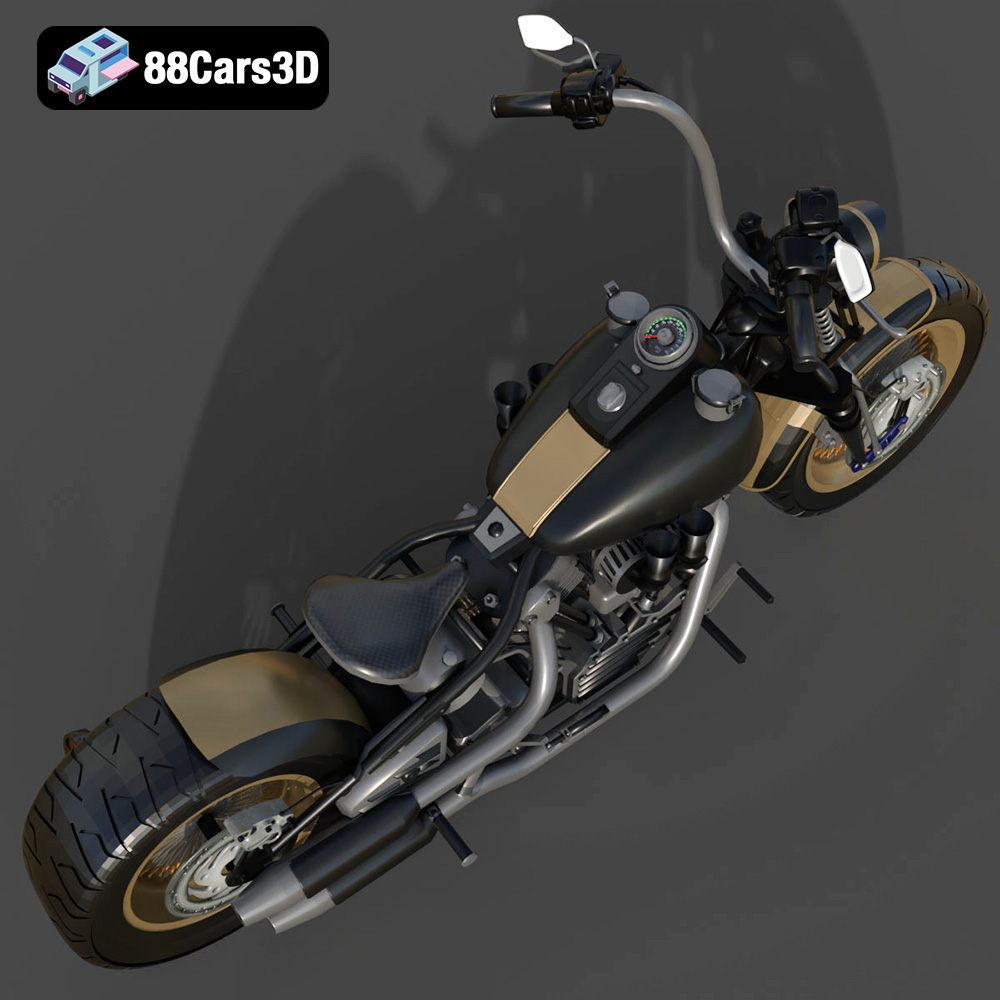
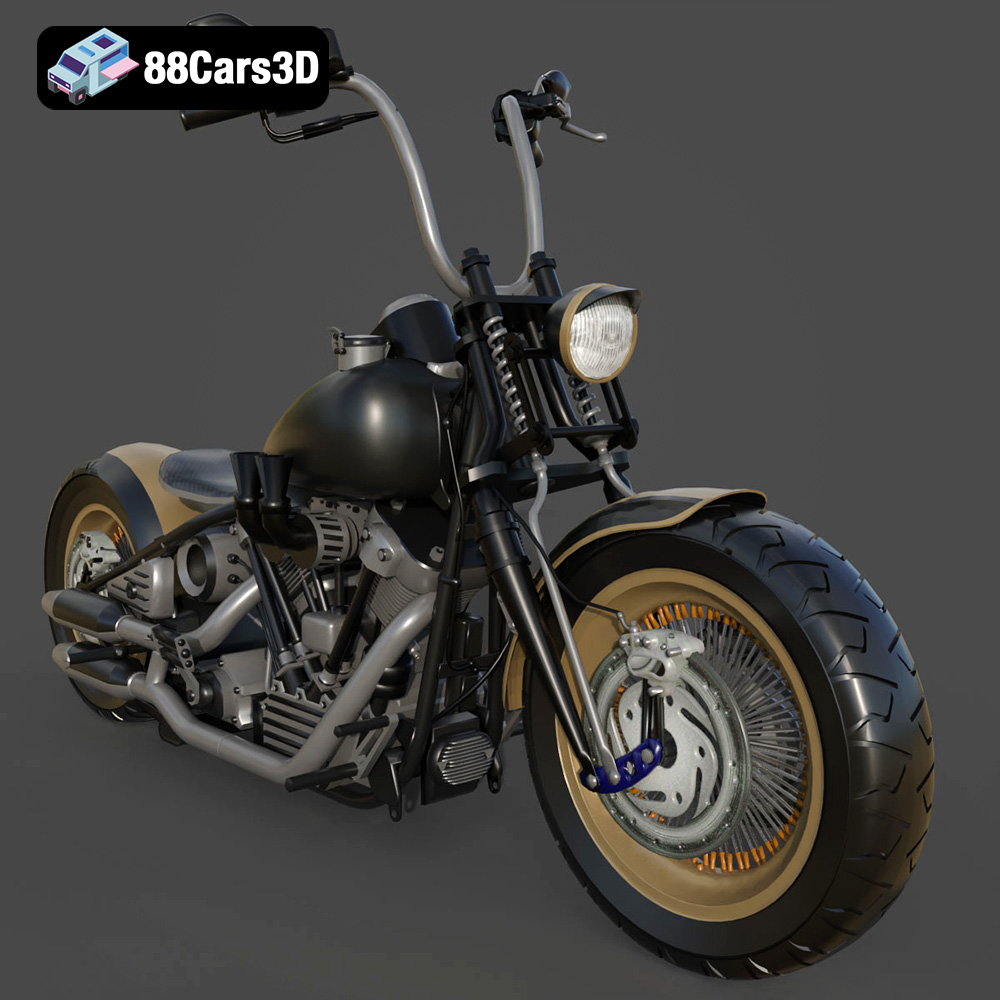
Experience the iconic design of the classic American motorcycle with the Harley Davidson Knucklehead 3D model. Designed for exceptional realism, this asset perfectly replicates the legendary engine, sweeping lines, and mechanical intricacies that make this vintage bike a timeless masterpiece.
$19.99
.arvr
.blend
.car3dmodel
.classicmotorcycle
.cruiser
.fbx
.gameasset
.glb
.harleydavidson
.knucklehead
.max
.motorcycle
.obj
.ply
.rendering
.simulation
.stl
.unreal