Get 20% OFF All Premium 3D & STL Models!

The Ural Solo sT, with its distinctive rugged design and classic motorcycle appeal, is a fantastic subject for 3D printing. Whether you’re a motorcycle enthusiast, a scale model collector, or simply enjoy the challenge of complex 3D prints, this guide will walk you through the process of successfully 3D printing the Ural Solo sT 3D model from 88cars3d.com. We’ll cover everything from pre-print preparation to post-processing, ensuring you achieve the best possible results.
Before diving into the specifics of printing the Ural Solo sT, it’s crucial to understand the different file formats available and their suitability for additive manufacturing. The 88cars3d.com model offers a range of formats, each designed for specific applications, but not all are optimal for 3D printing.
The .stl (Stereolithography) format is the workhorse of 3D printing. It represents the 3D model’s surface geometry as a collection of triangles. This simplicity makes it universally compatible with virtually all slicing software and 3D printers. When preparing the Ural Solo sT for printing, the .stl file will be your primary focus. It’s a mesh-only format, meaning it doesn’t contain color or texture information, but it excels at defining the shape and structure of the model. A high-quality .stl file, like the one provided by 88cars3d.com, ensures a smooth and accurate 3D printed part, capturing the intricate details of the Ural Solo sT.
While .obj files are widely supported and can include texture information, they are not the preferred format for 3D printing complex models like the Ural Solo sT. Importing an .obj file into a slicer often requires additional processing and can sometimes lead to issues with mesh integrity. However, if you plan to paint or apply textures to the 3D printed model after printing, having the .obj file as a reference for texture mapping can be beneficial.
The .ply format is designed to store 3D data acquired from 3D scanners and can represent models with very high levels of detail. However, this high detail can also translate to very large file sizes, potentially causing performance issues with slicing software, especially on older computers. While the .ply format can be used for 3D printing, it’s typically reserved for applications requiring extreme accuracy and is less common for general-purpose printing.
Formats like .blend (Blender), .fbx (Filmbox), .glb (GL Transmission Format), and .max (3ds Max) are primarily used for design, animation, and visualization. These formats contain additional information, such as materials, lighting, and animation data, which are irrelevant for 3D printing. While you can open these files in their respective software and export them as .stl files, it’s generally more efficient to start directly with the provided .stl file for 3D printing.
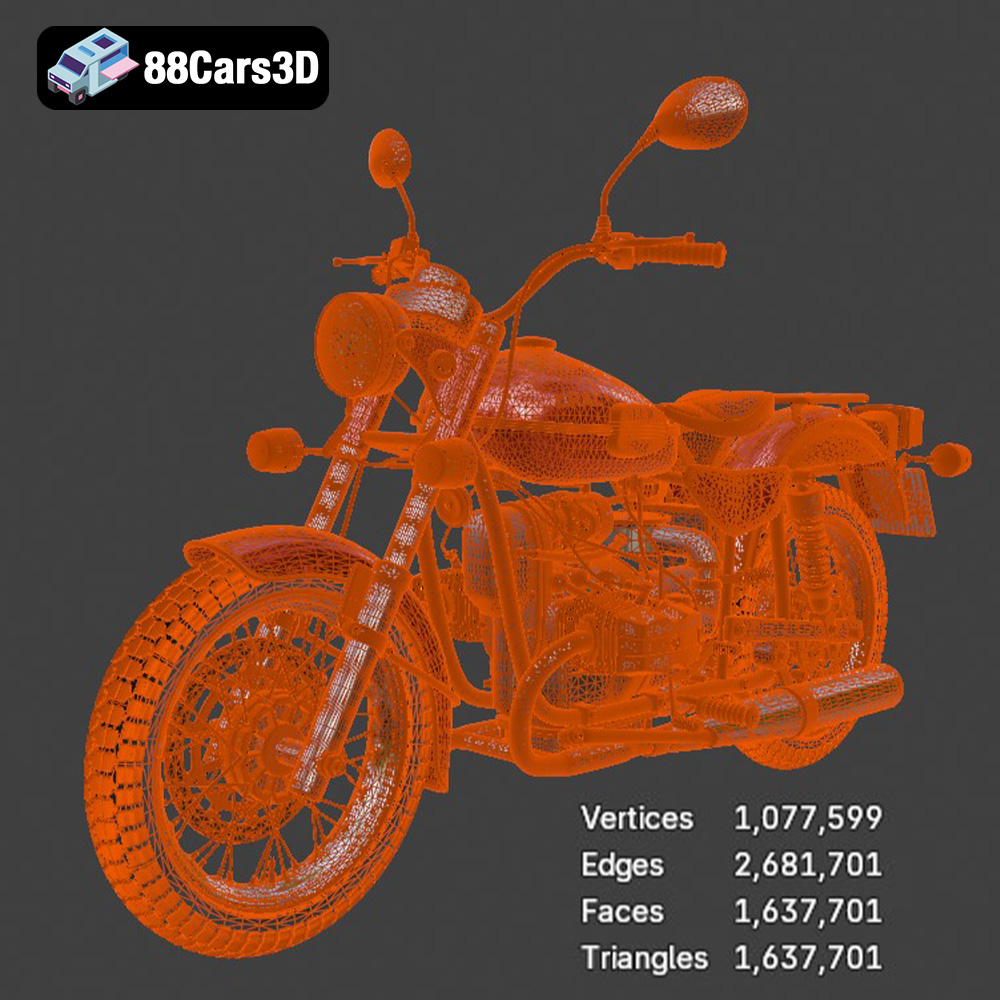
Regardless of the initial file format, the slicing software will ultimately convert the model into a set of instructions (G-code) that the 3D printer can understand. It’s crucial that the .stl file has a clean, watertight mesh. This means that there are no holes, self-intersections, or non-manifold edges in the model. The better the mesh quality of the .stl file from 88cars3d.com, the easier it will be to slice and the better the final print quality will be. Most slicing software includes basic mesh repair tools, but it’s always best to start with a well-prepared model.
Proper preparation is key to a successful 3D print. This involves inspecting the model, making necessary repairs, and choosing the right orientation and support settings in your slicing software.
* Mesh Analysis: Before slicing, load the Ural Solo sT STL file into a mesh analysis tool like Meshmixer or Netfabb. These tools can identify potential issues like non-manifold edges, holes, and flipped normals.
* Repairing the Model: Most mesh analysis tools offer automatic repair functions. Use these to fix any identified issues. Manually inspect the repaired model to ensure no new problems were introduced during the repair process.
* Minimize Support Material: Orient the model to minimize the amount of support material needed. This will reduce post-processing time and improve surface finish. Consider the orientation of key details, such as the engine and exhaust system, to ensure they are printed with optimal resolution. Laying the motorcycle on its side might seem intuitive but could require excessive support.
* Prioritize Surface Finish: Orient the model so that the most visible surfaces are printed with the finest layer resolution. This might mean printing the model at a slight angle to achieve the best balance between support material and surface quality.
* Consider Print Bed Adhesion: Choose an orientation that maximizes the contact area between the model and the print bed. This will help prevent warping and ensure the model adheres securely throughout the printing process.
* Determine the Desired Size: Decide on the final size of your 3D printed Ural Solo sT. Consider the level of detail you want to capture and the limitations of your 3D printer.
* Scale Uniformly: Scale the model uniformly in all three axes to maintain its proportions. Most slicing software allows you to enter a percentage or a specific dimension to scale the model accurately. Keep in mind that very small models may lose intricate details.
The choice of material significantly impacts the appearance, durability, and overall success of your 3D printed Ural Solo sT. Here’s a breakdown of common materials and their suitability for this project.
* Pros: PLA is a biodegradable thermoplastic polymer derived from renewable resources. It’s easy to print, requires low printing temperatures, and produces minimal warping. PLA is an excellent choice for beginners and for models where strength isn’t a primary concern. PLA is great for printing the Ural Solo sT if you plan on painting it afterwards.
* Cons: PLA is brittle and has low heat resistance. It’s not suitable for functional parts that will be exposed to high temperatures or stress.
* Recommended Settings:
* Nozzle Temperature: 200-220°C
* Bed Temperature: 60-70°C
* Print Speed: 40-60 mm/s
* Pros: PETG combines the ease of printing of PLA with the strength and durability of ABS. It has good impact resistance, heat resistance, and chemical resistance. PETG is a good all-around choice for the Ural Solo sT, offering a balance of printability and performance.
* Cons: PETG can be more prone to stringing than PLA and may require slightly higher printing temperatures.
* Recommended Settings:
* Nozzle Temperature: 220-250°C
* Bed Temperature: 70-80°C
* Print Speed: 40-60 mm/s
* Pros: Resin printing offers exceptional detail and smooth surface finishes. It’s ideal for small, intricate parts and models with complex geometries. If you want to capture every detail of the Ural Solo sT, resin printing is the way to go.
* Cons: Resin printing is more expensive than FDM printing, and the resins themselves can be toxic and require careful handling. Resin prints also require post-curing under UV light.
* Recommended Settings: Settings vary greatly depending on the resin and printer used. Consult the resin manufacturer’s recommendations for optimal settings.
The right slicing settings are crucial for achieving a high-quality 3D print. Here’s a detailed look at the key settings you’ll need to configure for the Ural Solo sT.
* Impact: Layer height affects the resolution and print time. Lower layer heights result in smoother surfaces but increase print time.
* Recommendations:
* PLA/PETG: 0.1-0.2 mm for detailed prints, 0.2-0.3 mm for faster prints.
* Resin: 0.025-0.05 mm for high detail.
* Impact: Infill density affects the strength and weight of the print. Higher infill densities increase strength but also increase print time and material consumption.
* Recommendations:
* 15-25% infill for aesthetic models.
* 30-50% infill for models that need to withstand some stress.
* Types of Supports: Choose between tree supports and linear supports. Tree supports are generally easier to remove and leave fewer marks, while linear supports are more stable for complex overhangs.
* Support Density: Adjust the support density based on the complexity of the overhangs. Higher densities provide more support but are also more difficult to remove.
* Support Placement: Manually place supports in areas where they are needed most, such as under the seat, handlebars, and exhaust system.
* Impact: Print speed affects the overall print time and the quality of the print. Higher print speeds can lead to decreased print quality and increased risk of warping.
* Recommendations:
* Initial Layer: 20-30 mm/s for good bed adhesion.
* Subsequent Layers: 40-60 mm/s.
Post-processing is essential for removing support structures, smoothing the surface, and adding color to your 3D printed Ural Solo sT.
* Tools: Use a combination of tools, such as pliers, tweezers, and a sharp knife, to carefully remove support structures.
* Techniques: Start by removing the bulk of the support material, then use the knife to carefully trim away any remaining pieces. Be careful not to damage the model’s surface.
* Wet Sanding: Wet sanding is a technique that involves using sandpaper with water to smooth the surface of the print. Start with a coarse grit sandpaper (e.g., 220 grit) and gradually move to finer grits (e.g., 400, 600, 800, 1000 grit).
* Filler Primer: Apply a few coats of filler primer to fill in any remaining imperfections. Sand the primer between coats for a smooth finish.
* Priming: Apply a primer coat to ensure good adhesion of the paint.
* Painting Techniques: Use spray paint or an airbrush to apply the desired colors. Consider using masking tape to create clean lines and separate different colored areas.
* Clear Coat: Apply a clear coat to protect the paint and give the model a glossy finish.
Even with careful preparation, 3D printing can sometimes present challenges. Here are some common issues and their solutions.
* Cause: Warping occurs when the first layer of the print cools too quickly and contracts, causing it to lift off the print bed.
* Solution: Ensure the print bed is properly leveled and heated. Use a bed adhesive, such as glue stick or hairspray. Increase the bed temperature.
* Cause: Stringing occurs when the printer nozzle oozes filament while moving between different parts of the print.
* Solution: Reduce the nozzle temperature. Increase retraction distance and speed. Ensure the filament is dry.
* Cause: Layer shifting occurs when the print head moves unexpectedly during the print, causing the layers to become misaligned.
* Solution: Check the printer’s belts and ensure they are properly tensioned. Reduce the print speed. Ensure the printer is placed on a stable surface.
By following these steps and tips, you’ll be well on your way to creating a stunning 3D printed Ural Solo sT. Remember to take your time, experiment with different settings, and don’t be afraid to learn from your mistakes. The Ural Solo sT 3D model from 88cars3d.com is a fantastic starting point for this exciting project.
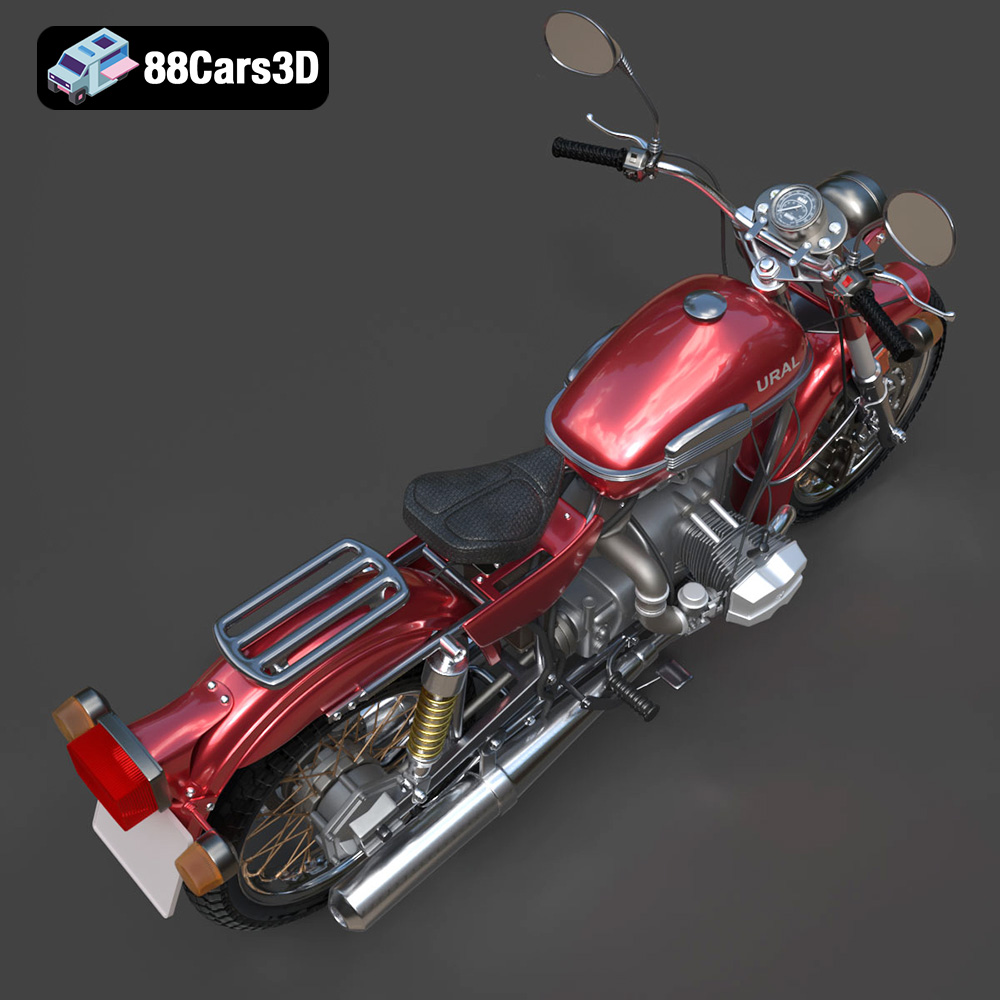
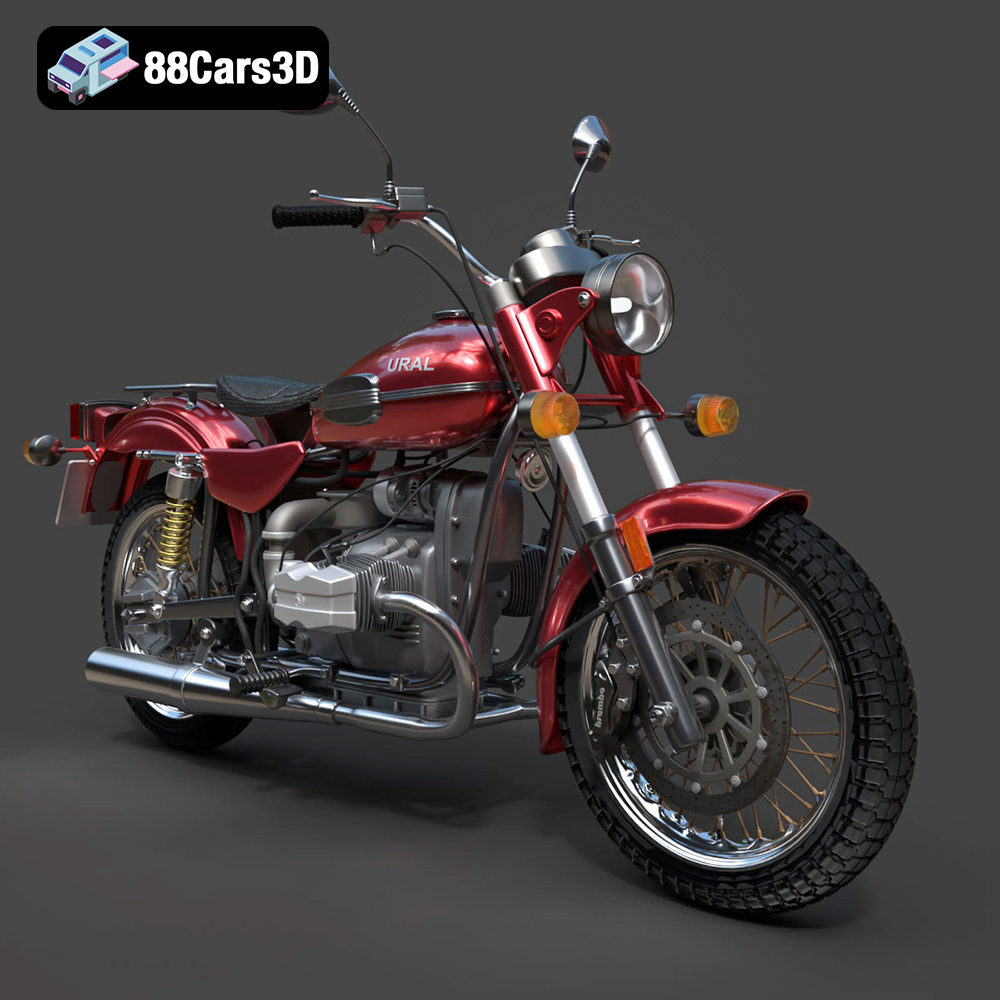
Experience true realism with the Ural Solo sT 3D Model. This carefully crafted digital asset captures the rugged design and iconic presence of the Ural Solo sT, delivering exceptional detail for your projects. Ideal for both close-up shots and expansive environments, this model brings authentic structural precision to any scene.
$19.99
.arvr
.blend
.car3dmodel
.cruiser
.fbx
.gameasset
.glb
.max
.motorcycle
.obj
.ply
.rendering
.simulation
.solost
.stl
.unreal
.ural