Get 20% OFF All Premium 3D & STL Models!

“`html
3D printing offers incredible possibilities, from creating intricate prototypes to bringing your favorite car models to life. However, a smooth print relies heavily on a flawless STL file. Even seemingly minor errors within the file can lead to print failures, wasted filament, and a whole lot of frustration. Luckily, most common STL file errors can be identified and rectified before ever hitting the “print” button. This comprehensive guide will equip you with the knowledge and tools to diagnose and repair problematic STL files, ensuring successful and high-quality 3D prints every time. Whether you’re a seasoned maker or just starting your 3D printing journey, understanding how to fix STL file errors is a crucial skill.
In this article, we’ll delve into the most common STL file errors, explore various software solutions, and provide step-by-step instructions to repair them. We’ll also discuss preventative measures to avoid these issues in the first place, empowering you to consistently create stunning 3D prints. Get ready to level up your 3D printing game!
The STL (Stereolithography) file format is the most widely used format for 3D printing. It represents a 3D object’s surface as a collection of triangles. Each triangle is defined by three vertices (points in 3D space) and a normal vector that indicates the triangle’s orientation. While seemingly simple, this structure is prone to errors that can wreak havoc on your 3D prints. Understanding the underlying causes is the first step toward successful repair.
One of the most critical requirements for a valid STL file is that it must be a “manifold” mesh. This means the surface must be continuous, closed, and non-self-intersecting. Non-manifold errors arise when these conditions are not met. Common examples include:
These errors often result in incomplete prints, missing features, or unexpected holes in your final object. For instance, a printable car model with an open edge along the fender will likely result in a gaping hole in that area after printing.
Beyond manifold errors, several other issues can compromise your 3D print:
Identifying these issues early can save you significant time and material. Platforms like 88cars3d.com prioritize clean, error-free STL files, but even professionally designed models can sometimes benefit from a quick check and repair, especially when adapting them for specific printer settings or desired scale.
Fortunately, a range of software tools are available to help you diagnose and fix STL file errors. These tools vary in complexity and cost, but many excellent free options are suitable for most users. Here, we’ll explore some popular choices and their key features.
Autodesk Meshmixer is a free and powerful software package designed for mesh editing and repair. It offers a comprehensive suite of tools specifically geared towards fixing common STL file errors. To repair an STL file in Meshmixer:
Meshmixer is particularly useful for closing small holes, bridging gaps, and smoothing out rough surfaces. Its intuitive interface and powerful features make it an excellent choice for both beginners and experienced users.
Netfabb Basic (now part of Autodesk) is another powerful option for STL file repair. While a more advanced tool than Meshmixer, the basic version offers essential repair functionalities. To use Netfabb Basic:
Netfabb Basic excels at handling complex meshes and offers more control over the repair process compared to Meshmixer. It’s a great option for users who require a more professional-grade solution.
For quick and simple repairs, several online STL repair services are available. These services typically involve uploading your STL file to a website, where it is automatically analyzed and repaired. Examples include MakePrintable and Netfabb’s online repair service (if available). While convenient, be cautious about uploading sensitive or confidential designs to third-party websites. These services are best suited for relatively simple repairs and should be used with caution.
Your slicing software can also be a valuable tool for detecting and sometimes even automatically fixing STL file errors. Cura, PrusaSlicer, and Simplify3D all offer features that can help you identify and address potential problems before printing.
Ultimaker Cura, a popular open-source slicing software, includes basic mesh repair capabilities. When you load an STL file with errors, Cura often displays a warning and prompts you to fix the issues automatically. While not as comprehensive as dedicated repair tools, Cura’s built-in repair functionality can often resolve simple problems. To use it:
Cura also allows you to adjust settings that can mitigate the effects of minor errors. For example, enabling “Union Overlapping Volumes” can help Cura better handle self-intersecting triangles.
PrusaSlicer, known for its precise and customizable slicing capabilities, offers more advanced mesh repair features than Cura. It can detect and fix a wider range of errors, including non-manifold edges and self-intersections. To repair an STL file in PrusaSlicer:
PrusaSlicer’s robust repair capabilities make it a valuable tool for preparing STL files for 3D printing. It can often resolve issues that would otherwise require dedicated mesh repair software.
Repairing STL files is essential, but preventing errors in the first place is even better. Optimizing your STL files for 3D printing involves considering factors like file size, mesh density, and print orientation. These optimizations can lead to faster slicing times, improved print quality, and reduced material consumption.
STL files with excessively high triangle counts can be computationally expensive to process, leading to slow slicing times and increased memory usage. Reducing the triangle count can significantly improve performance without sacrificing essential details. Several methods can be used to reduce the triangle count of an STL file:
When downloading models from marketplaces such as 88cars3d.com, check the file size and triangle count before printing. If the file is excessively large, consider reducing the triangle count to optimize performance.
The orientation of your model on the print bed can significantly impact print quality, support structure requirements, and overall print time. Choosing the optimal print orientation can minimize the need for support structures, reduce warping, and improve surface finish. Consider these factors when orienting your model:
Properly generated support structures are crucial for printing models with overhangs. Slicing software offers various support structure options, including tree supports, linear supports, and grid supports. Experiment with different support types to find the best balance between support strength, ease of removal, and material consumption.
Even with careful preparation, you may still encounter 3D printing problems related to STL files. Here’s how to troubleshoot some common issues:
If your print is missing sections or features, the problem could be due to several factors:
Poor bed adhesion can cause the print to detach from the print bed during printing, resulting in a failed print. Here are some solutions:
Warping occurs when the corners or edges of the print lift off the print bed during printing. This is often caused by temperature gradients within the print. To prevent warping:
When encountering persistent issues, review your printer’s calibration, material settings, and even the ambient temperature of your printing environment. Small adjustments can often make a significant difference.
The choice of 3D printing material can also influence how your STL file behaves during printing. Different materials have different thermal properties, shrinkage rates, and adhesion characteristics. Understanding these properties is crucial for selecting the right material for your project and ensuring successful prints. Platforms like 88cars3d.com offer print-ready STL files that are generally compatible with a wide range of materials, but it’s still important to choose the right material for your specific printer and application.
PLA (Polylactic Acid) is a popular thermoplastic polymer derived from renewable resources, such as corn starch or sugarcane. It’s known for its ease of use, low printing temperature, and minimal warping. PLA is a good choice for beginners and for prints that don’t require high strength or heat resistance.
ABS (Acrylonitrile Butadiene Styrene) is a stronger and more durable thermoplastic than PLA. It has a higher printing temperature and is more prone to warping, requiring a heated bed and often an enclosed printer. ABS is a good choice for prints that require high strength, heat resistance, or impact resistance.
PETG (Polyethylene Terephthalate Glycol-modified) is a versatile thermoplastic that combines the ease of use of PLA with the strength and durability of ABS. It has a lower printing temperature than ABS and is less prone to warping. PETG is a good choice for a wide range of applications.
Repairing STL file errors is an essential skill for any 3D printing enthusiast. By understanding the common types of errors, utilizing the right software tools, and optimizing your STL files for printing, you can significantly improve your print success rate and create high-quality 3D prints. Remember to inspect your STL files carefully, repair any errors before slicing, and choose the right material and printer settings for your project. With a little practice and attention to detail, you’ll be well on your way to becoming a 3D printing pro.
Take the knowledge you’ve gained here and put it into practice. Download a free STL file, experiment with different repair tools, and try printing it on your 3D printer. Pay attention to the print quality and any potential issues. By actively engaging with the process, you’ll develop a deeper understanding of STL file repair and become more confident in your 3D printing abilities. Happy printing!
“`

Texture: Yes | Material: Yes
Download the highly detailed, game-ready Suzuki King B 2008 3D Model. Features its massive 1340cc engine block, signature dual under-seat exhausts, and aggressive streetfighter bodywork. Includes .blend, .fbx, .obj, .glb, .stl, .ply, .unreal, and .max formats for game development, AR/VR, and rendering.
Price: $19.99
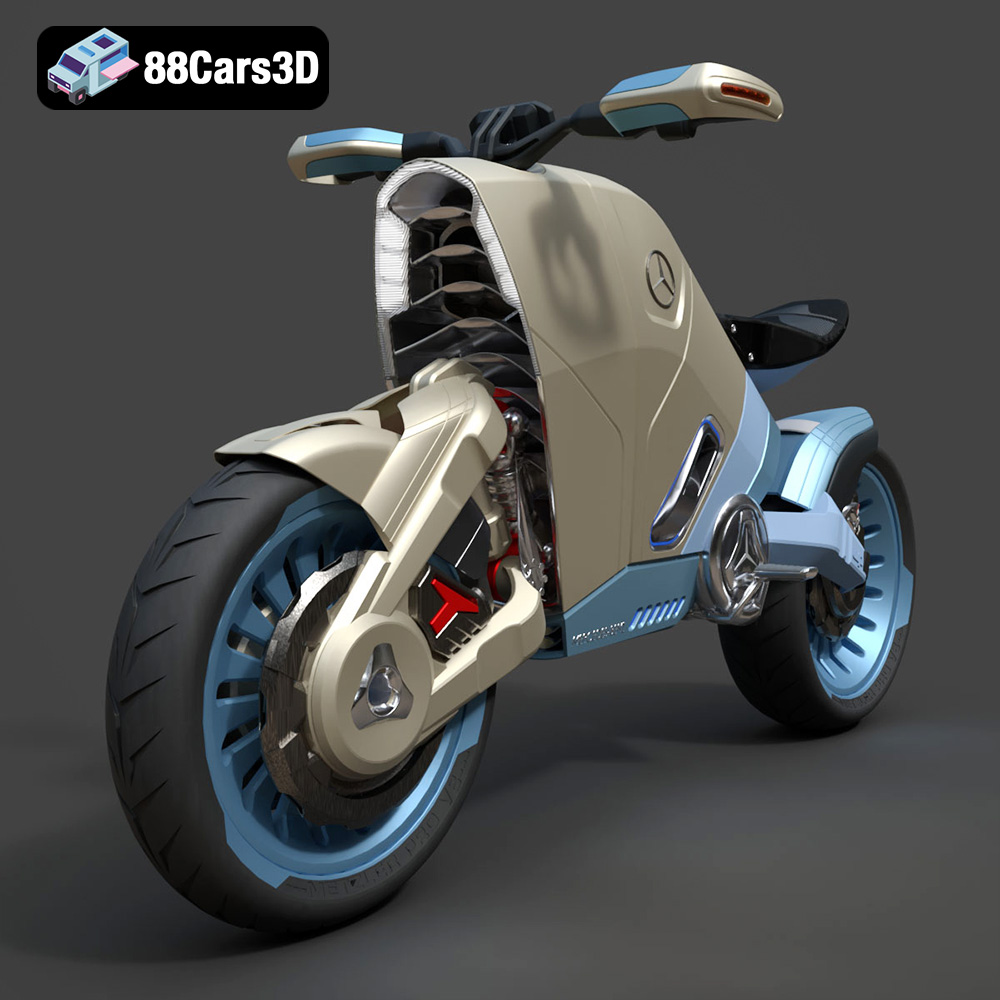
Texture: Yes | Material: Yes
Download the highly detailed, game-ready SMARANZA Mercedes Concept Electrical Motorcycle 3D Model. Features futuristic aerodynamic styling and an advanced electric drivetrain. Includes .blend, .fbx, .obj, .glb, .stl, .ply, .unreal, and .max formats for game development, AR/VR, and rendering.
Price: $19.99
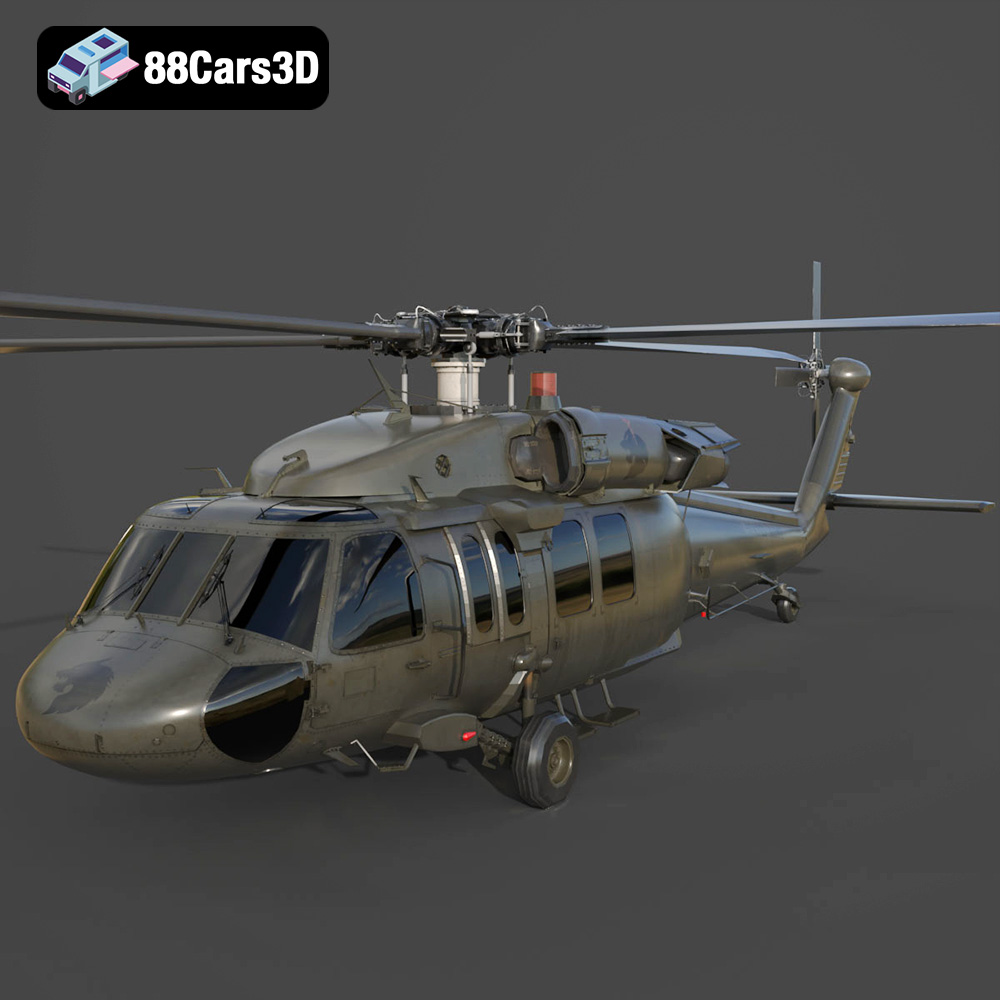
Texture: Yes | Material: Yes
Download the highly detailed, game-ready Sikorsky UH-60 Black Hawk US 3D Model. Features an accurate four-blade rotor system, detailed military fuselage, and realistic twin-engine housing. Includes .blend, .fbx, .obj, .glb, .stl, .ply, .unreal, and .max formats for game development, AR/VR, and rendering.
Price: $19.99
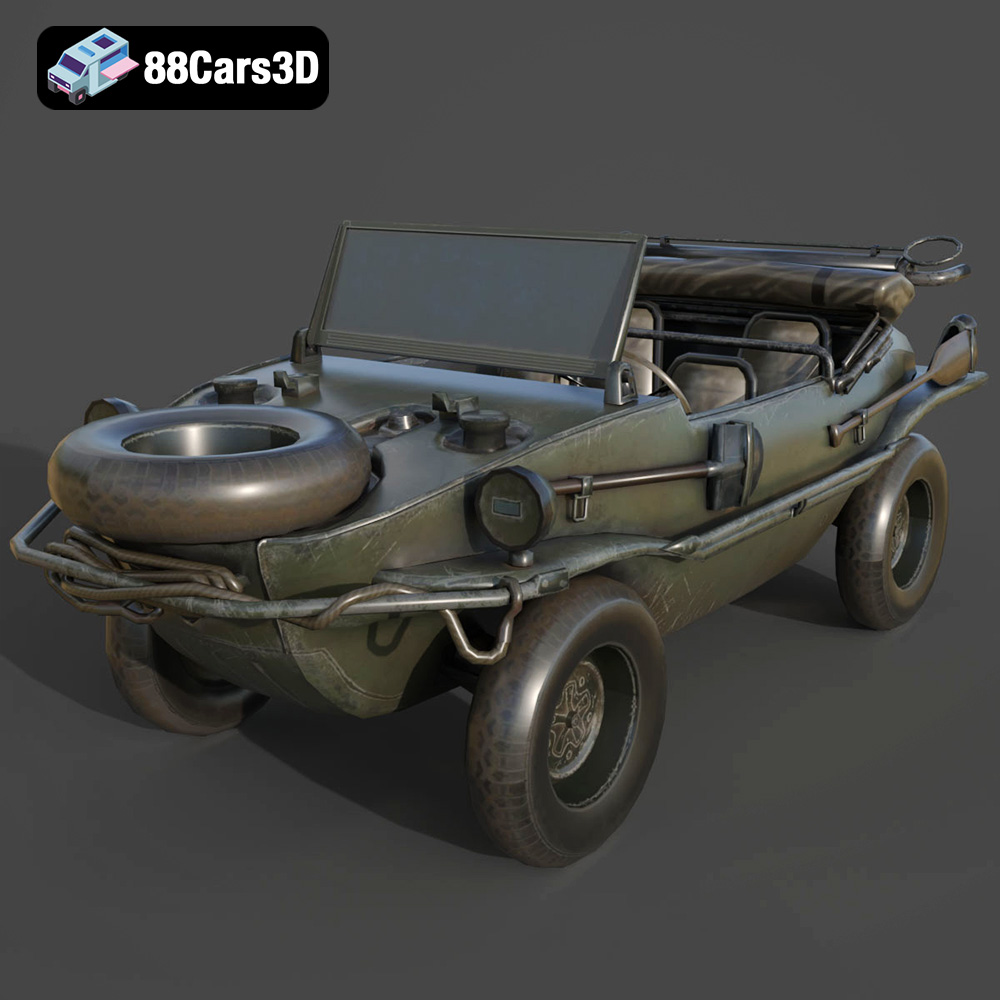
Texture: Yes | Material: Yes
Download the highly detailed, game-ready Volkswagen Schwimmwagen Typ 166 3D Model. Features an authentic boat-like watertight hull, fold-down propeller mechanism, and accurate military styling. Includes .blend, .fbx, .obj, .glb, .stl, .ply, .unreal, and .max formats for game development, AR/VR, and rendering.
Price: $19.99
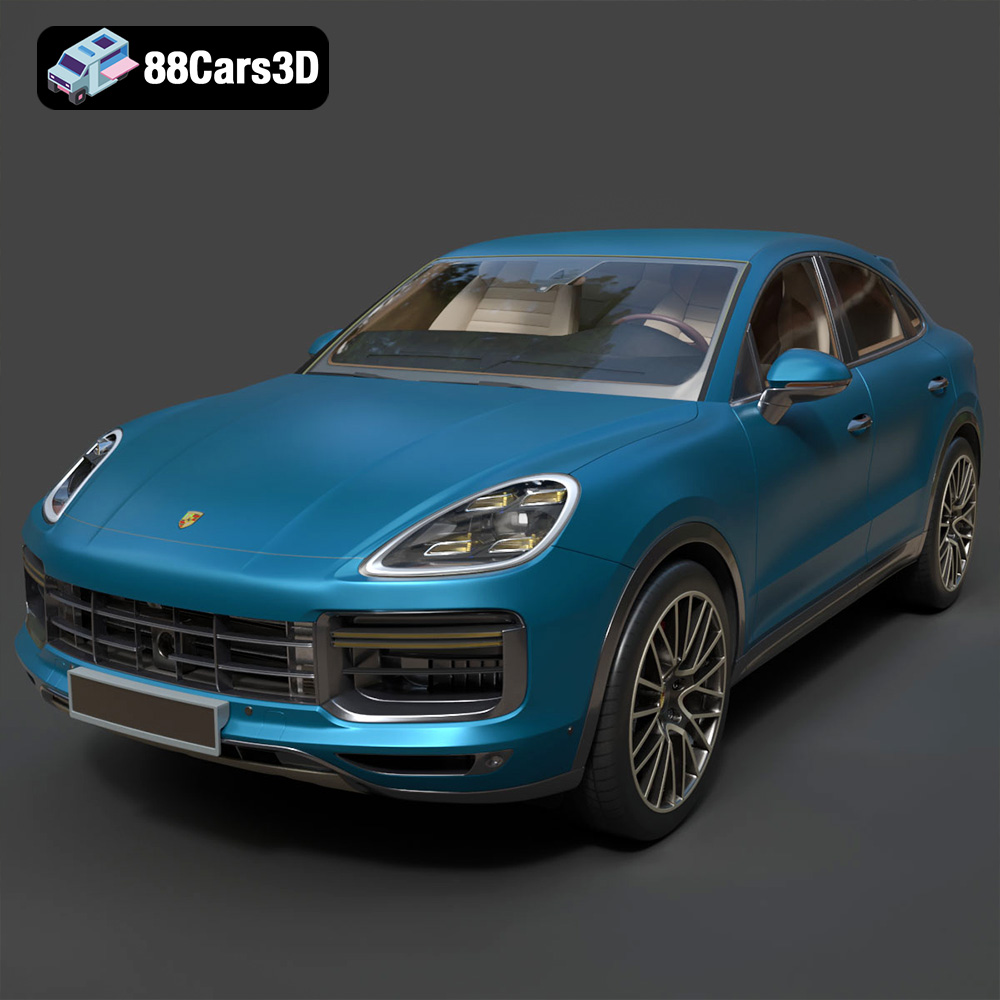
Texture: Yes | Material: Yes
Download the highly detailed, game-ready Porsche Cayenne Turbo Coupe 2020 3D Model. Features an aggressive coupe roofline, detailed quad exhaust, and a meticulously crafted luxury sport interior. Includes .blend, .fbx, .obj, .glb, .stl, .ply, .unreal, and .max formats for game development, AR/VR, and rendering.
Price: $19.99

Texture: Yes | Material: Yes
Download the highly detailed, game-ready Porsche 718 Cayman GT4 2020 3D Model. Features an aggressive fixed rear wing, distinctive side air intakes, and a track-focused stance. Includes .blend, .fbx, .obj, .glb, .stl, .ply, .unreal, and .max formats for game development, AR/VR, and rendering.
Price: $19.99

Texture: Yes | Material: Yes
Download the highly detailed, game-ready Polestar 2 2020 3D Model. Features minimalist Scandinavian fastback styling, pixel LED lighting, and an accurate electric vehicle profile. Includes .blend, .fbx, .obj, .glb, .stl, .ply, .unreal, and .max formats for game development, AR/VR, and rendering.
Price: $19.99
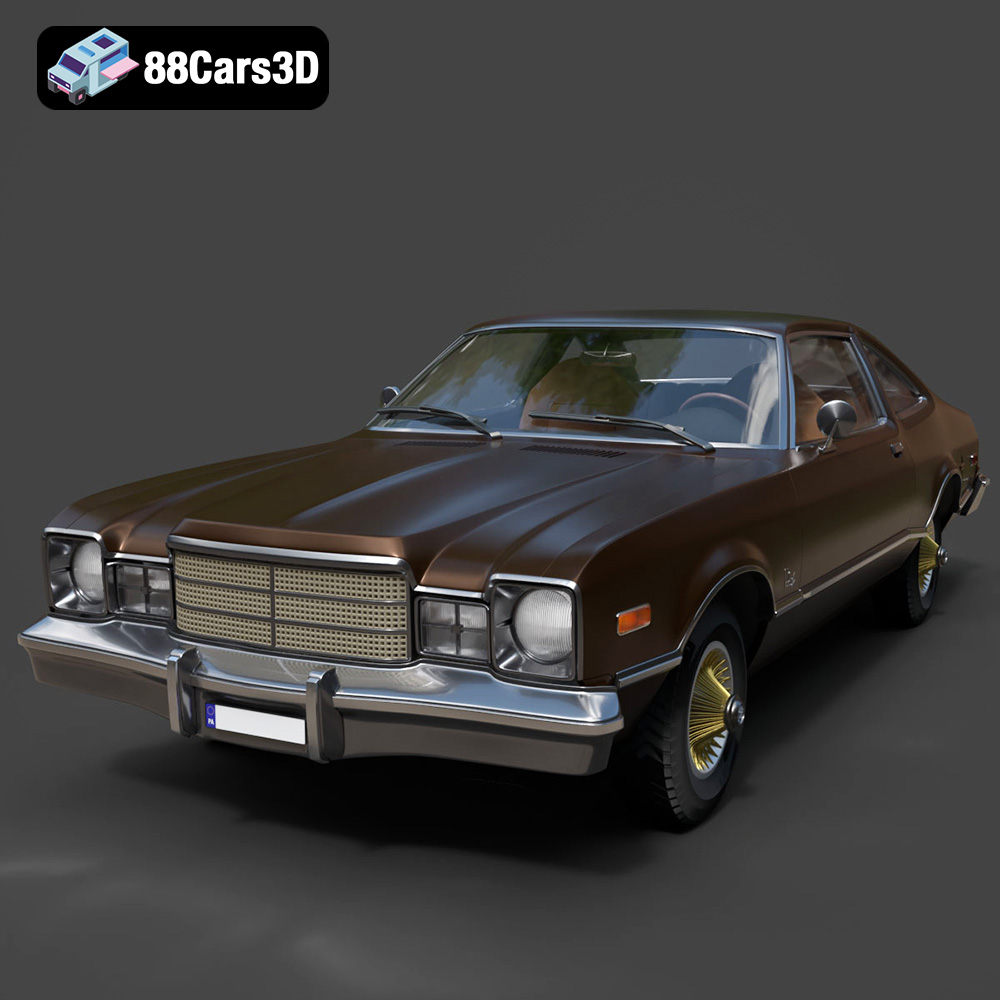
Texture: Yes | Material: Yes
Download the highly detailed, game-ready Plymouth Volare Coupe 1977 3D Model. Features classic F-body styling, detailed chrome trim, and an accurate vintage interior. Includes .blend, .fbx, .obj, .glb, .stl, .ply, .unreal, and .max formats for game development, AR/VR, and rendering.
Price: $19.99

Texture: Yes | Material: Yes
Download the highly detailed, game-ready Peugeot 208 2020 3D Model. Features aggressive ‘fang’ LED DRLs, sporty hatchback proportions, and aerodynamic alloy wheels. Includes .blend, .fbx, .obj, .glb, .stl, .ply, .unreal, and .max formats for game development, AR/VR, and rendering.
Price: $19.99

Texture: Yes | Material: Yes
Download the highly detailed, game-ready MV Agusta Brutale 1090 R 3D Model. Features an exposed trellis frame, distinctive teardrop headlight, and muscular naked bike styling. Includes .blend, .fbx, .obj, .glb, .stl, .ply, .unreal, and .max formats for game development, AR/VR, and rendering.
Price: $19.99

