Get 20% OFF All Premium 3D & STL Models!

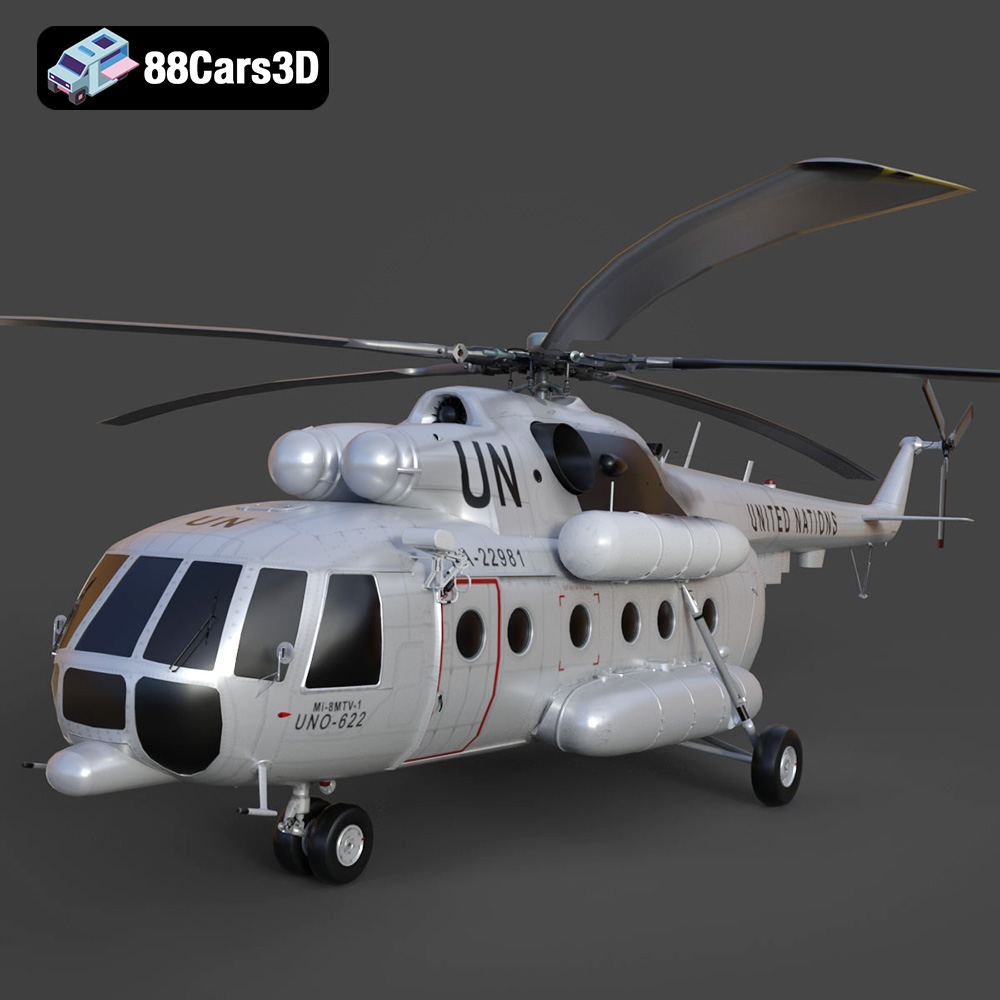
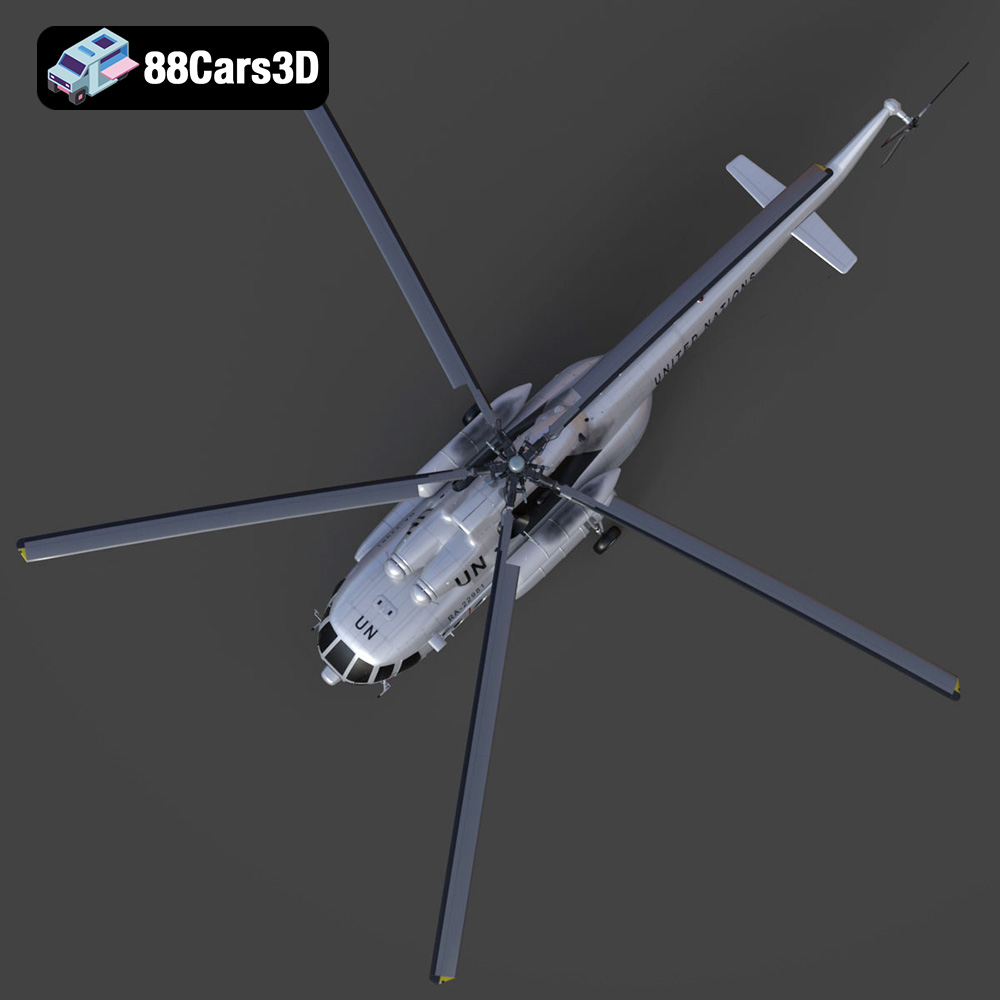
The Mil Mi-8MTV-UN, a ubiquitous transport helicopter famed for its service with the United Nations, is a fantastic subject for 3D printing. Thanks to 88cars3d.com, a highly detailed model is available, offering enthusiasts the chance to recreate this iconic aircraft in physical form. This article will guide you through the process of 3D printing the Mil Mi-8MTV-UN model, covering everything from pre-print preparation to post-processing techniques. Whether you’re a seasoned 3D printing veteran or a relative newcomer, this guide will provide the knowledge you need to achieve impressive results.
Before you can even think about 3D printing the Mil Mi-8MTV-UN model, you need to understand the different file formats available and how they impact the printing process. Different file formats store 3D model data in different ways, and some are better suited for 3D printing than others. This is especially important with a model as detailed as this helicopter.
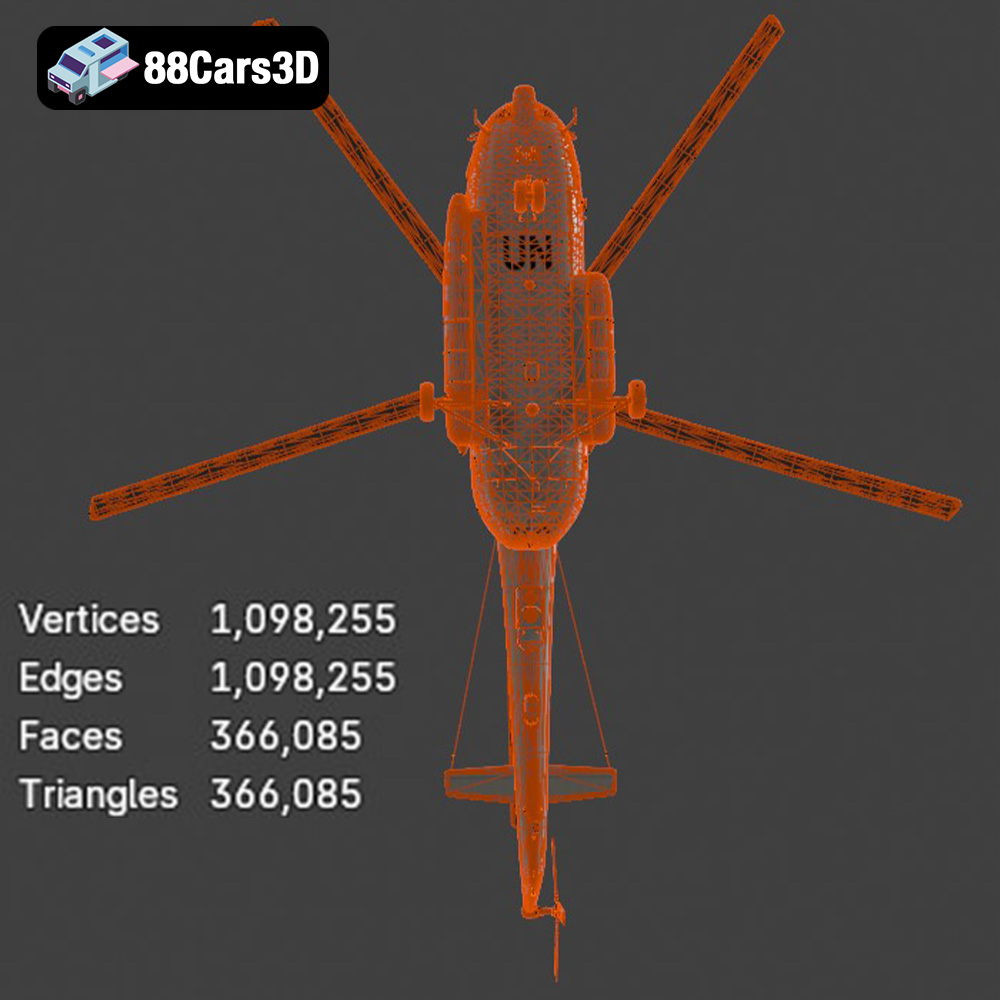
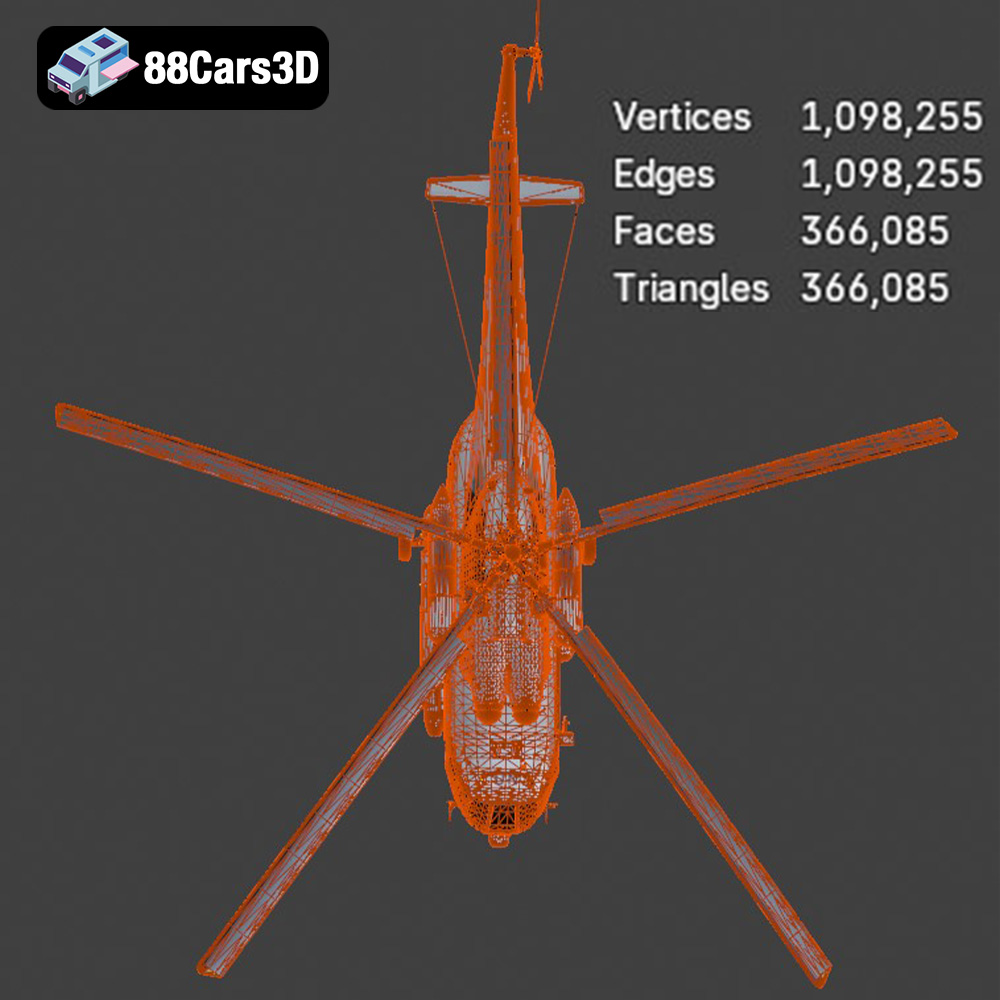
The STL (stereolithography) file format is the undisputed king of 3D printing. It represents the surface geometry of a 3D object as a collection of triangles. While it doesn’t store color or texture information, its simplicity and widespread compatibility make it the most reliable choice for most 3D printing applications. When preparing your Mil Mi-8MTV-UN model for printing, the STL format is the recommended starting point. The quality of the final print heavily depends on the resolution of the STL mesh. A higher triangle count results in a smoother surface, but also a larger file size and potentially longer processing times in your slicing software. You may need to experiment with different export settings to find the sweet spot between detail and manageability. Slicing software takes the STL file and converts it into a series of instructions (G-code) that the 3D printer can understand.
OBJ files are another common format for 3D models, and unlike STL, they can store color and texture information. This makes them useful if you plan to apply textures to your printed model using post-processing techniques like painting, but they are not ideal for direct color 3D printing. While some printers support printing directly from OBJ files with color information, this is less common and may require specialized hardware and software. For the Mil Mi-8MTV-UN model, OBJ could be used to retain texture information for reference during painting.
The PLY (Polygon File Format or Stanford Triangle Format) is designed to store 3D data acquired from 3D scanners. It supports color, texture, and even normal information, offering a higher level of detail than STL. However, PLY files are not as universally supported by slicing software as STL, and they often result in larger file sizes. While the increased precision might seem appealing for the Mil Mi-8MTV-UN model, the compatibility limitations might make STL a more practical choice.
The BLEND file format is the native format for Blender, a popular open-source 3D modeling software. This format contains the entire Blender scene, including the model geometry, textures, lighting, and animations. If you want to customize the Mil Mi-8MTV-UN model before printing, such as adding personalized details or modifying the design, having the BLEND file is invaluable. However, you’ll need Blender installed to open and edit it. Before 3D printing, you’ll need to export the modified model to a printable format like STL.
FBX (Filmbox) is a proprietary file format developed by Autodesk, commonly used in the game development and animation industries. It supports a wide range of data, including geometry, textures, animations, and skeletal rigs. While some slicing software can import FBX files, it’s primarily used for transferring models between different 3D applications rather than for direct 3D printing. The Mil Mi-8MTV-UN model in FBX format might be useful if you want to incorporate it into a game engine or animation project before printing.
GLB is a binary file format representing 3D models, using the glTF (GL Transmission Format) standard. It’s designed to be compact and efficient for transmission and loading in web browsers and applications. GLB files often include textures and animations, making them ideal for previewing models in augmented reality (AR) applications. Before committing to a 3D print, you can use the GLB file to visualize the Mil Mi-8MTV-UN model in your physical space, ensuring that the size and details meet your expectations.
Similar to the BLEND format for Blender, MAX files are the native format for 3ds Max, another professional 3D modeling software package. These files contain the complete project data, including the model, its textures, materials, and any animation or rigging setups. Having the Mil Mi-8MTV-UN model in MAX format allows for extensive modifications and customizations within 3ds Max. Like the BLEND format, the model would need to be exported as an STL before printing.
For 3D printing the Mil Mi-8MTV-UN model, the STL format is the most reliable and widely supported option. Ensure the STL file has a sufficient triangle count to capture the model’s details accurately. If you plan to customize the model, use the BLEND or MAX files, then export to STL for printing.
The material you choose will significantly impact the final appearance, strength, and detail of your 3D printed Mil Mi-8MTV-UN. Here’s a breakdown of common 3D printing materials and their suitability for this project:
PLA is a biodegradable thermoplastic derived from renewable resources. It’s easy to print, requires relatively low temperatures, and produces minimal warping. PLA is an excellent choice for beginners and for printing non-functional models where strength isn’t a primary concern. It’s ideal for creating a display model of the Mil Mi-8MTV-UN. However, PLA is sensitive to heat and may deform in hot environments.
* **Pros:** Easy to print, low warping, biodegradable, good surface finish.
* **Cons:** Low heat resistance, can be brittle, not ideal for functional parts.
* **Recommended Settings:** Print temperature: 200-220°C, Bed temperature: 60°C (optional), Layer height: 0.1-0.2mm, Infill: 15-25%.
PETG combines the ease of printing of PLA with improved strength and heat resistance. It’s more flexible and less brittle than PLA, making it a good choice for parts that need to withstand some stress. PETG also offers good chemical resistance. For the Mil Mi-8MTV-UN, PETG could be used for parts that might experience stress, such as the landing gear or rotor components.
* **Pros:** Stronger and more heat-resistant than PLA, good flexibility, good chemical resistance.
* **Cons:** Can be stringy during printing, requires slightly higher temperatures than PLA.
* **Recommended Settings:** Print temperature: 230-250°C, Bed temperature: 70-80°C, Layer height: 0.1-0.2mm, Infill: 20-30%.
Resin 3D printing (SLA/DLP) uses liquid resin cured by UV light. This technology offers incredibly high detail and smooth surfaces, making it ideal for intricate models like the Mil Mi-8MTV-UN. Resin printing is particularly well-suited for small parts and fine details such as antennas, rotor blades, and cockpit instruments. However, resin prints tend to be more brittle than FDM prints and require post-processing steps like washing and curing.
* **Pros:** Exceptional detail, smooth surfaces, ideal for small and intricate parts.
* **Cons:** More brittle than FDM prints, requires post-processing, more expensive than FDM printing, resins can be toxic.
* **Recommended Settings:** Refer to your resin manufacturer’s recommendations for exposure times and layer height. Typical layer height: 0.025-0.05mm.
Other materials like ABS (Acrylonitrile Butadiene Styrene) and Nylon offer even higher strength and heat resistance but are more challenging to print. They often require enclosed printers and higher temperatures to prevent warping. These materials are generally not necessary for a display model of the Mil Mi-8MTV-UN but could be considered for functional prototypes or heavily modified versions.
Ultimately, the best material for your Mil Mi-8MTV-UN model depends on your priorities. For ease of use and a good balance of detail and strength, PETG is a solid choice. For maximum detail, especially on smaller components, resin printing is the way to go.
Before you send the Mil Mi-8MTV-UN model to your 3D printer, you’ll need to prepare it using slicing software. This software converts the 3D model into a series of layers and generates the G-code that your printer will follow. Here’s what you need to consider during this crucial step:
Choosing the right slicing software is crucial for a successful print. Popular options include Cura, PrusaSlicer, Simplify3D, and Chitubox (for resin printing). Each slicer has its own strengths and weaknesses, so experiment to find one that suits your needs and printer. Within your slicing software, you’ll need to configure various settings:
* **Layer Height:** A lower layer height (e.g., 0.1mm) will result in smoother surfaces and finer details but will increase print time. A higher layer height (e.g., 0.2mm) will print faster but may sacrifice some detail. For the Mil Mi-8MTV-UN, a layer height of 0.1-0.15mm is a good starting point for FDM printing. Resin printing allows for significantly lower layer heights, such as 0.025-0.05mm.
* **Infill Density:** Infill refers to the internal structure of the print. Higher infill densities (e.g., 50%) result in stronger but heavier prints. Lower infill densities (e.g., 15%) save material and print time but may compromise structural integrity. For a display model, 15-25% infill is usually sufficient.
* **Print Speed:** Slower print speeds generally improve print quality, especially for intricate models. However, they also increase print time. Experiment to find a balance between speed and quality.
* **Support Structures:** The Mil Mi-8MTV-UN model likely requires support structures to print overhanging features like the rotor blades, exhaust ports, and landing gear. Slicing software can automatically generate these supports, but you may need to manually adjust their placement and density for optimal results. Consider using tree supports for easier removal.
* **Adhesion:** Ensure good bed adhesion to prevent warping, particularly with materials like PETG and ABS. Use a heated bed, apply adhesive like glue stick or hairspray, or use a brim or raft.
The orientation of the model on the print bed can significantly affect print quality, strength, and the amount of support material required. For the Mil Mi-8MTV-UN, consider these factors:
* **Fuselage:** Printing the fuselage horizontally or at a slight angle can provide good structural integrity and minimize the need for supports on the main body.
* **Rotors:** Print the rotors separately to optimize detail and minimize support material. Orient them vertically to ensure the leading edges are sharp and defined.
* **Landing Gear:** The landing gear likely requires significant support material. Experiment with different orientations to minimize support usage and ensure the parts are strong enough to support the model’s weight.
Before slicing, it’s essential to ensure that the 3D model is “watertight” and free of errors. Use software like MeshMixer or Netfabb Basic to repair any holes, non-manifold edges, or self-intersections. These errors can cause problems during slicing and printing.
Given the Mil Mi-8MTV-UN’s complexity, specific settings deserve extra attention for optimal printing:
The rotor blades are a defining feature of the helicopter, and their sharpness is crucial for visual appeal. For FDM printing, try reducing the layer height to 0.08-0.1mm for the rotor blades specifically. Resin printing naturally excels in this area. Orient the blades vertically and use fine-tuned support settings to minimize scarring during removal.
The landing gear needs to be strong enough to support the weight of the printed model. Increase the wall thickness to 1.6-2.0mm and the infill density to 30-40% for these parts. Consider using a more durable material like PETG or ABS for added strength if you are using an FDM printer.
If you plan to animate parts like the rotors or doors, ensure there’s sufficient clearance between moving components. A small gap of 0.1-0.2mm is usually enough to allow for smooth movement without binding. Account for this tolerance when preparing your model in your preferred 3D modeling software.
Post-processing is the key to transforming a raw 3D print into a professional-looking model. Here’s a breakdown of common post-processing techniques:
The first step is to carefully remove any support structures. Use pliers, cutters, or a sharp knife to detach the supports, being careful not to damage the model. Sanding is essential for smoothing out any imperfections and support scars. Start with coarse sandpaper (e.g., 220 grit) and gradually move to finer grits (e.g., 400, 600, 800 grit) for a smooth finish. For resin prints, sanding should be done wet to prevent dust inhalation.
Priming is crucial for creating a uniform surface for painting. Apply several thin coats of primer, allowing each coat to dry completely before applying the next. Once the primer is dry, you can begin painting. Use acrylic paints or model-specific paints to achieve authentic colors and details. Consider using masking tape to create clean lines and separate different colored areas. Applying a clear coat will protect the paint and add a glossy or matte finish.
The Mil Mi-8MTV-UN model likely consists of multiple parts that need to be assembled. Use adhesive like super glue or epoxy to join the parts together. Pay attention to alignment and ensure a strong bond. Add details like decals, weathering effects, and panel lines to enhance the realism of the model.
To give your Mil Mi-8MTV-UN model a realistic, battle-worn appearance, consider applying weathering effects. Use washes, dry brushing, and pigment powders to simulate dirt, grime, and wear and tear. Study reference photos of real Mil Mi-8MTV-UN helicopters to accurately replicate these effects.
Even with careful preparation, 3D printing can sometimes present challenges. Here are some common issues and their solutions:
* **Warping:** Warping occurs when the corners of the print lift off the print bed. Increase bed adhesion, use a heated bed, and ensure the ambient temperature is stable.
* **Stringing:** Stringing is caused by molten plastic oozing from the nozzle during travel moves. Reduce print temperature, increase retraction settings, and adjust travel speed.
* **Layer Shifting:** Layer shifting occurs when the printer suddenly shifts its position during printing. Check belt tension, ensure the printer is stable, and reduce print speed.
* **Elephant’s Foot:** Elephant’s foot is a widening of the bottom layers of the print. Increase the gap between the nozzle and the bed on the first layer, or use a raft.
* **Support Issues:** Supports may fail to adhere to the model or may be difficult to remove. Adjust support density, support placement, and support interface settings.
The print time and material cost for the Mil Mi-8MTV-UN model will vary depending on the size of the model, the material used, and the printer settings. However, here’s a rough estimate:
* **Print Time:** A 1:48 scale model printed in PLA or PETG could take anywhere from 20 to 40 hours to print, depending on the infill and layer height. Resin printing would likely be faster for smaller parts but could take longer for the fuselage.
* **Material Cost:** A 1kg spool of PLA or PETG costs around $20-30. The Mil Mi-8MTV-UN model would likely require less than half a spool, so the material cost could be around $10-15. Resin costs vary widely, but the material cost for a similar-sized model could be around $20-40.
Remember these are just estimates. Experiment with different settings and materials to optimize print time and material usage. You can find high-quality 3D car models optimized for printing at 88cars3d.com.
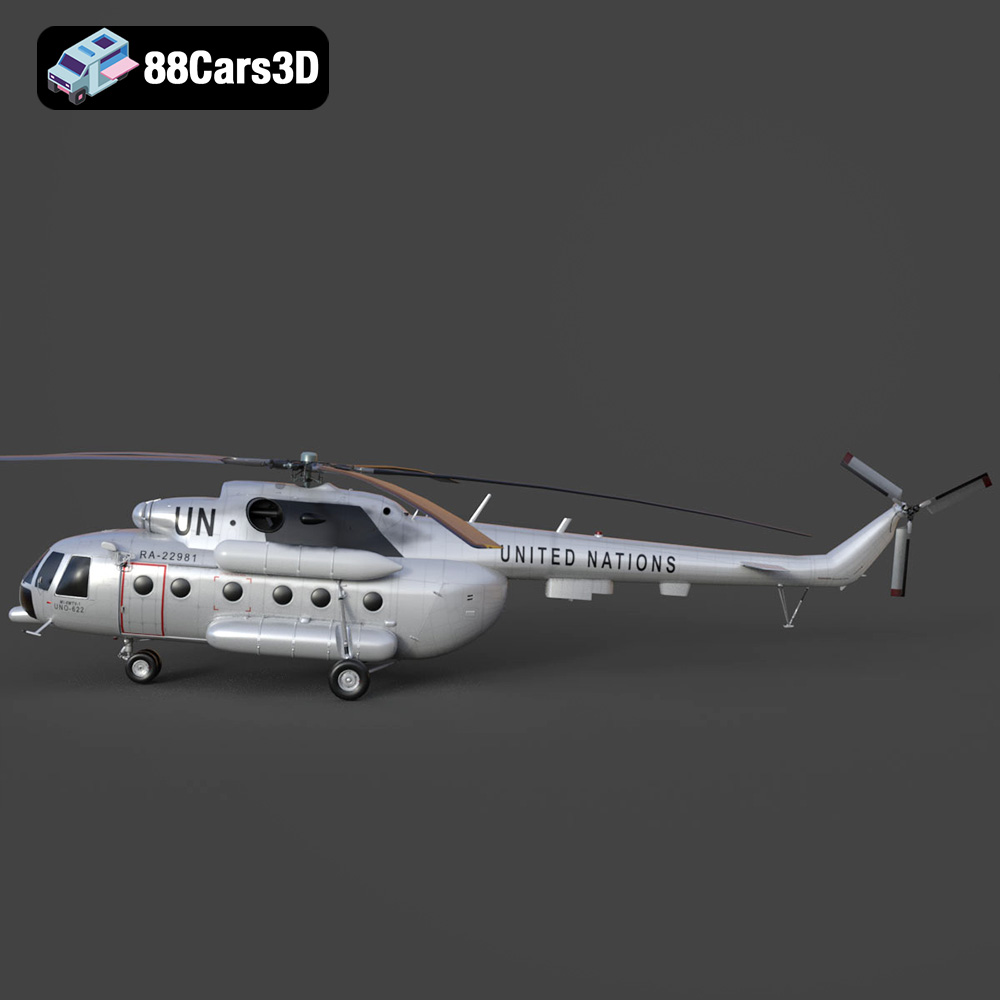
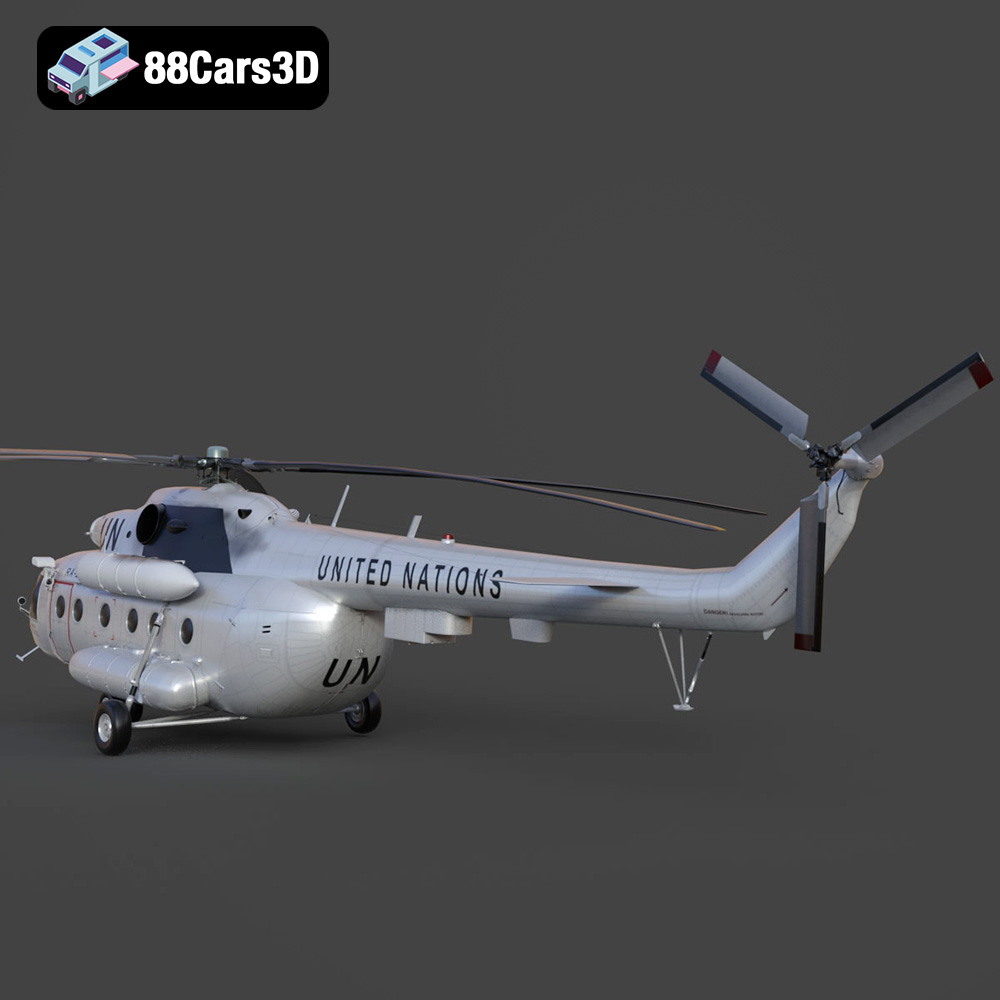
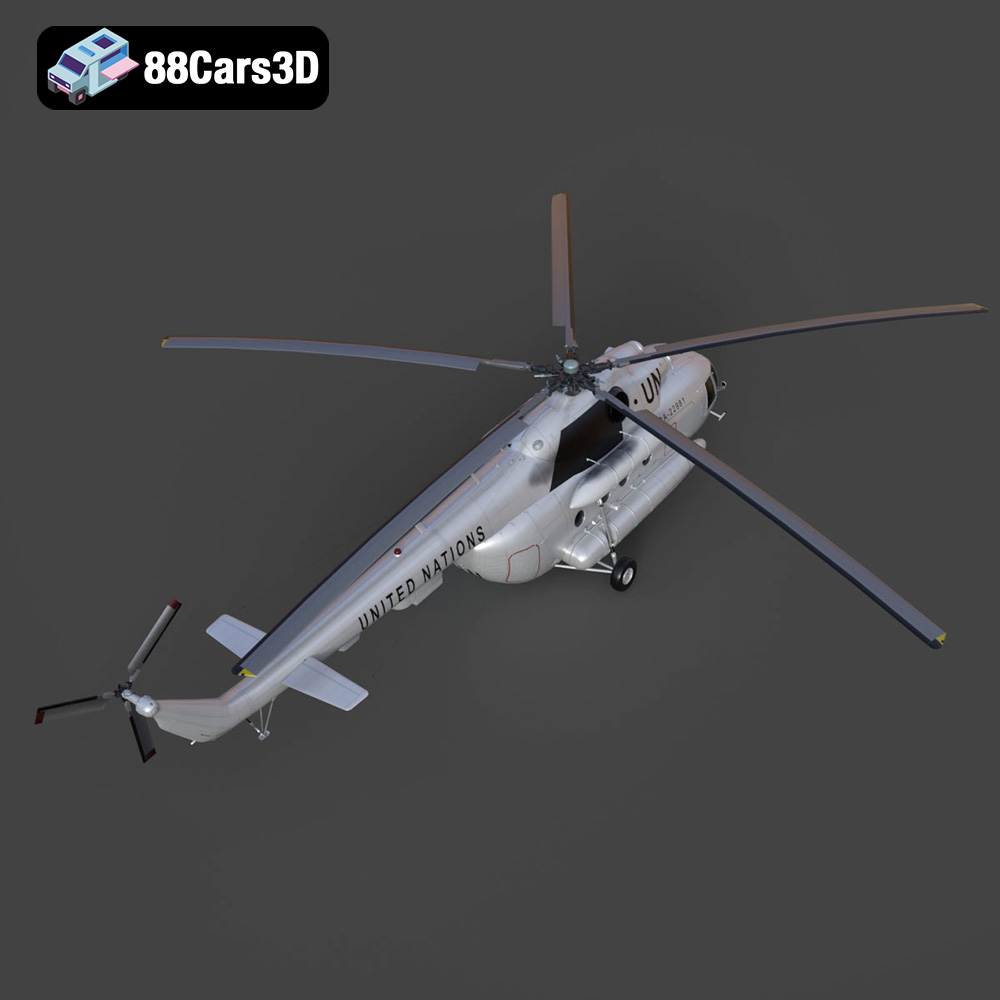
The Mil Mi-8MTV-UN is an iconic, multi-role transport helicopter, globally recognized for its extensive service in humanitarian and peacekeeping missions under the United Nations. This highly detailed 3D model captures the rugged essence of the legendary aircraft.
$19.99
3D printing the Mil Mi-8MTV-UN model offers a rewarding experience for aviation enthusiasts and 3D printing hobbyists alike. By carefully selecting the right material, optimizing print settings, and mastering post-processing techniques, you can create a stunning replica of this iconic helicopter. Remember to pay close attention to the details, experiment with different settings, and don’t be afraid to troubleshoot any issues that arise. With patience and persistence, you’ll be able to proudly display your own 3D printed Mil Mi-8MTV-UN model, a testament to the power of additive manufacturing. Be sure to check out 88cars3d.com for this and many other high-quality 3D models!
.aviation
.blend
.fbx
.glb
.helicopter
.max
.obj
.ply
.rendering
.stl
.unreal
game asset
game-ready
helicopter-3d-model
low-poly
mi-8mtv-un
mil
optimized
transport-helicopter
united-nations
vehicle-3d-model
VR/AR