Get 20% OFF All Premium 3D & STL Models!

“`html
3D printing has revolutionized the world of model making, allowing enthusiasts and professionals alike to create intricate and detailed replicas. When it comes to printing car models, especially those sourced from platforms like 88cars3d.com, the goal is often a smooth, paint-ready surface that accurately reflects the sleek lines of the original vehicle. However, achieving this level of finish requires a deep understanding of the 3D printing process, from STL file preparation to post-processing techniques. This comprehensive guide will walk you through every step, covering essential aspects like STL file optimization, printer settings, slicing strategies, and post-processing methods to transform your printed car models from rough prototypes into show-stopping replicas.
In this guide, you’ll learn:
The journey to a smooth 3D printed car model starts with the STL file itself. STL (Stereolithography) is the standard file format for 3D printing, representing a 3D object as a collection of triangles. The density and distribution of these triangles directly impact the smoothness of the final printed surface. A poorly designed or low-resolution STL file will inevitably result in a stepped, faceted appearance, regardless of how well you fine-tune your printer settings. When downloading models from marketplaces such as 88cars3d.com, you can generally trust the quality of the model, but understanding the underlying principles is crucial for making informed decisions and troubleshooting potential issues.
The resolution of an STL file refers to the number of triangles used to represent the object. A higher resolution file contains more triangles, resulting in a smoother, more accurate representation of the original design. However, higher resolution also means larger file sizes and increased processing time during slicing. Finding the right balance is key. Aim for a resolution that captures the fine details of the car model without overwhelming your computer or printer. For most car models, a polygon count in the hundreds of thousands is a good starting point. You can use software like Meshmixer or Blender to increase or decrease the mesh resolution if needed. Be cautious when increasing resolution, as excessively high polygon counts can lead to diminishing returns and performance issues.
A “manifold” mesh is a closed, watertight surface, essential for successful 3D printing. Non-manifold geometry, such as holes, self-intersections, or unconnected edges, can cause slicing errors and printing failures. Before printing any STL file, especially those you’ve modified yourself, it’s crucial to check for and repair any errors. Software like Netfabb Basic or the built-in repair tools in Cura and PrusaSlicer can automatically detect and fix many common mesh problems. These tools typically work by identifying and closing holes, removing duplicate triangles, and ensuring proper surface orientation. Failure to repair non-manifold geometry can lead to unexpected gaps, missing sections, or even a completely failed print.
Once you have a clean and well-defined STL file, the next step is to configure your 3D printer settings for optimal surface quality. The specific settings will vary depending on the type of printer (FDM or resin), the material you’re using, and the desired level of detail. However, there are some general principles that apply to most scenarios. Key settings to consider include layer height, print speed, temperature, and retraction.
Layer height is arguably the most critical factor influencing surface finish in FDM printing. Smaller layer heights result in smoother surfaces because each layer blends more seamlessly into the next. However, smaller layer heights also increase print time significantly. A common starting point for car models is a layer height of 0.1mm to 0.15mm. For extremely detailed models, you might consider dropping down to 0.05mm or even 0.02mm, but be prepared for print times to double or even triple. It’s a tradeoff between detail and time. With resin printing, layer heights are typically much smaller (25-50 microns), resulting in inherently smoother surfaces. Therefore, resin printing is often preferred for highly detailed models where surface finish is paramount.
Print speed also affects surface quality. Slower print speeds allow the plastic to cool more evenly and reduce the likelihood of warping or other defects. A good starting point for FDM printing is around 40-60mm/s. Temperature settings are crucial for proper layer adhesion and material flow. Consult the manufacturer’s recommendations for your specific filament. Insufficient temperature can lead to poor layer adhesion, while excessive temperature can cause stringing and warping. Retraction settings control how much filament is pulled back into the nozzle when the printer moves between different parts of the model. Proper retraction settings minimize stringing and blobs, which can significantly detract from the surface finish. Experiment with retraction distance and speed to find the optimal settings for your printer and filament.
The slicing process converts the 3D model into a series of instructions that the printer can follow. The slicer settings you choose can have a significant impact on the visibility of layer lines and the overall surface finish. Advanced slicing techniques, such as variable layer height and adaptive layer thickness, can help to minimize these artifacts and produce smoother, more aesthetically pleasing results. Popular slicers include Cura, PrusaSlicer, Simplify3D, and IdeaMaker, each offering a range of advanced features and customization options.
Variable layer height allows you to use different layer heights for different parts of the model. For example, you might use a smaller layer height for curved surfaces and a larger layer height for flat areas. This technique can significantly reduce print time without sacrificing surface quality in critical areas. Adaptive layer thickness takes this concept even further, automatically adjusting the layer height based on the curvature and complexity of the model. Both Cura and PrusaSlicer offer features to automatically adapt layer height. The slicer analyzes the model’s geometry and chooses the optimal layer height for each section to balance detail and print time. Using these adaptive layer height features can yield significant improvements in surface finish, especially for complex car model designs.
Print orientation plays a crucial role in surface quality and support requirements. Orienting the model to minimize the number of downward-facing surfaces reduces the need for support structures, which can often leave marks or blemishes on the finished print. However, it’s also important to consider the orientation of the layer lines relative to the viewing angle. Orienting the model so that the layer lines run parallel to the most visible surfaces can minimize their appearance. Support structures are often necessary to print overhanging features, but they can also be a source of imperfections on the final print. Careful planning and strategic placement of supports can minimize their impact. Use supports sparingly and position them in areas that are less visible or easier to sand and smooth. Experiment with different support patterns and densities to find the best balance between support strength and ease of removal.
The material you choose can significantly impact the surface finish of your 3D printed car model. Different materials have different properties, such as melting temperature, viscosity, and shrinkage rate, which can affect how well they flow and adhere to each other. Common materials for 3D printing car models include PLA, PETG, ABS, and various types of resins. Each material has its own advantages and disadvantages, and the best choice will depend on your specific requirements and preferences.
PLA (Polylactic Acid) is a popular choice for beginners due to its ease of use and relatively low printing temperature. PLA is biodegradable and produces minimal fumes, making it a safe and environmentally friendly option. However, PLA is also relatively brittle and has a low heat resistance, which may not be ideal for car models that will be exposed to sunlight or high temperatures. PLA also tends to show layer lines more prominently than some other materials. Nevertheless, its ease of use and availability make it a good starting point for experimenting with 3D printing car models. It’s worth noting that certain PLA blends are formulated to be more durable and heat resistant, addressing some of the limitations of standard PLA.
PETG (Polyethylene Terephthalate Glycol-modified) offers a good balance of strength, flexibility, and heat resistance. It’s also less prone to warping than ABS, making it a good choice for larger car models. ABS (Acrylonitrile Butadiene Styrene) is a strong and durable material with good heat resistance, but it’s also more difficult to print than PLA or PETG. ABS requires higher printing temperatures and is prone to warping, so it’s typically used with enclosed printers and heated beds. Resin printing offers the highest level of detail and surface finish. Resin printers use liquid photopolymer resins that are cured by UV light, resulting in incredibly smooth surfaces and fine details. However, resin printing also requires more specialized equipment and post-processing steps, such as washing and curing.
Even with optimized printer settings and high-quality materials, some post-processing is typically required to achieve a truly flawless surface finish on 3D printed car models. Post-processing techniques include sanding, filling, priming, and painting. These steps help to eliminate layer lines, smooth out imperfections, and create a professional-looking finish that rivals injection-molded parts.
Sanding is the most common post-processing technique for removing layer lines and smoothing out rough surfaces. Start with a coarse grit sandpaper (e.g., 220 grit) and gradually work your way up to finer grits (e.g., 400, 600, 800, 1000 grit). Wet sanding can help to reduce dust and improve the surface finish. Filling is used to repair any remaining imperfections, such as small gaps or scratches. Automotive body filler or spot putty can be used to fill these imperfections. Apply the filler sparingly and sand it smooth after it has dried. Priming provides a smooth, uniform surface for painting. Choose a primer that is compatible with your chosen paint and apply it in thin, even coats. Sand the primer lightly between coats to remove any imperfections.
Painting is the final step in the post-processing process. Choose a paint that is appropriate for the material you’ve printed with, and apply it in thin, even coats. Use a spray gun for the best results, or opt for spray cans. Multiple thin coats are preferable to one thick coat, which can lead to runs and drips. Allow the paint to dry completely between coats. Clear coating adds a protective layer and enhances the gloss and shine of the paint. Apply the clear coat in thin, even coats and allow it to dry completely. Polishing the clear coat can further enhance the gloss and create a mirror-like finish. For added protection and a professional-looking finish, consider applying multiple coats of clear coat and wet sanding between each coat.
Even with meticulous preparation and careful execution, 3D printing can sometimes present unexpected challenges. Common printing issues include warping, stringing, bed adhesion problems, and layer shifting. Understanding the causes of these issues and how to troubleshoot them is essential for achieving successful prints.
Warping occurs when the corners of the print lift off the build plate during printing. This is often caused by uneven cooling and shrinkage of the plastic. To prevent warping, ensure that your build plate is properly leveled and heated. Using a brim or raft can also improve bed adhesion. Stringing occurs when the printer extrudes thin strands of plastic between different parts of the model. This is often caused by excessive nozzle temperature or insufficient retraction. Adjusting these settings can usually resolve stringing issues. Bed adhesion problems can prevent the first layer from sticking to the build plate. Clean the build plate with isopropyl alcohol or use an adhesive such as glue stick or hairspray. Slowing down the print speed for the first layer can also improve adhesion.
Layer shifting occurs when the printer suddenly shifts position during printing, resulting in misaligned layers. This can be caused by loose belts, stepper motor problems, or mechanical issues. Check the tension of your belts and ensure that all mechanical components are properly aligned and lubricated. Over-extrusion and under-extrusion can also cause surface imperfections. Calibrating your extruder and adjusting the flow rate can help to resolve these issues. Remember, the 3D printing process is heavily influenced by environmental factors such as temperature and humidity. Consistent environmental conditions will help achieve more consistent results.
Achieving smooth surfaces on 3D printed car models is a multi-faceted process that requires attention to detail at every stage, from STL file preparation to post-processing techniques. By understanding the underlying principles of 3D printing and applying the techniques outlined in this guide, you can transform your printed car models from rough prototypes into stunning replicas that capture the beauty and precision of the original vehicles. Remember to carefully select your materials, optimize your printer settings, and master post-processing methods such as sanding and painting. Platforms like 88cars3d.com offer print-ready STL files that are a great starting point, but understanding how to refine and optimize the process is key to achieving truly exceptional results. Experiment with different settings and techniques to find what works best for your printer, your materials, and your desired level of detail. With practice and perseverance, you can achieve flawless finishes and create 3D printed car models that are the envy of every enthusiast.
“`

Texture: Yes | Material: Yes
Download the highly detailed, game-ready Volkswagen Jetta GLI 2019 3D Model. Features an aggressive honeycomb grille with red accents, sleek aerodynamic profile, and exclusive GLI sport wheels. Includes .blend, .fbx, .obj, .glb, .stl, .ply, .unreal, and .max formats for game development, AR/VR, and rendering.
Price: $19.99
Texture: Yes | Material: Yes
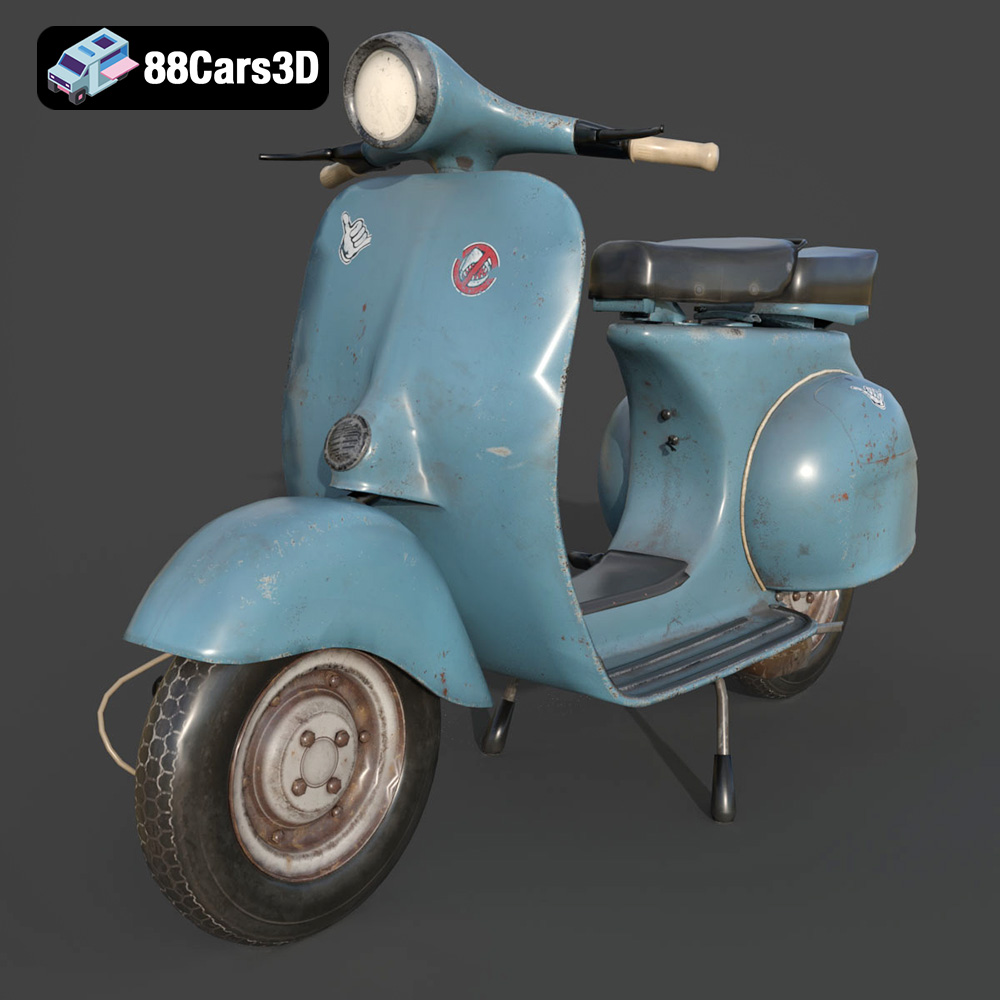
Download the highly detailed, game-ready Vintage Vespa 3D Model. Features iconic rounded monocoque styling, classic saddle, and chrome accents. Includes .blend, .fbx, .obj, .glb, .stl, .ply, .unreal, and .max formats for game development, AR/VR, and rendering.
Price: $19.99

Texture: Yes | Material: Yes
Download the highly detailed, game-ready Vespa GS 150 3D Model. Features elegant aerodynamic curves, classic leg shield, and detailed engine casing. Includes .blend, .fbx, .obj, .glb, .stl, .ply, .unreal, and .max formats for game development, AR/VR, and rendering.
Price: $19.99
Texture: Yes | Material: Yes
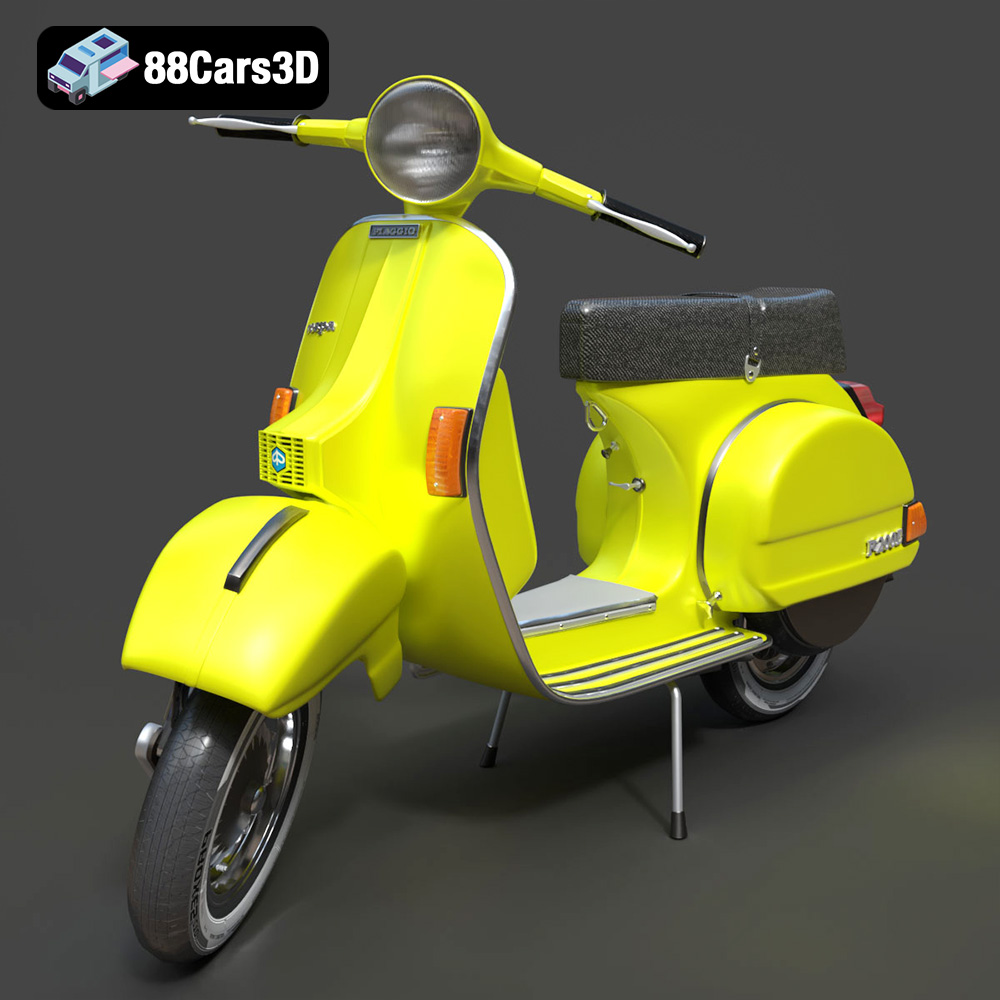
Download the highly detailed, game-ready Vespa P200E 3D Model. Features classic vintage styling, accurate step-through frame geometry, and authentic detailing. Includes .blend, .fbx, .obj, .glb, .stl, .ply, .unreal, and .max formats for game development, AR/VR, and rendering.
Price: $19.99
Texture: Yes | Material: Yes
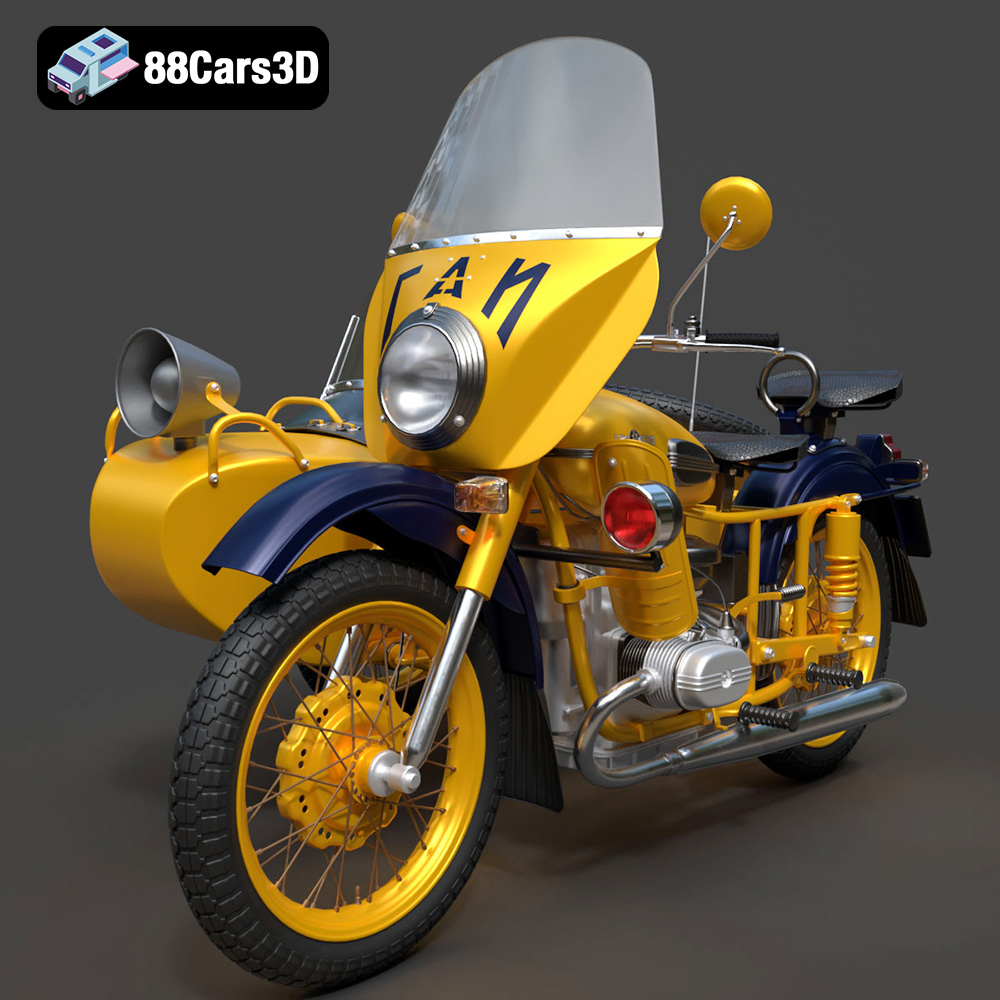
Download the highly detailed, game-ready Ural M67-36-P 1976 3D Model. Features the iconic air-cooled boxer engine, vintage utilitarian styling, and authentic spoked wheels. Includes .blend, .fbx, .obj, .glb, .stl, .ply, .unreal, and .max formats for game development, AR/VR, and rendering.
Price: $19.99
Texture: Yes | Material: Yes
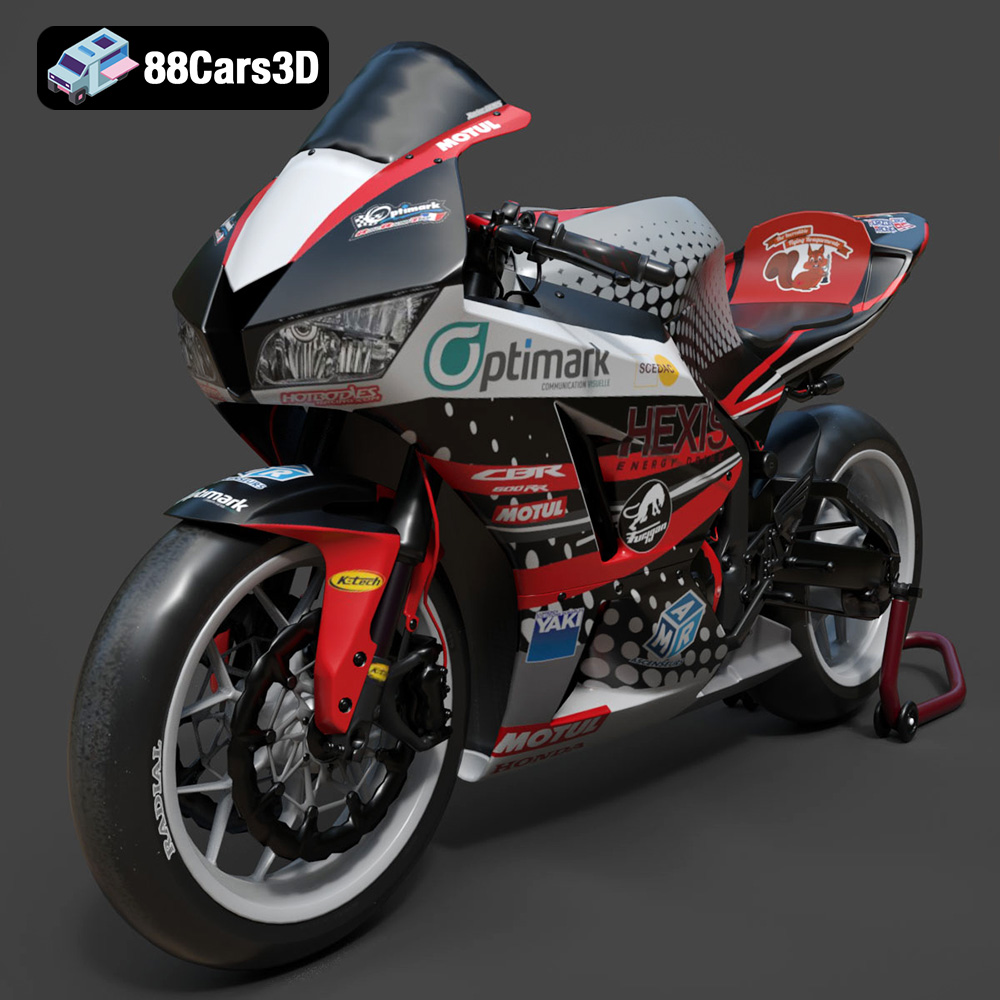
Download the highly detailed, game-ready Honda CBR600RR 3D Model. Features aerodynamic fairings, an iconic center-up exhaust, and an aggressive track-focused stance. Includes .blend, .fbx, .obj, .glb, .stl, .ply, .unreal, and .max formats for game development, AR/VR, and rendering.
Price: $19.99
Texture: Yes | Material: Yes
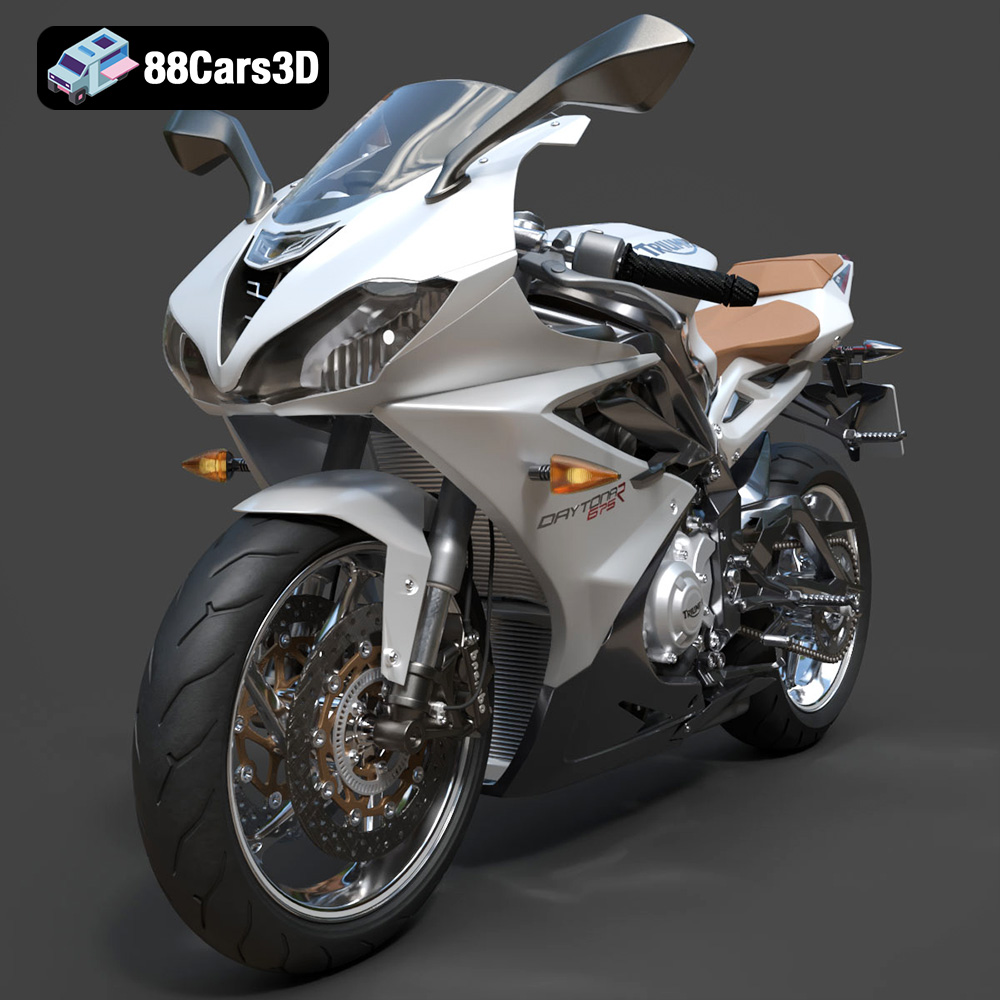
Download the highly detailed, game-ready Triumph Daytona 675R ABS 2015 3D Model. Features aerodynamic sport fairings, a detailed inline-triple engine, and premium Öhlins suspension components. Includes .blend, .fbx, .obj, .glb, .stl, .ply, .unreal, and .max formats for game development, AR/VR, and rendering.
Price: $19.99

Texture: Yes | Material: Yes
Download the highly detailed, game-ready Toyota Tacoma TRD Off-Road 2016 3D Model. Features a rugged exterior, TRD off-road suspension details, and a meticulously crafted interior. Includes .blend, .fbx, .obj, .glb, .stl, .ply, .unreal, and .max formats for game development, AR/VR, and rendering.
Price: $19.99

Texture: Yes | Material: Yes
Download the highly detailed, game-ready Toyota Supra 2020 3D Model. Features aggressive aerodynamic styling, a distinctive double-bubble roof, and accurate B58 engine components. Includes .blend, .fbx, .obj, .glb, .stl, .ply, .unreal, and .max formats for game development, AR/VR, and rendering.
Price: $19.99
Texture: Yes | Material: Yes
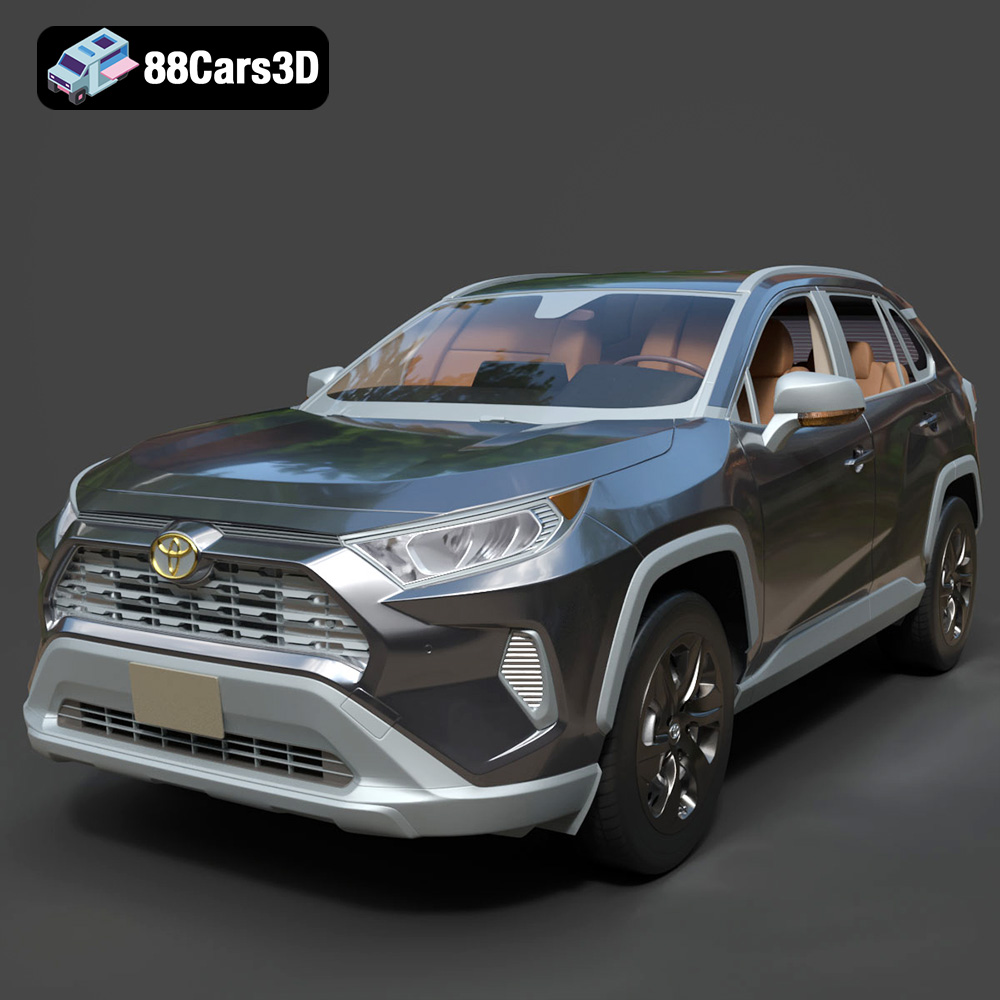
Download the highly detailed, game-ready Toyota RAV4 LE 2019 3D Model. Features rugged exterior styling, signature polygonal motif, and a detailed interior. Includes .blend, .fbx, .obj, .glb, .stl, .ply, .unreal, and .max formats for game development, AR/VR, and rendering.
Price: $19.99

