Get 20% OFF All Premium 3D & STL Models!

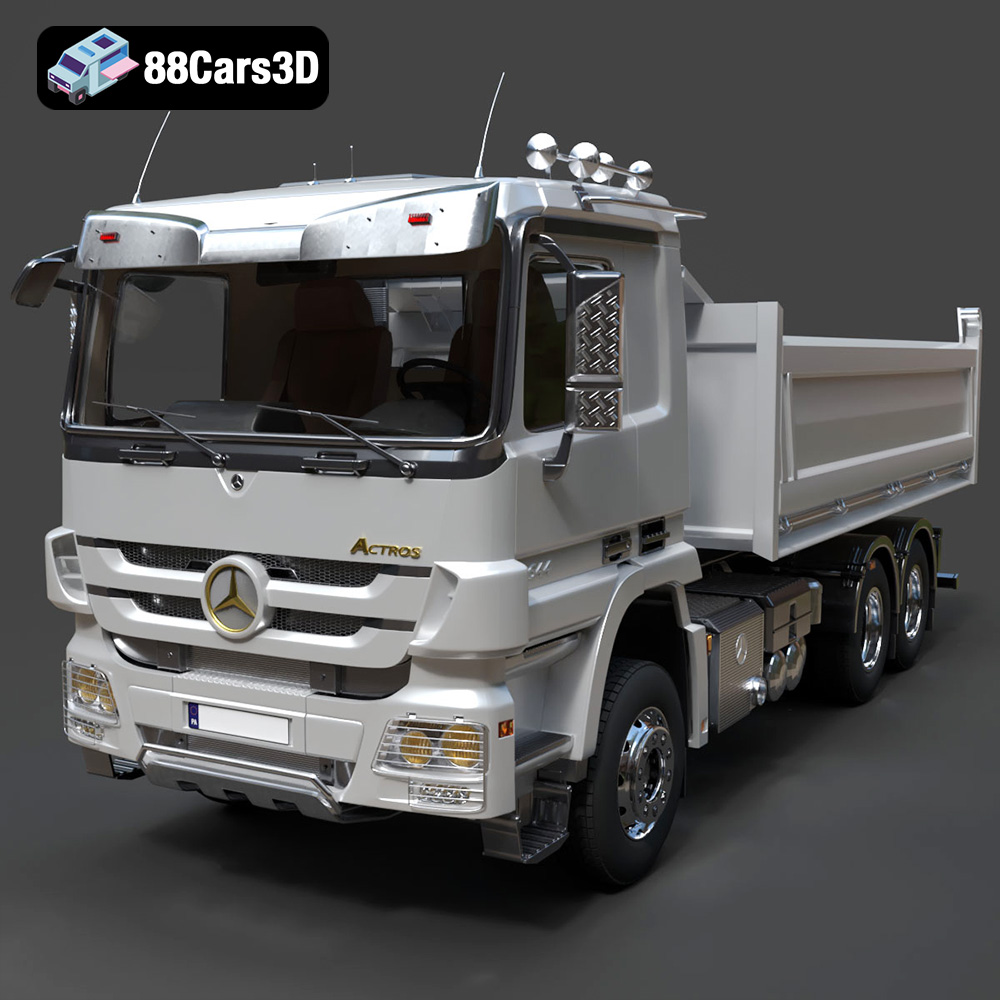
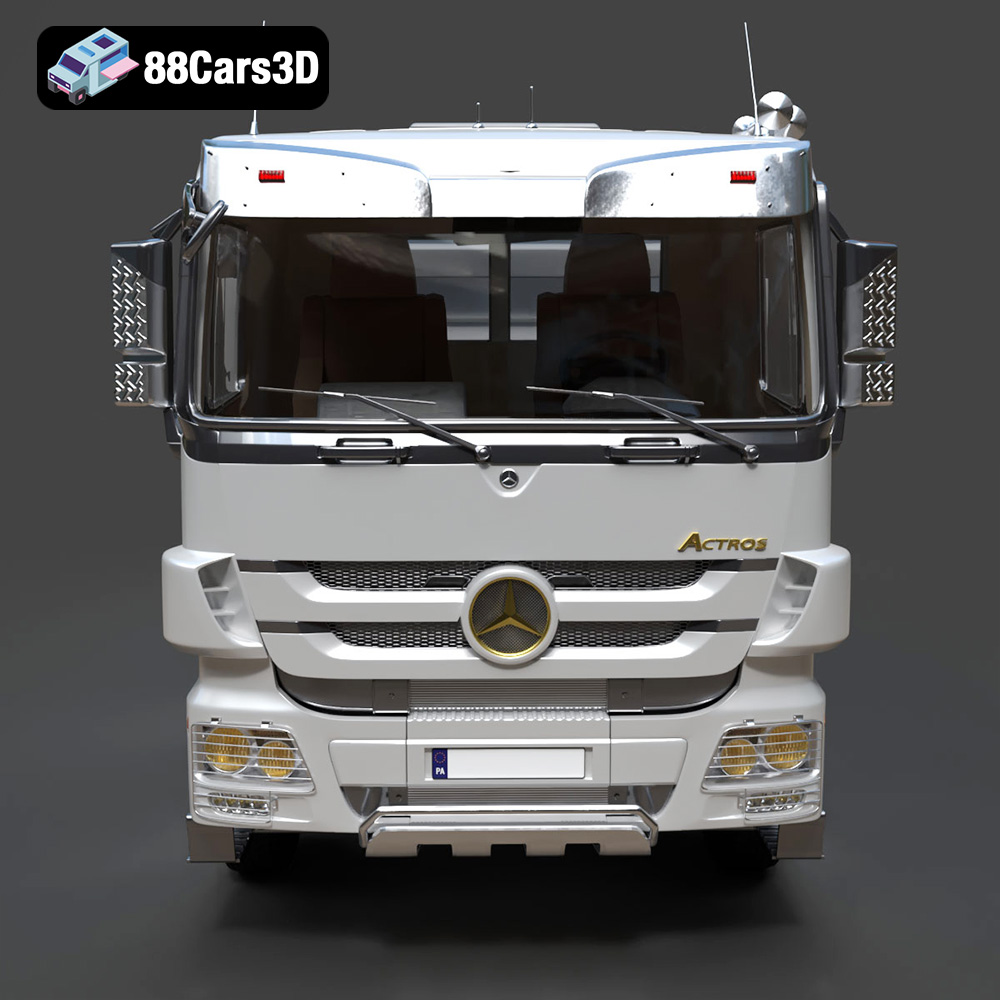
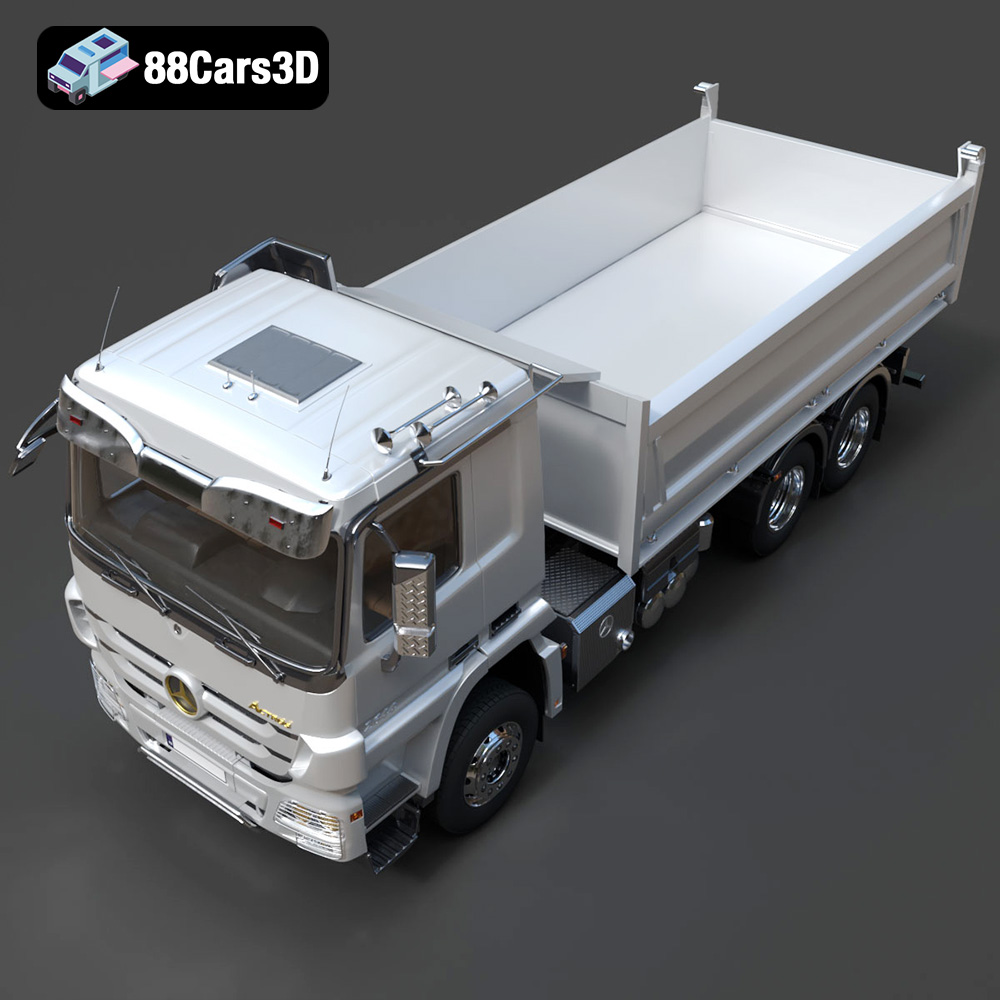
The Mercedes-Benz Actros Tipper 3-Axle 2011 is a magnificent workhorse, and now you can bring this beast of a machine to life through the power of 3D printing. This guide will walk you through the process of 3D printing the detailed model available at 88cars3d.com, covering everything from choosing the right materials and settings to post-processing and finishing touches. Whether you’re a seasoned 3D printing enthusiast or a newcomer eager to tackle a challenging project, this article will provide the knowledge and confidence to create a stunning replica of this iconic truck. We’ll explore the nuances of preparing the STL files, selecting optimal print parameters, and addressing potential pitfalls to ensure a successful and satisfying 3D printing experience.
The success of your 3D printed Actros Tipper hinges on selecting the appropriate printer and material. The level of detail in the model, especially smaller components, demands careful consideration.
While both Fused Deposition Modeling (FDM) and Stereolithography (SLA) printers can be used, resin printers (SLA/DLP) are generally recommended for achieving the highest level of detail. The finer layer resolution of resin printing allows for capturing intricate details like the cab roof lights, engine block, and chassis elements with greater fidelity. FDM printers, which use filament, can still produce excellent results, especially for larger parts like the tipper bed and frame, but require careful tuning and potentially smaller nozzle sizes (0.4mm or smaller) for optimal detail.
* **Resin:** For resin printing, standard resins offer good detail and are relatively inexpensive. However, for enhanced durability, consider using a tough or ABS-like resin, especially for functional parts like the wheels and axles.
* **Filament (PLA/PETG):** If using an FDM printer, PLA is a good starting point due to its ease of printing and biodegradability. However, PETG offers superior strength, heat resistance, and flexibility, making it a better choice for parts that will be subjected to stress or require long-term durability. ABS is another option, known for its high strength and temperature resistance, but it can be more challenging to print due to warping tendencies. Polycarbonate offers even greater strength and temperature resistance but requires specialized equipment and expertise.
When downloading 3D models, you’ll encounter various file formats, each with its own strengths and weaknesses. Understanding these formats is crucial for ensuring a smooth 3D printing process, from initial import to final product. The Mercedes-Benz Actros Tipper 3-Axle 2011 3D model at 88cars3d.com includes a variety of these formats, so let’s explore them in detail.
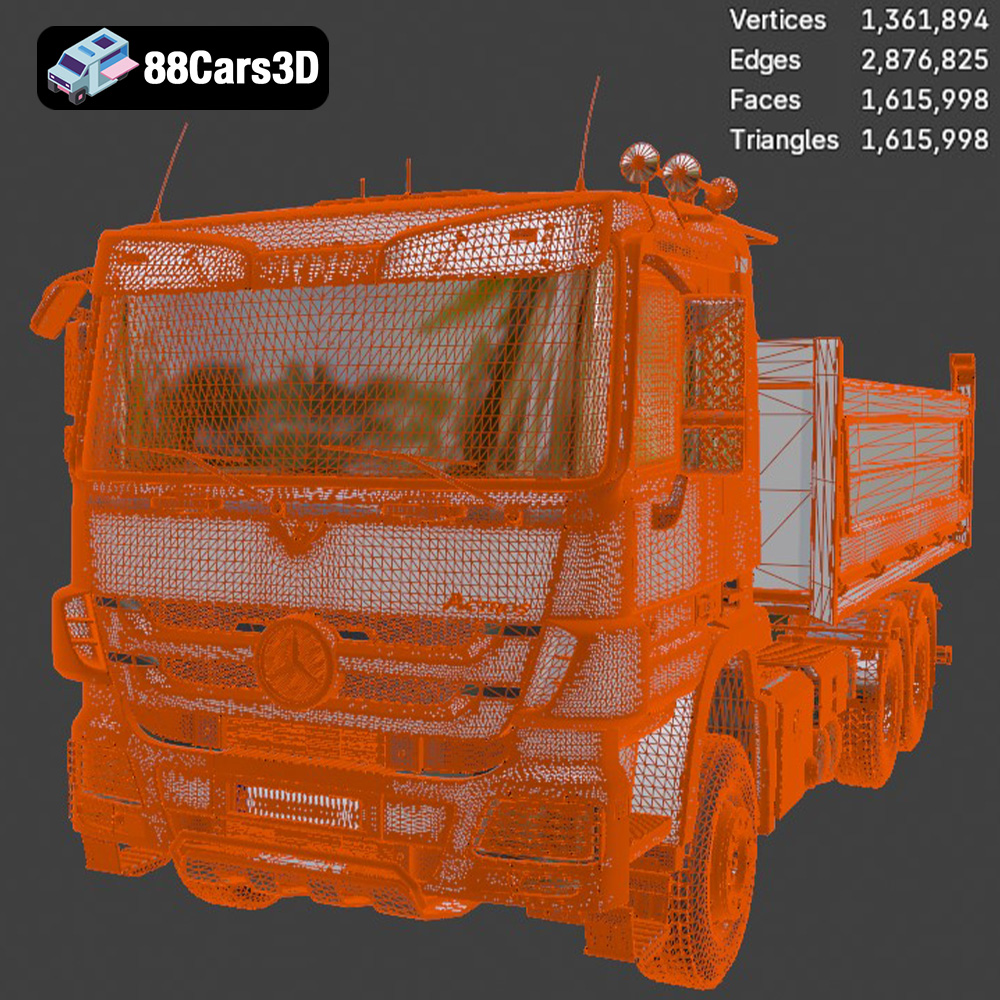
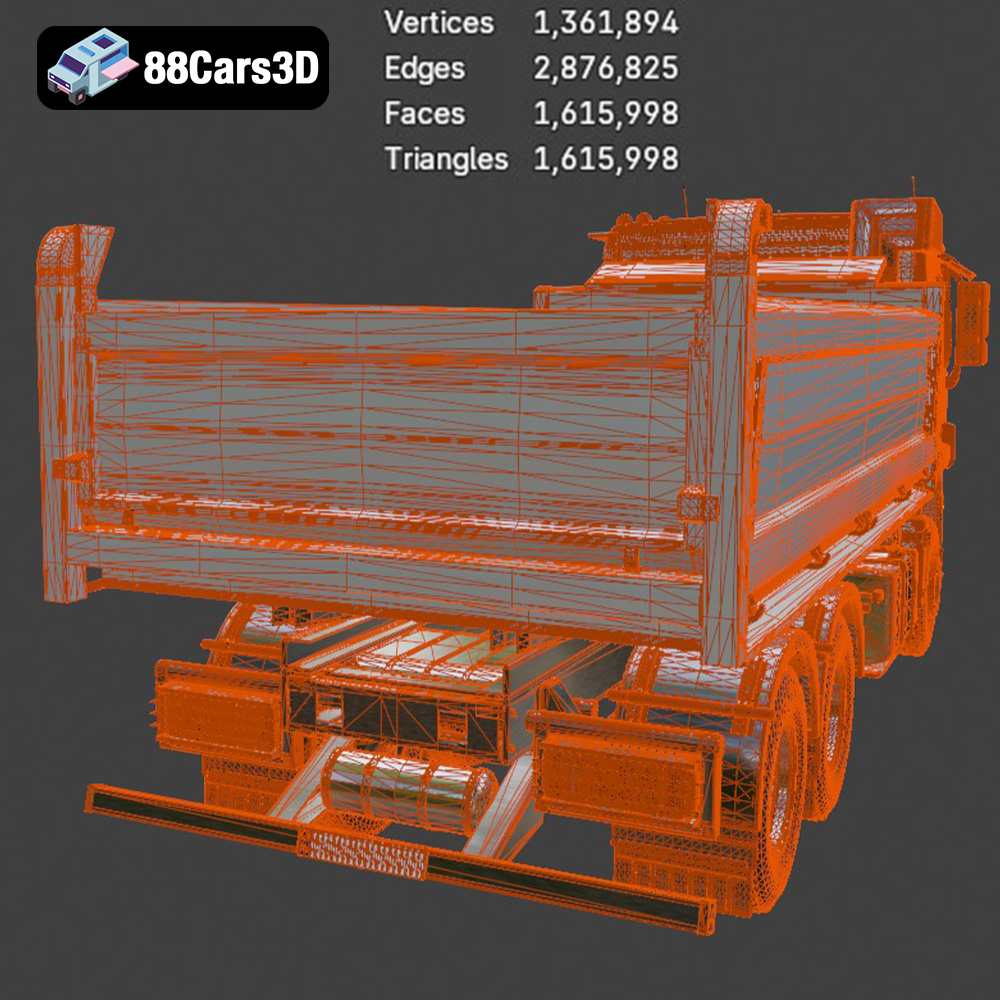
STL (Stereolithography) is the most widely used file format in 3D printing. It represents the surface geometry of a 3D object as a collection of triangles. Because it focuses solely on the mesh data (vertices and faces), STL files are relatively simple and universally compatible with slicing software. However, this simplicity also means that STL files do not contain color, texture, or material information. For 3D printing, this is generally not a limitation since most printers work with a single material at a time. The quality of an STL file depends heavily on the triangle count – a higher triangle count results in a smoother, more detailed surface, but also a larger file size and potentially longer processing times. When preparing an STL file for printing, it’s essential to check for mesh errors such as non-manifold geometry (holes or self-intersections) and flipped normals (surfaces facing the wrong direction). Many slicing programs offer automatic repair tools to address these issues. Because it is a mesh-only format, you will need to assign color manually in post-processing using paints and finishes.
OBJ is another common 3D model format that, unlike STL, can store color and texture information alongside the geometry. This makes it suitable for colored 3D prints (using multi-material printers) or for rendering applications where visual appearance is critical. OBJ files can also contain more complex data structures, such as NURBS surfaces, which allow for smoother curves and more accurate representations of complex shapes. However, the added complexity can sometimes make OBJ files more difficult to process than STL files. When using an OBJ file for 3D printing, it’s important to ensure that the slicing software correctly interprets the color and texture data.
PLY (Polygon File Format) is designed to store 3D data acquired from 3D scanners. It’s capable of representing not only the geometry but also vertex colors, surface normals, and other properties, making it suitable for high-detail scans and point cloud data. While PLY files can be used for 3D printing, they are less common than STL or OBJ, and some slicing software may have limited support for them.
BLEND files are native to Blender, a popular open-source 3D modeling software. They contain the entire scene, including the model geometry, textures, materials, lighting, and animation data. BLEND files are ideal for users who want to customize the 3D model before 3D printing. For example, you might want to modify the model’s geometry, add details, or prepare it specifically for printing by adding supports or splitting it into smaller parts. To 3D print a model from a BLEND file, you’ll need to open it in Blender and export it as an STL file.
FBX (Filmbox) is a proprietary file format developed by Autodesk, primarily used for exchanging 3D data between different software applications. It supports complex data structures, including geometry, textures, materials, animations, and rigging. FBX files are often used in game development and animation pipelines. While some slicing software can import FBX files, it’s generally recommended to convert them to STL or OBJ for 3D printing, especially if the file contains complex materials or animations that are not relevant to the printing process.
GLB is a binary file format that represents 3D models using the glTF (GL Transmission Format) standard. GLB files are designed to be compact and efficient for transmitting 3D data over the internet, making them suitable for web-based applications, AR/VR experiences, and mobile devices. GLB files can contain geometry, textures, and animations, all packaged into a single file. While GLB files are not directly used for 3D printing, they can be useful for previewing the model in AR or VR before committing to the printing process.
Similar to .blend files for Blender, .max files are native to Autodesk 3ds Max, another industry-standard 3D modeling software. These files contain the entire project, including geometry, textures, lighting, and animation setups. They offer extensive customization options for users familiar with 3ds Max. To prepare a model from a .max file for 3D printing, it needs to be opened in 3ds Max and exported as an STL file.
For 3D printing the Mercedes-Benz Actros Tipper 3-Axle 2011 from 88cars3d.com, the **STL format is the most suitable and widely supported option.** The STL file provides the essential geometric data needed for slicing and printing, ensuring compatibility with a wide range of 3D printers and software. Remember to inspect the STL file for any mesh errors and repair them before proceeding with the printing process.
Proper pre-print preparation is paramount for a successful 3D print. This involves slicing the model and determining the optimal print orientation.
Choose a slicing software that is compatible with your 3D printer. Popular options include Cura (free and user-friendly), PrusaSlicer (excellent for Prusa printers), and Simplify3D (paid, but offers advanced control). Import the STL file of the Actros Tipper into your chosen slicer.
The orientation of the model on the print bed significantly affects print quality, strength, and support requirements. For the Actros Tipper’s frame, printing it at an angle (approximately 45 degrees) can provide better structural integrity and reduce the need for extensive supports. The wheels, tipper bed, and other components should be printed separately, with orientations that minimize support requirements and maximize detail on visible surfaces. Experiment with different orientations to find the best balance between print time, material usage, and surface quality.
Support structures are essential for printing overhanging features and intricate details. Consider using tree supports, which are more efficient in material usage and easier to remove than traditional linear supports. Manually place supports in areas where they are most needed, such as the exhaust system, mirrors, hydraulic rams, and chassis details. Ensure that supports are easily accessible for removal after printing without damaging the model.
Fine-tuning your print settings is critical to achieving the desired level of detail and strength in your 3D printed Actros Tipper.
For resin printing, a layer height of 0.04-0.08 mm is recommended to capture the finest details. For FDM printing, a layer height of 0.1-0.2 mm is a good starting point, but you may need to experiment with smaller layer heights (e.g., 0.12 mm) for improved detail on smaller parts.
An infill density of 20-30% is generally sufficient for most parts of the Actros Tipper. Use a rectilinear or gyroid infill pattern for a good balance between strength and print time. For parts that require extra strength, such as the axles or tipper bed hinges, consider increasing the infill density to 50% or higher.
Adjust your print speed and temperature according to the material manufacturer’s recommendations. Lower print speeds generally result in better print quality but increase print time. Proper temperature settings are crucial for ensuring good layer adhesion and preventing warping or other print defects.
Once the printing is complete, post-processing is essential to achieve a professional-looking finish.
Carefully remove the support structures using pliers or a sharp knife. Take your time to avoid damaging the model. Sand down any rough edges or imperfections with progressively finer grits of sandpaper (e.g., 220, 400, 600). For resin prints, consider wet sanding to minimize dust and achieve a smoother surface.
Apply a primer coat to the model to prepare it for painting. Priming helps to create a uniform surface and improves paint adhesion. Choose paints that are appropriate for the material you used for printing (e.g., acrylics for PLA/PETG, model paints for resin). Apply thin, even coats of paint, allowing each coat to dry completely before applying the next. Consider using an airbrush for a smoother, more professional finish. To achieve an authentic look, research the factory colors and fleet finishes used on the real Mercedes-Benz Actros Tipper 3-Axle 2011. Metallic finishes can add a touch of realism to the model.
Assemble the different parts of the model, such as the wheels, tipper bed, and cab. Use glue or other adhesives to securely attach the parts. Add any final details, such as decals, weathering effects, or custom modifications.
Even with careful preparation, you may encounter some challenges during the 3D printing process. Here are some common issues and their solutions:
* **Issue:** The model lifts off the print bed during printing.
* **Solution:** Ensure the print bed is properly leveled and clean. Use a bed adhesive, such as glue stick or hairspray. Increase the bed temperature. Add a brim or raft to the model in your slicing software.
* **Issue:** Thin strands of filament are left between parts of the model, or small blobs of material appear on the surface.
* **Solution:** Reduce the printing temperature. Increase retraction settings in your slicing software. Ensure the filament is dry.
* **Issue:** Layers of the model are misaligned, resulting in a shifted or distorted print.
* **Solution:** Check the belts and pulleys on your 3D printer to ensure they are properly tensioned. Reduce the print speed. Ensure the printer is stable and free from vibrations.
* **Issue:** Small details are not being captured properly, resulting in a blurry or undefined print.
* **Solution:** Reduce the layer height. Use a smaller nozzle size (for FDM printing). Increase the print resolution in your slicing software.
The print time and material cost for the Mercedes-Benz Actros Tipper 3-Axle 2011 will vary depending on the size of the model, the complexity of the design, the print settings used, and the material chosen. As a general estimate, a 1:32 scale model printed with PLA at a layer height of 0.15 mm and an infill density of 20% could take 30-50 hours to print and use 200-300 grams of filament. Resin prints will generally take a similar amount of time depending on the complexity of the model. Larger scales and more detailed prints will take significantly longer. It’s always a good idea to slice the model in your chosen software to get a more accurate estimate of print time and material usage.
By following these guidelines and taking the time to experiment with different settings and techniques, you can successfully 3D print a stunning replica of the Mercedes-Benz Actros Tipper 3-Axle 2011. The model available at 88cars3d.com is designed with 3D printing in mind, making it an excellent choice for both novice and experienced makers.
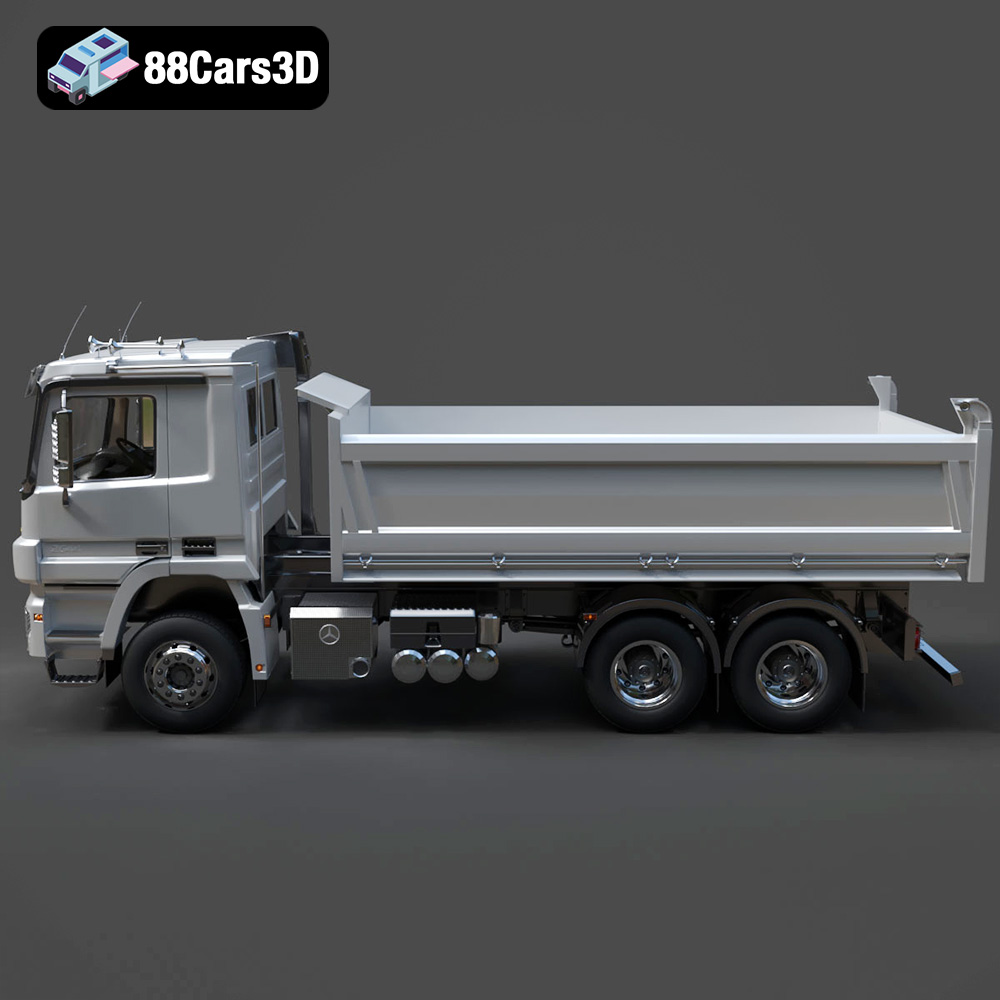
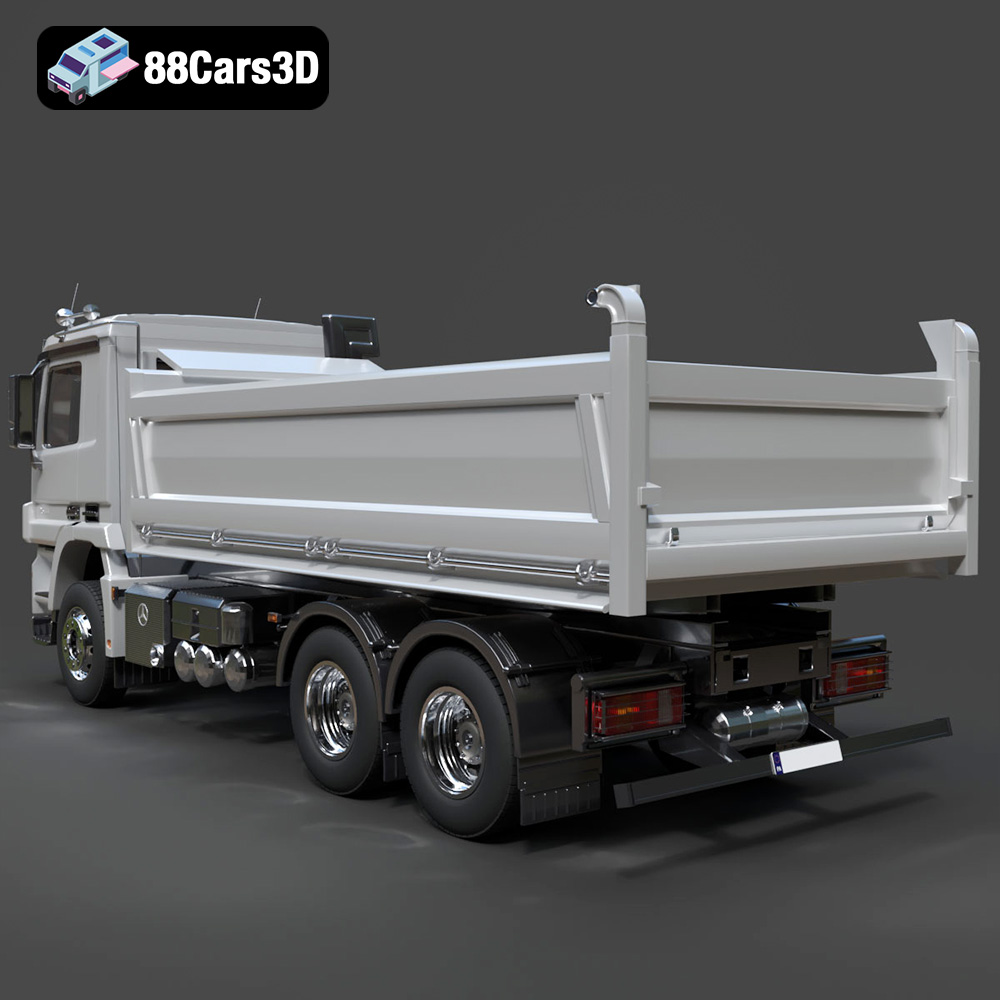
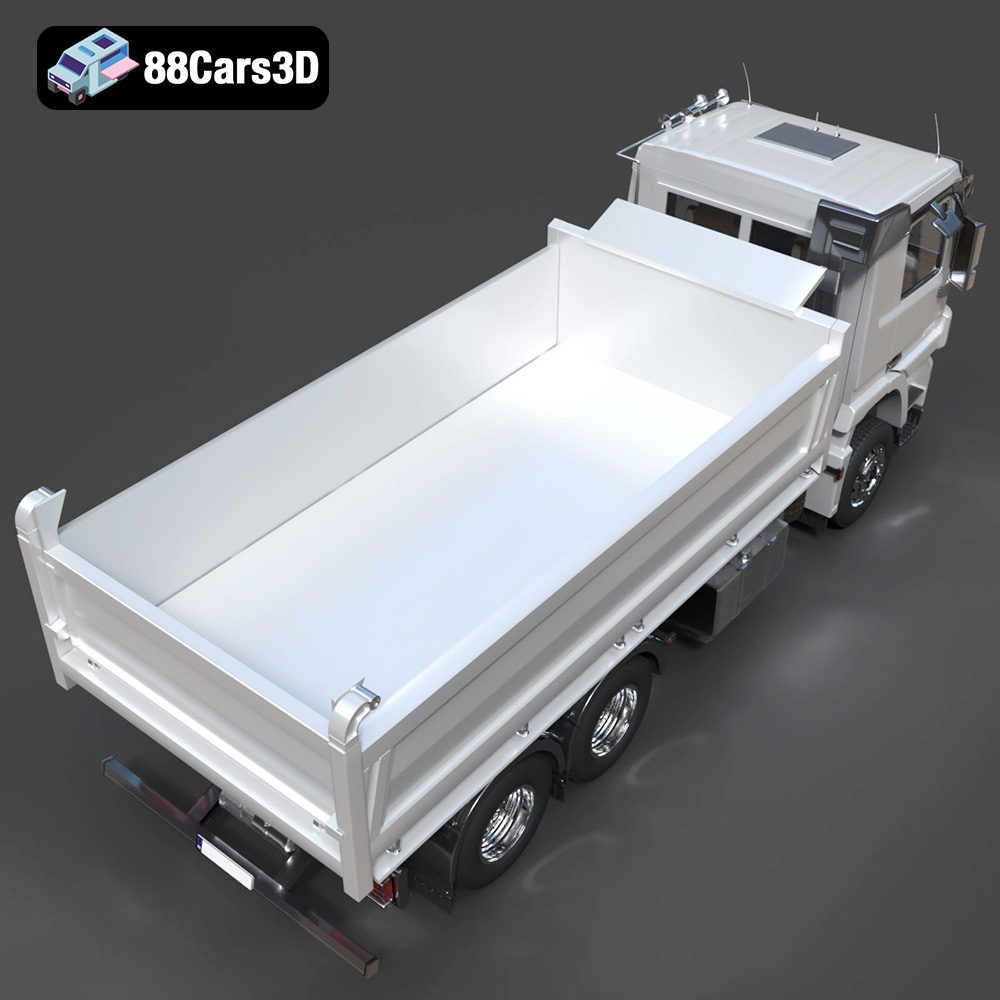
The Mercedes-Benz Actros Tipper 3-Axle 2011 is a heavy-duty powerhouse, renowned globally for its robust engineering, exceptional payload capacity, and reliability in demanding construction and mining environments. This iconic commercial truck features a muscular front grille, a towering aerodynamic cab, a durable multi-axle chassis, and a heavy-duty hydraulic tipper body designed to handle the toughest payloads.
$19.99
.2011
.actros
.blend
.fbx
.glb
.max
.obj
.ply
.rendering
.stl
.truck
.unreal
3-axle
actros-tipper
commercial-vehicle
construction-equipment
dump-truck
game asset
game-ready
heavy-duty
low-poly
mercedes-benz
optimized
tipper-truck
truck-3d-model
VR/AR