Get 20% OFF All Premium 3D & STL Models!

“`html
The world of 3D printing offers incredible possibilities for automotive enthusiasts and model makers. Imagine holding a perfectly scaled replica of your dream car, meticulously crafted through additive manufacturing. But before you can bring these visions to life, you need to convert those digital car models into a format that your 3D printer understands: the STL file. This comprehensive guide will walk you through the process of converting vehicle models into print-ready STL files, covering everything from software selection to mesh optimization, ensuring stunning and accurate results. Whether you’re a seasoned 3D printing veteran or just starting your journey, this article provides the technical knowledge and step-by-step instructions needed to successfully prepare your vehicle models for printing, even when downloading models from marketplaces such as 88cars3d.com. We’ll explore essential software, critical settings, and troubleshooting tips to overcome common challenges, guaranteeing a smooth and rewarding 3D printing experience. Get ready to dive into the fascinating world of digital modeling and additive manufacturing!
The STL (Stereolithography) file format is the workhorse of 3D printing, representing the surface geometry of a 3D object using a collection of triangles. This triangulated mesh is what your slicing software uses to generate the layers for printing. The quality of the STL file directly impacts the final print, so understanding its structure and limitations is crucial. A well-formed STL file ensures accurate and detailed prints, while a poorly constructed one can lead to artifacts, errors, and even failed prints. Platforms like 88cars3d.com offer print-ready STL files, but understanding the underlying structure helps with customization and troubleshooting.
The number of triangles used to represent the model directly affects its accuracy. A higher triangle count results in a smoother, more detailed surface, but also increases file size and processing time. Lower triangle counts lead to faceted surfaces, especially noticeable on curved areas. The ideal triangle density depends on the model’s size and complexity, and the desired level of detail. For vehicle models, aim for a balance that captures the car’s lines and curves without creating an excessively large file. Typically, for a car model around 20cm long, a file size of 50-100 MB is acceptable.
A crucial property of a printable STL file is that it must be a “manifold” mesh. This means that every edge of every triangle must be shared by exactly two triangles. Think of it as a completely enclosed, airtight surface. Non-manifold edges, holes, and overlapping faces can cause slicing software to misinterpret the geometry, leading to printing errors. Most 3D modeling software and mesh repair tools offer features to identify and correct non-manifold issues automatically. Common errors include flipped normals (triangles facing the wrong way) and self-intersecting geometry.
Numerous software options are available for converting vehicle models into STL files, each with its strengths and weaknesses. Choosing the right tool depends on the original file format of your model (e.g., STEP, IGES, OBJ), your budget, and your desired level of control over the conversion process. Some software focuses on ease of use, while others offer advanced features for mesh editing and optimization. Several popular and effective options exist.
Blender is a powerful, free, and open-source 3D creation suite that can handle a wide range of file formats. It provides robust mesh editing tools for cleaning up and optimizing vehicle models before exporting to STL. Blender is a great option if you need to perform extensive modifications or repairs on the model. To export to STL, simply import your model, select it, and go to File > Export > Stl (.stl). Before exporting, consider using the “Remesh” modifier to control the triangle density and ensure a smooth surface.
MeshLab is another free and open-source software specifically designed for processing and editing 3D triangular meshes. It offers a vast array of tools for cleaning up, repairing, and simplifying STL files. MeshLab excels at fixing non-manifold issues, filling holes, and reducing the triangle count of overly dense meshes. Its filtering and scripting capabilities allow for advanced mesh manipulation. Import your model into MeshLab, then use filters like “Remove Duplicate Vertices,” “Merge Close Vertices,” and “Clean Mesh” to improve the mesh quality. Finally, export as an STL file.
Slicing software takes your STL file and converts it into a series of instructions (G-code) that the 3D printer can understand. The slicing parameters you choose significantly impact the print’s quality, strength, and speed. Understanding these parameters and how they interact is crucial for achieving optimal results with your vehicle models. Incorrect settings can lead to warping, layer adhesion issues, and a host of other problems.
Layer height is the thickness of each printed layer. Smaller layer heights (e.g., 0.1mm) result in smoother surfaces and finer details, but also increase print time significantly. Larger layer heights (e.g., 0.3mm) print faster but produce more visible layer lines. For vehicle models, a layer height of 0.15mm to 0.2mm is a good balance between quality and speed. Consider using adaptive layer height features in your slicer to optimize quality in curved areas while maintaining speed elsewhere. For example, PrusaSlicer’s “Variable Layer Height” feature is excellent for this purpose.
Infill is the internal structure of the printed object. The infill pattern and density affect the print’s strength, weight, and material consumption. For decorative vehicle models, a lower infill density (e.g., 15-20%) is usually sufficient. For functional parts or models that need to withstand stress, a higher infill density (e.g., 50-75%) is recommended. Common infill patterns include grid, gyroid, and honeycomb. Gyroid infill offers excellent strength-to-weight ratio and is particularly useful for parts that need to be strong in multiple directions. Remember to adjust infill density based on the specific part and its intended use.
Support structures are often necessary to print overhanging features of your vehicle model. These structures provide temporary support during printing and must be removed after the print is complete. The type of support structure, its density, and its placement can significantly impact the final print quality and the ease of removal. Poorly designed supports can leave behind unsightly marks or even damage the model during removal.
Most slicing software offers automatic support generation, which analyzes the model and places supports where needed. While convenient, automatic supports are not always optimal. Manual support placement allows you to strategically position supports to minimize their impact on the model’s surface and make removal easier. In Cura, for example, you can use the “Support Blocker” tool to prevent supports from generating in specific areas. For intricate vehicle models, a combination of automatic and manual support placement often yields the best results.
The interface between the support structure and the model is crucial for easy removal and minimal surface damage. Some slicers offer a “support interface” layer, which creates a denser and more easily detachable layer between the support and the model. Consider using dissolvable support materials (e.g., PVA) for complex models with hard-to-reach overhangs. For standard support materials (e.g., PLA), use sharp tools like hobby knives or pliers to carefully remove the supports, working slowly and deliberately to avoid damaging the model. Post-processing techniques like sanding can help smooth any remaining support marks.
The choice of printing material and printer settings directly affects the final result. Factors like temperature, print speed, and bed adhesion play a critical role in ensuring a successful print. Different materials have different properties and require different settings. Matching the material to the model’s intended use is paramount. A poorly chosen material or incorrect printer settings can lead to warping, delamination, and other printing defects.
FDM (Fused Deposition Modeling) and resin printing are the two most common 3D printing technologies. FDM uses a thermoplastic filament that is heated and extruded through a nozzle, while resin printing uses a liquid resin that is cured by UV light. FDM is generally more affordable and suitable for larger parts, while resin printing offers higher resolution and is better for intricate details. For vehicle models, FDM is a good choice for larger models or prototypes, while resin printing is ideal for smaller, highly detailed models. When using FDM, materials like PLA, PETG, and ABS are common choices. For resin printing, various types of resins are available, including standard resins, tough resins, and flexible resins. Always refer to the material manufacturer’s recommendations for optimal printer settings.
Proper temperature control is essential for successful 3D printing. Too low a temperature can lead to poor layer adhesion, while too high a temperature can cause warping or stringing. Refer to the material manufacturer’s recommended temperature range and adjust as needed. Print speed also affects print quality. Slower speeds generally result in smoother surfaces and better detail, but increase print time. Finding the right balance between speed and quality is crucial. Bed adhesion is the ability of the first layer to stick to the print bed. Proper bed leveling, a clean print bed, and the use of bed adhesion aids like glue sticks or hairspray can help ensure good bed adhesion. For ABS, a heated bed is essential to prevent warping.
Even with careful planning and preparation, 3D printing failures can still occur. Understanding the common causes of these failures and how to troubleshoot them is an essential skill for any 3D printing enthusiast. Common issues include warping, layer adhesion problems, stringing, and nozzle clogging. Identifying the root cause of the problem is the first step towards finding a solution.
Warping occurs when the printed part detaches from the print bed during printing, causing the corners to curl upwards. This is often caused by uneven cooling or poor bed adhesion. To prevent warping, ensure that the print bed is properly leveled and clean. Use bed adhesion aids like glue sticks or hairspray. For materials like ABS, a heated bed is essential. Enclosing the printer can also help maintain a more consistent temperature and reduce warping. If warping persists, try increasing the bed temperature or adding a brim to the model.
Layer adhesion problems occur when the layers of the print do not properly bond together, resulting in a weak or delaminated print. This is often caused by low printing temperatures or incorrect extrusion settings. To improve layer adhesion, increase the printing temperature, reduce the print speed, or increase the extrusion multiplier. Stringing occurs when the printer extrudes material while moving between different parts of the print, leaving behind thin strands of plastic. This is often caused by high printing temperatures or incorrect retraction settings. To reduce stringing, decrease the printing temperature, increase the retraction distance, or enable coasting in your slicer settings.
Once the printing is complete, post-processing techniques can be used to refine the model and achieve a professional finish. These techniques include sanding, filling, priming, and painting. Post-processing can significantly enhance the appearance of your vehicle model, removing any imperfections and adding a realistic touch. Proper post-processing transforms a raw print into a museum-worthy display piece.
Sanding is used to smooth the surface of the print and remove any layer lines or support marks. Start with a coarse grit sandpaper (e.g., 220 grit) and gradually move to finer grits (e.g., 400 grit, 600 grit, 800 grit). Use wet sanding for best results, and be careful not to over-sand and remove too much material. Filling is used to fill any gaps or imperfections in the print. Use a plastic filler or epoxy putty to fill the gaps, and then sand it smooth. Priming is used to create a smooth, uniform surface for painting. Apply several thin coats of primer, sanding lightly between coats. Choose a primer that is compatible with the printing material.
Painting is the final step in the post-processing process. Use high-quality acrylic paints for best results. Apply several thin coats of paint, allowing each coat to dry completely before applying the next. Use masking tape to create sharp lines and details. Consider using airbrushing for a more even and professional finish. After painting, apply a clear coat to protect the paint and add a glossy or matte finish. For added realism, consider adding details like decals, chrome accents, and weathering effects.
Converting vehicle models into printable STL files is a rewarding process that combines digital design with the tangible reality of 3D printing. By understanding STL file structure, mastering slicing parameters, optimizing support structures, and applying post-processing techniques, you can create stunning and accurate replicas of your favorite cars. Whether you are downloading models from marketplaces like 88cars3d.com or creating your own, the knowledge and skills outlined in this guide will empower you to achieve professional-quality results. Remember to experiment with different settings and materials to find what works best for your printer and your specific model. Start with simple models and gradually work your way up to more complex designs. With practice and patience, you will become a master of 3D printing vehicle models, bringing your automotive dreams to life, one layer at a time. Now, it’s time to fire up your 3D printer and start creating!
“`
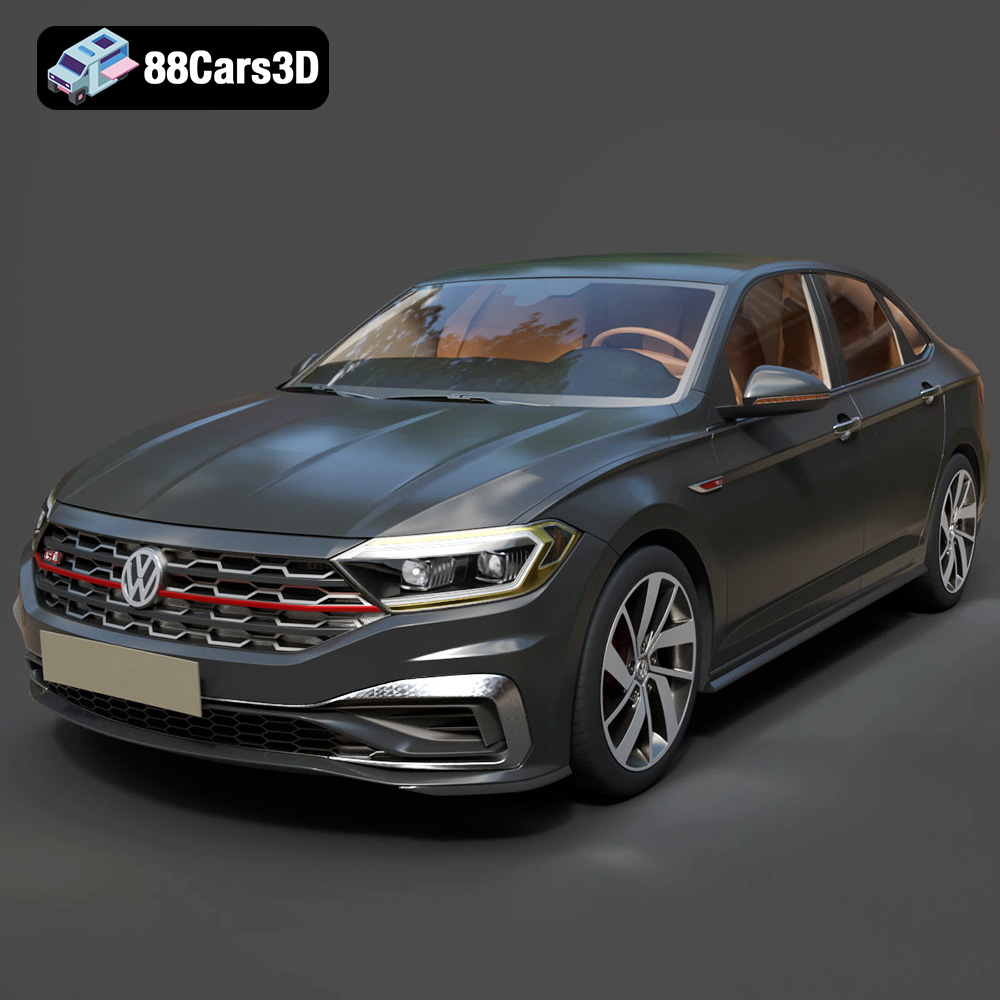
Texture: Yes | Material: Yes
Download the highly detailed, game-ready Volkswagen Jetta GLI 2019 3D Model. Features an aggressive honeycomb grille with red accents, sleek aerodynamic profile, and exclusive GLI sport wheels. Includes .blend, .fbx, .obj, .glb, .stl, .ply, .unreal, and .max formats for game development, AR/VR, and rendering.
Price: $19.99
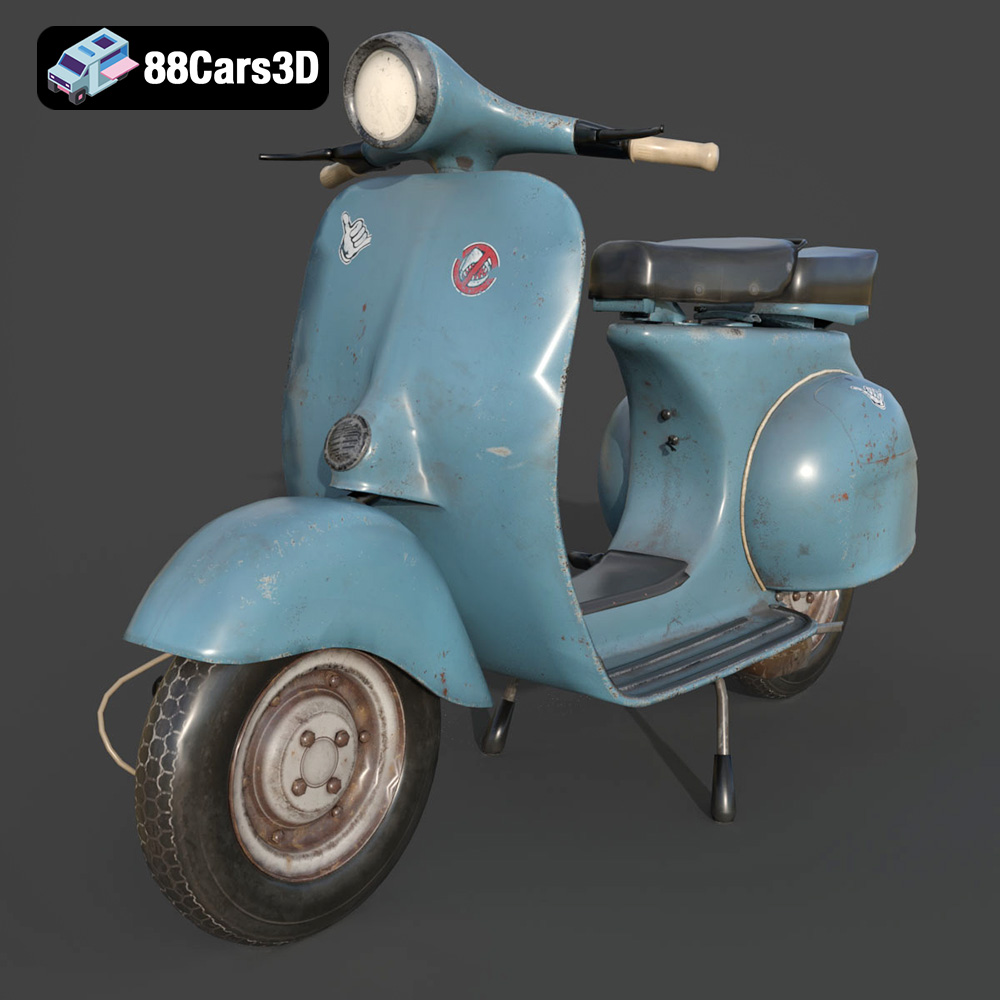
Texture: Yes | Material: Yes
Download the highly detailed, game-ready Vintage Vespa 3D Model. Features iconic rounded monocoque styling, classic saddle, and chrome accents. Includes .blend, .fbx, .obj, .glb, .stl, .ply, .unreal, and .max formats for game development, AR/VR, and rendering.
Price: $19.99

Texture: Yes | Material: Yes
Download the highly detailed, game-ready Vespa GS 150 3D Model. Features elegant aerodynamic curves, classic leg shield, and detailed engine casing. Includes .blend, .fbx, .obj, .glb, .stl, .ply, .unreal, and .max formats for game development, AR/VR, and rendering.
Price: $19.99
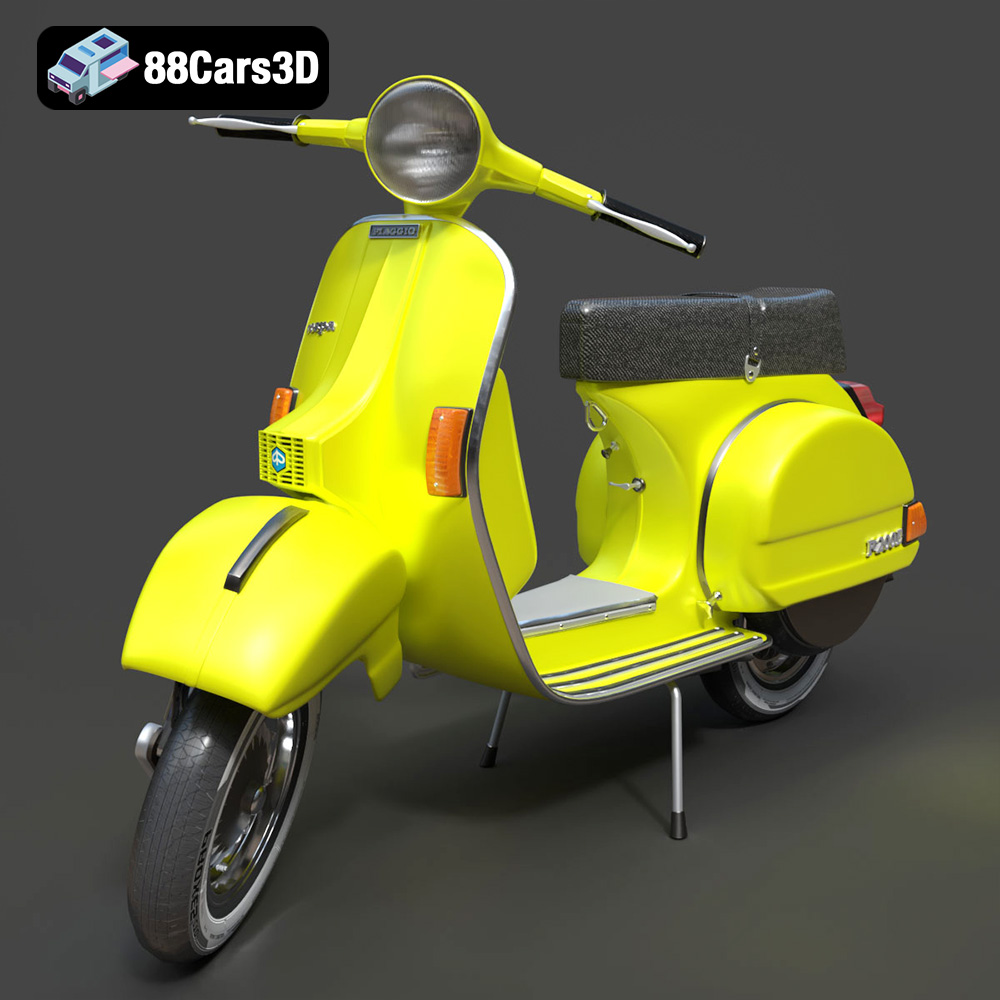
Texture: Yes | Material: Yes
Download the highly detailed, game-ready Vespa P200E 3D Model. Features classic vintage styling, accurate step-through frame geometry, and authentic detailing. Includes .blend, .fbx, .obj, .glb, .stl, .ply, .unreal, and .max formats for game development, AR/VR, and rendering.
Price: $19.99
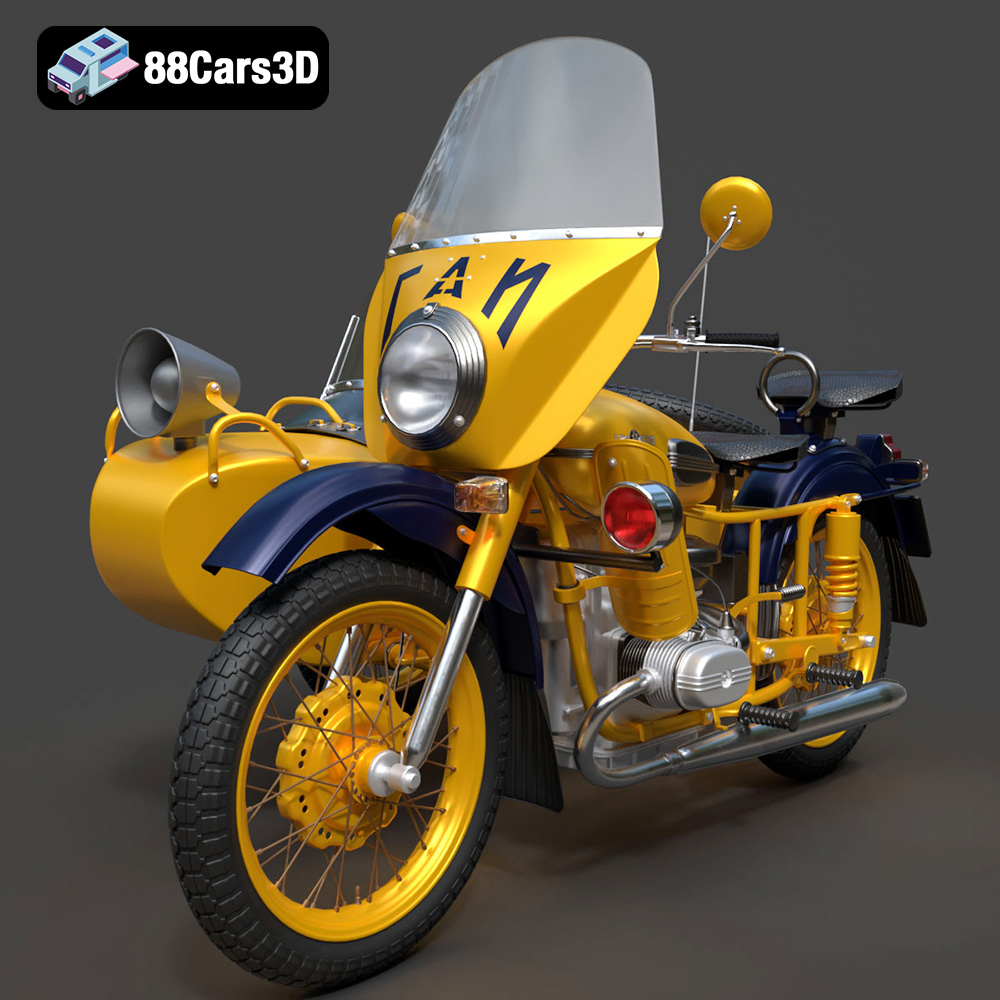
Texture: Yes | Material: Yes
Download the highly detailed, game-ready Ural M67-36-P 1976 3D Model. Features the iconic air-cooled boxer engine, vintage utilitarian styling, and authentic spoked wheels. Includes .blend, .fbx, .obj, .glb, .stl, .ply, .unreal, and .max formats for game development, AR/VR, and rendering.
Price: $19.99
Texture: Yes | Material: Yes
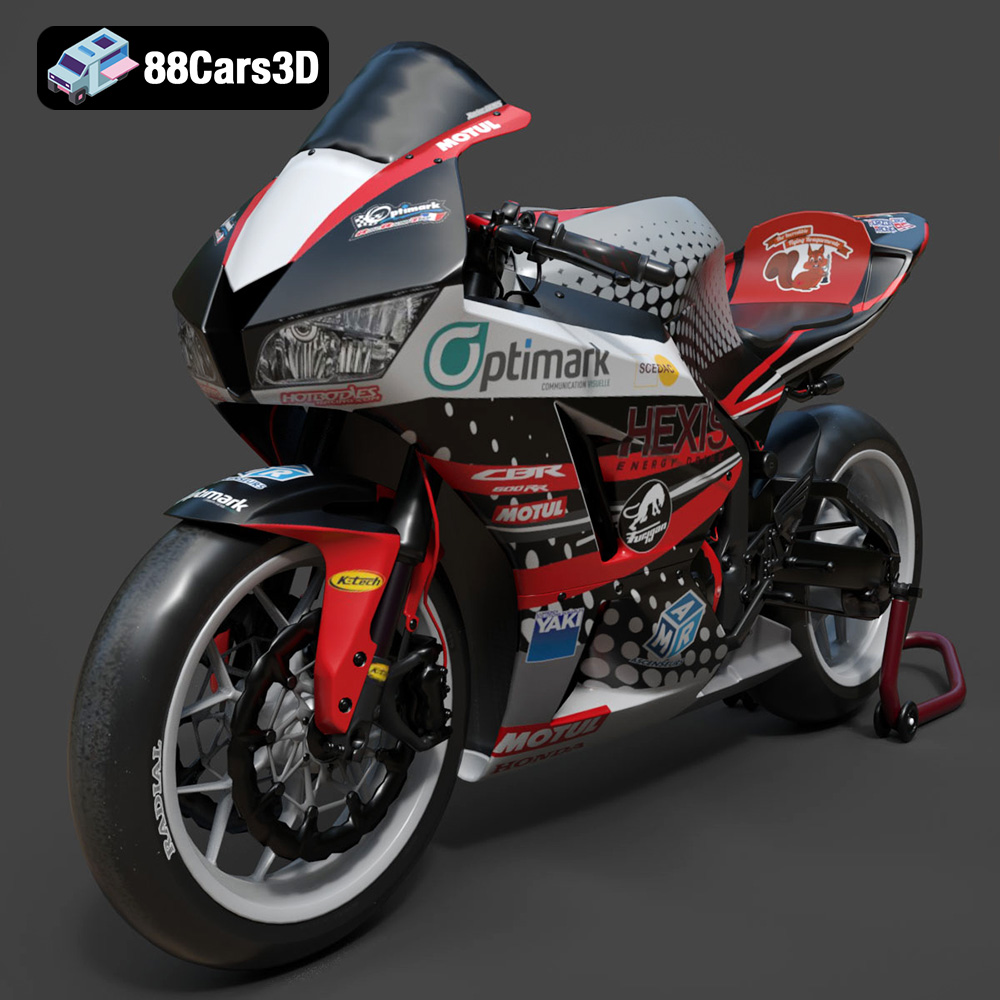
Download the highly detailed, game-ready Honda CBR600RR 3D Model. Features aerodynamic fairings, an iconic center-up exhaust, and an aggressive track-focused stance. Includes .blend, .fbx, .obj, .glb, .stl, .ply, .unreal, and .max formats for game development, AR/VR, and rendering.
Price: $19.99
Texture: Yes | Material: Yes
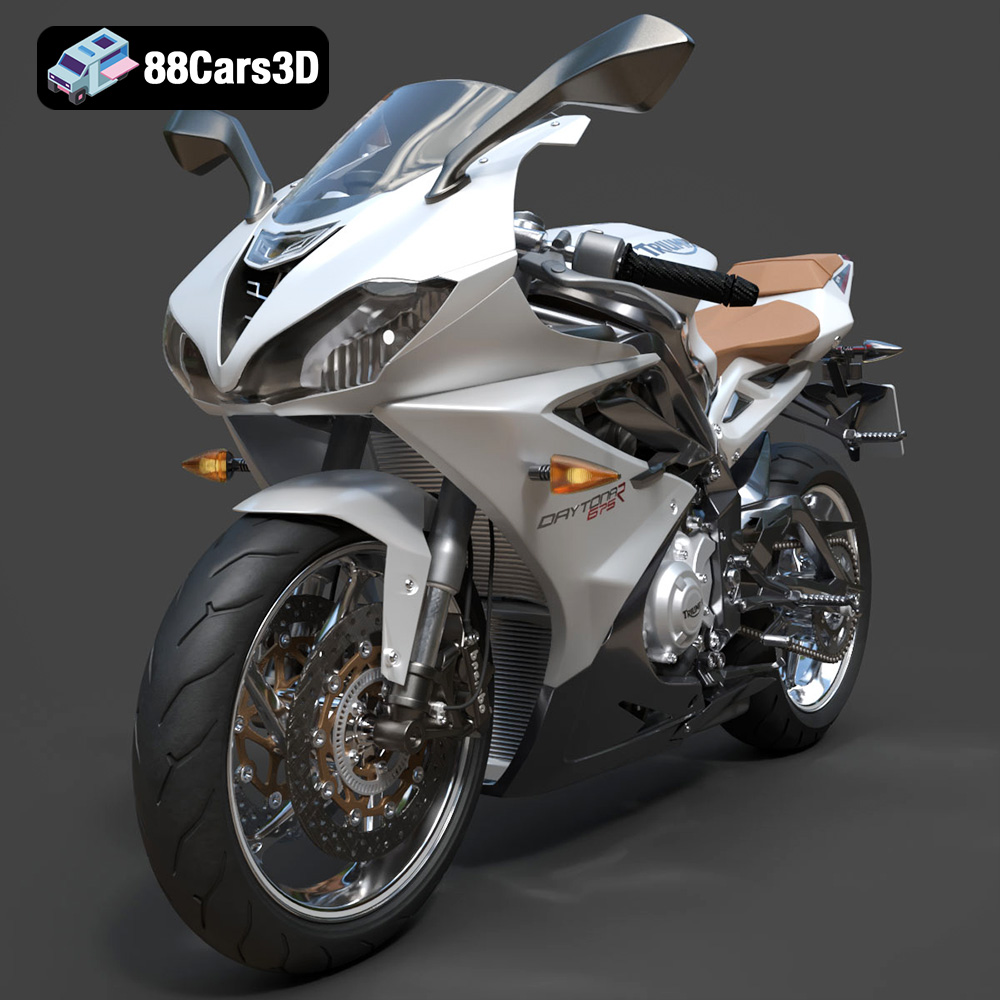
Download the highly detailed, game-ready Triumph Daytona 675R ABS 2015 3D Model. Features aerodynamic sport fairings, a detailed inline-triple engine, and premium Öhlins suspension components. Includes .blend, .fbx, .obj, .glb, .stl, .ply, .unreal, and .max formats for game development, AR/VR, and rendering.
Price: $19.99

Texture: Yes | Material: Yes
Download the highly detailed, game-ready Toyota Tacoma TRD Off-Road 2016 3D Model. Features a rugged exterior, TRD off-road suspension details, and a meticulously crafted interior. Includes .blend, .fbx, .obj, .glb, .stl, .ply, .unreal, and .max formats for game development, AR/VR, and rendering.
Price: $19.99

Texture: Yes | Material: Yes
Download the highly detailed, game-ready Toyota Supra 2020 3D Model. Features aggressive aerodynamic styling, a distinctive double-bubble roof, and accurate B58 engine components. Includes .blend, .fbx, .obj, .glb, .stl, .ply, .unreal, and .max formats for game development, AR/VR, and rendering.
Price: $19.99
Texture: Yes | Material: Yes
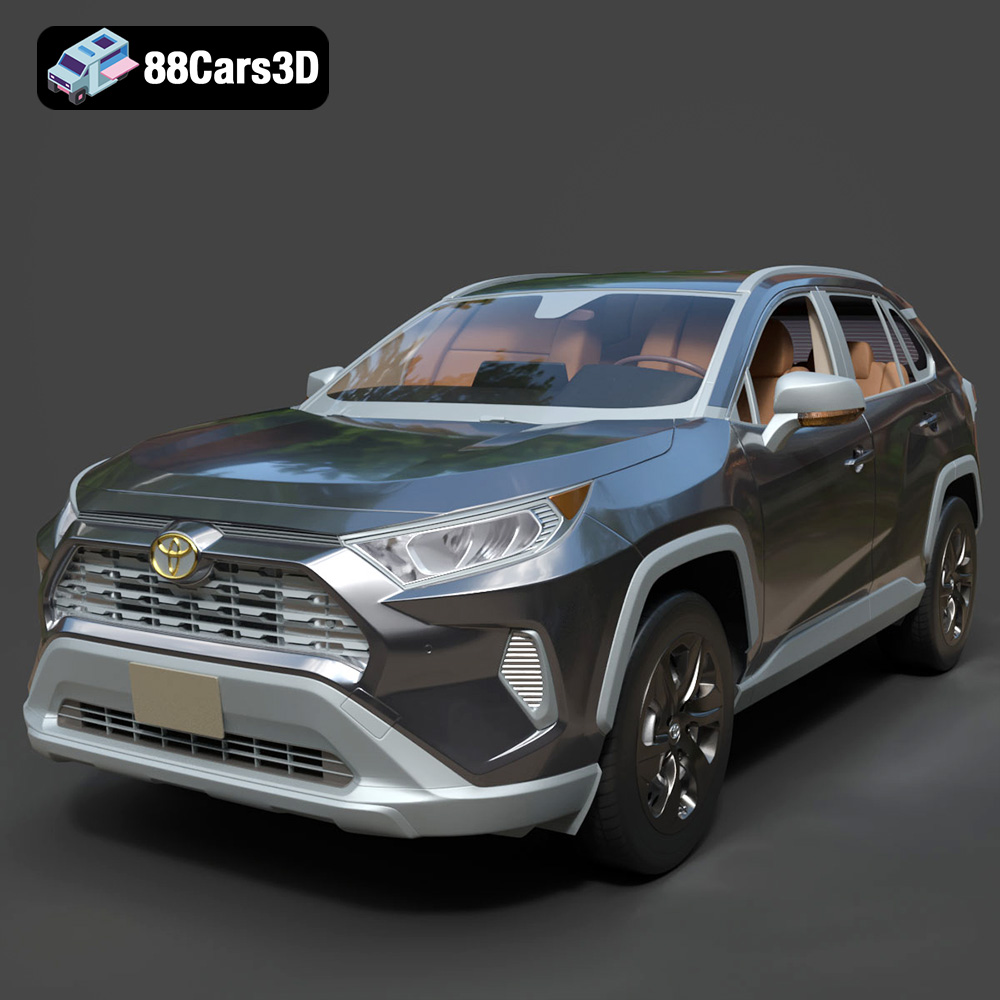
Download the highly detailed, game-ready Toyota RAV4 LE 2019 3D Model. Features rugged exterior styling, signature polygonal motif, and a detailed interior. Includes .blend, .fbx, .obj, .glb, .stl, .ply, .unreal, and .max formats for game development, AR/VR, and rendering.
Price: $19.99

