Get 20% OFF All Premium 3D & STL Models!

“`html
3D printing offers incredible possibilities, especially for enthusiasts creating detailed models. Whether you’re printing a scale replica from 88cars3d.com or designing your own creation, optimizing your STL files is crucial for balancing print quality, material usage, and, most importantly, print speed. This comprehensive guide dives deep into the techniques of scaling, hollowing, and optimizing STL models to accelerate your 3D printing workflow without compromising the final result. We’ll cover essential aspects from understanding STL file structures to advanced slicing parameters, ensuring you get the most out of your 3D printer. By the end of this article, you’ll have the knowledge to significantly reduce print times, conserve filament or resin, and produce stunning models more efficiently. We will explore best practices for both FDM and resin printing, touching on software-specific techniques and troubleshooting common issues.
Before we jump into scaling and hollowing, it’s crucial to understand the structure of an STL file. STL (Stereolithography) files represent 3D objects as a collection of interconnected triangles forming a mesh. This mesh approximates the surface geometry of the model. The denser the mesh (more triangles), the smoother the surface, but also the larger the file size and potentially longer processing times. Poorly constructed STL files can contain errors like non-manifold geometry (gaps, overlaps, or self-intersections), which can lead to printing failures. It’s essential to use mesh repair tools to address these issues before slicing.
The number of triangles in your STL directly affects print quality and file size. A higher triangle count results in a smoother surface but also increases processing time during slicing. When working with models, especially intricate car models from platforms like 88cars3d.com, consider the trade-off between detail and print time. For large-scale prints, you might be able to reduce the triangle count without significantly impacting the visual quality. Mesh simplification tools, such as those found in MeshMixer or Blender, can help reduce the triangle count while preserving the overall shape.
A manifold mesh is a closed surface without any holes or self-intersections. Non-manifold geometry, on the other hand, contains these errors. 3D printers can only print manifold geometry correctly. Slicing software often struggles with non-manifold meshes, leading to unexpected print results or outright failures. Before printing any STL, always run it through a mesh repair tool like Netfabb Basic or the online service MakePrintable. These tools automatically detect and fix common mesh errors, ensuring a successful print.
Scaling your model involves changing its overall size. While seemingly simple, scaling has a direct impact on print time, material usage, and level of detail. Printing a smaller model will naturally be faster and use less material, but you’ll lose fine details. Conversely, scaling up increases print time and material but allows for greater resolution and finer features to be realized. The optimal scale depends on the intended use of the model, the capabilities of your printer, and the desired level of detail.
The “optimal” scale isn’t a one-size-fits-all answer. Consider the smallest features of the model you need to accurately reproduce. Your printer’s resolution determines the smallest detail it can reliably print. For FDM printers, this is largely dictated by nozzle size and layer height. For resin printers, it’s determined by the XY resolution of the screen. Experiment with small test prints at different scales to find the sweet spot between detail and print time. When downloading models from marketplaces such as 88cars3d.com, the product description often provides recommended scales for optimal results based on typical printer resolutions.
Scaling linearly affects both print time and material usage. Doubling the size of a model roughly doubles the print time and increases material usage by a factor of eight (since volume increases with the cube of the linear dimension). This is a crucial consideration, especially for large prints. Before scaling up significantly, consider hollowing the model to reduce material consumption and weight. Slicing software provides estimates of print time and material usage, allowing you to make informed decisions before starting the print.
Hollowing is the process of removing the interior material from a 3D model, leaving only a thin shell. This drastically reduces material usage, weight, and, most importantly, print time. Hollowing is particularly effective for large models where a solid interior would be unnecessary and wasteful. However, hollowing requires careful planning and the addition of drainage holes to prevent resin or molten filament from being trapped inside.
Meshmixer is a free and powerful tool for modifying STL files, including hollowing. To hollow a model in Meshmixer, first, import your STL file. Then, navigate to “Edit” and select “Hollow.” Experiment with the “Offset Distance” setting to adjust the shell thickness. A thicker shell provides more strength but uses more material. Aim for a shell thickness between 1.5mm and 2.5mm for most FDM prints and 1mm to 1.5mm for resin prints. After hollowing, use the “Generate Holes” function to create drainage holes. Position these holes strategically to allow resin or filament to escape during the print. Typically, placing holes on the least visible side of the model is preferred.
Drainage holes are essential for hollowing, especially in resin printing. Without them, resin will be trapped inside the model, adding significant weight and potentially causing the model to crack as it cures. Aim for at least two drainage holes, preferably on opposite sides of the model, to ensure complete drainage. For large hollow models, consider adding internal support structures using Meshmixer’s “Make Support” feature to prevent the shell from collapsing during printing. These internal supports can be sparse and minimal to avoid significant material usage.
Slicing software converts the STL file into a series of instructions for the 3D printer. The slicing parameters you choose have a profound impact on print speed, quality, and strength. Optimizing these parameters is key to achieving faster print times without sacrificing the structural integrity or visual appeal of your model.
Layer height is one of the most influential slicing parameters. A thicker layer height results in faster print times because the printer needs to make fewer passes. However, thicker layers also reduce the vertical resolution of the print, leading to less smooth surfaces and potentially visible layer lines. A good starting point for FDM printing is a layer height between 0.2mm and 0.3mm for standard models. For faster prints where surface finish is less critical, you can increase the layer height to 0.4mm or even 0.5mm, depending on your nozzle size. Resin printing generally uses much finer layer heights, typically between 0.025mm and 0.05mm, to achieve high detail. Increasing layer height in resin printing will reduce print time but may result in a loss of fine details.
Infill is the internal structure of a 3D print. The infill density determines how solid the inside of the model is. A higher infill density results in a stronger model but also increases print time and material usage. For most models, an infill density between 15% and 25% is sufficient. For models that require high strength, such as functional parts or load-bearing components, you may need to increase the infill density to 50% or higher. The infill pattern also affects print time and strength. Common infill patterns include grid, lines, triangles, and gyroid. Gyroid infill offers a good balance between strength and print speed, while grid infill is faster but less strong. The best infill pattern depends on the specific requirements of the print.
Slicing software allows you to control the print speed for different aspects of the print, such as infill, perimeters, and support structures. Increasing the print speed can significantly reduce overall print time, but it can also lead to quality issues like under-extrusion or layer adhesion problems. It’s essential to calibrate your printer to find the optimal print speed for your chosen material. Start with the recommended print speed for your filament or resin and gradually increase it until you start to see quality issues. You can also optimize travel moves, which are the movements the printer makes when it’s not extruding material. Reducing the distance and duration of travel moves can save a significant amount of time, especially on complex models. Ensure your retraction settings are properly configured to prevent stringing during travel moves.
Support structures are temporary structures that support overhanging features during 3D printing. They are essential for printing complex geometries, but they also add to print time and material usage. Optimizing support structures involves minimizing the amount of support material needed while still providing adequate support for the model.
Slicing software typically offers both automatic and manual support generation. Automatic support generation is convenient but often results in excessive support structures, increasing print time and material waste. Manual support generation allows you to precisely control the placement and density of supports, minimizing their impact on print time and material usage. In Cura, for example, you can use the “Support Blocker” tool to prevent supports from being generated in specific areas. In PrusaSlicer, you can manually add or remove support points. Consider the overhang angles and critical areas that require support. Strategic placement can drastically reduce the overall support volume.
The support density determines how closely spaced the support structures are. A higher support density provides more support but also increases print time and material usage. A lower support density is faster and uses less material but may not provide adequate support for overhanging features. Experiment with different support densities to find the optimal balance. Interface layers are thin layers that are printed between the support structures and the model. These layers make it easier to remove the supports without damaging the model surface. Adjusting the interface layer density and thickness can further optimize support removal and surface finish.
Resin printing relies heavily on support structures, especially for models with complex overhangs. The key to successful resin printing is to use the minimum number of supports necessary to hold the model in place during printing. Pre-supported models, common on sites like 88cars3d.com, are designed by experts to minimize support material and potential failures. Software like Lychee Slicer offers advanced support generation tools specifically designed for resin printing. These tools allow you to customize the support thickness, density, and angle to optimize support removal and minimize damage to the model surface. Angling the model appropriately can also minimize the need for supports.
Post-processing refers to the steps taken after a print is complete to improve its appearance and functionality. These techniques can range from simple support removal to more complex procedures like sanding, painting, and assembly. Streamlining your post-processing workflow can save significant time and effort.
The first step in post-processing is typically support removal. Carefully remove the support structures using pliers, a hobby knife, or other appropriate tools. Be careful not to damage the model surface during support removal. After removing the supports, you may need to sand the model surface to remove any remaining support marks or imperfections. Start with coarse sandpaper and gradually move to finer grits to achieve a smooth finish. For resin prints, you may need to cure the model further under UV light to ensure it is fully hardened.
Painting can significantly enhance the appearance of a 3D printed model. Use a primer to prepare the surface for painting. Apply multiple thin coats of paint rather than one thick coat to avoid runs and drips. For complex models with multiple parts, assembly may be required. Use glue or other adhesives to join the parts together. Consider using alignment pins or other features to ensure accurate alignment during assembly. For car models downloaded from 88cars3d.com, the assembly instructions, if provided, should be carefully followed for the best results.
Proper printer calibration and maintenance are essential for achieving consistent print speed and quality. A well-calibrated printer will produce accurate and reliable prints, while a poorly calibrated printer will struggle to produce consistent results. Regular maintenance, such as cleaning the print bed, lubricating moving parts, and replacing worn components, will help to keep your printer running smoothly.
Bed leveling is the process of ensuring that the print bed is perfectly level. A level print bed is crucial for proper bed adhesion and consistent print quality. Most 3D printers have some form of automatic bed leveling, but it’s still important to periodically check and adjust the bed level manually. The Z-offset is the distance between the nozzle and the print bed when the printer is at its home position. Calibrating the Z-offset ensures that the first layer is properly squished onto the bed, promoting good adhesion. If the Z-offset is too high, the first layer will not stick to the bed. If the Z-offset is too low, the nozzle may scrape against the bed.
The printing temperature and flow rate are critical parameters that affect print quality and speed. The optimal temperature depends on the material you are using. Refer to the filament or resin manufacturer’s recommendations for the recommended temperature range. The flow rate determines how much material is extruded from the nozzle. Calibrating the flow rate ensures that the correct amount of material is being extruded, preventing under-extrusion or over-extrusion. You can calibrate the flow rate by printing a single-wall test cube and measuring the wall thickness. Adjust the flow rate until the wall thickness matches the expected value.
Optimizing STL models for print speed is a multifaceted process that requires a deep understanding of STL file structure, slicing parameters, support structures, and post-processing techniques. By carefully scaling, hollowing, and optimizing your models, you can significantly reduce print times without sacrificing quality. Remember to choose appropriate layer heights, infill densities, and support settings to balance speed and strength. Regular printer calibration and maintenance are also essential for consistent results. By implementing these techniques, you can maximize the efficiency of your 3D printing workflow and create stunning models faster than ever before. Experiment with different settings and materials to find the optimal combination for your specific printer and application. Now, armed with this knowledge, go forth and optimize your prints, and perhaps even bring your dream car model from 88cars3d.com to life in record time! The world of efficient and rapid 3D printing awaits.
“`

Texture: Yes | Material: Yes
Download the highly detailed, game-ready Volkswagen Jetta GLI 2019 3D Model. Features an aggressive honeycomb grille with red accents, sleek aerodynamic profile, and exclusive GLI sport wheels. Includes .blend, .fbx, .obj, .glb, .stl, .ply, .unreal, and .max formats for game development, AR/VR, and rendering.
Price: $19.99
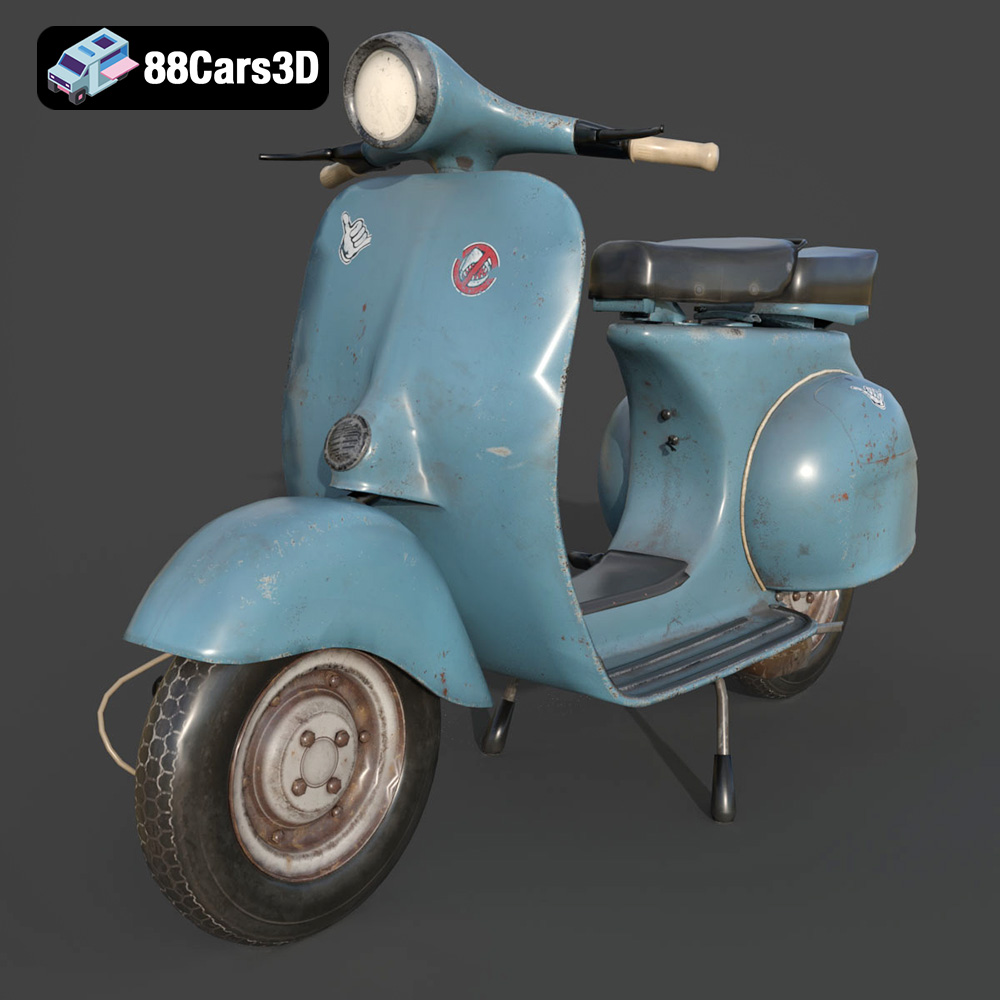
Texture: Yes | Material: Yes
Download the highly detailed, game-ready Vintage Vespa 3D Model. Features iconic rounded monocoque styling, classic saddle, and chrome accents. Includes .blend, .fbx, .obj, .glb, .stl, .ply, .unreal, and .max formats for game development, AR/VR, and rendering.
Price: $19.99

Texture: Yes | Material: Yes
Download the highly detailed, game-ready Vespa GS 150 3D Model. Features elegant aerodynamic curves, classic leg shield, and detailed engine casing. Includes .blend, .fbx, .obj, .glb, .stl, .ply, .unreal, and .max formats for game development, AR/VR, and rendering.
Price: $19.99
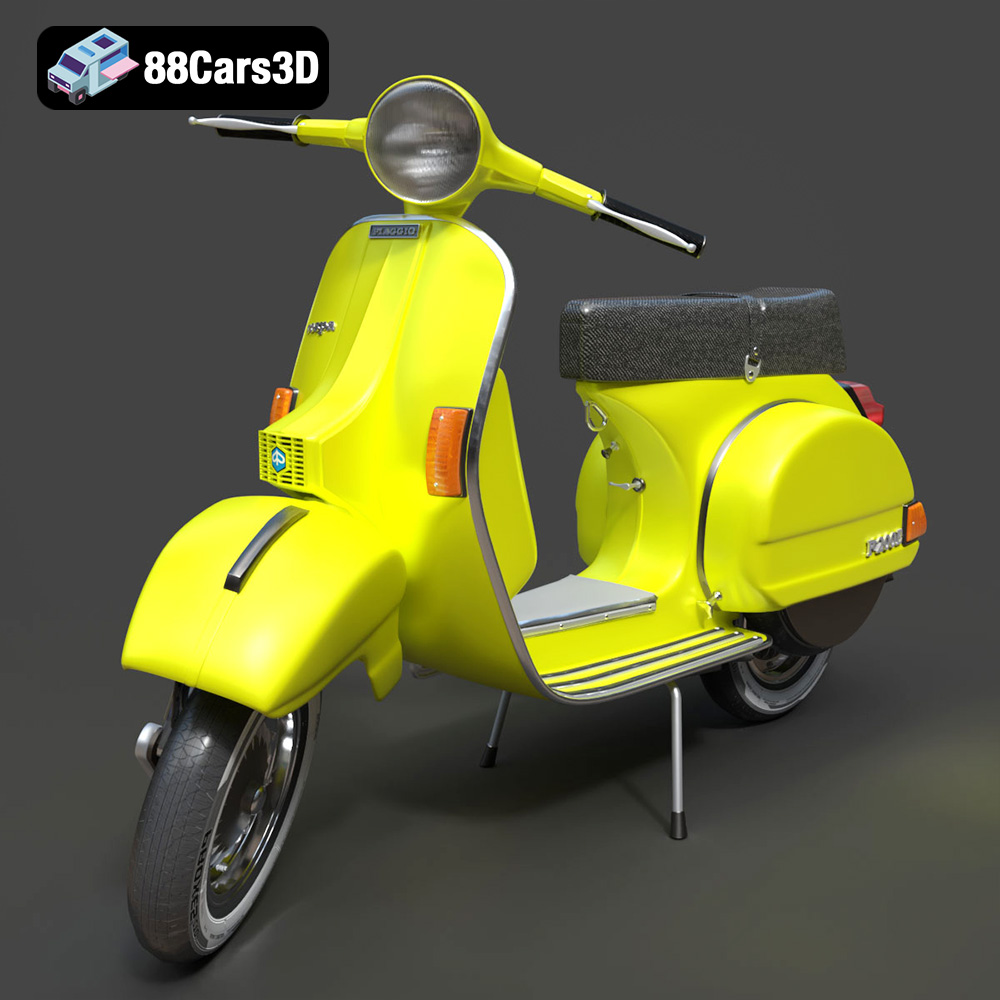
Texture: Yes | Material: Yes
Download the highly detailed, game-ready Vespa P200E 3D Model. Features classic vintage styling, accurate step-through frame geometry, and authentic detailing. Includes .blend, .fbx, .obj, .glb, .stl, .ply, .unreal, and .max formats for game development, AR/VR, and rendering.
Price: $19.99
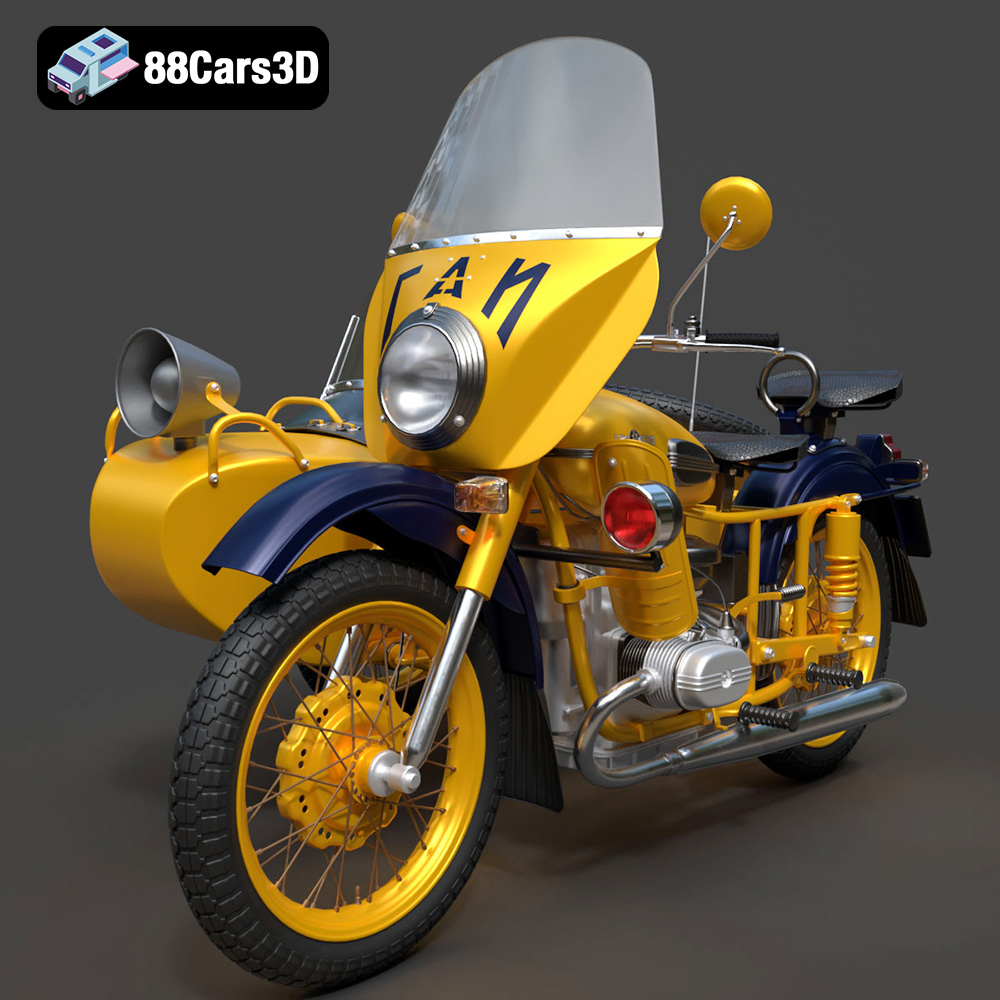
Texture: Yes | Material: Yes
Download the highly detailed, game-ready Ural M67-36-P 1976 3D Model. Features the iconic air-cooled boxer engine, vintage utilitarian styling, and authentic spoked wheels. Includes .blend, .fbx, .obj, .glb, .stl, .ply, .unreal, and .max formats for game development, AR/VR, and rendering.
Price: $19.99
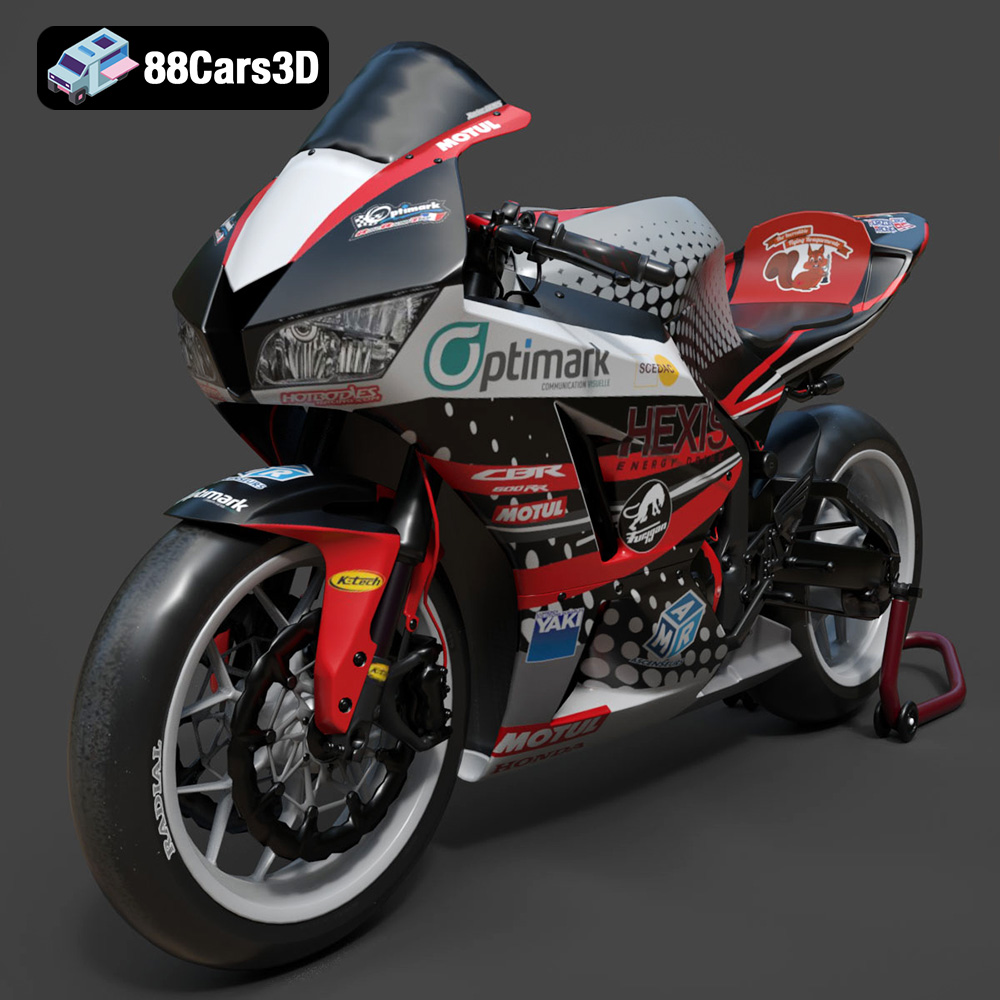
Texture: Yes | Material: Yes
Download the highly detailed, game-ready Honda CBR600RR 3D Model. Features aerodynamic fairings, an iconic center-up exhaust, and an aggressive track-focused stance. Includes .blend, .fbx, .obj, .glb, .stl, .ply, .unreal, and .max formats for game development, AR/VR, and rendering.
Price: $19.99
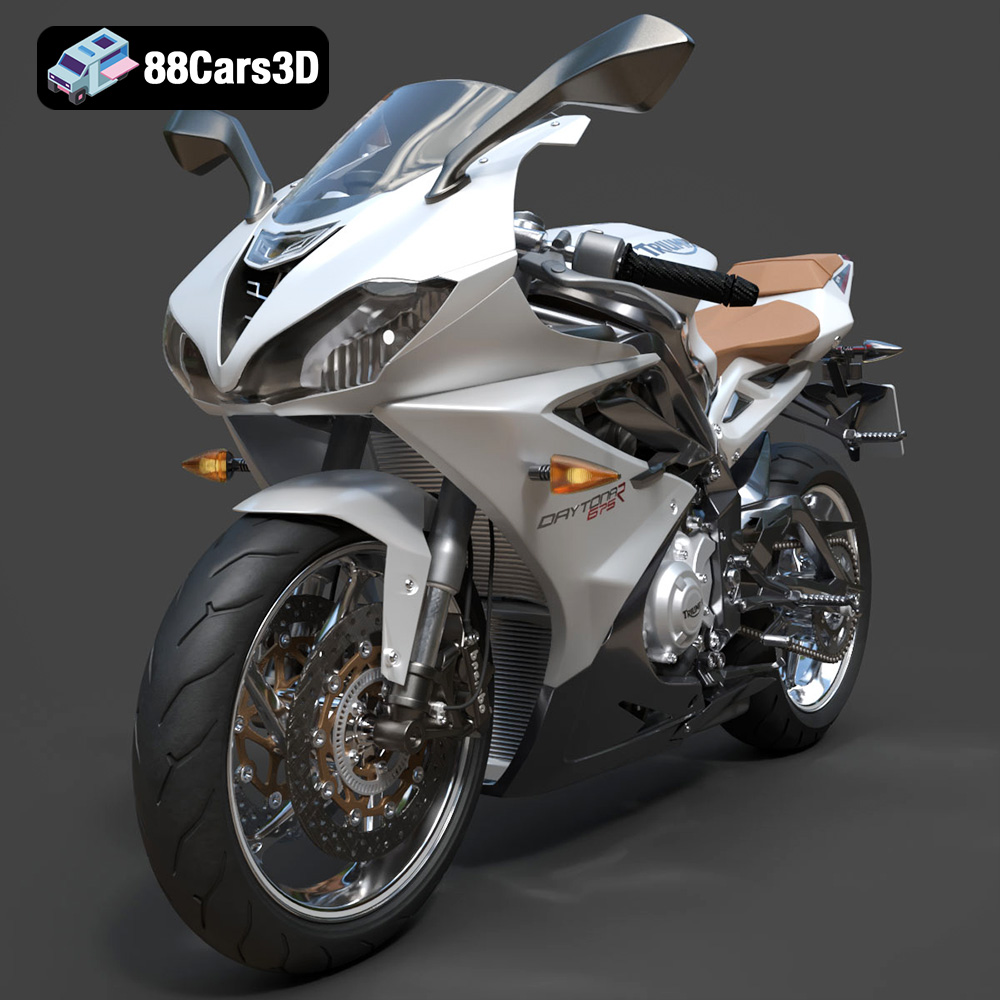
Texture: Yes | Material: Yes
Download the highly detailed, game-ready Triumph Daytona 675R ABS 2015 3D Model. Features aerodynamic sport fairings, a detailed inline-triple engine, and premium Öhlins suspension components. Includes .blend, .fbx, .obj, .glb, .stl, .ply, .unreal, and .max formats for game development, AR/VR, and rendering.
Price: $19.99

Texture: Yes | Material: Yes
Download the highly detailed, game-ready Toyota Tacoma TRD Off-Road 2016 3D Model. Features a rugged exterior, TRD off-road suspension details, and a meticulously crafted interior. Includes .blend, .fbx, .obj, .glb, .stl, .ply, .unreal, and .max formats for game development, AR/VR, and rendering.
Price: $19.99

Texture: Yes | Material: Yes
Download the highly detailed, game-ready Toyota Supra 2020 3D Model. Features aggressive aerodynamic styling, a distinctive double-bubble roof, and accurate B58 engine components. Includes .blend, .fbx, .obj, .glb, .stl, .ply, .unreal, and .max formats for game development, AR/VR, and rendering.
Price: $19.99

Texture: Yes | Material: Yes
Download the highly detailed, game-ready Toyota RAV4 LE 2019 3D Model. Features rugged exterior styling, signature polygonal motif, and a detailed interior. Includes .blend, .fbx, .obj, .glb, .stl, .ply, .unreal, and .max formats for game development, AR/VR, and rendering.
Price: $19.99

