Get 20% OFF All Premium 3D & STL Models!

“`html
For 3D printing enthusiasts and professionals alike, mastering the art of editing STL files is paramount to achieving high-quality prints, especially when dealing with intricate designs like printable car models. An STL (stereolithography) file is the standard format for 3D printing, representing the surface geometry of a 3D object as a collection of triangles. However, STL files often require modification for optimal printing, whether it’s repairing errors, optimizing the mesh, or adding custom features. In this guide, we’ll explore a range of free and paid software options that can help you edit STL files effectively, ensuring successful 3D printing outcomes. Platforms like 88cars3d.com offer print-ready STL files, but even those might sometimes benefit from adjustments tailored to your specific printer and needs.
This comprehensive overview will cover everything from basic mesh repair to advanced sculpting techniques, providing you with the knowledge and skills to choose the right software for your specific needs. We’ll delve into the features, pros, and cons of each software, including practical examples and best practices for editing STL files for 3D printing. Whether you are a hobbyist printing car models from 88cars3d.com or a professional engineer prototyping complex parts, this guide will equip you with the tools and knowledge necessary to elevate your 3D printing workflow.
Before diving into specific software, it’s crucial to understand the basics of STL files. As mentioned earlier, an STL file represents a 3D object as a collection of triangles. The more triangles used, the smoother and more detailed the object appears. However, too many triangles can lead to large file sizes and slow processing times. Conversely, too few triangles can result in a faceted, low-resolution appearance. Therefore, finding the right balance between detail and file size is essential.
Moreover, STL files can contain errors such as holes, self-intersections, and non-manifold geometry. These errors can prevent successful 3D printing. Editing software allows you to identify and repair these issues, ensuring a “watertight” and printable model. Understanding the nuances of STL file structure is the first step toward mastering 3D printing.
For beginners and hobbyists on a budget, several excellent free software options are available for editing STL files. These tools offer a range of features from basic mesh repair to more advanced sculpting capabilities. While they may not have all the bells and whistles of paid software, they are perfectly capable of handling most common STL editing tasks.
These free options are also ideal for experimenting and learning the fundamentals of STL editing without committing to a paid subscription. Many professionals also keep a few of these tools in their arsenal for quick fixes and specific tasks that they excel at. They are a great starting point for anyone entering the world of 3D printing and STL file modification.
Autodesk Meshmixer is a powerful and versatile free software that’s perfect for editing, repairing, and optimizing STL files. It offers a wide range of tools for tasks such as mesh smoothing, hole filling, support structure generation, and hollowing. Meshmixer’s intuitive interface makes it easy to learn and use, even for beginners. It’s an excellent choice for preparing STL files for 3D printing, especially for those working with printable car models.
For example, if you download an STL file of a car model from a platform and notice some minor imperfections, Meshmixer can quickly smooth out the surface, fill any small holes, and optimize the mesh for printing. It also allows you to add custom support structures, ensuring that overhanging parts are properly supported during the printing process.
MeshLab is another free and open-source software that specializes in processing and editing 3D triangular meshes. While its interface may not be as user-friendly as Meshmixer’s, it offers a wider range of advanced features, including mesh simplification, surface reconstruction, and quality inspection. MeshLab is particularly useful for cleaning up noisy or complex STL files. It shines when dealing with models that have been generated from 3D scans or complex CAD conversions, where the mesh can be quite dense and require significant optimization. It is also very good at measuring and analyzing mesh data.
While primarily known as a 3D modeling and animation software, Blender can also be used for editing STL files. Blender’s sculpting tools are particularly useful for making organic modifications to a model, and its mesh editing capabilities are robust enough to handle complex repairs and optimizations. While it has a steeper learning curve than Meshmixer or MeshLab, Blender’s versatility makes it a valuable tool for advanced users. It can import, edit and export STL files and offers a large community of users and online resources.
For professionals and serious hobbyists who require more advanced features and capabilities, paid STL editing software offers a range of powerful tools and functionalities. These software options typically provide more sophisticated mesh repair algorithms, advanced sculpting tools, and integrated workflows for design and manufacturing. While they come at a cost, the benefits in terms of efficiency, precision, and control can be significant.
Investing in paid software can streamline your workflow, reduce errors, and ultimately lead to higher-quality 3D prints. They often include customer support and regular updates that can provide better long-term value compared to free options, especially for commercial applications. Consider your budget, skill level, and specific needs when evaluating paid STL editing software.
Autodesk Netfabb is a leading software for additive manufacturing, offering a comprehensive set of tools for preparing STL files for 3D printing. Netfabb excels in mesh repair, support structure generation, and build platform optimization. Its advanced simulation capabilities allow you to predict and mitigate potential printing issues before they occur, saving time and materials. Netfabb is commonly used in industrial settings due to its robustness and integration with other CAD/CAM software. It allows for latticing, build plate optimization, and automated packing and nesting.
For example, if you’re printing a large batch of printable car models from 88cars3d.com, Netfabb can automatically orient the models on the build platform, generate optimal support structures, and simulate the printing process to identify potential warping or deformation. This ensures that your prints come out correctly the first time, minimizing waste and maximizing efficiency.
Materialise Magics is another industry-leading software for data preparation and STL editing. It offers a wide range of tools for mesh repair, hollowing, lattice design, and support generation. Magics is known for its powerful algorithms and intuitive interface, making it a favorite among 3D printing professionals. It boasts advanced tools for analyzing and fixing complex STL issues, and is often used to create lightweight designs by hollowing out parts and creating internal lattice structures. Magics also integrates well with other Materialise software, such as Mimics for medical image processing.
Geomagic Design X is a powerful reverse engineering software that can convert 3D scan data into editable CAD models. While it’s not strictly an STL editing software, it can be used to modify and optimize STL files for 3D printing. Design X is particularly useful for creating custom parts based on existing physical objects. It allows users to take scanned STL data, create accurate solid models from it, and then make modifications to these models for 3D printing or other design applications.
Regardless of the software you choose, there are several key considerations to keep in mind when optimizing STL files for 3D printing. These factors can significantly impact the quality, speed, and success of your prints.
Attention to detail during the preparation phase can prevent costly mistakes and ensure that your 3D prints meet your expectations. Proper orientation, support generation, and material selection all contribute to a successful outcome. Ignoring these aspects can result in failed prints, wasted material, and increased post-processing effort.
The orientation of your model on the build platform can significantly affect print quality, support requirements, and print time. Choose an orientation that minimizes the need for support structures and maximizes bed adhesion. Large, flat surfaces should generally be placed directly on the build platform to improve adhesion. The orientation can also impact the strength and aesthetics of the final product, so consider the functional requirements of the part when making this decision.
Support structures are necessary for printing overhanging parts, but they can also be a source of frustration due to the time required for their generation and removal. Optimize your support settings to provide adequate support without excessive material usage. Consider using soluble support materials for easier removal. The goal is to create supports that are strong enough to prevent deformation during printing, but also easy enough to remove without damaging the printed part. Experiment with different support patterns, densities, and interface layers to find the optimal balance for your specific printer and material.
Slicing parameters such as layer height, infill density, and print speed can significantly impact the quality and speed of your prints. Lower layer heights result in smoother surfaces but increase print time. Higher infill densities provide greater strength but also increase material usage. Experiment with different slicing settings to find the optimal balance for your specific needs. Adjusting print speed is another crucial factor; slower speeds generally result in higher quality prints, while faster speeds can reduce print time but may compromise surface finish and dimensional accuracy.
Even with the best software and preparation, 3D printing can be prone to issues. Knowing how to diagnose and resolve common problems is essential for successful 3D printing.
Understanding the root causes of printing failures allows you to address them effectively, preventing recurring issues and improving your overall printing success rate. Regular maintenance of your 3D printer is also crucial for preventing problems and ensuring consistent print quality.
Warping occurs when the corners of a print lift off the build platform due to uneven cooling. To prevent warping, ensure that your build platform is properly leveled and heated. Use a bed adhesion aid such as hairspray or glue stick. Enclosing the printer can also help to maintain a consistent temperature and reduce warping. For materials like ABS, an enclosure is almost essential. Also, make sure the first layer is properly calibrated to squish slightly onto the build plate for optimal adhesion.
Layer delamination occurs when layers of a print fail to adhere to each other, resulting in a weak or brittle print. This can be caused by insufficient printing temperature, poor layer adhesion, or inadequate cooling. Increase the printing temperature, reduce the cooling fan speed, and ensure that the filament is dry to prevent layer delamination. Adjusting the layer height and extrusion multiplier can also help improve layer adhesion.
Stringing and blobs are caused by excess filament oozing from the nozzle during travel moves. To prevent stringing and blobs, reduce the printing temperature, increase the retraction distance and speed, and enable coasting or wiping in your slicing software. Also, ensure that the filament is dry and stored properly. Adjusting the travel speed and enabling avoid crossing outlines can also help minimize these artifacts.
Post-processing is an essential step in achieving professional-looking 3D prints. It involves cleaning, sanding, painting, and assembling the printed parts to enhance their appearance and functionality.
The specific post-processing techniques required will depend on the material used, the desired finish, and the intended application. However, some basic techniques, such as removing support structures and sanding rough surfaces, are common to most 3D printing projects. Experiment with different post-processing methods to find the techniques that work best for your specific needs.
The first step in post-processing is typically removing support structures. Use pliers, knives, or specialized support removal tools to carefully detach the supports from the printed part. After removing the supports, smooth any rough surfaces with sandpaper. Start with a coarse grit and gradually move to finer grits to achieve a smooth finish. Power tools like rotary tools can also be used for faster and more efficient sanding.
Painting can significantly enhance the appearance of 3D printed parts. Use a primer to prepare the surface for painting, and then apply multiple thin coats of paint for a smooth and even finish. Consider using specialized paints for plastic or resin. After painting, you can apply a clear coat to protect the finish and add gloss or matte texture. Experiment with different painting techniques, such as airbrushing or dry brushing, to achieve unique effects.
When downloading models from marketplaces such as 88cars3d.com, keep in mind that some models might require assembly after printing. Use appropriate adhesives and assembly techniques to ensure a strong and durable bond between parts. Consider using jigs or fixtures to align the parts accurately during assembly.
Choosing the right software for editing STL files is a crucial step in achieving successful 3D prints. Whether you opt for a free option like Meshmixer or a paid option like Netfabb, understanding the capabilities and limitations of each software is essential. By mastering the techniques discussed in this guide, you’ll be well-equipped to prepare STL files for 3D printing, troubleshoot common issues, and achieve professional-quality results. Remember to consider factors such as orientation, support structures, and slicing parameters to optimize your prints. And don’t forget the importance of post-processing in enhancing the final appearance and functionality of your 3D printed creations.
Now that you have a solid understanding of STL editing software and techniques, it’s time to put your knowledge into practice. Download some STL files from platforms like 88cars3d.com and start experimenting with different software and settings. Don’t be afraid to make mistakes and learn from them. With practice and patience, you’ll become a master of STL editing and 3D printing. Happy printing!
“`

Texture: Yes | Material: Yes
Download the highly detailed, game-ready Volkswagen Jetta GLI 2019 3D Model. Features an aggressive honeycomb grille with red accents, sleek aerodynamic profile, and exclusive GLI sport wheels. Includes .blend, .fbx, .obj, .glb, .stl, .ply, .unreal, and .max formats for game development, AR/VR, and rendering.
Price: $19.99
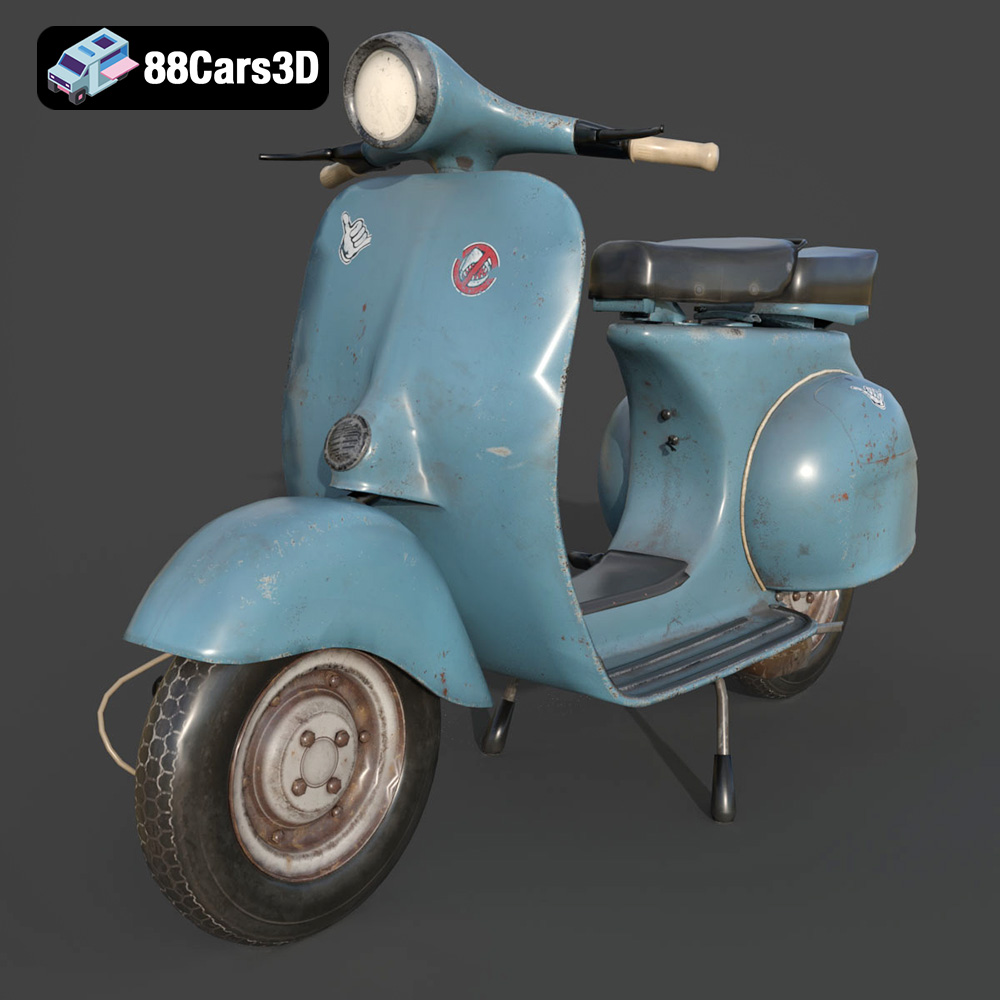
Texture: Yes | Material: Yes
Download the highly detailed, game-ready Vintage Vespa 3D Model. Features iconic rounded monocoque styling, classic saddle, and chrome accents. Includes .blend, .fbx, .obj, .glb, .stl, .ply, .unreal, and .max formats for game development, AR/VR, and rendering.
Price: $19.99

Texture: Yes | Material: Yes
Download the highly detailed, game-ready Vespa GS 150 3D Model. Features elegant aerodynamic curves, classic leg shield, and detailed engine casing. Includes .blend, .fbx, .obj, .glb, .stl, .ply, .unreal, and .max formats for game development, AR/VR, and rendering.
Price: $19.99
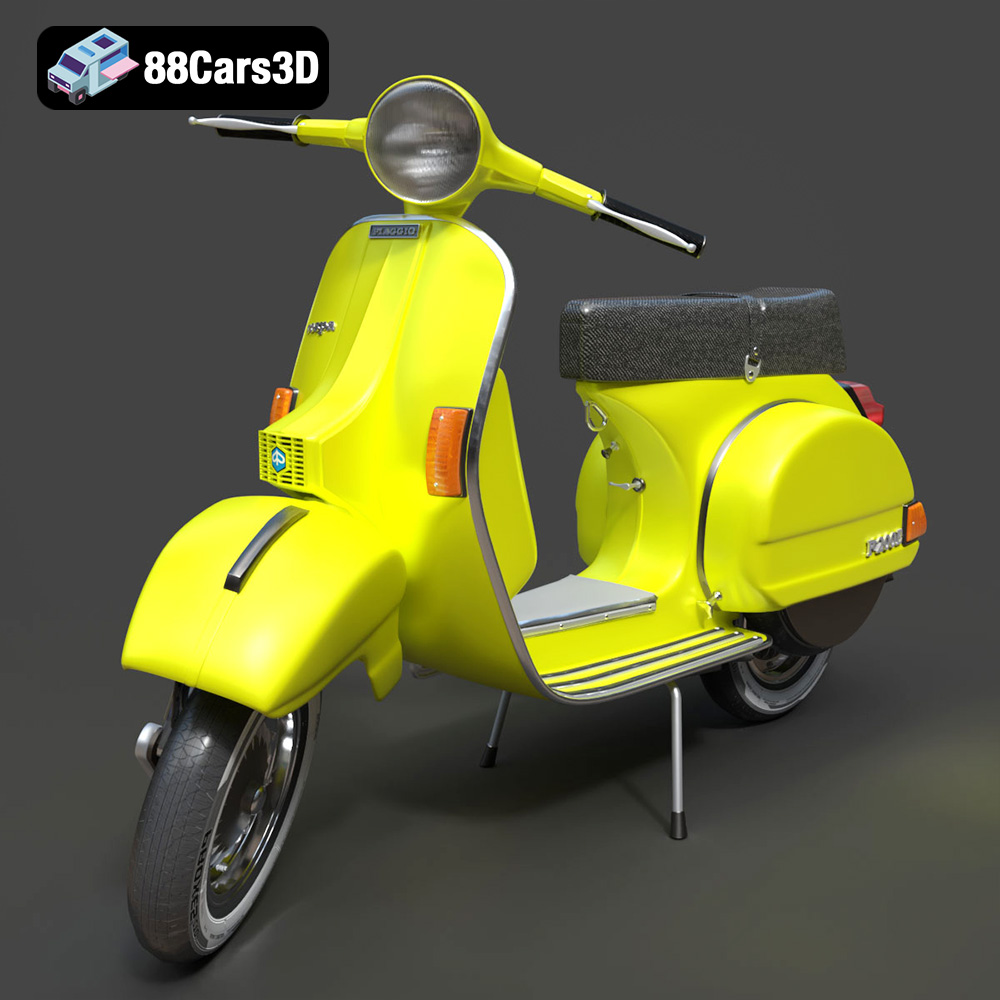
Texture: Yes | Material: Yes
Download the highly detailed, game-ready Vespa P200E 3D Model. Features classic vintage styling, accurate step-through frame geometry, and authentic detailing. Includes .blend, .fbx, .obj, .glb, .stl, .ply, .unreal, and .max formats for game development, AR/VR, and rendering.
Price: $19.99
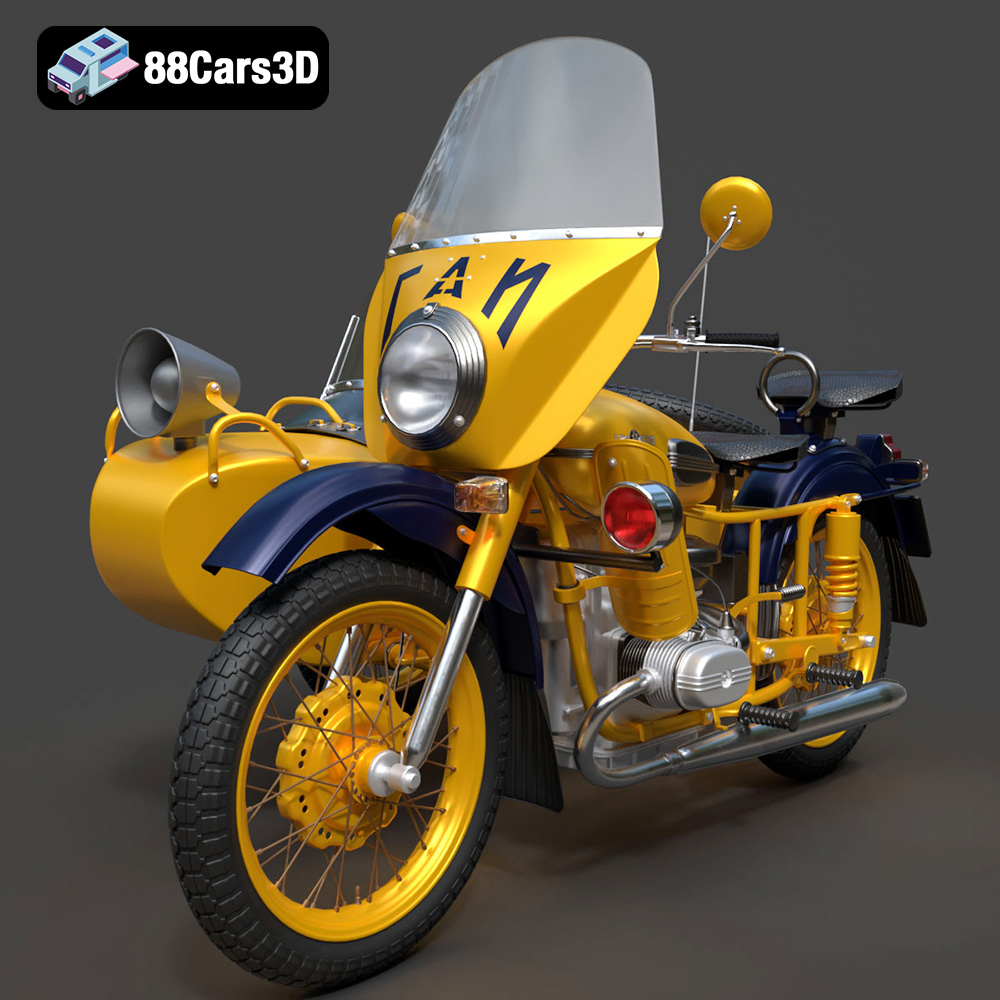
Texture: Yes | Material: Yes
Download the highly detailed, game-ready Ural M67-36-P 1976 3D Model. Features the iconic air-cooled boxer engine, vintage utilitarian styling, and authentic spoked wheels. Includes .blend, .fbx, .obj, .glb, .stl, .ply, .unreal, and .max formats for game development, AR/VR, and rendering.
Price: $19.99
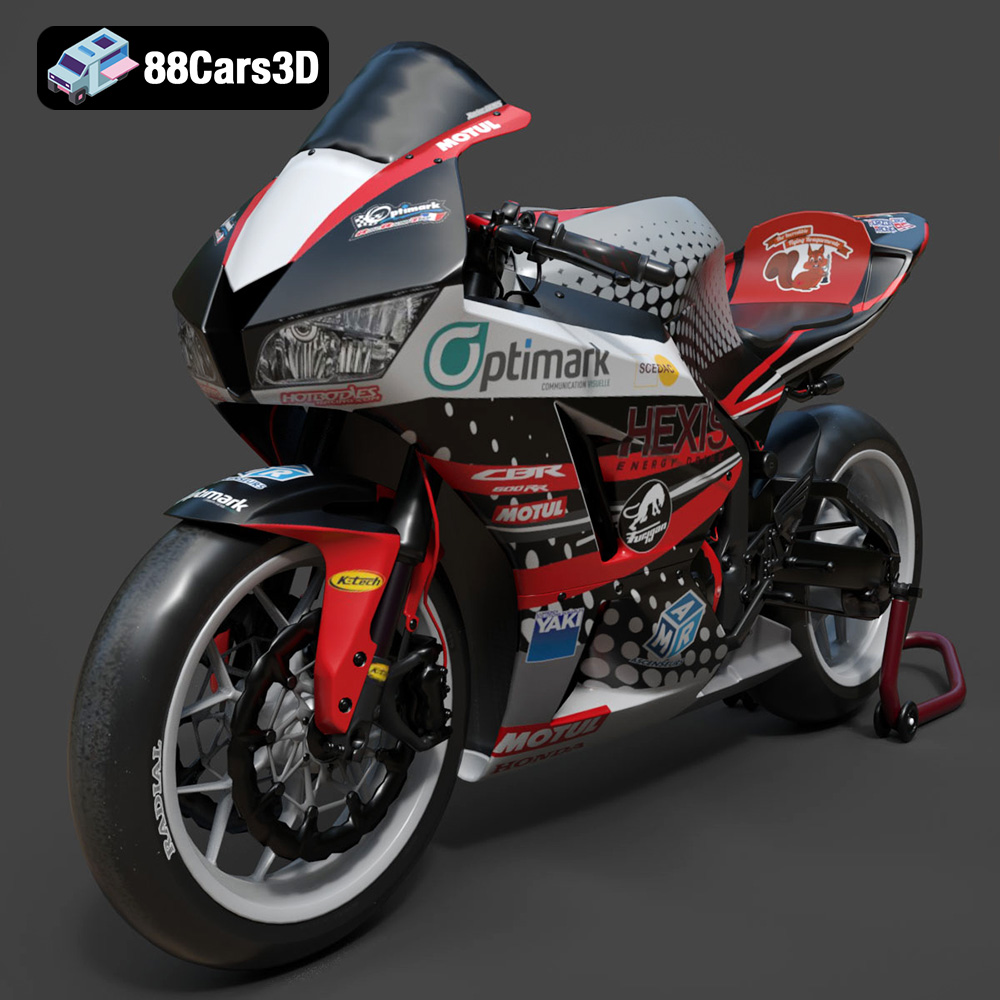
Texture: Yes | Material: Yes
Download the highly detailed, game-ready Honda CBR600RR 3D Model. Features aerodynamic fairings, an iconic center-up exhaust, and an aggressive track-focused stance. Includes .blend, .fbx, .obj, .glb, .stl, .ply, .unreal, and .max formats for game development, AR/VR, and rendering.
Price: $19.99
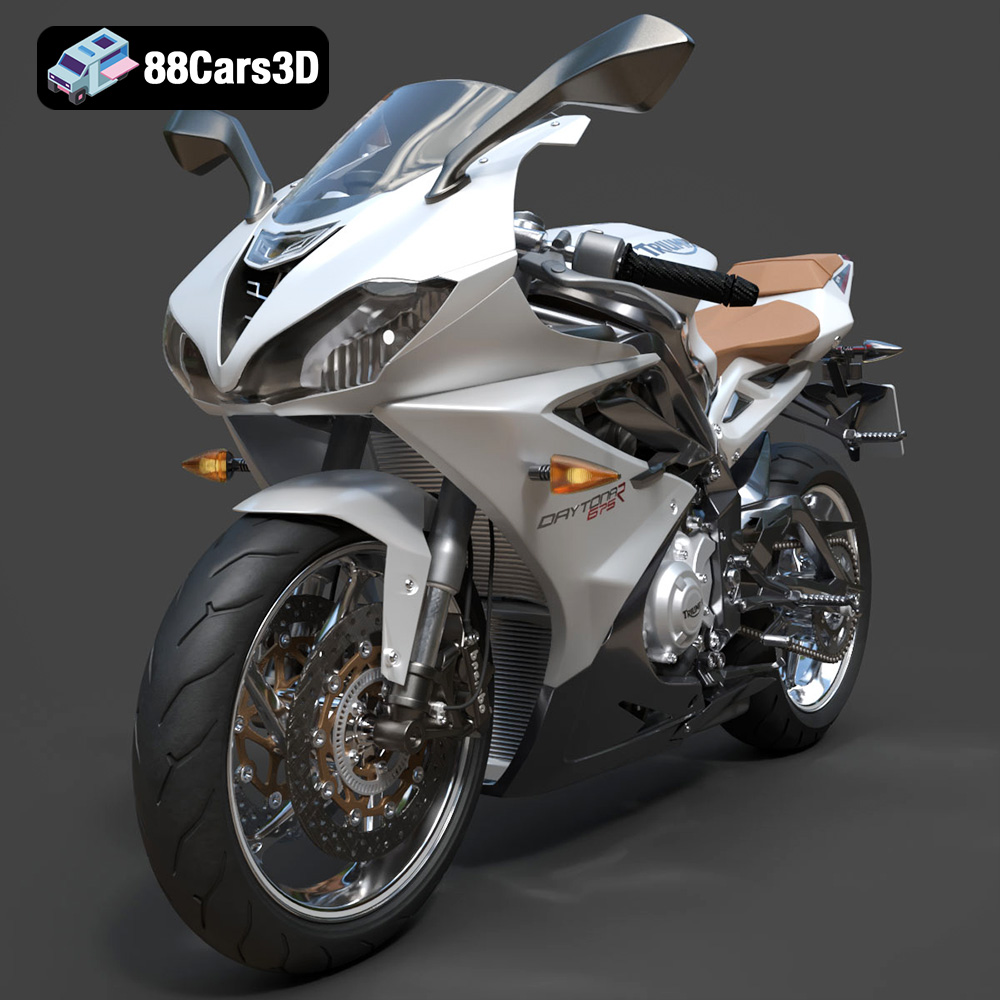
Texture: Yes | Material: Yes
Download the highly detailed, game-ready Triumph Daytona 675R ABS 2015 3D Model. Features aerodynamic sport fairings, a detailed inline-triple engine, and premium Öhlins suspension components. Includes .blend, .fbx, .obj, .glb, .stl, .ply, .unreal, and .max formats for game development, AR/VR, and rendering.
Price: $19.99

Texture: Yes | Material: Yes
Download the highly detailed, game-ready Toyota Tacoma TRD Off-Road 2016 3D Model. Features a rugged exterior, TRD off-road suspension details, and a meticulously crafted interior. Includes .blend, .fbx, .obj, .glb, .stl, .ply, .unreal, and .max formats for game development, AR/VR, and rendering.
Price: $19.99

Texture: Yes | Material: Yes
Download the highly detailed, game-ready Toyota Supra 2020 3D Model. Features aggressive aerodynamic styling, a distinctive double-bubble roof, and accurate B58 engine components. Includes .blend, .fbx, .obj, .glb, .stl, .ply, .unreal, and .max formats for game development, AR/VR, and rendering.
Price: $19.99

Texture: Yes | Material: Yes
Download the highly detailed, game-ready Toyota RAV4 LE 2019 3D Model. Features rugged exterior styling, signature polygonal motif, and a detailed interior. Includes .blend, .fbx, .obj, .glb, .stl, .ply, .unreal, and .max formats for game development, AR/VR, and rendering.
Price: $19.99

