Get 20% OFF All Premium 3D & STL Models!

“`html
3D printing has revolutionized the world of model making, prototyping, and even education. For automotive enthusiasts, the ability to 3D print highly detailed car models is incredibly appealing. Platforms like 88cars3d.com offer a treasure trove of high-quality STL files specifically designed for this purpose. However, diving into 3D printing without proper preparation can lead to frustration and wasted filament. This guide will cover the top 10 mistakes beginners make when printing STL files, particularly when focusing on detailed automotive models, and provides actionable solutions to avoid them. You’ll learn about file preparation, printer settings, support structures, material selection, and common troubleshooting tips to ensure successful and rewarding 3D printing experiences.
Before even loading an STL file into a slicer, it’s crucial to inspect it thoroughly. STL files describe the surface geometry of a 3D model using a mesh of triangles. Imperfections in this mesh, such as non-manifold edges, holes, or inverted normals, can lead to printing errors. Many beginners skip this crucial step, assuming the file is perfect simply because they downloaded it. This is rarely the case, especially with complex models like car bodies featuring intricate details.
Use software like Meshmixer, Netfabb, or Blender to inspect the STL file. These programs offer tools to identify and repair common mesh errors. Look for:
Meshmixer’s “Inspector” tool is particularly useful for automatically identifying and repairing these problems. Simply import the STL, run the Inspector, and choose the “Auto Repair All” option.
The term “manifold” refers to a mesh that is watertight and closed. A non-manifold mesh has openings or inconsistencies that prevent it from being properly sliced and printed. Ensuring your STL file is manifold is paramount for successful 3D printing. Think of it like a container; if the container has a hole, it cannot hold water. Similarly, a non-manifold mesh cannot be reliably printed.
The orientation in which you print your car model dramatically affects print quality, support structure requirements, and overall success. Beginners often place the model on the print bed arbitrarily, without considering overhangs, surface finish, and support structure placement. For automotive models from 88cars3d.com, proper orientation is critical to preserving fine details and minimizing post-processing.
Overhangs are portions of the model that extend beyond the layer below them. Printing significant overhangs without support structures can result in drooping, warping, or even complete print failure. Orient the model to minimize the number and severity of overhangs. For example, rotating a car body so the roof faces upwards reduces the need for supports under the roofline.
Even with optimal orientation, some support structures are often necessary. Choose an orientation that places supports in less visible areas, such as the underside of the chassis or the interior of the wheel wells. This minimizes the impact of support removal on the final appearance of the model. In Cura or PrusaSlicer, you can manually add or remove supports to fine-tune their placement.
Slicer software converts the STL file into a series of instructions (G-code) that the 3D printer can understand. The settings you choose in your slicer significantly impact the print’s quality, strength, and speed. Beginners often use default settings, which may not be optimal for detailed models or specific materials.
Layer height is the thickness of each printed layer. Lower layer heights result in finer details and smoother surfaces, but they also increase print time. For car models, a layer height of 0.1mm to 0.2mm is generally recommended for FDM printing. Resin printers can achieve even finer details with layer heights as low as 0.025mm. Consider the tradeoff between resolution and print time when choosing your layer height.
Infill density determines the amount of material inside the model. Higher infill densities increase strength and weight, but they also consume more filament and increase print time. For decorative car models, a low infill density (10-20%) is usually sufficient. Choose an infill pattern that provides adequate support for the outer layers, such as rectilinear or gyroid. For parts requiring higher strength, such as axles or suspension components, increase the infill density to 50% or higher.
Proper bed adhesion is crucial for preventing warping and ensuring the first layer adheres firmly to the print bed. Beginners often underestimate the importance of a level bed and proper adhesion techniques. A warped print can ruin hours of work and waste filament. This is even more crucial for large models.
Before every print, ensure the print bed is perfectly level. Most 3D printers have a manual or automatic bed leveling system. Follow the manufacturer’s instructions to level the bed accurately. A slightly uneven bed can cause the first layer to be too thin in some areas and too thick in others, leading to adhesion problems.
Several bed adhesion aids can help improve first-layer adhesion, including:
Adjusting the initial layer line width to be slightly wider (e.g., 120%) can also improve bed adhesion. Experiment with different techniques to find what works best for your printer and filament type.
The choice of filament significantly impacts the final properties of your 3D printed car model. Beginners often use PLA for everything, without considering the advantages of other materials like PETG, ABS, or resin. Each material has unique characteristics regarding strength, flexibility, heat resistance, and printability.
Resin printing is an excellent option for producing highly detailed car models with smooth surfaces. Resin printers use liquid photopolymer resin that is cured by UV light. Resin parts are typically more brittle than FDM parts but offer superior resolution and surface finish. Consider using resin for small, intricate components like emblems or mirrors.
As mentioned earlier, support structures are essential for printing overhangs. However, poorly optimized supports can be difficult to remove and leave unsightly marks on the finished model. Beginners often use default support settings, which may generate excessive or inadequate support.
Adjust the support density to balance support strength and ease of removal. Lower support densities are easier to remove but may not provide sufficient support for large overhangs. Manually place supports to target specific areas that need support while avoiding areas that are easily accessible for post-processing.
Enable support interface layers to create a smoother transition between the support structure and the model. This makes support removal easier and reduces the risk of damaging the model’s surface. Experiment with different interface layer densities and patterns to find what works best for your printer and material.
Use appropriate tools and techniques for removing supports. Sharp flush cutters are ideal for trimming supports close to the model’s surface. Heat guns can soften supports, making them easier to remove. Dissolvable support materials, such as HIPS or PVA, can be used in dual-extrusion printers for completely support-free surfaces.
Speed is tempting, but rushing a 3D print can lead to numerous problems, including poor layer adhesion, warping, and reduced detail. Beginners often try to print as fast as possible to save time, sacrificing quality in the process. This is particularly detrimental for intricate models. Printing detailed car models requires patience and careful attention to print speed.
Reduce the print speed to improve print quality and reduce the risk of failures. For FDM printing, a print speed of 40-60mm/s is generally recommended for detailed models. Reduce the speed further for small features or overhangs. For resin printing, layer exposure time is the crucial factor. Follow the resin manufacturer’s recommendations for optimal exposure times.
A well-calibrated and maintained 3D printer is essential for producing high-quality prints. Beginners often neglect regular maintenance tasks, leading to decreased print quality and potential printer damage. This is like failing to change the oil in your real car – eventually, it will break down.
Calibrate the extruder steps per millimeter to ensure the correct amount of filament is extruded. Calibrate the flow rate to fine-tune the amount of material being printed. Incorrect calibration can lead to over- or under-extrusion, resulting in poor layer adhesion and dimensional inaccuracies.
Clean the print bed regularly with isopropyl alcohol to remove grease and debris. Check the nozzle for clogs and clean or replace it as needed. Lubricate moving parts to ensure smooth operation. A clean and well-maintained printer will produce more consistent and reliable prints.
All 3D printing materials shrink to some degree as they cool. Beginners often fail to account for this shrinkage, resulting in parts that are slightly smaller than intended. This is especially important when printing parts that need to fit together precisely, such as a car chassis and body. ABS tends to shrink more than PLA or PETG.
Compensate for shrinkage by scaling the model in the slicer. Experiment with different scaling factors to determine the optimal value for your material and printer. A starting point could be scaling up by 1-2%. Print a small test cube to verify the dimensions and adjust the scaling factor accordingly.
Even with perfect print settings, some post-processing is often necessary to achieve a flawless finish on your 3D printed car model. Beginners often skip this step, leaving visible layer lines, support marks, and other imperfections. Post-processing can transform a good print into a great one.
Sand the model with progressively finer grits of sandpaper to remove layer lines and support marks. Start with a coarse grit (e.g., 220) and gradually move to finer grits (e.g., 400, 600, 800). Use wet sanding for smoother results. Apply a filler primer to fill in any remaining imperfections.
Paint the model with automotive-grade paints for a durable and realistic finish. Apply multiple thin coats of paint, allowing each coat to dry completely before applying the next. Use clear coat to protect the paint and add a glossy finish. Assembly is the final step. Many STL files from sources like 88cars3d.com are designed for easy assembly after printing.
Avoiding these common mistakes can significantly improve your 3D printing success rate, especially when working with detailed STL files for car models. Remember to inspect and repair your STL files, optimize print orientation and settings, ensure proper bed adhesion, choose the right material, optimize support structures, print at appropriate speeds, maintain your printer, account for shrinkage, and embrace post-processing. By following these guidelines, you’ll be well on your way to creating stunning 3D printed car models. Happy printing!
“`
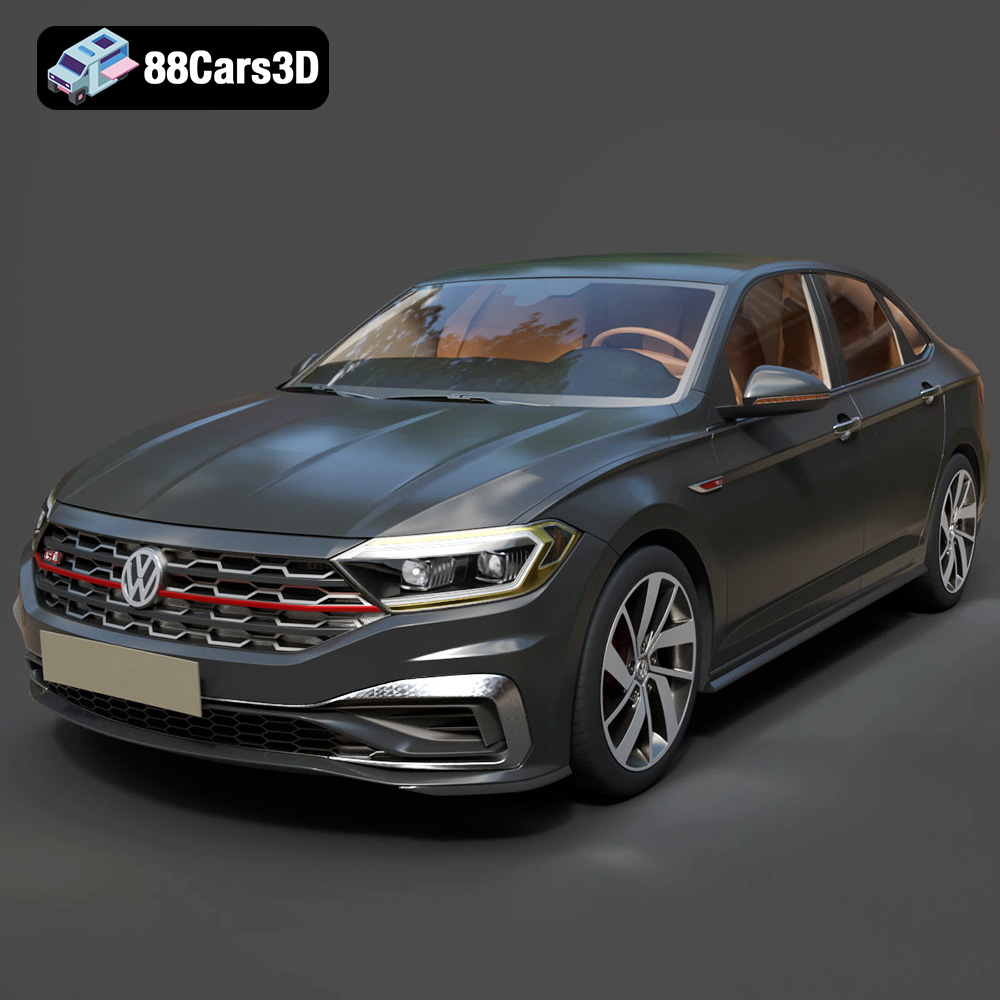
Texture: Yes | Material: Yes
Download the highly detailed, game-ready Volkswagen Jetta GLI 2019 3D Model. Features an aggressive honeycomb grille with red accents, sleek aerodynamic profile, and exclusive GLI sport wheels. Includes .blend, .fbx, .obj, .glb, .stl, .ply, .unreal, and .max formats for game development, AR/VR, and rendering.
Price: $19.99
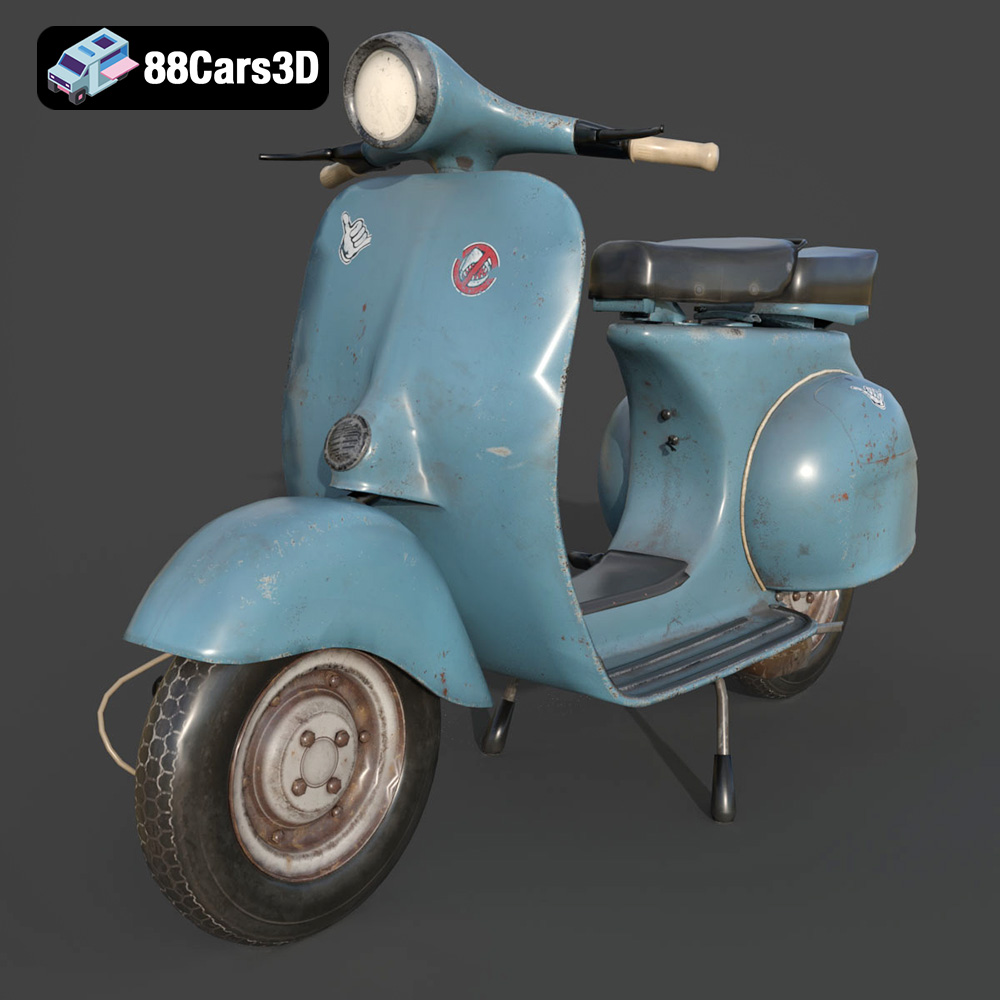
Texture: Yes | Material: Yes
Download the highly detailed, game-ready Vintage Vespa 3D Model. Features iconic rounded monocoque styling, classic saddle, and chrome accents. Includes .blend, .fbx, .obj, .glb, .stl, .ply, .unreal, and .max formats for game development, AR/VR, and rendering.
Price: $19.99

Texture: Yes | Material: Yes
Download the highly detailed, game-ready Vespa GS 150 3D Model. Features elegant aerodynamic curves, classic leg shield, and detailed engine casing. Includes .blend, .fbx, .obj, .glb, .stl, .ply, .unreal, and .max formats for game development, AR/VR, and rendering.
Price: $19.99
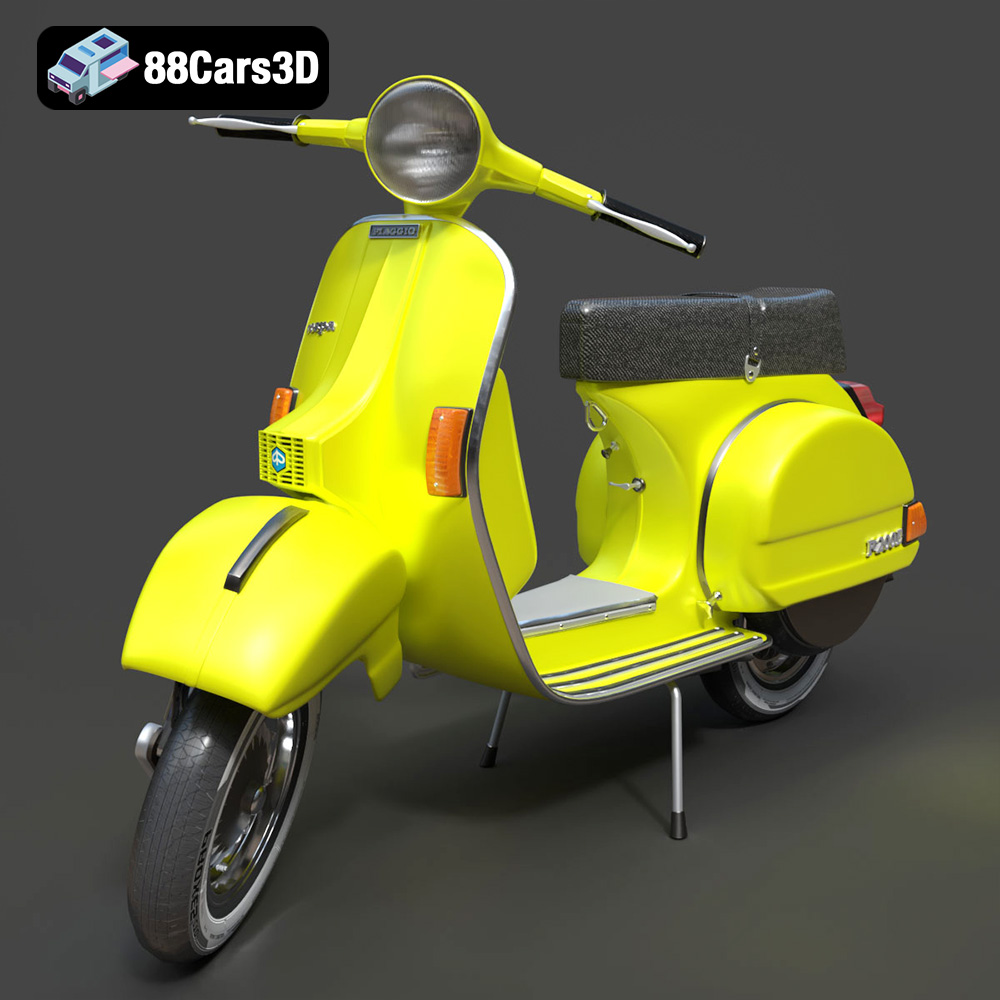
Texture: Yes | Material: Yes
Download the highly detailed, game-ready Vespa P200E 3D Model. Features classic vintage styling, accurate step-through frame geometry, and authentic detailing. Includes .blend, .fbx, .obj, .glb, .stl, .ply, .unreal, and .max formats for game development, AR/VR, and rendering.
Price: $19.99
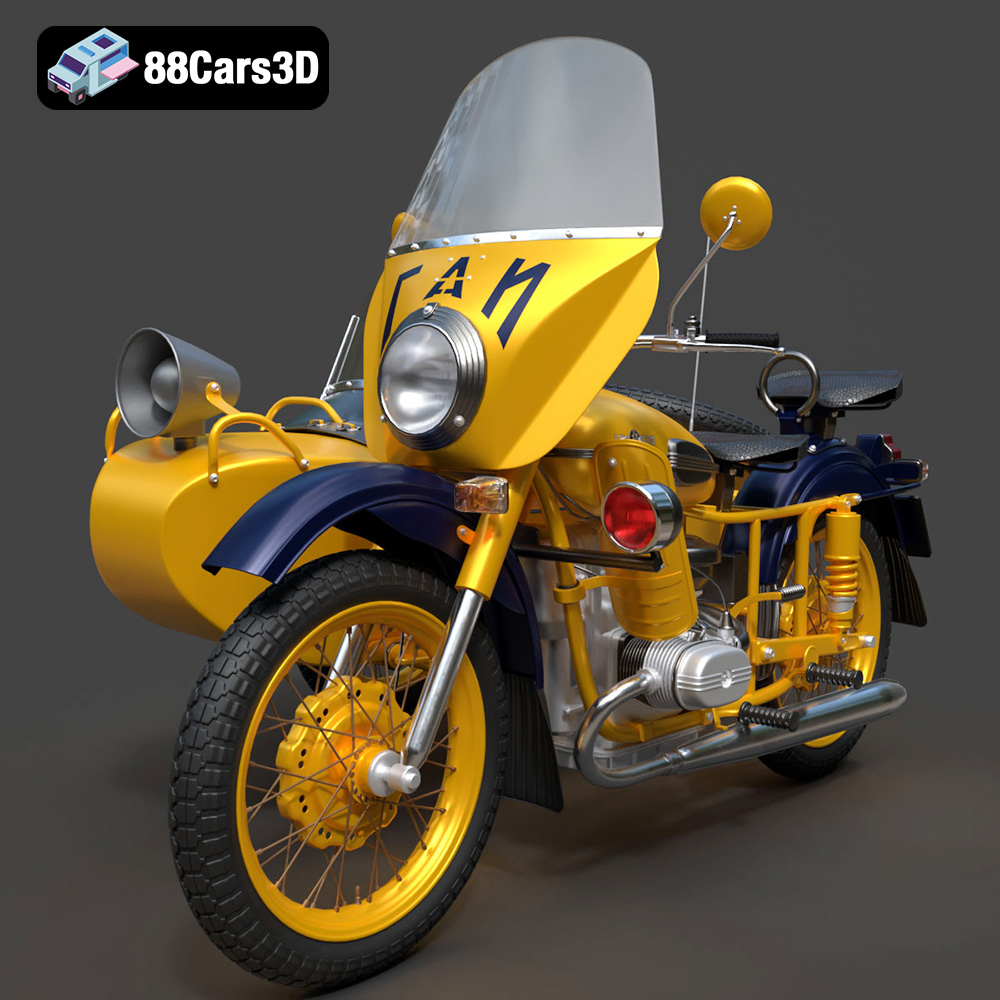
Texture: Yes | Material: Yes
Download the highly detailed, game-ready Ural M67-36-P 1976 3D Model. Features the iconic air-cooled boxer engine, vintage utilitarian styling, and authentic spoked wheels. Includes .blend, .fbx, .obj, .glb, .stl, .ply, .unreal, and .max formats for game development, AR/VR, and rendering.
Price: $19.99
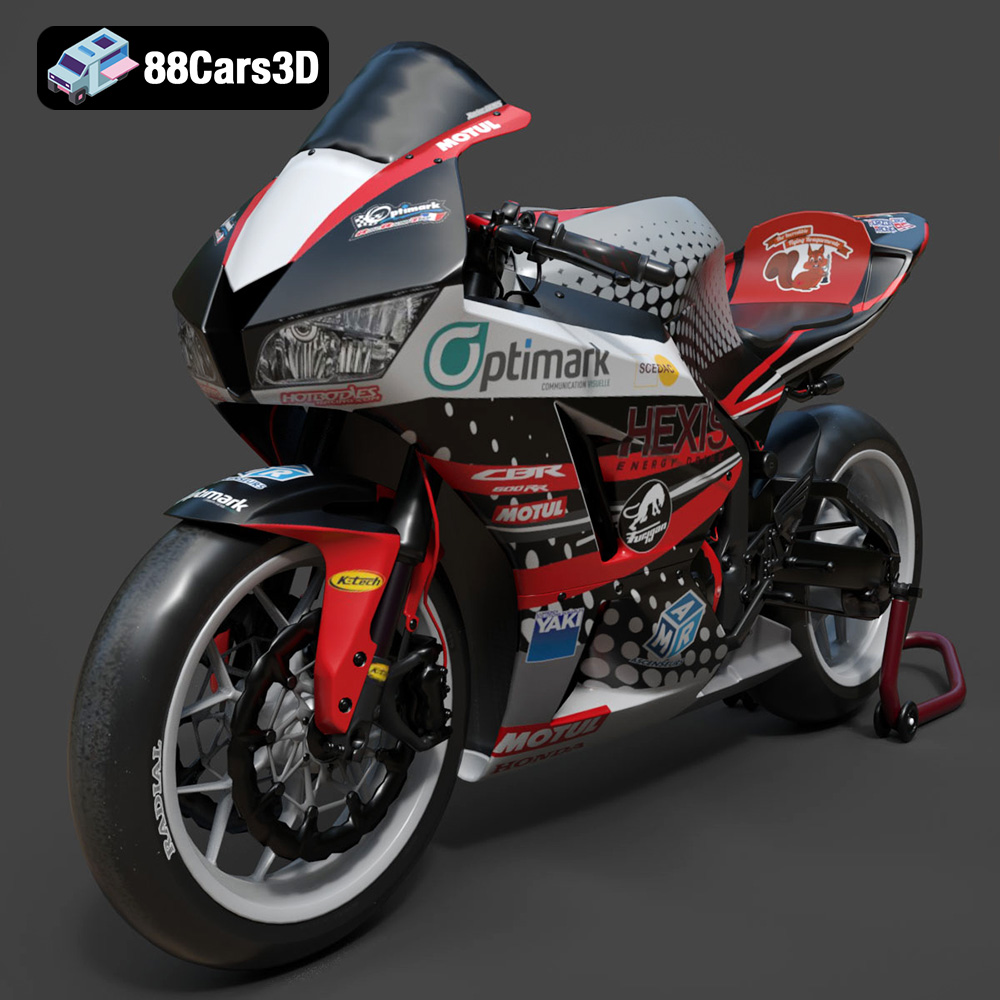
Texture: Yes | Material: Yes
Download the highly detailed, game-ready Honda CBR600RR 3D Model. Features aerodynamic fairings, an iconic center-up exhaust, and an aggressive track-focused stance. Includes .blend, .fbx, .obj, .glb, .stl, .ply, .unreal, and .max formats for game development, AR/VR, and rendering.
Price: $19.99
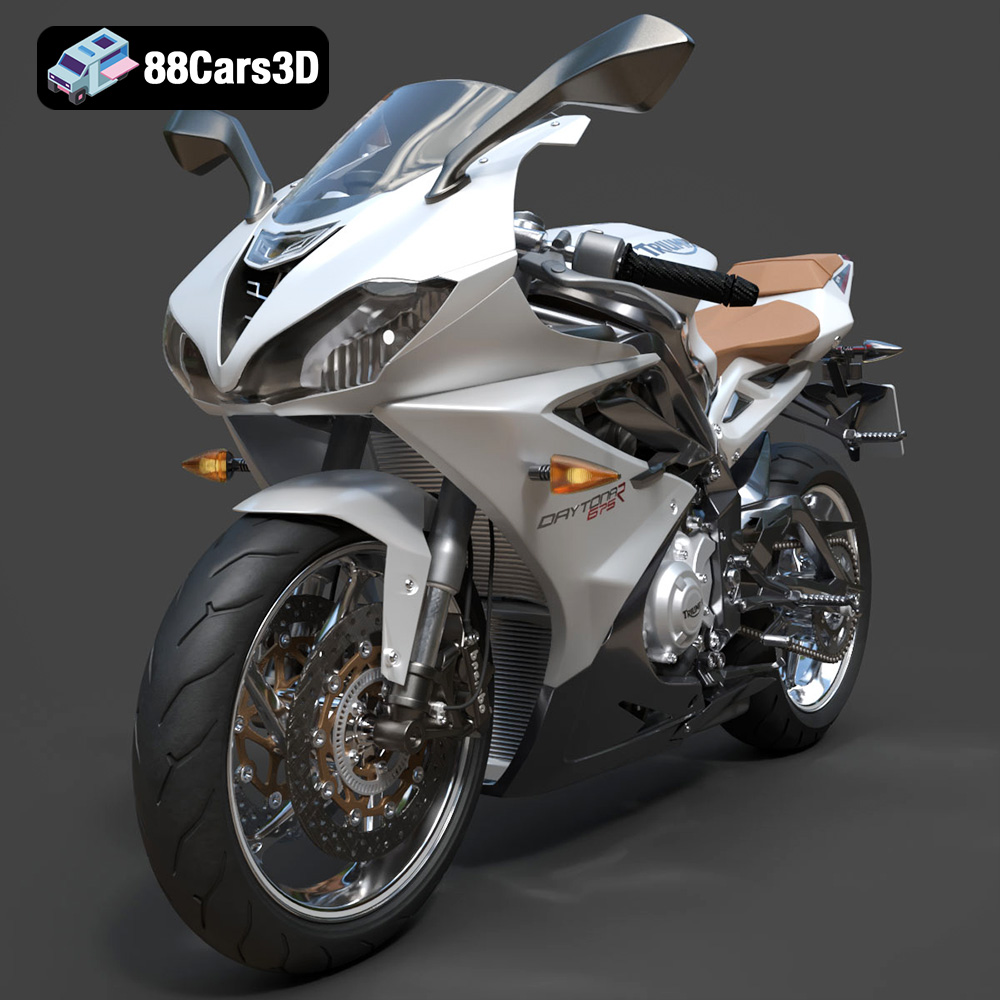
Texture: Yes | Material: Yes
Download the highly detailed, game-ready Triumph Daytona 675R ABS 2015 3D Model. Features aerodynamic sport fairings, a detailed inline-triple engine, and premium Öhlins suspension components. Includes .blend, .fbx, .obj, .glb, .stl, .ply, .unreal, and .max formats for game development, AR/VR, and rendering.
Price: $19.99

Texture: Yes | Material: Yes
Download the highly detailed, game-ready Toyota Tacoma TRD Off-Road 2016 3D Model. Features a rugged exterior, TRD off-road suspension details, and a meticulously crafted interior. Includes .blend, .fbx, .obj, .glb, .stl, .ply, .unreal, and .max formats for game development, AR/VR, and rendering.
Price: $19.99

Texture: Yes | Material: Yes
Download the highly detailed, game-ready Toyota Supra 2020 3D Model. Features aggressive aerodynamic styling, a distinctive double-bubble roof, and accurate B58 engine components. Includes .blend, .fbx, .obj, .glb, .stl, .ply, .unreal, and .max formats for game development, AR/VR, and rendering.
Price: $19.99
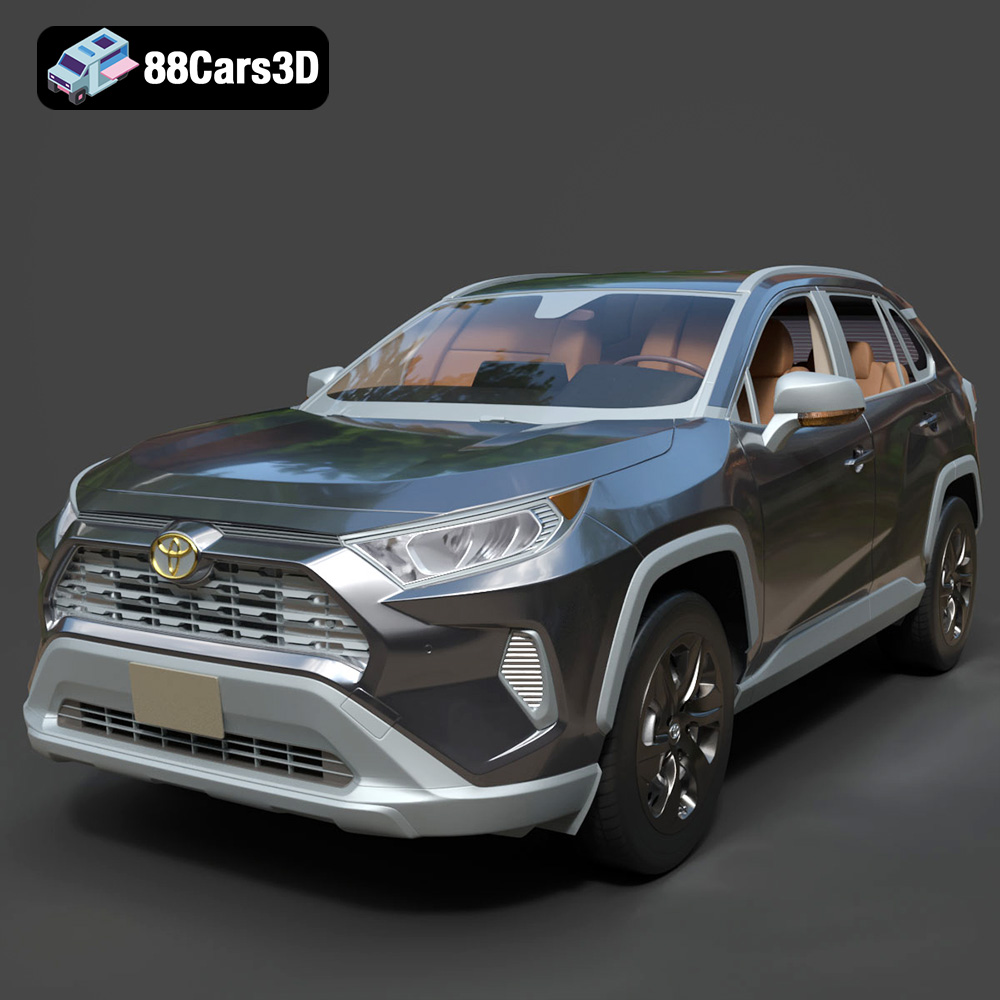
Texture: Yes | Material: Yes
Download the highly detailed, game-ready Toyota RAV4 LE 2019 3D Model. Features rugged exterior styling, signature polygonal motif, and a detailed interior. Includes .blend, .fbx, .obj, .glb, .stl, .ply, .unreal, and .max formats for game development, AR/VR, and rendering.
Price: $19.99

